Home>Articles>How To Repair A Broken Electrical Cord With Battery In Plug

Articles
How To Repair A Broken Electrical Cord With Battery In Plug
Modified: March 2, 2024
Learn how to repair a broken electrical cord, even with a battery still in the plug. Read our informative articles for step-by-step instructions.
(Many of the links in this article redirect to a specific reviewed product. Your purchase of these products through affiliate links helps to generate commission for Storables.com, at no extra cost. Learn more)
Introduction
An electrical cord is an essential component of many household items, such as appliances, electronics, and power tools. Over time, these cords can become worn or damaged, posing a safety hazard and potentially rendering the device unusable. While it may be tempting to replace the entire cord or seek professional help, repairing a broken electrical cord is a relatively simple task that can be done at home with the right tools and materials.
In this article, we will guide you through the step-by-step process of repairing a broken electrical cord with a battery in the plug. We will provide you with the necessary information to assess the damage, gather the required supplies, and safely perform the repair. By following these instructions, you can save both time and money while ensuring the continued functionality and safety of your electrical appliances.
Key Takeaways:
- Repairing a broken electrical cord with a battery in the plug is a simple DIY task that can save time and money while ensuring the safety and functionality of household appliances.
- By following safety precautions, assessing damage, and carefully executing the repair process, anyone can confidently and effectively repair a broken electrical cord with a battery in the plug.
Read more: How To Repair Broken Extension Cord
Tools and Materials Needed
Before starting the repair process, it is important to gather all the necessary tools and materials. Here is a list of what you will need:
- Wire strippers
- Wire cutter
- Electrical tape
- Screwdriver (if needed for plug removal)
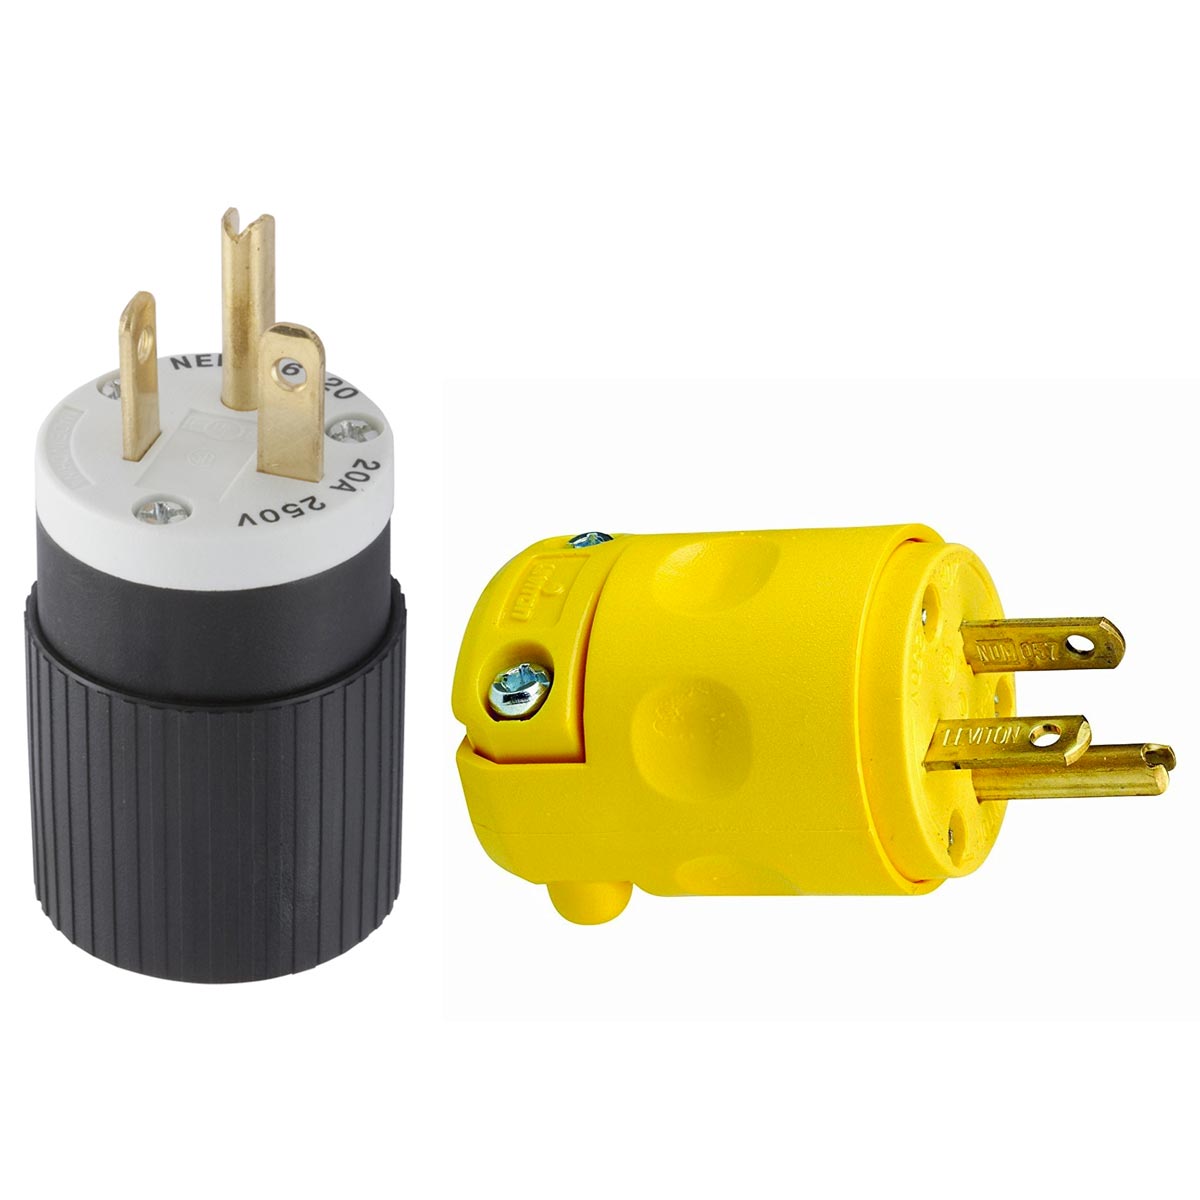
- New plug or replacement end (available at hardware stores)
- Heat shrink tubing (optional but recommended)
These tools and materials will help you perform the repair effectively and ensure a secure and long-lasting connection.
Safety Precautions
Working with electrical cords can be dangerous if proper safety precautions are not followed. Before starting the repair, make sure to take the following safety measures:
- Always ensure that the device is unplugged and turned off before attempting any repairs.
- Wear protective gloves and safety glasses to protect yourself from any potential hazards.
- Work in a well-ventilated area to avoid inhaling any fumes.
- If you are unsure about any step of the repair process or if the damage appears severe, it is best to consult a professional electrician.
- Never attempt repairs on cords that are frayed or damaged near the plug, as they may no longer be safe to use.
By following these safety precautions, you can minimize the risk of accidents and ensure your personal safety during the repair process.
Step 1: Assess the Damage
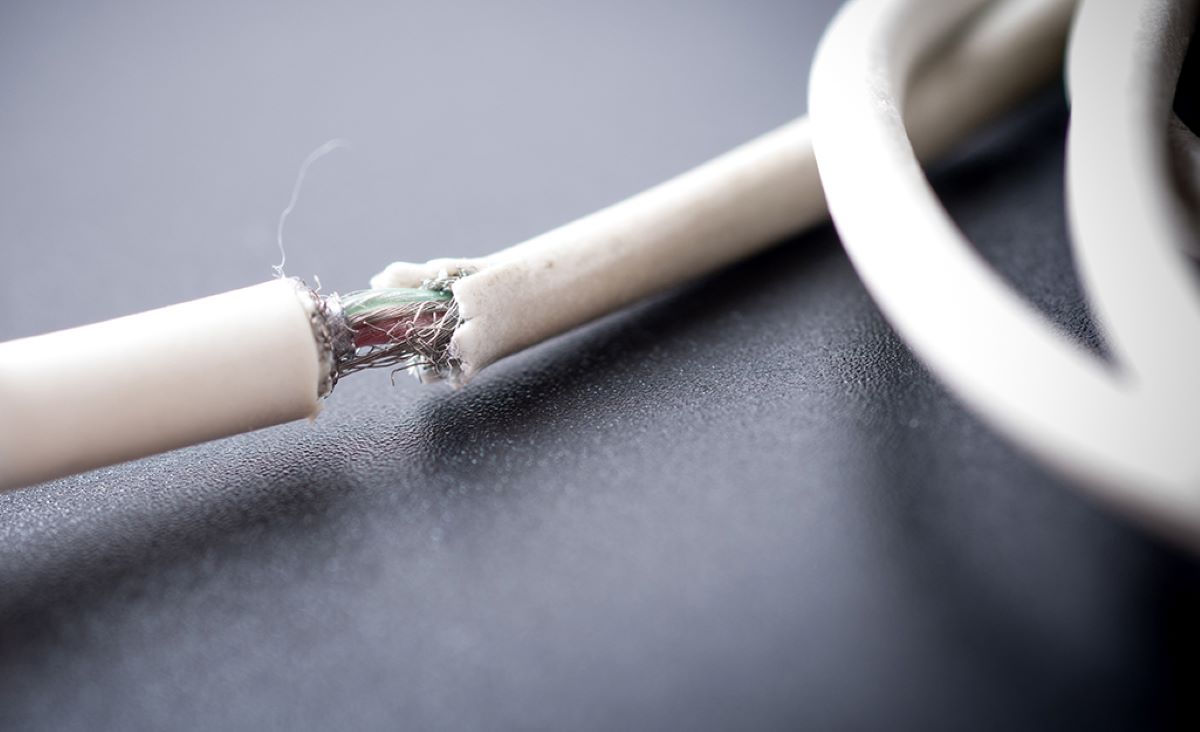
The first step in repairing a broken electrical cord is to assess the extent of the damage. Inspect the cord carefully to identify any visible signs of wear, fraying, or cuts. Pay close attention to the area near the plug, as this is a common location for damage to occur.
If the damage is minimal and located near the end of the cord, a simple repair may be sufficient. However, if the damage is extensive or reaches further up the cord, it may be safer and more practical to replace the entire cord.
Before proceeding with the repair, it is important to consider the age and condition of the cord. If the cord is older or has been repaired multiple times in the past, it may be more cost-effective and safer to replace it entirely. Additionally, if the cord is part of a device that is under warranty, repairing it yourself may void the warranty.
Assessing the damage will help you determine the best course of action for the repair. If you are unsure or uncomfortable with the assessment, it is always advisable to consult a professional electrician for assistance.
Step 2: Gather the Necessary Supplies
Once you have assessed the damage to the electrical cord, it is time to gather the necessary supplies for the repair. Here is a list of the items you will need:
- Wire strippers: These will be used to remove the insulation from the wire.
- Wire cutter: This tool is essential for cutting the damaged section of the cord.
- Electrical tape: This will be used to insulate the exposed wires and secure the connection.
- Screwdriver (if needed for plug removal): Some plugs may require a screwdriver to disassemble them for repair.
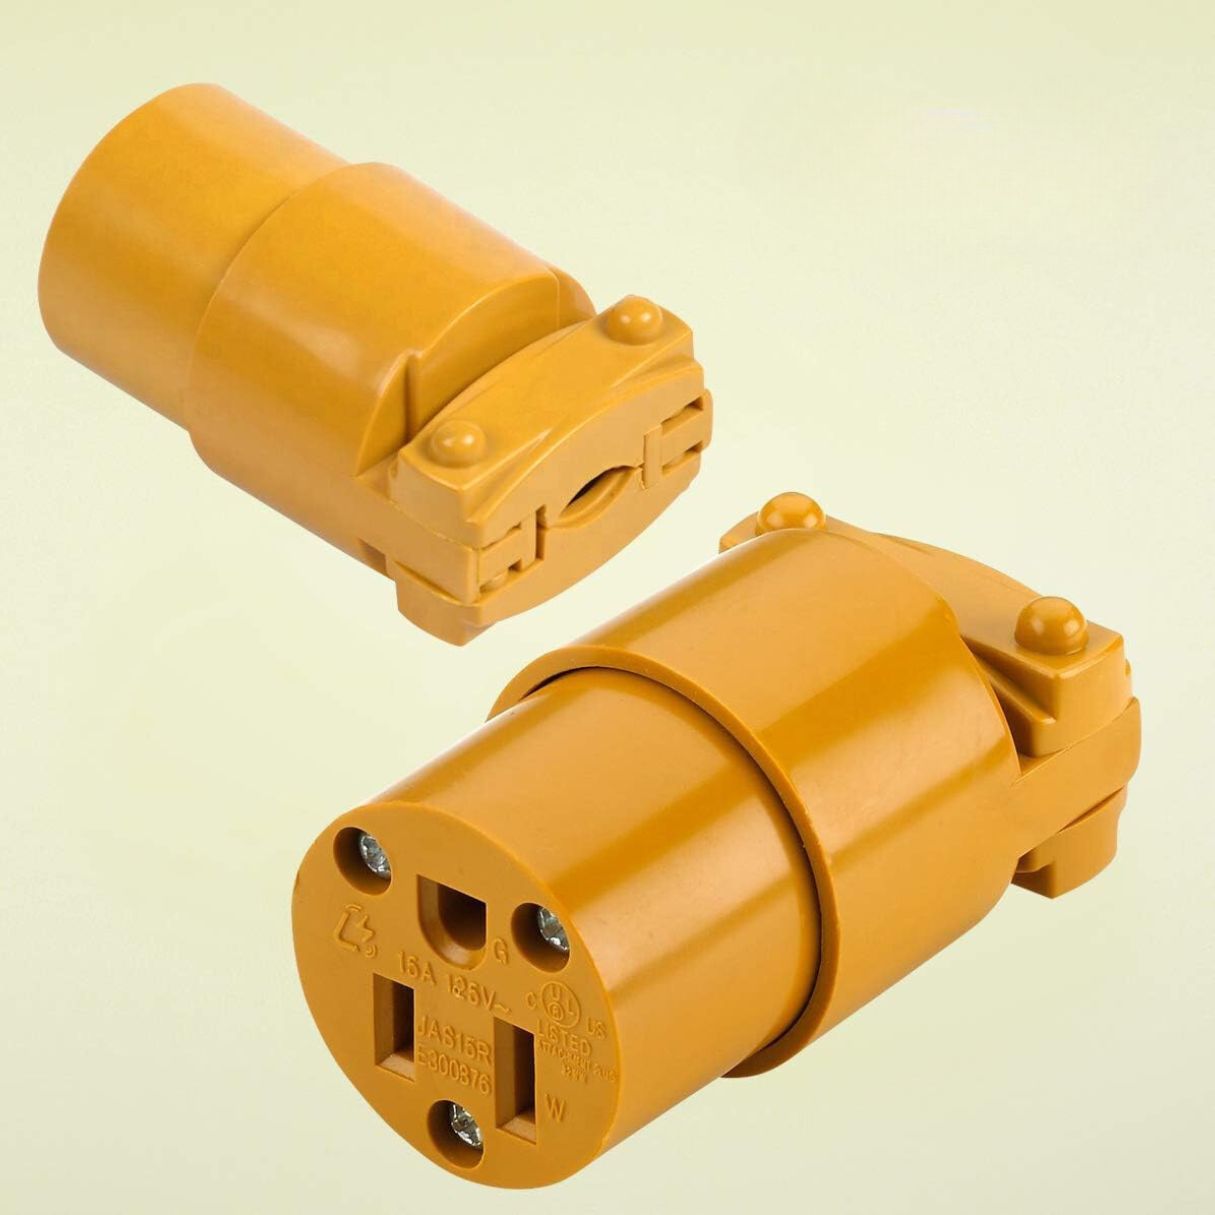
- New plug or replacement end: If the plug itself is damaged, you may need to replace it entirely. Alternatively, you can purchase a replacement end that can be attached to the existing cord.
- Heat shrink tubing (optional but recommended): Heat shrink tubing provides an additional layer of insulation and protection for the repaired section of the cord. It can be shrunk using a heat source such as a hairdryer or heat gun.
Ensure that you have all the necessary tools and materials on hand before starting the repair. This will save you time and allow you to complete the repair smoothly.
Step 3: Disconnect the Cord from the Power Source
Before you start working on the electrical cord, it is crucial to disconnect it from the power source. This step is essential to ensure your safety and prevent any electrical accidents.
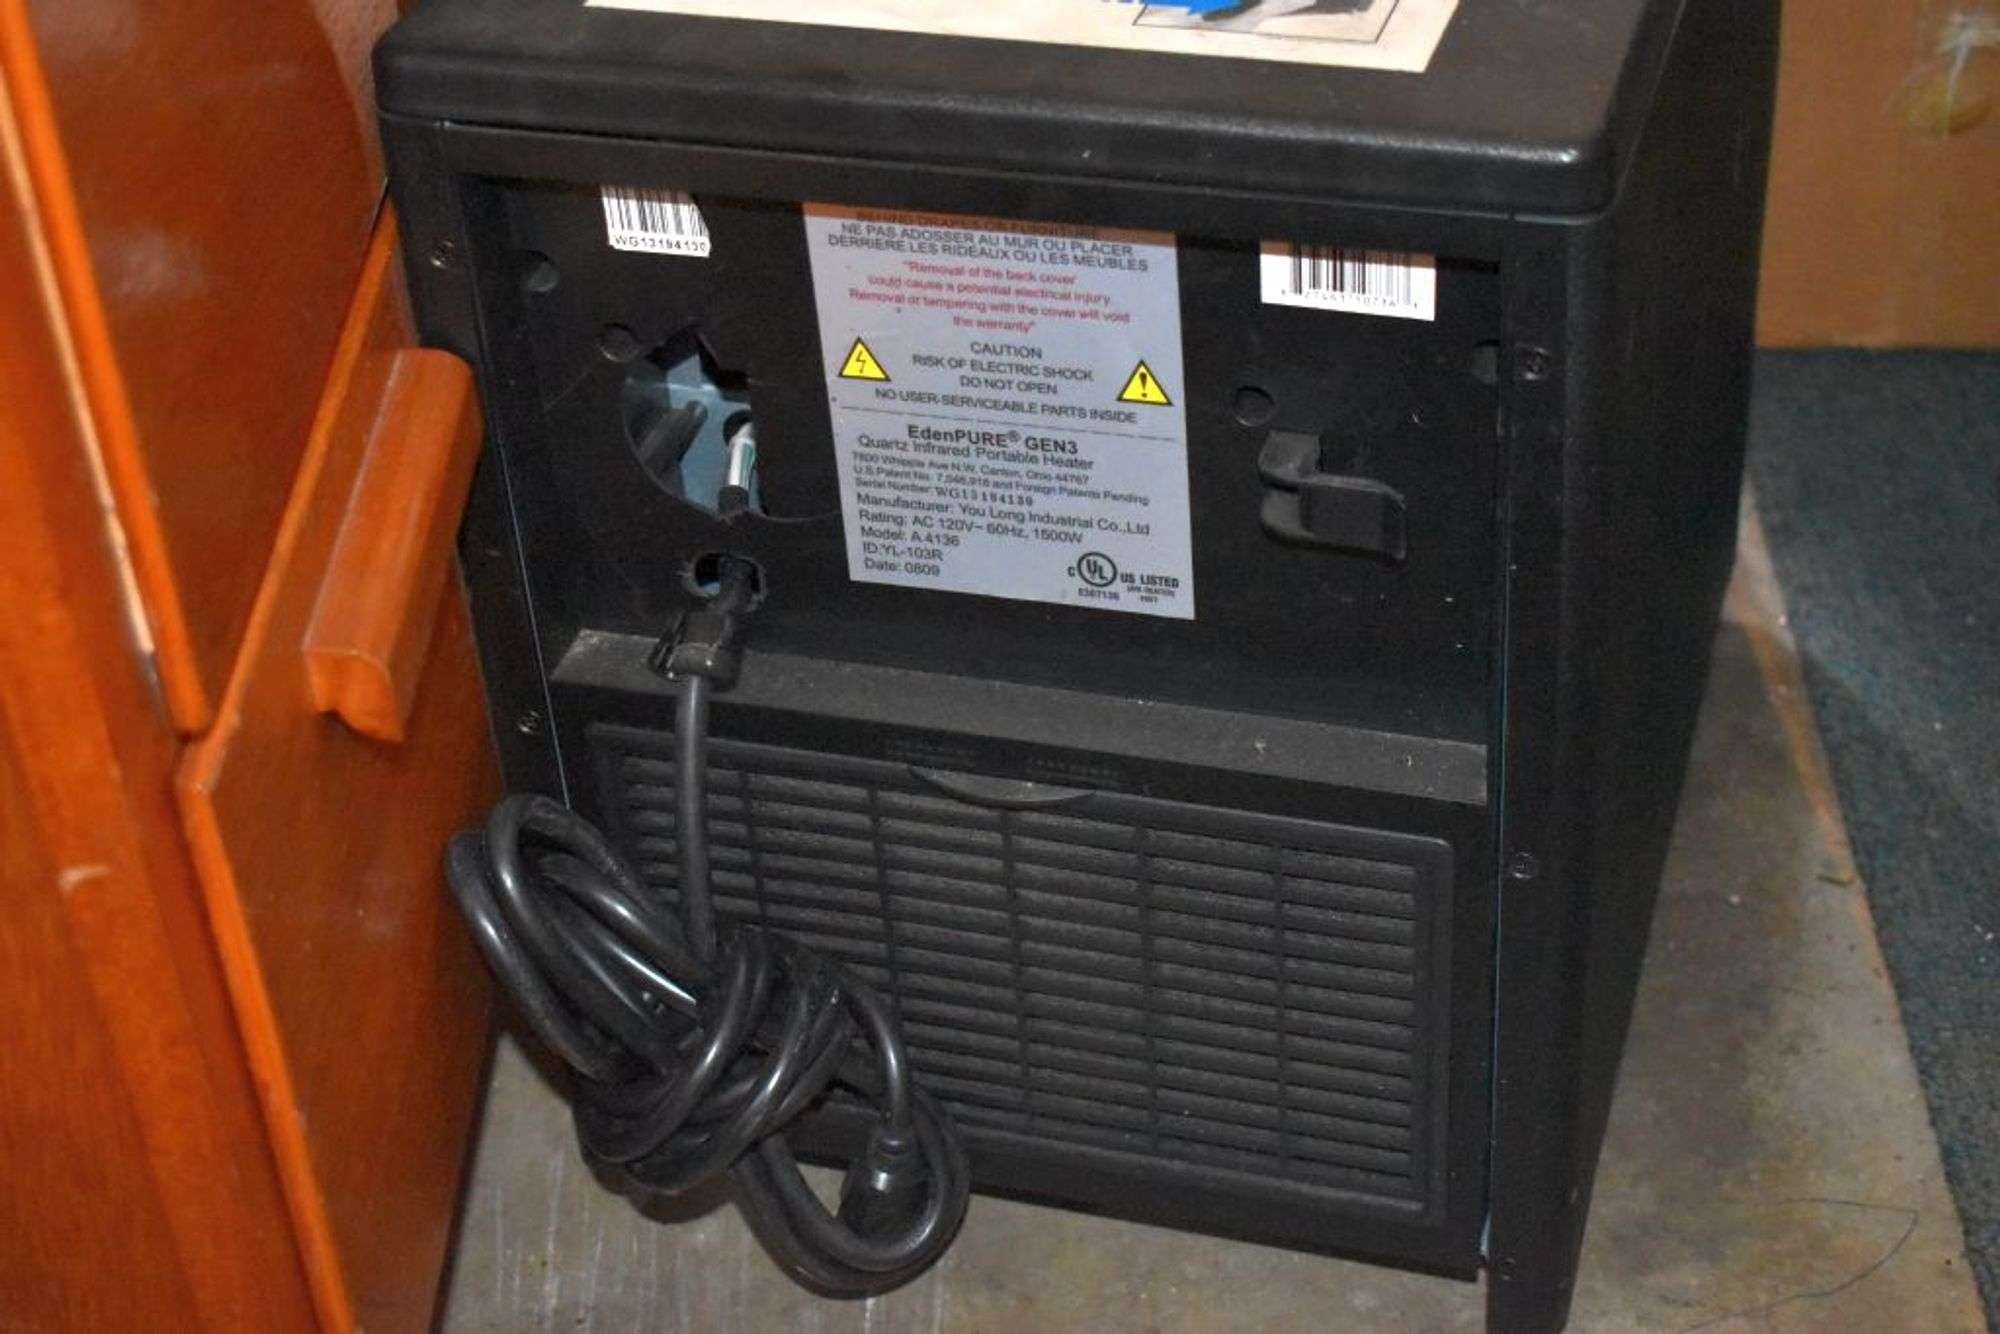
If the cord is connected to a device, make sure to turn off the device and unplug it from the wall outlet. Double-check to ensure that there is no power running through the cord by testing the device or using a voltage tester.
If the cord is directly plugged into an outlet, carefully unplug it and ensure that the power supply to that outlet is turned off. Turning off the circuit breaker or removing the fuse that corresponds to the outlet will prevent any unintentional power flow.
Remember, working on a live electrical cord can be extremely dangerous and may lead to electric shock or other accidents. Take the time to verify that the cord is completely disconnected from any power source before proceeding with the repair.
Once you have confirmed that the cord is disconnected, you can proceed with the next steps of the repair process.
Step 4: Examine the Plug
After disconnecting the electrical cord from the power source, the next step is to examine the plug. The plug is the end of the cord that is inserted into the wall outlet or device. By inspecting the plug, you can determine if it is the source of the problem or if the damage is further along the cord.
Closely look at the plug for any signs of damage, such as cracks, loose or exposed wires, or bent prongs. If you notice any of these issues, it is likely that the plug needs to be replaced.
If the plug appears to be in good condition, gently tug on the cord to detect any fraying or internal damage. If you feel any resistance or notice exposed wires, the damage may be further up the cord.
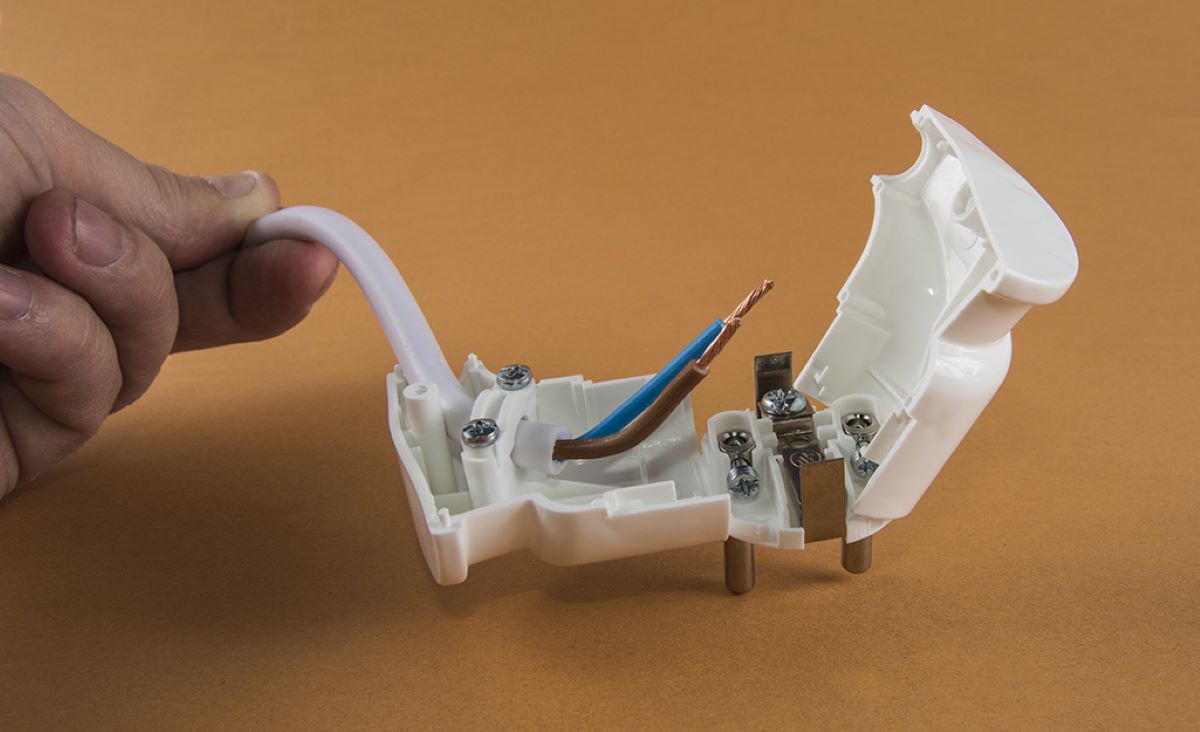
Keep in mind that plugs can vary in design, so the disassembly process may differ depending on the type of plug. Some plugs might have screws that need to be loosened to access the wires, while others may require you to slide off a plastic cover or use a small tool to release retaining clips.
Properly assessing the condition of the plug will guide you in determining the next steps of the repair process. If the plug is damaged or the problem extends beyond the plug, you will need to continue with the following steps to repair the electrical cord.
When repairing a broken electrical cord with a battery in the plug, always ensure the battery is removed before attempting any repairs to avoid the risk of electric shock.
Step 5: Remove the Damaged Section of the Cord
Once you have determined that the damage extends beyond the plug, the next step is to remove the damaged section of the cord. This will allow you to create a clean and secure connection for the repair.
Start by identifying the damaged area of the cord. Look for any signs of fraying, cuts, or exposed wires. It is important to remove any compromised section to ensure the safety and reliability of the repaired cord.
Using a wire cutter or sharp scissors, carefully cut out the damaged section of the cord. Be sure to cut slightly above and below the damaged area to ensure that all affected parts are removed. Make a straight and clean cut to ensure a proper connection in the next steps.
Once the damaged section has been removed, double-check to ensure that there are no loose wires or frayed edges. Trim any stray or uneven ends to create a clean and even surface.
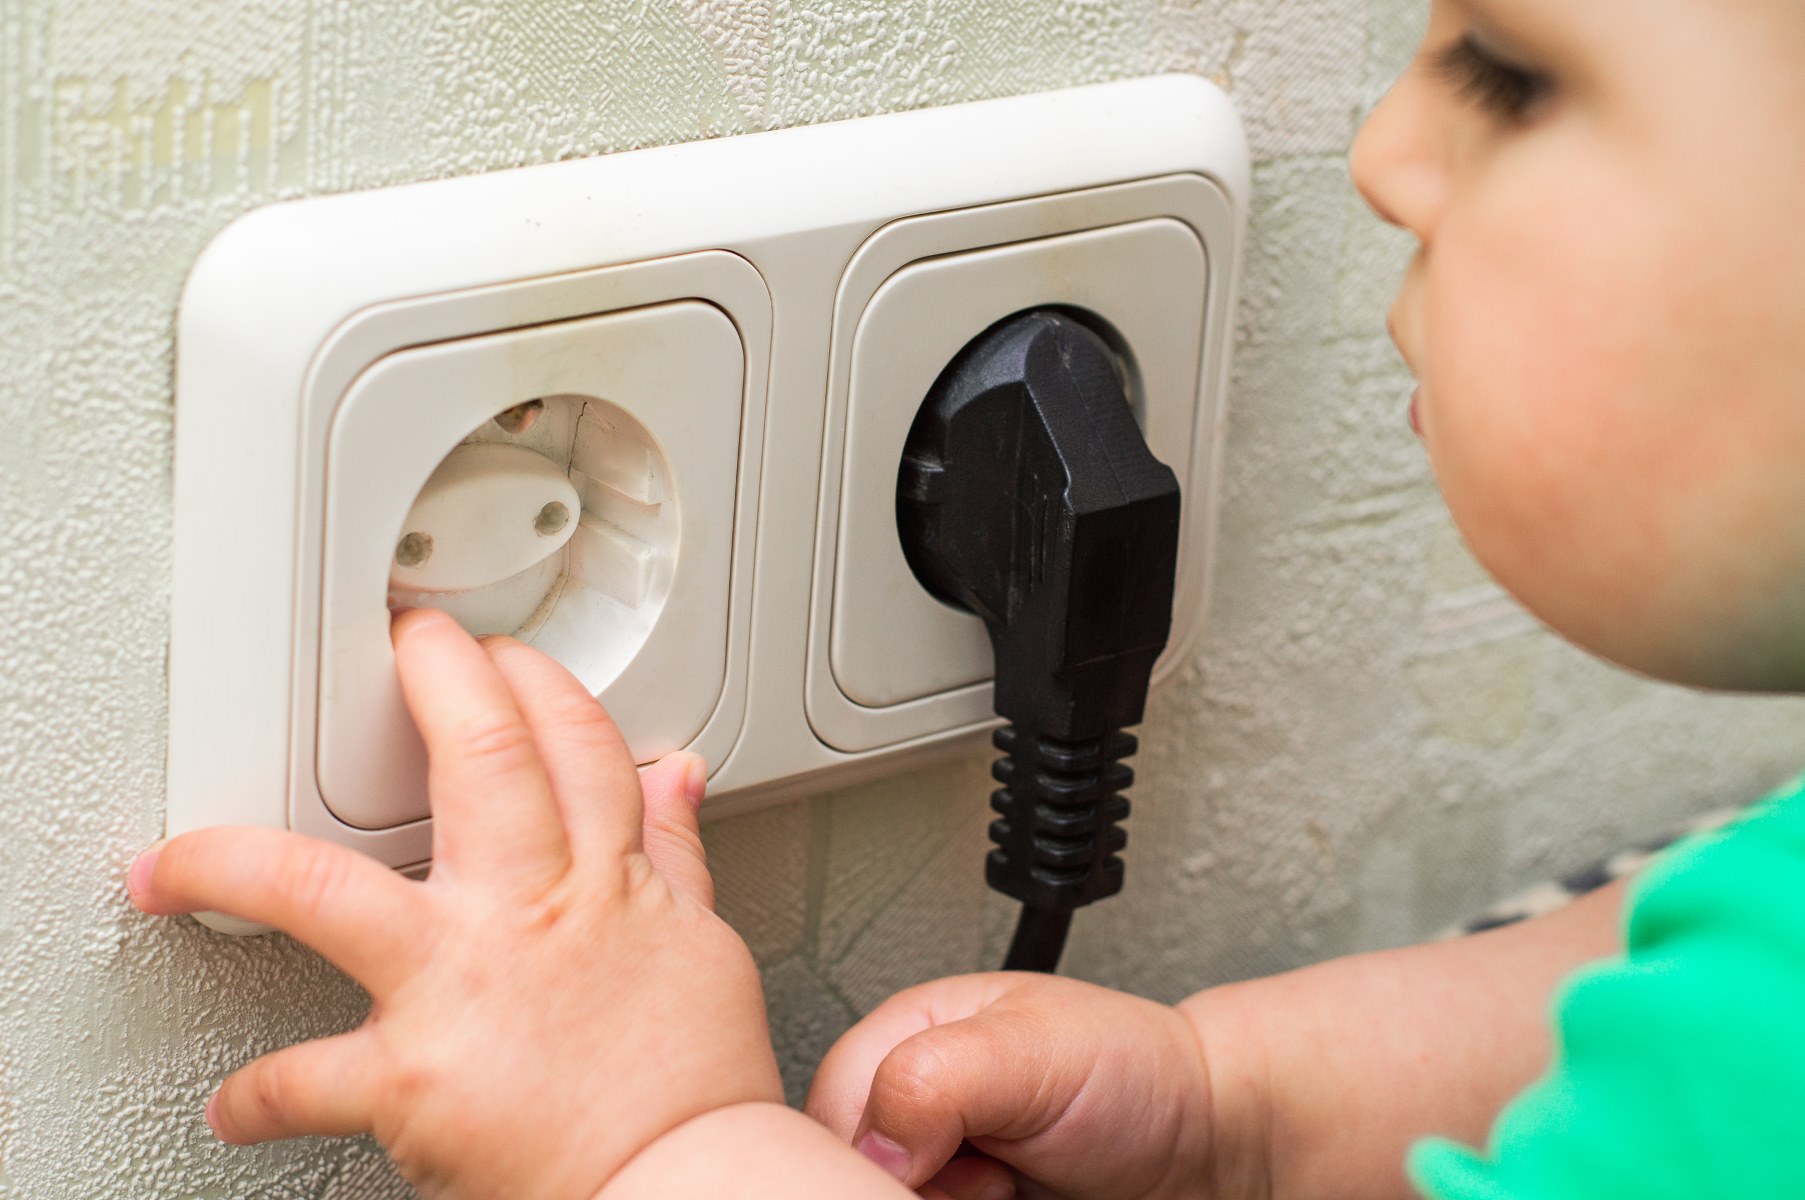
Remember to dispose of the damaged section of the cord properly and keep it out of reach of children or pets to prevent any accidents.
By removing the damaged section of the cord, you are preparing the cord for the next steps of the repair process. This will allow you to create a secure and functional connection when replacing the plug or attaching a new end.
Step 6: Prepare the New End
If you are replacing the plug, it is important to prepare the new end before connecting it to the cord. By properly preparing the new end, you can ensure a secure and reliable connection.
Start by examining the new plug or replacement end. Check the manufacturer’s instructions to familiarize yourself with the specific requirements for attaching it to the cord.
If the new end requires any assembly or disassembly, follow the provided instructions carefully. Some plugs may have screws that need to be loosened, while others may have prongs that need to be positioned correctly before tightening screws.
Once you have the new end ready, inspect the cord to ensure that it is free from any fraying or damage near the end. Trim any stray or uneven ends, if necessary, to create a clean and even surface for the connection.
Ensure that the cord is properly sized to fit into the new end. If the cord is too thick or thin, it may not fit securely, compromising the integrity of the connection. If needed, trim a small portion of the outer insulation to adjust the size.
Take your time to carefully prepare the new end and ensure that all components are in the correct position. This will help to ensure a successful connection and avoid any issues during the repair process.
Read more: Why Are There Holes In Electrical Cord Plugs
Step 7: Strip the Wires
Before making the connection between the cord and the new plug or replacement end, it is necessary to strip the insulation from the ends of the wires. This process will expose the bare copper wire, allowing for a secure and conductive connection.
Begin by identifying the ends of the wires that were cut during Step 5. You will typically find two or three wires inside the cord, which are usually color-coded. The most common colors are black, white, and green (or sometimes bare copper).
Using wire strippers, select the appropriate setting that matches the gauge (thickness) of the wires. Gently grip the wire just above the area where you want to strip the insulation. Apply slight pressure and rotate the wire strippers around the wire in a circular motion. This will remove the insulation without damaging the wires.
Strip approximately half an inch to three-quarters of an inch of insulation from the ends of each wire. This length will provide sufficient wire to make a solid connection inside the plug or replacement end.
After stripping the wires, give them a gentle tug to ensure that the insulation has been completely removed and that the exposed wire is clean and smooth.
Properly stripped wires are crucial for a reliable and secure connection. Taking the time to strip the wires correctly will help ensure a successful repair and maintain the integrity of the electrical cord.
Step 8: Connect the Wires
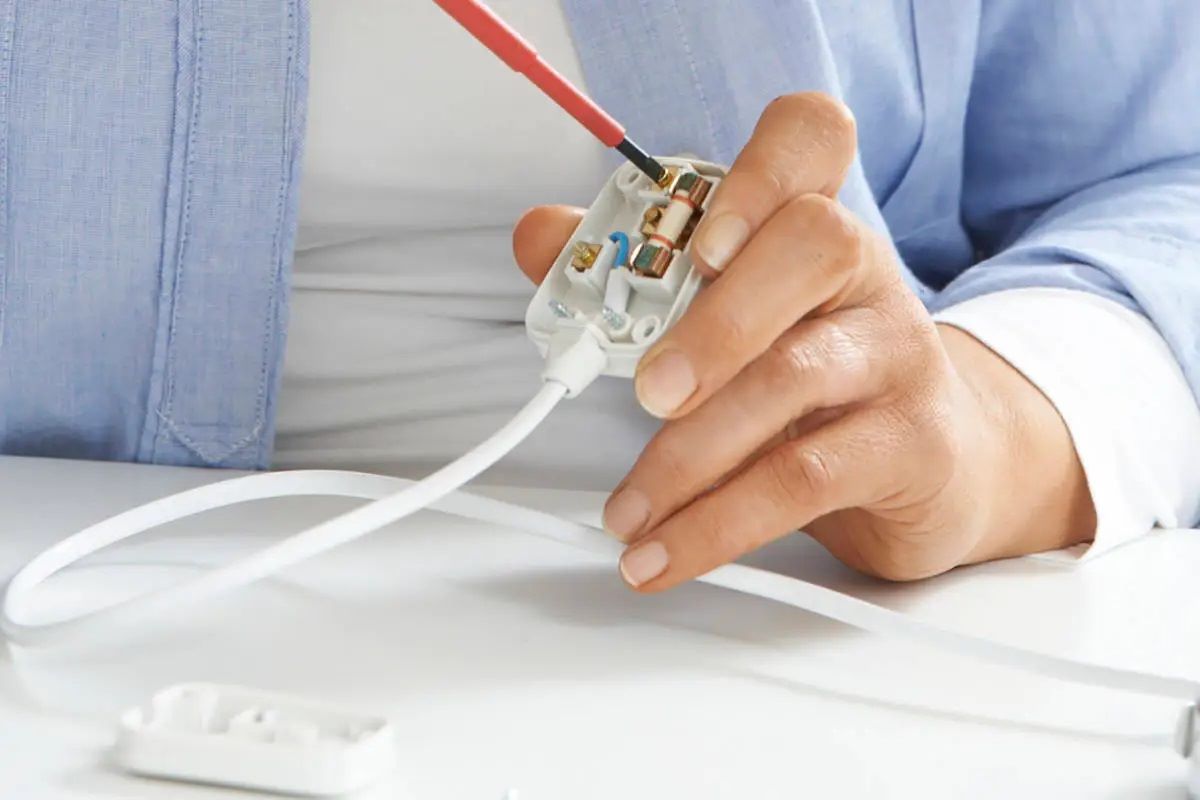
With the wires stripped and ready, it’s time to connect them to the new plug or replacement end. This step involves securely joining the corresponding wires to their respective terminals or screws inside the plug.
Begin by identifying the terminals or screws in the new plug or replacement end. Refer to the manufacturer’s instructions or markings on the plug for guidance on which wire should be connected to each terminal.
Take one of the stripped wires and insert it into the appropriate terminal or loop it around the screw. Make sure that the exposed wire is fully inserted and that no insulation is in contact with the terminal or screw.
If the plug has screws, use a screwdriver to tighten the screws securely, ensuring a solid connection with the wire. If the plug has terminals, use needle-nose pliers to clamp the wire into place.
Repeat this process for each wire, connecting them to their corresponding terminals or screws. Double-check that all connections are secure and that no wires are loose or exposed.
When connecting the wires, it is essential to follow the manufacturer’s instructions or color-coding specified for proper wiring. This will ensure that the electrical cord functions as intended and adheres to safety standards.
Once all the wires are securely connected, give them a gentle tug to test their stability. They should be firmly attached and not come loose with moderate pressure.
By carefully connecting the wires, you will create a reliable and safe electrical connection inside the plug or replacement end, ensuring the functionality of the repaired cord.
Step 9: Insulate the Connection
After connecting the wires, it is crucial to insulate the connection to protect it from moisture, electrical shocks, and potential damage. Insulating the connection will also help to maintain the integrity of the repaired electrical cord.
Start by wrapping each individual wire connection with electrical tape. Begin at the base of the wire connection and wrap the tape tightly around the exposed wire, extending it about an inch beyond the wire connection. Repeat this process for each wire.
Make sure to overlap the layers of electrical tape to provide a secure and reliable seal. The tape should be stretched slightly as you wrap it to ensure a tight fit and prevent unraveling. Be wary of covering any terminals or screws that need to remain exposed for the plug or replacement end.
Once all the wire connections are individually wrapped, wrap another layer of electrical tape around the entire group of wires to create a unified and protected bundle. This will provide an added layer of insulation and reinforcement for the connection.
If you prefer additional protection, you can also use heat shrink tubing. Slide a piece of heat shrink tubing over each wire connection and use a heat source, such as a heat gun or hairdryer, to shrink the tubing and create a secure, waterproof seal around the connection.
Ensure that the insulation is intact and tightly wrapped to prevent any exposed wires or potential electrical hazards. A well-insulated connection is essential for the safety and longevity of the repaired electrical cord.
Step 10: Test the Repaired Electrical Cord
After completing the repair process, it is crucial to test the repaired electrical cord to ensure that it is functioning properly and safely. This step will confirm that the connection is secure and that the repaired cord is ready for use.
Plug the cord into a wall outlet or connect it to the respective device, depending on the specific application. Make sure the device is turned on, if applicable.
Next, observe the cord for any signs of abnormal behavior. Look for flickering lights, sparks, or unusual sounds. If any of these issues occur, immediately unplug the cord and recheck the connections.
If the cord appears to be functioning normally, gently tug on the cord to ensure that the connection remains secure and does not come loose. The repaired section should hold up to moderate pulling and twisting without any issues.
For an extra safety measure, consider using a voltage tester to verify that the proper voltage is flowing through the cord. Simply place the voltage tester on the cord’s prongs or terminals and check for a consistent reading of the correct voltage.
If the repaired electrical cord passes all these tests without any problems, you can confidently assume that the repair has been successful. However, it is always a good idea to keep an eye on the cord during use and periodically check for any signs of wear or damage.
By testing the repaired electrical cord, you can ensure its functionality, safety, and reliability, allowing you to confidently use it for your intended purpose.
Frequently Asked Questions about How To Repair A Broken Electrical Cord With Battery In Plug
Was this page helpful?
At Storables.com, we guarantee accurate and reliable information. Our content, validated by Expert Board Contributors, is crafted following stringent Editorial Policies. We're committed to providing you with well-researched, expert-backed insights for all your informational needs.


0 thoughts on “How To Repair A Broken Electrical Cord With Battery In Plug”