
Articles
How To Make Hand Knotted Rugs
Modified: December 7, 2023
Discover the art of making hand knotted rugs with our informative articles. Learn the techniques, materials, and tools needed to create stunning handmade rugs.
(Many of the links in this article redirect to a specific reviewed product. Your purchase of these products through affiliate links helps to generate commission for Storables.com, at no extra cost. Learn more)
Introduction
Hand-knotted rugs are a timeless and exquisite addition to any space. These rugs are meticulously crafted by skilled artisans, who create intricate patterns and textures using a time-honored technique. Each hand-knotted rug is a work of art, showcasing the artisan’s craftsmanship and attention to detail.
In this article, we will explore the process of making hand-knotted rugs, from choosing the yarn to finishing the edges. Whether you are a DIY enthusiast looking to try your hand at rug-making or simply curious about the intricate process behind these beautiful creations, this guide will provide you with a comprehensive understanding of the art of hand-knotted rug making.
So, let’s dive into the world of hand-knotted rugs and discover the journey from a blank canvas to a stunning piece of floor art.
Key Takeaways:
- Crafting a hand-knotted rug is a labor of love, requiring attention to detail and patience. From choosing the right yarn to trimming the pile, each step celebrates the beauty of craftsmanship and tradition.
- Hand-knotted rugs are timeless pieces of floor art that add elegance to any space. Embrace the journey of rug-making with practice, patience, and a willingness to learn and improve.
Read more: How To Tie A Napkin Knot
Materials and Tools
Before we begin the process of making a hand-knotted rug, it is important to gather all the necessary materials and tools. Here are the essential items you will need:
- Yarn: Choose yarn that is suitable for rug-making, such as wool or cotton. The amount of yarn needed depends on the size of the rug.
- Loom: A loom is a frame used to hold the warp (vertical) threads in place while creating the rug. Looms can be either floor looms or smaller handheld frame looms.
- Shuttles or Bobbins: These tools are used to weave the weft (horizontal) threads through the warp threads.
- Scissors: Sharp scissors are essential for cutting the yarn and trimming the pile.
- Weaving Comb: A weaving comb is used to push the weft threads tightly against each other.
- Beater Bar: This tool is used to beat down the weft threads and create a tight weave.
- Tapestry Needles: These large-eyed needles are used for weaving in loose ends and finishing the edges of the rug.
- Design Chart: A design chart or graph paper helps you plan and visualize the pattern of your rug.
- Yarn Needle: A yarn needle is used for sewing and attaching different sections of the rug together.
These are the basic materials and tools required for hand-knotted rug making. Depending on your specific design and preferences, you may require additional items such as pattern templates, markers, and yarn bobbins. You can find these materials at specialized craft stores or online.
Now that you have gathered all the necessary materials and tools, it’s time to move on to the next step – choosing the yarn that will bring your rug to life.
Step 1: Choosing the Yarn
The choice of yarn plays a crucial role in the overall look and feel of your hand-knotted rug. Different types of yarn offer varying textures, durability, and visual appeal. Here are a few factors to consider when choosing the yarn for your project:
- Fiber: The most common fibers used for hand-knotted rugs are wool and cotton. Wool yarn provides warmth, softness, and resilience, making it ideal for rugs that will experience heavy foot traffic. Cotton yarn, on the other hand, offers a smooth and cool texture, making it suitable for lightweight and summer-themed rugs.
- Thickness: Yarns come in different thicknesses, known as ply. Thicker yarns create a more plush and chunky rug, while thinner yarns result in a finer and more intricate weave.
- Color: The color palette of your yarn will determine the overall aesthetic of your rug. Consider the color scheme of the room where the rug will be placed and choose yarn colors that complement or contrast with the existing decor.
- Texture: Some yarns have a smooth and uniform texture, while others have a more textured or nubby appearance. Think about the desired tactile experience and choose a yarn that enhances the look and feel of your rug.
When selecting yarn, it’s essential to consider your skill level and time commitment. Fine and intricate patterns require more time and patience, while simpler designs can be completed relatively quickly. Additionally, keep in mind that hand-knotted rugs can be quite heavy, so it is important to choose yarn that is sturdy and durable.
Once you have made your yarn selection, it’s time to move on to the next step – setting up the loom.
Step 2: Setting up the Loom
Setting up the loom is an essential step in the hand-knotted rug-making process. The loom provides the framework for creating the rug and holds the warp threads in place. Here’s how to set up a basic floor loom:
- First, assemble the loom according to the manufacturer’s instructions. Make sure all the parts are in place and secure.
- Attach the warp threads to the loom. These are the vertical threads that form the foundation of the rug. Begin by tying one end of the warp thread to the first peg or hook at the bottom of the loom.
- Guide the warp thread up and around the top bar of the loom and then back down to the bottom. Secure it to the last peg or hook.
- Repeat this process, evenly spacing the warp threads across the width of the loom. The spacing between the warp threads will determine the density of the rug.
- Once all the warp threads are in place, tighten them by turning the tension knobs or using any adjustment mechanisms provided by the loom. The warp threads should be taut but not overly stretched.
If you are using a handheld frame loom, the set-up process may be slightly different. The warp threads are usually wrapped around the entire length and width of the loom before being secured and tightened.
Setting up the loom requires precision and attention to detail to ensure that the warp threads are evenly spaced and properly tensioned. Once the loom is set up, you are ready to begin the intricate process of hand-knotting the rug.
Now that the loom is ready, let’s move on to the next step – making the base knot.
Step 3: Making the Base Knot
With the loom set up, it’s time to start creating the foundation of your hand-knotted rug by making the base knot. The base knot provides stability and structure for the entire rug. Follow these steps to make the base knot:
- Take a strand of yarn and fold it in half to create a loop.
- Insert the folded loop under the bottom-most warp thread and bring the loose ends of the yarn through the loop.
- Pull the loose ends of the yarn to tighten the loop around the warp thread. This creates a simple knot known as the base knot.
- Continue making base knots along the entire row of warp threads. Ensure that the knots are evenly spaced and snug against the warp threads.
- Once the first row of base knots is complete, start the second row by tying the yarn onto the next warp thread and repeating the knotting process.
- Continue knotting row by row until you reach the desired length for the base of your rug.
As you progress, make sure to maintain the tension of the warp threads and adjust as needed to keep the woven area uniform. It’s important to maintain consistency in the size and tightness of the knots to ensure a neat and even base.
Creating the base knot requires attention to detail and patience. Take your time to ensure that each knot is properly formed and secure. Once the base knots are complete, it’s time to move on to the next step – knotting the pile yarn to create the rug’s texture.
Read more: How To Make Yarn Rugs
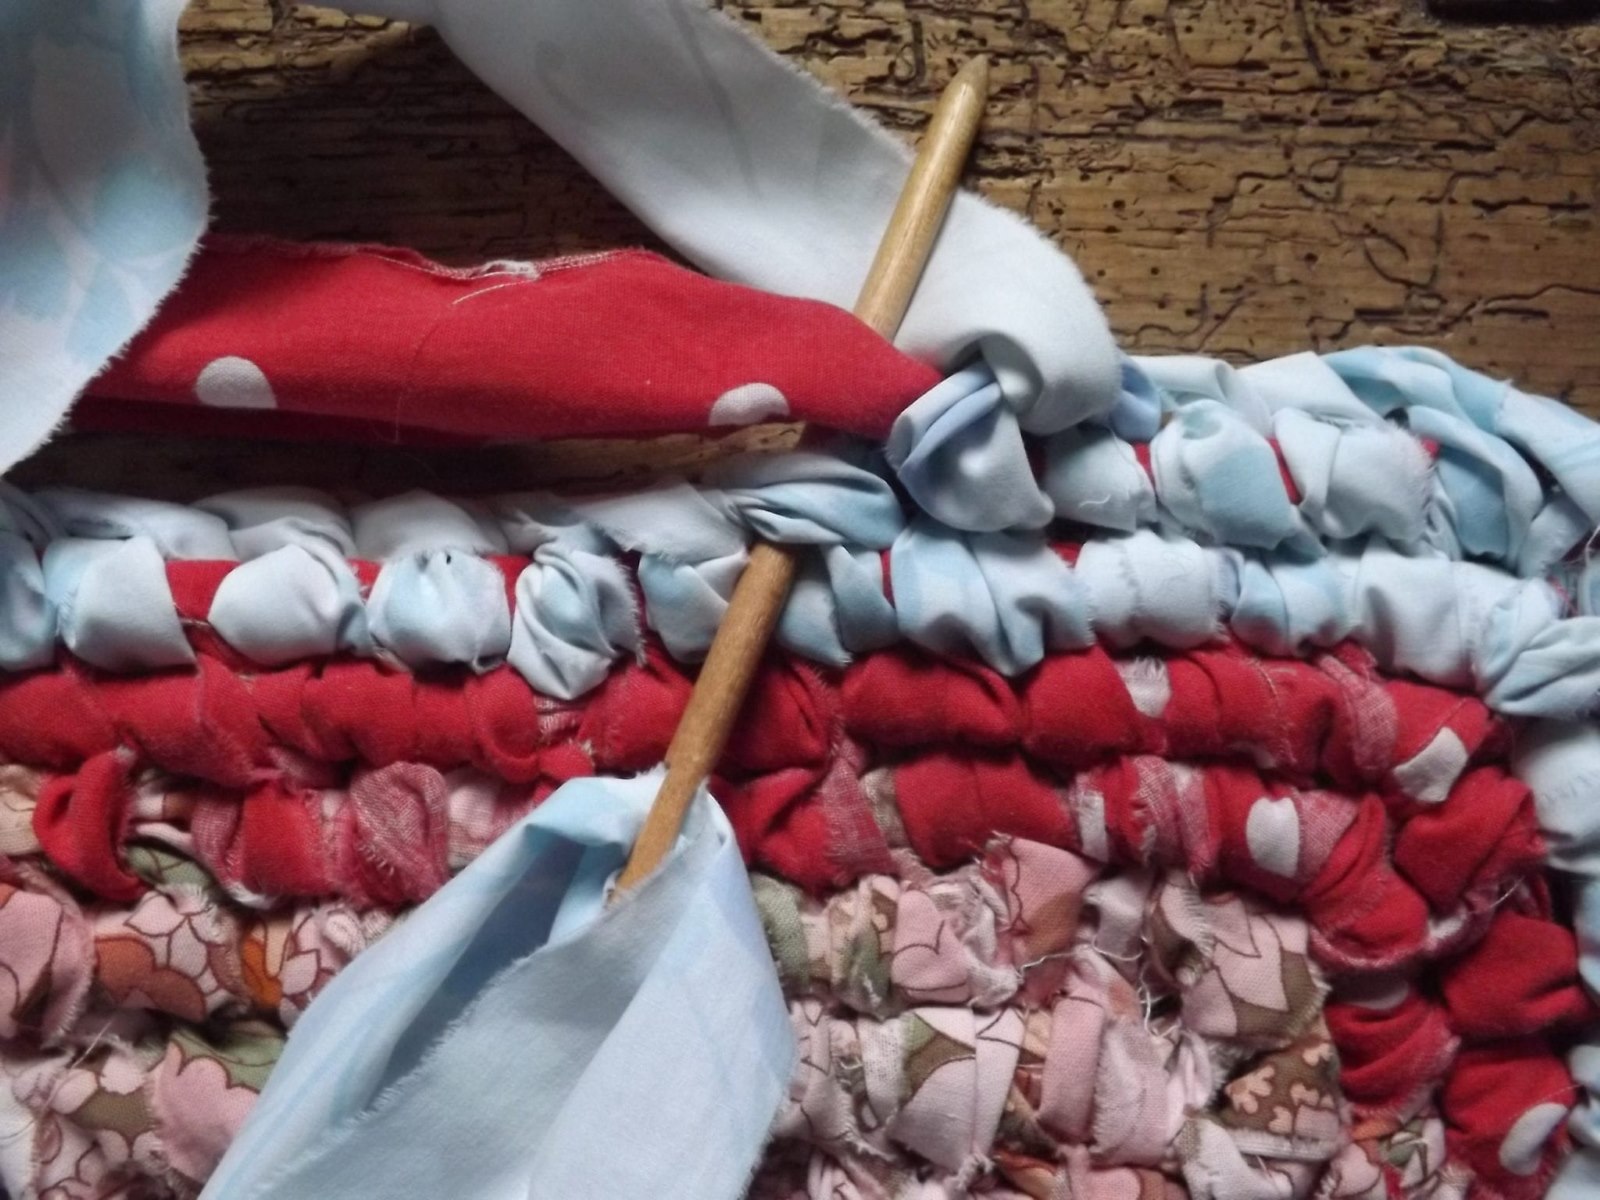
Step 4: Knotting the Pile Yarn
Now that the foundation of your rug is in place, it’s time to add the pile yarn to create the texture and design. Each knot of the pile yarn will form the individual tufts or loops that give the rug its softness and visual appeal. Follow these steps to knot the pile yarn:
- Take a strand of pile yarn and fold it in half, creating a small loop at one end.
- Insert the folded loop under two adjacent warp threads, with the loop pointing towards the center of the loom.
- Bring the loose ends of the yarn through the loop and pull them tightly to secure the knot against the warp threads.
- Repeat this process, using different colors or shades of pile yarn to create patterns and designs as desired.
- Continue knotting rows of pile yarn, working your way across the loom and filling in the spaces between the warp threads.
- Pay attention to the tension of the pile yarn, ensuring that the knots are consistent in size and tightness.
As you progress, gently beat down the newly knotted rows with a beater bar or weaving comb to ensure a tight and uniform weave. This will help create a dense and luxurious texture for your rug.
Keep in mind that hand-knotting rugs is a time-consuming process, and larger rugs can take weeks or even months to complete. It requires patience and attention to detail, but the end result is a beautiful and unique piece of art.
Once you have finished knotting the pile yarn, it’s time to move on to the next step – creating the design of your rug.
When making hand-knotted rugs, be sure to use a sturdy and durable rug pad to help protect the rug and extend its lifespan. Rug pads also provide extra cushioning and prevent slipping.
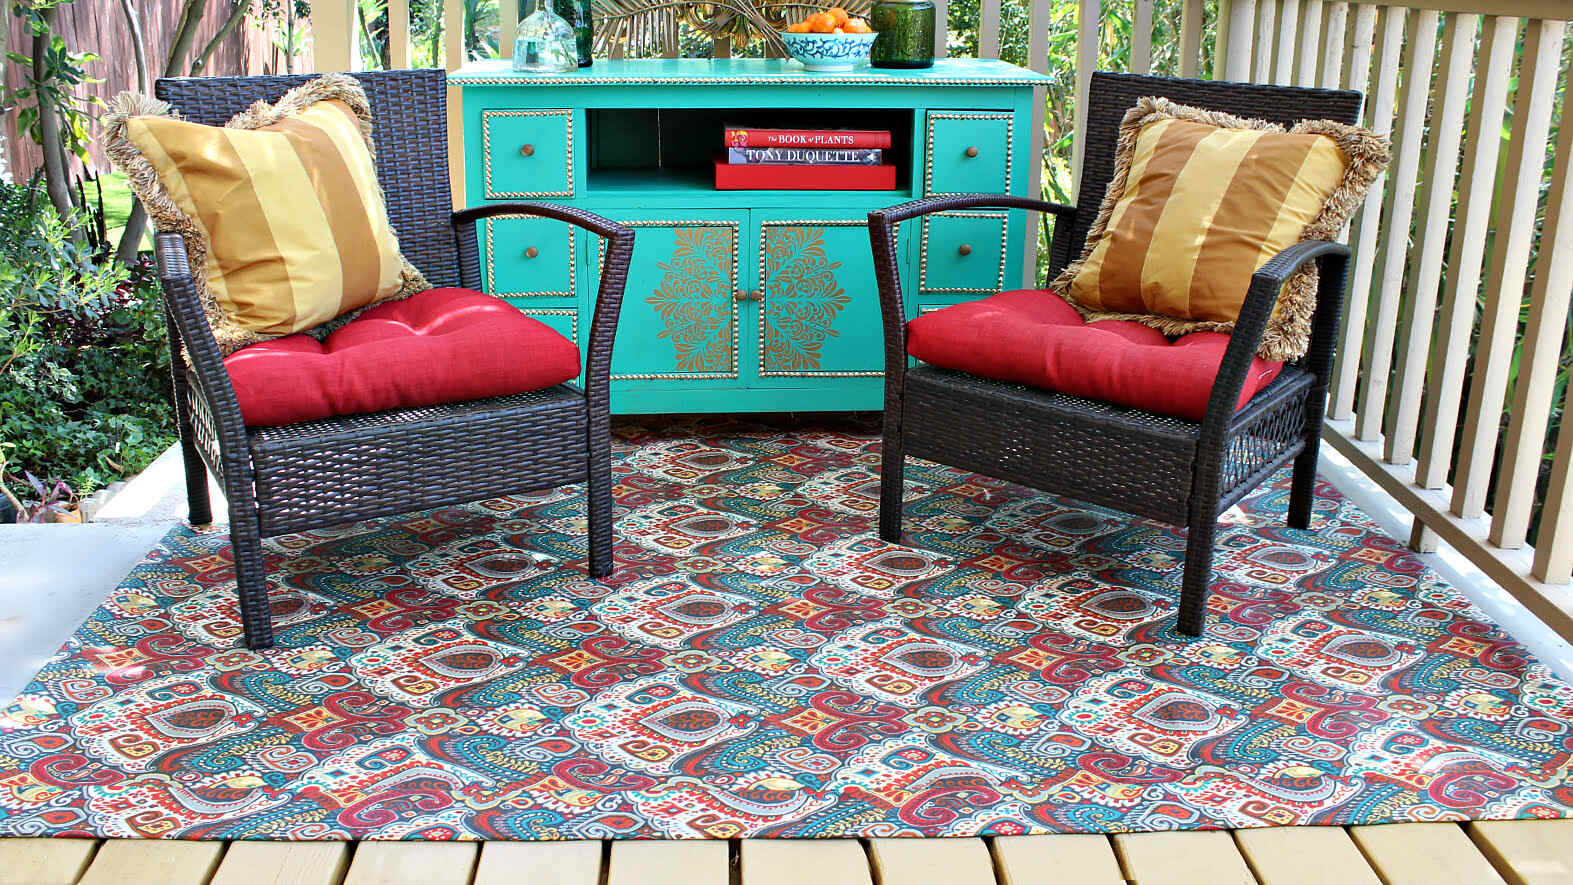
Step 5: Creating the Design
Creating the design of your hand-knotted rug is where your creativity can truly shine. Whether you want to follow a specific pattern, create a geometric design, or let your imagination guide you, this step is all about bringing your vision to life. Here are some techniques you can use to create your desired design:
- Color Blocking: One way to create a bold and modern design is to use different colors of pile yarn to create blocks or sections of color. This technique allows you to play with contrasting or complementary colors to achieve a striking visual impact.
- Patterned Motifs: If you prefer a more intricate design, you can incorporate patterned motifs into your rug. This can be achieved by using different colors and knotting techniques to create shapes, symbols, or repetitive patterns.
- Gradient or Ombré Effect: To create a subtle and gradual color change, you can experiment with a gradient or ombré effect. This involves using different shades of the same color or transitioning from one color to another gradually within the design.
- Textured Elements: If you want to add dimension to your design, consider incorporating textured elements. This can be achieved by using a combination of different knotting techniques, varying pile heights, or adding decorative elements like fringe or tassels.
While planning your design, it’s a good idea to sketch it out on a design chart or graph paper. This will allow you to visualize the pattern and keep track of the colors and placement of the pile yarn.
Remember to consider the size and shape of your rug when creating the design. You may need to adjust the scale or adapt the layout to ensure a harmonious balance between the design elements and the overall dimensions of the rug.
Once you have sketched out your design and gathered the necessary pile yarn colors, proceed to knotting the pile yarn according to your envisioned pattern. Take your time and enjoy the process of transforming the base of the rug into a beautifully designed and textured piece.
After completing the design, it’s time to move on to the next step – finishing the edges of your hand-knotted rug.
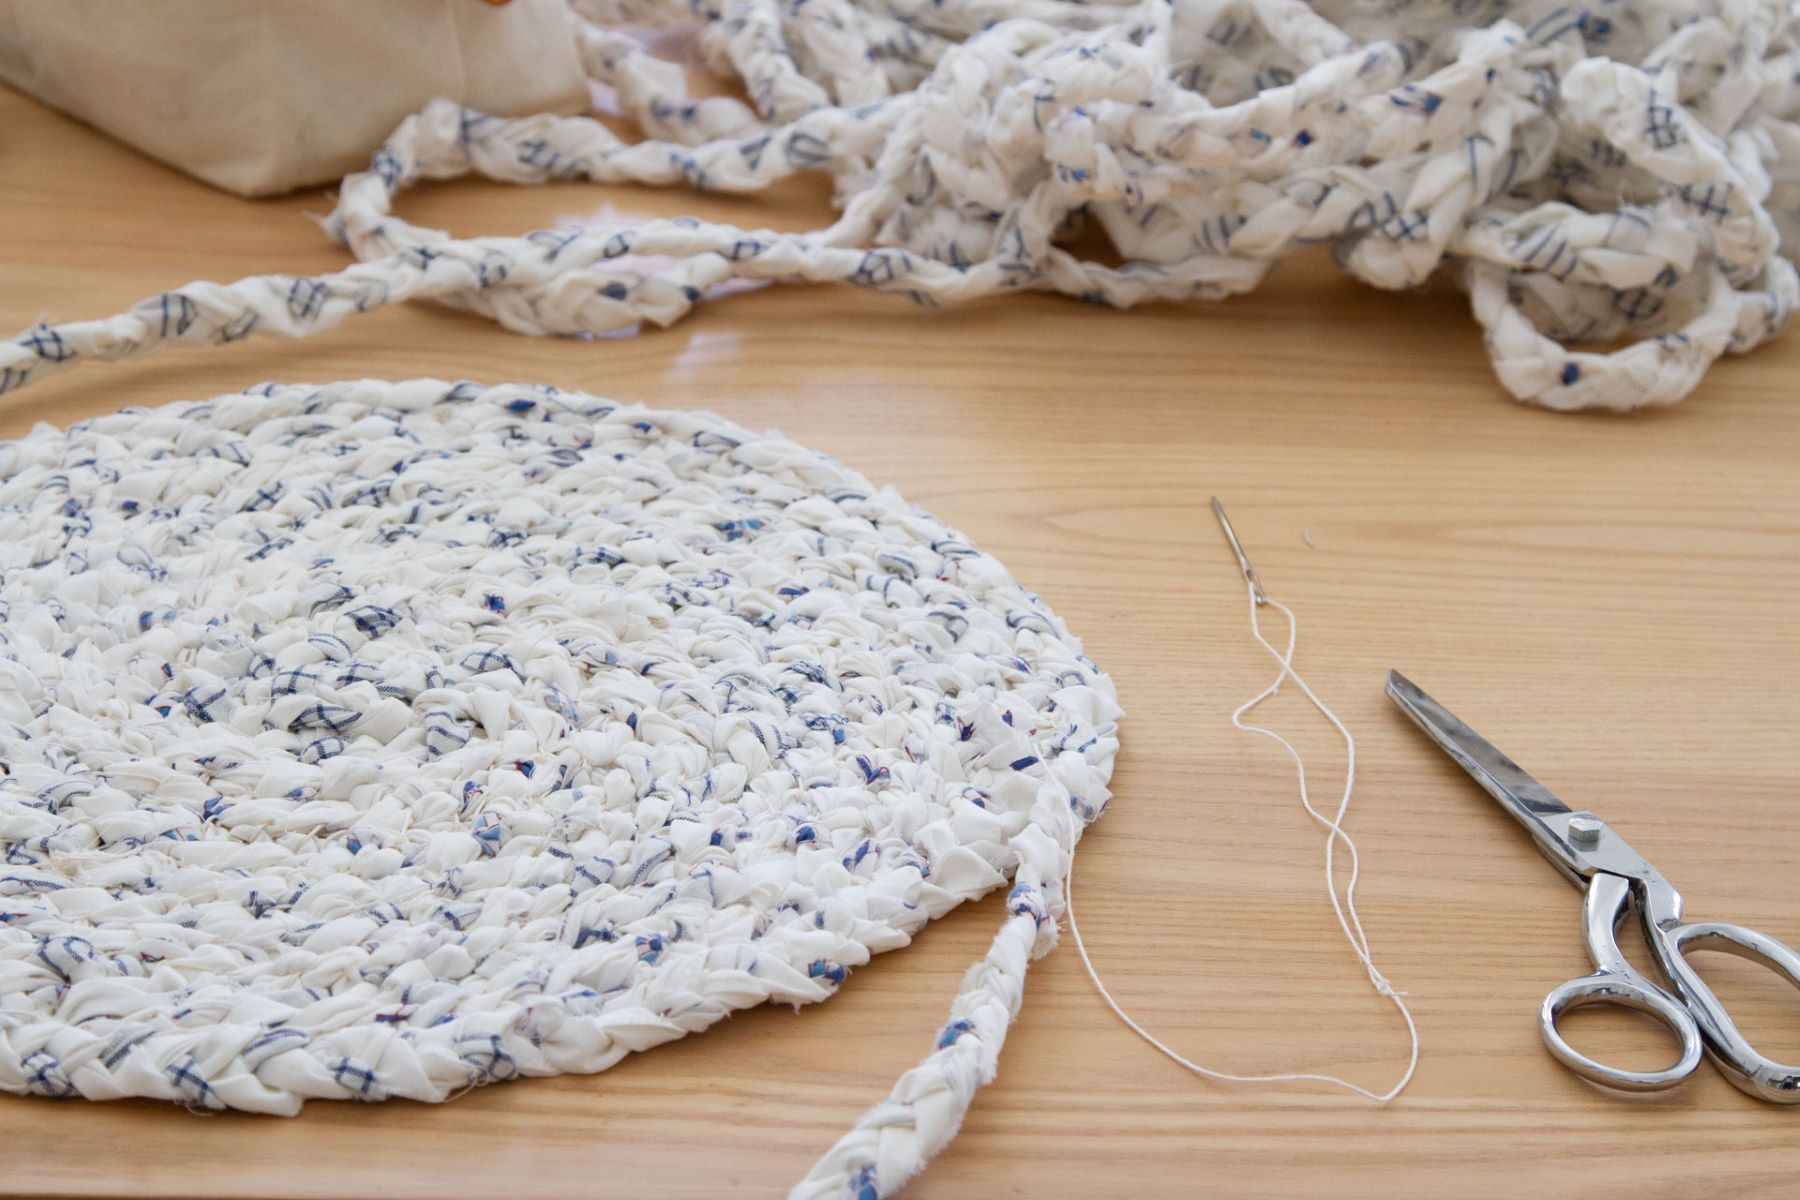
Step 6: Finishing the Edges
Finishing the edges of your hand-knotted rug is essential for both aesthetics and durability. This step provides a clean and polished look while securing the woven strands in place. Follow these steps to finish the edges of your rug:
- Remove the finished rug from the loom carefully, ensuring that the knots and weave remain intact.
- Trim any loose or uneven strands of pile yarn along the edges of the rug.
- Decide on the type of edge finish you want for your rug. Some common options include binding, fringing, or creating a selvage edge.
- If you choose to bind the edges, measure and cut binding tape or fabric strips to match the length of each edge.
- Sew the binding tape or fabric strips onto the rug’s edges, using a sewing machine or hand-stitching. Ensure that the binding is securely attached and neatly folded over the raw edges.
- If you prefer to have fringed edges, carefully unravel the warp threads at each end of the rug to create a fringe. Trim the fringe to your desired length and even out any uneven strands.
- If you want to create a selvage edge, leave an extra row or two of base knots uncut along the edges. This adds stability and prevents the rug from unraveling.
Choose the edge finish that best complements your design and personal preference. Consider the overall style of the rug and the intended use of the rug when making this decision.
Once the edges are finished, thoroughly inspect the rug for any loose threads or knots that may need reinforcing. Give the rug a final trim to ensure all the pile yarn is even and the edges are clean.
Now that your hand-knotted rug is beautifully finished, it’s time to move on to the next step – removing the rug from the loom.
Step 7: Removing the Rug from the Loom
After hours of meticulous work, it’s time to remove your hand-knotted rug from the loom. This step requires caution to ensure that the rug remains intact and doesn’t unravel. Follow these steps to safely remove the rug from the loom:
- Carefully cut the warp threads at the top and bottom of the loom, ensuring that you leave enough length to work with.
- Tie a temporary knot at the end of each warp thread to prevent it from unraveling while you remove the rug from the loom.
- Gently slide the finished rug off the loom, being mindful not to snag or pull on any knots or threads.
- Inspect the rug to make sure that all the knots are secure and intact. If you notice any loose knots, use a yarn needle to carefully weave the loose ends back into the rug.
Removing the rug from the loom marks a significant milestone in the rug-making process. Take a moment to appreciate your hard work and the beautiful creation you’ve brought to life.
Now that your rug is off the loom, it’s time to move on to the final step – trimming and shaping the pile to achieve the desired texture and appearance.
Read more: How To Make Tufted Rugs
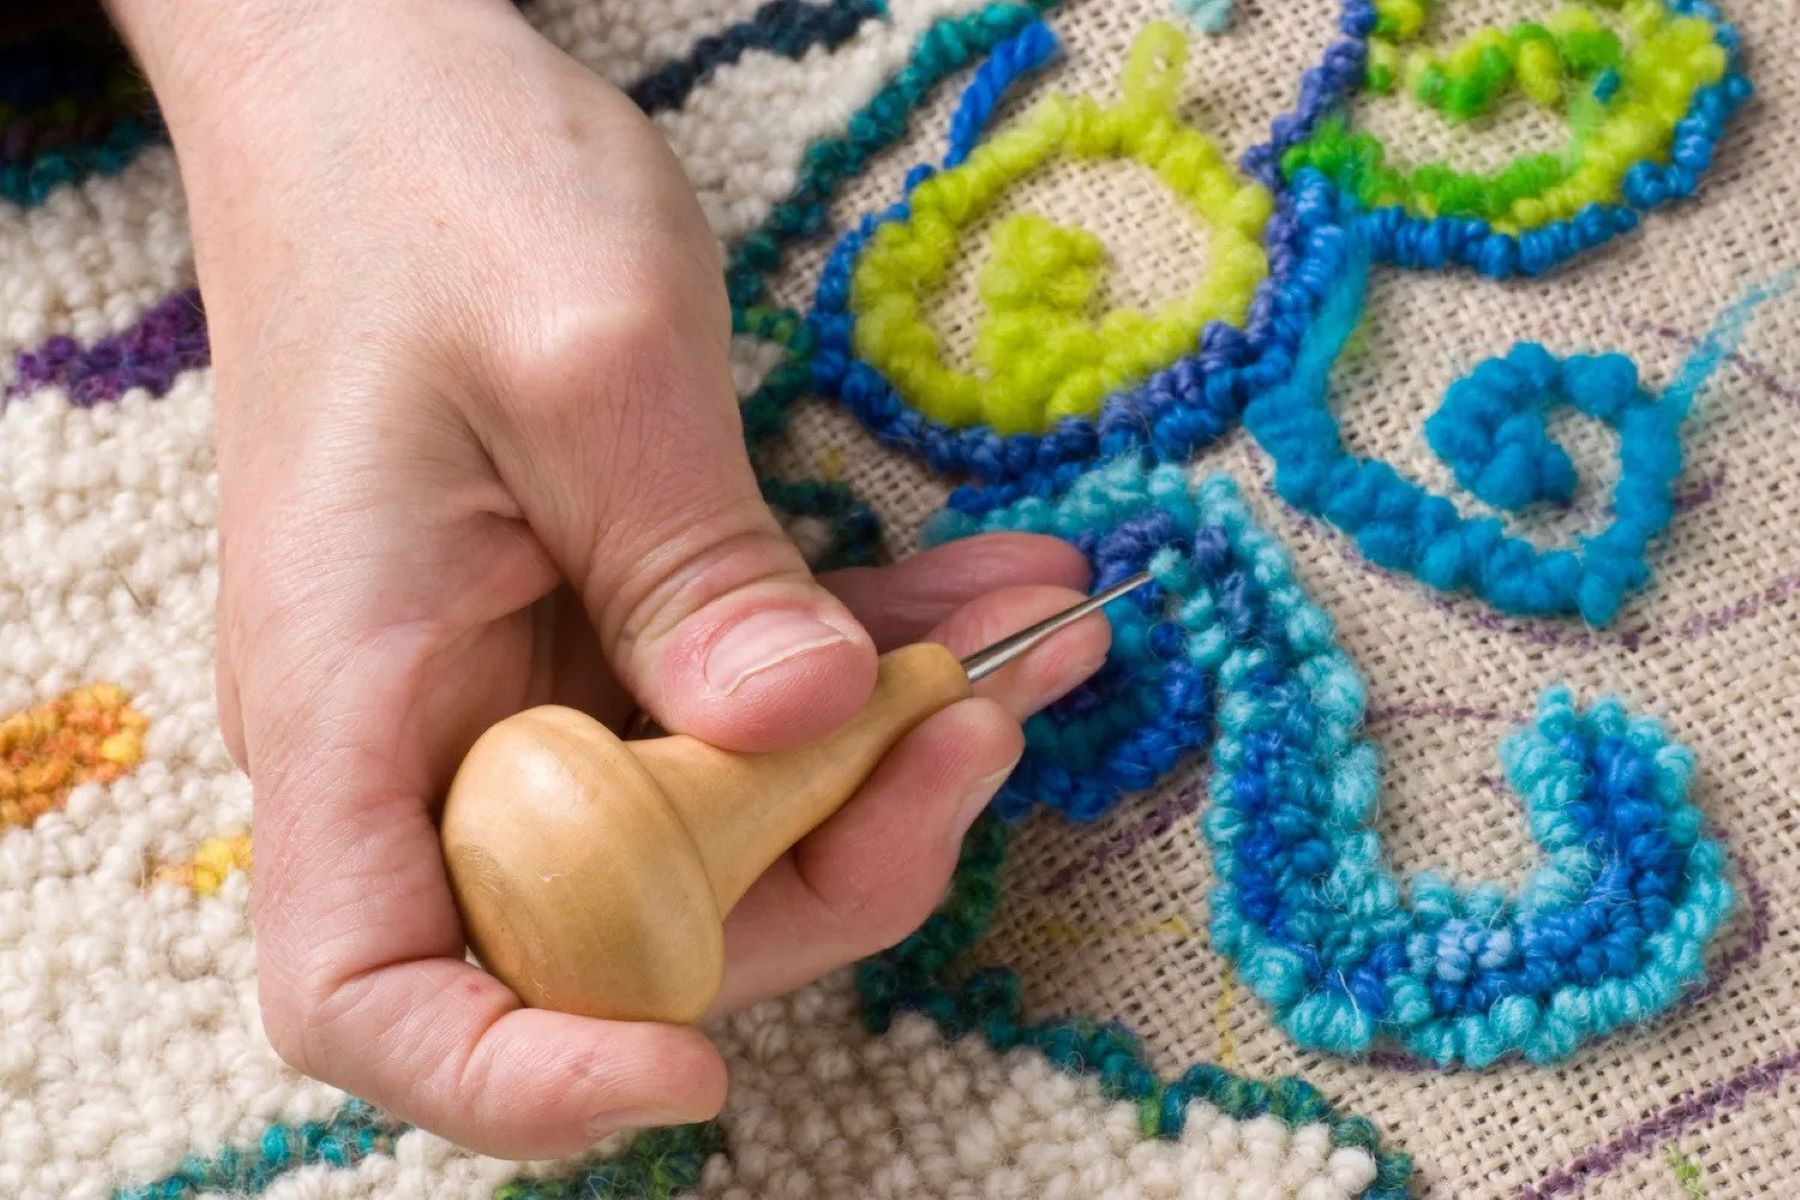
Step 8: Trimming and Shaping the Pile
Once your hand-knotted rug is off the loom, the final step is to trim and shape the pile to achieve the desired texture and appearance. This step helps refine the rug’s overall look and ensures that the pile is even and uniform. Follow these steps to trim and shape the pile of your rug:
- Use sharp scissors to carefully trim any excess pile yarn that extends beyond the desired height of the rug. Trim the pile evenly across the entire surface, working in small sections.
- Make sure to maintain a consistent pile height throughout the rug, unless intentional variations are part of the design.
- Pay attention to any patterns or motifs in the design that require special attention. Be careful not to cut or damage any of the important elements.
- Consider the desired texture of your rug. You can leave the pile longer for a plush and luxurious feel or opt for a shorter pile for a more compact and refined appearance.
- As you trim the pile, periodically step back to assess the rug’s overall appearance and make any necessary adjustments for consistency.
Take your time during this step to ensure that the trimming is done carefully and precisely. It may be helpful to refer to your design chart or pattern to guide you in maintaining the intended shape and look of the rug.
Once you have completed the trimming and shaping process, give the rug a final inspection, checking for any loose threads or uneven areas. Make any final adjustments before your hand-knotted rug is ready to be displayed and enjoyed.
Congratulations on successfully completing all the steps of making a hand-knotted rug! Your dedication and craftsmanship have resulted in a stunning piece of art that will bring warmth and beauty to any space.
Remember to properly care for and maintain your hand-knotted rug to ensure its longevity. Regular vacuuming and spot cleaning are recommended, and professional cleaning may be necessary over time.
Thank you for joining us on this journey through the art of hand-knotted rug making. We hope you’ve found this guide informative and inspiring. Happy rug making!
Conclusion
Hand-knotted rugs are truly magnificent creations that showcase the skill and artistry of the artisans who craft them. Throughout the process of making a hand-knotted rug, we have explored the importance of choosing the right yarn, setting up the loom, making the base knot, knotting the pile yarn, creating the design, finishing the edges, removing the rug from the loom, and trimming and shaping the pile. Each step requires attention to detail, patience, and a love for the craft.
Making a hand-knotted rug is a labor of love, resulting in a timeless piece of floor art. These rugs not only add beauty and elegance to any space but also carry a sense of history and tradition. With the right materials, tools, and techniques, you can create a rug that will be cherished for generations to come.
From selecting the perfect yarn to carefully crafting each knot, the process of making a hand-knotted rug is a true testament to creativity and dedication. It is an art form that celebrates the beauty of craftsmanship and the interconnectedness of tradition and innovation.
We hope that this guide has provided you with valuable insights into the fascinating world of hand-knotted rug making. Whether you are a DIY enthusiast or simply appreciate the artistry behind these rugs, we encourage you to explore this timeless craft and embark on your own rug-making journey.
Remember, making a hand-knotted rug requires practice, patience, and a willingness to learn and improve. Embrace the process and enjoy the journey as you create unique and awe-inspiring rugs that will be treasured for years to come.
Thank you for joining us on this exploration of the art of hand-knotted rug making. We wish you the best of luck in all your rug-making endeavors. Happy crafting!
Frequently Asked Questions about How To Make Hand Knotted Rugs
Was this page helpful?
At Storables.com, we guarantee accurate and reliable information. Our content, validated by Expert Board Contributors, is crafted following stringent Editorial Policies. We're committed to providing you with well-researched, expert-backed insights for all your informational needs.


0 thoughts on “How To Make Hand Knotted Rugs”