Articles
How To Make Tie Up Valances
Modified: August 22, 2024
Discover the best articles on how to make tie up valances and learn step-by-step techniques for creating stunning window treatments. Enhance your home decor with these stylish and functional valances.
(Many of the links in this article redirect to a specific reviewed product. Your purchase of these products through affiliate links helps to generate commission for Storables.com, at no extra cost. Learn more)
Introduction
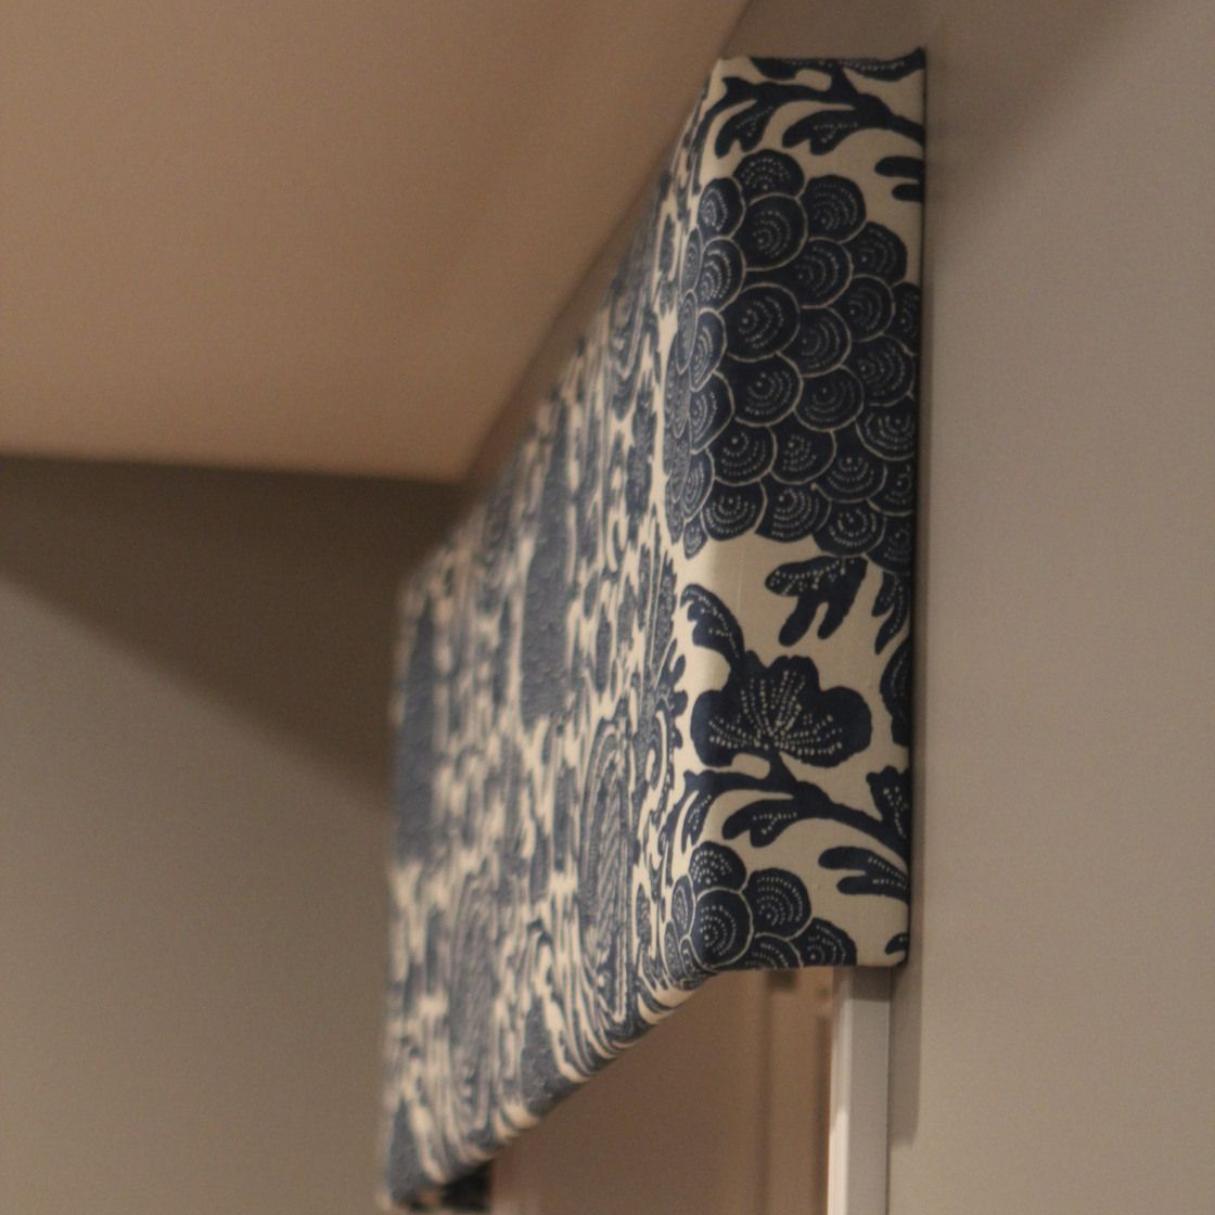
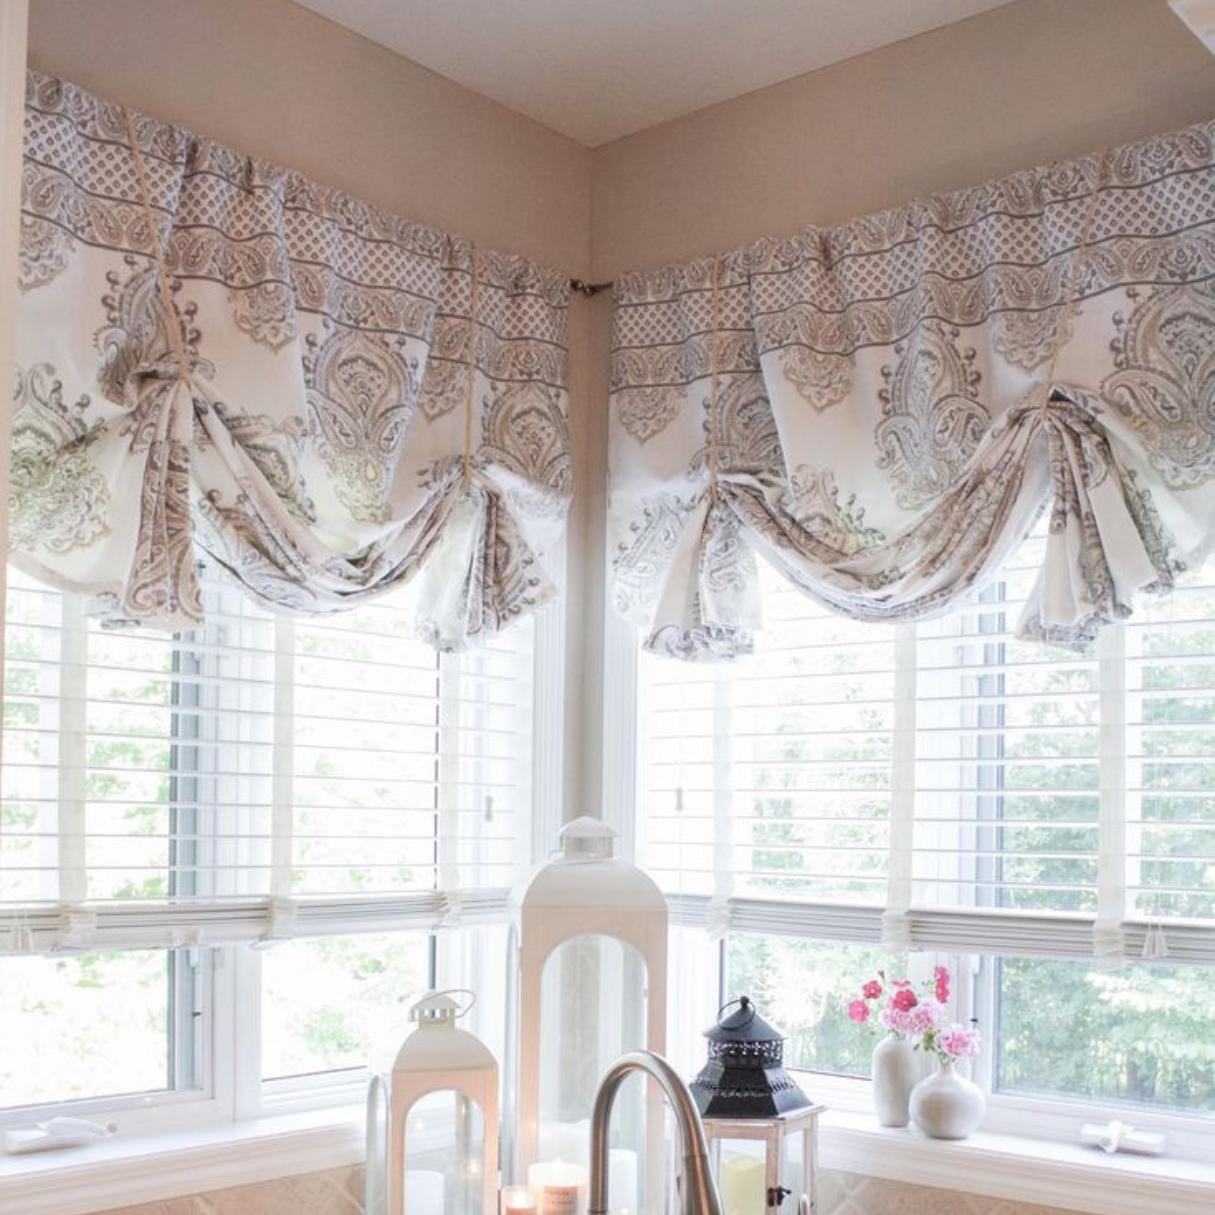
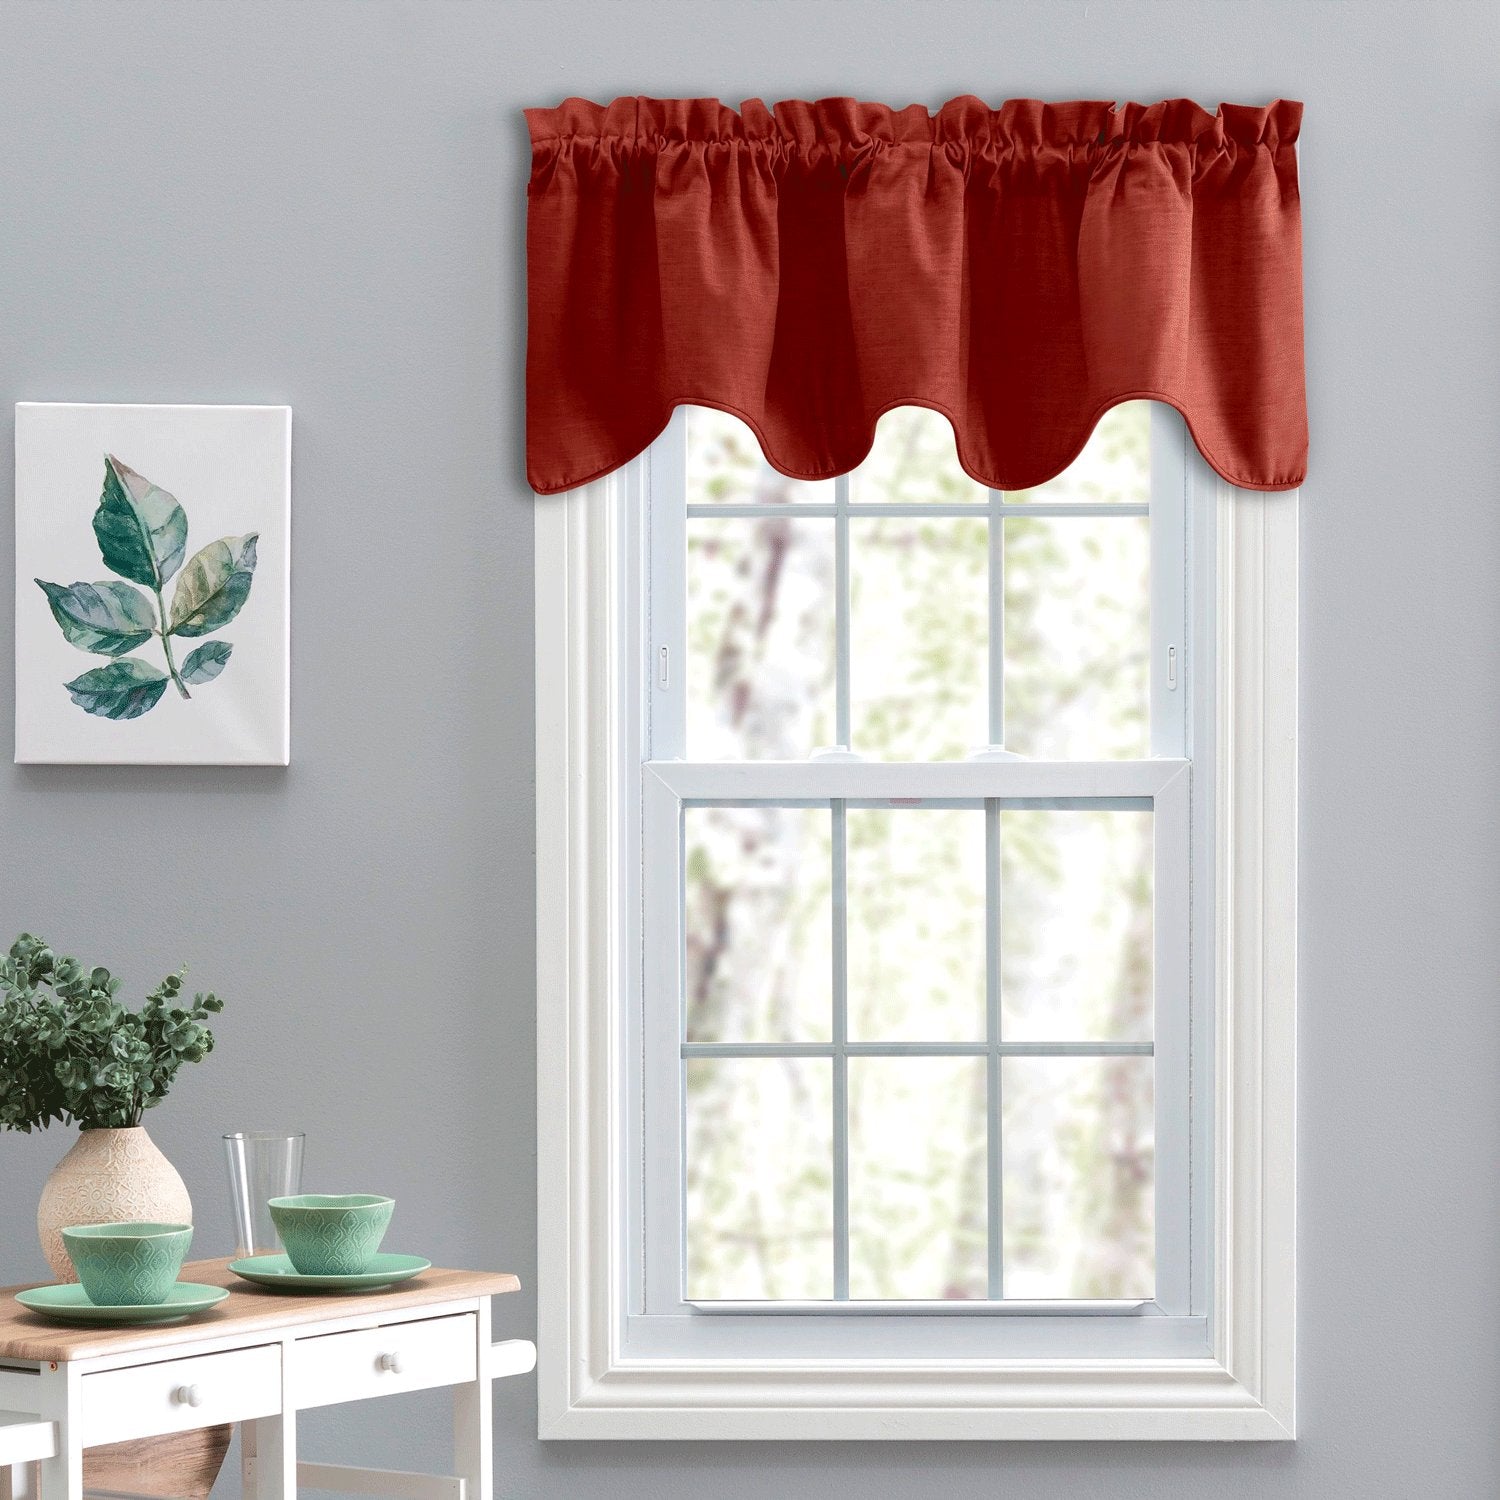
Adding tie-up valances to your windows is a wonderful way to enhance the aesthetics of any room. This versatile window treatment not only adds a touch of elegance but also allows you to control the amount of light and privacy in your space. Whether you’re looking to update your living room, bedroom, or kitchen, tie-up valances can instantly transform the look and feel of your windows.
In this article, we will guide you through the process of making your own tie-up valances. With just a few materials and some basic sewing skills, you can create custom valances that perfectly suit your style and complement your decor.
Before we start, ensure you have the following materials handy:
- Fabric of your choice
- Measuring tape
- Fabric scissors
- Sewing machine or needle and thread
- Pins
Now, let’s get started on making your own beautiful tie-up valances!
Key Takeaways:
- Elevate your space with custom tie-up valances that add elegance and functionality to any room. Enjoy the creative process of measuring, cutting, sewing, and installing your personalized window treatments.
- Take control of natural light and privacy with versatile tie-up valances. Embrace the joy of crafting custom window treatments that reflect your unique style and enhance the ambiance of your living space.
Read more: How To Make Window Valances
Materials Needed
Before you begin making your tie-up valances, make sure you have the following materials ready:
- Fabric of your choice: Select a fabric that suits your style and complements your room’s decor. Choose a lightweight fabric such as cotton or linen for easier manipulation.
- Measuring tape: A measuring tape is essential for accurately measuring the dimensions of your window and fabric.
- Fabric scissors: You’ll need a pair of sharp fabric scissors to cut the fabric to the desired size.
- Sewing machine or needle and thread: Depending on your sewing skills and preference, you can use either a sewing machine or a needle and thread to sew the valances.
- Pins: Pins will help you secure the fabric in place while sewing.
While these are the essential materials needed for making tie-up valances, you may also consider having optional materials such as coordinating thread, fabric glue, or iron-on adhesive tape for added durability or embellishments.
Now that you have all the necessary materials gathered, let’s move on to the step-by-step process of creating your beautiful tie-up valances!
Step 1: Measure the Window
The first step in making tie-up valances is to measure the window where you will be installing them. Accurate measurements are crucial to ensure that your valances fit perfectly and hang nicely.
Here’s how to measure your window:
- Start by measuring the width of the window frame. Use a measuring tape to measure from one side of the frame to the other. Write down this measurement.
- Next, measure the desired length of the valance. Decide how long you want your valances to hang, whether it’s just above the window sill or reaching down to the floor. Again, use a measuring tape to measure from the top of the frame to the desired length. Write down this measurement.
Once you have these measurements, you can calculate the amount of fabric needed for your valances. Add a few inches to both the width and length measurements to account for hems and seams.
It’s important to measure the window accurately to ensure the valances fit properly. If you have multiple windows, repeat this process for each window you plan to cover with the tie-up valances.
With the window measurements complete, you’re ready to move on to the next step: cutting the fabric for your valances.
Step 2: Cut the Fabric
Once you have measured your window and calculated the dimensions for your tie-up valances, it’s time to cut the fabric to the right size.
Follow these steps to cut the fabric:
- Lay your fabric flat on a large, clean surface. If needed, iron the fabric beforehand to remove any wrinkles.
- Using the measurements you took earlier, mark the dimensions on the fabric using a fabric pen or chalk. Make sure to include the additional inches for hems and seams.
- Using fabric scissors, carefully cut along the marked lines to create the main panel of your valance. Take your time and cut as accurately as possible, ensuring smooth edges.
If you plan to have a contrasting border or different sections in your valances, cut additional strips of fabric according to your desired design. These strips will be attached to the main panel later in the process.
Once you have cut the fabric, double-check the measurements and make any necessary adjustments before moving on to the next step. Accuracy at this stage will contribute to a clean and polished finished product.
With the fabric cut to the correct dimensions, you’re now ready to proceed to the next step: hemming the edges of the valance.
Step 3: Hem the Edges
After cutting the fabric for your tie-up valances, the next step is to hem the edges. Hemming not only gives a finished look to the valance but also prevents fraying and adds durability to the fabric.
Follow these steps to hem the edges:
- Start by folding over one of the long edges of the fabric by about half an inch. Use an iron to press the fold in place, creating a crisp edge.
- Repeat this process on the other long edge of the fabric.
- Next, fold over one of the short edges of the fabric by about half an inch and press it with an iron. Repeat this on the other short edge.
- Once all the edges are folded and pressed, use pins to secure the folds in place.
- Finally, stitch along the folded edges using a sewing machine or needle and thread. For a professional finish, use a straight stitch or a zigzag stitch to secure the hems.
Make sure to backstitch at the beginning and end of the seams to reinforce the stitching and prevent unraveling.
Once you have hemmed all the edges, remove the pins and give the valance a final press with an iron to smooth out any wrinkles.
Hemming the edges of the valance is an important step to achieve a neat and polished look. With the edges hemmed, your valance is now ready for the next step: creating the tie-up tabs.
When making tie-up valances, be sure to measure your window accurately and add extra fabric for the ties. Use a sturdy fabric and reinforce the ties for durability.
Read more: How To Make Waterfall Valances
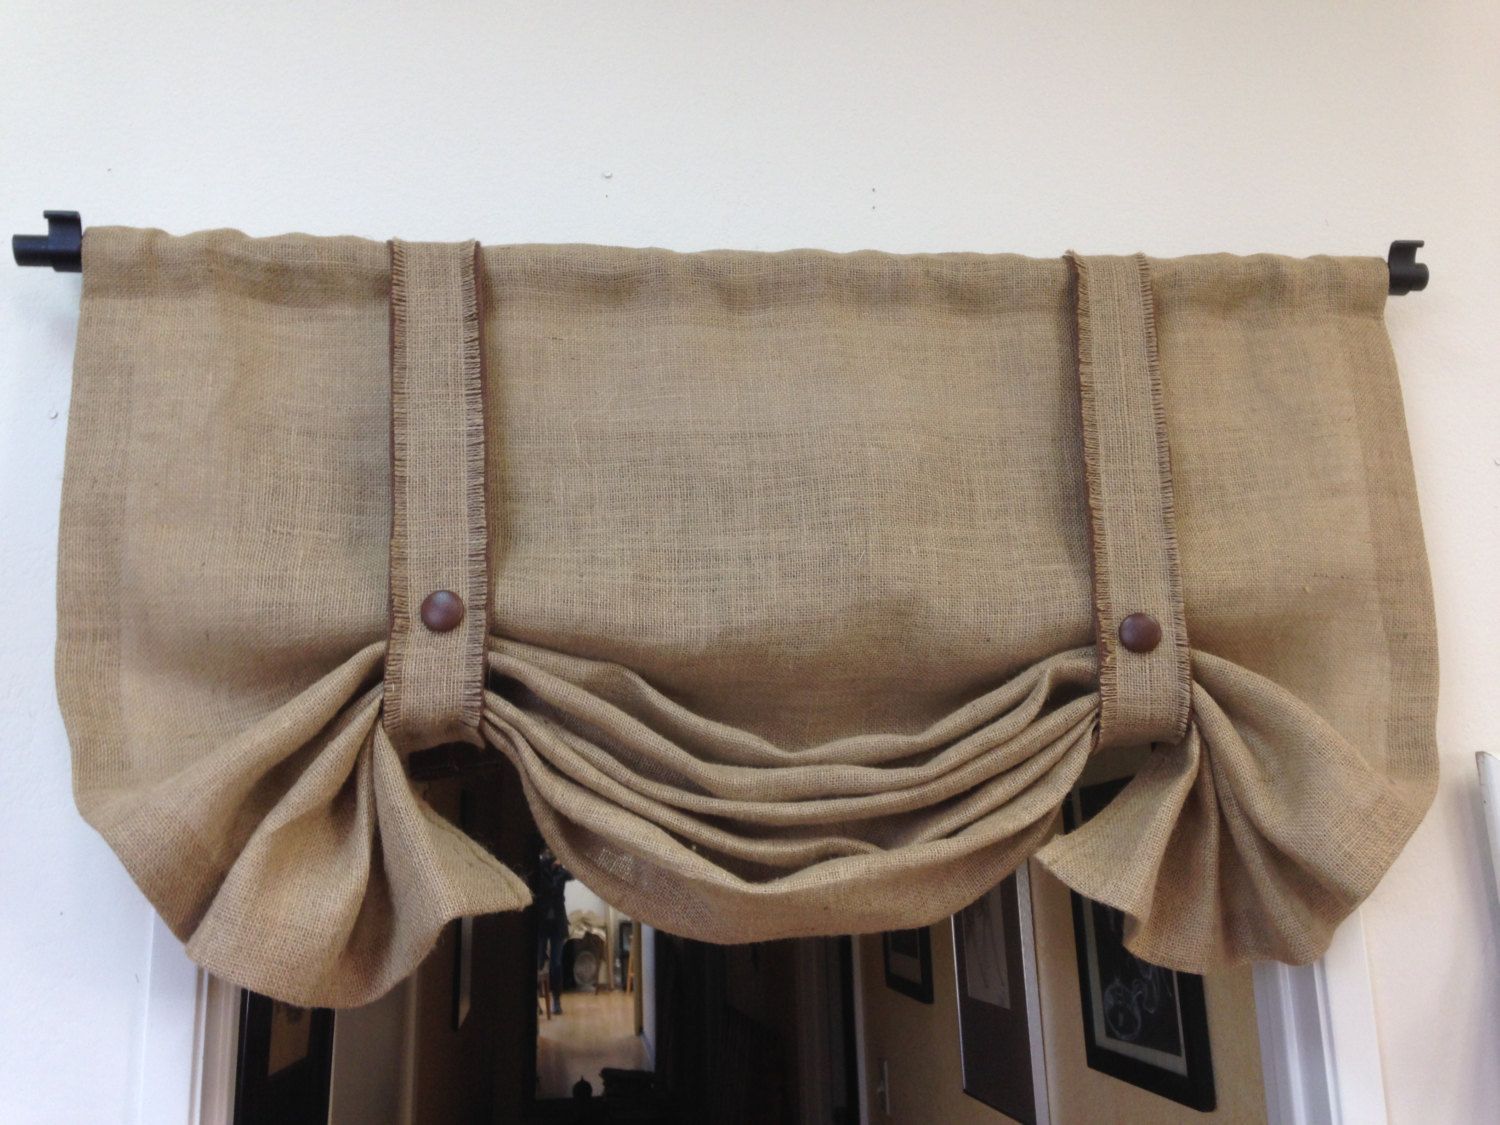
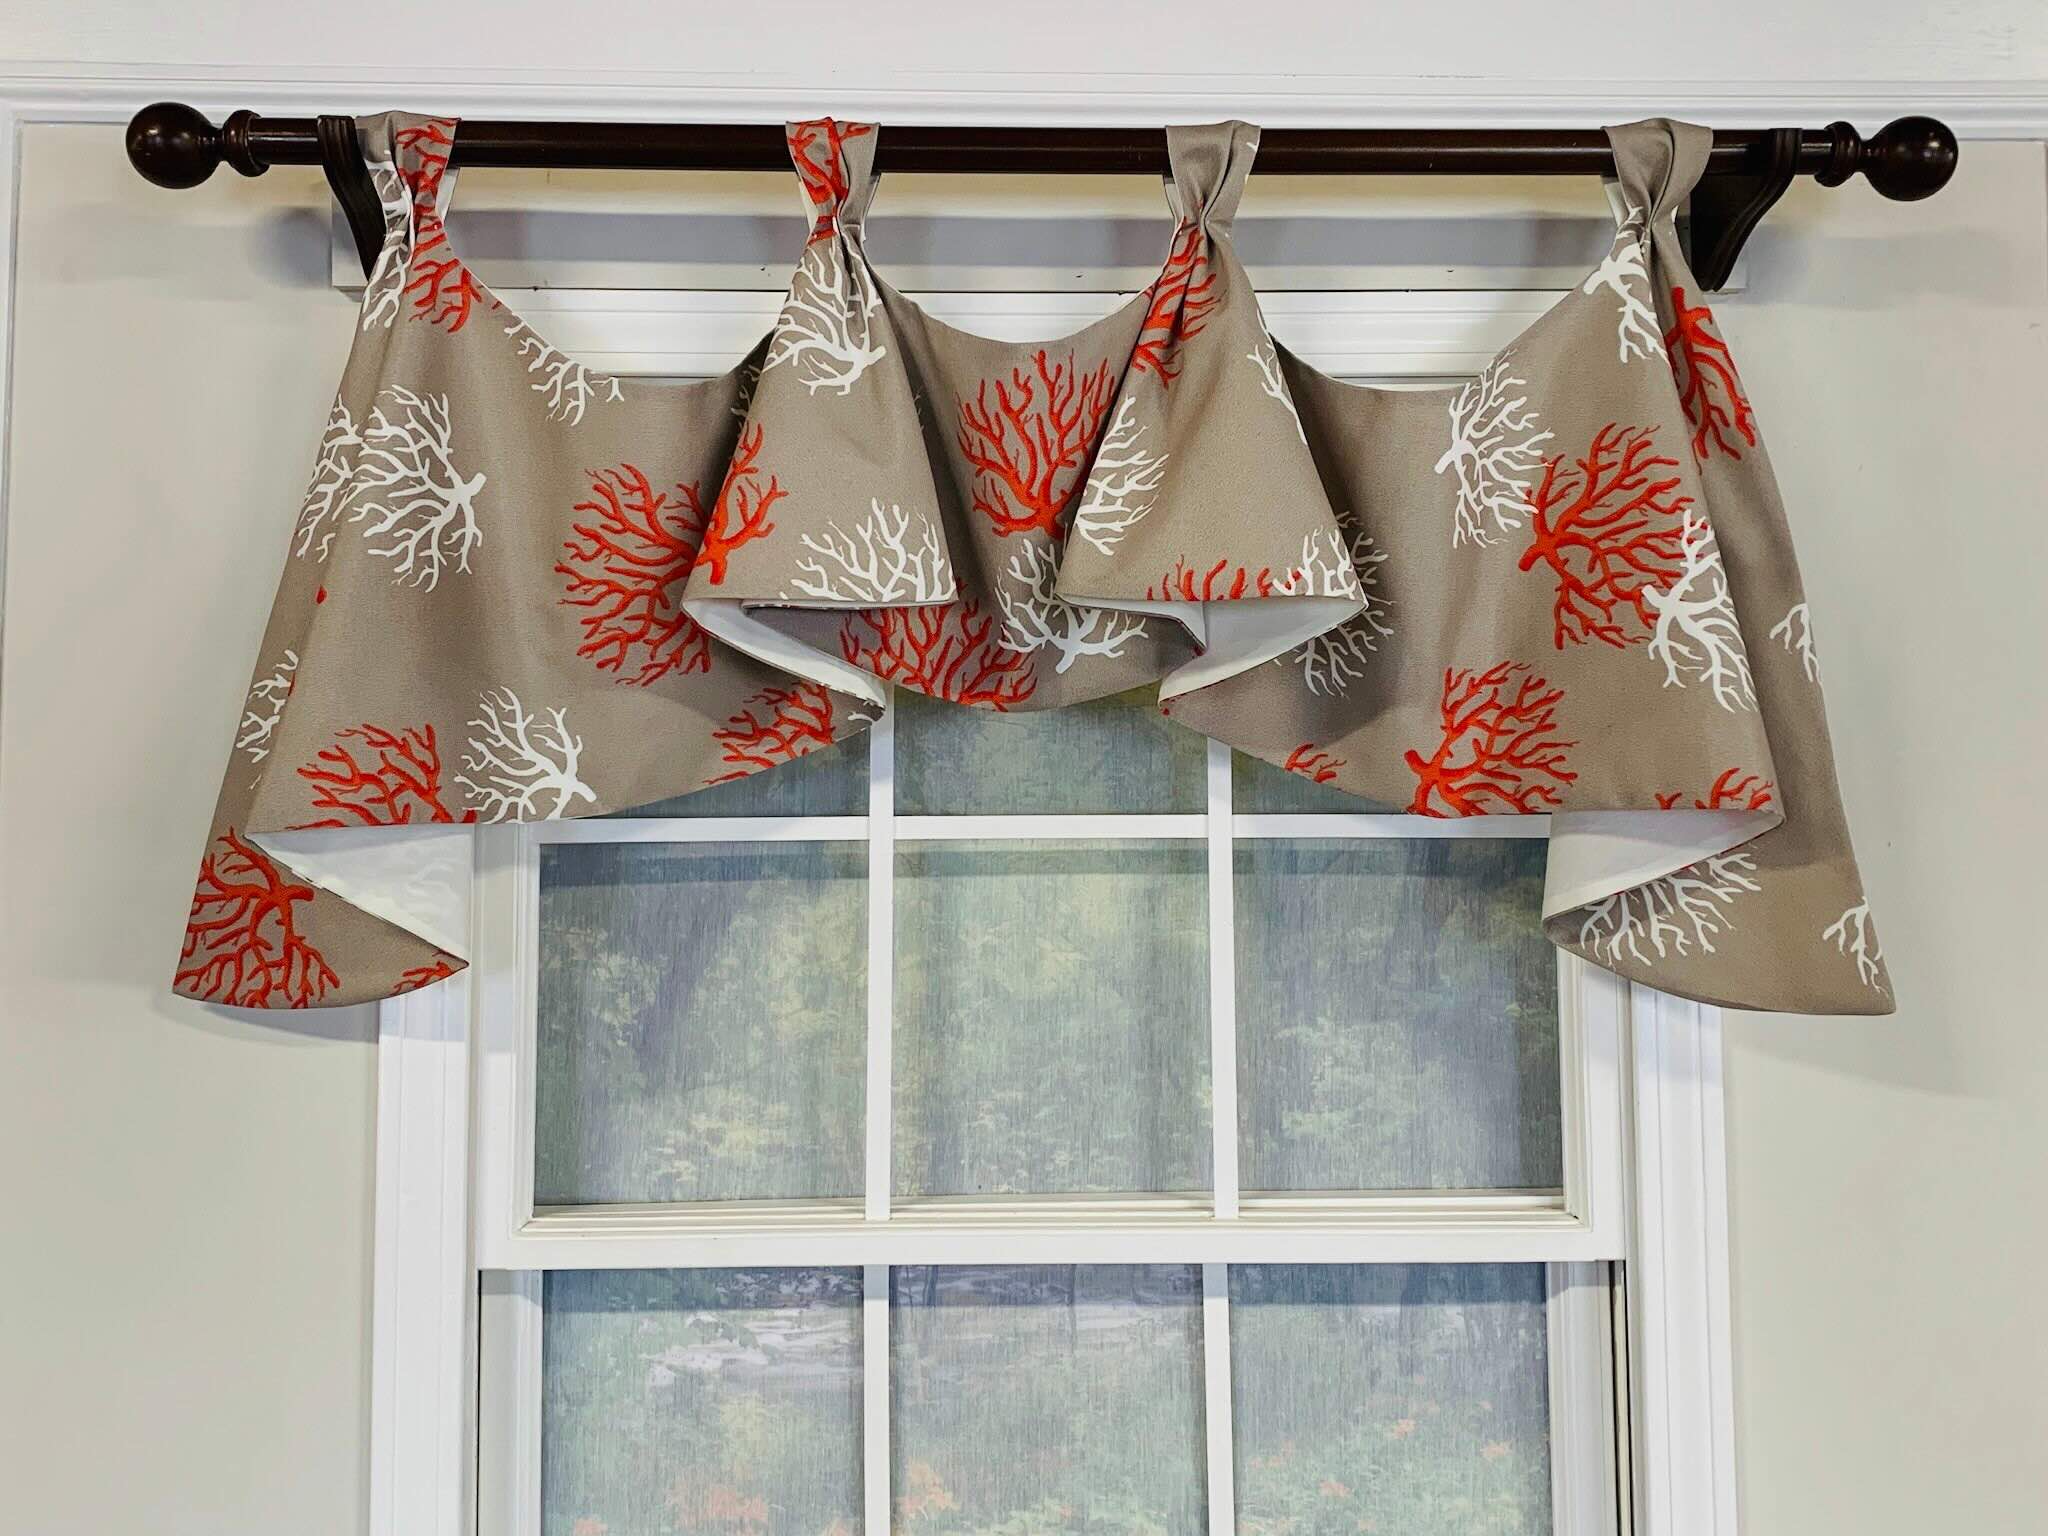
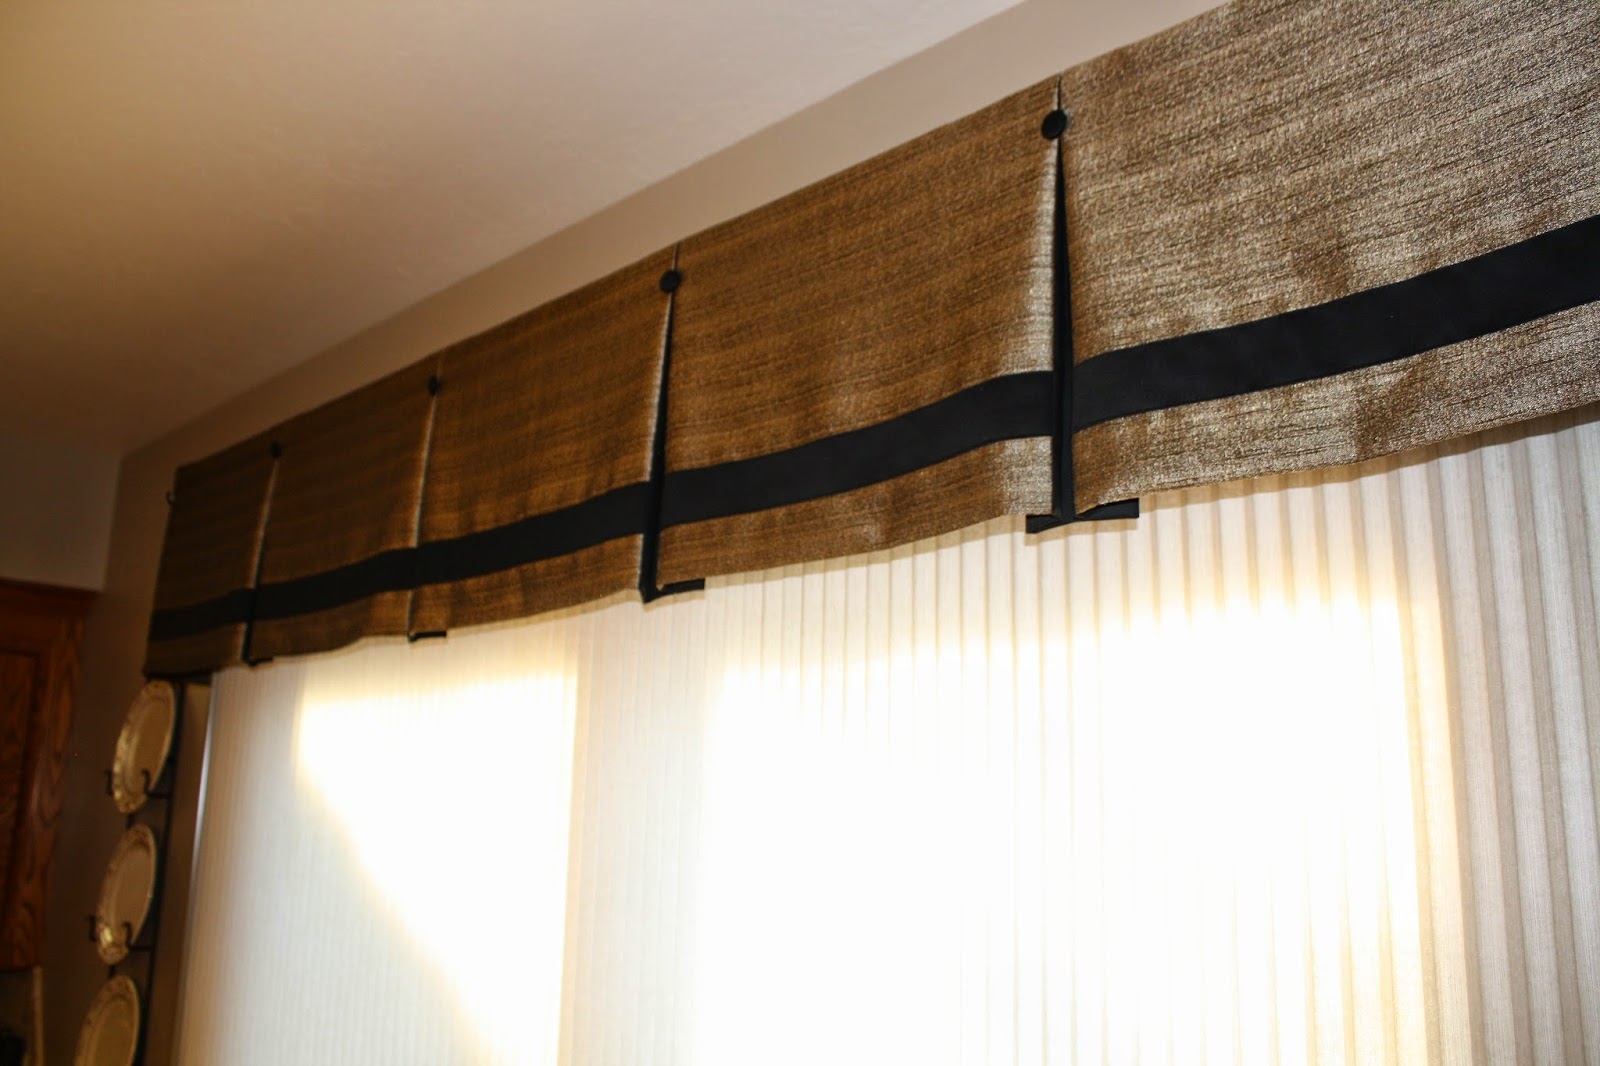
Step 4: Create the Tie-Up Tabs
Creating tie-up tabs is an essential part of making tie-up valances. These tabs will be used to hold the valance in its desired position when it’s tied up.
Follow these steps to create the tie-up tabs for your valance:
- Measure and mark the desired length of the tie-up tabs on your fabric. The length will depend on how far down you want the valance to be tied.
- Cut small strips of fabric with a width of approximately 3 to 4 inches and the length you measured.
- Fold each strip in half lengthwise, with the right sides of the fabric facing each other.
- Use pins to hold the fabric in place along the open side.
- Next, stitch along the pinned side, leaving one short end open.
- Trim the excess fabric at the corners and turn the strip right side out through the open end.
- Use an iron to press the tie-up tabs flat, ensuring crisp edges.
Repeat these steps to create enough tie-up tabs for the width of your valance. The number of tabs will depend on the desired look and functionality of your tie-up valances.
The tie-up tabs are an important component of the valance as they allow you to adjust and secure the valance in various positions. With the tie-up tabs created, you can move on to the next step: attaching the tie-up tabs to the valance.
Step 5: Attach the Tie-Up Tabs
Now that you have created the tie-up tabs for your valance, it’s time to attach them to the main panel. These tabs will enable you to secure the valance in different positions when it’s tied up.
Follow these steps to attach the tie-up tabs to the valance:
- Start by laying the main panel of the valance flat on a clean surface.
- Decide the spacing and placement of the tie-up tabs along the top edge of the valance. Depending on the size and desired look, you can space them evenly or place them at specific intervals.
- Once you have determined the placement, fold each tie-up tab in half and position it along the top edge of the valance.
- Pin the folded end of each tie-up tab to the fabric, ensuring that it is secure and aligned with the top edge.
- Using a sewing machine or needle and thread, stitch a straight line across the folded end of each tie-up tab to attach it to the valance. Make sure the stitch is secure and reinforces the fabric.
Continue attaching the tie-up tabs along the entire top edge of the valance, ensuring they are evenly spaced and securely attached.
Once all the tie-up tabs are attached, remove any visible pins and give the valance a final press with an iron to smooth out any wrinkles.
With the tie-up tabs securely attached to the valance, you’re now ready for the final step: installing the valance on your window.
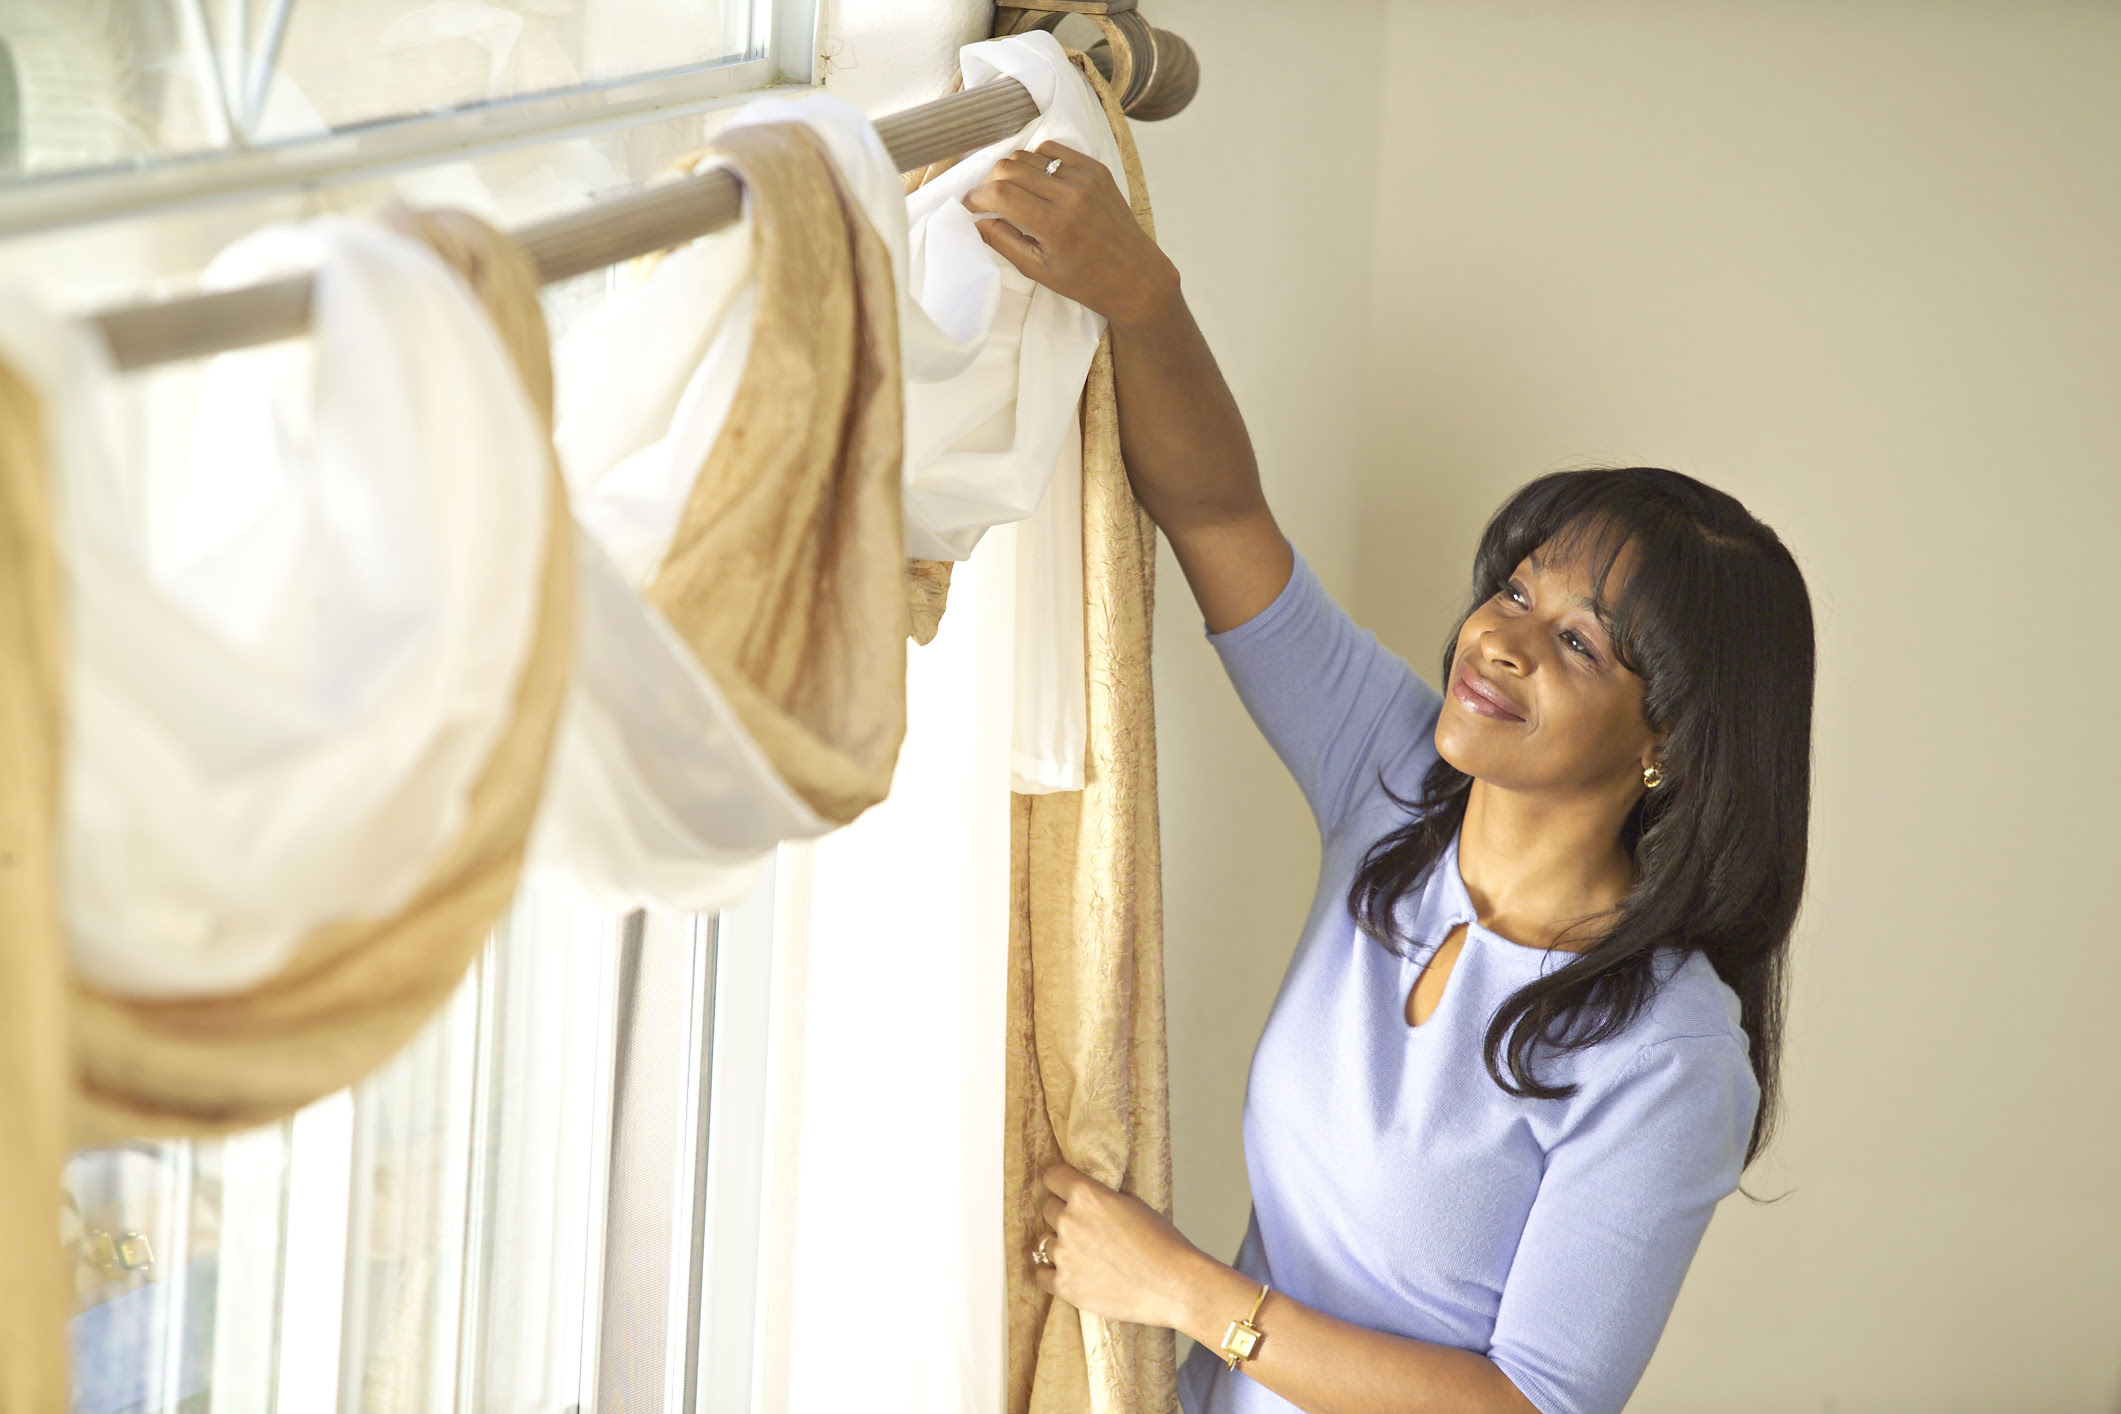
Step 6: Install the Valance
After putting in the effort to create your beautiful tie-up valance, it’s time to install it on your window to complete the look. The installation process will depend on the type of window and the hardware you will be using.
Follow these general steps to install your tie-up valance:
- Start by cleaning the window area to ensure a smooth and dust-free surface.
- Determine the method of installation based on the hardware you are using. Common options include curtain rods, tension rods, or hooks.
- If you’re using a curtain rod, insert the rod through the openings of the tie-up tabs on the valance. Make sure the valance is evenly distributed along the rod.
- Hang the curtain rod on the designated brackets or hooks on the window frame.
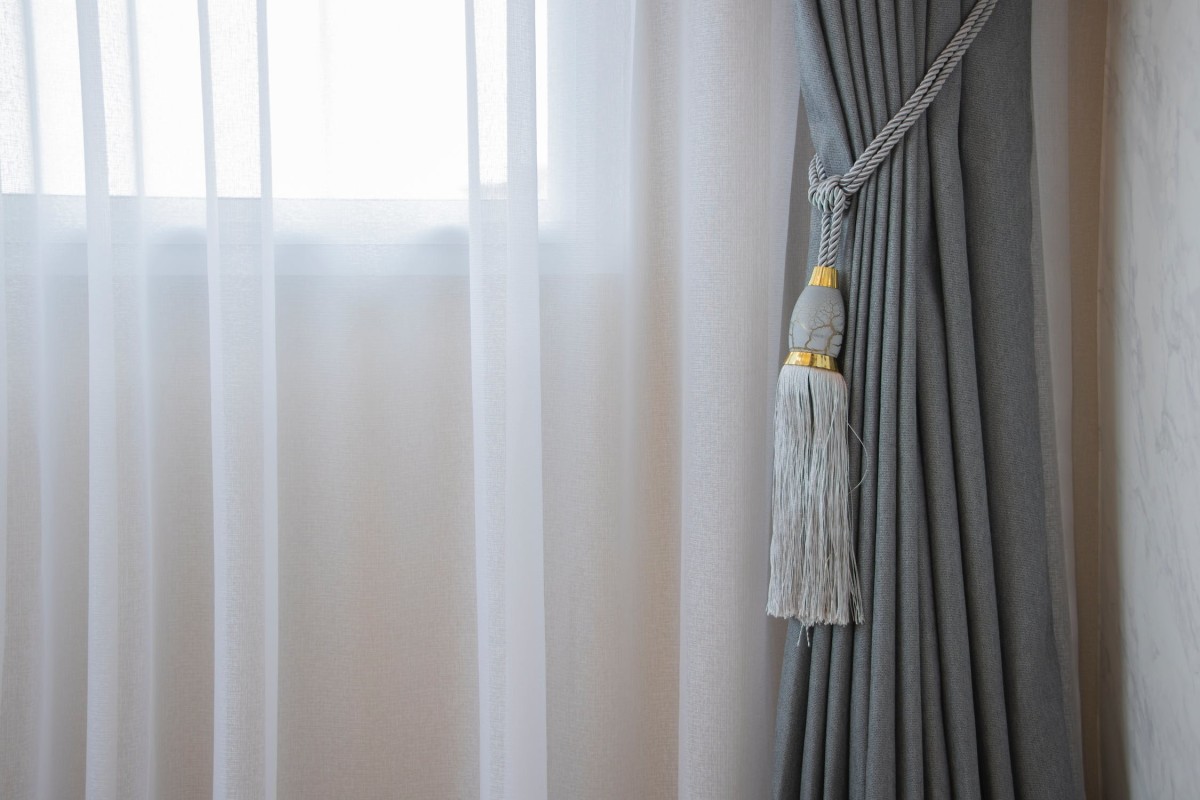
- Adjust the position of the valance and tie it up using the tie-up tabs. Experiment with different tying techniques to find the desired look and effect.
- Step back and admire your newly installed tie-up valance. Make any necessary adjustments to ensure it hangs evenly and complements your window and room decor.
Remember to refer to the specific instructions provided with your chosen hardware for any additional installation steps or considerations.
Your tie-up valance is now ready to enhance the aesthetics of your window space while providing functionality and style.
Congratulations! You have successfully completed all the steps to make and install your own tie-up valance. Sit back, relax, and enjoy the charming impact it adds to your room.
Conclusion
Creating your own tie-up valances is a rewarding and enjoyable project that allows you to customize your window treatments and add a touch of elegance to your space. By following the steps outlined in this article, you can make beautiful valances that perfectly suit your style and complement your room’s decor.
Starting with accurate measurements, cutting the fabric to size, hemming the edges, creating the tie-up tabs, attaching them to the valance, and finally installing it on your window, each step plays a crucial role in achieving a professional and polished look.
With your tie-up valances in place, you have complete control over how much natural light enters your room and can easily adjust the level of privacy you desire. Whether you prefer a relaxed and casual look or a more formal and structured appearance, tie-up valances can be tied up in various ways to create different effects.
Remember to stay creative and explore different fabric choices, patterns, and tying techniques to achieve the desired look that matches your personal style and enhances the overall ambiance of your room.
Now that you have the knowledge and skills to make your own tie-up valances, why not embark on this creative endeavor and add a touch of charm to your windows? Take the time to experiment, have fun, and enjoy the satisfaction of creating a beautiful window treatment that reflects your unique taste and personality.
Frequently Asked Questions about How To Make Tie Up Valances
Was this page helpful?
At Storables.com, we guarantee accurate and reliable information. Our content, validated by Expert Board Contributors, is crafted following stringent Editorial Policies. We're committed to providing you with well-researched, expert-backed insights for all your informational needs.

0 thoughts on “How To Make Tie Up Valances”