Articles
How To Drape Curtains For Backdrop
Modified: December 7, 2023
Learn how to drape curtains for a stunning backdrop with our informative articles. Discover tips, tricks, and step-by-step guides to create a beautiful curtain display.
(Many of the links in this article redirect to a specific reviewed product. Your purchase of these products through affiliate links helps to generate commission for Storables.com, at no extra cost. Learn more)
Introduction
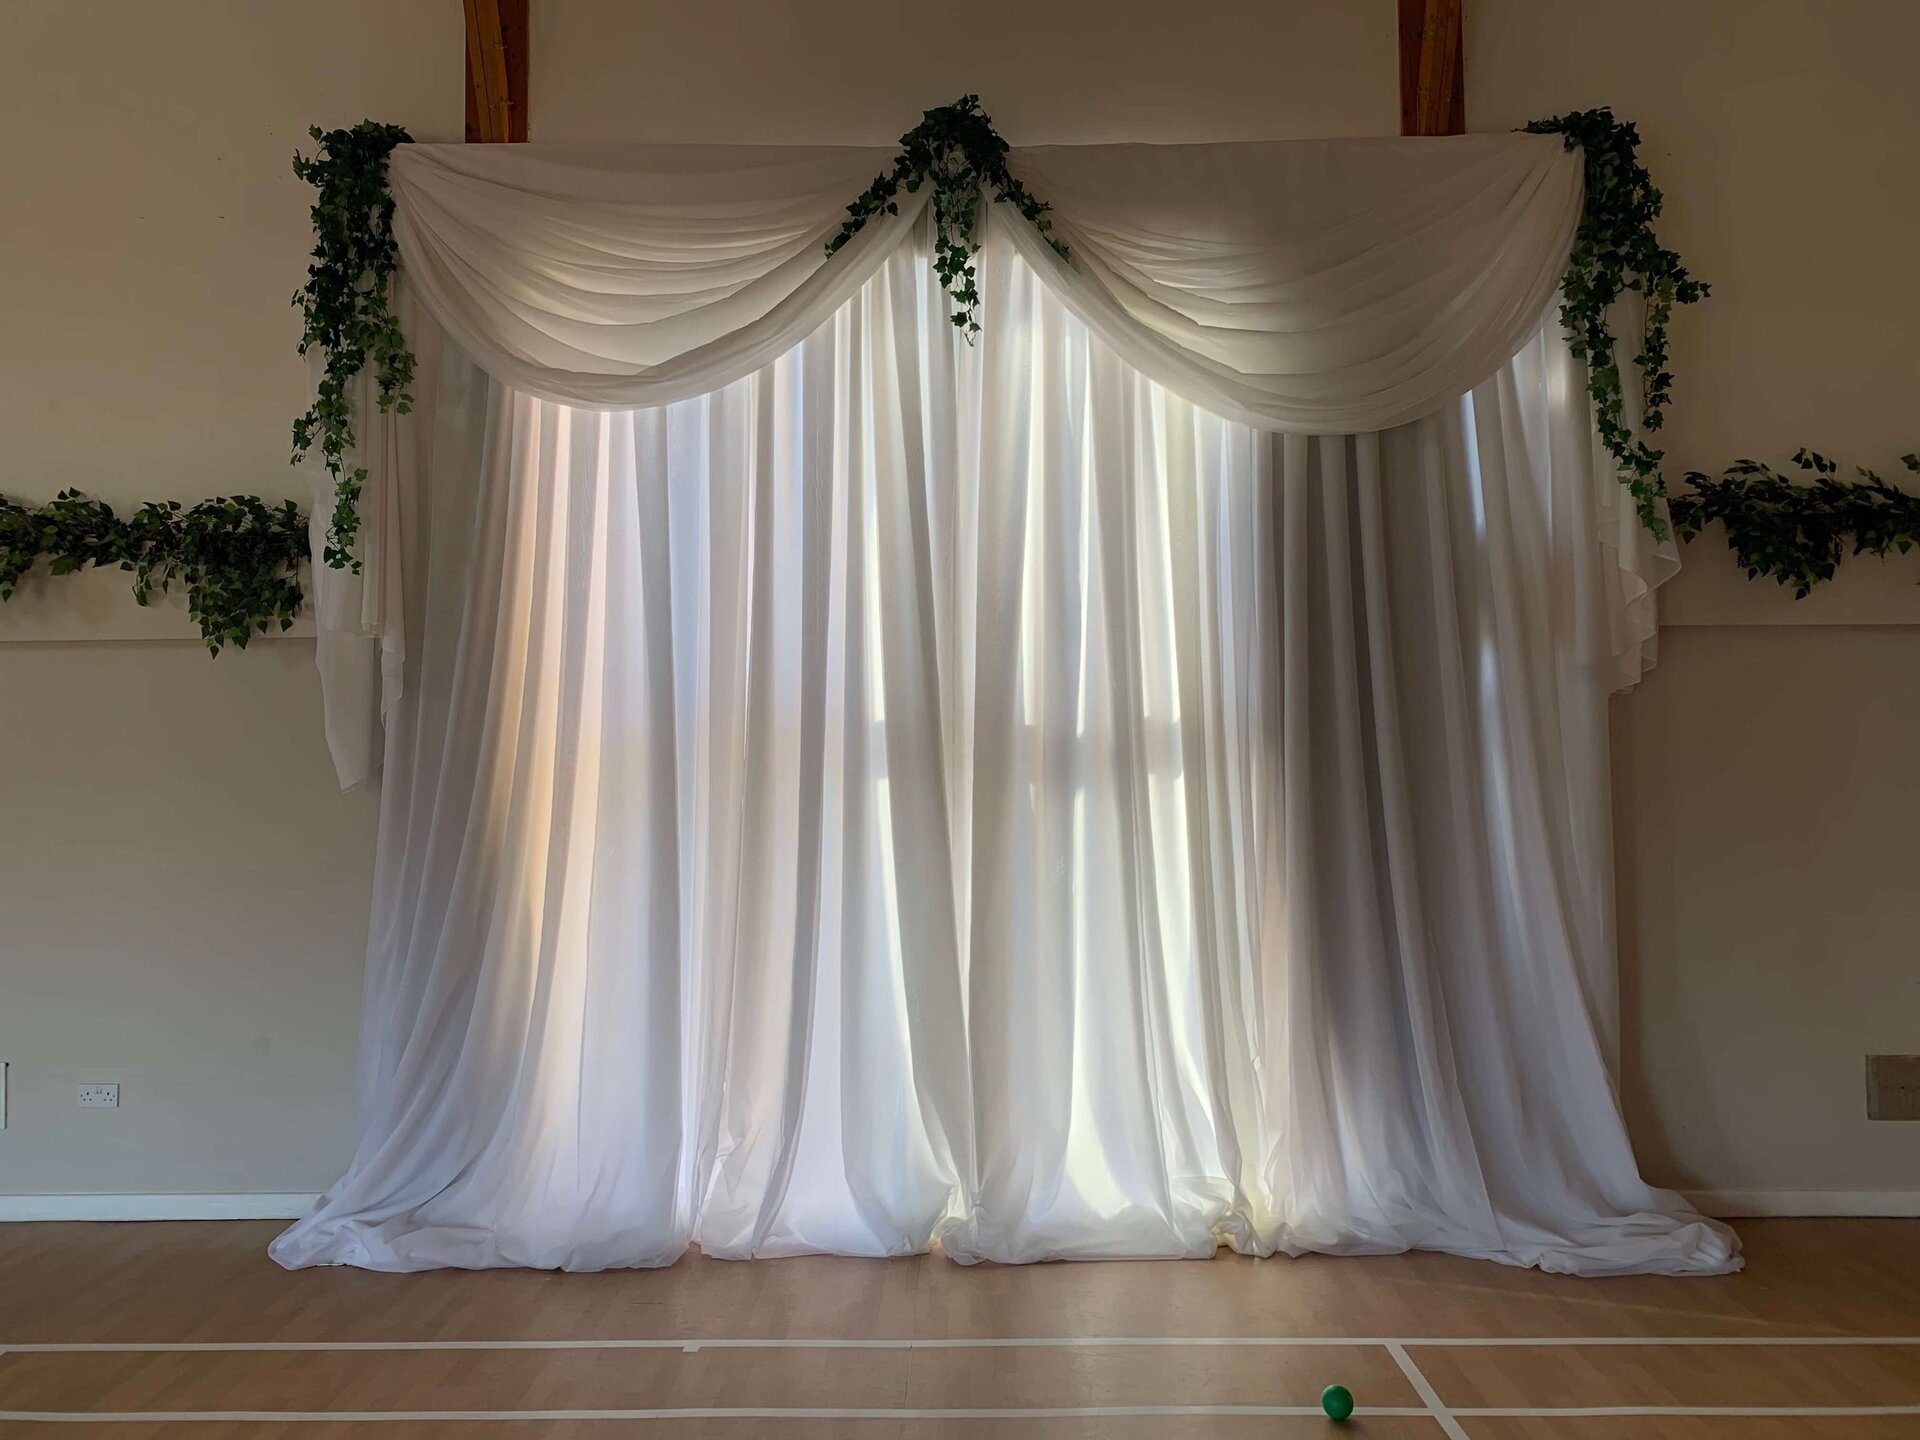
Creating a beautiful and eye-catching backdrop using draped curtains can transform any space into a stunning focal point. Whether you’re hosting a special event, setting up a photo booth, or simply looking to add a touch of elegance to your home, draping curtains can instantly elevate the ambience.
But how do you go about draping curtains for a backdrop? What kind of fabric should you choose? How do you measure and determine the length? These are some of the questions we will address in this comprehensive guide. By the end, you’ll have all the knowledge you need to create a gorgeous draped curtain backdrop that will leave everyone in awe.
Before we delve into the details, let’s keep in mind that draping curtains for a backdrop is both an art and a science. It requires a careful balance of creativity and precision. So, let your imagination run wild and get ready to bring your vision to life!
Key Takeaways:
- Choose the right fabric: Consider texture, color, opacity, weight, and durability. Experiment with different fabrics for a unique and customized draped curtain backdrop.
- Attention to detail: Accurate measurements, proper preparation, and precise mounting are crucial. Add finishing touches to elevate the backdrop and create a visually striking result.
Read also: 10 Amazing Backdrop Drapes for 2025
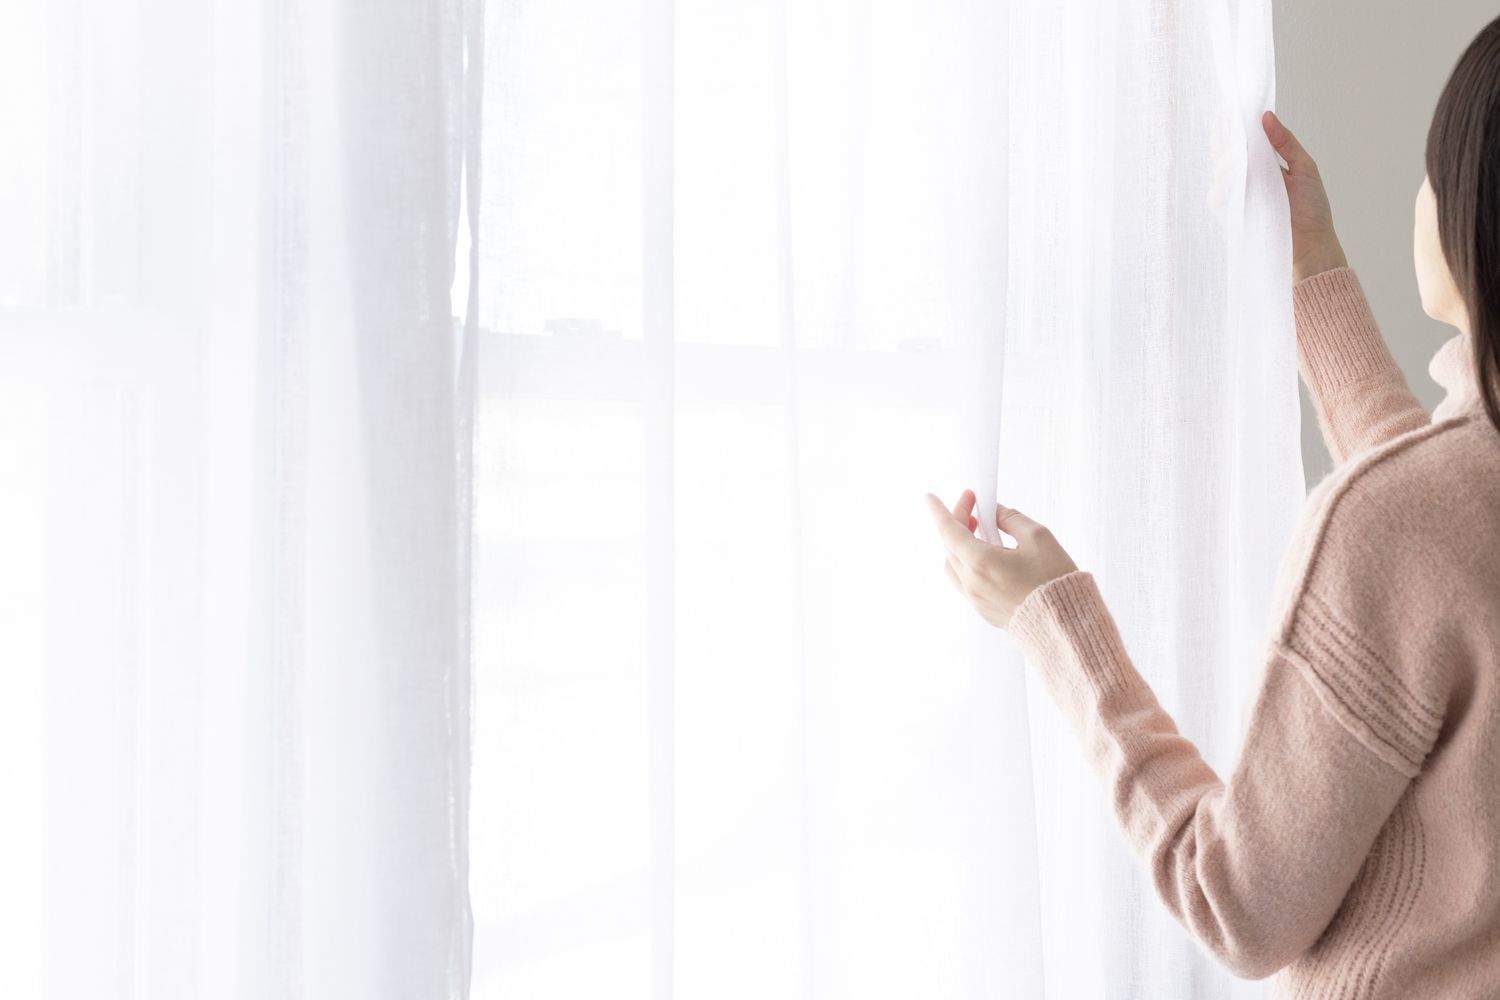
Choosing the Right Fabric
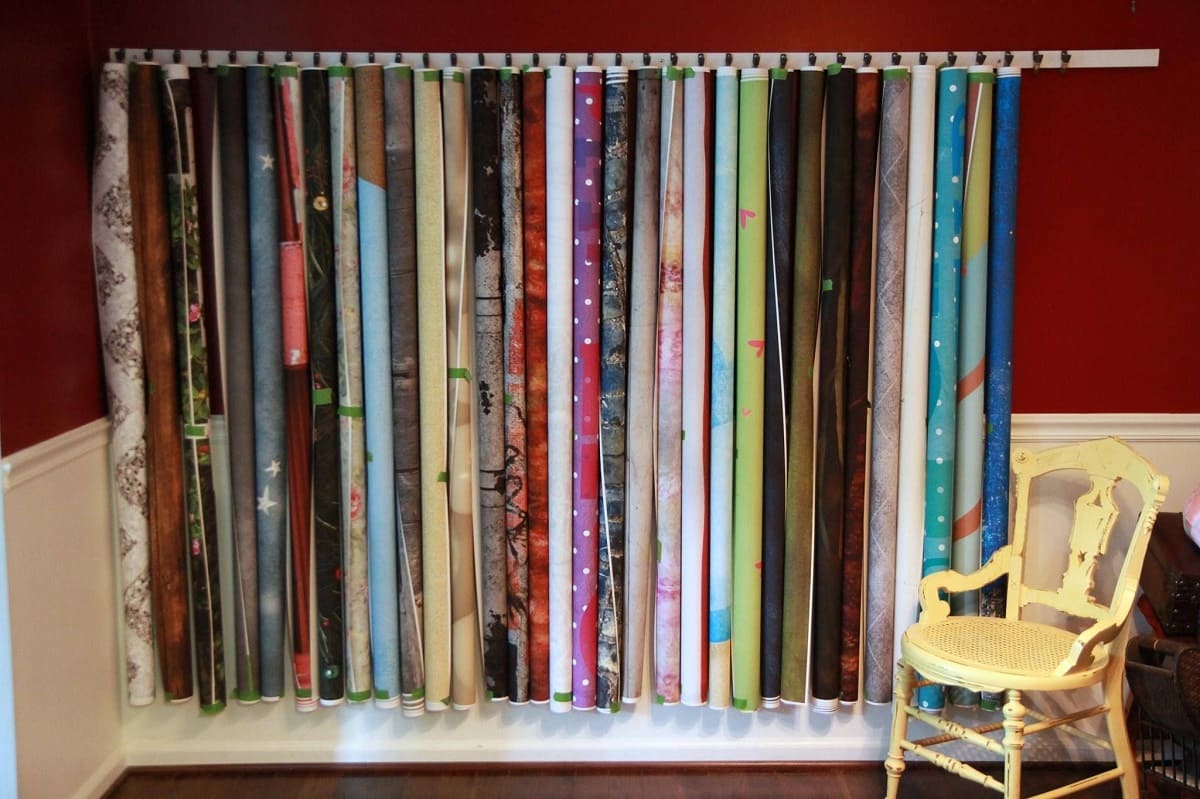
When it comes to creating a stunning draped curtain backdrop, selecting the right fabric is essential. The fabric you choose will greatly impact the overall look and feel of the backdrop. Here are a few factors to consider:
- Texture: Different fabrics have different textures, and you’ll want to choose one that suits your desired aesthetic. Sheer fabrics like chiffon or organza create a soft and ethereal look, while satin or velvet can add a touch of luxury.
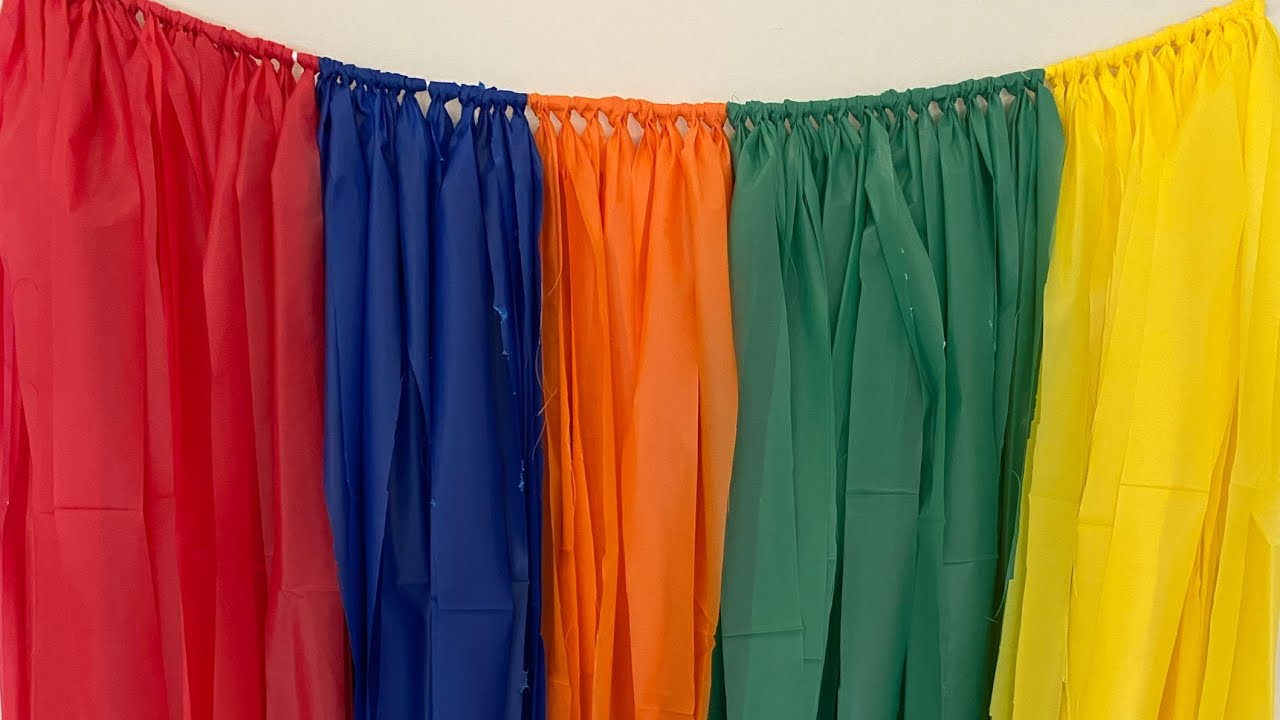
- Color: The color of the fabric should complement the theme or style of your event or space. Consider whether you want a bold and vibrant backdrop or a more subtle and neutral one.
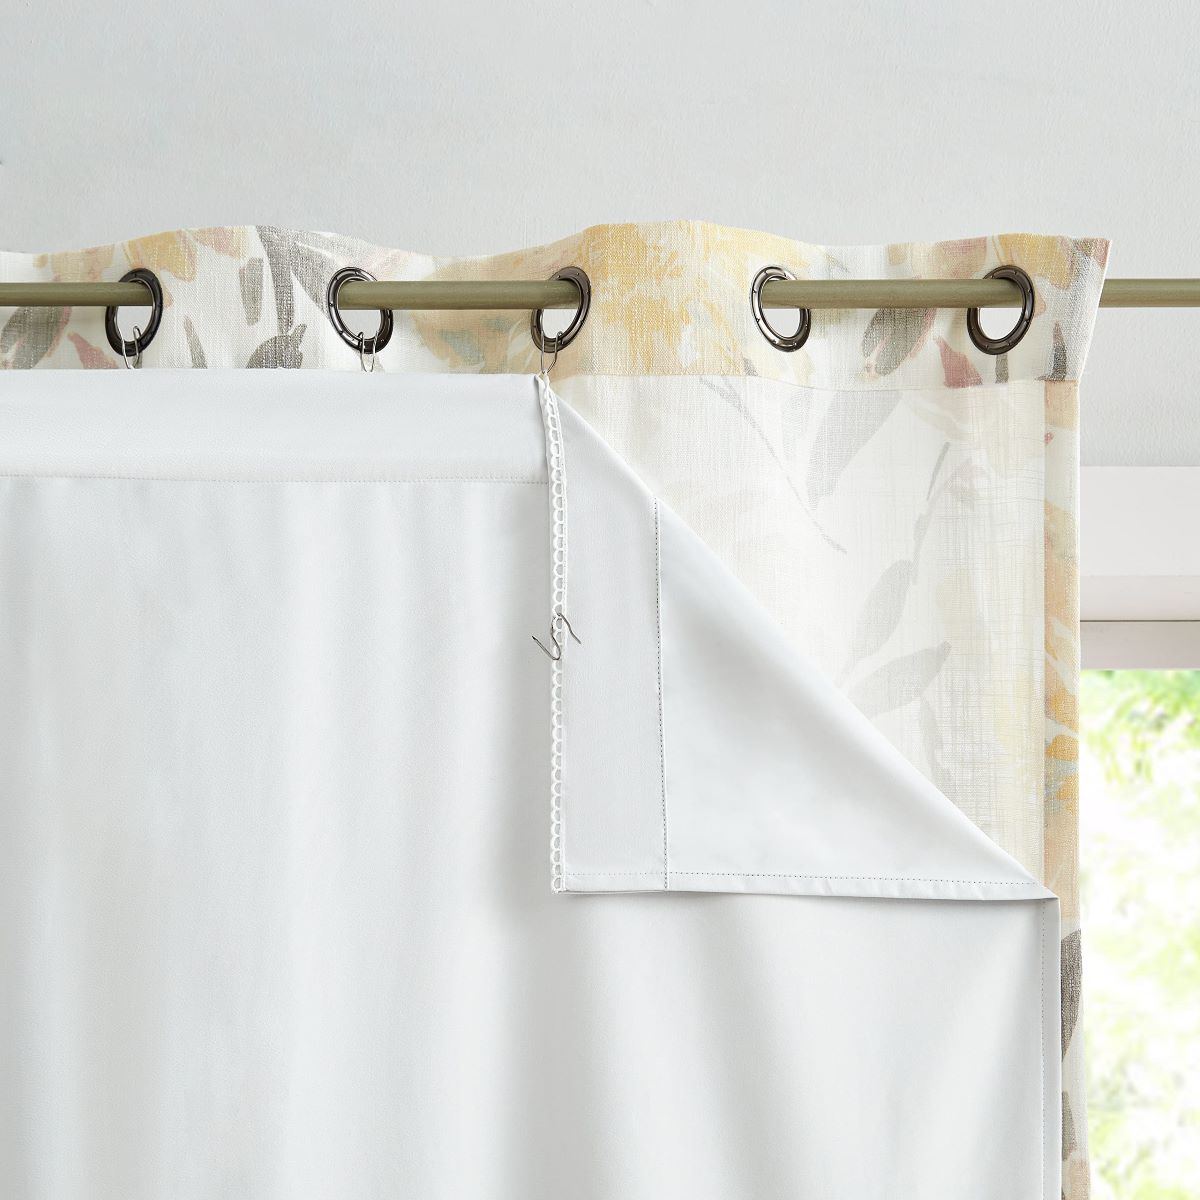
- Opacity: Depending on the level of transparency you desire, you can opt for sheer fabrics that let light through or choose more opaque fabrics for a solid backdrop.
- Weight: Consider the weight of the fabric, especially if you plan on creating pleats or folds. Lighter fabrics are easier to drape and manipulate, while heavier fabrics may require additional support.
- Durability: Think about how long you’ll need the backdrop to last. If it’s a one-time event, you can choose a more delicate fabric. However, if you want it to be reusable, select a fabric that is durable and easy to clean.
It’s always a good idea to request fabric samples before making a final decision. This will allow you to see and feel the fabric firsthand, ensuring that it meets your expectations. Additionally, consider how the fabric will photograph—if it’s for a photo backdrop, make sure it’s not too shiny or reflective.
Remember, the fabric you choose will set the stage for your draped curtain backdrop, so take your time and choose wisely. Experimenting with different fabrics can also lead to unique and creative results. Don’t be afraid to mix and match textures and colors for a truly customized backdrop.
Measuring and Determining the Length
Before you start draping the curtains for your backdrop, it’s important to accurately measure and determine the length you’ll need. Proper measurements ensure that the curtains fit the space appropriately and create the desired effect. Follow these steps to get the right measurements:
- Measure the Width: Start by measuring the width of the area where you’ll be hanging the curtains. This will give you an idea of how wide the fabric needs to be. Take multiple measurements at different points to account for any variations.
- Measure the Height: Next, measure the height from the top to the bottom of the area where you want the curtains to hang. Decide whether you want the curtains to extend all the way to the floor or if you prefer a shorter length.
- Add Extra Length: To create a nice drape and ensure that the curtains have enough fabric to work with, add some extra length to both the width and height measurements. This extra length will allow for pleating or folding and provide a more luxurious look.
Once you have your measurements, it’s time to determine the amount of fabric you’ll need. The amount will depend on factors such as the type of fabric, the desired fullness of the curtains, and any pleats or folds you plan to create. It’s important to account for extra fabric needed for hems and finishings as well.
If you’re unsure about the calculations, it’s always best to consult a professional or ask for advice from the fabric store. They can guide you on the right amount of fabric to purchase based on your specific measurements and design preferences.
Remember to double-check your measurements before cutting the fabric to ensure accuracy. It’s always better to have a little extra fabric than to run short, as you can always trim it down later.
Measuring and determining the length of the fabric is a crucial step in the process. Taking the time to get accurate measurements will result in a beautifully draped curtain backdrop that fits perfectly within your space.
Preparing the Backdrop Area
Once you have your fabric and measurements ready, it’s time to prepare the backdrop area for the draping process. Here are some important steps to follow:
- Clean and Clear the Space: Start by clearing the area where you’ll be hanging the curtains. Remove any furniture, decorations, or obstacles that could get in the way. Ensure that the space is clean and free from dust or debris.
- Choose a Suitable Wall: Select a wall that will serve as the backdrop for your curtains. Consider factors like the size of the wall, its location in the room, and the overall aesthetics. Make sure that the wall is sturdy enough to support the weight of the curtains and hardware.
- Prepare the Wall: If necessary, clean the wall and make any repairs or touch-ups to ensure a smooth surface. Patch up any holes or cracks and give the wall a fresh coat of paint if needed.
- Mark Mounting Points: Use a pencil or tape measure to mark the areas where you’ll be attaching the curtain hardware. Measure and mark the desired height and width of the backdrop, ensuring that the mounting points are evenly spaced.
- Consider Lighting: Take into account the lighting in the room and how it will affect the appearance of the draped curtains. If you want to highlight the backdrop or create a specific ambiance, plan the positioning of lights accordingly.
By preparing the backdrop area beforehand, you’ll have a clean and well-prepared canvas to work with. This will make the draping process smoother and ensure that the final result is visually pleasing.
Remember to take your time during this stage and pay attention to details. A well-prepared backdrop area sets the foundation for a stunning draped curtain display.
Mounting the Hardware
Now that you have prepared the backdrop area, it’s time to mount the necessary hardware to hang the curtains. The type of hardware you’ll need will depend on the weight of the fabric and the chosen style of draping. Here are the steps to follow:
- Select the Curtain Rod: Choose a sturdy and appropriate curtain rod that can support the weight of your chosen fabric. Consider the length of the rod and ensure it extends beyond the width of the backdrop area.
- Locate the Studs: Use a stud finder to locate the studs in the wall where you’ll be mounting the curtain rod. Mounting the rod into the studs will provide extra stability and support.
- Mark the Mounting Points: Measure and mark the exact points where you’ll be attaching the curtain rod brackets. These marks should align with the stud locations for maximum strength.
- Install the Wall Anchors: If there are no studs available in the desired mounting points, you’ll need to install wall anchors. Follow the manufacturer’s instructions for the type of wall anchors you’re using, ensuring a secure installation.
- Mount the Brackets: Attach the curtain rod brackets to the wall, using either screws or the provided hardware. Make sure they are level and firmly attached to provide a solid foundation for the rod.
- Attach the Curtain Rod: Slide the curtain rod into the brackets and secure it in place. Ensure the rod is level and properly centered within the brackets.
Once the hardware is mounted, take a step back and check that the curtain rod is straight and securely in place. Gently apply pressure to ensure it can bear the weight of the curtains without sagging or shifting.
Remember to follow the manufacturer’s instructions for hardware installation and seek assistance if needed. Properly mounted hardware is crucial for a stable and visually pleasing draped curtain backdrop.
When draping curtains for a backdrop, make sure to use a sturdy support system such as a pipe and drape system to ensure the curtains hang evenly and securely.
Read more: How To Hang A Sheer Curtain With Drapes
Attaching the Fabric
With the hardware securely in place, it’s time to attach the fabric to create the draped curtain backdrop. Follow these steps to ensure a smooth and seamless application:
- Prepare the Fabric: Lay the fabric flat on a clean and spacious surface. Remove any wrinkles, creases, or folds by ironing or steaming the fabric. This will ensure a neat and professional-looking backdrop.
- Start from the Center: Begin by attaching the fabric to the curtain rod at the center point. This will help create a balanced and visually appealing draped effect.
- Gently Drape the Fabric: Let the fabric hang down from the center point and gently drape it along the curtain rod. Ensure that the fabric is evenly distributed and covers the entire width of the backdrop area.
- Adjust and Straighten: Step back and evaluate the draping of the fabric. Make any necessary adjustments to create a pleasing and symmetrical appearance. Straighten out any uneven areas to achieve a polished look.
- Continue to the Sides: Once the center of the fabric is attached and draped, move on to the sides. Secure the fabric to the curtain rod at each end, ensuring that it maintains a consistent level of drape and cover.
- Smooth Out the Fabric: Smooth out any wrinkles, folds, or uneven areas along the fabric. Use your hands or a gentle tug to create a clean and seamless backdrop.
As you attach the fabric, pay close attention to any patterns or designs on the fabric. Ensure they align properly and create a visually satisfying composition. Step back frequently to assess the overall appearance and make any necessary adjustments.
Remember, the goal is to create a beautifully draped curtain backdrop that enhances the aesthetic of the space. Take your time and don’t be afraid to experiment with different draping techniques to achieve the desired effect.
Creating Pleats or Folds
To add depth and visual interest to your draped curtain backdrop, you can incorporate pleats or folds into the fabric. This technique creates texture and dimension, elevating the overall impact of the design. Here’s how you can create pleats or folds:
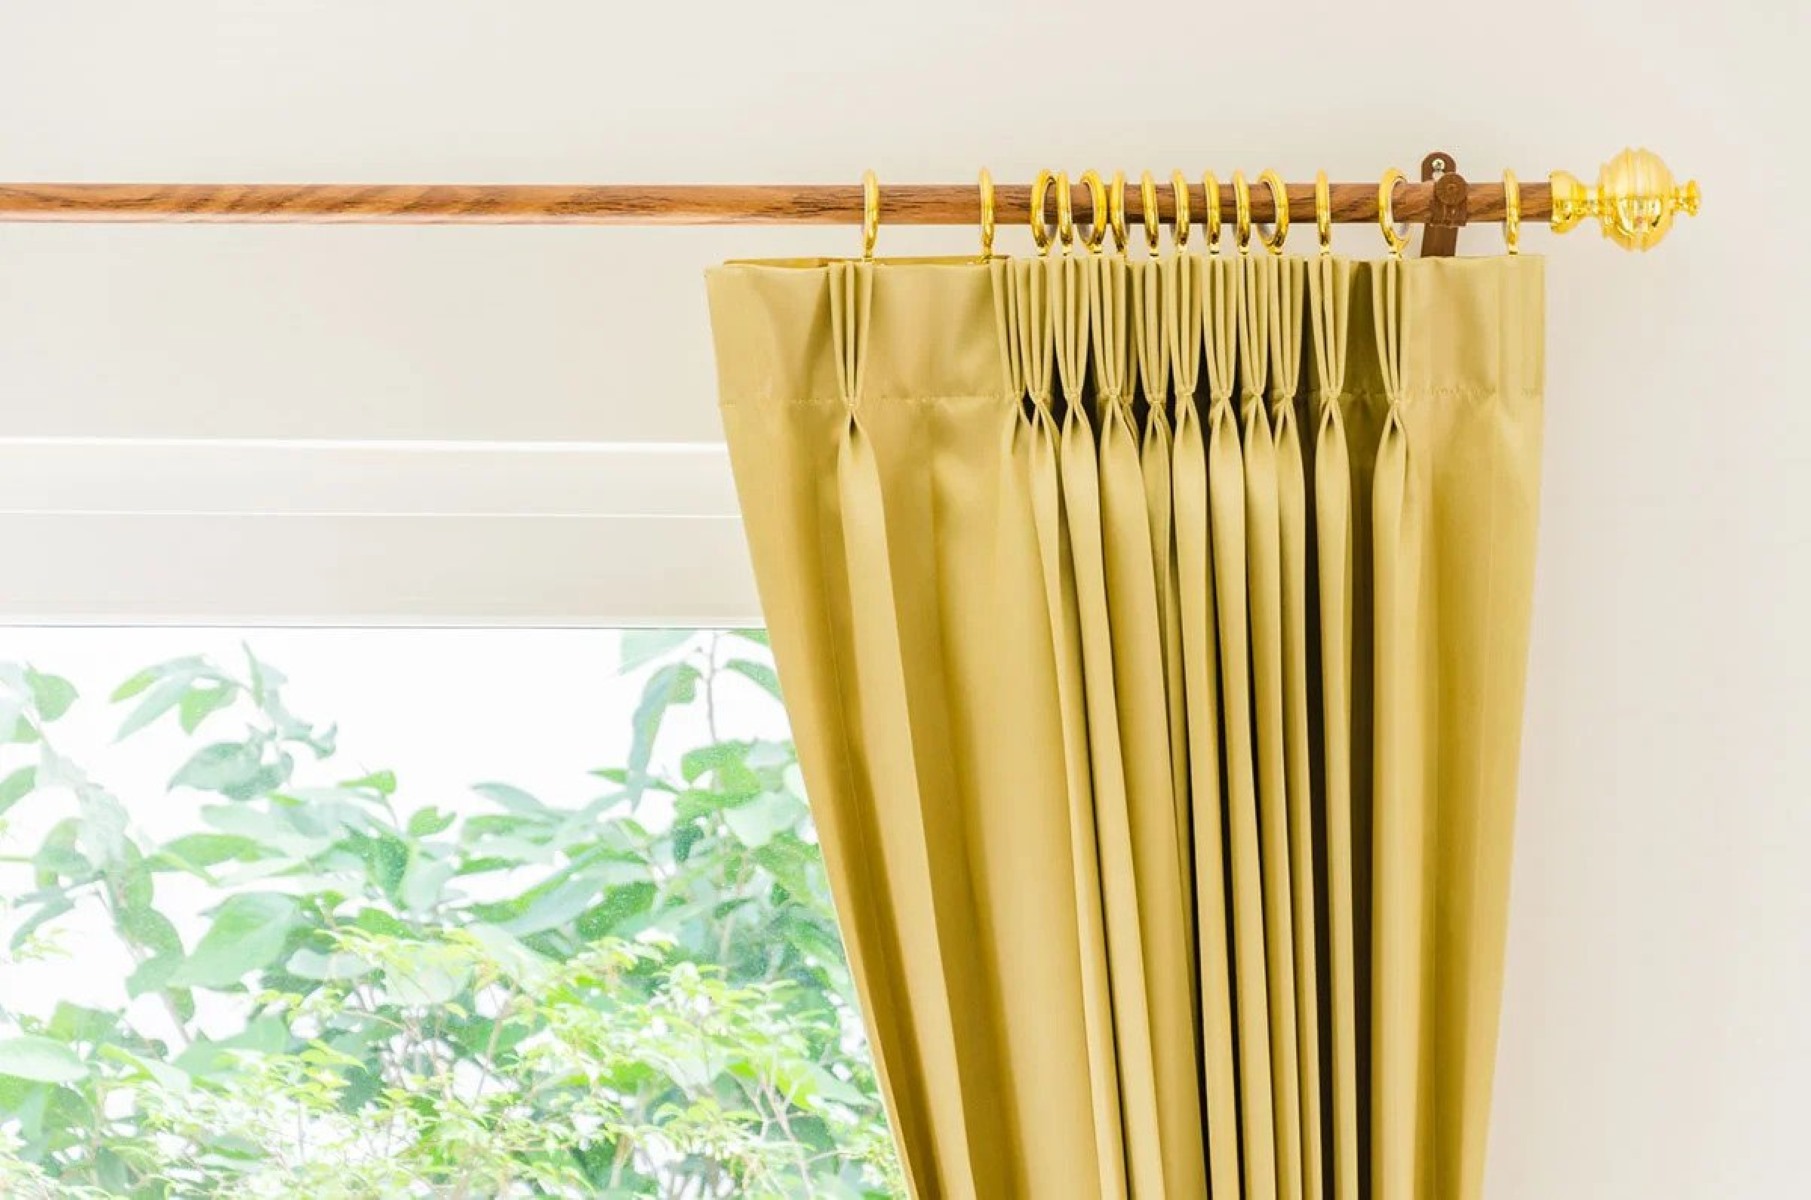
- Decide on the Pleat Style: Choose the type of pleat or fold you would like to create. Some popular options include a classic pinch pleat, a casual wave fold, or a more intricate box pleat. Consider the style of your event or space and select a pleat that complements it.
- Mark the Pleat Points: Along the top edge of the fabric, mark the points where you want the pleats to be. Measure and space them evenly, keeping in mind the width and fullness of the fabric.
- Fold and Secure the Pleats: Starting from the first marked point, gently fold the fabric accordion-style to create the pleat. Secure each pleat with a clip or pin to hold it in place. Repeat this process for each marked pleat point.
- Adjust and Perfect the Pleats: Once all the pleats are formed, step back and evaluate their appearance. Make any necessary adjustments to ensure that they are even and uniform. Use your hands to smooth out any creases or unevenness.
Creating pleats or folds adds a touch of sophistication to your draped curtain backdrop. It brings visual interest and depth to the fabric, making the overall design more captivating.
Remember, the size and number of pleats will depend on the width and fullness of the fabric, as well as your personal preference. It’s a good idea to practice creating the pleats on a smaller fabric swatch before tackling the entire backdrop.
Experiment with different pleat styles and arrangements to find the one that works best for your design vision. Play with the fabric, adjust the folds, and step back to assess the impact. With a little practice, you’ll be able to create stunning pleats or folds that enhance the beauty of your draped curtain backdrop.
Securing the Curtains in Place
Once you have draped and pleated the curtains to your satisfaction, it’s time to secure them in place to ensure they stay put. Properly securing the curtains will prevent them from shifting or sagging, maintaining the desired look of your backdrop. Here’s how you can secure the curtains:
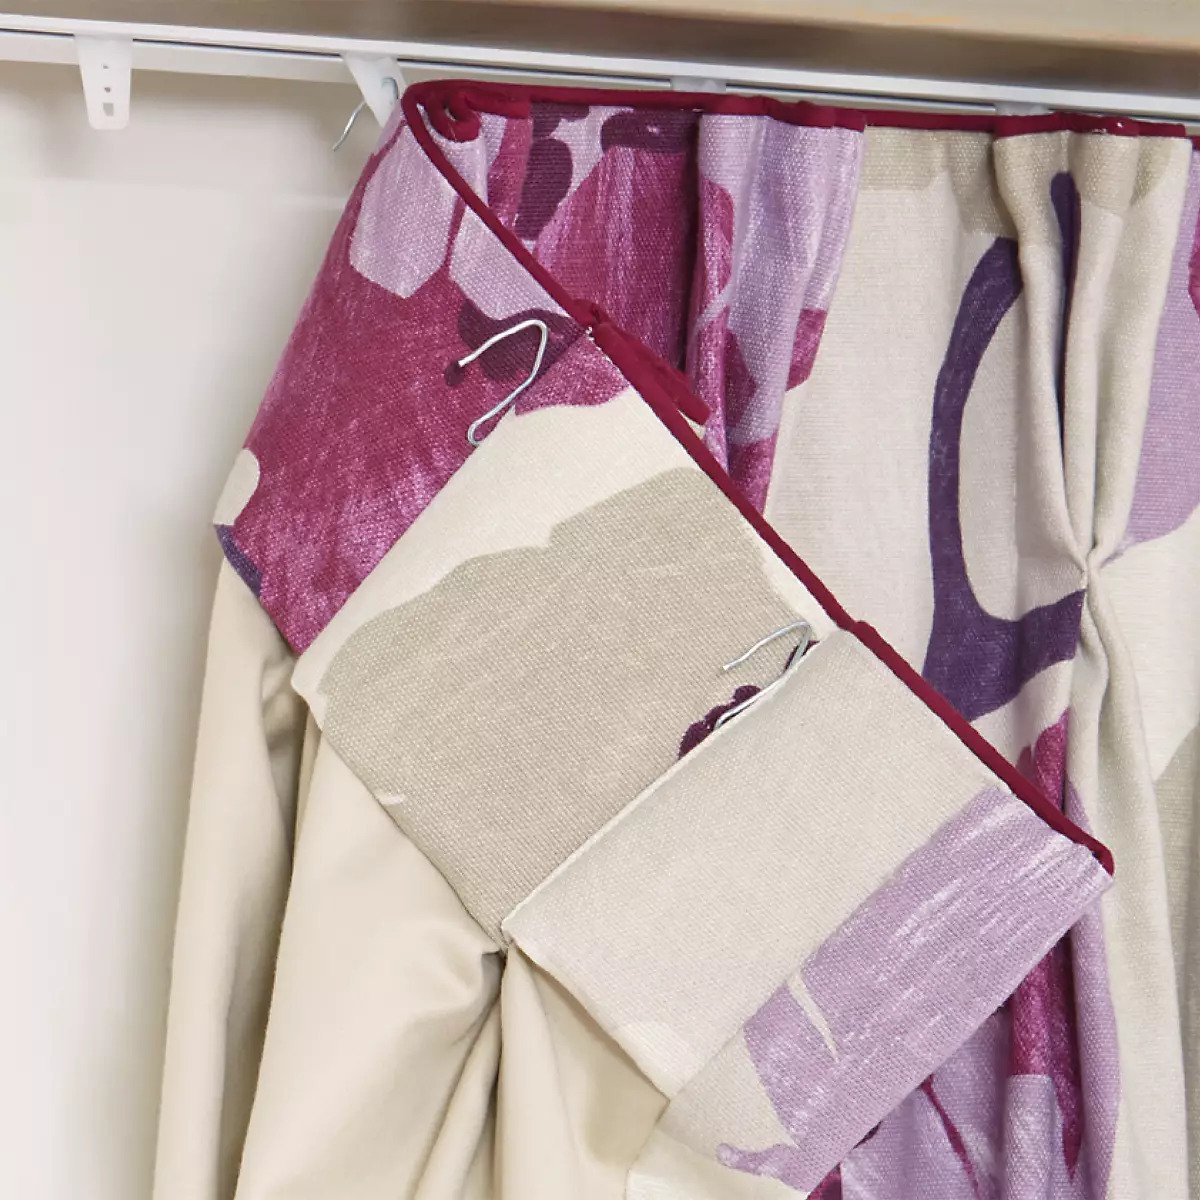
- Use Curtain Clips or Pins: Attach curtain clips or pins to the top edge of the fabric, close to the pleats or folds. These can be secured directly to the curtain rod or to any attachment points provided by the hardware. Make sure the clips or pins are placed securely to hold the fabric in place.
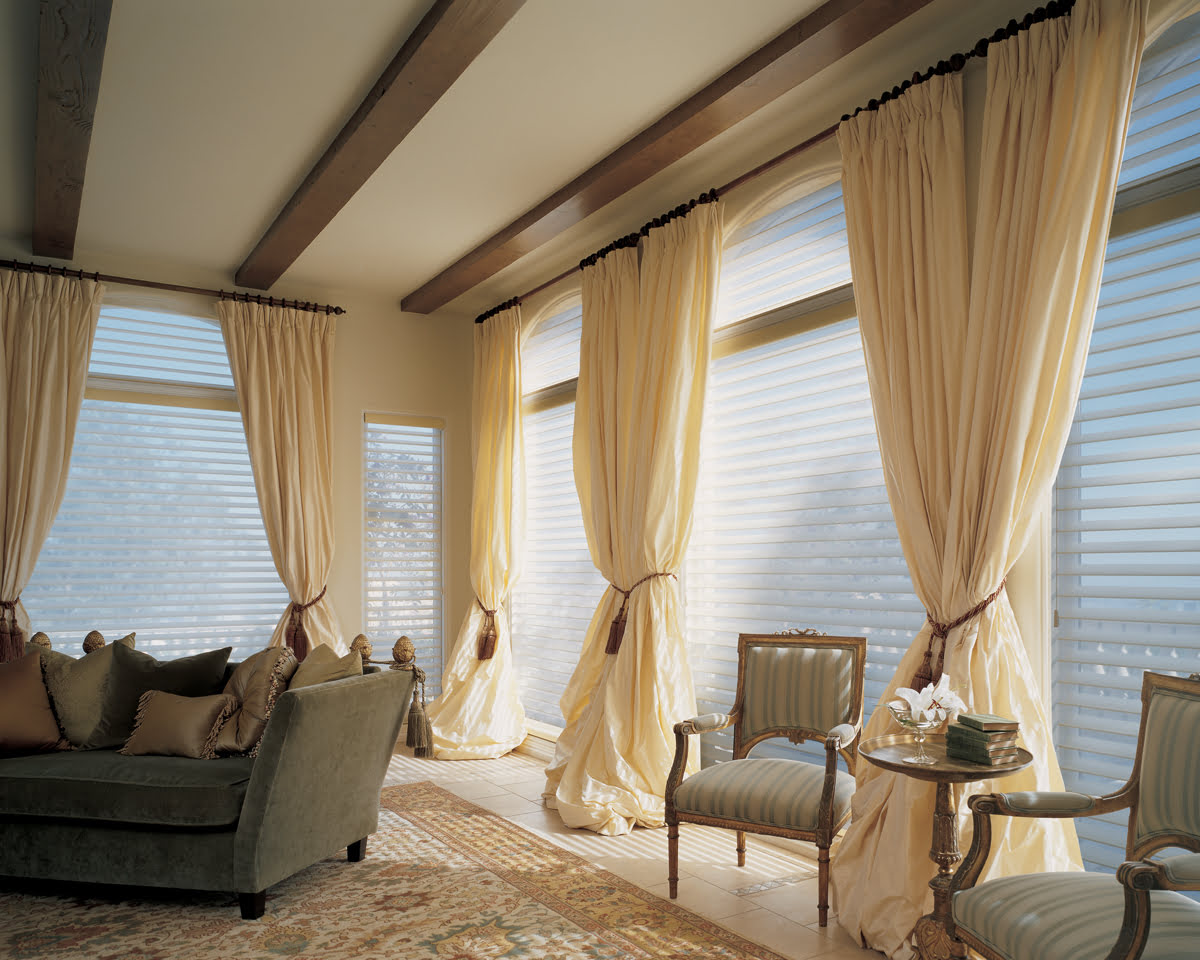
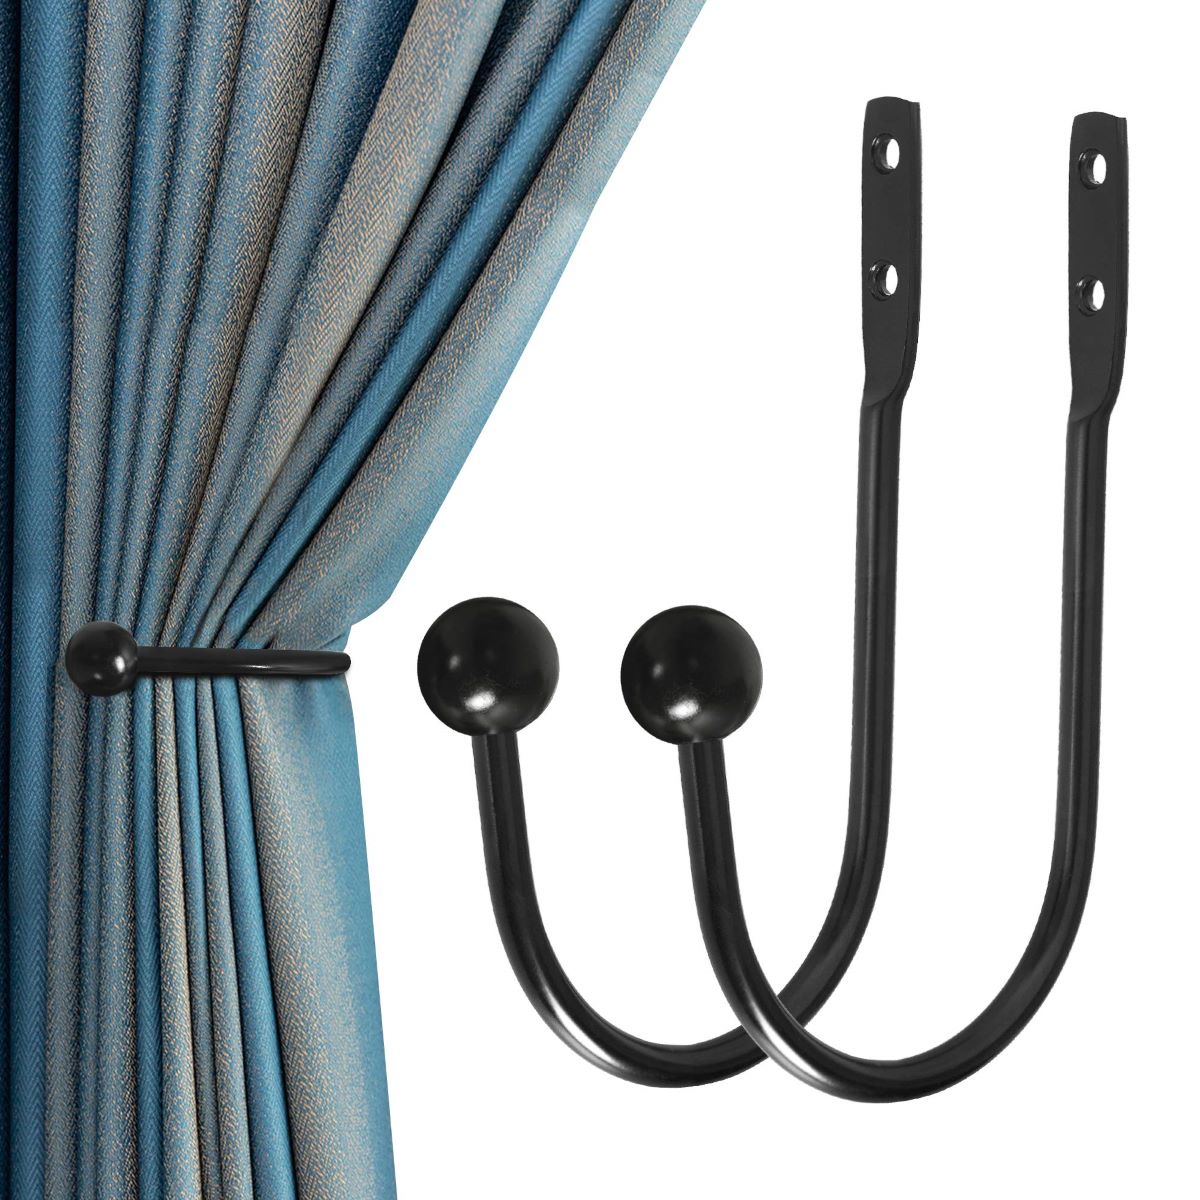
- Create Tie-Backs: If you prefer to have a more open and flowing look, you can use tie-backs to secure the curtains to the sides. This allows for easy adjustment and adds another decorative element to the backdrop. Use ribbon, fabric, or decorative ropes to tie the curtains back.
- Consider Velcro or Adhesive Hooks: For a more discreet and seamless appearance, you can use adhesive hooks or strips with Velcro attachments. Place these along the top edge of the fabric and attach corresponding hooks to the curtain rod or wall. This method keeps the curtains securely in place without visible attachments.
- Add Weights or Hemming: If your curtain fabric tends to sway or flutter, especially in drafty areas, you can consider adding weights to the bottom hem. This will help keep the curtains stable and prevent unwanted movement. Alternatively, hemming the bottom edge can provide a clean and finished look.
Ensure that the curtains are evenly secured and adjust their positioning as necessary. Step back and assess the overall appearance to make sure everything is in place and aligned correctly. Take the time to fine-tune the curtain placement to achieve a polished and professional finish.
Remember, the goal is to ensure that the curtains remain in the desired position throughout the duration of your event or use. By securing them properly, you can enjoy a beautifully draped curtain backdrop that stays in place and enhances the overall aesthetic.
Adding Finishing Touches
Once you have secured the curtains in place, it’s time to add the finishing touches to your draped curtain backdrop. These final details can elevate the overall look and make your backdrop even more visually appealing. Here are some ideas to consider:
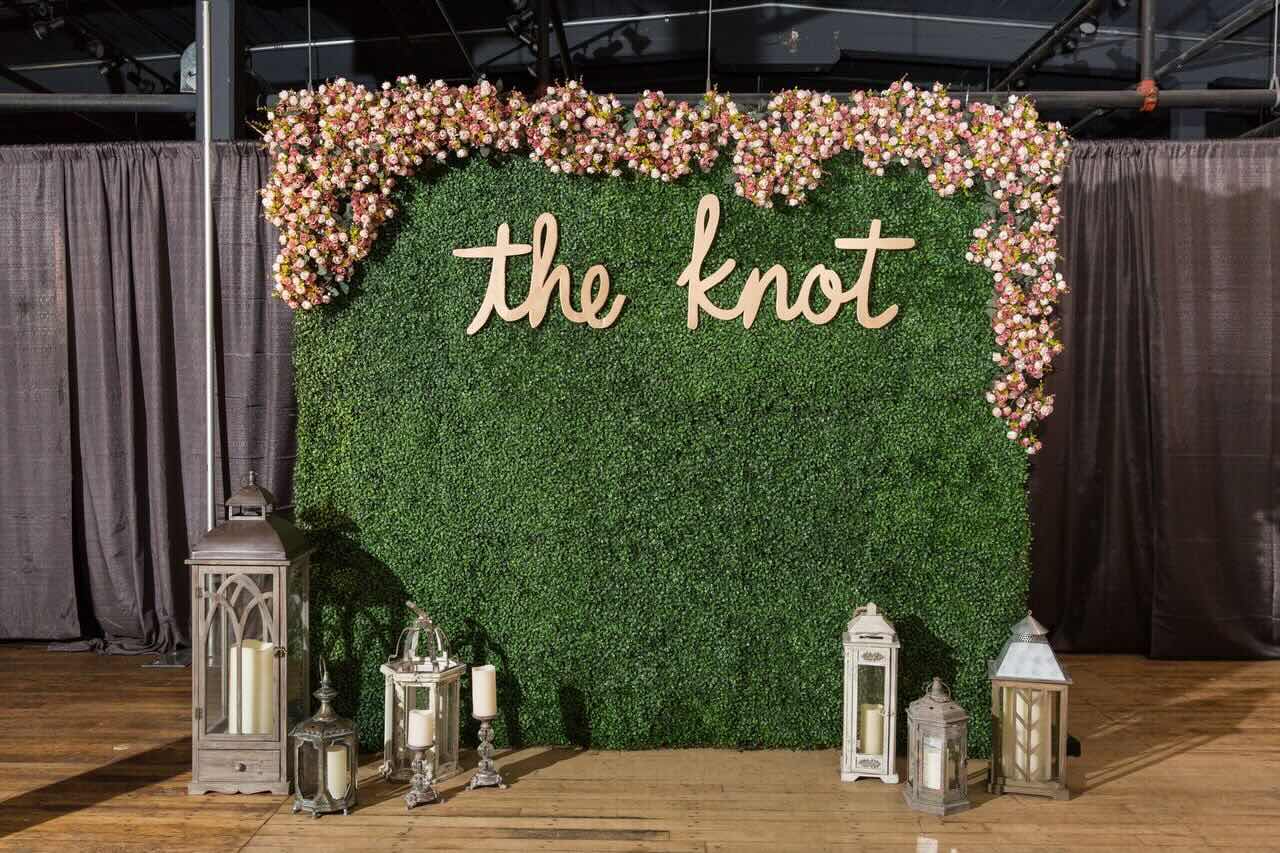
- Decorative Elements: Consider adding decorative elements to enhance your backdrop. This could include hanging fairy lights, stringing garlands, or attaching flowers or greenery to the fabric. These additions can provide a touch of whimsy and create a customized backdrop.
- Ambient Lighting: Use different lighting techniques to create the desired mood. Experiment with colored lights, spotlights, or uplighting to enhance the beauty of the draped curtains and create a captivating backdrop.
- Backdrop Accessories: If your backdrop is for a specific event or occasion, you can incorporate accessories or props that match the theme. For example, for a wedding backdrop, you could add hanging crystals or pearls for a touch of elegance.
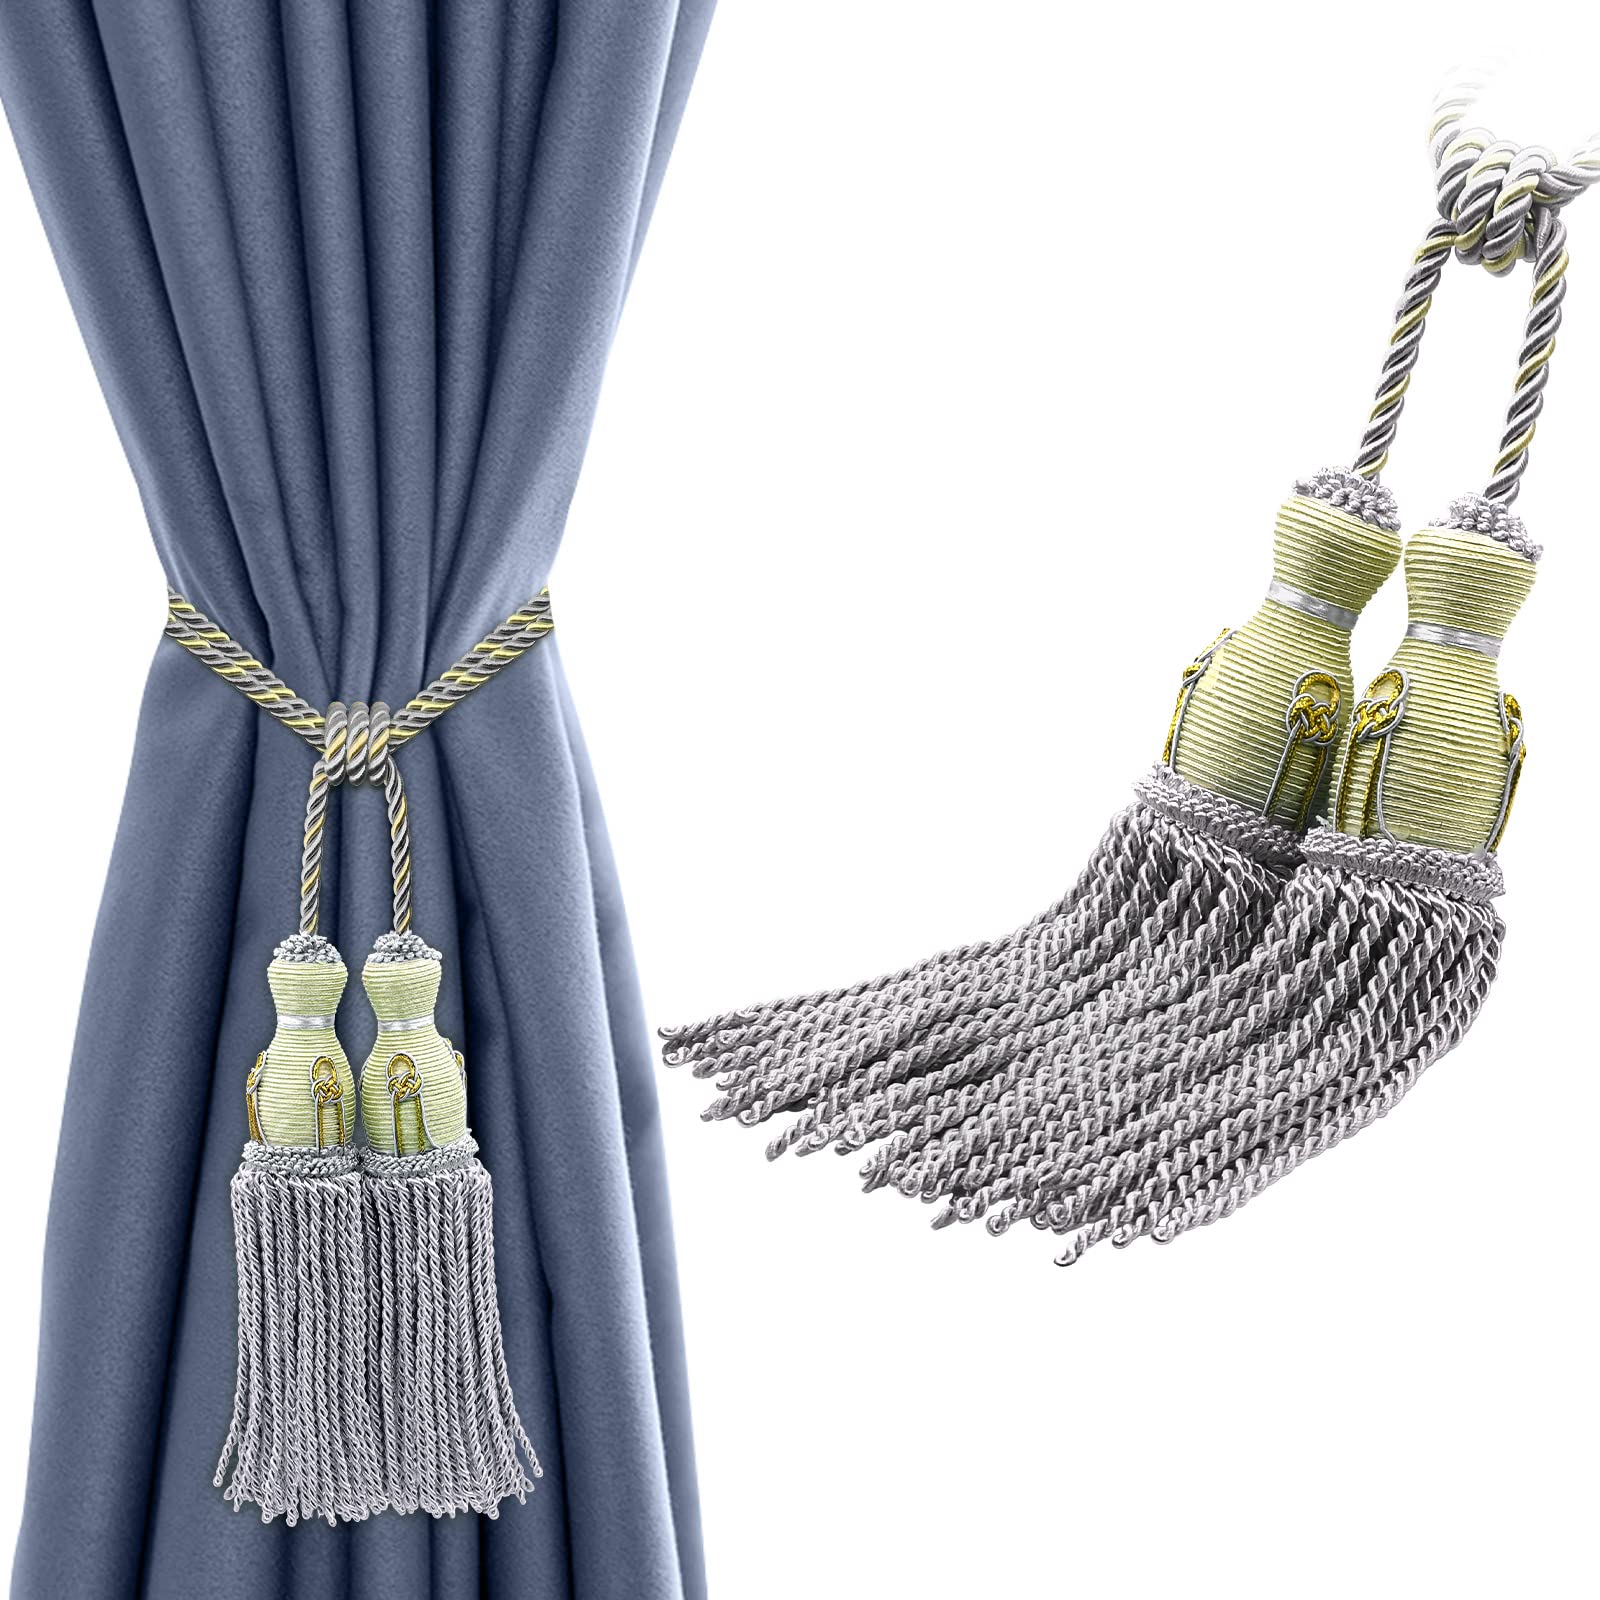
- Decorative Curtain Ties: Instead of traditional tie-backs, you can use decorative curtain tiebacks or holdbacks to add a stylish and sophisticated touch. These can be made of crystal, metal, or luxurious fabric to complement the overall aesthetic.
- Consider Layers: For a more dramatic look, consider layering different fabrics or combining curtains of varying lengths. This can add depth and texture to the backdrop, creating a visually stunning effect.
Remember to consider the overall theme or purpose of your backdrop and select finishing touches that enhance that vision. Don’t be afraid to get creative and think outside the box. These final details will help create a unique and memorable draped curtain backdrop that takes your space or event to the next level.
Take the time to step back and assess the overall appearance of your backdrop after adding the finishing touches. Make any necessary adjustments and fine-tune the details to achieve the desired effect. With the right finishing touches, your draped curtain backdrop will become a show-stopping focal point.
Read also: 9 Incredible Drapes And Curtains for 2025
Conclusion
Creating a stunning draped curtain backdrop is a wonderful way to transform any space and create an enchanting atmosphere. By carefully selecting the right fabric, measuring and determining the length, preparing the backdrop area, mounting the hardware, attaching the fabric, creating pleats or folds, securing the curtains in place, and adding finishing touches, you can achieve a visually striking result.
Remember, draping curtains for a backdrop is both an art and a science. It requires careful attention to detail, creativity, and precision. Take the time to plan and experiment with different techniques to find the perfect style that suits your event or space.
Throughout the process, keep in mind the importance of choosing the right fabric and measuring accurately. This will ensure that the curtains fit the space appropriately and create the desired effect. Additionally, proper preparation of the backdrop area and careful mounting of the hardware will provide a solid foundation for your draped curtain backdrop.
As you attach the fabric and create pleats or folds, take the time to step back and evaluate the overall look. Make adjustments as necessary to achieve a balanced and visually appealing composition. Securing the curtains in place and adding the finishing touches will further enhance the beauty of your backdrop.
Whether you’re hosting a special event, setting up a photo booth, or simply adding a touch of elegance to your home, a well-crafted draped curtain backdrop can make a lasting impression. So, let your creativity soar, and create a stunning backdrop that will captivate all who see it.
Remember to have fun throughout the process and don’t be afraid to experiment. With the tips and techniques outlined in this guide, you’ll be well-equipped to create an awe-inspiring draped curtain backdrop that will leave a lasting impression.
Frequently Asked Questions about How To Drape Curtains For Backdrop
Was this page helpful?
At Storables.com, we guarantee accurate and reliable information. Our content, validated by Expert Board Contributors, is crafted following stringent Editorial Policies. We're committed to providing you with well-researched, expert-backed insights for all your informational needs.
0 thoughts on “How To Drape Curtains For Backdrop”