Home>diy>Architecture & Design>How To Design The Interior Of A House With Blender For Inspiration

Architecture & Design
How To Design The Interior Of A House With Blender For Inspiration
Modified: December 7, 2023
Learn how to use Blender to create stunning interior designs for houses and find inspiration for your architecture design projects.
(Many of the links in this article redirect to a specific reviewed product. Your purchase of these products through affiliate links helps to generate commission for Storables.com, at no extra cost. Learn more)
Introduction
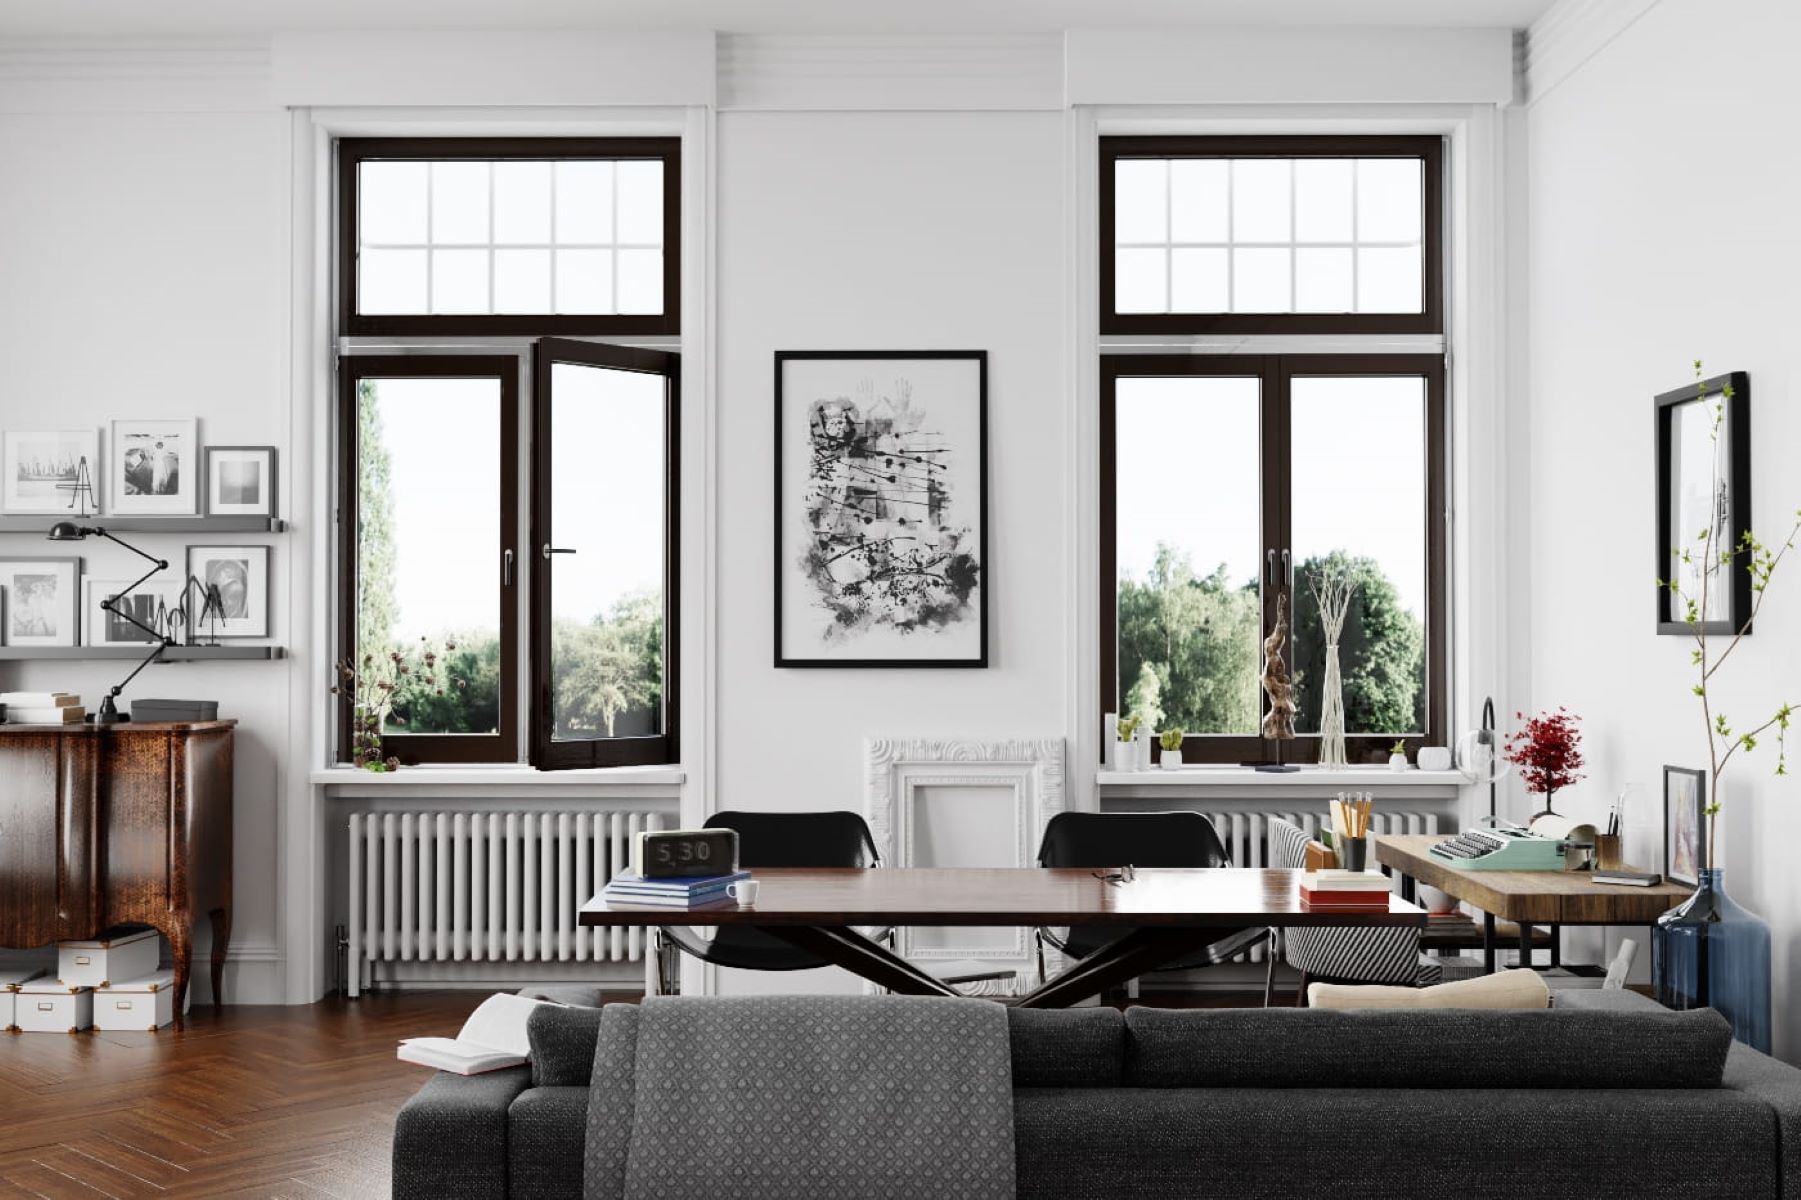
Welcome to the world of interior design! Designing the interior of a house is a creative and exciting process that allows you to transform any space into a personalized and visually appealing environment. With the advancements in technology, there are now numerous software tools available that can assist you in bringing your design ideas to life. One such tool is Blender, a powerful 3D rendering software that enables you to create stunning and realistic interior designs.
In this article, we will guide you through the process of designing the interior of a house using Blender. Whether you are a professional interior designer or simply someone looking to unleash their creativity, this article will provide you with valuable insights and tips to create beautiful interior spaces.
Before we dive into the process, let’s take a moment to familiarize ourselves with Blender. Blender is a free and open-source 3D computer graphics software that is highly versatile and widely used in the design industry. It offers a wide range of features, including modeling, texturing, animation, and rendering, making it perfect for interior design projects.
Now, let’s explore the step-by-step process of designing the interior of a house with Blender. From setting up the software to rendering the final images, we will cover everything you need to know to create stunning interior designs.
Key Takeaways:
- Designing the interior of a house with Blender is a creative journey that involves setting up the software, creating 3D models, adding furniture and decor, applying materials and textures, setting up lighting and camera angles, and fine-tuning the details to bring your vision to life.
- Blender empowers interior designers to unleash their creativity and transform spaces into personalized, visually appealing environments. With its versatile features and functionalities, Blender enables the creation of stunning, photorealistic interior designs that inspire and captivate.
Read more: How To Design The Interior Of A House
Step 1: Setting up the Blender software
Before you begin designing the interior of a house with Blender, you need to make sure you have the software installed on your computer. Fortunately, Blender is free to download and available for Windows, Mac, and Linux operating systems. Simply visit the official Blender website, locate the download section, and choose the appropriate version for your operating system.
Once you have downloaded and installed Blender, launch the software to get started. You will be greeted with the Blender interface, which may seem overwhelming at first glance. However, with a little practice and exploration, you will quickly get the hang of it.
To customize the Blender interface to your liking, you can rearrange and resize the various panels and windows. This allows you to have a workspace that suits your preferences and workflow. Additionally, Blender offers different interface layouts for different tasks, such as modeling, sculpting, and animation. You can easily switch between these layouts to streamline your workflow.
It’s also important to familiarize yourself with the basic navigation and controls in Blender. The software uses a 3D viewport, where you can manipulate objects and navigate the scene. You can zoom in and out by scrolling the middle mouse button, pan the view by holding down Shift and dragging the middle mouse button, and rotate the view by pressing the middle mouse button and moving the mouse. These navigation controls will be essential as you design the interior of the house.
Furthermore, Blender has a vast array of tools and features that can be accessed through the various menus and panels. Take some time to explore the different menus and options to get a sense of what is available. Blender also provides extensive documentation and tutorials on their website, which can help you learn more about the software and its capabilities.
With the Blender software set up on your computer and a basic understanding of its interface and controls, you are now ready to move on to the next step: creating a 3D model of the house.
Step 2: Creating a 3D model of the house
Now that you have the Blender software set up, it’s time to start creating a 3D model of the house for your interior design project. The first step in this process is to gather reference images or blueprints of the house you wish to design. These references will serve as a guide to ensure accuracy and realism in your design.
In Blender, you can create the basic structure of the house using various modeling techniques. One common method is to use geometric primitives, such as cubes or cylinders, to represent walls, floors, and ceilings. You can use the built-in tools in Blender to scale, rotate, and move these primitives to match the dimensions and layout of the house.
As you create the basic structure, you can also add more details, such as doors, windows, and stairs. Blender offers a wide range of modeling tools that allow you to sculpt and refine the shape of each element. You can use techniques like extrusion and subdivision to add depth and complexity to your model.
To create more intricate details, you can make use of Blender’s modifier system. Modifiers are non-destructive tools that allow you to apply operations to your model without permanently altering its geometry. For example, you can use the array modifier to create a row of windows or the mirror modifier to quickly create symmetrical objects.
When modeling the interior spaces, it’s essential to consider the functionality and flow of the design. Think about how each room will be used and plan the placement of furniture and other elements accordingly. Pay attention to details such as room proportions, ceiling height, and natural lighting to create a realistic and comfortable space.
Throughout the modeling process, remember to save your progress regularly to avoid losing any work. Blender allows you to save your project as a .blend file, which preserves all the information and settings associated with your model.
Once you have finished creating the 3D model of the house, you can move on to the next step: adding furniture and decor elements to bring the interior design to life.
Step 3: Adding furniture and decor elements
Now that you have created the 3D model of the house in Blender, it’s time to bring life to the interior by adding furniture and decor elements. This step is where you can let your creativity shine as you select and arrange the pieces that will complete the design.
Start by gathering reference images or browsing through online catalogs to find the furniture and decor items you want to include in your design. Pay attention to the style, scale, and color scheme to ensure cohesiveness in the overall aesthetic.
In Blender, you can create or import 3D models of the furniture and decor elements. Blender supports various file formats, such as .obj and .fbx, which allows you to import models created in other software or downloaded from online resources.
Once you have the furniture and decor elements imported, you can position and arrange them within the rooms of the house. Blender offers tools like the snap function and grid system to help with precise placement and alignment. Pay attention to the scale and proportion of the furniture to ensure it fits naturally within the space.
Besides arranging the furniture, you can also add smaller decor elements such as paintings, rugs, plants, and lighting fixtures to enhance the ambiance and add personality to the design. Blender provides various techniques to create and manipulate these elements, such as using textures, particle systems, and volumetrics.
Consider the functionality and practicality of the furniture layout as well. Make sure there is enough space for movement, and that the furniture placement promotes a comfortable and functional environment. Think about how natural light will interact with the space and arrange furniture accordingly.
Throughout the process, you can adjust the materials and textures of the furniture and decor elements to achieve the desired look. Blender’s material editor allows you to control the properties of surfaces, such as color, reflectivity, and roughness, to create realistic and visually appealing materials.
Don’t be afraid to experiment with different furniture and decor arrangements. Blender allows you to easily modify and rearrange objects, so you can explore different design possibilities and find the perfect composition.
Once you are satisfied with the placement of furniture and decor elements, you can move on to the next step: applying materials and textures to bring your design to life.
Step 4: Applying materials and textures
After adding furniture and decor elements to your interior design in Blender, it’s time to apply materials and textures to bring your design to life. Materials and textures add realism and visual interest to your model by simulating the various surfaces and finishes in the scene.
In Blender, materials are created and assigned to objects to define their appearance. You can create materials from scratch or use pre-existing materials from Blender’s material library or other external sources. Each material consists of various properties, such as color, reflectivity, roughness, and transparency.
To apply a material to an object, select the object in the 3D viewport and navigate to the Material Properties panel. Here, you can create a new material and adjust its properties to achieve the desired look. Blender offers a node-based material editor, which allows for more advanced and detailed control over the material properties.
Textures, on the other hand, are images that are applied to the surfaces of objects to add detail and realism. Common types of textures include diffuse maps, which define the base color of a surface, and bump maps, which simulate surface details and imperfections.
In Blender, you can create or import textures and assign them to materials. Blender supports various image formats, such as .png and .jpeg. Once you have imported a texture, you can use the Texture Properties panel to adjust its mapping and influence its appearance on the object’s surface.
When applying materials and textures, consider the overall aesthetic and style of your design. Choose materials that complement the furniture and decor elements and create a cohesive look. Pay attention to the properties of the materials, such as the reflectivity of a shiny surface or the roughness of a textured wall, to achieve the desired realism.
Blender offers features like UV unwrapping, where you can unwrap the surfaces of objects and create a map that defines how textures are applied. This allows for more precise and controlled texture mapping, ensuring that textures align correctly on the object’s surface.
Throughout the process, don’t be afraid to experiment and make adjustments. Render test images to see how the materials and textures look in different lighting conditions and camera angles. Blender’s rendering engine provides realistic and high-quality renderings, allowing you to preview the final appearance of your design.
Once you are satisfied with the materials and textures applied, you can move on to the next step: setting up lighting and camera angles to enhance the visual impact of your design.
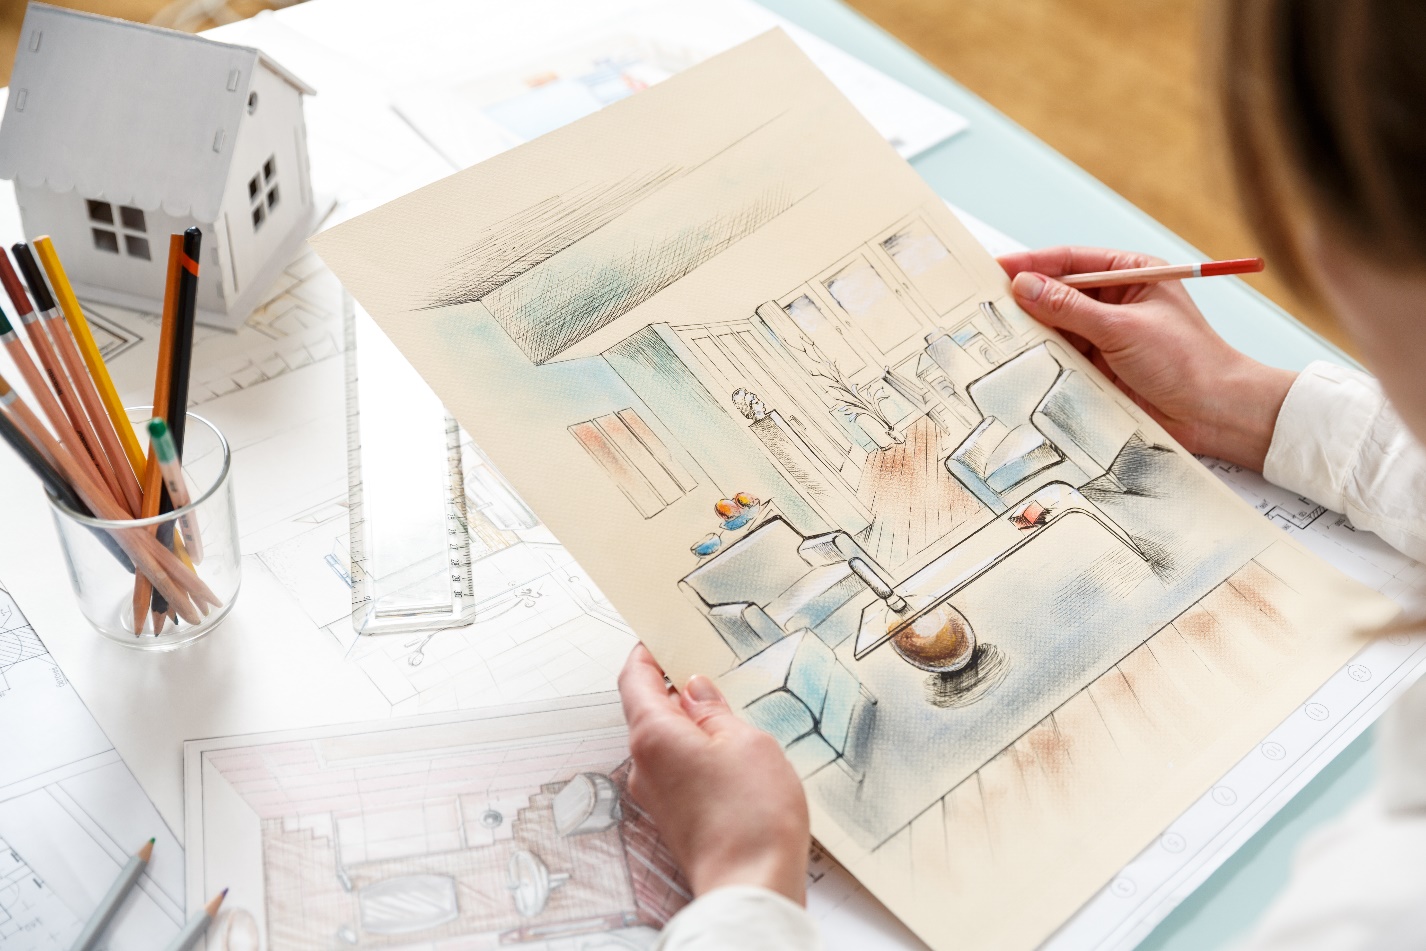
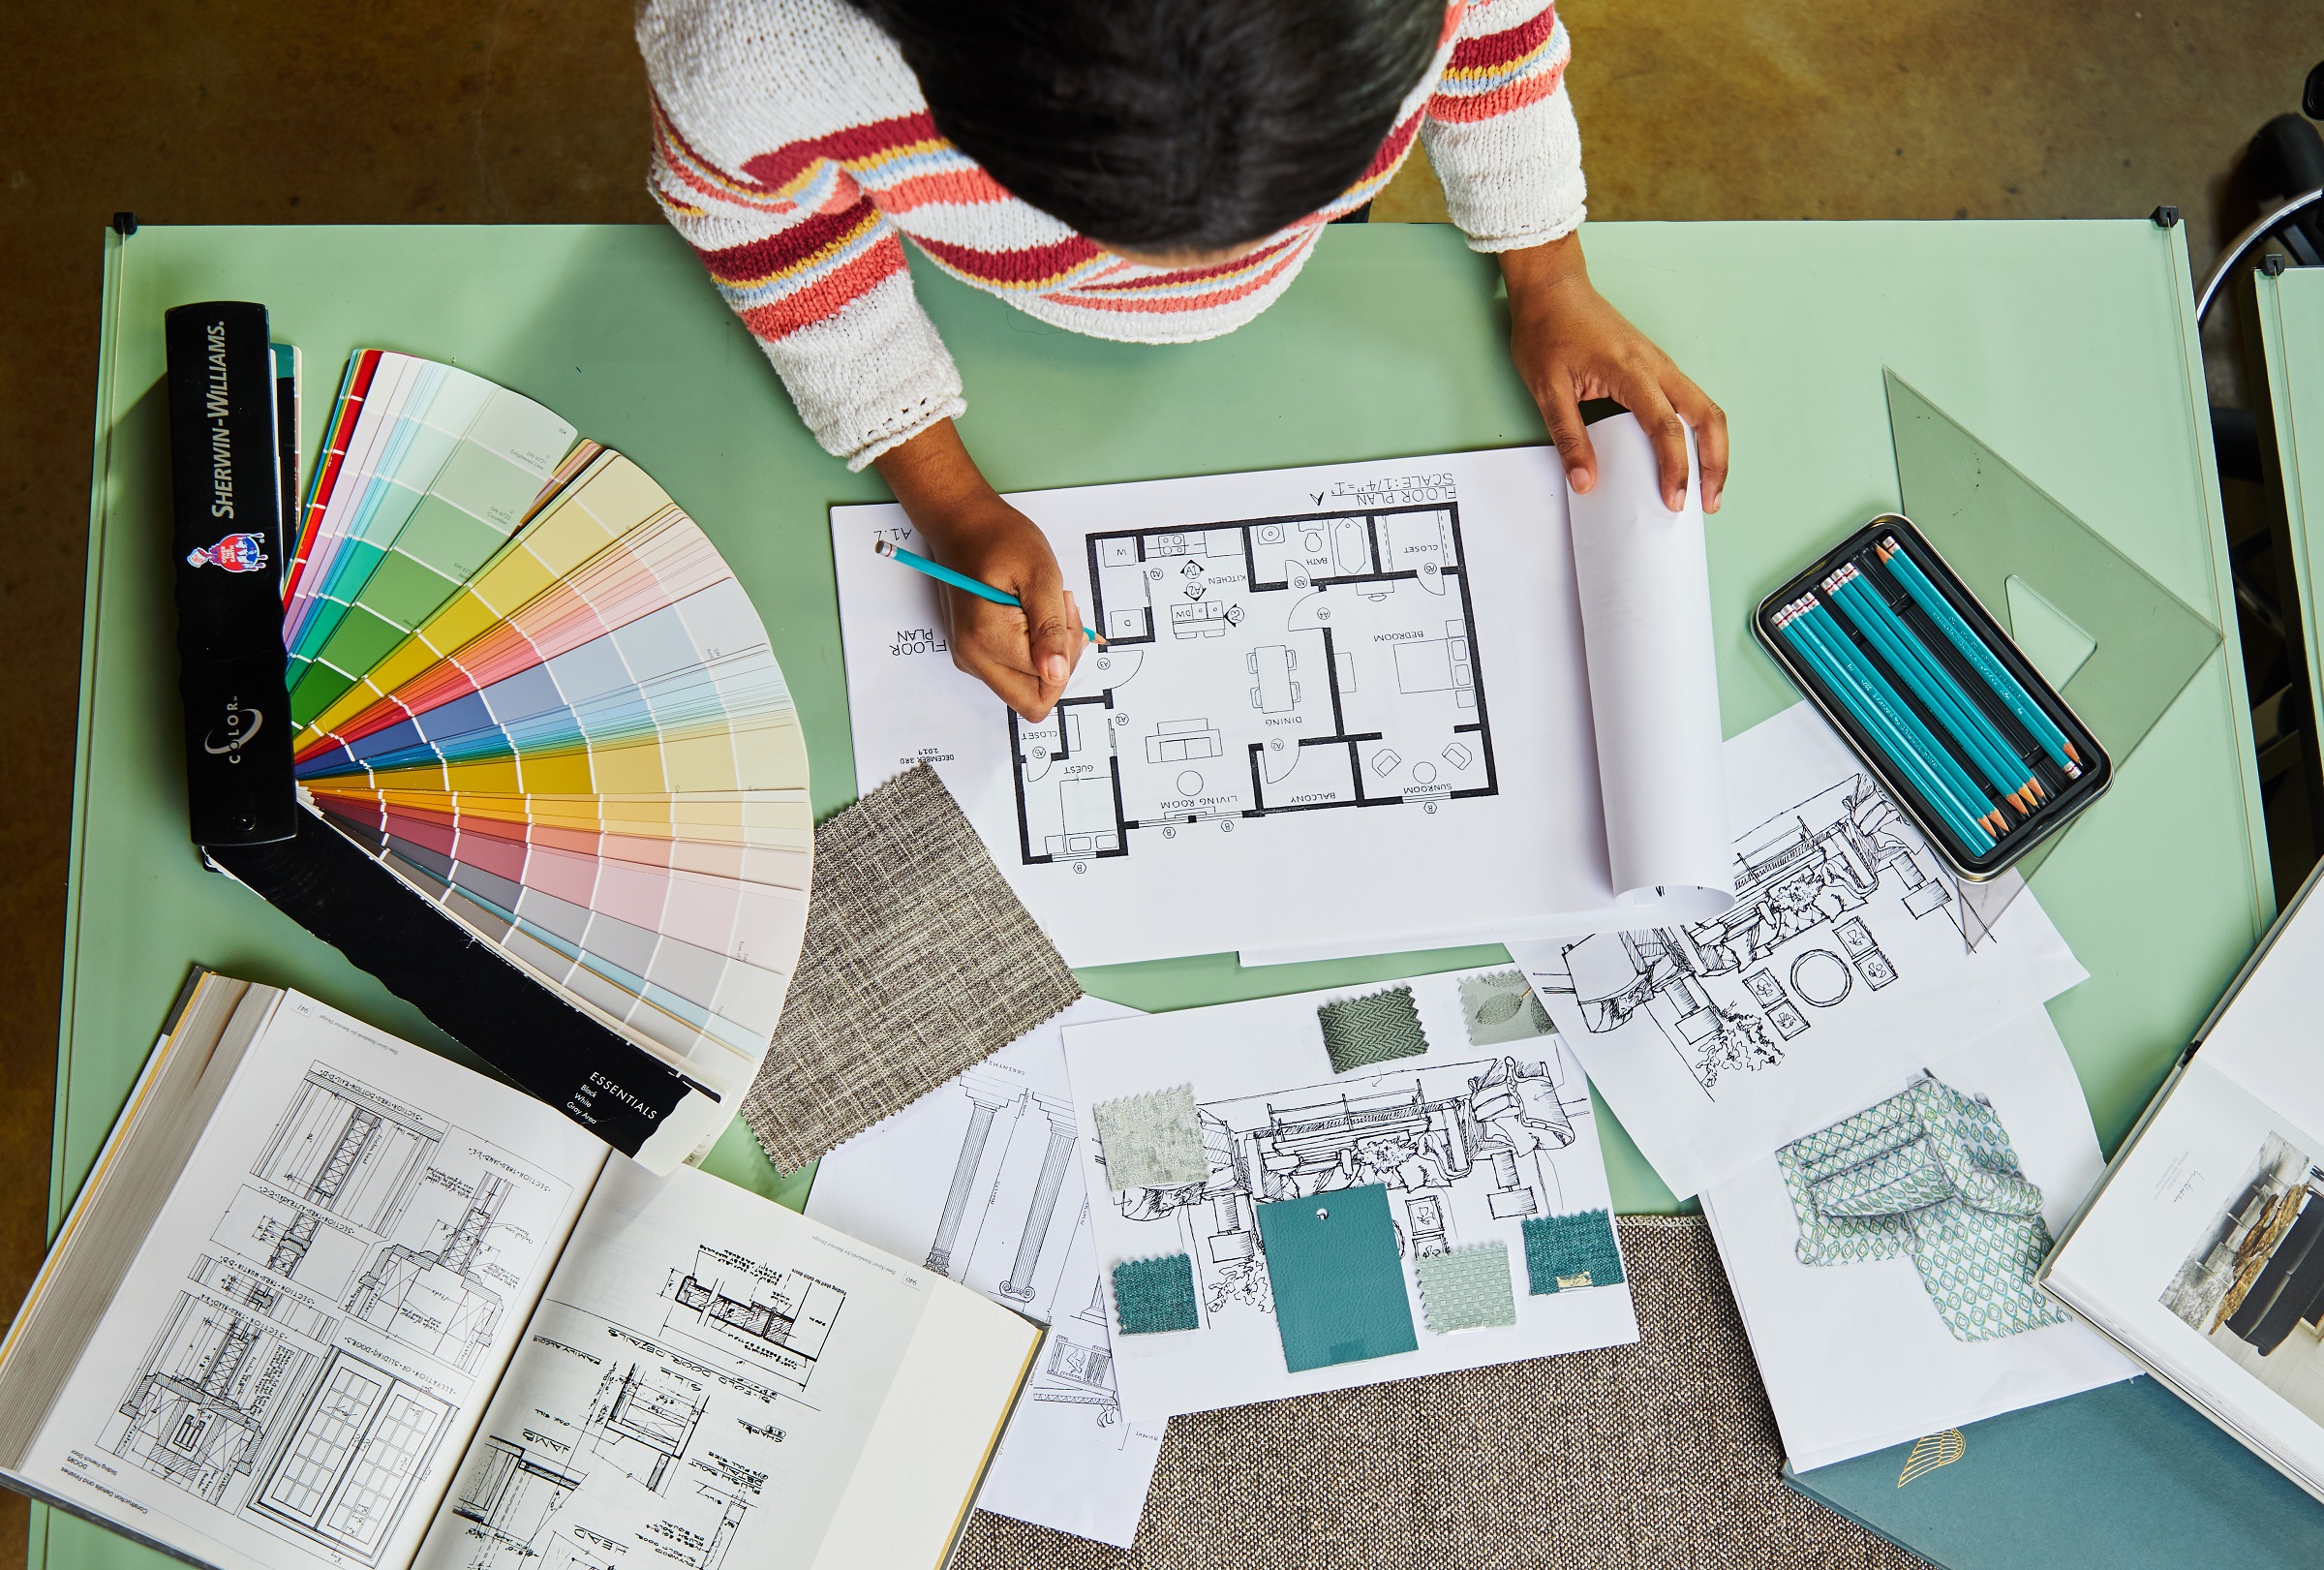
When designing the interior of a house with Blender for inspiration, start by gathering reference images and creating a mood board to define the style and color scheme you want to achieve. This will help guide your design process and keep you focused on your vision.
Step 5: Setting up lighting and camera angles
Setting up proper lighting and camera angles is crucial in enhancing the visual impact of your interior design in Blender. Lighting helps to highlight the key features of the space and create the desired mood, while camera angles allow you to showcase the design from the most flattering perspectives.
In Blender, you have various options for lighting your scene. You can use different types of light sources, such as point lights, spotlights, and area lights, to simulate natural and artificial lighting. It’s a good idea to consider the function and ambiance of each room when determining the lighting setup.
Start by adding a primary light source, such as a sunlight or a larger area light, to simulate the main source of illumination in the scene. Position the light source to mimic the position of the sun or the primary light source in the room. Adjust the intensity and color of the light to achieve the desired mood and atmosphere.
In addition to the primary light source, you can add secondary and fill lights to soften shadows and provide more balanced illumination. These additional lights help to create a more realistic and visually appealing rendering. Experiment with different lighting setups and observe how they interact with the surfaces and materials in your scene.
Blender also offers features like global illumination and ambient occlusion, which contribute to more realistic lighting effects. Global illumination simulates the bouncing of light rays in the scene, while ambient occlusion adds subtle shadows and shading to enhance depth and realism.
Once you have set up the lighting, you can move on to choosing the camera angles for your design. Camera angles play a crucial role in capturing the essence and details of your interior design. They help to establish the composition and guide the viewer’s eye towards the key elements of the scene.
In Blender, you can position and manipulate the camera to find the most visually appealing angles. Consider the focal length and field of view of the camera to achieve the desired perspective. Experiment with different camera heights, rotations, and distances to capture different aspects of the space.
Take into account the composition principles, such as the rule of thirds or leading lines, to create a well-balanced and visually engaging image. Pay attention to the placement and framing of furniture and decor elements within the camera view.
Furthermore, Blender allows you to set up camera settings, such as aperture and depth of field, to control the focus and blur in your renderings. These settings can add depth and realism to your images, replicating the way a real camera captures a scene.
As you adjust the lighting and camera angles, make sure to regularly render test images to evaluate their impact on the final result. Don’t be afraid to make adjustments and iterate on your design until you achieve the desired look.
Once you are satisfied with the lighting and camera setup, you can move on to the next step: fine-tuning the interior design to add those final touches.
Step 6: Fine-tuning the interior design
With the basic elements of your interior design in place, it’s time to fine-tune the details and add those final touches in Blender. This step involves refining the composition, adjusting materials, and making any necessary adjustments to create a polished and visually appealing design.
One aspect of fine-tuning is focusing on the composition of your interior design. Consider the overall balance and harmony of the elements within the scene. Pay attention to the arrangement of furniture, decor items, and architectural features to ensure a visually pleasing and functional space.
During this stage, you can review the proportions and scale of the objects within the scene. Make any necessary adjustments to ensure that the furniture and decor elements appear realistic and properly sized in relation to the space.
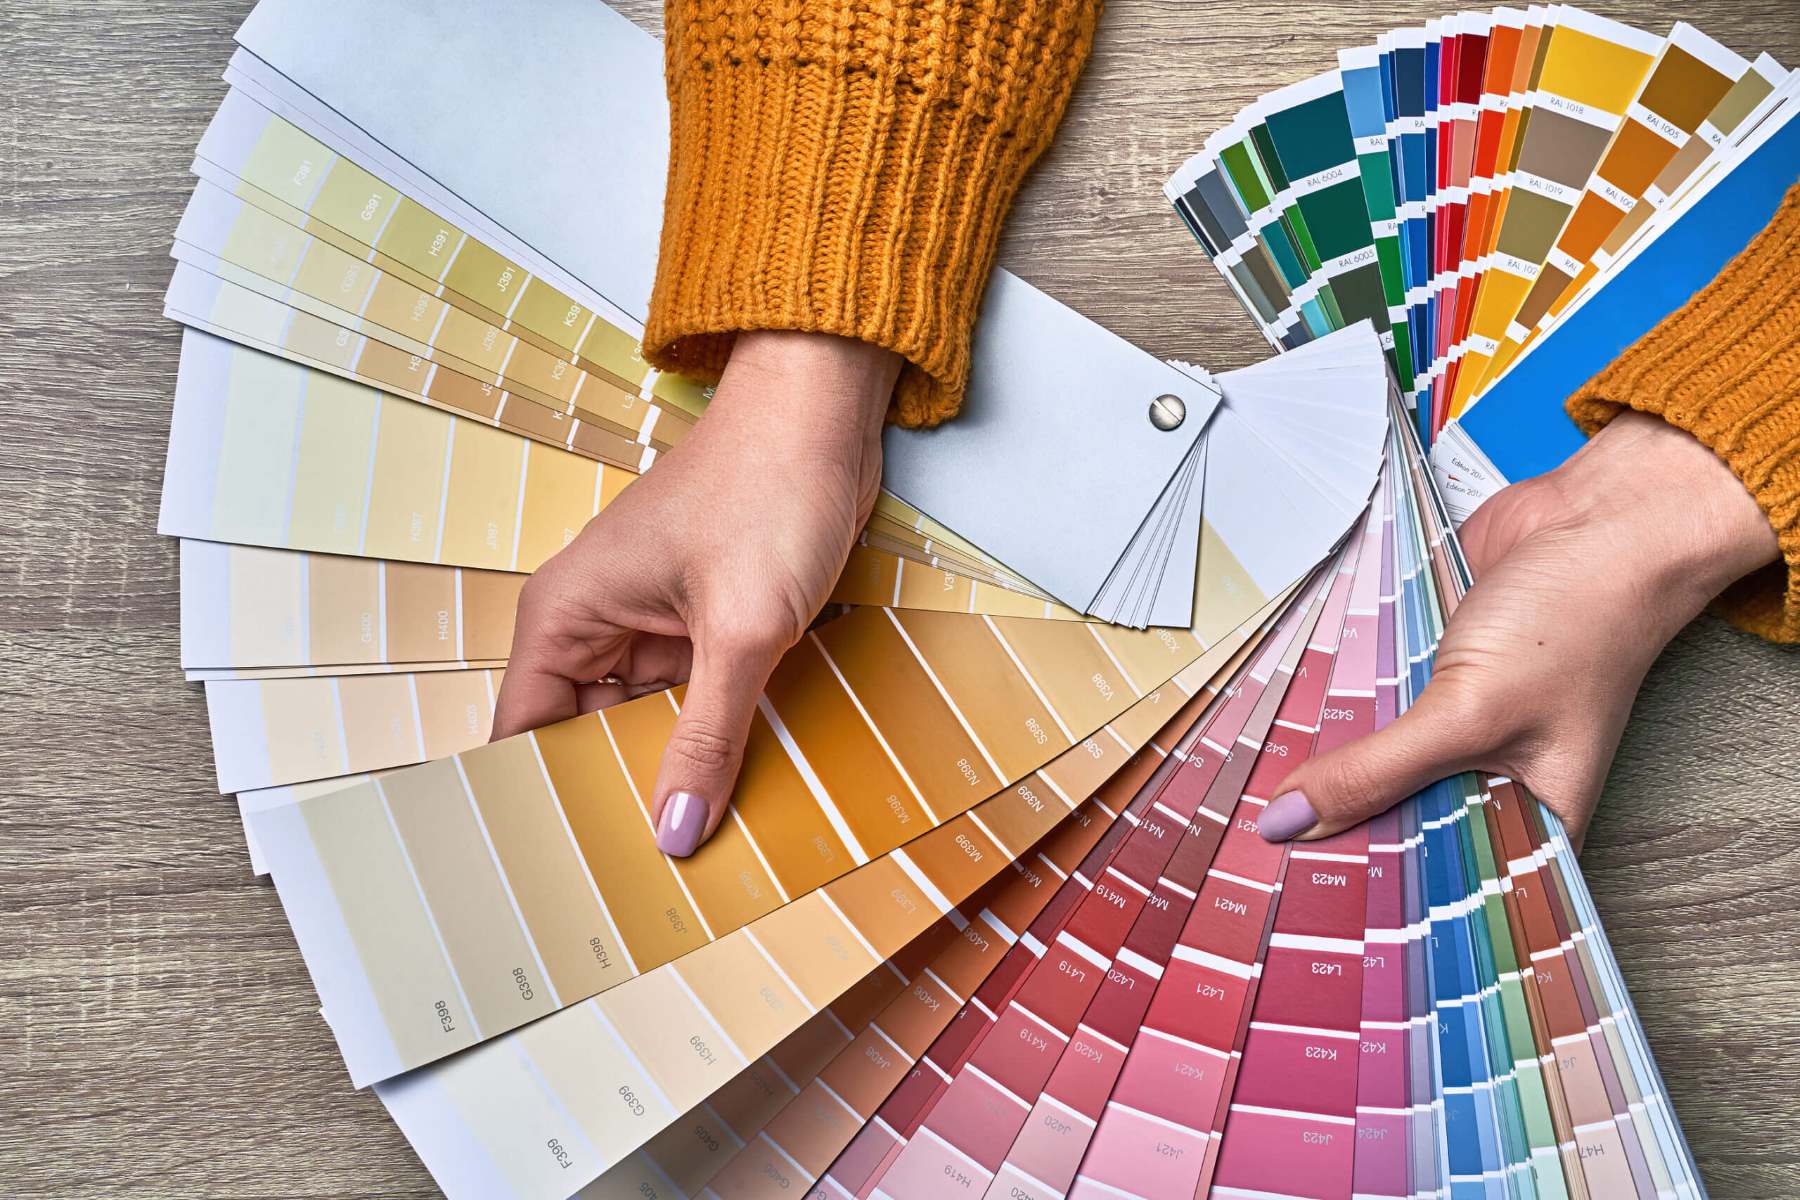
Another important aspect to consider is the color palette of your design. Colors can significantly impact the mood and atmosphere of a room. Experiment with different color schemes and combinations to create the desired ambiance. Blender allows you to easily adjust the colors of materials or objects to achieve the desired effect.
In addition, consider the materials and textures used throughout the design. Fine-tune the properties of materials to strike the right balance between realism and aesthetic appeal. Adjust the reflectivity, glossiness, or roughness of materials to achieve the desired appearance.
Blender offers advanced features like procedural textures and node-based material editing, allowing you to create intricate and nuanced material effects. Take advantage of these tools to add depth, patterns, or subtle variations to surfaces within your design.
Furthermore, consider the details and finishing touches that can elevate your interior design. Pay attention to small objects like vases, books, or cushions, and make sure they are well-placed and contribute to the overall aesthetic of the room. Add any necessary accessories or additional elements to enhance the realism and storytelling within your design.
As you fine-tune the interior design, it’s important to continuously evaluate and iterate on your work. Regularly render test images to assess the impact of the adjustments you make. Take the time to zoom in and inspect the details to ensure everything appears as intended.
Remember, there are no strict rules in design, and your personal taste and style will play a significant role in the fine-tuning process. Trust your instincts and make decisions that align with your vision for the interior design.
Once you’re satisfied with the fine-tuning, it’s time to move on to the final step: rendering the final images of your interior design.
Step 7: Rendering the final images
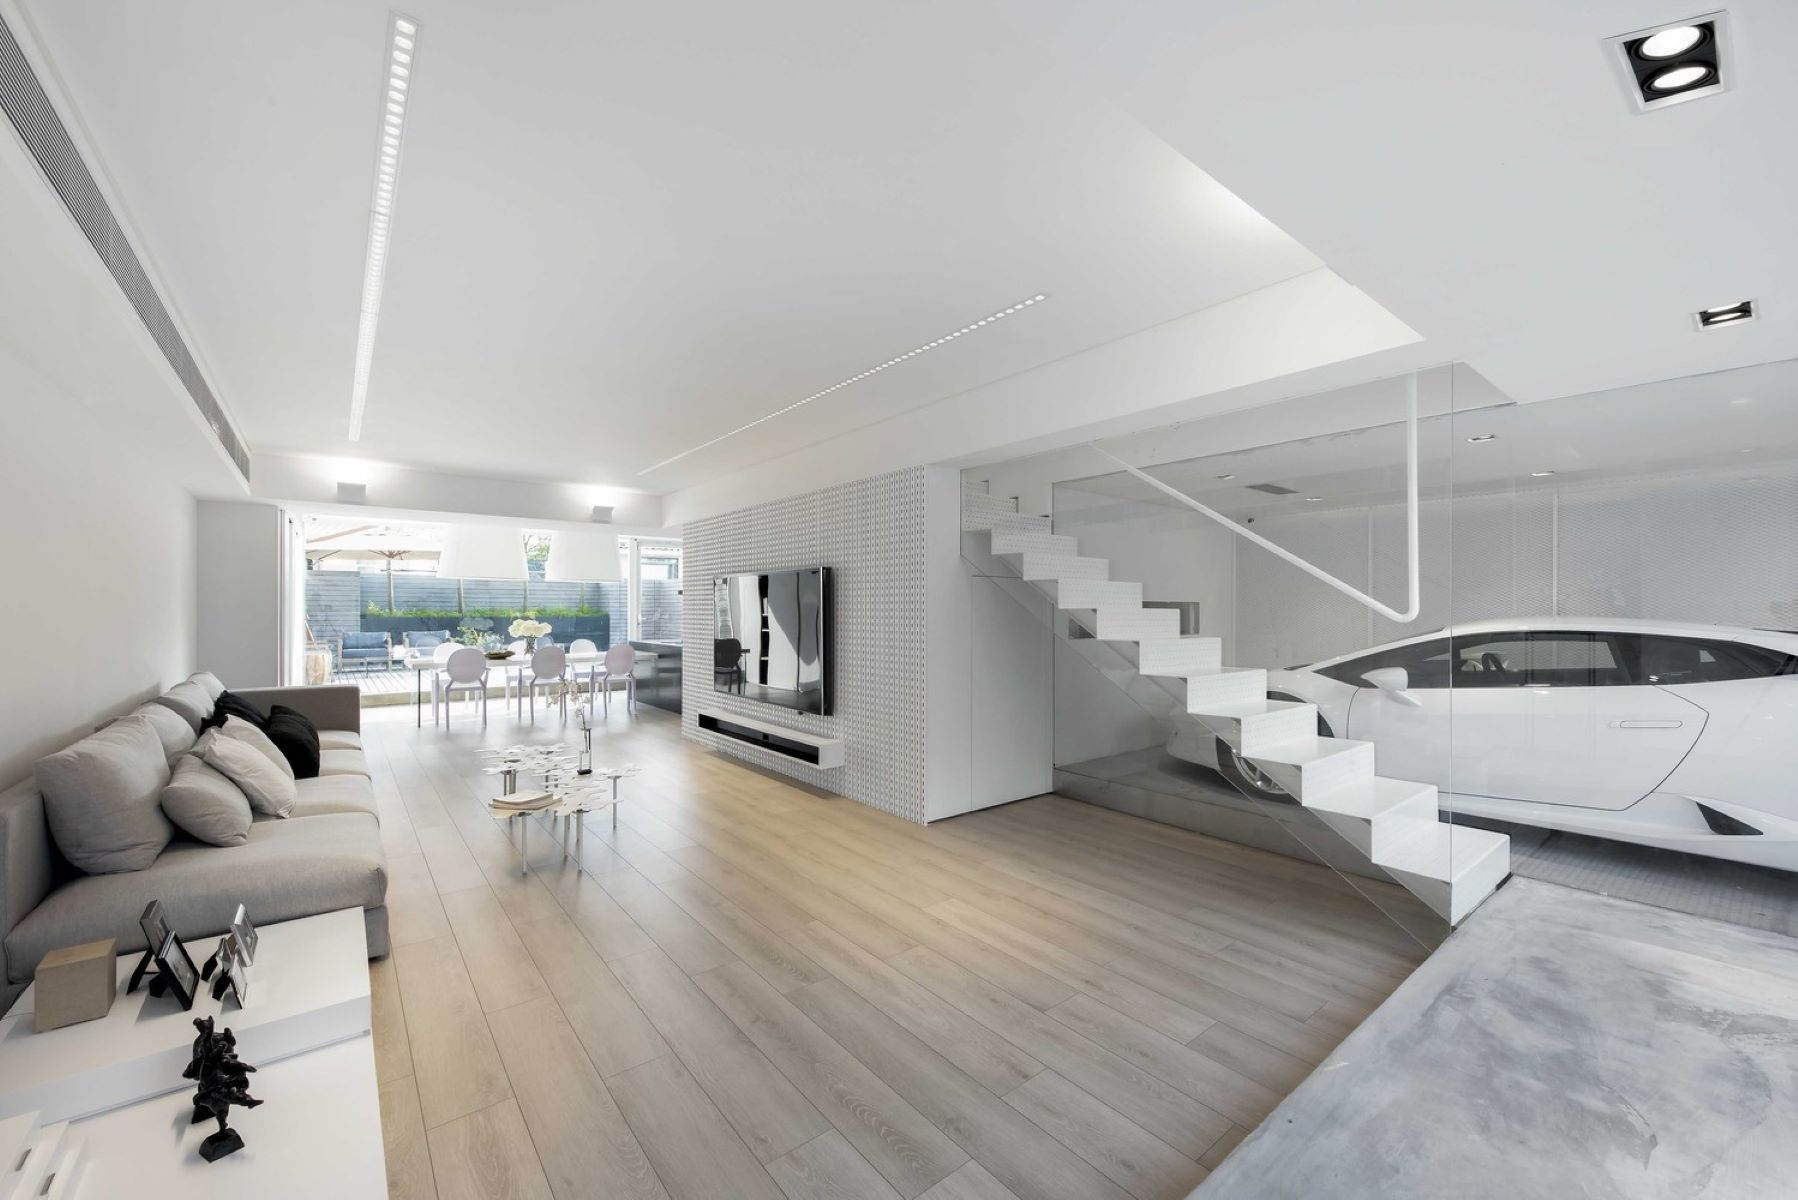
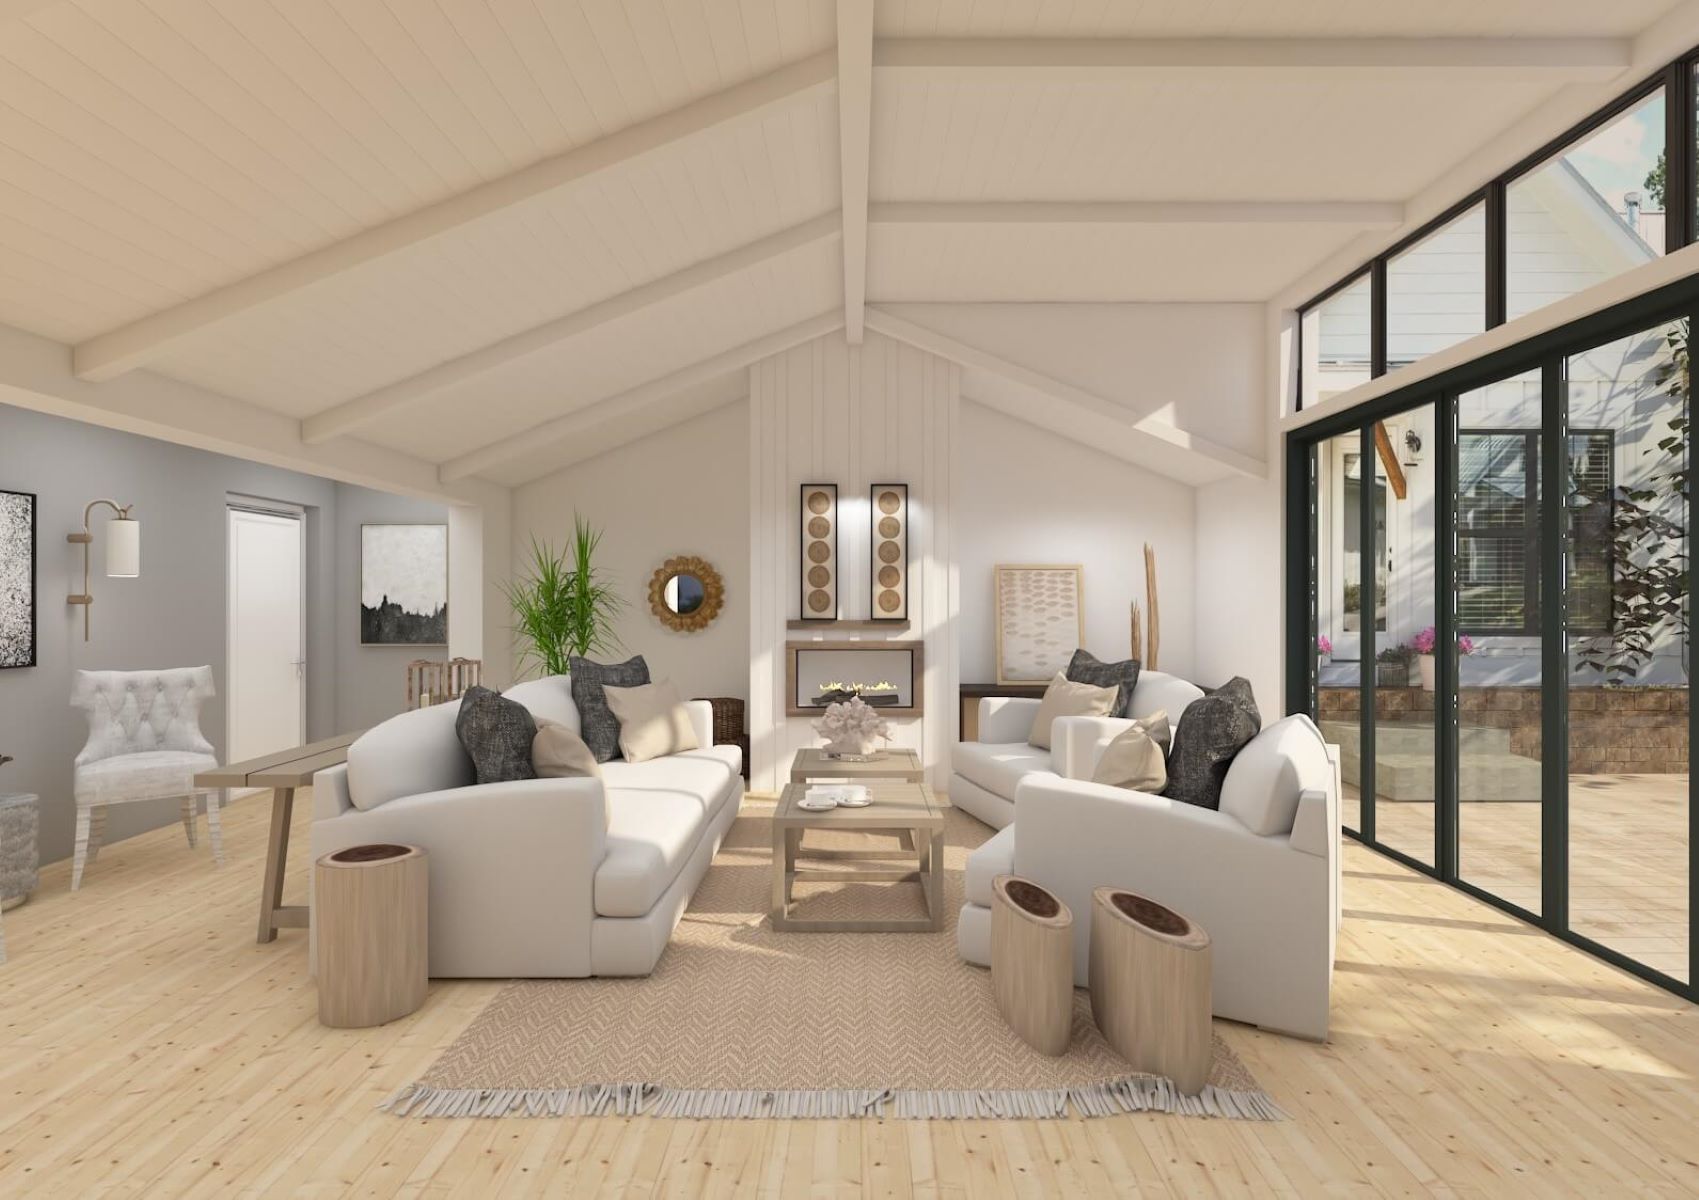
After putting in all the hard work to design and fine-tune the interior in Blender, it’s time to render the final images to showcase your stunning creation. Rendering is the process of generating the high-quality, photorealistic visuals that bring your interior design to life.
Before you start rendering, it’s important to optimize the settings to achieve the best results. Adjust the resolution and aspect ratio of the final image based on your intended use – whether it’s for print, web, or social media. Consider the balance between image quality and file size to ensure a good balance of detail and accessibility.
Blender offers different rendering engines, each with its own set of features and capabilities. The most commonly used rendering engine in Blender is Cycles, which provides realistic lighting and materials. Another option is Eevee, a real-time engine that offers faster rendering times and is ideal for interactive or animated projects.
When setting up the rendering, make sure to choose the appropriate lighting setup and camera angle that best showcases your interior design. Adjust the exposure and tonal range to achieve the desired brightness and contrast in the final output.
Render settings in Blender also allow you to control the quality, sampling, and anti-aliasing of the image. These settings impact the level of detail and smoothness in the final render. It’s important to find a balance between the desired image quality and the time it takes to complete the rendering process.
As your image begins to render, it’s a good idea to let the process run for a sufficient amount of time to ensure that the image converges to a clear and noise-free result. Render times will vary depending on the complexity of your scene and the power of your computer.
Once the rendering is complete, you can save the final image to a desired format, such as JPEG or PNG. Blender also allows you to render image sequences or even animations, which can add a dynamic element to showcasing your interior design.
Before considering the project complete, take the time to review the rendered images and make any necessary adjustments. If any details or flaws are noticed, you can go back to earlier steps to make the necessary changes.
With the final images in hand, you can now share and showcase your interior design masterpiece. Whether it’s for personal satisfaction or professional presentation, your renderings will undoubtedly impress others with your creativity and attention to detail.
Congratulations! You have successfully designed and rendered the interior of a house using Blender. Take pride in your work and use the skills and knowledge gained throughout this process to further explore the world of interior design in 3D.
Conclusion
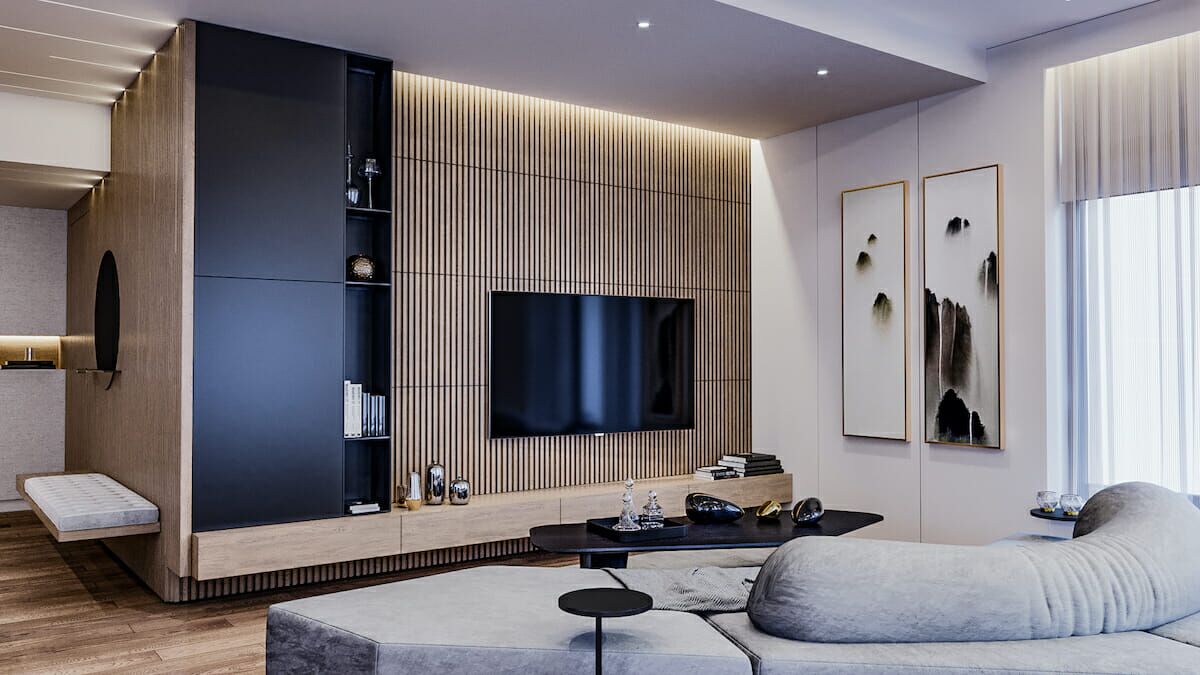
Designing the interior of a house is an exciting and creative endeavor, and using Blender as a tool can take your designs to new heights. Throughout this article, we have explored the step-by-step process of designing an interior using Blender, from setting up the software to rendering the final images.
By following the steps outlined, you can create stunning and realistic interior designs that showcase your creativity and vision. Setting up the Blender software and familiarizing yourself with its interface and controls is the first crucial step. Creating a 3D model of the house allows you to visualize the space and lay the foundation for your design.
Adding furniture and decor elements brings life to the interior, allowing you to create personalized and inviting spaces. Applying materials and textures enhances the realism of your design, creating the right look and feel for each surface. Setting up lighting and camera angles adds depth and mood to your design, while fine-tuning the details ensures a polished and visually appealing result.
Finally, rendering the final images showcases your hard work and creativity, allowing you to share and present your interior design to others. Throughout the entire process, don’t forget to experiment, iterate, and trust your instincts to create unique and captivating designs.
Blender provides a powerful platform for turning your interior design ideas into reality. With its numerous features and functionalities, it empowers you to bring your vision to life with photorealistic renderings and immersive experiences.
So, whether you’re an interior design professional or an aspiring designer, embrace the world of interior design with Blender and let your creativity soar. Create spaces that truly reflect your style and personality, and inspire others with your innovative designs.
Now it’s time to dive into the world of interior design in Blender and unleash your imagination. So, start exploring, experimenting, and creating stunning interior designs that will leave a lasting impression.
Frequently Asked Questions about How To Design The Interior Of A House With Blender For Inspiration
Was this page helpful?
At Storables.com, we guarantee accurate and reliable information. Our content, validated by Expert Board Contributors, is crafted following stringent Editorial Policies. We're committed to providing you with well-researched, expert-backed insights for all your informational needs.

0 thoughts on “How To Design The Interior Of A House With Blender For Inspiration”