Home>diy>Building & Construction>How To Do Layout In Construction

Building & Construction
How To Do Layout In Construction
Modified: August 21, 2024
Learn the best techniques for layout in construction to ensure accurate building construction. Master the art of building layout with step-by-step guides and expert tips.
(Many of the links in this article redirect to a specific reviewed product. Your purchase of these products through affiliate links helps to generate commission for Storables.com, at no extra cost. Learn more)
Introduction
Welcome to the world of construction layout, where precision and accuracy play a crucial role in the success of any building project. Whether you are constructing a residential home, commercial building, or even an entire infrastructure, the layout is the foundation that determines the entire construction process.
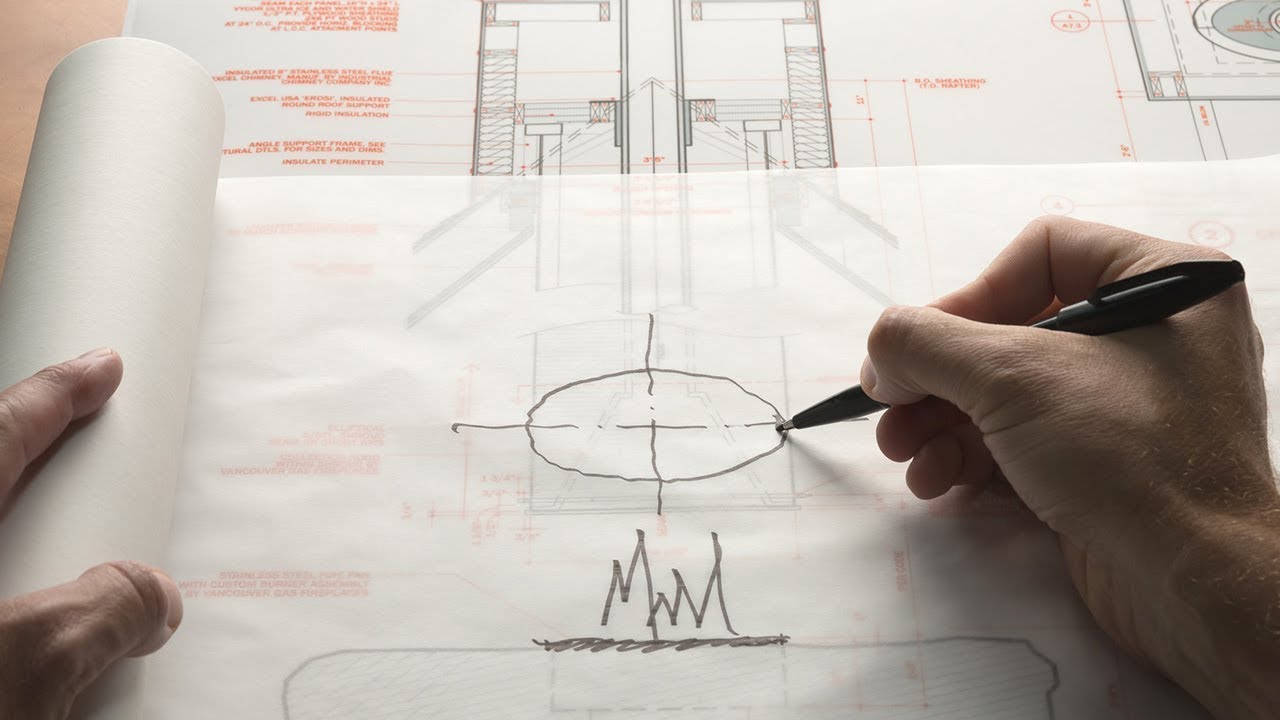
Construction layout involves translating architectural plans and designs into the physical construction site. It ensures that all the necessary components are properly positioned and aligned, providing a roadmap for the construction process.
In this article, we will delve into the intricacies of construction layout, providing you with a step-by-step guide on how to perform layout tasks with precision and efficiency. From understanding the importance of construction layout to gathering the necessary tools and equipment, we will cover it all.
So, let’s grab our hard hats, put on some safety boots, and get ready to dive into the fascinating world of construction layout.
Key Takeaways:
- Precision and accuracy are the cornerstones of successful construction layout, ensuring that the physical structure aligns flawlessly with architectural plans and meets all required measurements and specifications.
- From gathering the necessary tools and equipment to making timely adjustments, meticulous attention to detail and open communication are essential for a seamless and successful construction layout process.
Understanding Construction Layout
Before we dive into the practical aspects of construction layout, it’s essential to have a solid understanding of what it entails and why it is crucial in the construction process.
Construction layout involves the precise positioning and marking of key components, such as walls, columns, doors, windows, and other structural elements, based on architectural plans. It is the initial stage of the construction process and serves as the foundation for all subsequent activities.
The primary purpose of construction layout is to ensure that the physical structure aligns accurately with the architectural design and meets all the required measurements and specifications. It aims to eliminate errors and deviations that may arise during the construction process, ensuring that the final result is a well-built and functional building.
Without proper construction layout, the project is prone to various issues, such as misaligned walls, uneven floors, and incorrect placements of plumbing and electrical fixtures. These errors can lead to costly rework and delays in the construction timeline.
Additionally, construction layout serves as a guide for all the subcontractors and workers involved in the construction project. It provides a clear understanding of where each component should be placed and ensures consistency throughout the construction process.
Furthermore, construction layout plays a crucial role in ensuring compliance with building codes, regulations, and safety standards. It helps to identify any potential conflicts or issues early on, allowing for timely resolutions and adherence to legal requirements.
Overall, construction layout is a critical step that sets the foundation for a successful construction project. It combines meticulous planning, accurate measurements, and careful positioning to ensure that the architectural design is translated flawlessly into the physical structure.
Now that we have established the importance of construction layout, let’s move on to the next step: gathering the necessary tools and equipment.
Gathering Necessary Tools and Equipment
Performing construction layout requires the use of various tools and equipment that facilitate accurate measurements, marking, and positioning of components. Before you begin the layout process, it’s essential to gather the necessary tools to ensure a smooth and efficient workflow.
Here are some of the essential tools and equipment you will need:
- Tape Measure: A reliable tape measure is essential for taking accurate measurements of distances between different layout points. Look for a tape measure with a long length, preferably at least 25 feet, and a sturdy lock mechanism to prevent the tape from retracting.
- Level: A level helps ensure that the components are positioned horizontally or vertically. Opt for a high-quality bubble level with both vertical and horizontal vials for precise leveling.
- Chalk Line: Chalk lines are used to create straight and visible lines for marking layout points. Choose a chalk line with a durable casing and a bright-colored chalk for better visibility.
- Marking Tools: You will need a variety of marking tools, such as pencils, markers, or construction crayons, to mark layout points on different construction materials.
- String and Line Level: String lines are used to establish straight lines and guide the positioning of walls and other components. A line level helps ensure that the string line is level and provides accurate references.
- Hammers and Nails: Hammers and nails are used for securing string lines to the ground or other surfaces. Make sure to have a few different sizes of hammers and a sufficient supply of nails.
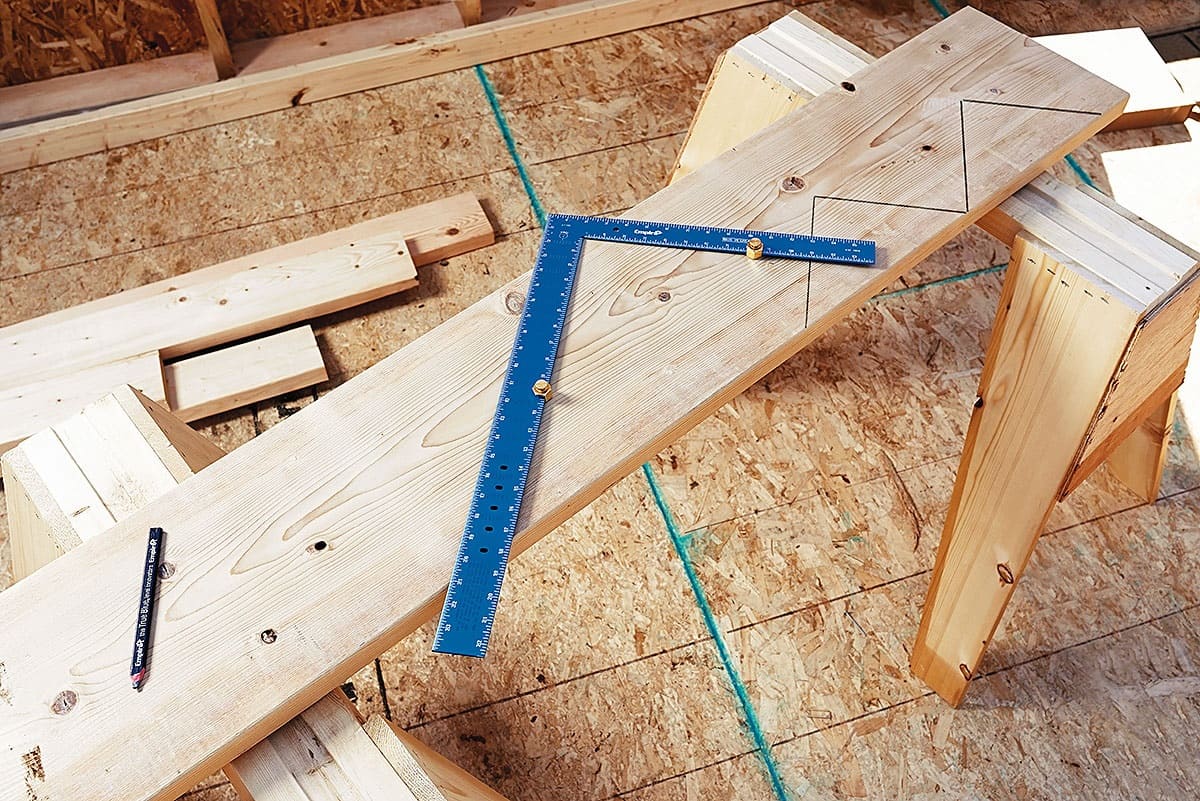
- Measuring Tools: In addition to a tape measure, other measuring tools, such as a framing square, folding rule, or laser measure, may be necessary for specific layout tasks.
- Personal Protective Equipment (PPE): Safety should always be a priority on construction sites. Make sure to wear appropriate PPE, including a hard hat, safety glasses, gloves, and steel-toed boots.
It’s important to ensure that all the tools and equipment are in good working condition before beginning the construction layout. Check for any damage or wear and tear, and replace or repair them as necessary.
By gathering the necessary tools and equipment beforehand, you can streamline the layout process and ensure accurate results. With your toolbox ready, it’s time to move on to the next step: taking accurate measurements.
Taking Accurate Measurements
Taking accurate measurements is a crucial step in construction layout as it serves as the foundation for precise positioning of components. Whether you are measuring distances between layout points or determining angles and dimensions, attention to detail is key to ensuring the accuracy of your layout.
Here are some tips for taking accurate measurements in construction layout:
- Use the Right Measuring Tools: Depending on the nature of the measurement, choose the appropriate measuring tool. A tape measure is commonly used for linear measurements, while an angle finder or protractor is useful for measuring angles. Laser measuring devices can provide precise measurements for longer distances.
- Double-Check Your Measurements: When taking measurements, it’s essential to double-check them for accuracy. It’s better to spend a few extra seconds verifying the measurements rather than proceeding with incorrect values that can lead to mistakes in the layout.
- Consider Expansion and Contraction: Keep in mind that construction materials can expand or contract under different conditions. Take into account any potential changes in size due to temperature variations or moisture content, especially when working with materials like wood or metal.
- Record Measurements Thoroughly: It’s important to record all measurements accurately and clearly. Use a notebook or a digital device to keep track of your measurements, noting down the specific locations and any relevant details to refer back to during the layout process.
- Take Multiple Measurements: To ensure accuracy, take multiple measurements of the same value. This helps to eliminate any discrepancies or errors in your initial measurements and provides a more reliable average value.
- Consider Environmental Factors: Be mindful of any environmental factors that can affect your measurements. Wind, uneven surfaces, or obstructions can potentially impact the accuracy of your measurements. Take necessary precautions and make adjustments accordingly.
- Communicate Clearly: If you are working in a team, effective communication of measurements is crucial. Use common reference points and establish clear lines of communication to ensure that everyone is working with the same accurate measurements.
Remember, taking accurate measurements is a fundamental aspect of construction layout. It sets the stage for precise positioning of components, ensuring that the final construction aligns perfectly with the architectural plans. Now that you have the measurements in hand, it’s time to move on to marking the layout points.
Marking Layout Points
Marking layout points is the next crucial step in the construction layout process. It involves transferring the measurements from the architectural plans to the actual construction site, ensuring that the components are placed accurately and precisely. Effective marking allows for effortless visualization and guides the construction team throughout the building process.
Here are some key steps to consider when marking layout points:
- Refer to Architectural Plans: Start by carefully examining the architectural plans and identifying the layout points that need to be marked. These points typically include walls, columns, doors, windows, and other structural elements.
- Use Clear and Visible Markings: Use visible marking tools, such as chalk, paint, or markers, to mark the layout points. Ensure that the markings are clear, easily distinguishable, and won’t fade or wash away during the construction process.
- Follow a Logical Sequence: Plan your marking process in a logical sequence, moving from one layout point to another systematically. This helps maintain order and minimizes confusion during the construction process.
- Double-Check Measurements: Before marking any layout points, double-check the measurements to ensure accuracy. This helps prevent any errors that might arise from incorrect measurements.
- Use String Lines for Straight Lines: If you need to mark straight lines, such as walls or alignment points, consider using string lines. Stretch the string tightly between two marking points and use it as a guide to create a straight and even line.
- Mark Temporary and Permanent Layout Points: Some layout points, such as wall corners or column placements, may be permanent and require more permanent and durable markings. For temporary points, such as reference lines or leveling points, use markings that can easily be removed or adjusted as needed.
- Label the Marked Points: To ensure clarity and avoid confusion, label the marked layout points. This can be done using identifiers such as numbers, letters, or specific codes. Clear labels help convey the intended purpose of each marked point to the construction team.
- Continuous Checking: Continuously check your markings against the architectural plans to ensure accuracy and make any necessary adjustments. This ongoing verification helps maintain precision throughout the layout process.
By following these steps and taking meticulous care in marking layout points, you set the stage for a successful construction project. The markings serve as a visual guide, ensuring that the components are positioned accurately and allowing the construction process to proceed smoothly. With the layout points marked, it’s time to move on to setting up string lines to further guide the construction activities.
When doing layout in construction, always double-check your measurements and use multiple reference points to ensure accuracy. This will help avoid costly mistakes and rework.
Read more: How To Layout Stairs
Setting Up String Lines
String lines play a crucial role in construction layout, providing a visual guide for the accurate positioning of walls, columns, and other components. They help ensure that the construction aligns with the architectural plans and maintain straight lines and level surfaces. Setting up string lines requires attention to detail and precision to achieve the desired results.
Here is a step-by-step guide on setting up string lines for construction layout:
- Identify Reference Points: Start by identifying the reference points on the construction site. These points can be wall corners, column intersections, or any other stable and easily identifiable locations.
- Establish Base Points: Select two base points that are crucial for the layout. These points serve as the starting reference for setting up the string lines. They should be level and aligned as per the architectural plans.
- Attach the String: Attach the string to one of the base points, ensuring it is tightly secured. Use nails or clamps to hold the string in place, making sure it is taught and straight.
- Align the String: Stretch the string to the other base point, making sure it follows the intended path or alignment as per the architectural plans. Adjust the string until it is level and properly aligned.
- Check for Level and Alignment: Use a line level or a bubble level to ensure that the string is level and aligned correctly. Adjust the string as needed to achieve accuracy.
- Secure the String: Once the string is properly aligned and level, secure it to the second base point using clamps or nails.
- Repeat the Process: Depending on the layout requirements, you may need to set up multiple string lines. Repeat the above steps for each additional string line.
- Check Continuity: Ensure that the string lines are continuous and aligned with each other. This helps maintain consistency and accuracy throughout the construction site.
- Remove Excess String: Trim any excess string that is not required for the layout. This helps prevent confusion and ensures a neat and organized work area.
Setting up string lines may require some adjustments and fine-tuning to achieve the desired accuracy. Continuous checking using a line level and frequent reference to the architectural plans are essential to maintain the integrity of the string lines throughout the construction process.
With the string lines in place, you have established a visual guide that will assist in positioning components accurately. The next step is to transfer the layout from the architectural plans onto the construction site.
Transferring Layout to the Construction Site
Transferring the layout from architectural plans to the construction site is a critical step in the construction process. It involves accurately positioning and marking the layout points, ensuring that the components align with the intended design. This process requires careful attention to detail and precise execution to ensure a seamless construction workflow.
Here is a step-by-step guide on how to transfer the layout to the construction site:
- Refer to Architectural Plans: Begin by thoroughly examining the architectural plans and identifying the layout points that need to be transferred. These points may include walls, columns, openings, and other structural elements.
- Use String Lines as Reference: Utilize the previously set up string lines as a reference for positioning the layout points on the construction site. The string lines will guide you in establishing straight lines and maintaining accurate alignments.
- Measure and Mark: Use your measuring tools to measure from the string lines or other established reference points to determine the precise location of each layout point. Mark the positions with clear and visible markings, such as chalk or paint.
- Double-Check Accuracy: Double-check the measurements and markings to ensure accuracy. Verify against the architectural plans and make any necessary minor adjustments to align the layout points correctly.
- Ensure Proper Alignment: Ensure that all walls and components are properly aligned according to the architectural plans. Use plumb bobs or levels to check for vertical alignments, and straight edges or laser levels to ensure horizontal alignments.
- Transfer Floor Layouts: If you are working on multi-story buildings, transfer the layout points onto each floor accordingly. Ensure that the layout points align vertically throughout all levels of the construction.
- Verify Clearances and Measurements: Check for proper clearances between components, such as doors and walls or windows and adjacent structures. Verify that all measurements meet the required dimensions to avoid any conflicts during the construction process.
- Communicate Layout Points: Communicate the layout points clearly to the construction team, ensuring that everyone understands the positions and alignments of the components. This promotes consistency and avoids misunderstandings during the construction process.
- Periodically Check Layout: Throughout the construction process, periodically check the layout to ensure that it remains accurate and aligned with the architectural plans. Make any necessary adjustments promptly to maintain accuracy and avoid any potential issues.
Transferring the layout to the construction site requires a meticulous approach and attention to detail. By following these steps and staying consistent with the architectural plans, you set the foundation for a successful construction process.
With the layout transferred, it’s important to check for accuracy and make any necessary adjustments before proceeding with the actual construction. This step helps ensure that the construction progresses smoothly and results in a structurally sound and visually appealing building.
Checking for Accuracy and Adjustments
Checking for accuracy and making necessary adjustments is a critical step in the construction layout process. It ensures that all the layout points and measurements are correct, minimizing the risk of errors and inconsistencies during the construction phase. By diligently conducting checks and making timely adjustments, you can maintain the integrity of the layout and ensure a smooth construction workflow.
Here are some important considerations when checking for accuracy and making adjustments:
- Reference the Architectural Plans: Continuously refer to the architectural plans throughout the construction process to verify the accuracy of the layout. Compare the marked layout points and measurements with the plans, ensuring that they align properly.
- Use Measuring Tools: Employ measuring tools, such as tape measures, levels, and angles, to validate the accuracy of the layout. Check dimensions, angles, and alignments against the construction standards and specifications provided in the architectural plans.
- Perform Visual Inspections: Conduct thorough visual inspections of the layout points to identify any discrepancies or potential issues. Look for any misalignments, uneven surfaces, or unexpected interferences that may affect the construction process.
- Consult with Experts: Seek advice and guidance from experienced professionals, such as construction managers or architects, to ensure the accuracy of the layout. Their expertise can offer valuable insights and help identify any inconsistencies or adjustments that need to be made.
- Communicate with the Construction Team: Maintain clear and open communication with the construction team regarding the layout and any adjustments that need to be made. Ensure that everyone is aware of the changes and understands the updated layout points to avoid confusion or delays.
- Make Timely Adjustments: If any inaccuracies or issues are identified during the checking process, promptly make the necessary adjustments. This may involve repositioning layout points, correcting measurements, or modifying alignments to align with the architectural plans.
- Continuously Monitor: Regularly monitor the layout throughout the construction process to ensure that it remains accurate. Factors such as settling, weather conditions, or human error can impact the stability and alignment of the layout points. Adjustments may be required if unforeseen changes occur.
- Document Changes: Keep meticulous records of any adjustments made to the layout. This documentation serves as a reference for future inspections or potential modifications that may be required during the construction and post-construction stages.
By consistently checking for accuracy and making necessary adjustments, you contribute to the overall precision and quality of the construction project. This process helps in avoiding cost overruns, rework, and delays, ultimately ensuring a successful and well-executed construction endeavor.
With the layout thoroughly checked and adjusted as needed, you are now ready to proceed with confidence to the construction phase, knowing that the foundation of the project is accurate and aligned with the architectural plans.
Conclusion
Construction layout is a crucial process that sets the foundation for a successful building project. With precision and attention to detail, the layout ensures that the physical construction accurately reflects the architectural plans. It involves gathering the necessary tools, taking accurate measurements, marking layout points, setting up string lines, transferring the layout to the construction site, and checking for accuracy and making adjustments.
Throughout the construction layout process, it’s important to maintain open communication, consult with experts, and continuously refer to the architectural plans. Double-checking measurements, verifying alignments, and conducting visual inspections are essential for accuracy. Timely adjustments and monitoring are necessary to address any discrepancies, ensuring a seamless construction workflow.
By following each step carefully and with precision, the construction team can avoid costly rework, delays, and inconsistencies. Accurate construction layout lays the groundwork for a well-built and functional structure that adheres to regulations, safety standards, and architectural intent.
Remember, construction layout is not just about measurements and markings; it’s about translating the vision from paper to a tangible structure. It requires an understanding of architectural plans, attention to detail, and the use of appropriate tools. By ensuring accuracy and making necessary adjustments, you set the stage for a successful construction project that meets both functional and aesthetic requirements.
So put on your hard hat, grab your measuring tools, and embrace the exciting and rewarding journey of construction layout. With your expertise and dedication, you can bring architectural designs to life and contribute to the creation of safe, reliable, and visually appealing structures.
Frequently Asked Questions about How To Do Layout In Construction
Was this page helpful?
At Storables.com, we guarantee accurate and reliable information. Our content, validated by Expert Board Contributors, is crafted following stringent Editorial Policies. We're committed to providing you with well-researched, expert-backed insights for all your informational needs.


0 thoughts on “How To Do Layout In Construction”