Home>diy>Building & Construction>How To Record Construction In Progress
Building & Construction
How To Record Construction In Progress
Modified: August 24, 2024
Learn how to effectively record the progress of building construction with our comprehensive guide. Capture every step and ensure smooth project management.
(Many of the links in this article redirect to a specific reviewed product. Your purchase of these products through affiliate links helps to generate commission for Storables.com, at no extra cost. Learn more)
Introduction
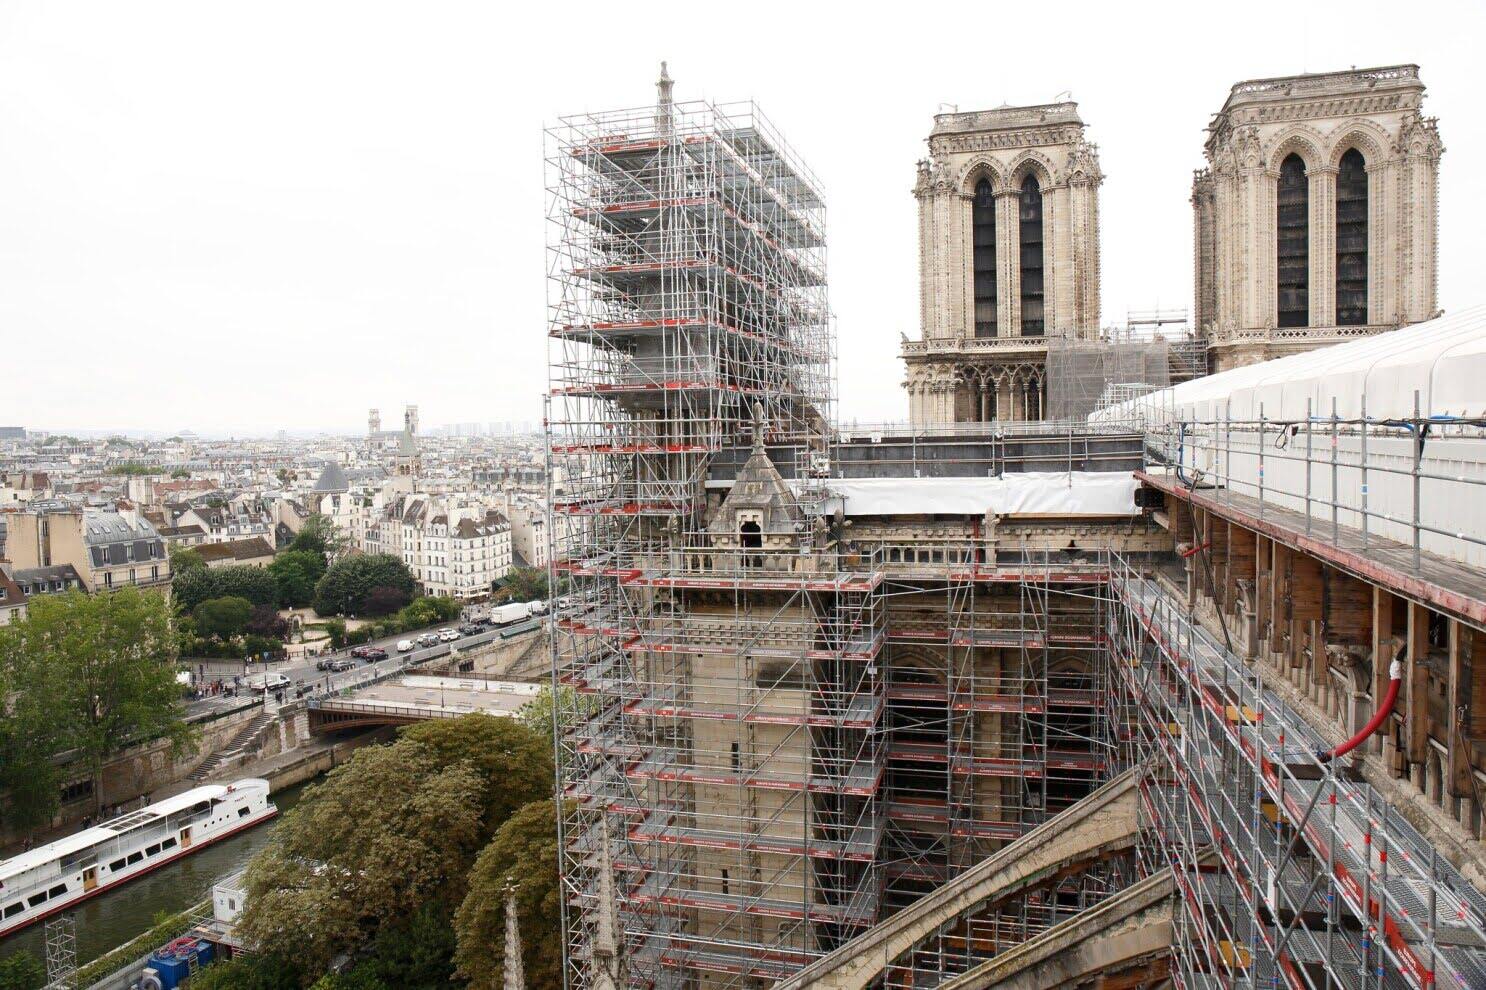
Welcome to the world of construction, where buildings rise, and landscapes transform. Construction projects are complex endeavors, involving meticulous planning, skilled craftsmanship, and countless hours of hard work. From the foundation to the finishing touches, every step of the construction process holds significance.
Recording construction in progress has become an essential practice in the industry. Construction companies, architects, and engineers invest in documenting the different stages of a project for various reasons. Whether it’s to monitor progress, create an archive, or showcase their work, the benefits of recording construction cannot be overlooked.
By capturing the transformation of a building or infrastructure project, detailed records are created, allowing for a comprehensive documentation of every step taken, from the excavation to the final paint job. These records not only serve as a valuable historical reference but also provide important insights for future projects.
Moreover, recording construction in progress allows for effective project management. By reviewing the footage, construction professionals can analyze the workflow, identify potential issues, and make informed decisions. It provides an opportunity to assess the efficiency of the construction process, ensuring that it is completed on time and within budget.
Additionally, recording construction projects is a powerful tool for communication and marketing purposes. High-quality visuals and videos can be used to showcase the company’s expertise and highlight the intricate details of their work. This can be invaluable for attracting new clients, securing contracts, and enhancing the reputation of the construction company.
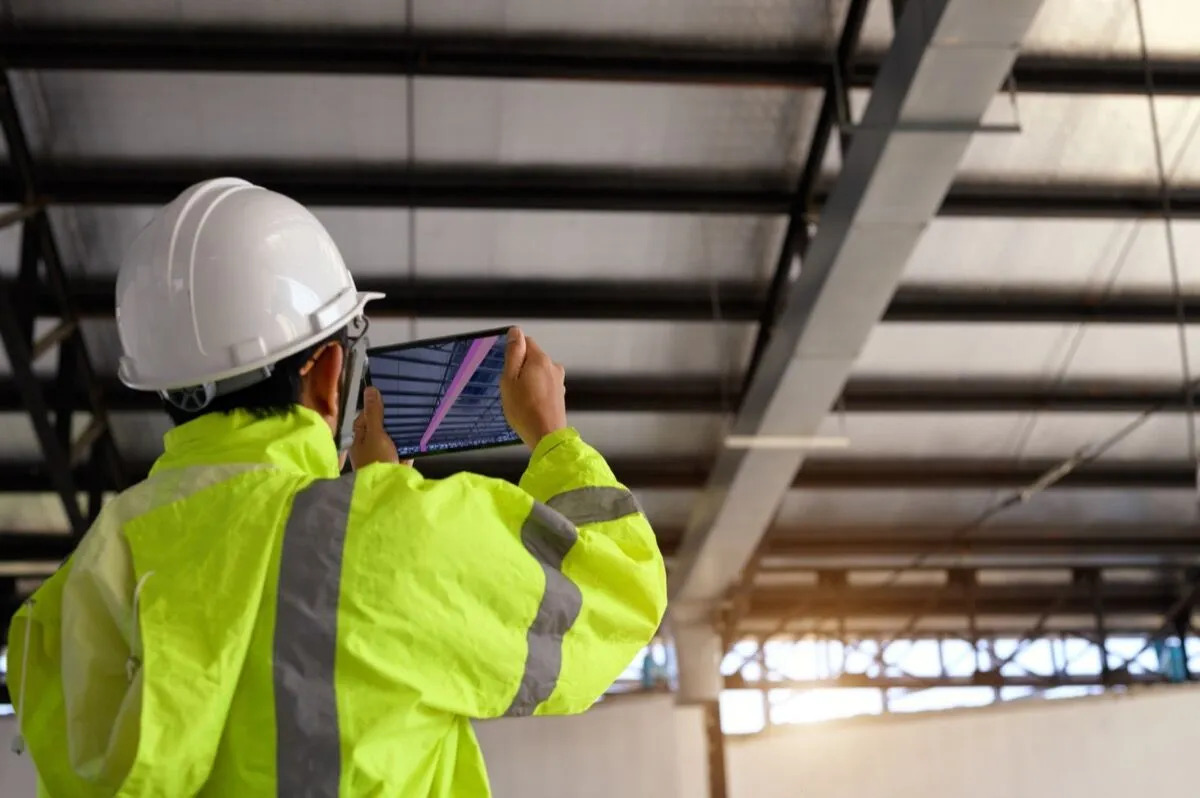
To effectively record construction in progress, certain equipment and tools are necessary. Camera systems, tripods, time-lapse software, and protective gear are among the essentials. In the following sections, we will delve into the details of each item, providing valuable tips and guidelines for capturing the construction process in its entirety. So, grab your hard hat and let’s dive in!
Key Takeaways:
- Documenting construction progress through high-quality visuals and time-lapse footage is crucial for project management, safety assessments, and effective marketing, showcasing the expertise and dedication of the construction industry.
- Prioritizing safety, planning thoroughly, and safeguarding equipment are essential for capturing diverse perspectives and compiling engaging construction footage, preserving the hard work and leaving a lasting legacy.
Read more: What Is Construction In Progress
Importance of Recording Construction in Progress
The act of recording construction in progress holds immense value for professionals in the building industry. Let’s explore some of the key reasons why it is crucial to document and capture the various stages of construction projects.
Firstly, recording construction serves as a comprehensive documentation tool. Construction projects are long and complex processes, involving multiple teams, contractors, and tasks. By recording the progress, a detailed visual log is created, allowing everyone involved to have a clear picture of the project’s evolution. This documentation becomes invaluable for future reference, ensuring that important details are not overlooked or forgotten.
Secondly, recording construction in progress is essential for quality control and assurance. By monitoring the construction process through video footage, potential issues and defects can be identified early on, allowing for timely corrective action. This ensures that the final structure meets the highest quality standards, from structural integrity to aesthetic appeal.
Moreover, recording construction projects provides essential data for productivity analysis. By reviewing the footage, project managers can evaluate the efficiency of the construction workflow, identify bottlenecks, and implement necessary improvements. This leads to enhanced productivity and optimized resource allocation, ultimately resulting in cost savings for the construction company.
In addition, recording construction in progress offers valuable insights for safety assessments. Construction sites are inherently hazardous environments, and ensuring the well-being of workers is of utmost importance. By reviewing the footage, potential safety risks and violations can be identified and addressed promptly, reducing the likelihood of accidents and injuries.
Furthermore, capturing the construction process has become an effective marketing tool. High-quality visuals and time-lapse footage can be used to showcase the company’s expertise, creativity, and attention to detail. These visuals can be used in promotional materials, website portfolios, and social media campaigns, leaving a lasting impression on potential clients and setting a construction company apart from its competitors.
In summary, recording construction in progress not only serves as a valuable documentation tool but also facilitates project management, quality control, productivity analysis, safety assessments, and marketing efforts. By investing in proper recording techniques and equipment, construction professionals can reap the benefits of capturing the transformation of a construction project, ensuring its success and leaving a lasting legacy for future generations to appreciate.
Equipment and Tools Needed
Recording construction in progress requires the right equipment and tools to capture high-quality footage. Here are some essential items you’ll need to effectively document the different stages of a construction project:
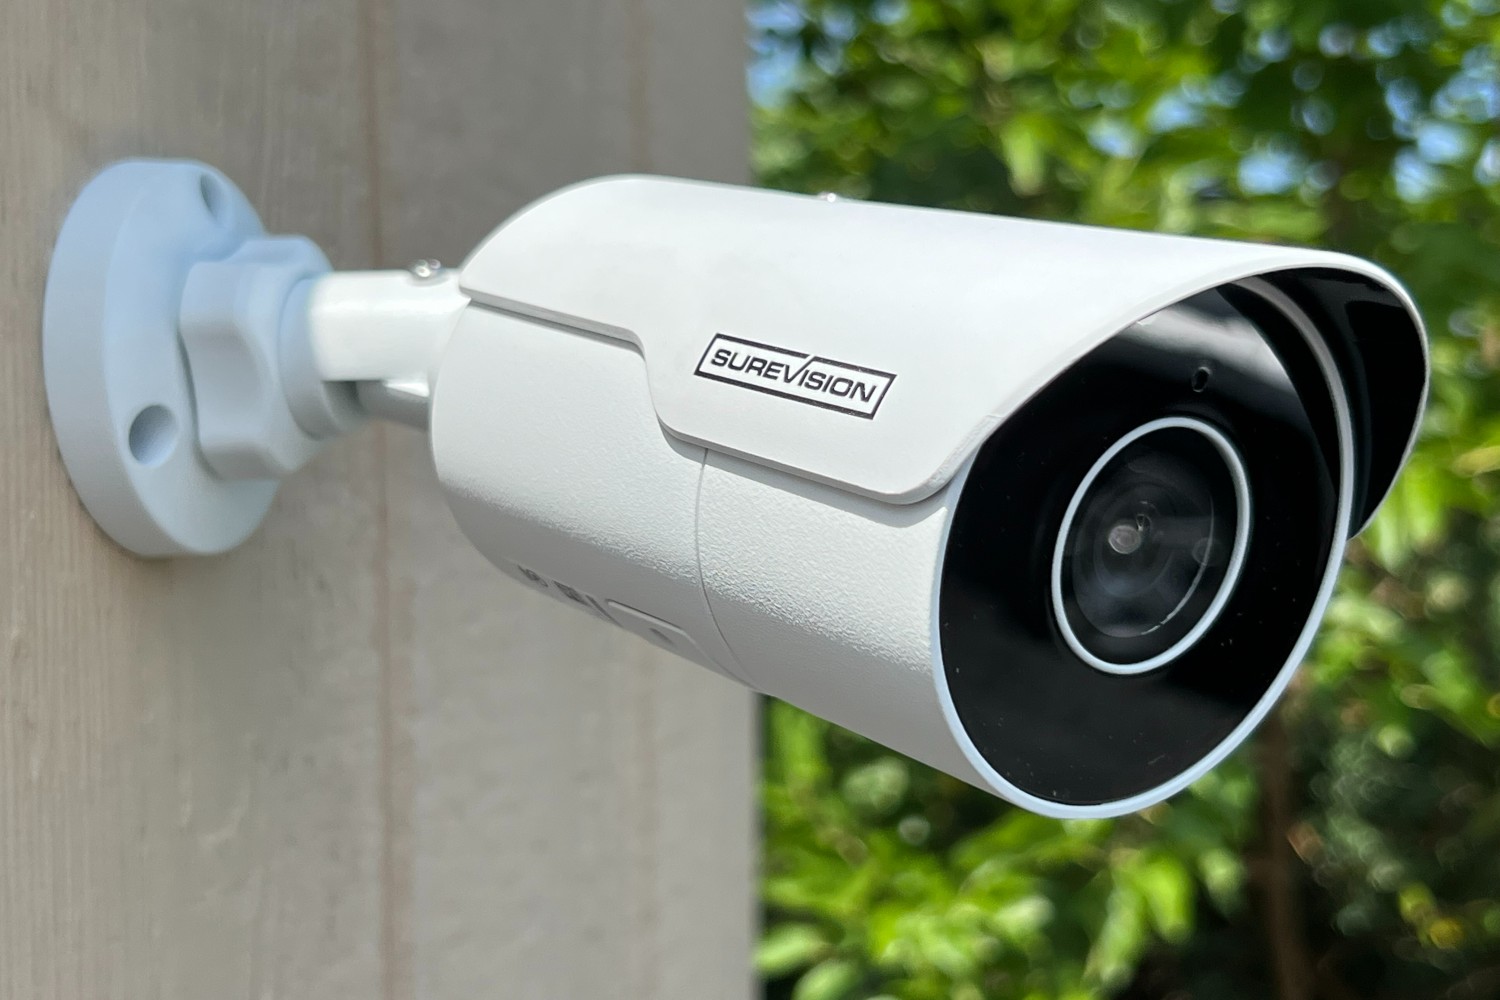
- Camera Systems: Invest in a reliable camera system capable of capturing high-resolution photos and videos. DSLR cameras or mirrorless cameras are popular choices due to their versatility and image quality. Make sure to choose a camera that can withstand the rugged conditions of a construction site.
- Sturdy Tripods: A sturdy tripod is essential for keeping the camera stable and secure during recording. Look for tripods that are durable and adjustable in height, allowing you to capture shots from various angles and perspectives.
- Protective Gear: Construction sites can be hazardous environments, so it’s important to prioritize safety. Wear the necessary protective gear, such as a hard hat, safety glasses, and steel-toed boots. If you need to access elevated areas, consider using a safety harness or fall protection equipment.
- Time-Lapse Software: Time-lapse recording is a popular technique for capturing the entire construction process in a condensed format. Invest in time-lapse software that allows you to control the interval between shots and create captivating time-lapse videos. Some cameras even have built-in time-lapse functionality.
- Additional Lenses and Filters: Depending on the shots you want to capture, additional lenses and filters can add versatility to your camera setup. Wide-angle lenses are great for capturing wide shots of the construction site, while macro lenses can capture intricate details. Filters, such as polarizers or neutral density filters, can help enhance the quality of your footage in different lighting conditions.
- Memory Cards and Batteries: Ensure you have an ample supply of memory cards and batteries. Construction projects can span a long period of time, and you don’t want to run out of storage or power in the middle of an important recording session. Carry multiple memory cards and batteries, and periodically transfer the footage to a secure storage device.
- Data Backup and Storage: Backing up your recorded footage is crucial to prevent any loss or corruption of data. Invest in external hard drives or cloud storage solutions to securely store and backup your recordings. Consider organizing the footage with proper labeling and file management to easily access specific moments in the construction process.
Remember, always prioritize safety when setting up your recording equipment. Be mindful of your surroundings and the ongoing work activities. Secure your equipment in a safe location to prevent accidents or damage.
By ensuring you have the right equipment and tools, you can capture the construction process effectively and create compelling visual records that showcase the evolution of the project.
Preparing to Record
Before you start recording the construction process, it’s essential to make thorough preparations to ensure a smooth and successful recording experience. Here are some key steps to follow when preparing to record:
- Familiarize Yourself with the Project: Take the time to familiarize yourself with the construction project. Understand the different stages, key milestones, and important areas of focus. This will help you anticipate the best times to capture significant moments and ensure you don’t miss any critical shots.
- Create a Shot List: Develop a shot list or storyboard that outlines the specific shots and angles you want to capture. This will serve as a guide during the recording process and help ensure that you cover all the essential aspects of the construction project. Consider including a mix of wide shots, close-ups, and time-lapse sequences to provide a diverse and engaging visual narrative.
- Communicate with the Construction Team: Coordinate with the construction team, project managers, and key personnel to inform them of your recording plans. Discuss specific areas or activities that you need access to and establish a clear understanding of any safety protocols or restrictions that need to be followed. Collaboration with the construction team will help foster a productive and harmonious working environment.
- Determine the Best Recording Schedule: Construction projects can span an extended period, so it’s important to plan your recording sessions strategically. Identify the optimal times to capture significant construction activities, such as concrete pouring, steel erection, or finishing touches. Consider factors like lighting conditions, weather forecasts, and the availability of key personnel to maximize the quality of your recordings.
- Prepare your Equipment: Ensure that all your equipment is in proper working condition. Clean the lenses, format the memory cards, and charge the batteries in advance. Check that you have all the necessary cables, tripod accessories, and protective gear. It’s always a good idea to carry spare batteries and memory cards to avoid any interruptions during the recording process.
- Secure Permits and Permissions: Depending on the construction site and project regulations, you may need to obtain permits or permissions to record. Check with the project owner or construction management to ensure compliance with any legal requirements. Respect any confidentiality or privacy concerns that may arise and obtain consent from individuals who may appear in the footage.
- Test and Set Camera Settings: Before you start recording, conduct some test shots to ensure that your camera settings are optimized for the construction environment. Adjust the aperture, shutter speed, and ISO to capture clear and well-exposed footage. Consider using the RAW format for greater post-processing flexibility.
- Carry Essential Accessories: In addition to your camera equipment, carry essential accessories like lens cleaning kits, lens hoods, and lens caps to protect your gear from dust, debris, and potential damage. Carry a notebook or digital recorder to log important details, observations, or interviews that can supplement your recorded footage.
By following these preparation steps, you’ll be well-equipped and ready to record the construction process with confidence. Remember to stay flexible and adaptable as construction projects can be unpredictable. Capture the essence of the project while ensuring safety and respect for the construction team’s operations. Happy recording!
Setting Up Cameras
Properly setting up your cameras is essential to capture high-quality footage of the construction process. Here are some key considerations and steps to follow when setting up your cameras:
- Survey the Construction Site: Before setting up your cameras, survey the construction site to identify the best vantage points for capturing different angles and perspectives. Look for elevated positions or strategic locations that provide a clear view of the most important areas of the project.
- Choose the Right Camera Placement: Decide on the camera placement that aligns with your shot list and desired perspective. Position the camera to capture the entire construction site or focus on specific areas of interest. Consider using multiple cameras to capture different angles simultaneously.
- Ensure Stability with Tripods or Mounts: Use sturdy tripods or camera mounts to ensure the stability of your cameras. Securely attach the camera to the tripod or mount to prevent any movement or vibrations that can compromise the quality of the footage. Consider using tripod weights or sandbags for added stability, especially in windy conditions.
- Optimize Camera Settings: Adjust the camera settings based on the specific conditions of the construction site. Consider factors such as lighting, weather, and the desired effect you want to achieve. Use manual settings to have full control over the exposure, focus, and depth of field.
- Utilize Remote Control or Intervalometer: If your camera supports it, consider using a remote control or intervalometer to minimize camera shake during recording. This allows you to trigger the camera remotely, reducing the risk of accidental movement and ensuring sharp images.
- Protect Cameras from Dust and Debris: Construction sites can be dusty environments, so take measures to protect your cameras from dust and debris. Use lens caps when the cameras are not in use and regularly clean the lenses to maintain image quality. Consider using camera rain covers or protective cases if the weather conditions are unfavorable.
- Consider Overnight or Continuous Recording: Depending on the construction project’s duration, you may need to consider overnight or continuous recording. Ensure that your camera setup can handle extended recording sessions and that you have enough storage space and power supply to support uninterrupted recording.
- Monitor and Adjust Camera Positions: Regularly monitor the camera positions and footage to ensure they are capturing the desired viewpoint. Make adjustments as necessary to adapt to the progress of the construction project and to capture any new developments or key moments. Periodically review the footage to ensure the quality and framing meet your expectations.
By following these steps, you’ll be able to set up your cameras effectively and capture the construction process in a way that showcases the progress and highlights the key aspects of the project. Remember to always prioritize safety and respect any restricted areas or protocols set by the construction team.
When recording construction in progress, be sure to accurately track all costs associated with the project, including materials, labor, and overhead. This will help provide a clear picture of the project’s financial status.
Read more: How To Calculate A Construction In Progress
Capturing Different Perspectives
When recording the construction process, capturing different perspectives can provide a dynamic and engaging visual narrative. Here are some tips and techniques to help you capture a variety of perspectives:
- Wide Shots: Wide shots are effective in showcasing the overall progress and scale of the construction project. Find vantage points that allow you to capture the entire construction site in a single frame. This perspective gives viewers a sense of the project’s magnitude and the transformation taking place.
- Close-Ups: Close-ups emphasize the details and craftsmanship involved in the construction process. Capture close-up shots of workers, tools, materials, and intricate design elements. These shots provide a more intimate look at the project, highlighting the skill and attention to detail required.
- Bird’s Eye View: If possible, capture aerial shots to offer a unique perspective on the construction process. Drones or elevated platforms can be used to capture stunning overhead footage. Explore the use of drones within legal boundaries and obtain necessary permissions before flying.
- Time-Lapse Footage: Time-lapse recording is a powerful technique for condensing hours or days of construction progress into a few seconds or minutes of video. Set up your camera to capture images at regular intervals and then compile them into a time-lapse sequence. This perspective allows viewers to witness the project’s transformation in a visually captivating way.
- Worker’s Perspective: Consider capturing the construction process from the perspective of the workers themselves. Attach cameras to the helmets or tools of workers to provide a first-person view. This perspective immerses viewers in the construction experience and offers a unique glimpse into the challenges and intricacies of the project.
- Interviews and Testimonials: Capture interviews or testimonials from the construction team or project stakeholders. These interviews provide insights into the construction process, the challenges faced, and the goals achieved. They can be intercut with visuals to add a personal touch and enhance the storytelling aspect of your recording.
- Night Shots: Record the construction site during nighttime to capture a different ambiance and showcase any lighting features or activities that take place after dark. Night shots can add drama and visual interest to your footage, providing a unique perspective on the construction process.
- Time-of-Day Variation: Record the construction process at different times of the day to capture the changing lighting conditions and the project’s appearance in various settings. Morning, noon, golden hour, and twilight all offer different lighting qualities that can enhance your footage and provide a diverse visual experience.
Experimenting with these different perspectives will not only make your footage more engaging but also provide a comprehensive view of the construction process. Remember to plan and coordinate with the construction team to ensure safety and compliance with any regulations or requirements.
By capturing different perspectives, you can create a captivating and immersive documentation of the construction project, allowing viewers to fully appreciate the intricacies and achievements of the process.
Time-Lapse Recording
Time-lapse recording is a powerful technique for capturing the entire construction process in a condensed and visually captivating format. It allows viewers to witness the transformation of a construction project over an extended period of time in just a few seconds or minutes. Here are some steps and tips to make the most of time-lapse recording:
- Choose a Suitable Interval: Determine the interval between shots based on the desired speed and duration of the final time-lapse sequence. Shorter intervals, such as a few seconds, create a faster-paced time-lapse, while longer intervals, like a few minutes, result in a slower-paced sequence. Consider the speed of the construction process and the length of the recording session when selecting the interval.
- Use a Sturdy Tripod: Stability is crucial in time-lapse recording to ensure smooth and stable footage. Use a sturdy tripod and secure the camera tightly to prevent any movement during the recording. Make sure the tripod is placed on a stable surface and consider using additional weights or anchors to further stabilize it if necessary.
- Set the Camera to Manual Mode: To maintain consistent exposure throughout the time-lapse sequence, set your camera to manual mode. Manually adjust the aperture, shutter speed, and ISO according to the prevailing lighting conditions. This ensures that each frame has the same exposure, resulting in a seamless sequence.
- Consider Using an External Intervalometer: An intervalometer is a device that controls the timing between each shot, allowing for precise and automated time-lapse recording. While some cameras have built-in intervalometers, external ones offer more customization options. Alternatively, you can use time-lapse smartphone apps that connect to your camera via Wi-Fi or Bluetooth to control the interval.
- Frame Your Shots Thoughtfully: Take the time to compose your shots and consider the visual elements in the frame. Pay attention to the leading lines, framing, and balance within the frame. Experiment with different angles, perspectives, and focal lengths to create dynamic and visually appealing compositions.
- Record Over an Extended Period: Construction projects can span weeks, months, or even years. To capture the entire process comprehensively, be prepared to record over an extended period. Regularly check and replace memory cards and batteries to ensure uninterrupted recording. It’s also a good idea to periodically review the footage to assess the progress and make any necessary adjustments.
- Plan for Changing Lighting Conditions: Construction sites experience different lighting conditions throughout the day. Take into account the sun’s position and how it will affect the lighting and shadows in your time-lapse sequence. Consider scheduling your recording sessions to capture the construction site during sunrise, sunset, or other times when lighting conditions can add visual interest to your footage.
- Compile and Edit the Time-Lapse Footage: Once you have completed the desired recording duration, transfer the images to your computer for post-processing and editing. Use time-lapse software or video editing software to compile the individual frames into a smooth, sequential video. Adjust the playback speed, add music or narration, and enhance the colors and contrast to create a visually stunning final product.
Time-lapse recording is a powerful technique that can effectively showcase the entire construction process in a condensed, visually captivating format. By following these steps and tips, you’ll be able to create compelling time-lapse sequences that highlight the progress and transformation of the construction project.
Remember to plan and coordinate with the construction team, ensure the safety of yourself and others, and adhere to any regulations or requirements when setting up your time-lapse recording equipment.
Safeguarding Equipment
When recording construction in progress, it is crucial to safeguard your equipment to ensure its longevity and protect it from potential damage. Construction sites can be challenging environments, with dust, debris, and various hazards present. Here are some essential tips to help you safeguard your equipment:
- Utilize Protective Cases: Invest in protective cases specifically designed for your cameras, lenses, and other equipment. These cases offer impact resistance, water resistance, and internal padding to keep your gear safe and secure during transportation and storage. Consider using hard cases for the most delicate and expensive equipment.
- Keep Equipment Away from Construction Activities: Construction sites are active areas with heavy machinery, falling objects, and potential hazards. When setting up your equipment, ensure it is positioned in a safe area away from ongoing construction activities. Avoid placing it in high-traffic zones or where it could be accidentally bumped or damaged.
- Use Lens Filters and Hoods: Lens filters and hoods not only enhance image quality but also provide an extra layer of protection for your lenses. UV filters can safeguard the front element from scratches, dust, and fingerprints, while lens hoods shield the lens from stray light, reducing the risk of lens flare and damage caused by direct impact.
- Secure Equipment with Straps or Tethers: Attach straps or tethers to your equipment, especially when working in elevated or precarious positions. This adds an extra layer of protection in case it accidentally slips or gets knocked over. Consider using wrist straps or harnesses for smaller items like camera remotes or intervalometers.
- Regularly Clean and Inspect Equipment: Construction sites can be dirty and dusty environments, which can damage sensitive camera gear. Regularly clean your equipment using appropriate tools and materials. Use air blowers, lens cleaning solutions, and microfiber cloths to remove dust, dirt, and smudges. Inspect your gear for any signs of wear or damage, and address them promptly to prevent further issues.
- Protect against Extreme Weather Conditions: Construction sites can be exposed to extreme weather conditions such as rain, snow, heat, or humidity. Use camera rain covers or housing to protect your gear from moisture. During hot and humid weather, be mindful of overheating, and provide shade or cooling measures for your equipment.
- Backup and Store Data Offsite: Back up your recorded footage regularly and store copies offsite to protect against data loss or damage to the primary storage. Use external hard drives, cloud storage, or data backup services to ensure redundancy. Label and organize your files systematically for easy retrieval and reference in the future.
- Secure Site Access and Permissions: To avoid theft or unauthorized access to your equipment, secure the construction site and have proper permissions in place. Collaborate with the construction team and project managers to establish protocols for equipment access and storage. Lock away your valuable gear when not in use and keep track of who has access to the area.
By following these tips, you can safeguard your equipment and minimize the risk of damage or loss while recording construction in progress. Remember that protecting your gear goes hand in hand with prioritizing safety, so always adhere to construction site guidelines and regulations to ensure a smooth and secure recording experience.
Editing and Compiling Footage
Once you have captured the construction process, the next step is to edit and compile the footage into a cohesive and engaging final product. Here are some key steps and tips to help you edit and compile your construction footage:
- Transferring and Organizing Footage: Transfer the recorded footage from your camera’s memory cards to your computer. Create a well-organized file structure to store your footage, making it easy to locate specific shots or sequences later on. Use descriptive filenames or folder names to make sorting and searching efficient.
- Selecting the Best Shots: Review all the recorded footage and identify the best shots that capture the key moments and highlights of the construction process. Look for shots that are visually appealing, well-composed, and tell a compelling story. Trim out any unnecessary or repetitive footage to keep the final product concise and engaging.
- Arrange Footage in a Logical Order: Organize your selected shots in a logical order that tells the story of the construction process. Consider the sequence of events and the natural flow of the project to create a cohesive narrative. Transition smoothly from one shot to the next, ensuring a seamless viewing experience.
- Color Correction and Enhancement: Use video editing software to adjust the color, contrast, and brightness of your footage to enhance the visual appeal. Maintain consistency throughout the video by matching the color and exposure across different shots. Experiment with filters and effects, but be mindful not to overdo them, as it may distract from the main subject matter.
- Add Transitions and Effects: Add transitions between shots to create smooth and seamless transitions between scenes. Use fade-ins, fade-outs, or wipes to enhance the visual flow and add a professional touch. Experiment with subtle effects like slow motion or sped-up segments to add emphasis or highlight specific moments.
- Incorporate Music or Voiceover: Consider adding background music or a voiceover to accompany the footage. Choose music that complements the mood and tempo of the construction process, and ensure it doesn’t overpower the visuals. If incorporating a voiceover, make sure it is clear and well-paced, providing relevant information or insights about the project.
- Create Captions or Subtitles: If your video will be shared on platforms that support captions or subtitles, consider adding them to improve accessibility and engagement. Provide accurate and concise captions that convey essential information or highlight specific details within the video. Ensure the text is visually appealing and easy to read.
- Add Graphics or Annotations: Incorporate graphics or annotations to highlight important measurements, milestones, or specific details within the construction footage. This can help viewers understand the scope and progress of the project more effectively. Use arrows, text overlays, or animated graphics to draw attention to key elements.
- Render and Export: Once you are satisfied with the final edit, render or export the video in the desired format. Choose a suitable resolution and file format based on the intended use of the video, whether it’s for online sharing, presentations, or archival purposes. Optimize the settings to balance file size and video quality.
Remember to save your project file separately from the final video, allowing you to make further edits or adjustments if needed. Keep backups of the final exported video in secure storage to prevent loss or accidental deletion.
By following these editing and compiling steps, you can transform your construction footage into a captivating and informative video that showcases the progress and achievements of the project. Take the time to refine your editing skills and experiment with different techniques to elevate the storytelling aspect of your construction video.
Read more: How To Monitor Construction Work Progress
Final Thoughts
Recording construction in progress is a valuable practice that offers numerous benefits to construction professionals and stakeholders. By documenting the different stages of a project, capturing various perspectives, and compiling the footage into a compelling narrative, you can create a visual record that not only showcases the hard work and dedication involved in the construction process but also serves as a valuable resource for future reference, analysis, and marketing efforts.
As you embark on your journey to record construction in progress, remember to prioritize safety at all times. Construction sites can be hazardous environments, so always follow safety protocols, wear appropriate protective gear, and collaborate with the construction team to ensure everyone’s well-being.
Invest in the right equipment and tools to capture high-quality footage. From cameras and tripods to time-lapse software and protective gear, having the proper equipment will help you capture the construction process effectively and ensure the longevity of your gear.
Plan and prepare thoroughly before each recording session. Familiarize yourself with the project, create a shot list, and communicate your recording plans with the construction team. Understanding the construction process and coordinating with the team will allow you to capture the most significant moments and activities.
Experiment with different perspectives and techniques to add visual interest and depth to your footage. From wide shots and close-ups to time-lapse sequences and aerial perspectives, capturing various angles and viewpoints will create a dynamic and immersive experience for viewers.
Once you have recorded the construction footage, take the time to edit and compile it into a cohesive and engaging final product. Select the best shots, arrange them in a logical order, enhance the visuals with color correction and effects, and incorporate music or voiceover to enhance the storytelling aspect. Pay attention to details like transitions, captions, and graphics to create a polished and professional video.
Lastly, always back up your footage and store it securely. Construction projects can span a long period of time, and preserving your recorded footage is crucial. Make multiple copies, both offline and in secure cloud storage, to ensure that your valuable documentation is protected for future reference.
Recording construction in progress is not only about capturing the transformation of a building or infrastructure; it is about preserving the hard work, showcasing the expertise, and leaving a lasting legacy. By employing the right techniques, equipment, and creative storytelling, you can create captivating videos that celebrate the intricate artistry and dedication of the construction industry.
Frequently Asked Questions about How To Record Construction In Progress
Was this page helpful?
At Storables.com, we guarantee accurate and reliable information. Our content, validated by Expert Board Contributors, is crafted following stringent Editorial Policies. We're committed to providing you with well-researched, expert-backed insights for all your informational needs.


0 thoughts on “How To Record Construction In Progress”