Tableware
How To Make Coasters From Records
Modified: October 27, 2024
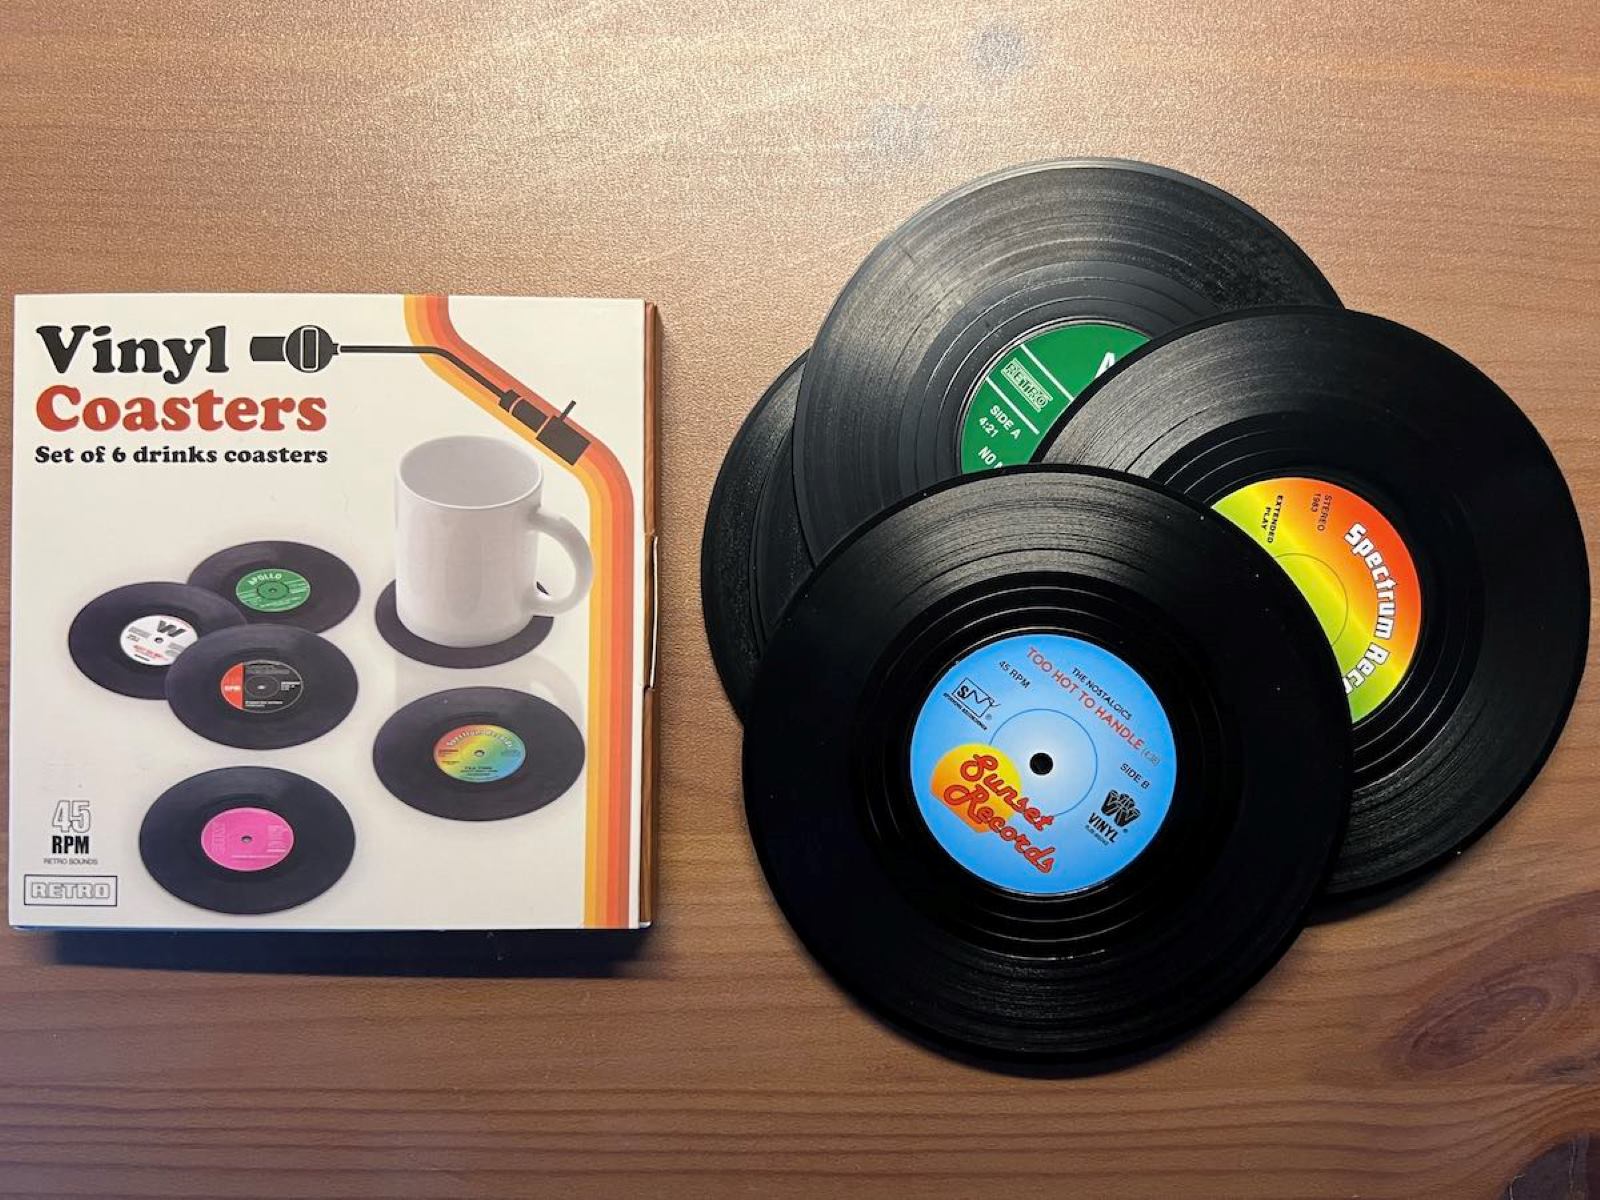
Learn how to make unique tableware by creating coasters from records. Transform your old vinyl into stylish and functional accessories for your home.
(Many of the links in this article redirect to a specific reviewed product. Your purchase of these products through affiliate links helps to generate commission for Storables.com, at no extra cost. Learn more)
Introduction
Welcome to the world of DIY crafts! If you’re a music lover or a vinyl enthusiast, then you’re going to love this project: making coasters from records. Not only is it a great way to recycle old and damaged vinyl records, but it also allows you to create unique and stylish tableware that will add a touch of nostalgia to your home decor.
In this article, we’ll take you through the step-by-step process of making coasters from records. But first, let’s gather the materials you’ll need to get started.
Note: Before starting this project, make sure you have obtained permission to use the records you will be repurposing. We always encourage the responsible and ethical use of copyrighted materials.
Key Takeaways:
- Turn old vinyl records into unique and stylish coasters by following a simple DIY process. Add a nostalgic touch to your home decor while recycling and repurposing damaged records creatively.
- Enjoy the coaster-making journey by shaping, baking, and personalizing vinyl record coasters. Let your creativity soar as you transform old records into functional and decorative tableware.
Read more: How To Make Concrete Coasters
Materials Needed
Before diving into the coaster-making process, let’s gather all the necessary materials:
- Old vinyl records: Look for records that are scratched, damaged, or ones that you no longer listen to. Make sure you have enough records to create multiple coasters.
- Oven-safe mold: You’ll need a heat-resistant mold to shape the records into coaster form. Silicone molds in various shapes and sizes work best.
- Oven mitts: To handle the records and mold while they are hot, oven mitts are essential to protect your hands.
- Cookie sheet: This will serve as the base for the mold and records while they bake in the oven.
- Oven: Make sure your oven is preheated and functioning properly.
- Decorative embellishments (optional): If you want to add a personal touch to your coasters, gather any decorative items you’d like to use, such as paint, markers, or adhesive decals.
- Cork or felt pads: To protect your furniture, consider adding cork or felt pads to the bottom of your finished coasters.
Once you have gathered all of these materials, you’re ready to proceed with the coaster-making process. So let’s get started!
Step 1: Preparing the Records
Before you begin shaping the records into coasters, it’s important to prepare them properly. Follow these steps:
- Clean the records: Start by gently wiping the vinyl surface of each record with a soft, lint-free cloth to remove any dust or debris. Be careful not to scratch the records during this process.
- Remove the record labels (optional): If you prefer a cleaner look for your coasters, you can remove the labels from the records. Fill a basin or sink with warm water and soak the records for a few minutes. Use a soft cloth or sponge to gently peel off the labels. If they don’t come off easily, you can use adhesive remover or a hairdryer to loosen the glue.
- Trim the edges (optional): If your records have damaged or rough edges, you can use a pair of sharp scissors or a utility knife to carefully trim them. This step is purely aesthetic and can give your coasters a cleaner appearance.
Once you have completed these steps, you are now ready to move on to shaping the records into coaster form. Let’s proceed to the next step!
Step 2: Shaping the Coasters
Now that you have prepared the records, it’s time to shape them into coasters. Follow these steps:
- Preheat the oven: Set your oven to a temperature of 200 degrees Fahrenheit (93 degrees Celsius) to ensure it reaches the ideal temperature for molding the records.
- Place the silicone mold on a cookie sheet: Choose a silicone mold in your desired shape and size. Place it on a cookie sheet to provide stability during the baking process.
- Position the record on the silicone mold: Carefully position a cleaned and trimmed record on top of the silicone mold. Ensure that it sits snugly within the mold to create a well-defined shape.
- Repeat with additional records: If you want to make multiple coasters, repeat the process with your other prepared records, placing them on separate sections of the silicone mold.
- Transfer the cookie sheet to the oven: With oven mitts on, carefully transfer the cookie sheet with the silicone mold and records into the preheated oven.
- Bake the records: Allow the records to bake in the oven for approximately 5-7 minutes or until they become soft and pliable. Keep a close eye on them to avoid overheating or melting.
Once the records have softened, it’s time to move on to the next step of the coaster-making process. Let’s proceed to step 3!
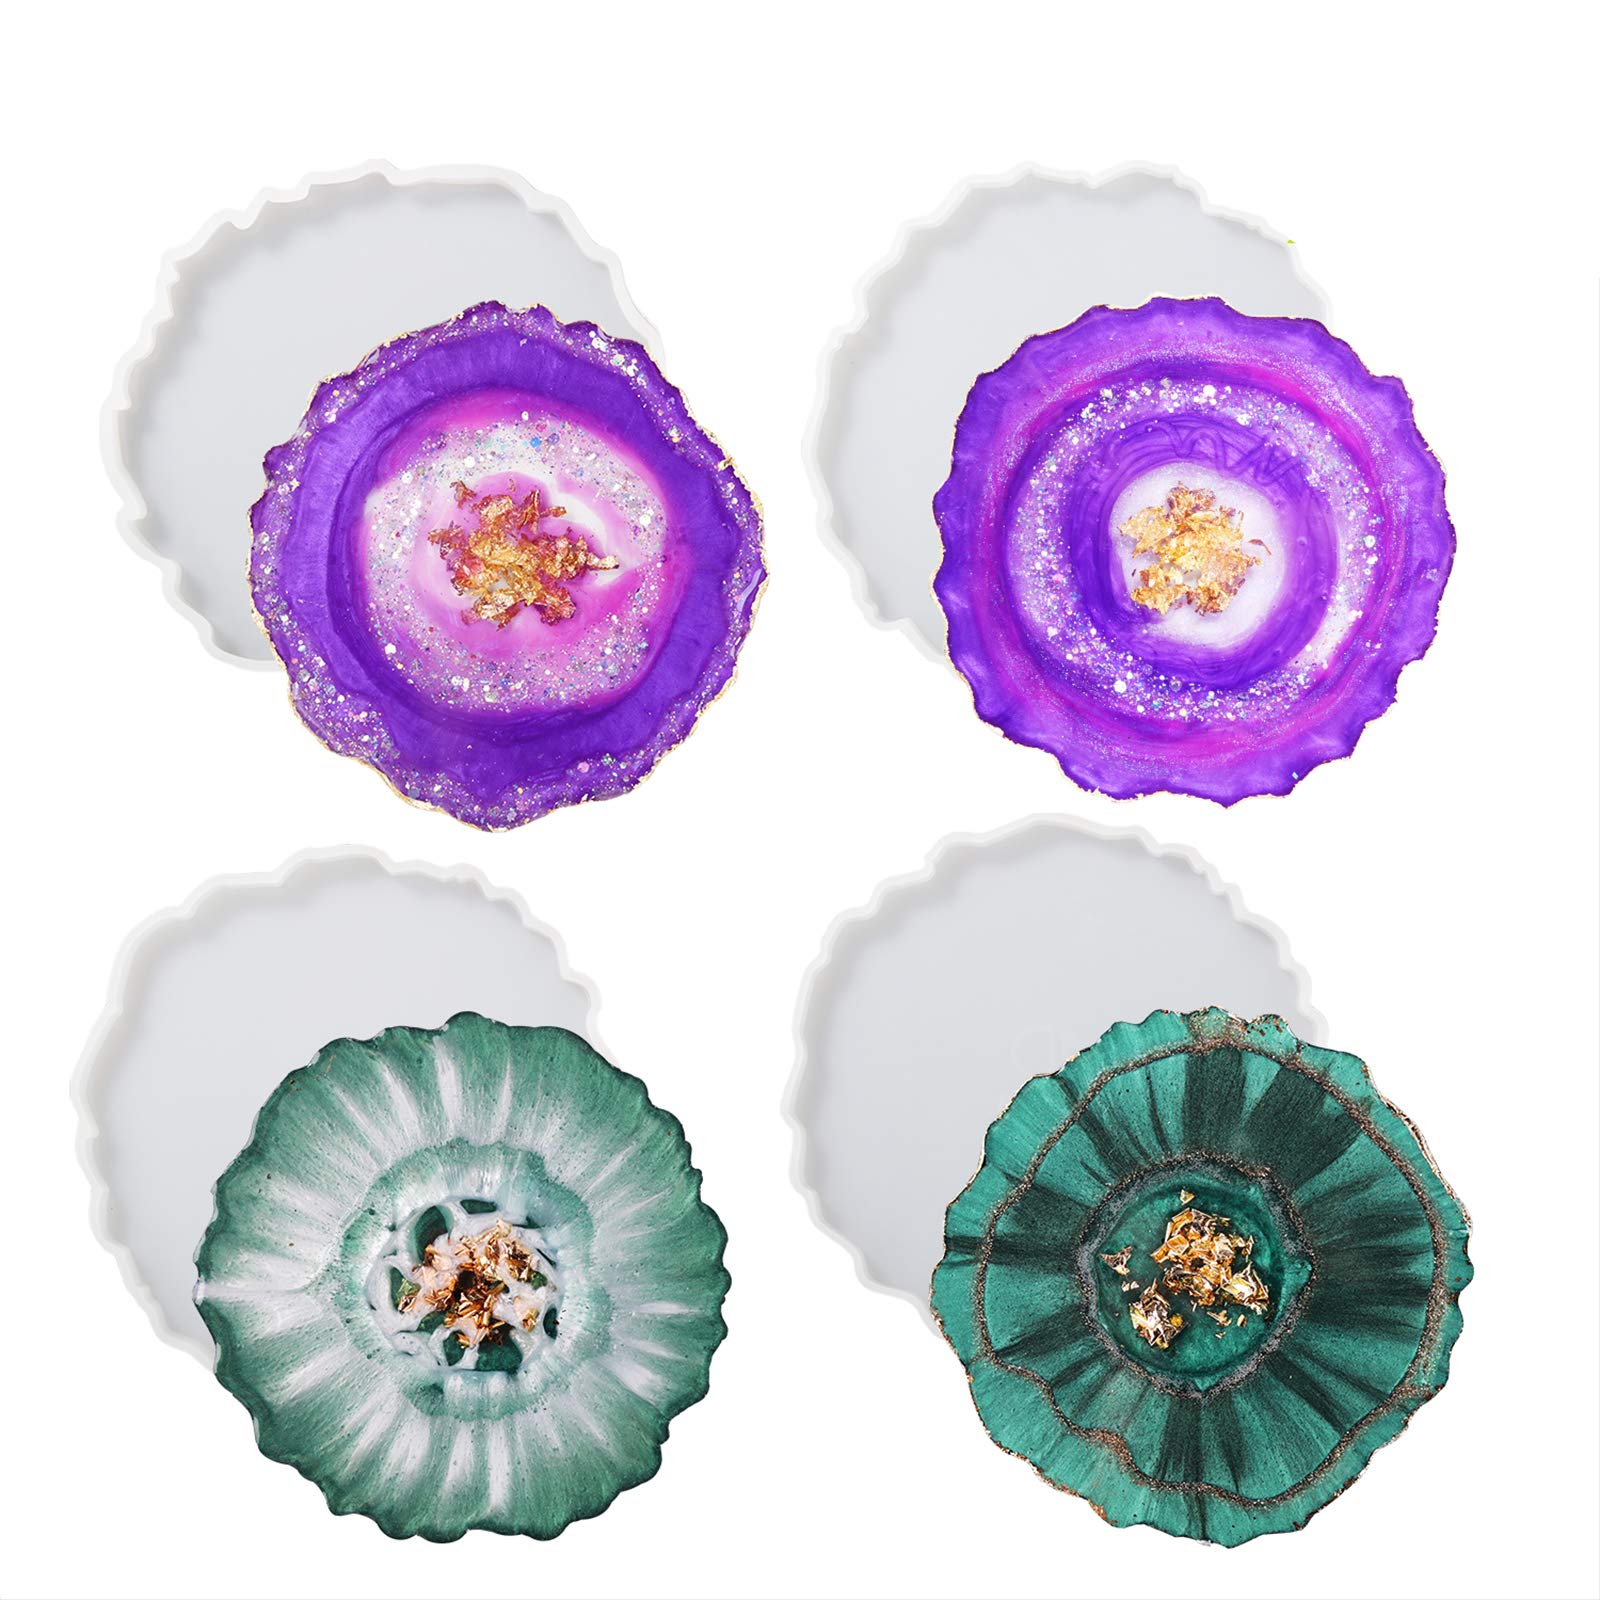
When melting records to make coasters, use a silicone mold to ensure a smooth and even surface. Place the mold on a baking sheet to catch any drips.
Step 3: Baking the Coasters
With the softened records now molded into coaster shape, it’s time to complete the transformation by baking them. Follow these steps:
- Keep the records in the oven: Leave the records in the oven for an additional 2-3 minutes to allow them to fully harden and retain their shape.
- Remove the cookie sheet from the oven: Using oven mitts, carefully remove the cookie sheet with the molded records from the oven. Place it on a heat-resistant surface and allow the coasters to cool completely.
- Check for flatness: While the coasters are still warm, take a flat object, like a book, and gently press it on top of each coaster to ensure that it is flat and even.
Once the coasters have fully cooled down and are flat, it’s time to add some finishing touches. Let’s move on to step 4!
Read more: How To Make Bottle Cap Coasters
Step 4: Adding Finishing Touches
Now that you have your freshly baked coasters, it’s time to add some personalization and protection. Follow these steps to add the finishing touches:
- Add decorative elements (optional): If you want to get creative, you can add decorative elements to your coasters. Use paint, markers, or adhesive decals to create unique designs or patterns that reflect your personal style.
- Apply a protective layer (optional): To ensure the longevity of your coasters, consider applying a protective layer. You can use a clear varnish or mod podge to seal the surface of the coasters and protect them from moisture and spills.
- Add cork or felt pads to the bottom: Flip over each coaster and attach self-adhesive cork or felt pads to the bottom. This will not only protect your furniture but also provide a non-slip surface when placed on different surfaces.
Once you have completed these steps, your unique and handmade vinyl record coasters are ready to be showcased. Place them on your coffee table, dining table, or any surface you choose, and enjoy the nostalgic and stylish vibe they bring to your home.
Remember, making coasters from records is a fun and creative project. Feel free to experiment with different shapes, colors, and designs to make your coasters truly one-of-a-kind. Enjoy the process and let your creativity soar!
Thank you for joining us on this coaster-making journey. We hope you find joy in both the crafting process and the end result.
Happy crafting!
Conclusion
Creating coasters from old vinyl records is not only a fantastic way to repurpose and recycle, but it also allows you to add a unique and nostalgic touch to your home decor. By following the step-by-step process outlined in this article, you can transform scratched or damaged records into functional and stylish tableware.
Throughout this DIY project, you learned how to prepare the records by cleaning and trimming them, shape them into coasters using silicone molds, and bake them in the oven to achieve the desired form. By adding your personal touch through decorative elements and applying a protective layer, you have customized your coasters to reflect your style and taste.
The final result is a set of handmade vinyl record coasters that not only protect your furniture from water rings and heat but also serve as a conversation starter and a nostalgic reminder of the music era gone by.
Remember to always obtain permission to use the records for this project, as respecting copyright laws is crucial. Additionally, take safety precautions when using the oven and handling hot objects to ensure a smooth crafting experience.
We hope this coaster-making adventure has inspired your creativity and sparked your enthusiasm for DIY crafts. Don’t hesitate to experiment with different shapes, colors, and designs to make your coasters truly unique and personalized.
So gather your old records, dust off your creativity, and enjoy the process of turning something old into something new and beautiful. Happy crafting!
Frequently Asked Questions about How To Make Coasters From Records
Was this page helpful?
At Storables.com, we guarantee accurate and reliable information. Our content, validated by Expert Board Contributors, is crafted following stringent Editorial Policies. We're committed to providing you with well-researched, expert-backed insights for all your informational needs.


0 thoughts on “How To Make Coasters From Records”