Home>Furniture & Design>Bathroom Accessories>How To Attach A Shower Head To A Bathtub
Bathroom Accessories
How To Attach A Shower Head To A Bathtub
Modified: October 28, 2024
Learn how to easily attach a shower head to your bathtub with our step-by-step guide. Find the best bathroom accessories for your needs.
(Many of the links in this article redirect to a specific reviewed product. Your purchase of these products through affiliate links helps to generate commission for Storables.com, at no extra cost. Learn more)
Introduction
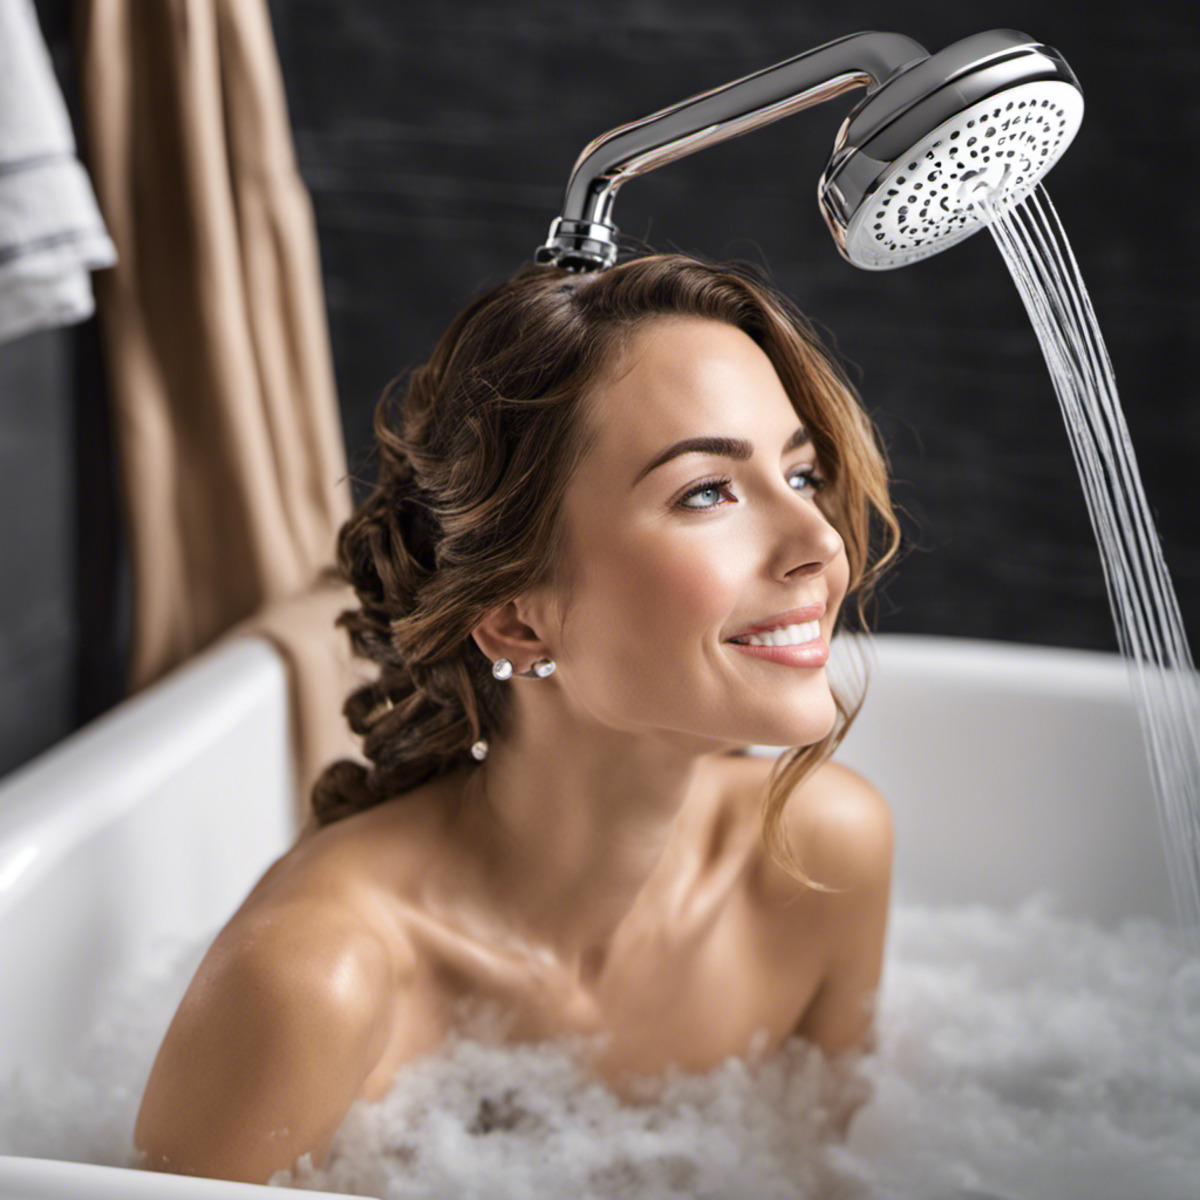
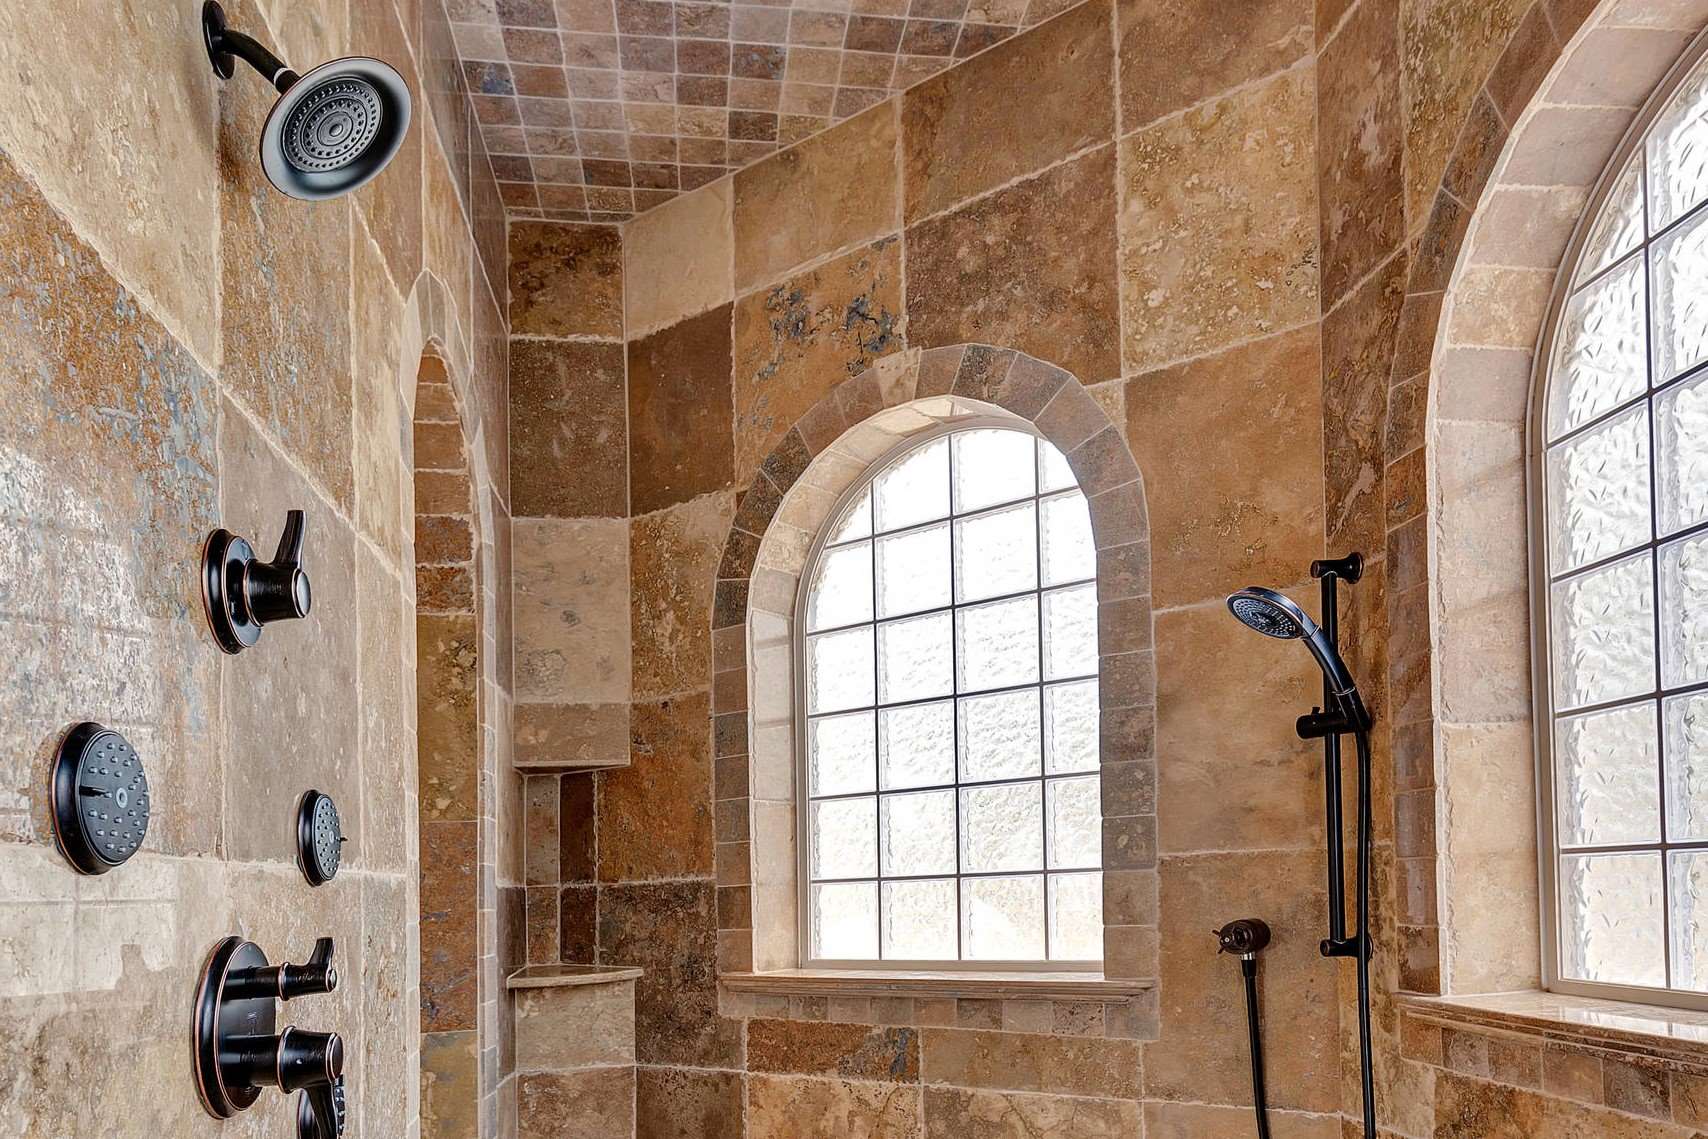
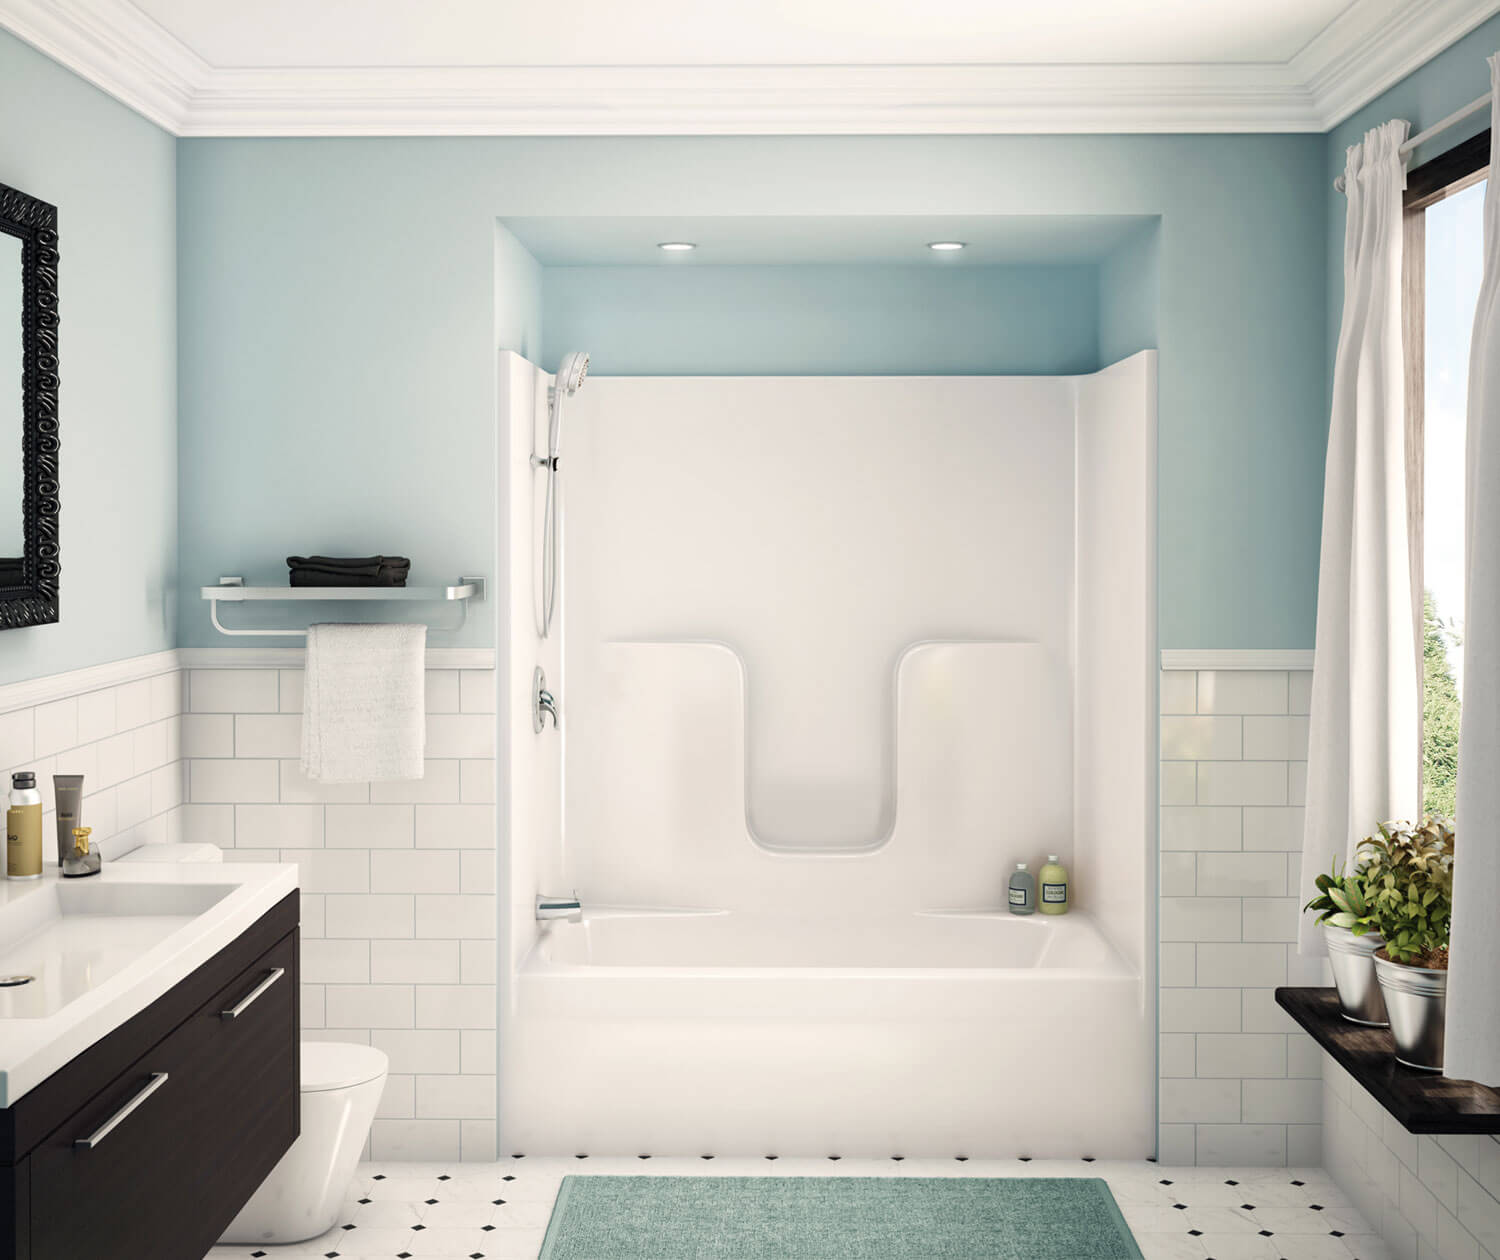
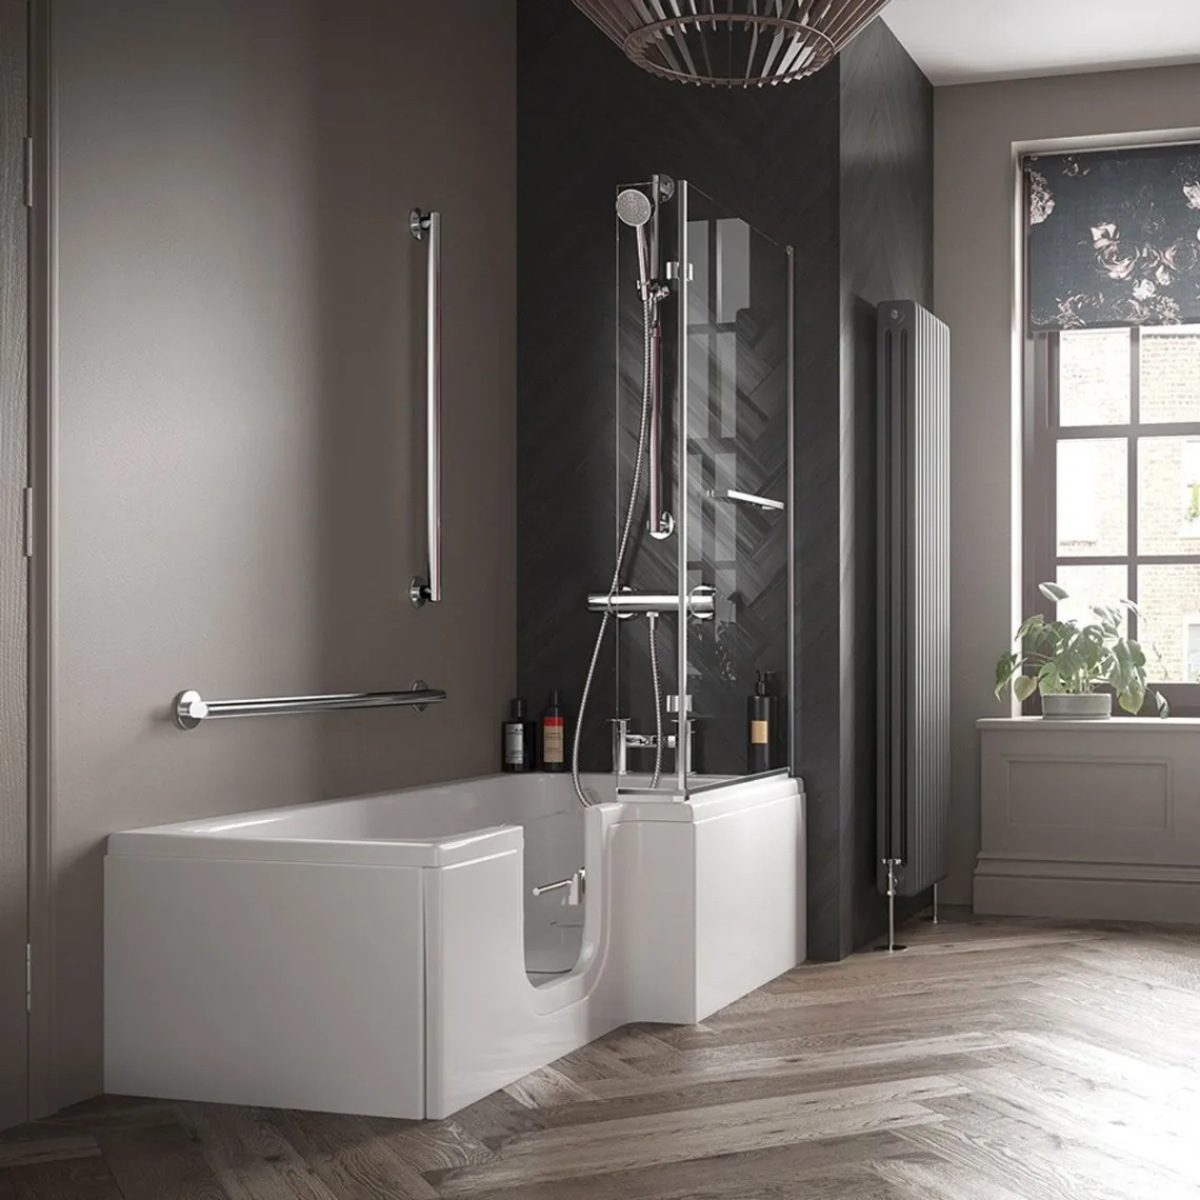
Attaching a new shower head to a bathtub can significantly enhance your bathing experience. Whether you're looking to upgrade to a rainfall shower head for a luxurious spa-like feel or simply replacing an old, worn-out shower head, this guide will walk you through the process step by step. With the right tools and materials, you can easily complete this DIY project and enjoy a refreshing shower in no time.
Installing a new shower head allows you to customize your bathing environment to suit your preferences. From adjustable spray settings to water-saving features, modern shower heads offer a range of benefits that can elevate your daily routine. By following the steps outlined in this guide, you can seamlessly replace your old shower head with a new one, tailored to your specific needs.
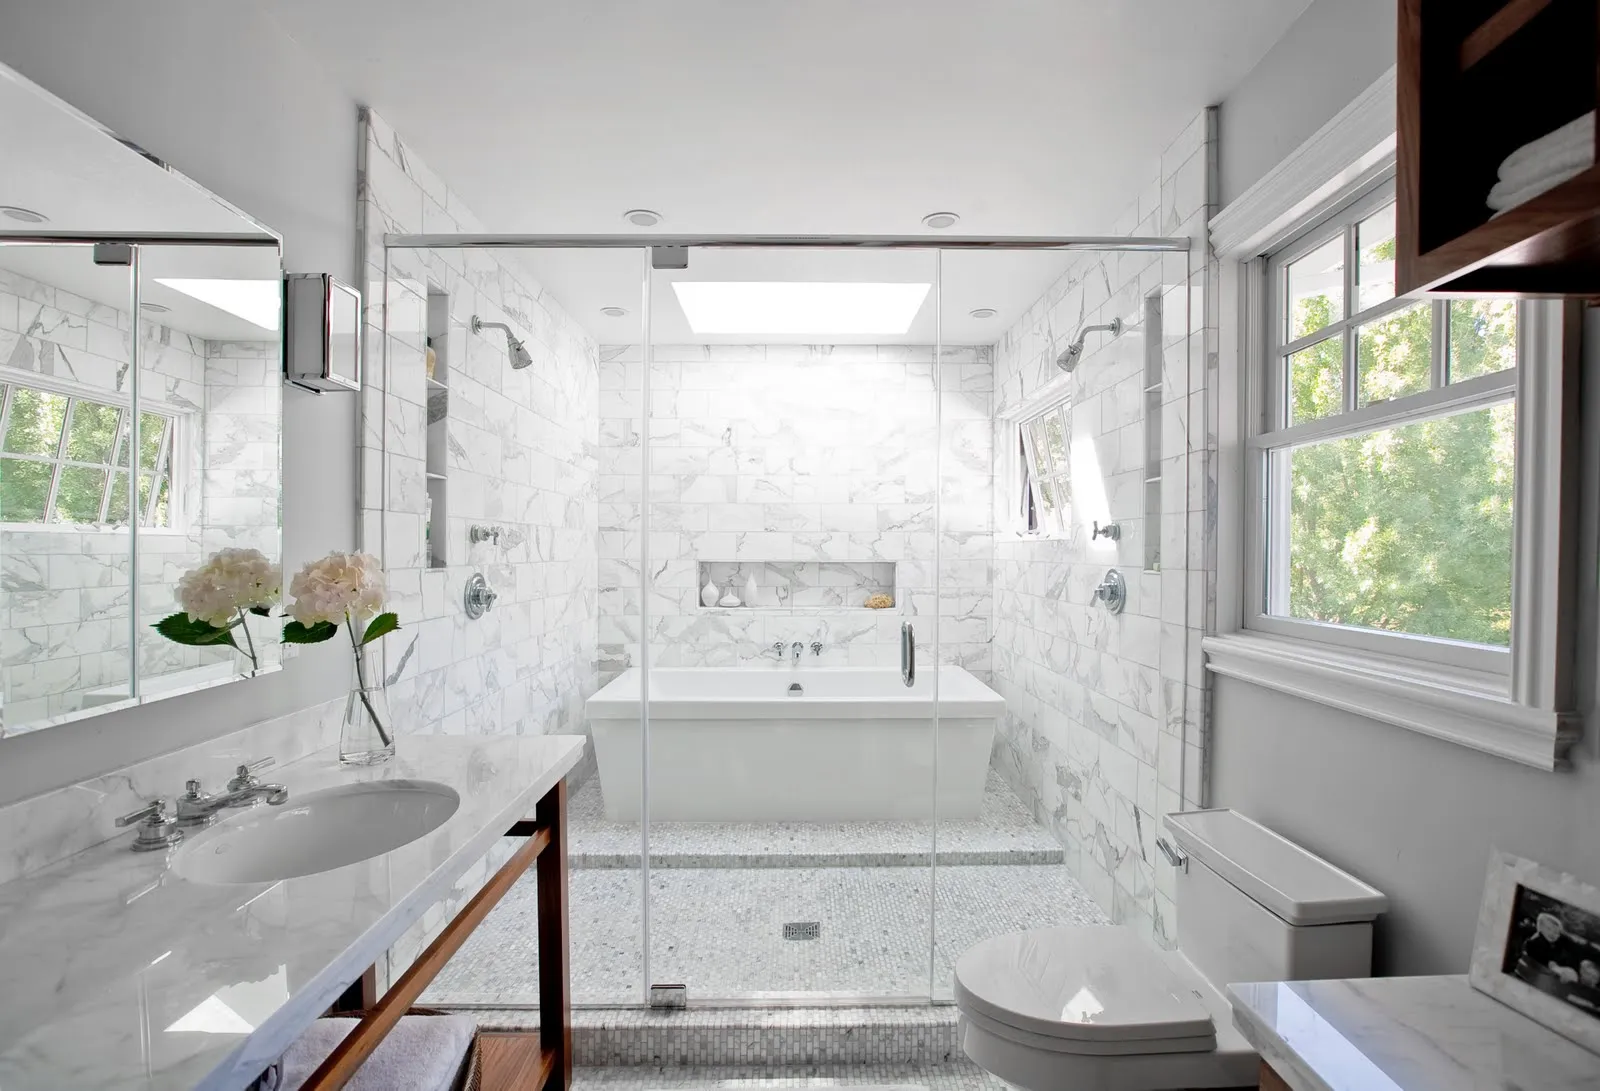
In addition to the practical advantages, installing a new shower head can also enhance the aesthetic appeal of your bathroom. With a variety of styles and finishes available, you can choose a shower head that complements your bathroom decor, adding a touch of elegance and sophistication to the space.
Whether you're a seasoned DIY enthusiast or a novice looking to tackle your first home improvement project, attaching a new shower head to your bathtub is a manageable task that yields rewarding results. By taking the time to follow the steps outlined in this guide, you can achieve a successful installation and enjoy the rejuvenating benefits of your new shower head. So, let's dive into the process and transform your bathing experience for the better.
Key Takeaways:
- Upgrade your bathtub with a new shower head for a luxurious spa-like experience. Follow the step-by-step guide to install and customize your bathing environment with ease.
- Transform your daily routine by attaching a new shower head to your bathtub. Enjoy the benefits of improved water flow, customizable spray settings, and a touch of elegance in your bathroom.
Read more: How To Add Shower Head To Bathtub
Step 1: Gather the necessary tools and materials
Before embarking on the process of attaching a new shower head to your bathtub, it's essential to gather all the required tools and materials. Having everything at hand will streamline the installation process and ensure a smooth transition from the old shower head to the new one. Here's a comprehensive list of the items you'll need:
Tools:
- Adjustable wrench
- Pipe wrench
- Plumber's tape
- Rag or towel
- Teflon tape (optional)
Materials:
- New shower head
- Plumber's tape (also known as Teflon tape)
- Cleaning solution (if necessary)
The adjustable wrench is crucial for loosening the old shower head, while the pipe wrench may be needed to remove the shower arm if it's tightly secured. Plumber's tape is essential for creating a watertight seal when attaching the new shower head, preventing leaks and ensuring a secure connection.
When selecting a new shower head, consider factors such as spray patterns, water pressure, and design aesthetics to find the perfect fit for your bathing preferences and bathroom decor. Additionally, having a cleaning solution on hand can be helpful for removing any buildup or residue from the shower arm before installing the new shower head.
By gathering these tools and materials before starting the installation process, you can approach the project with confidence and efficiency. With everything within reach, you'll be well-prepared to seamlessly transition from the old shower head to the new one, creating an enhanced bathing experience in your bathtub.
Step 2: Remove the old shower head
Removing the old shower head is the initial step in the process of attaching a new shower head to your bathtub. This task requires careful attention to ensure that the existing shower head and its components are safely detached without causing damage to the shower arm or surrounding fixtures.
To begin, use an adjustable wrench to grip the flat sides of the shower head. Turn the wrench counterclockwise to loosen the shower head from the shower arm. If the shower head is tightly secured, applying a penetrating oil to the threads can help loosen it. Once the shower head is loosened, continue turning it by hand until it is completely detached from the shower arm.
If the shower head is stubbornly stuck due to mineral deposits or corrosion, a pipe wrench may be necessary to provide additional leverage. Carefully position the pipe wrench around the base of the shower head, ensuring a secure grip without causing damage. Slowly rotate the pipe wrench counterclockwise to break the seal and release the shower head from the shower arm.
After removing the shower head, inspect the shower arm to ensure it is in good condition. Wipe the threads of the shower arm with a clean rag or towel to remove any debris or residue. If the shower arm shows signs of corrosion or damage, it may be necessary to replace it before attaching the new shower head.
Once the old shower head and any associated components are removed, take the opportunity to clean the shower arm thoroughly. If there is any buildup or residue present, use a cleaning solution to dissolve and remove it, ensuring a clean and smooth surface for attaching the new shower head.
By carefully following these steps to remove the old shower head, you can prepare the shower arm for the installation of the new shower head. With the old shower head successfully detached and the shower arm cleaned and inspected, you are ready to proceed to the next step of attaching the new shower head, bringing you one step closer to revitalizing your bathing experience in the bathtub.
Read more: How To Shower In A Bathtub?
Step 3: Clean the shower arm
Cleaning the shower arm is a crucial step in the process of attaching a new shower head to your bathtub. A clean and well-maintained shower arm provides a solid foundation for the installation of the new shower head, ensuring a secure and leak-free connection. Additionally, removing any buildup or residue from the shower arm contributes to optimal water flow and performance of the new shower head.
To clean the shower arm, begin by inspecting the threads and surface for any signs of mineral deposits, rust, or debris. If there is visible buildup, use a cleaning solution specifically formulated for removing mineral deposits and grime. Apply the cleaning solution to the affected areas of the shower arm and allow it to penetrate for the recommended duration as per the product instructions.
After the cleaning solution has had time to work its magic, use a clean rag or towel to wipe away the loosened deposits and residue from the shower arm. Ensure thorough coverage of the entire surface, paying close attention to the threads where the new shower head will be attached. By removing any accumulated buildup, you can create a smooth and clean surface for the new shower head to be securely installed.
In some cases, stubborn mineral deposits or corrosion may require additional attention. For particularly stubborn buildup, a gentle scrubbing with a soft-bristled brush or an old toothbrush can help dislodge the residue from the shower arm. Take care not to use abrasive materials that could scratch or damage the surface of the shower arm.
Once the shower arm is free from any buildup and thoroughly cleaned, rinse it with water to remove any remaining cleaning solution or debris. Dry the shower arm with a clean towel to ensure that it is completely free of moisture before proceeding to the next step of attaching the new shower head.
By taking the time to clean the shower arm thoroughly, you can ensure that the installation of the new shower head proceeds smoothly and that the shower arm provides a clean and stable base for the new fixture. With the shower arm now clean and prepared, you are ready to move on to the next step of applying plumber's tape and attaching the new shower head, bringing you closer to enjoying the rejuvenating benefits of your upgraded bathtub shower experience.
Step 4: Apply plumber's tape
Applying plumber's tape, also known as Teflon tape, is a critical step in the process of attaching a new shower head to your bathtub. This versatile and inexpensive material plays a vital role in creating a watertight seal between the shower arm and the new shower head, preventing leaks and ensuring a secure connection.
To apply plumber's tape, start by ensuring that the threads of the shower arm are clean and free from any residue or debris. This provides a smooth surface for the tape to adhere to, enhancing its effectiveness in sealing the connection. Begin by wrapping the threads of the shower arm with the plumber's tape in a clockwise direction. As you wrap the tape around the threads, pull it taut to ensure a snug fit.
It's important to apply the plumber's tape carefully, ensuring that it covers the entire threaded portion of the shower arm. The tape should overlap slightly with each wrap to create a uniform and effective seal. As you reach the end of the threaded portion, tear the tape cleanly to complete the wrapping process.
The application of plumber's tape serves to fill any gaps or irregularities in the threads, creating a tight seal that prevents water from leaking out of the connection. This simple yet effective method of sealing threaded connections is widely used in plumbing applications and is particularly important when attaching a new shower head to a bathtub.
Once the plumber's tape is applied, it's essential to smooth it down gently to ensure that it adheres securely to the threads. This helps to prevent the tape from unraveling or bunching up when the new shower head is attached, maintaining a consistent seal around the connection.
By applying plumber's tape to the threads of the shower arm, you can create a reliable and watertight seal that ensures the new shower head is securely attached. This step is crucial in preventing leaks and maintaining the integrity of the connection, setting the stage for the successful installation of the new shower head onto your bathtub. With the plumber's tape in place, you are now ready to proceed to the next step of attaching the new shower head, bringing you closer to enjoying a revitalized bathing experience.
When attaching a shower head to a bathtub, make sure to use Teflon tape on the threads to prevent leaks. Tighten the shower head securely, but be careful not to over-tighten and damage the threads.
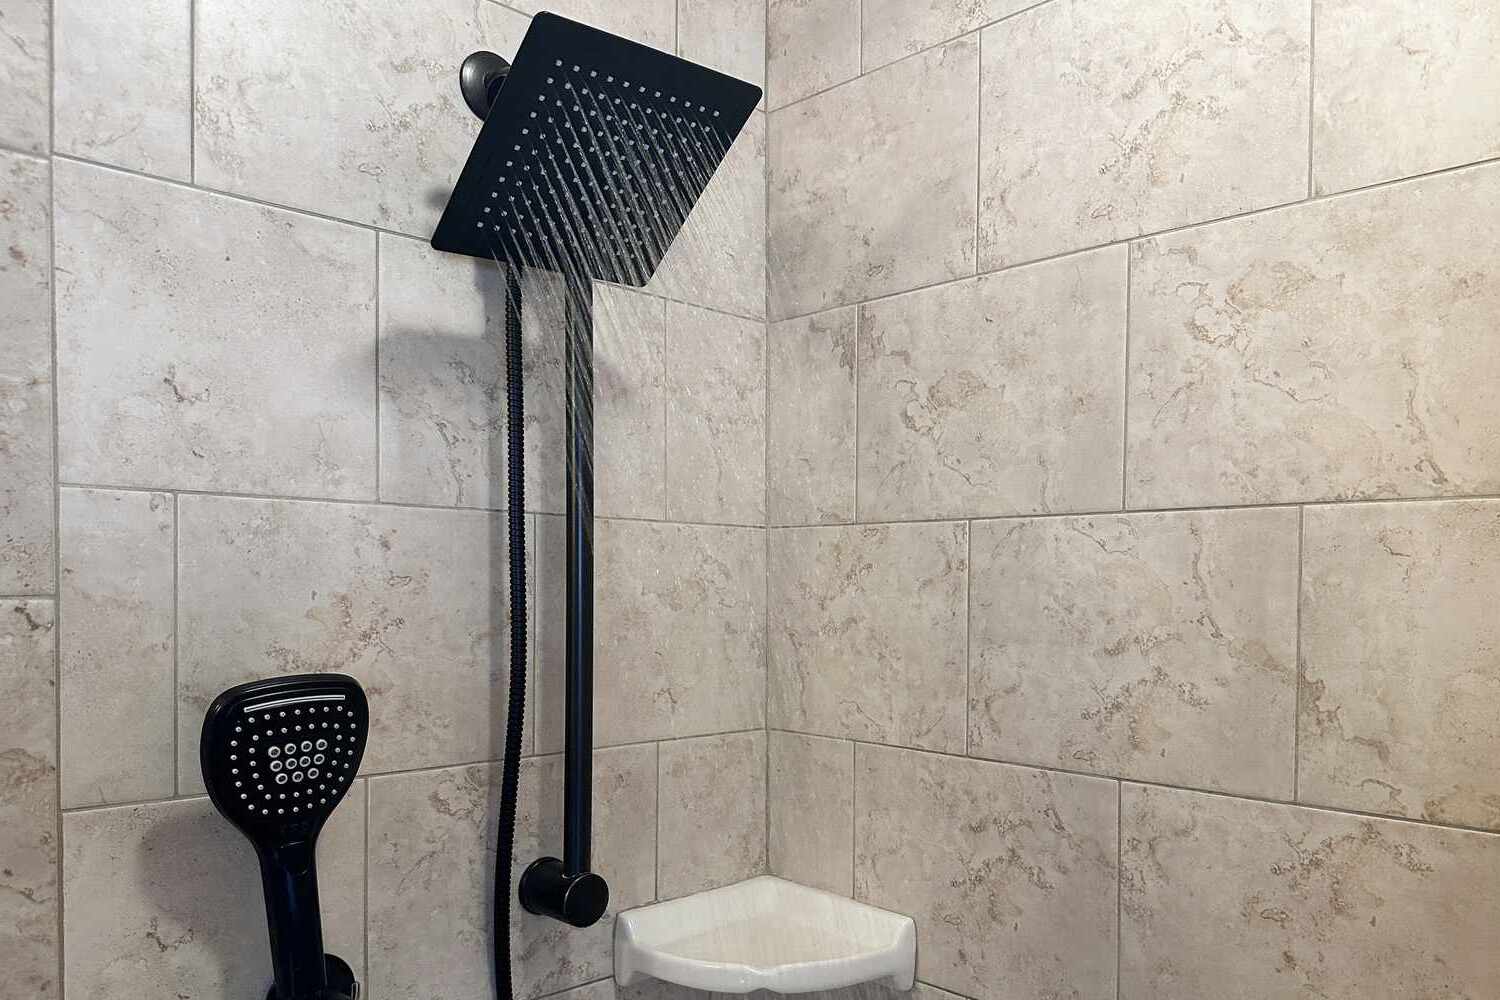
Step 5: Attach the new shower head
Attaching the new shower head is the pivotal step in the process of upgrading your bathtub's shower experience. With the old shower head removed and the shower arm cleaned and prepared, you are now ready to install the new fixture and reap the benefits of a rejuvenated bathing experience.
To attach the new shower head, begin by positioning it at the end of the shower arm, aligning the threaded connection. Carefully thread the new shower head onto the shower arm in a clockwise direction, ensuring a snug and secure fit. Use your hand to tighten the connection, applying gentle pressure to create a watertight seal.
As you attach the new shower head, it's essential to avoid over-tightening, which could potentially damage the shower arm or the new fixture. Instead, aim for a firm connection that feels secure without excessive force. If the new shower head features an adjustable swivel or spray settings, position it according to your preferences before fully securing the connection.
Once the new shower head is attached and positioned to your satisfaction, take a moment to inspect the connection for any signs of leaks or loose fittings. Run your hand along the base of the shower head to ensure that it is firmly seated on the shower arm and that the plumber's tape is effectively sealing the connection.
If there are any indications of a loose connection or leaks, gently tighten the shower head by hand to reinforce the seal. It's important to address any potential issues at this stage to prevent water leakage and ensure the optimal performance of the new shower head.
With the new shower head securely attached and any adjustments made to achieve a proper fit, you have successfully completed the installation process. The new fixture is now ready to deliver an enhanced shower experience, tailored to your preferences and designed to elevate your daily bathing routine.
By following these steps to attach the new shower head, you have taken a significant stride towards revitalizing your bathtub's shower experience. With the installation complete, you can look forward to enjoying the rejuvenating benefits of your upgraded shower head, transforming your daily bathing ritual into a refreshing and invigorating experience.
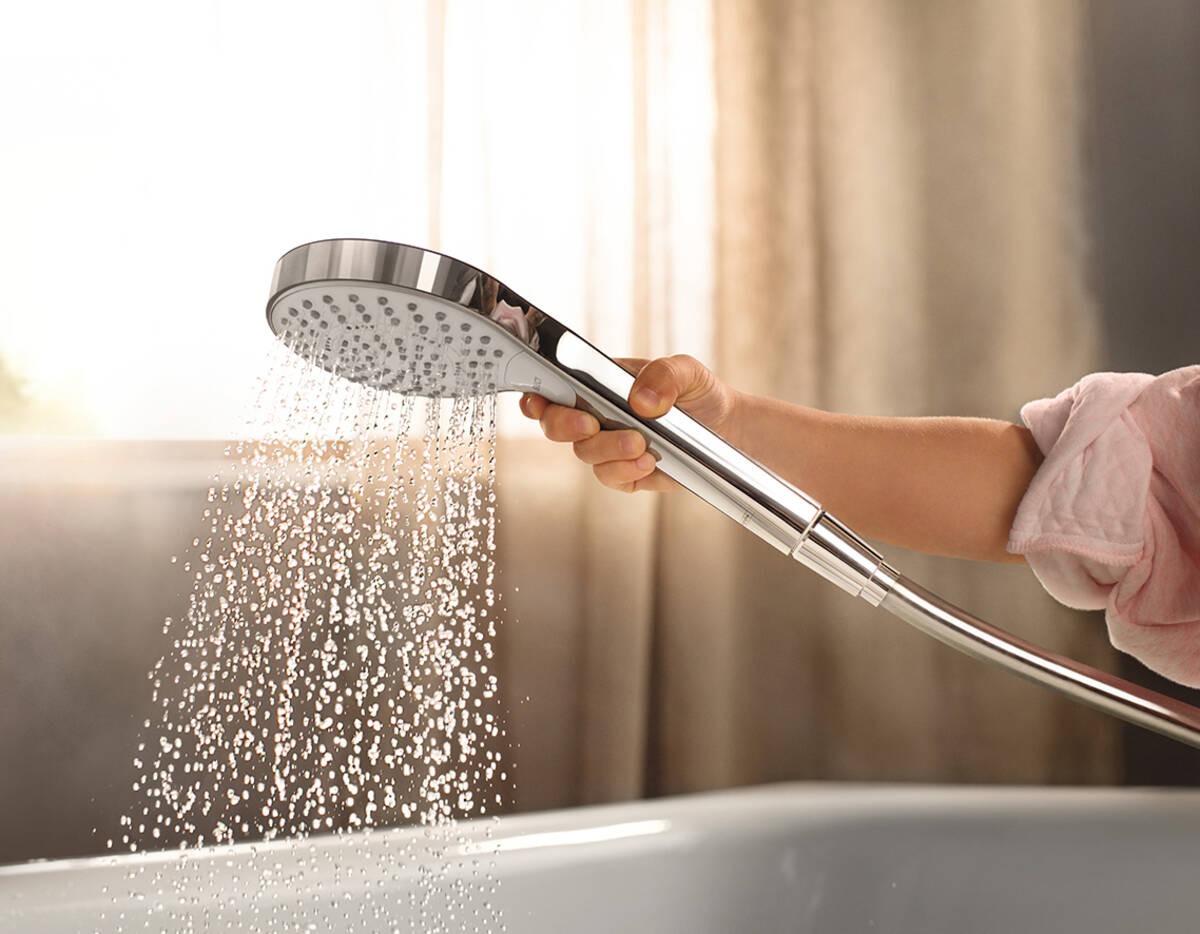
Step 6: Test the new shower head
With the new shower head successfully attached to your bathtub, it's essential to conduct a thorough test to ensure that the fixture functions as intended and delivers the desired shower experience. Testing the new shower head allows you to assess its performance, water flow, and any adjustable settings, providing an opportunity to make any final adjustments before fully embracing the rejuvenated bathing experience.
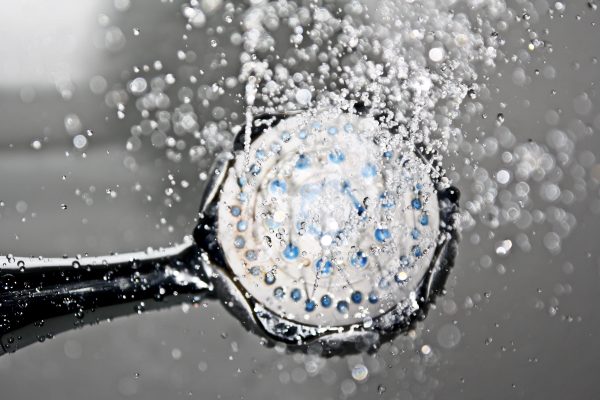
To begin the testing process, turn on the water supply to the bathtub and activate the new shower head. Observe the water flow and spray pattern to gauge the effectiveness of the fixture. Pay attention to the pressure and coverage of the water, noting any irregularities or issues that may require adjustment.
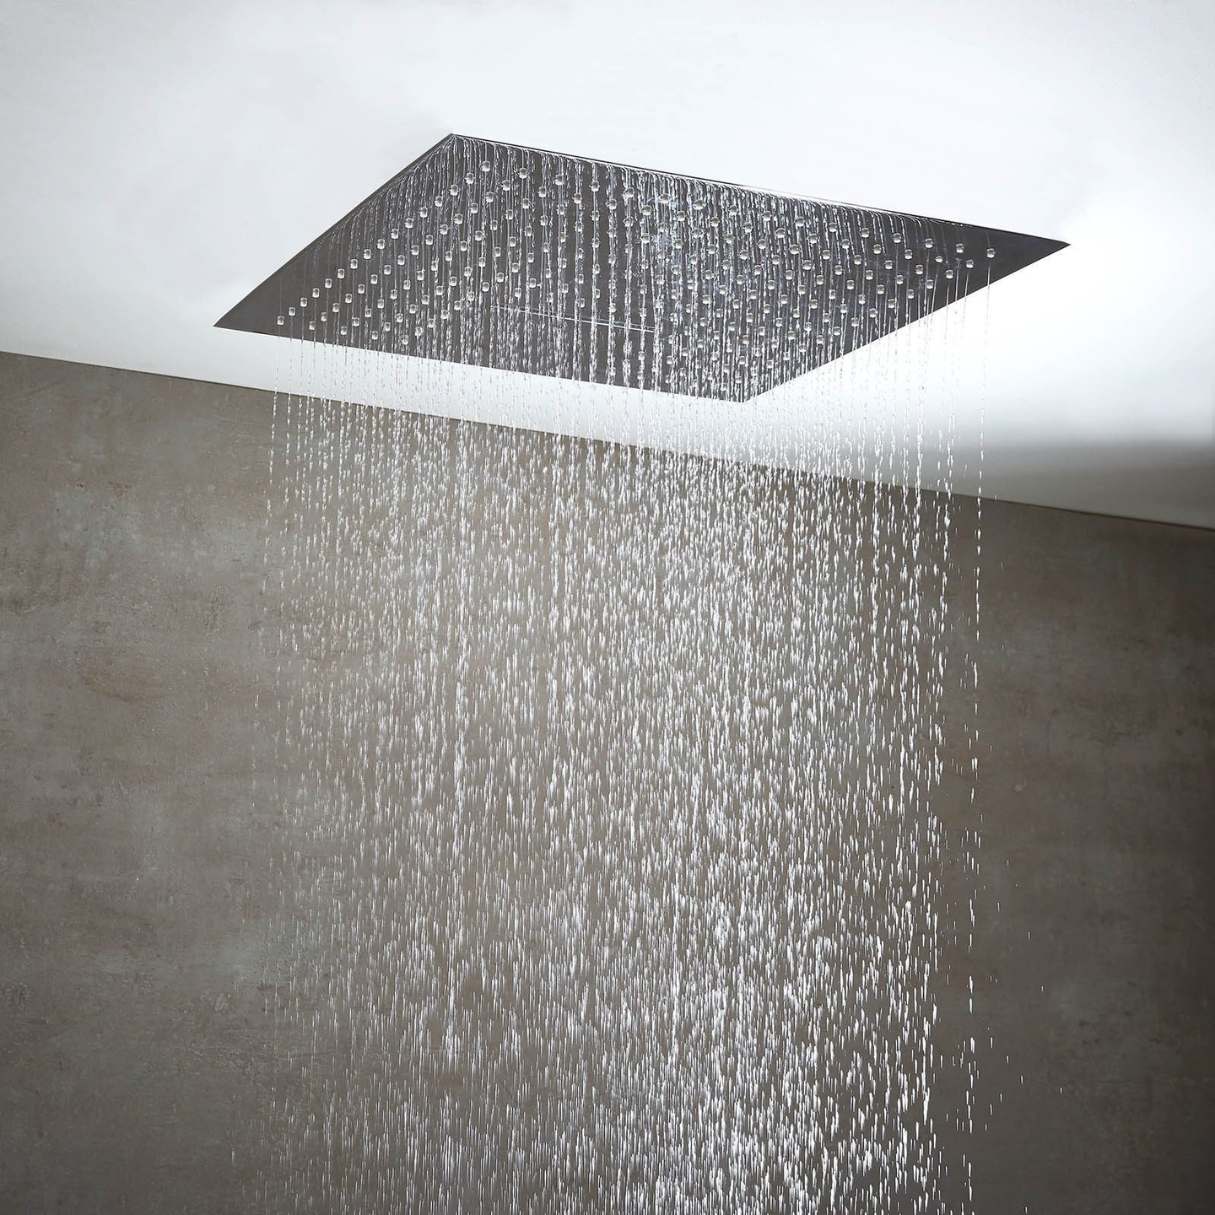
If the new shower head features adjustable settings such as spray patterns or water pressure, take the time to explore these options to determine which setting best suits your preferences. Experiment with different spray patterns, from gentle rainfall to invigorating massage settings, to find the ideal configuration for your bathing experience.
As the water flows through the new shower head, assess the overall performance and functionality of the fixture. Check for any leaks or drips around the connection between the shower arm and the new shower head, ensuring that the plumber's tape has effectively sealed the connection.
While testing the new shower head, consider factors such as water temperature, coverage, and the overall comfort of the shower experience. Take note of any adjustments that may be necessary to optimize the performance of the fixture and tailor it to your specific preferences.
If you encounter any issues during the testing phase, such as leaks, inconsistent water flow, or unsatisfactory spray patterns, take the time to address these concerns. Tighten the connection between the shower head and the shower arm if necessary, and make any adjustments to the settings to achieve the desired shower experience.
By thoroughly testing the new shower head, you can ensure that it meets your expectations and provides a rejuvenating and satisfying bathing experience. Taking the time to assess the performance of the fixture allows you to make any final adjustments and fine-tune the settings, setting the stage for an enhanced and personalized shower experience in your bathtub.
Read more: How To Replace A Bathtub Shower
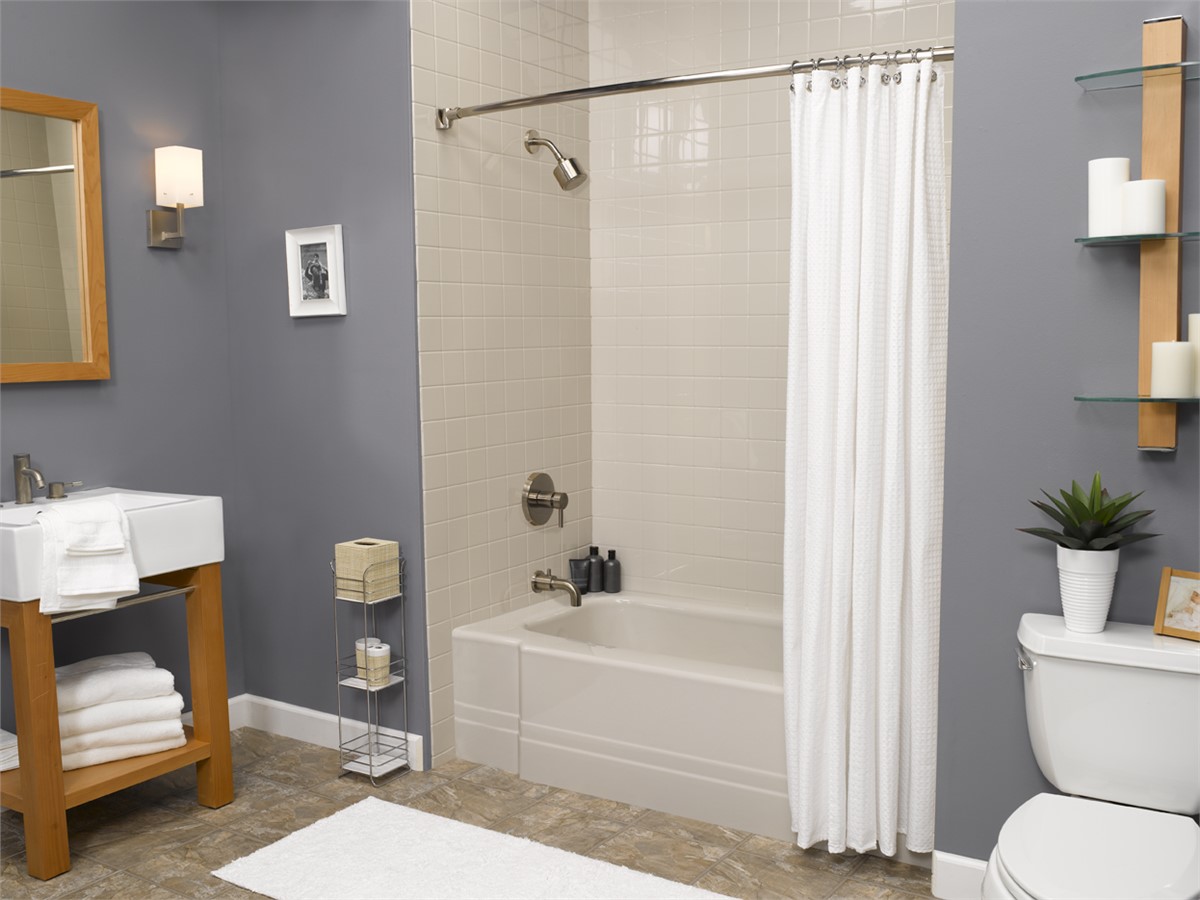
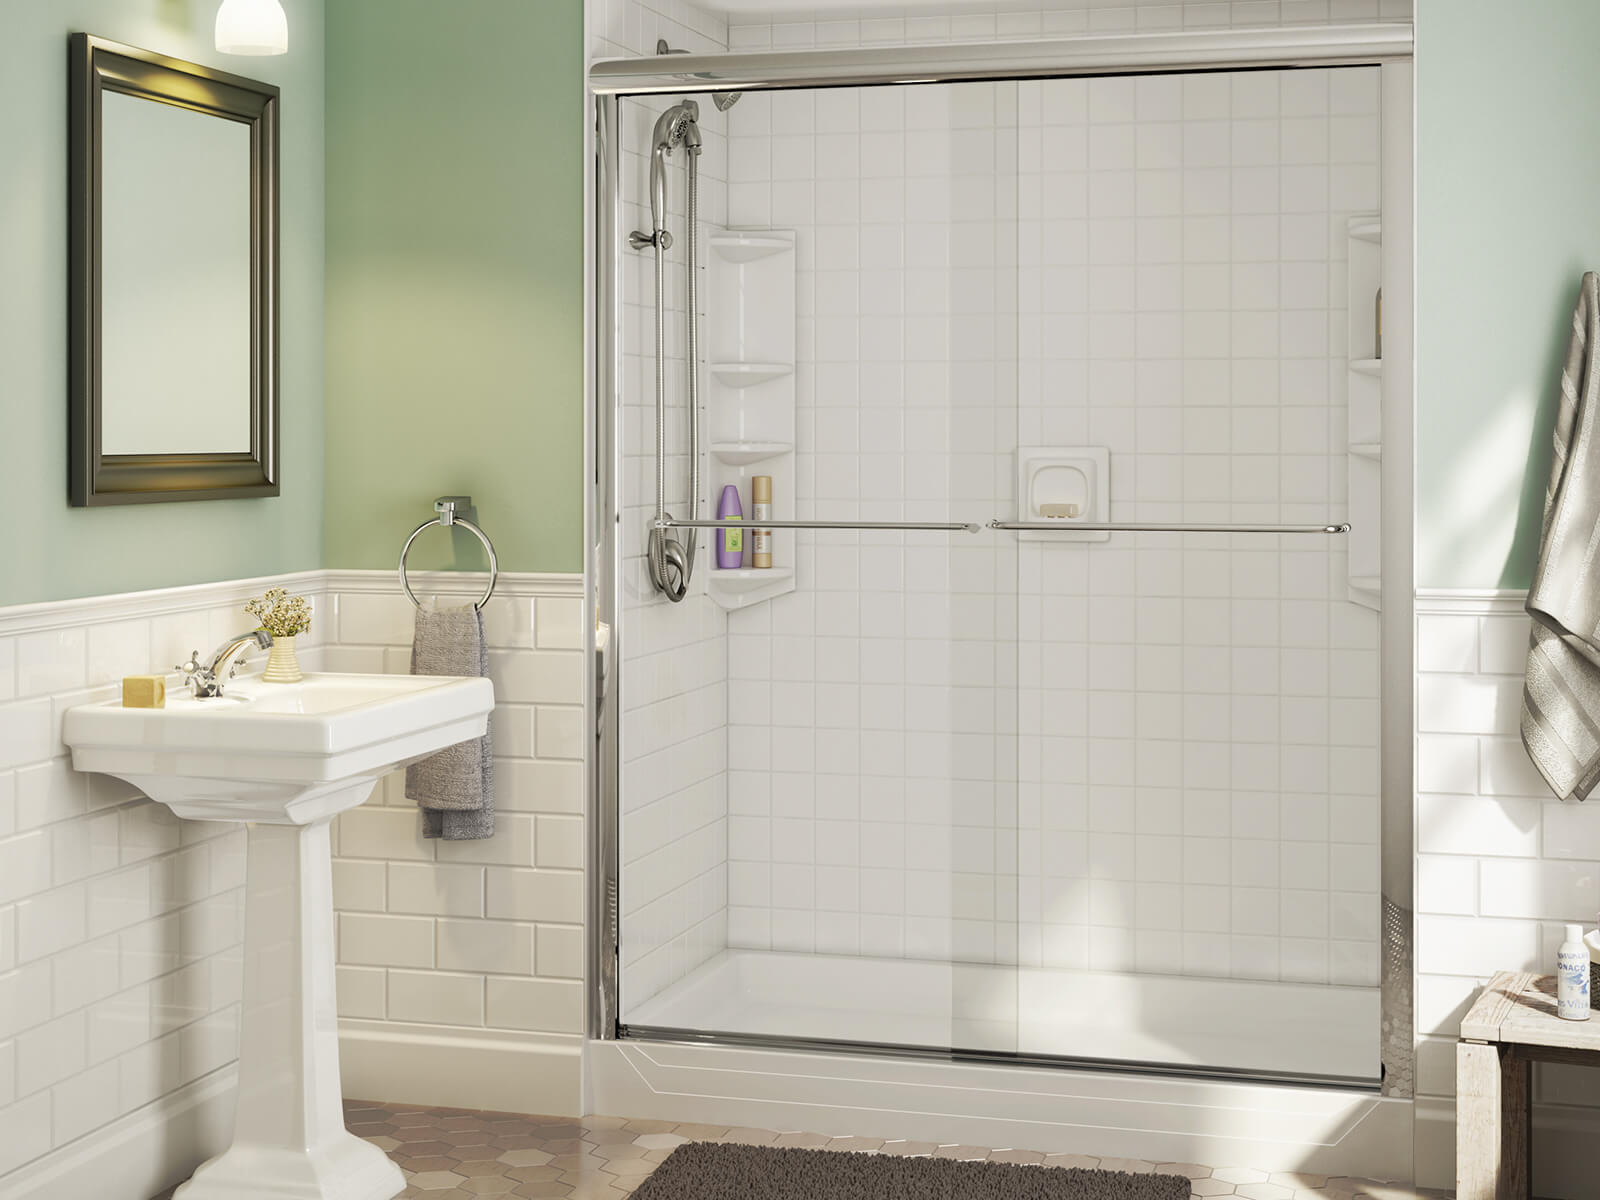
Conclusion
In conclusion, attaching a new shower head to your bathtub is a rewarding endeavor that can elevate your daily bathing experience. By following the step-by-step process outlined in this guide, you have embarked on a journey to revitalize your shower routine and customize your bathing environment to suit your preferences. From selecting the perfect shower head to seamlessly installing it onto your bathtub, this DIY project empowers you to enhance both the functionality and aesthetic appeal of your bathroom.
As you reflect on the completion of the installation process, it's important to appreciate the transformative impact of the new shower head. The upgraded fixture not only offers improved water flow and customizable spray settings but also contributes to the overall ambiance of your bathroom. Whether you've chosen a sleek modern design or a classic, elegant finish, the new shower head adds a touch of sophistication to the space, enhancing its visual appeal.
Furthermore, the successful attachment of the new shower head signifies your ability to undertake practical home improvement projects with confidence and skill. By mastering the process of removing the old shower head, cleaning the shower arm, applying plumber's tape, and securely attaching the new fixture, you've demonstrated your capability to enhance your living space through hands-on initiatives.
The testing phase serves as the final confirmation of your accomplishment, allowing you to fine-tune the new shower head to deliver the optimal shower experience. As you assess the water flow, spray patterns, and adjustable settings, you are actively shaping your bathing environment to align with your preferences, ensuring that every shower becomes a rejuvenating and personalized experience.
Ultimately, the installation of a new shower head onto your bathtub represents more than a practical upgrade; it symbolizes your commitment to creating a comfortable and enjoyable home environment. The revitalized shower experience, tailored to your preferences and style, becomes a daily indulgence that enhances your well-being and adds a touch of luxury to your routine.
As you step back and admire the newly installed shower head, take pride in the accomplishment and the positive impact it brings to your daily life. Embrace the rejuvenating benefits of your upgraded shower experience, and revel in the comfort and satisfaction it brings to your bathing routine. With the new shower head in place, you are poised to enjoy countless refreshing showers, each one a testament to your ability to transform your living space for the better.
Frequently Asked Questions about How To Attach A Shower Head To A Bathtub
Was this page helpful?
At Storables.com, we guarantee accurate and reliable information. Our content, validated by Expert Board Contributors, is crafted following stringent Editorial Policies. We're committed to providing you with well-researched, expert-backed insights for all your informational needs.


0 thoughts on “How To Attach A Shower Head To A Bathtub”