
Articles
How To Clean Out A Humidifier
Modified: January 20, 2024
Learn effective methods and tips on how to clean out a humidifier with this informative article. Keep your humidifier in optimal condition for healthier air quality.
(Many of the links in this article redirect to a specific reviewed product. Your purchase of these products through affiliate links helps to generate commission for Storables.com, at no extra cost. Learn more)
Introduction
Welcome to the comprehensive guide on how to clean out a humidifier. Humidifiers are essential appliances that help maintain a comfortable level of humidity in our homes, especially during dry seasons or in regions with low humidity. They can alleviate respiratory issues, prevent dry skin, and create a more comfortable environment for living. However, regular maintenance and cleaning of the humidifier are crucial to ensure its optimal performance and prevent the growth of harmful bacteria and mold.
In this article, we will provide you with step-by-step instructions on how to effectively clean your humidifier. By the end of this guide, you’ll be equipped with the knowledge and skills necessary to keep your humidifier in good condition and promote a healthy living environment.
Before we dive into the cleaning process, it’s important to note that certain precautions should be taken. Always refer to the manufacturer’s instructions and guidelines specific to your humidifier model. Additionally, make sure to unplug the humidifier and disconnect it from the power source before starting the cleaning process to avoid any accidents.
Now, let’s get started with the first step: gathering the necessary materials.
Key Takeaways:
- Regular cleaning and maintenance of your humidifier is crucial to ensure optimal performance, prevent the growth of harmful bacteria and mold, and enjoy the benefits of clean and healthy moisture in the air.
- By following the comprehensive guide on how to clean out a humidifier, you can maintain a comfortable living environment, alleviate respiratory issues, and prevent dry skin, ultimately improving indoor air quality.
Read more: How To Clean A Crane Humidifier
Step 1: Gather the necessary materials
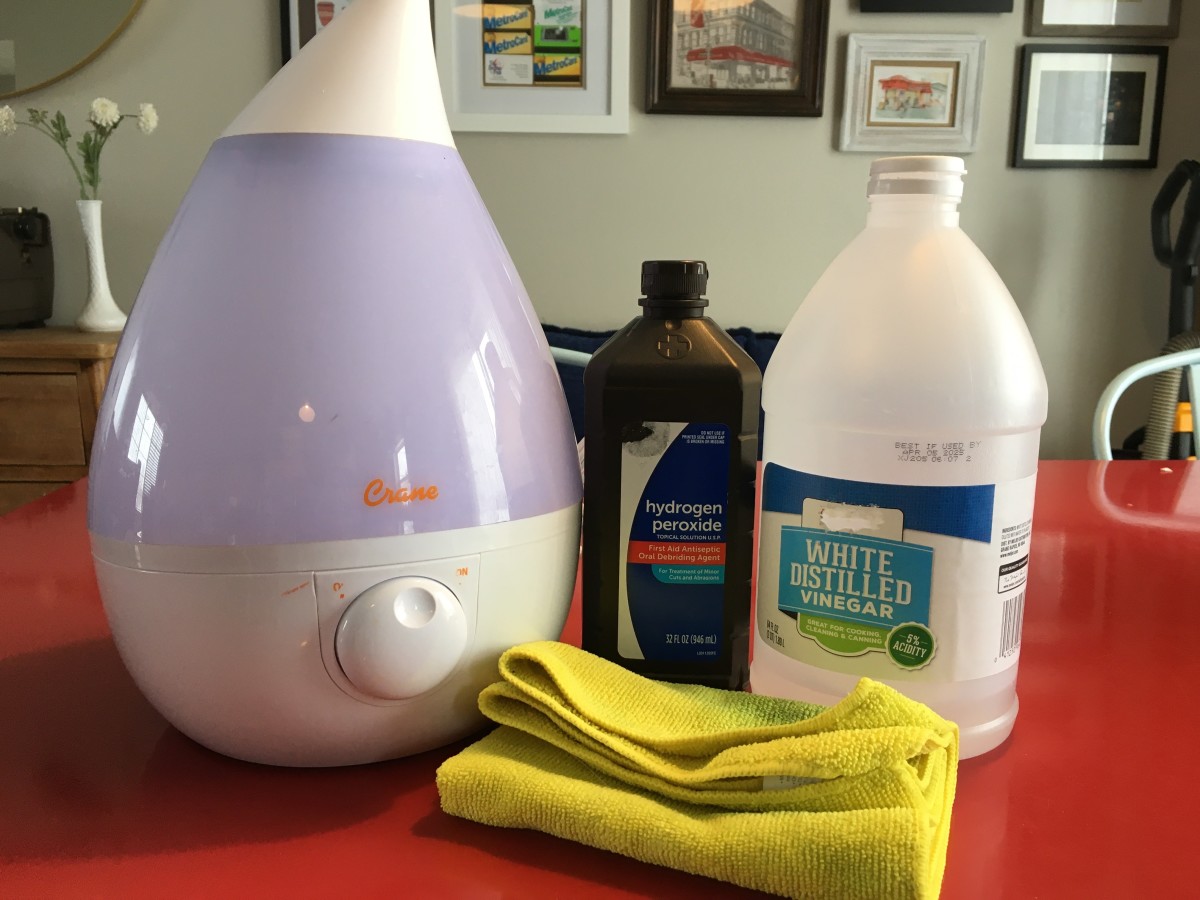
Before you begin cleaning your humidifier, it’s important to gather all the necessary materials. Having these items on hand will make the cleaning process more efficient and convenient. Here’s a list of materials you’ll need:
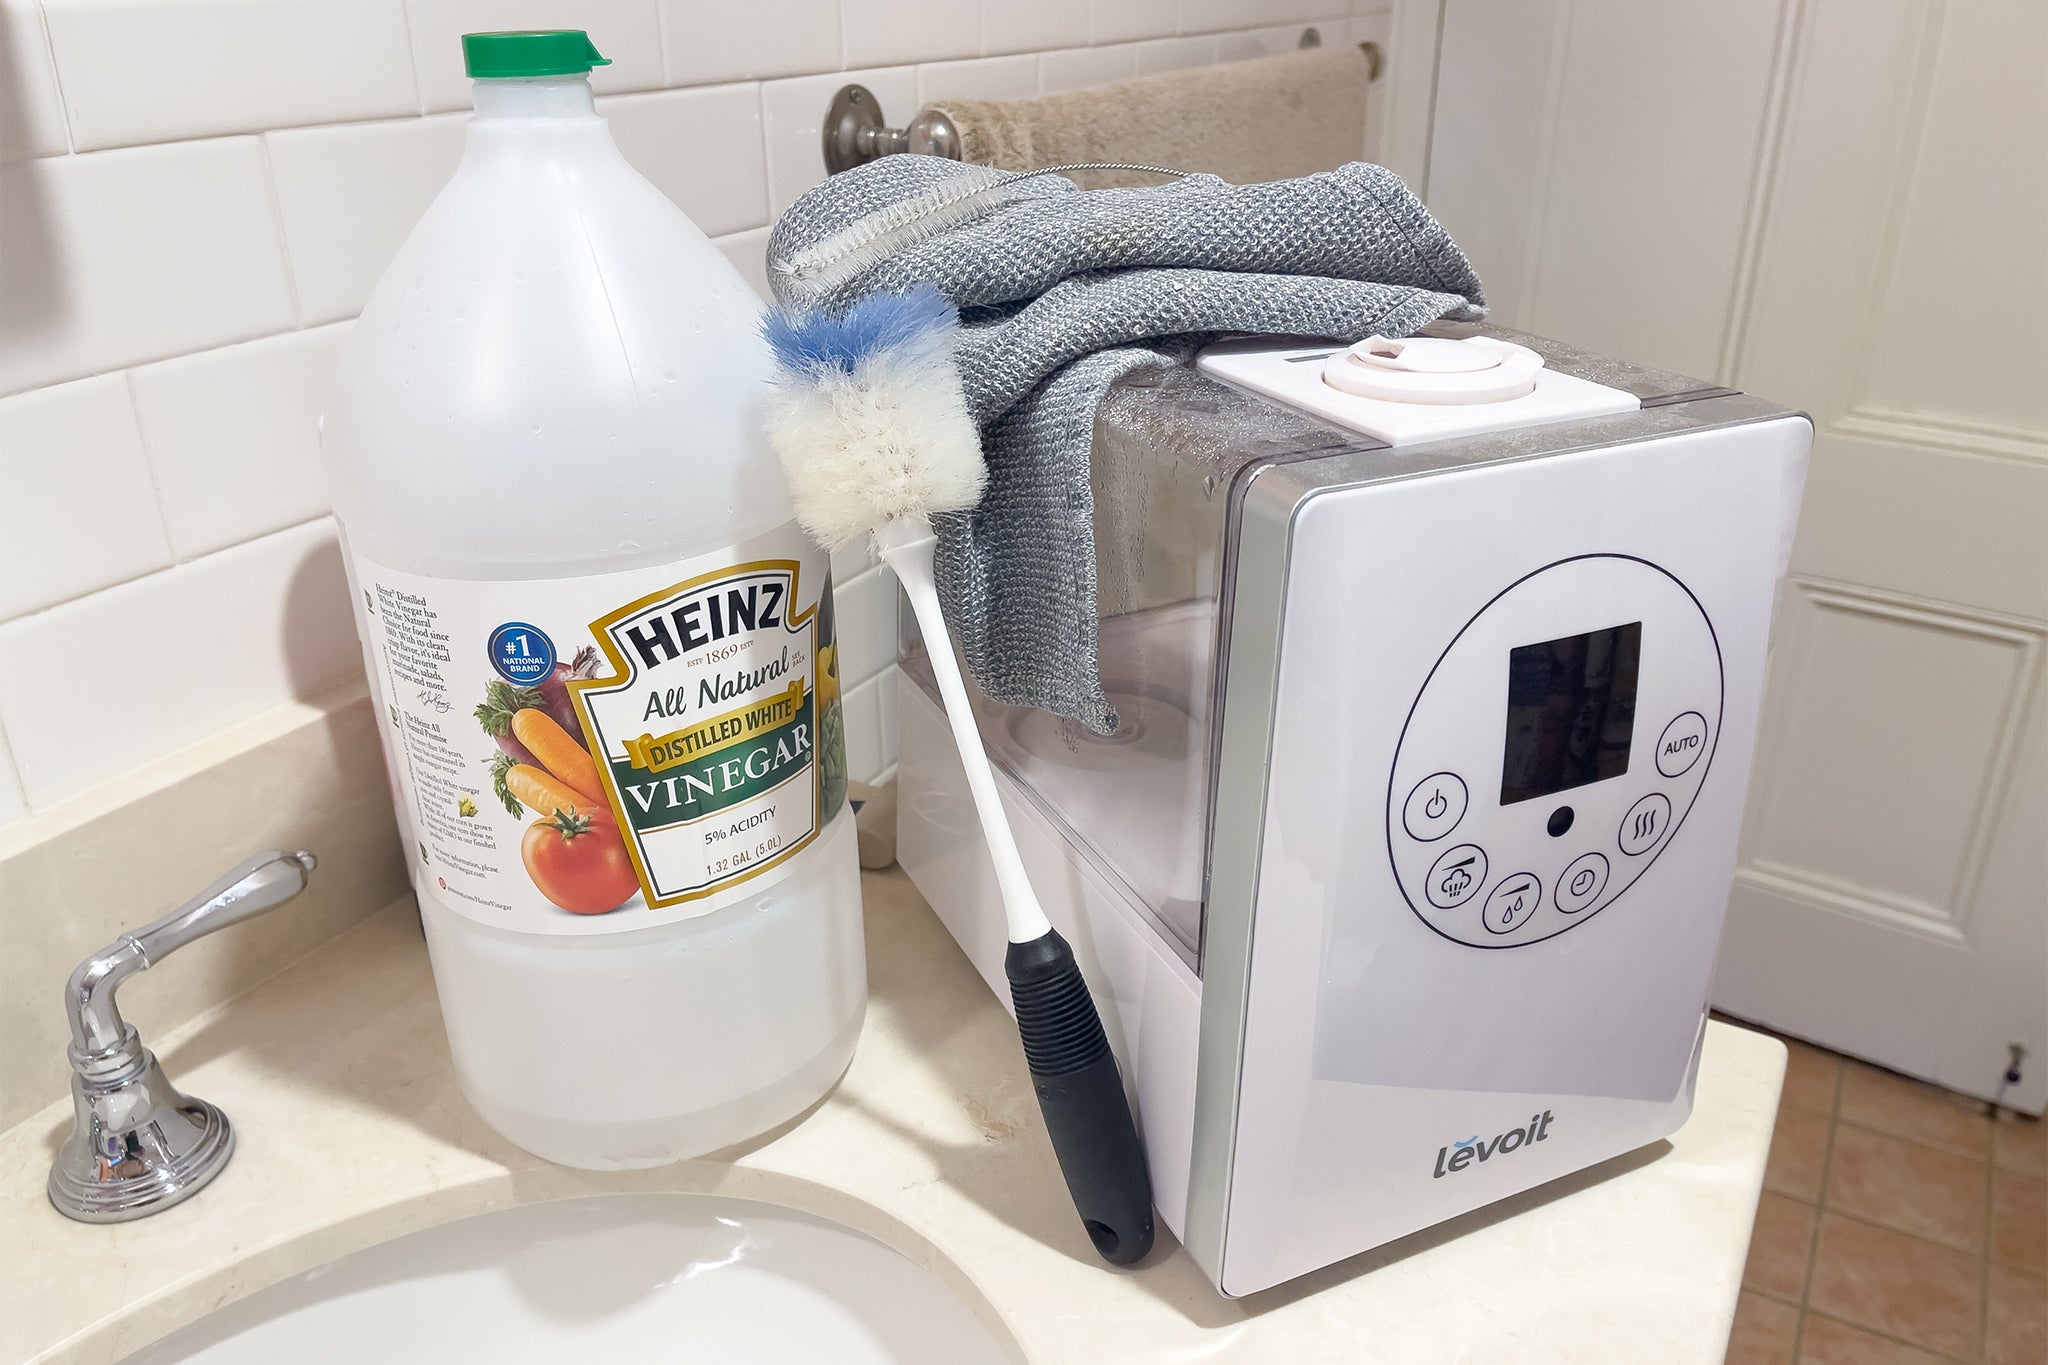
- White vinegar or a humidifier cleaning solution: Vinegar is a natural and effective cleaning agent that helps remove mineral deposits and disinfect the humidifier. If you prefer a ready-made solution, there are also specific cleaning solutions available in the market for humidifiers.
- Water: You’ll need water to rinse and dilute the cleaning solution.
- A soft-bristled brush or toothbrush: This will come in handy for scrubbing hard-to-reach areas and removing stubborn grime.
- A microfiber cloth or sponge: These are gentle on the surfaces of the humidifier while effectively wiping away dirt and residue.
- A small container or basin: This will be used to soak small components of the humidifier.
Once you have gathered these materials, you’re ready to move on to the next step: disconnecting and emptying the humidifier.
Step 2: Disconnect and empty the humidifier
Before you start cleaning your humidifier, it’s essential to disconnect it from the power source and empty out any remaining water. This step will ensure your safety and allow for thorough cleaning. Follow these steps to disconnect and empty the humidifier:
- Unplug the humidifier: Locate the power cord of your humidifier and unplug it from the electrical outlet. This will prevent any accidents while you’re cleaning.
- Turn off the humidifier: If your humidifier has a power switch, turn it off. It’s important to ensure that the device is completely powered down before proceeding.
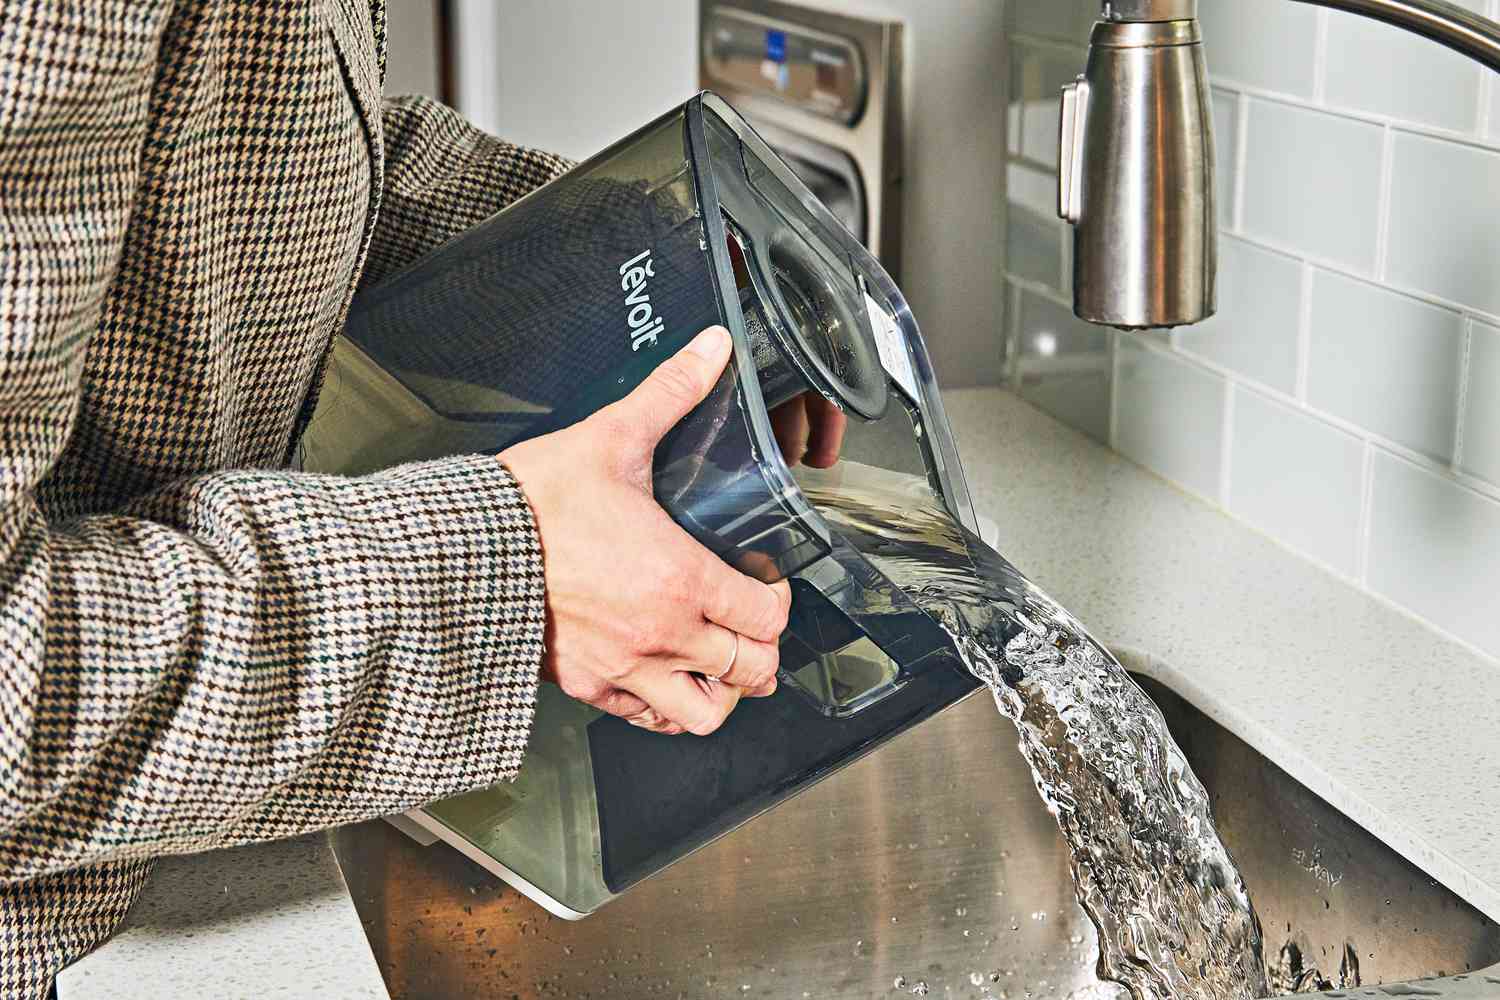
- Empty the water: Carefully remove the water tank from the base of the humidifier. Pour out any remaining water into a sink or drain. If there is any excess moisture in the base, wipe it away with a clean cloth or towel.
By following these steps, you have successfully disconnected your humidifier and emptied any water that was inside. Now you’re ready to move on to the next step, which involves disassembling the various components of the humidifier for thorough cleaning.
Step 3: Disassemble the humidifier
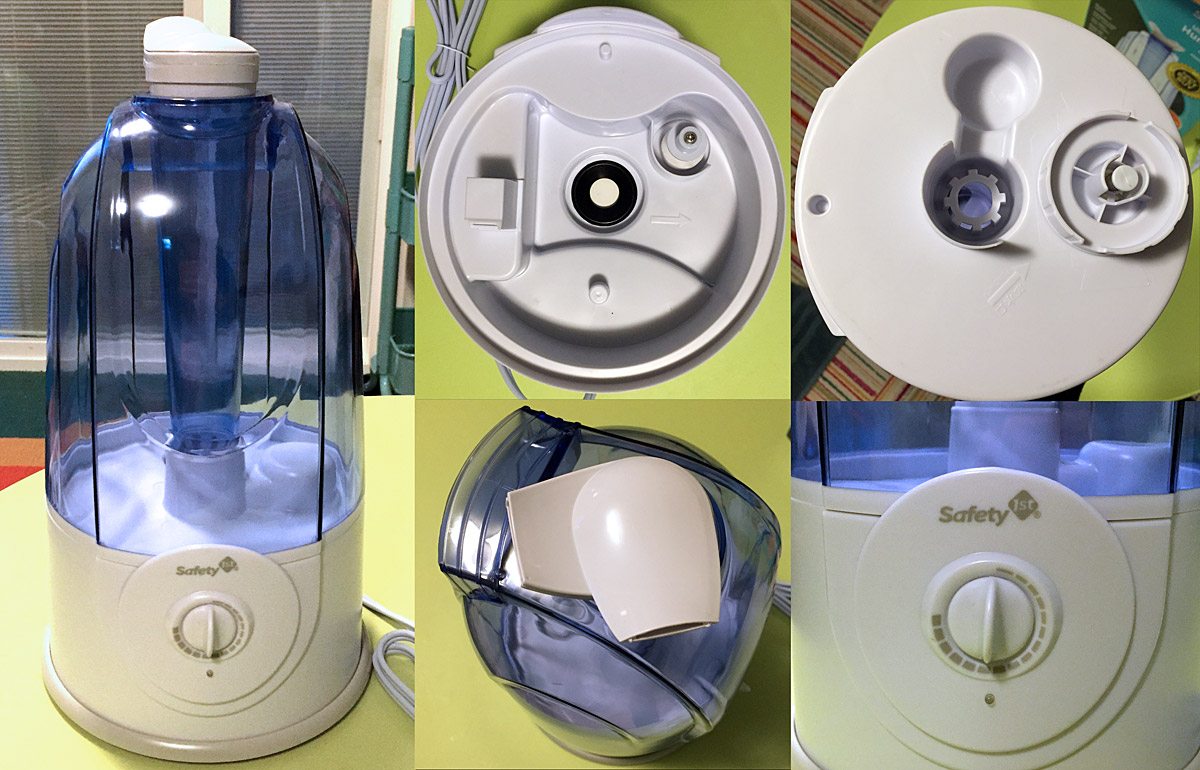
Once you have disconnected and emptied your humidifier, it’s time to disassemble it for a more thorough cleaning. This step will allow you to access all the different components and ensure that every part of the humidifier is cleaned properly. Follow these steps to disassemble your humidifier:
- Refer to the manufacturer’s instructions: Different humidifier models have varying designs and disassembly methods. Consult the manufacturer’s instructions to identify how your specific humidifier needs to be disassembled.
- Remove the water tank: In most humidifiers, the water tank is easily detachable. Simply lift it off the base or follow the instructions provided by the manufacturer.
- Dismantle other removable parts: Check for any additional components that can be taken apart for cleaning. These may include the mist nozzle, filter, or any other trays or compartments. Gently remove these parts as instructed.
As you disassemble the humidifier, it’s important to handle the components with care to avoid causing any damage. Take note of the order in which each piece is removed so that you can easily reassemble them later.
By properly disassembling your humidifier, you have created access to all the relevant parts that require cleaning. In the next steps, we will focus on cleaning each component thoroughly to ensure optimal performance and hygiene. So, let’s move on to the next step: cleaning the water tank.
Step 4: Clean the water tank
The water tank of your humidifier is one of the main areas that require regular cleaning. Over time, mineral deposits, mold, and bacteria can build up inside the tank, affecting the quality of the mist produced. Follow these steps to effectively clean the water tank:
- Prepare a cleaning solution: Mix a solution of equal parts water and white vinegar or use a humidifier cleaning solution specifically recommended by the manufacturer. The acidity of vinegar helps to dissolve mineral deposits and kill bacteria.
- Pour the cleaning solution into the tank: Remove the cap or lid of the water tank and pour in the cleaning solution. Ensure that the solution covers all the surfaces inside the tank.
- Let it soak: Allow the cleaning solution to sit in the tank for about 30 minutes to an hour. This will help loosen any stubborn deposits and kill bacteria.
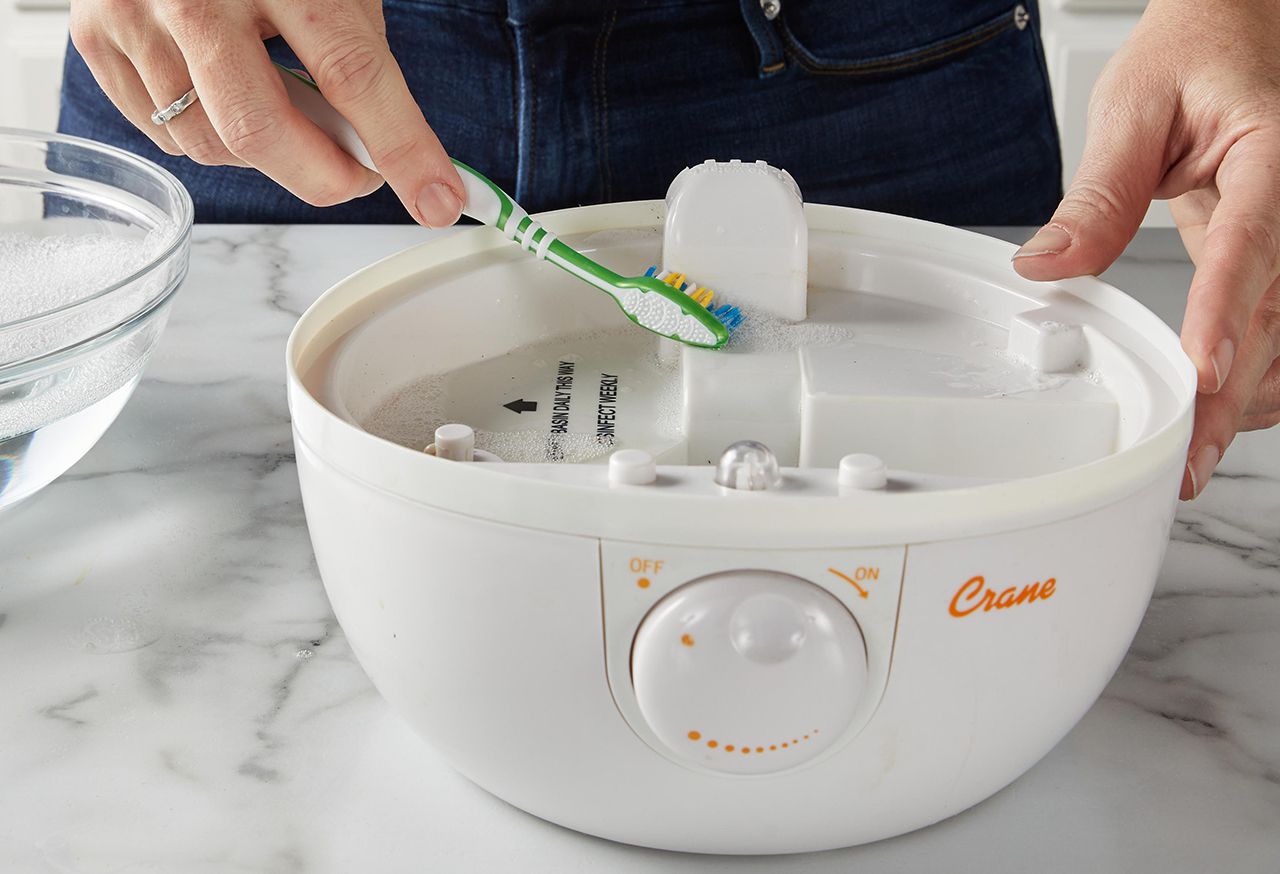
- Scrub the tank: Use a soft-bristled brush or toothbrush to scrub the inside of the tank. Pay attention to the corners, seams, and any areas with visible buildup. Scrub gently but firmly to remove any residue or deposits.
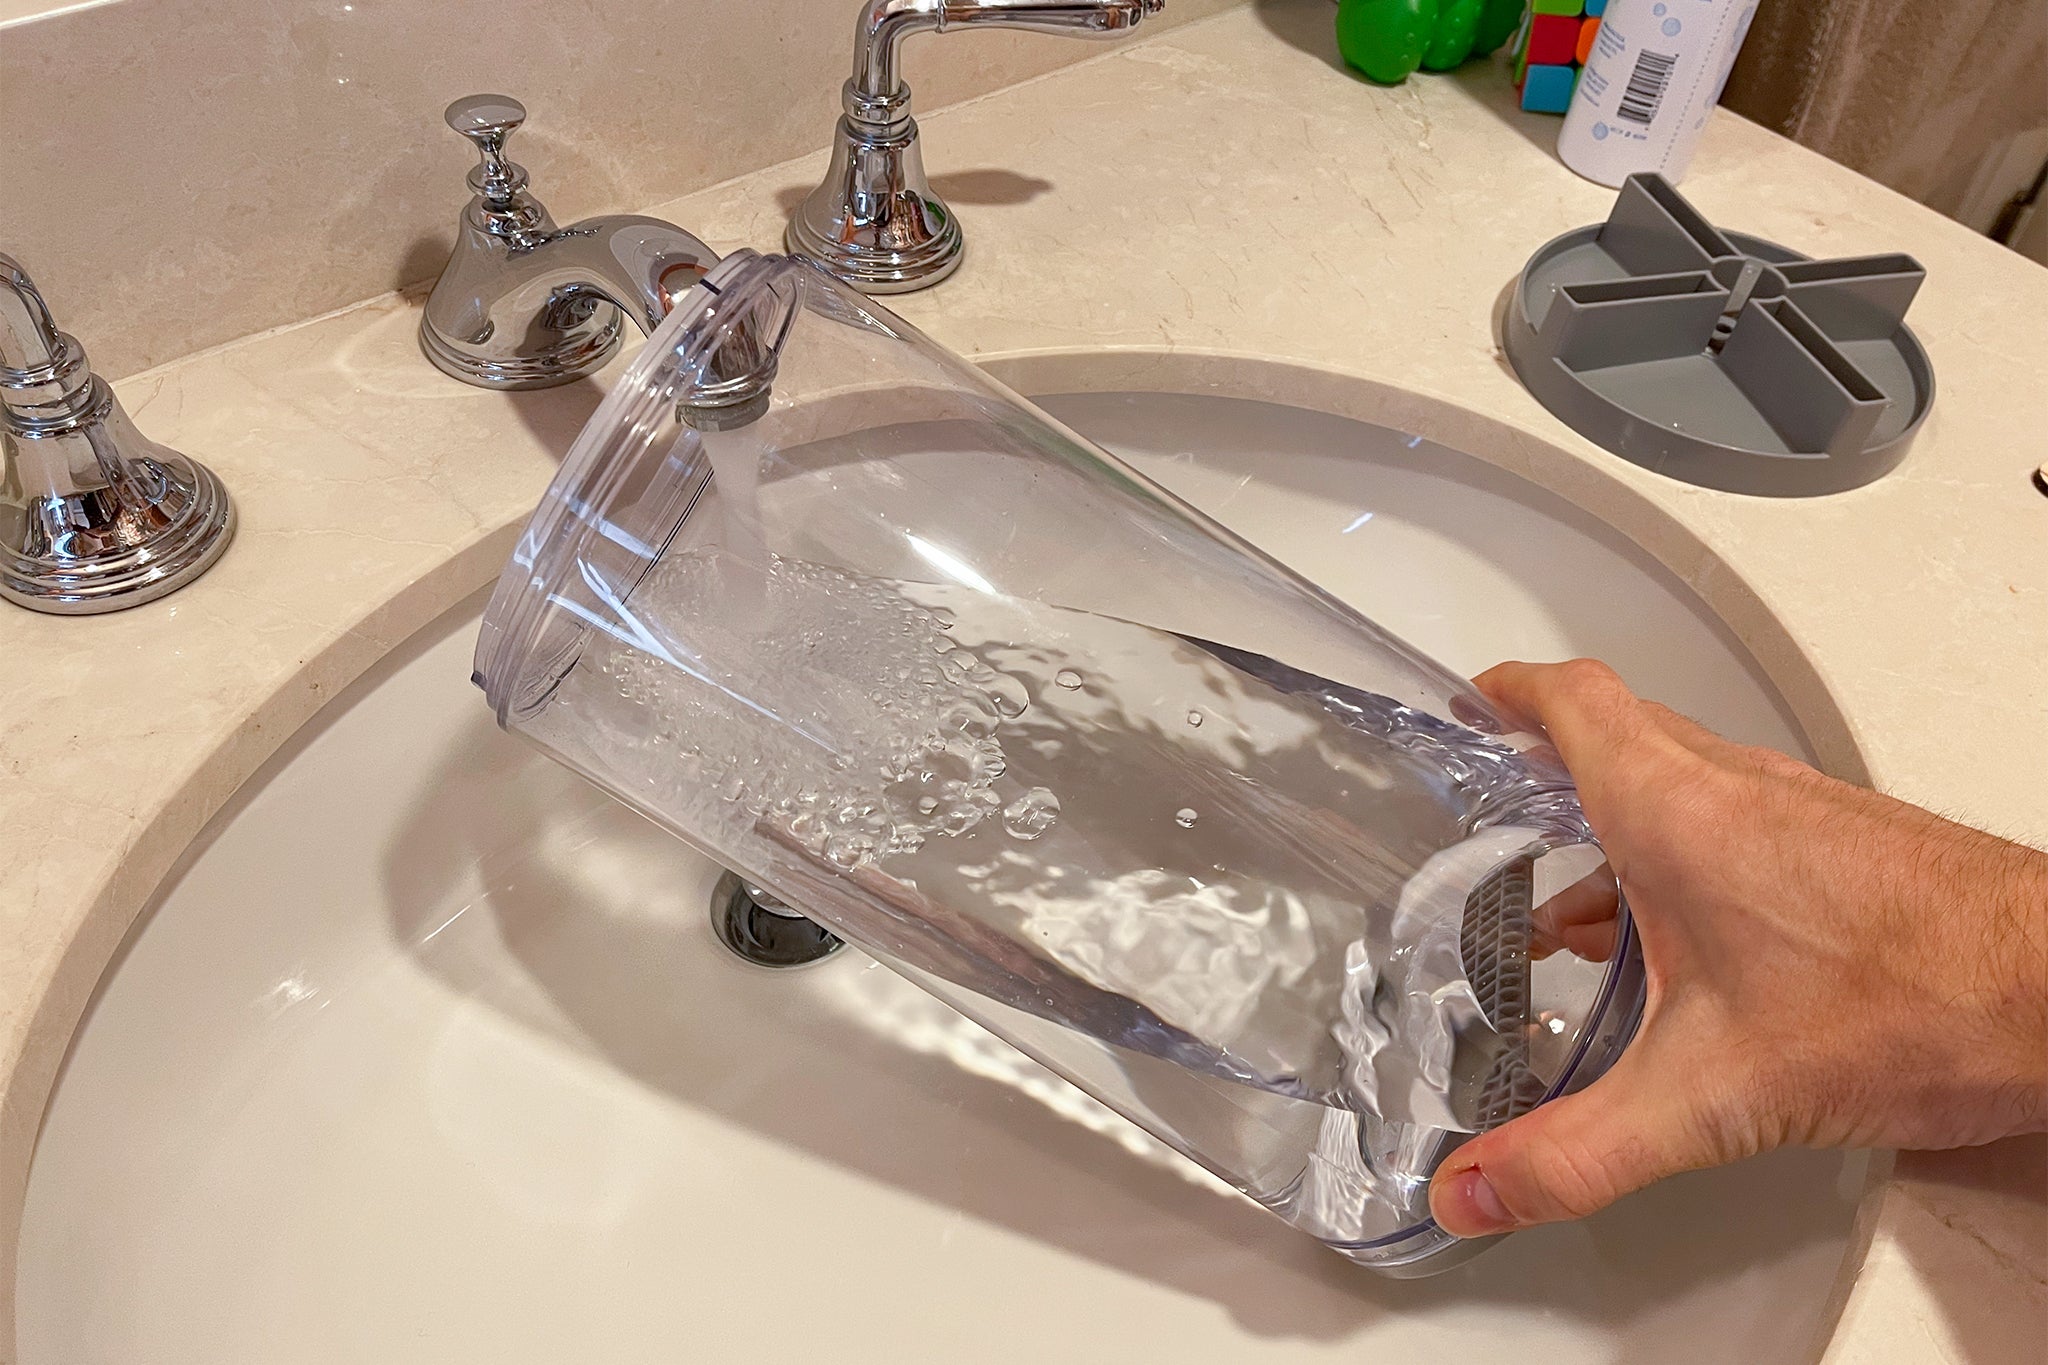
- Rinse thoroughly: Once you have scrubbed the tank, thoroughly rinse it with clean water. Make sure all traces of the cleaning solution are removed.
- Dry the tank: After rinsing, use a clean towel or cloth to dry the water tank completely. Ensure there is no moisture left behind, as this can encourage the growth of bacteria or mold.
By following these steps, you will have effectively cleaned the water tank of your humidifier. This ensures that the mist produced is clean and free from any contaminants. Now, let’s move on to the next step: cleaning the base and other removable parts of the humidifier.
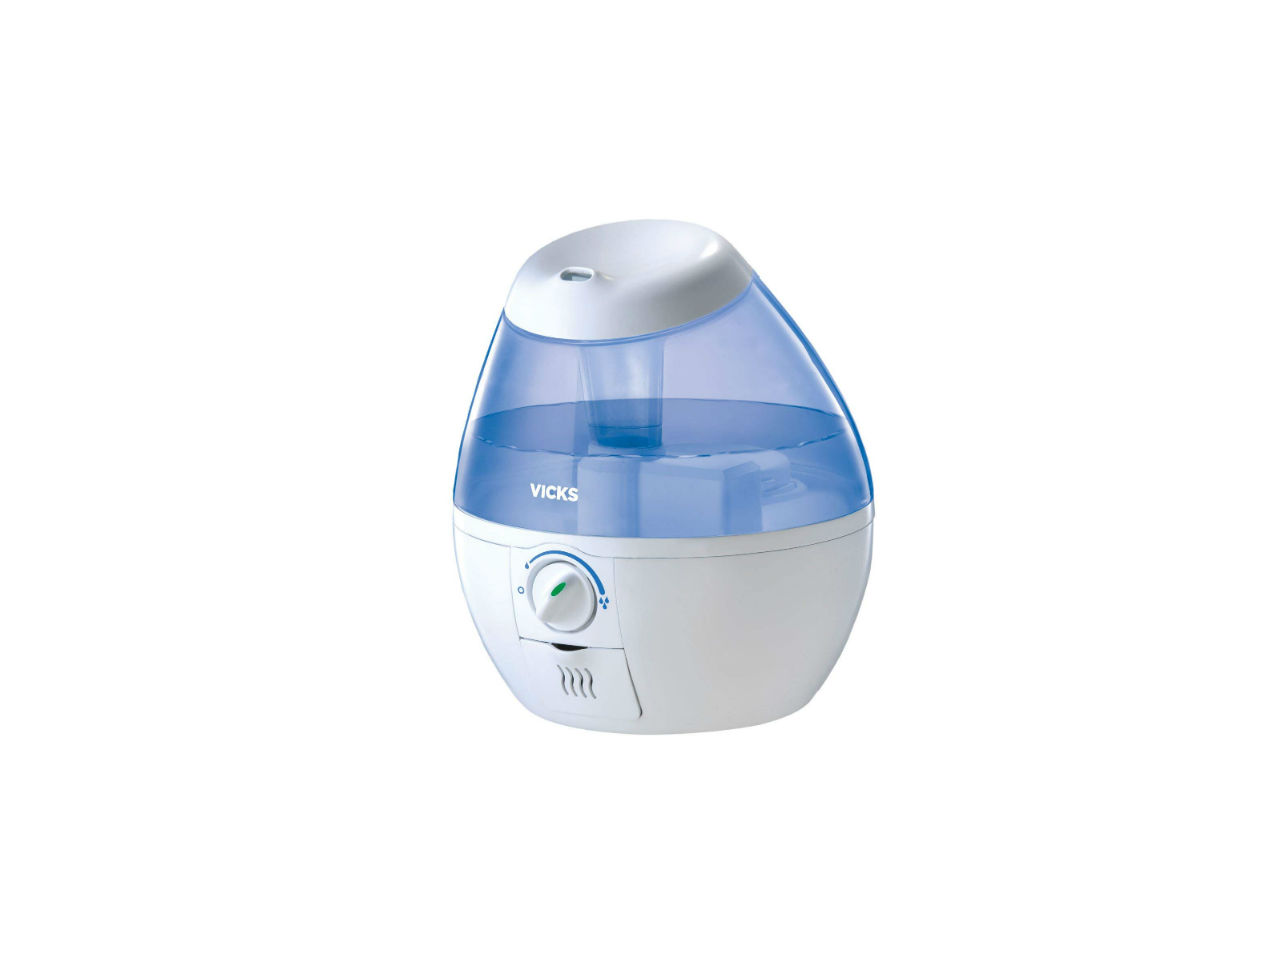
Read more: How To Clean Vicks Humidifier
Step 5: Clean the base and other removable parts
Aside from the water tank, the base and other removable parts of your humidifier also require regular cleaning. These components can accumulate mineral deposits, mold, and bacteria over time, affecting the overall performance of your humidifier. Follow these steps to effectively clean the base and other removable parts:
- Prepare a cleaning solution: Mix a solution of equal parts water and white vinegar or use a humidifier cleaning solution recommended by the manufacturer. This solution will help break down deposits and disinfect the parts.
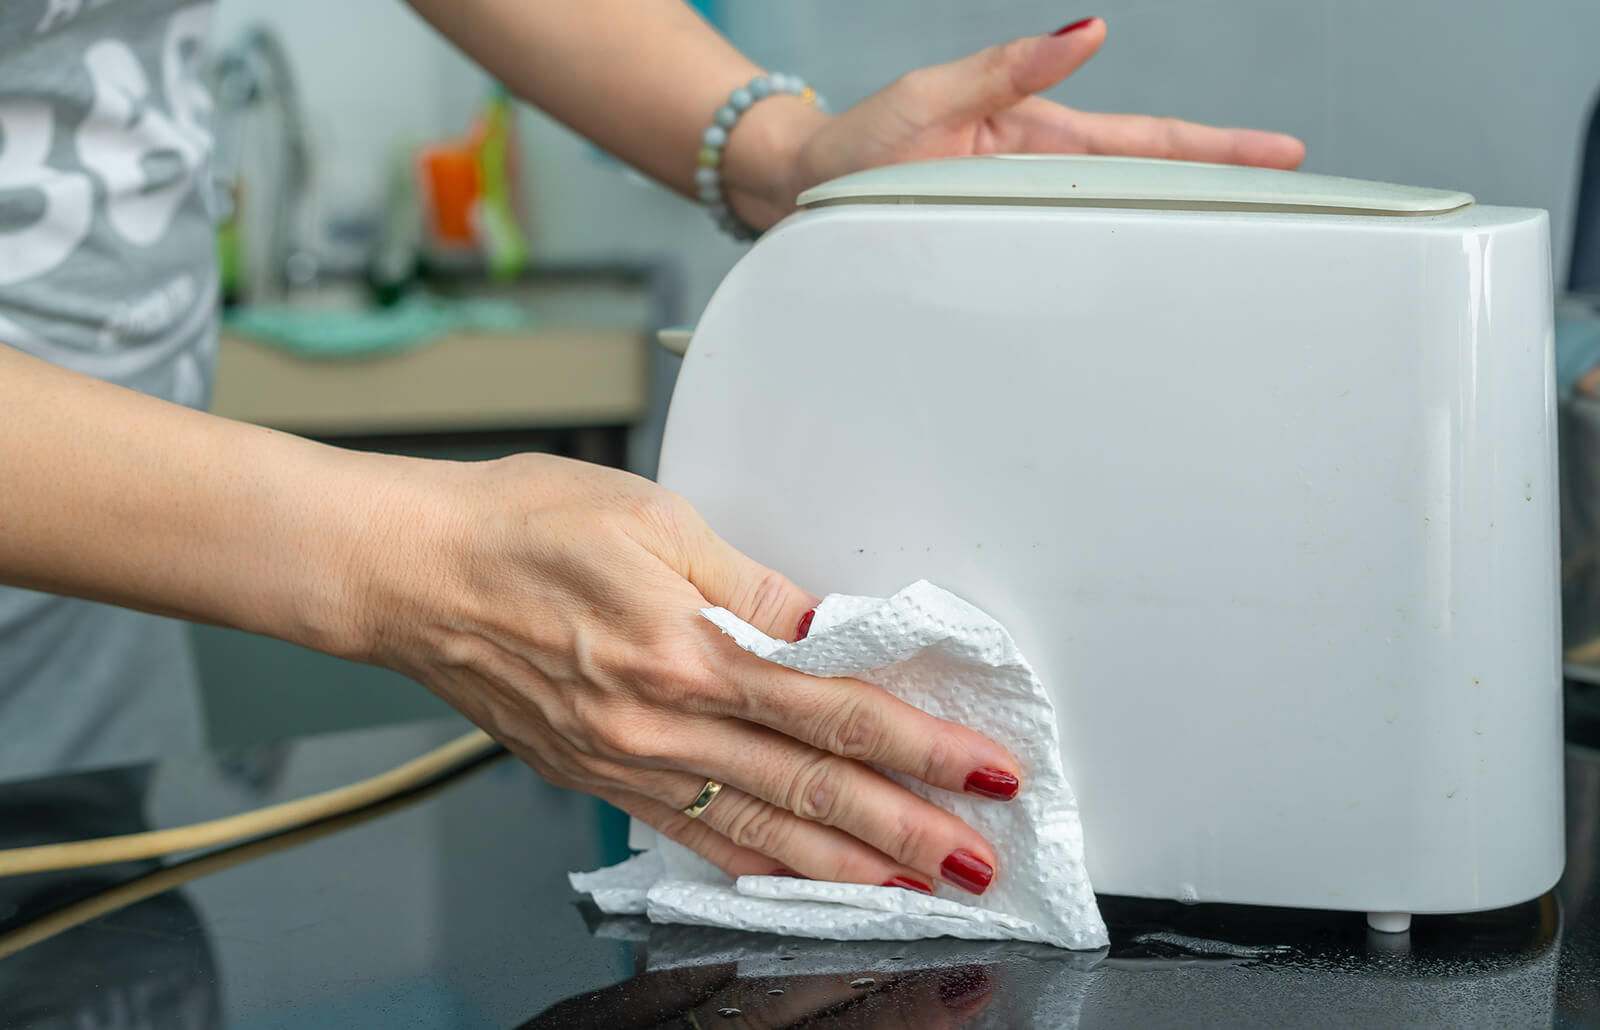
- Wipe the base: Dip a microfiber cloth or sponge into the cleaning solution and use it to wipe down the base of the humidifier. Pay attention to any visible buildup or residue. Ensure that all surfaces are thoroughly cleaned.
- Remove mineral deposits: If there are mineral deposits on the base or other removable parts, use a soft brush or toothbrush to gently scrub them away. Ensure that you do not apply excessive pressure to avoid damaging the surface.
- Soak smaller components: If your humidifier has smaller removable parts, such as the mist nozzle or trays, soak them in the cleaning solution for about 30 minutes. This will help to break down any deposits and make them easier to clean.
- Scrub and rinse the smaller components: After soaking, use a soft brush or toothbrush to scrub the smaller components, paying attention to any areas with visible deposits. Once cleaned, rinse them thoroughly with clean water.
- Dry all components: After cleaning, ensure that all components are dried thoroughly. Use a clean towel or cloth to remove any moisture and prevent the growth of mold or bacteria.
By following these steps, you will have cleaned the base and other removable parts of your humidifier effectively. This helps maintain its performance and ensures the delivery of clean and healthy mist. In the next step, we will address the issue of mineral deposits that can form in your humidifier. So, let’s move on to step 6: removing mineral deposits.
Regularly clean your humidifier to prevent mold and bacteria growth. Use a mixture of water and vinegar to clean the tank and base, and replace the filter as recommended by the manufacturer.
Step 6: Remove mineral deposits
Mineral deposits can build up over time in the water tank and on various parts of your humidifier, especially if you use hard water. These deposits can clog the misting mechanism, reduce the efficiency of the humidifier, and affect the quality of the mist produced. Follow these steps to effectively remove mineral deposits:
- Prepare a descaling solution: Mix a solution of equal parts water and white vinegar or use a descaling solution recommended by the manufacturer. The acidity of vinegar helps dissolve mineral deposits.
- Soak affected parts: If there are removable parts that have mineral deposits, such as the mist nozzle or small trays, soak them in the descaling solution for at least 30 minutes. This will help loosen the deposits.
- Scrub the deposits: Using a soft brush or toothbrush, gently scrub the affected parts to dislodge the mineral deposits. Pay close attention to any hard-to-reach areas or stubborn deposits.
- Rinse thoroughly: After scrubbing, rinse the parts with clean water to remove the descaling solution and any loosened deposits. Ensure that all traces of the solution are thoroughly rinsed away.
- Descale the water tank: If the water tank has built-up mineral deposits, fill it with the descaling solution and let it sit for at least 1-2 hours. This will allow the solution to dissolve the deposits.
- Scrub and rinse the tank: After the solution has had time to work, use a soft brush or toothbrush to scrub the inside of the tank, paying particular attention to areas with visible deposits. Rinse the tank thoroughly with clean water.
By following these steps, you will effectively remove mineral deposits from your humidifier. This will help restore its functionality and ensure that it operates at its optimal level. Now, let’s move on to the next step: rinsing and drying all the components.
Step 7: Rinse and dry all components
After cleaning and removing mineral deposits from your humidifier, it is crucial to rinse and dry all the components to ensure they are free from any cleaning residue or moisture. This step helps prevent the growth of mold or bacteria and ensures the longevity of your humidifier. Follow these steps to rinse and dry all the components:
- Rinse with clean water: Use clean water to thoroughly rinse all the cleaned components, including the water tank, base, and any removable parts. Make sure to remove any residue from the cleaning solution.
- Inspect for cleanliness: As you rinse each component, inspect them carefully to ensure that they are clean and free from any remaining deposits or grime. If necessary, repeat the cleaning process for stubborn or hard-to-reach areas.
- Dry the components: Use a clean towel or cloth to dry all the components completely. Pay special attention to areas that may retain moisture, such as nooks, crevices, or the inside of the water tank.
- Air-dry if needed: If some components are difficult to reach or dry completely with a towel, you can air-dry them by leaving them in a well-ventilated area until they are completely dry. Avoid reassembling your humidifier until all components are thoroughly dried.
Properly rinsing and drying all the components of your humidifier ensures that they are clean, free from residue, and ready for reassembly. In the next step, we will guide you through the process of reassembling your humidifier. So, let’s move on to step 8: reassembling the humidifier.
Step 8: Reassemble the humidifier
Now that you have thoroughly cleaned, rinsed, and dried all the components of your humidifier, it’s time to reassemble them. Proper reassembly is crucial to ensure the proper functioning of your humidifier. Follow these steps to reassemble your humidifier:
- Refer to the manufacturer’s instructions: Consult the manufacturer’s instructions to ensure you reassemble your specific humidifier correctly. Pay attention to the order in which the components should be assembled.
- Place the water tank back onto the base: Align the water tank with the base and securely place it back in position. Make sure it is properly aligned to avoid any leaks.
- Reattach any removable parts: If you had removed any additional components, such as the mist nozzle or trays, reattach them to their respective positions as instructed by the manufacturer.
- Ensure a snug fit: Double-check that all components are securely attached and that there are no loose parts. This will prevent any potential issues or malfunctions when the humidifier is in operation.
By carefully following these steps, you will successfully reassemble your humidifier. Now, all that’s left is to reconnect the humidifier and refill it with water, which we will cover in the next step: step 9.
Read more: How To Clean Frida Humidifier
Step 9: Refill and reconnect the humidifier
After reassembling your humidifier, it’s time to refill it with water and reconnect it to the power source. Follow these steps to complete the cleaning process:
- Check the water level: Ensure that the water tank is completely empty before refilling it. This will prevent any remaining cleaning solution or debris from mixing with the fresh water.
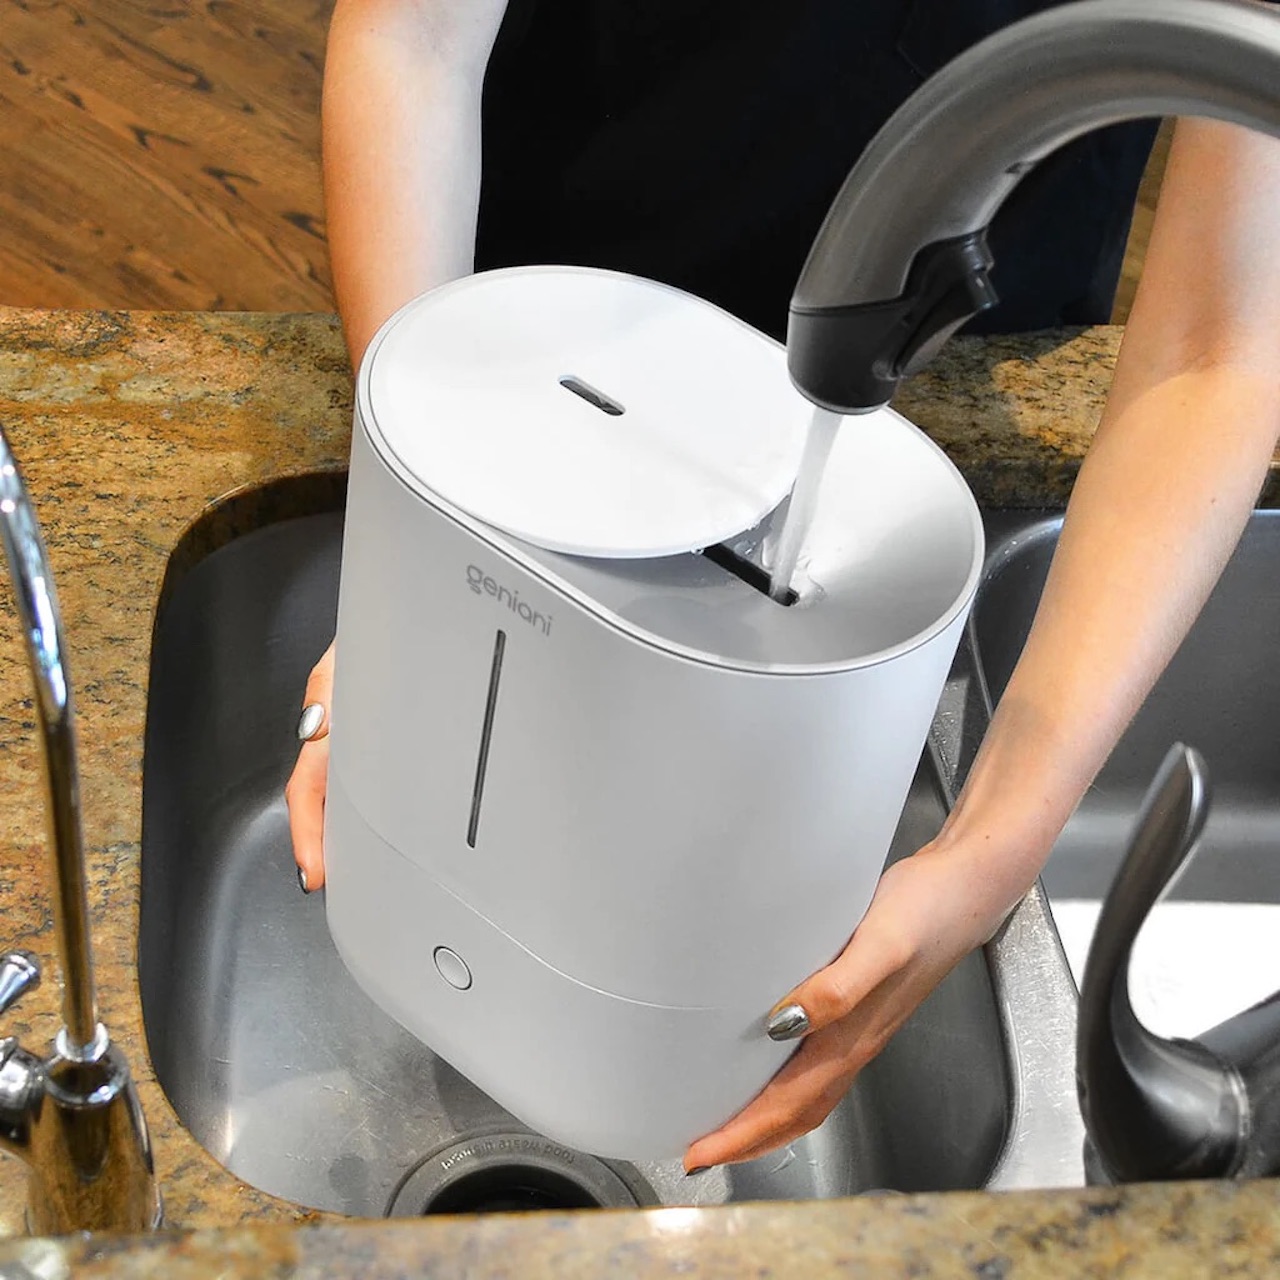
- Fill the water tank: Using clean and fresh water, fill the water tank to the recommended level. Be cautious not to overfill it, as this can lead to spills or leaks.
- Place the water tank back onto the base: Carefully place the filled water tank back onto the base of the humidifier. Make sure it is properly aligned and securely in place.
- Reconnect the humidifier: Plug the power cord back into the electrical outlet. Ensure that the cord is properly connected and that the humidifier is ready for operation.
- Set the desired humidity level: If your humidifier has adjustable settings, set the desired humidity level based on your preferences and the recommendations provided by the manufacturer.
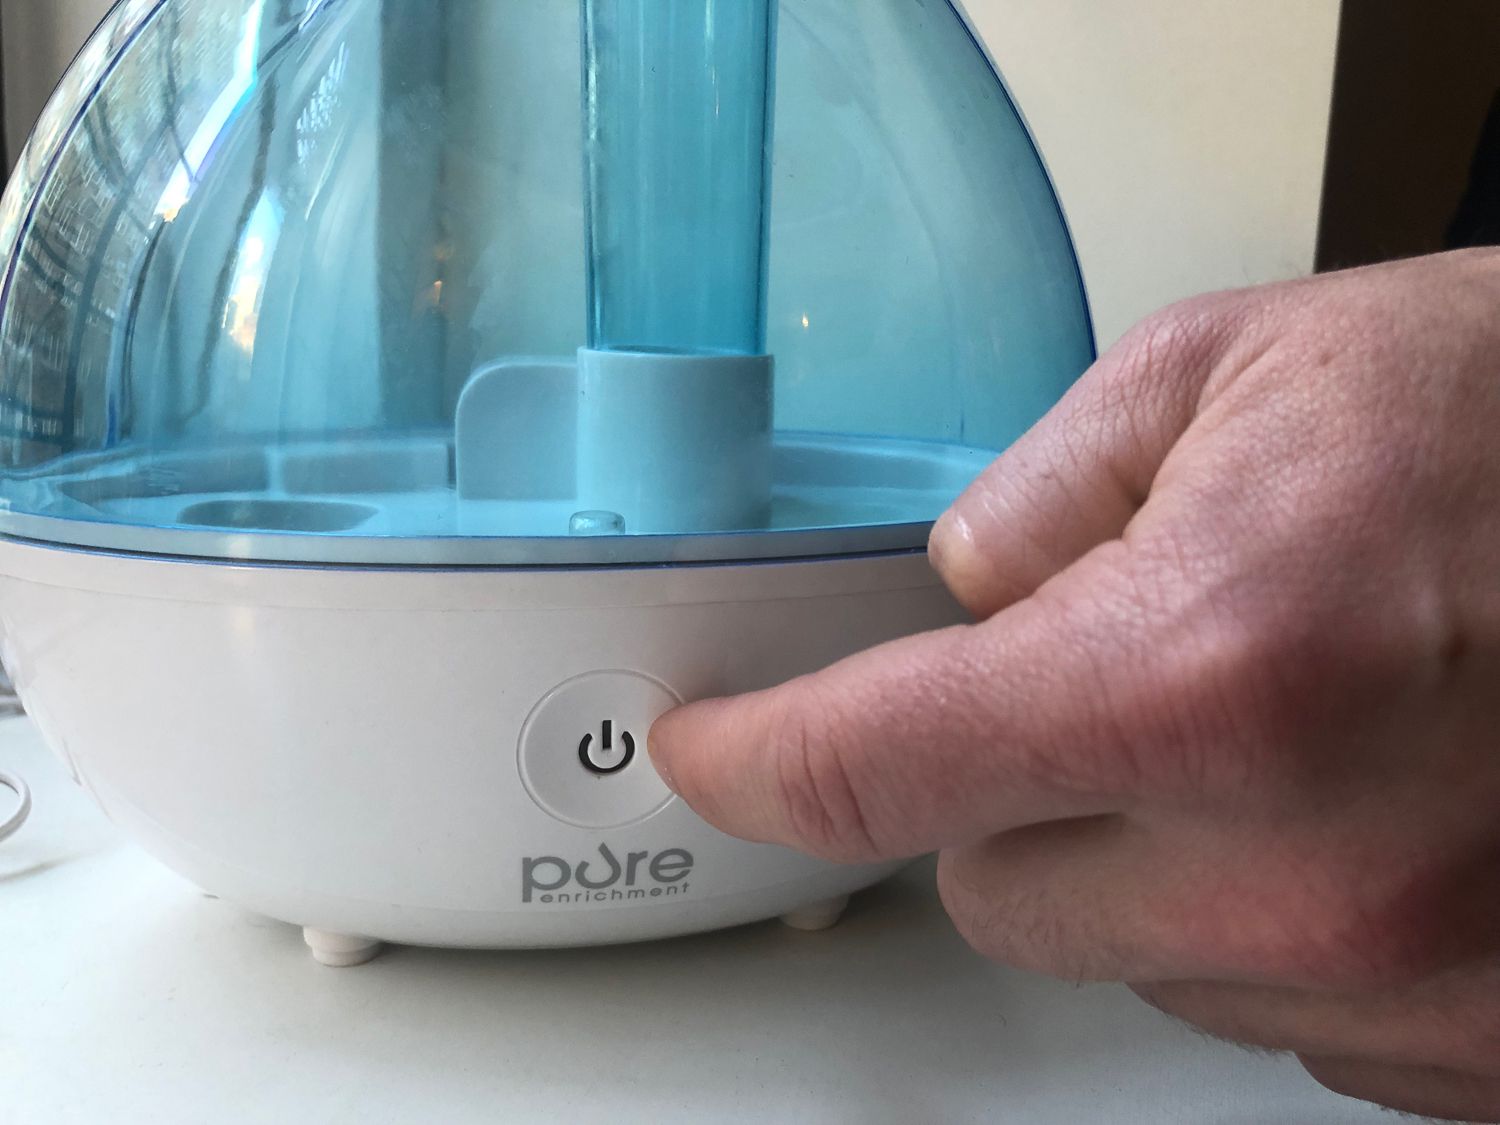
- Turn on the humidifier: Switch on the power button or control switch to start the humidifier. Allow it to run for some time to ensure that it is functioning properly and producing mist.
After completing these steps, your humidifier is now clean, reassembled, and ready to provide you with the benefits of properly humidified air. Remember to monitor the humidity levels regularly and perform routine maintenance to keep your humidifier working efficiently and effectively.
Congratulations! You have successfully completed the process of cleaning out your humidifier. By following these steps, you have ensured the longevity, functionality, and cleanliness of your appliance. Enjoy the improved air quality and the comfort that a clean and well-maintained humidifier provides!
Please note that these instructions are general guidelines, and it’s essential to refer to the manufacturer’s instructions specific to your humidifier model. Additionally, regular maintenance and cleaning should be performed according to the recommended schedule to maintain optimal performance.
Conclusion
Cleaning and maintaining your humidifier is vital for its optimal performance and ensuring a healthy living environment. By following the steps outlined in this comprehensive guide, you have learned how to effectively clean out your humidifier and prevent the growth of harmful bacteria and mold.
Remember, regular cleaning is essential to remove mineral deposits, grime, and other contaminants that can accumulate over time. It is recommended to clean your humidifier at least once a week during periods of regular use and more frequently if you reside in an area with hard water.
Proper cleaning involves gathering the necessary materials, disconnecting and emptying the humidifier, disassembling its various components, cleaning the water tank and base, removing mineral deposits, thoroughly rinsing and drying all parts, reassembling the humidifier, and finally, refilling and reconnecting it to the power source.
Following these steps will ensure that your humidifier functions effectively, providing you with clean and healthy moisture in the air. Additionally, consulting the manufacturer’s instructions specific to your humidifier model is always recommended for best results.
By maintaining a clean and well-maintained humidifier, you can enjoy the numerous benefits it offers, including alleviating respiratory issues, preventing dry skin, and creating a comfortable living environment.
So, take the time to clean out your humidifier regularly and appreciate the difference it makes in your indoor air quality. Breathe easier and enjoy the benefits of a well-functioning and hygienic humidifier!
Frequently Asked Questions about How To Clean Out A Humidifier
Was this page helpful?
At Storables.com, we guarantee accurate and reliable information. Our content, validated by Expert Board Contributors, is crafted following stringent Editorial Policies. We're committed to providing you with well-researched, expert-backed insights for all your informational needs.


0 thoughts on “How To Clean Out A Humidifier”