Home>Furniture & Design>Bathroom Accessories>How To Make A Toothbrush Holder
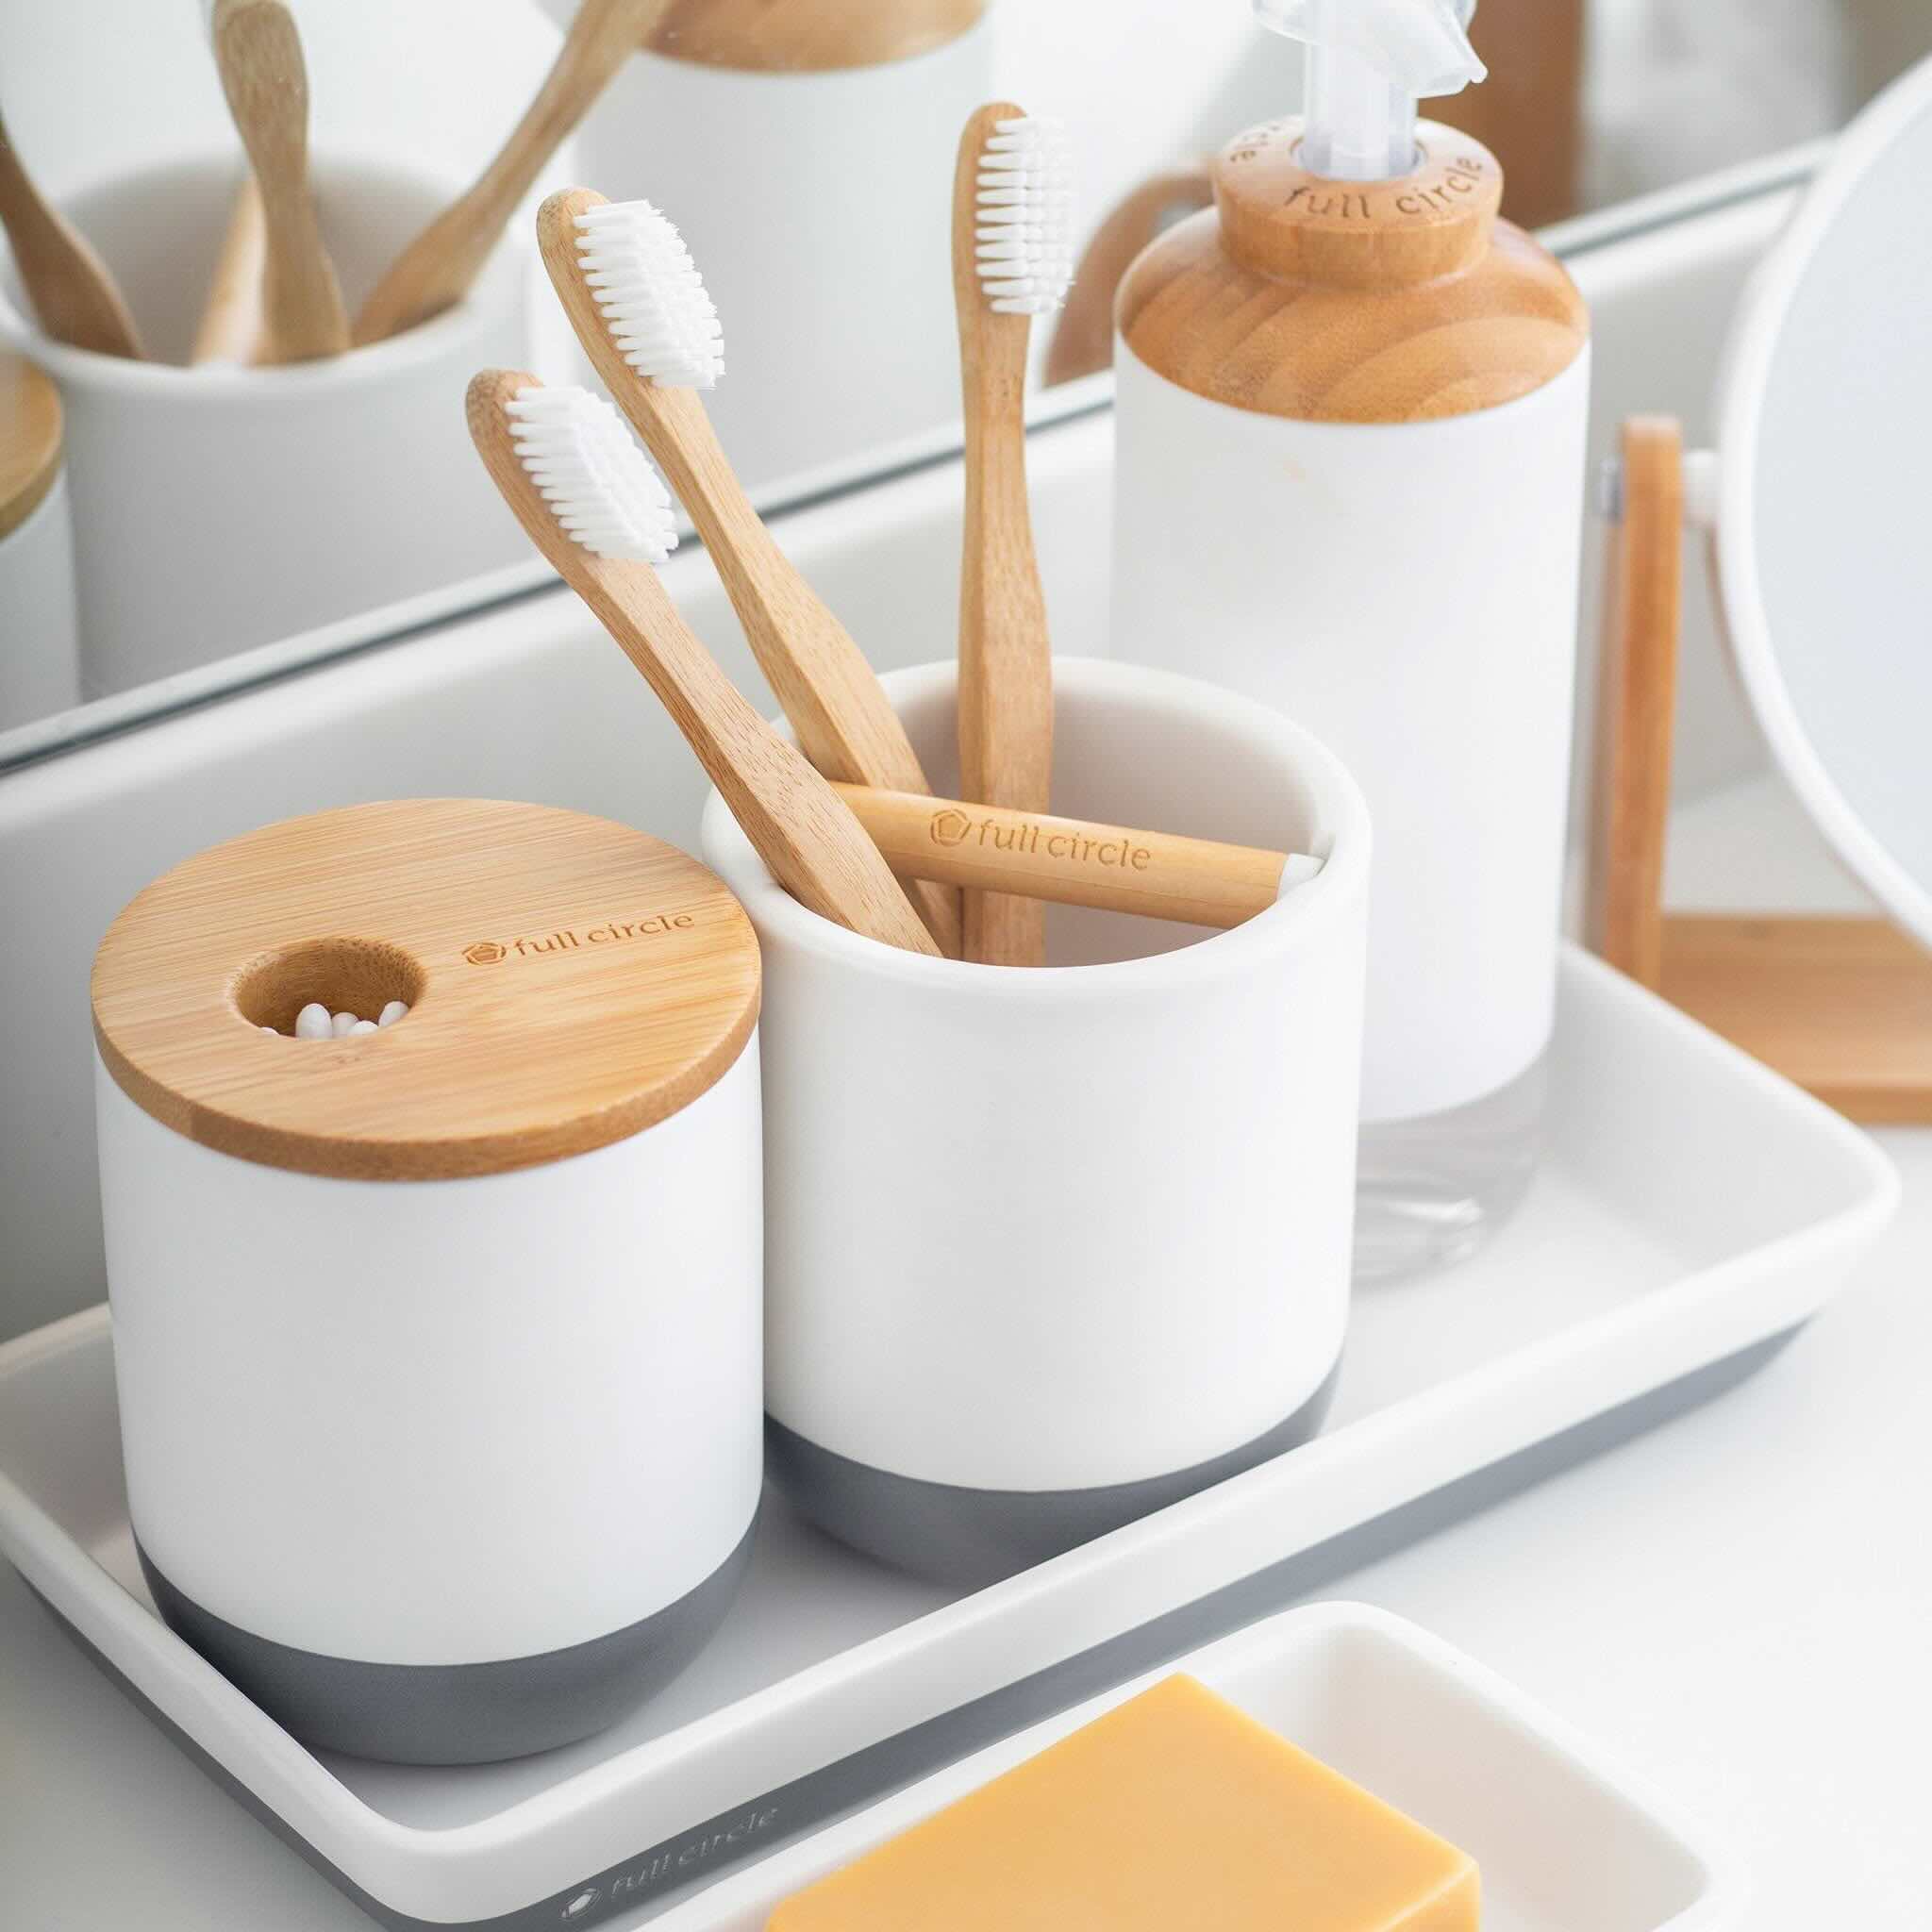

Bathroom Accessories
How To Make A Toothbrush Holder
Modified: April 22, 2024
Discover creative ideas for making a stylish toothbrush holder and organizing your bathroom accessories. Learn how to craft functional and decorative solutions. Elevate your bathroom decor today!
(Many of the links in this article redirect to a specific reviewed product. Your purchase of these products through affiliate links helps to generate commission for Storables.com, at no extra cost. Learn more)
Introduction
Creating your own toothbrush holder can be a fun and rewarding DIY project that not only adds a personal touch to your bathroom but also helps keep your toothbrushes organized and easily accessible. With just a few simple materials and a little creativity, you can craft a custom toothbrush holder that reflects your unique style and personality.
Whether you're a seasoned crafter or new to the world of DIY, making a toothbrush holder is a straightforward and enjoyable endeavor. By following the steps outlined in this guide, you'll be able to design and assemble a practical and visually appealing toothbrush holder that complements your bathroom decor.
In addition to the satisfaction of crafting something with your own hands, making a toothbrush holder allows you to customize the design to suit your preferences. You can choose the colors, patterns, and embellishments that resonate with your aesthetic sensibilities, resulting in a one-of-a-kind accessory that adds a touch of charm to your bathroom countertop.
Furthermore, creating a toothbrush holder from scratch gives you the opportunity to repurpose materials and exercise your creativity. By upcycling items such as PVC pipes or repurposing household objects, you can contribute to sustainability efforts while indulging in a fun and eco-friendly DIY project.
In the following sections, we'll delve into the materials needed and the step-by-step process for crafting your own toothbrush holder. Whether you're looking to add a personal touch to your bathroom or seeking a creative outlet, making a toothbrush holder is a delightful way to infuse your living space with a touch of handmade charm. So, gather your supplies and let's embark on this enjoyable DIY adventure!
Key Takeaways:
- Crafting a toothbrush holder is a fun DIY project that lets you personalize your bathroom. It’s easy to make with PVC pipe, and you can add your own creative touches with paint and stickers.
- Making a toothbrush holder is not only about organization, but also about sustainability. By repurposing materials and adding personal flair, you can create a unique and eco-friendly accessory for your bathroom.
Read more: How To Clean A Toothbrush Holder
Materials Needed
To embark on the journey of creating your own toothbrush holder, you'll need a handful of materials that are readily available and easy to work with. Here's a list of the essential items required for this delightful DIY project:
-
PVC Pipe: This will serve as the main component of your toothbrush holder. Opt for a PVC pipe with a diameter that comfortably accommodates your toothbrushes. You can choose a length based on the number of toothbrushes you intend to store.
-
Saw: A small handheld saw or PVC cutter will be indispensable for cutting the PVC pipe to the desired length. Ensure that the saw is suitable for cutting through PVC material.
-
Sandpaper: To achieve smooth and polished edges on the cut PVC pipe, sandpaper is essential. Select a fine-grit sandpaper to effectively smooth out any rough edges.
-
Decorative Elements (Optional): If you wish to personalize your toothbrush holder, consider incorporating decorative elements such as paint, adhesive stickers, or washi tape. These embellishments can add a pop of color and personality to your creation.
-
Measuring Tape: Accurate measurements are crucial for ensuring that the PVC pipe is cut to the appropriate length. A measuring tape will help you achieve precision in this step.
-
Protective Gear: When working with tools and materials, it's important to prioritize safety. Wear protective gloves and safety goggles to shield your hands and eyes from potential hazards.
-
Cleaning Supplies: Before commencing the assembly of your toothbrush holder, make sure to have cleaning supplies on hand. This will allow you to thoroughly clean the PVC pipe and remove any debris or residue.
-
Work Surface: Set up a designated work area with a stable surface to facilitate the cutting and assembly process. A flat and spacious work surface will provide the necessary space for maneuvering the materials and tools.
By gathering these materials, you'll be well-equipped to embark on the creative and fulfilling endeavor of making your own toothbrush holder. With these supplies at your disposal, you can proceed to the next steps of measuring, cutting, and assembling the components to bring your unique toothbrush holder to life.
Step 1: Gather Your Supplies
Before diving into the process of creating your custom toothbrush holder, it's essential to gather all the necessary supplies to ensure a smooth and efficient crafting experience. By assembling the required materials and tools, you'll be well-prepared to embark on this delightful DIY project.
Start by collecting a PVC pipe of suitable diameter, ensuring it can comfortably accommodate the number of toothbrushes you intend to store. The length of the PVC pipe should align with your desired dimensions for the toothbrush holder. Additionally, a saw or PVC cutter is indispensable for accurately cutting the PVC pipe to the desired length. It's crucial to select a saw that is suitable for cutting through PVC material, ensuring precise and clean cuts.
In preparation for smoothing out the edges of the cut PVC pipe, acquire a sheet of fine-grit sandpaper. This will facilitate the process of achieving polished and smooth edges, enhancing the overall aesthetic appeal and safety of the toothbrush holder. If you wish to infuse a personalized touch to your creation, consider incorporating decorative elements such as paint, adhesive stickers, or washi tape. These embellishments can add a pop of color and personality to your toothbrush holder, reflecting your unique style and preferences.
Accurate measurements are paramount in this DIY endeavor, so be sure to have a measuring tape on hand to ensure precision when cutting the PVC pipe. Prioritize safety by equipping yourself with protective gear, including gloves and safety goggles, to shield your hands and eyes from potential hazards during the crafting process.
To prepare the PVC pipe for assembly, gather cleaning supplies to ensure it is free from debris and residue. Lastly, designate a stable work surface as your crafting area, providing ample space for maneuvering the materials and tools. A flat and spacious work surface will facilitate the cutting and assembly process, allowing you to work with ease and precision.
By diligently gathering these supplies, you'll set the stage for a seamless and enjoyable crafting experience as you embark on the journey of creating your very own custom toothbrush holder. With all the essential materials and tools at your disposal, you're ready to proceed to the next steps of measuring, cutting, and assembling the components to bring your unique toothbrush holder to life.
Step 2: Measure and Cut the PVC Pipe
With all the necessary supplies gathered, it's time to move on to the crucial step of measuring and cutting the PVC pipe to the desired dimensions for your toothbrush holder. This step lays the foundation for the structural integrity and functionality of the holder, making precision and accuracy paramount.
Begin by carefully measuring the PVC pipe using a measuring tape, ensuring that the length corresponds to your preferred dimensions for the toothbrush holder. Mark the designated cutting points on the pipe with a pencil or marker, clearly indicating where the cuts will be made. It's essential to double-check the measurements to guarantee that the pipe will comfortably accommodate the intended number of toothbrushes while fitting seamlessly into your bathroom space.
Once the cutting points are clearly marked, proceed to cut the PVC pipe using a saw or PVC cutter. Exercise caution and use steady, even strokes to achieve clean and precise cuts. It's advisable to follow the marked lines closely to ensure that the cuts are straight and uniform, contributing to the overall aesthetic appeal of the toothbrush holder.
After the PVC pipe has been cut to the desired length, it's important to inspect the edges for any roughness or unevenness. Utilize a sheet of fine-grit sandpaper to smooth out the cut edges, creating a polished and safe surface. By carefully sanding the edges, you'll ensure that the toothbrush holder is not only visually appealing but also free from any sharp or jagged areas that could pose a risk.
Throughout the measuring and cutting process, prioritize accuracy and attention to detail to achieve a flawless result. Remember that precision in this step will contribute to the overall functionality and visual appeal of your custom toothbrush holder. With the PVC pipe accurately measured, cut, and the edges smoothed, you're now ready to proceed to the next stage of the crafting process.
This step sets the stage for the subsequent assembly of the toothbrush holder, bringing you one step closer to completing your personalized bathroom accessory. With the PVC pipe prepared and refined, you're well-positioned to move forward with the creative and fulfilling endeavor of crafting your very own custom toothbrush holder.
To make a toothbrush holder, repurpose a small glass or plastic container and decorate it with paint or stickers for a personalized touch.
Step 3: Sand the Edges
After cutting the PVC pipe to the desired length, the next crucial step in creating your custom toothbrush holder is to meticulously sand the edges. This process is essential for achieving a smooth and polished finish, ensuring that the edges of the PVC pipe are safe to handle and visually appealing.
To begin, prepare a sheet of fine-grit sandpaper, which is ideal for effectively smoothing out any rough or uneven edges resulting from the cutting process. The fine-grit sandpaper offers the perfect balance between abrasiveness and refinement, allowing you to achieve a flawless surface without compromising the structural integrity of the PVC pipe.
With the sandpaper in hand, carefully run it along the cut edges of the PVC pipe, applying gentle and consistent pressure to gradually refine the surface. The goal is to eliminate any sharp or jagged areas, creating a uniform and smooth texture that enhances both the safety and aesthetic appeal of the toothbrush holder.
As you sand the edges, pay close attention to detail, ensuring that each section of the PVC pipe receives equal treatment. By maintaining a steady and methodical approach, you'll effectively remove any imperfections and irregularities, resulting in a professional-looking finish that exudes quality craftsmanship.
It's important to periodically inspect the sanded edges to assess their smoothness and uniformity. If any rough patches or inconsistencies are detected, continue sanding the affected areas until a seamless and polished surface is achieved throughout the entire perimeter of the PVC pipe.
By dedicating time and care to the sanding process, you'll not only enhance the tactile comfort of the toothbrush holder but also elevate its visual appeal. The smooth and refined edges will contribute to a professional and polished look, reflecting the meticulous attention to detail invested in the creation of this custom bathroom accessory.
With the edges of the PVC pipe expertly sanded, you've successfully completed this essential step in the crafting process, bringing you closer to the assembly and completion of your personalized toothbrush holder. The meticulous sanding of the edges ensures that your DIY creation is not only visually striking but also safe and functional, ready to add a touch of handmade charm to your bathroom countertop.
Read more: How To Make A Toothbrush
Step 4: Decorate the Holder (optional)
With the structural elements of the toothbrush holder in place, the optional yet creatively fulfilling step of decorating the holder presents an opportunity to infuse your personal style and aesthetic preferences into the design. This phase allows for the expression of creativity, enabling you to transform a functional item into a visually captivating and personalized bathroom accessory.
One approach to decorating the toothbrush holder involves the use of paint to add vibrant colors and patterns. Acrylic paints, specifically formulated for use on plastic surfaces, offer a versatile and durable option for embellishing the PVC pipe. Whether you opt for bold and striking hues or subtle pastel tones, the application of paint can instantly elevate the visual appeal of the holder, infusing it with a custom and eye-catching aesthetic.
In addition to paint, adhesive stickers and decals provide a convenient and versatile means of adding decorative elements to the toothbrush holder. From whimsical designs to intricate patterns, the array of available stickers allows for endless creative possibilities. By carefully arranging and affixing the stickers onto the PVC pipe, you can effortlessly customize the appearance of the holder, reflecting your individual taste and design preferences.
For those inclined towards a more eclectic and playful approach, washi tape offers a delightful way to adorn the toothbrush holder with an array of colors and patterns. The flexibility and ease of application of washi tape make it an ideal medium for creating unique and eye-catching designs. Whether opting for a cohesive color scheme or a mix of contrasting patterns, the application of washi tape allows for a whimsical and personalized transformation of the holder.
Furthermore, the use of decorative elements such as adhesive gems, sequins, or ribbons presents an opportunity to add texture and dimension to the toothbrush holder. These embellishments can be strategically placed to create visually engaging accents, infusing the holder with a touch of elegance and charm.
Ultimately, the process of decorating the toothbrush holder serves as a delightful and expressive endeavor, allowing you to tailor the design to align with your personal style and preferences. By incorporating paint, stickers, washi tape, or other decorative elements, you can transform the functional holder into a captivating and personalized accent that adds a delightful touch to your bathroom decor.
As you embark on the creative journey of decorating the toothbrush holder, consider experimenting with various techniques and combinations of decorative elements to achieve a design that resonates with your unique vision. Whether opting for a minimalist and modern aesthetic or a vibrant and eclectic style, the decoration phase offers an opportunity to infuse your handmade creation with a touch of individuality and charm.
Step 5: Assemble the Toothbrush Holder
With the structural and decorative elements prepared, the final step in bringing your custom toothbrush holder to life is the assembly process. This pivotal stage involves seamlessly integrating the components to create a functional and visually appealing holder that will enhance the organization and aesthetics of your bathroom countertop.
Begin by positioning the cut PVC pipe on a stable work surface, ensuring that it is clean and free from any debris or residue. Arrange the decorative elements, such as painted or embellished sections, in the desired configuration to align with your envisioned design. This allows for a visual preview of the assembled holder and ensures that the decorative elements are positioned to your satisfaction.
Next, carefully inspect the sanded edges of the PVC pipe to confirm that they are smooth and safe to handle. This step is crucial to guaranteeing the overall safety and usability of the toothbrush holder. If any roughness or imperfections are detected, promptly address them to ensure a flawless finish.
Once the PVC pipe and decorative elements are prepared, proceed to the assembly phase by aligning the components in the intended arrangement. Whether you've opted for a minimalist design or a vibrant display of colors and patterns, ensure that the decorative elements are securely affixed to the PVC pipe, creating a cohesive and visually striking composition.
If adhesive stickers, washi tape, or other decorative elements are utilized, carefully apply them to the surface of the PVC pipe, smoothing out any air bubbles or wrinkles to achieve a seamless and polished appearance. Pay meticulous attention to detail during this process to ensure that the decorative elements are flawlessly integrated, resulting in a professional and captivating finish.
As the decorative elements are secured, assess the overall composition of the toothbrush holder to confirm that it aligns with your creative vision. Take a moment to appreciate the personalized and handcrafted aesthetic that now adorns the holder, infusing it with a touch of individuality and charm.
Upon completing the assembly of the toothbrush holder, take pride in the accomplishment of crafting a functional and visually appealing accessory that reflects your unique style and creativity. The assembled holder is now ready to serve as a delightful addition to your bathroom, providing a practical and personalized solution for organizing and storing your toothbrushes.
By meticulously assembling the components and infusing the holder with your personal touch, you've transformed a simple PVC pipe into a bespoke and eye-catching bathroom accessory. Embrace the satisfaction of creating a handmade item that not only serves a practical purpose but also adds a touch of artisanal charm to your living space.
Conclusion
In conclusion, the journey of creating your own toothbrush holder is a delightful blend of creativity, practicality, and personal expression. By embarking on this DIY endeavor, you've ventured into the realm of handmade craftsmanship, infusing your living space with a touch of individuality and charm. From gathering the essential materials to meticulously sanding the edges and adorning the holder with personalized embellishments, each step of the process has contributed to the creation of a unique and functional bathroom accessory.
As you reflect on the completion of your custom toothbrush holder, take pride in the craftsmanship and attention to detail invested in every stage of the crafting journey. The personalized touches and decorative elements have transformed a simple PVC pipe into a captivating and visually striking holder that adds a delightful accent to your bathroom decor. Whether you've opted for a minimalist and modern design or embraced a vibrant and eclectic aesthetic, the holder now stands as a testament to your creativity and ingenuity.
Beyond the aesthetic appeal, the practical functionality of the toothbrush holder enhances the organization of your bathroom space, providing a dedicated and stylish storage solution for your toothbrushes. The seamless integration of the components, from the precisely cut PVC pipe to the carefully applied decorative elements, culminates in a handcrafted accessory that elevates the ambiance of your bathroom.
Moreover, the process of creating a toothbrush holder from scratch embodies the spirit of sustainability and resourcefulness. By repurposing materials and infusing them with new life through creative design, you've contributed to the ethos of eco-conscious living. This DIY project serves as a testament to the potential for repurposing everyday items to craft functional and visually appealing accessories, aligning with sustainable practices and reducing environmental impact.
As you admire the completed toothbrush holder gracing your bathroom countertop, take a moment to appreciate the joy of handmade creation and the satisfaction of infusing your living space with a touch of artisanal charm. Your custom toothbrush holder stands as a testament to your creativity, resourcefulness, and dedication to infusing everyday objects with a personalized and handmade touch.
In essence, the journey of making a toothbrush holder transcends the realm of practicality, evolving into a fulfilling and expressive endeavor that enriches your living space with a touch of handmade charm. Embrace the pride of crafting a functional and visually captivating accessory that reflects your unique style and creativity, and revel in the joy of infusing your home with the warmth of handmade craftsmanship.
Frequently Asked Questions about How To Make A Toothbrush Holder
Was this page helpful?
At Storables.com, we guarantee accurate and reliable information. Our content, validated by Expert Board Contributors, is crafted following stringent Editorial Policies. We're committed to providing you with well-researched, expert-backed insights for all your informational needs.

0 thoughts on “How To Make A Toothbrush Holder”