Home>Furniture & Design>Bathroom Fixtures>How To Clean A Shower Tile And Grout
Bathroom Fixtures
How To Clean A Shower Tile And Grout
Modified: March 26, 2024
Learn how to effectively clean shower tiles and grout to maintain a sparkling bathroom. Discover expert tips and tricks for bathroom fixtures. Elevate your cleaning routine!
(Many of the links in this article redirect to a specific reviewed product. Your purchase of these products through affiliate links helps to generate commission for Storables.com, at no extra cost. Learn more)
Introduction
Read more: How To Clean A Marble Shower Tile And Grout
Introduction
Welcome to the ultimate guide on how to clean a shower tile and grout. A sparkling, fresh-looking shower can transform your entire bathroom, creating a welcoming and hygienic space for your daily rituals. Over time, soap scum, mineral deposits, and mildew can build up on the tile and grout, diminishing the appearance and cleanliness of your shower. However, with the right materials, techniques, and a little elbow grease, you can restore your shower to its former glory.
In this comprehensive guide, we will walk you through the step-by-step process of cleaning your shower tile and grout, providing valuable tips to ensure a thorough and effective cleaning experience. Whether you are dealing with stubborn grime or simply aiming to maintain a pristine shower, this guide is designed to equip you with the knowledge and skills needed to achieve remarkable results.
So, roll up your sleeves, gather your cleaning supplies, and let's dive into the world of shower tile and grout cleaning. It's time to revitalize your shower and elevate the overall look and feel of your bathroom.
Materials Needed
Key Takeaways:
- Say goodbye to grime! Clean your shower tile and grout with simple materials like baking soda and vinegar. Keep it sparkling with regular maintenance for a fresh, inviting bathroom.
- Prep, scrub, and maintain! Get your shower looking brand new with the right materials and techniques. Keep it clean with regular wiping and natural cleaners.
Materials Needed
Before embarking on your shower tile and grout cleaning journey, it’s essential to gather the necessary materials to ensure a thorough and effective cleaning process. Here’s a list of items you’ll need:
- Mildew-resistant shower cleaner or homemade cleaning solution (such as a mixture of water, white vinegar, and dish soap)
- Baking soda
- Old toothbrush or grout brush
- Microfiber cloth or sponge
- Rubber gloves
- Bucket
- White vinegar
- Lemon juice (optional for natural fragrance)
- Grout sealer (for maintenance)
These materials will equip you to tackle the dirt, grime, and mildew that may have accumulated on your shower tile and grout. Whether you opt for commercial cleaners or prefer to concoct your own eco-friendly solution, having the right tools at your disposal is the first step toward achieving a pristine and refreshed shower space.
With these materials in hand, you’re ready to prepare your shower for a deep cleaning session that will leave your tile and grout looking as good as new.
Preparing the Shower
Read more: How To Grout A Shower Tile
Preparing the Shower
Before diving into the cleaning process, it’s important to prepare the shower area to ensure optimal results. Here’s a step-by-step guide to preparing your shower for the cleaning process:
- Clear the Space: Remove any shampoo bottles, soap dishes, or other shower accessories to access the entire tile and grout surface.
- Ventilate the Area: Open a window or turn on the exhaust fan to promote air circulation and minimize exposure to cleaning fumes.
- Protect Surfaces: If you’re using commercial cleaners or homemade solutions, consider protecting metal fixtures and shower doors from potential damage by covering them with a cloth or plastic wrap.
- Pre-Rinse: Give the tile and grout a quick rinse with water to remove any loose debris and surface dirt.
By following these preparatory steps, you’ll create an optimal environment for cleaning your shower tile and grout. Clearing the space and taking necessary precautions will streamline the cleaning process and help you achieve outstanding results without any unnecessary hassles.
Now that the stage is set, it’s time to move on to the heart of the cleaning process: restoring the luster of your shower tile.
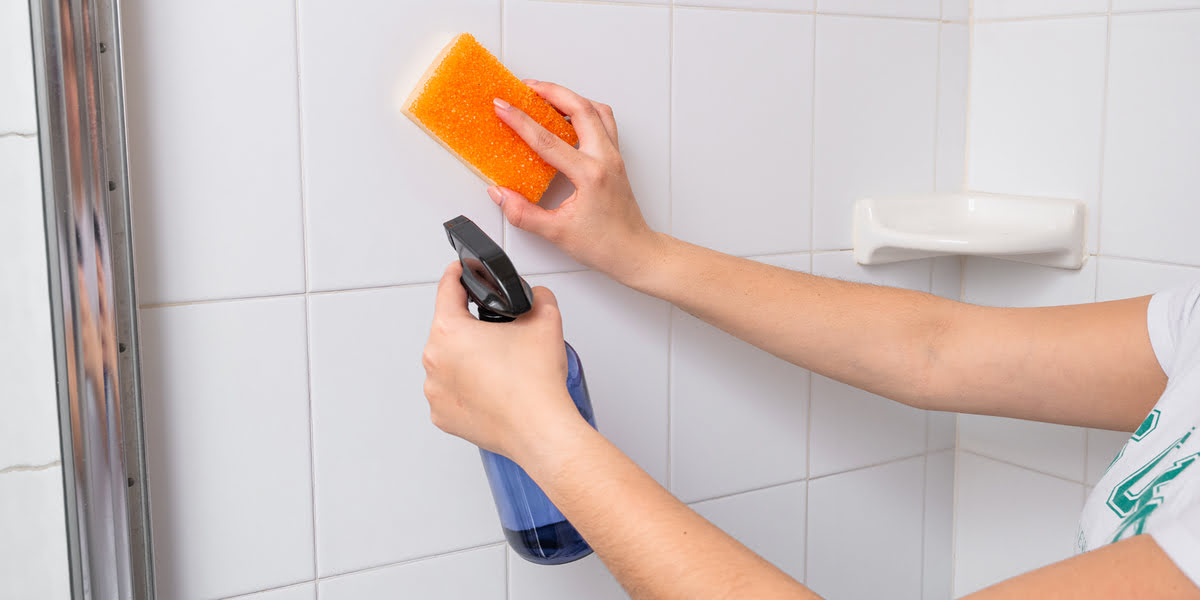
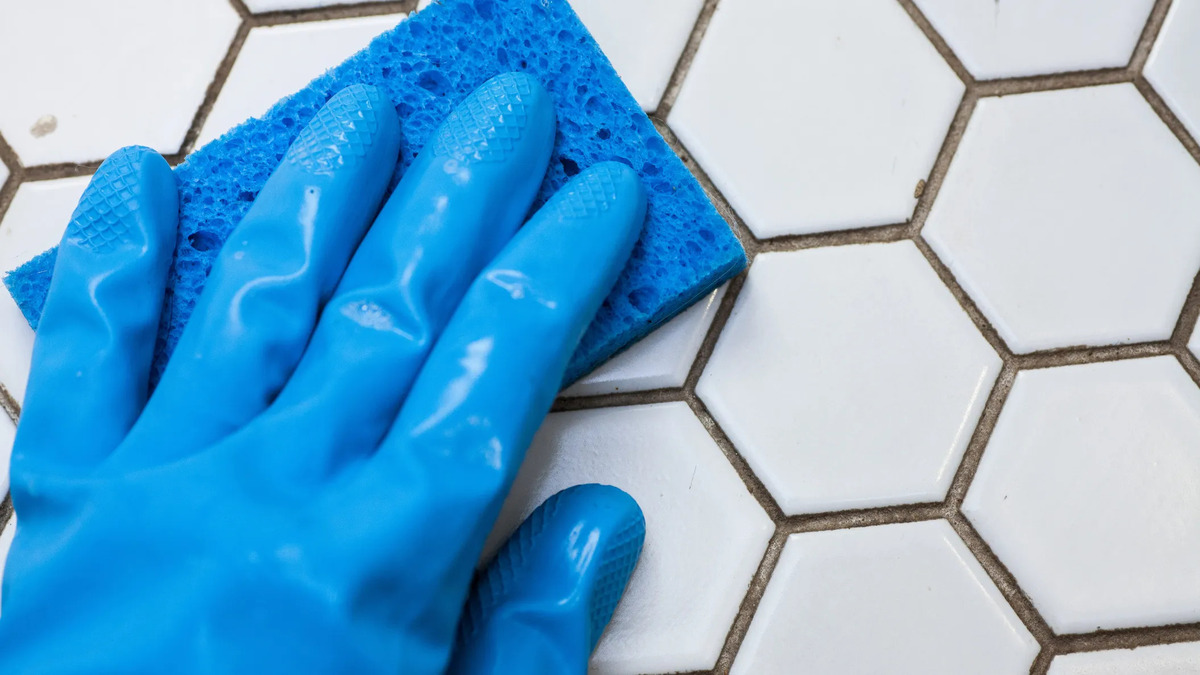
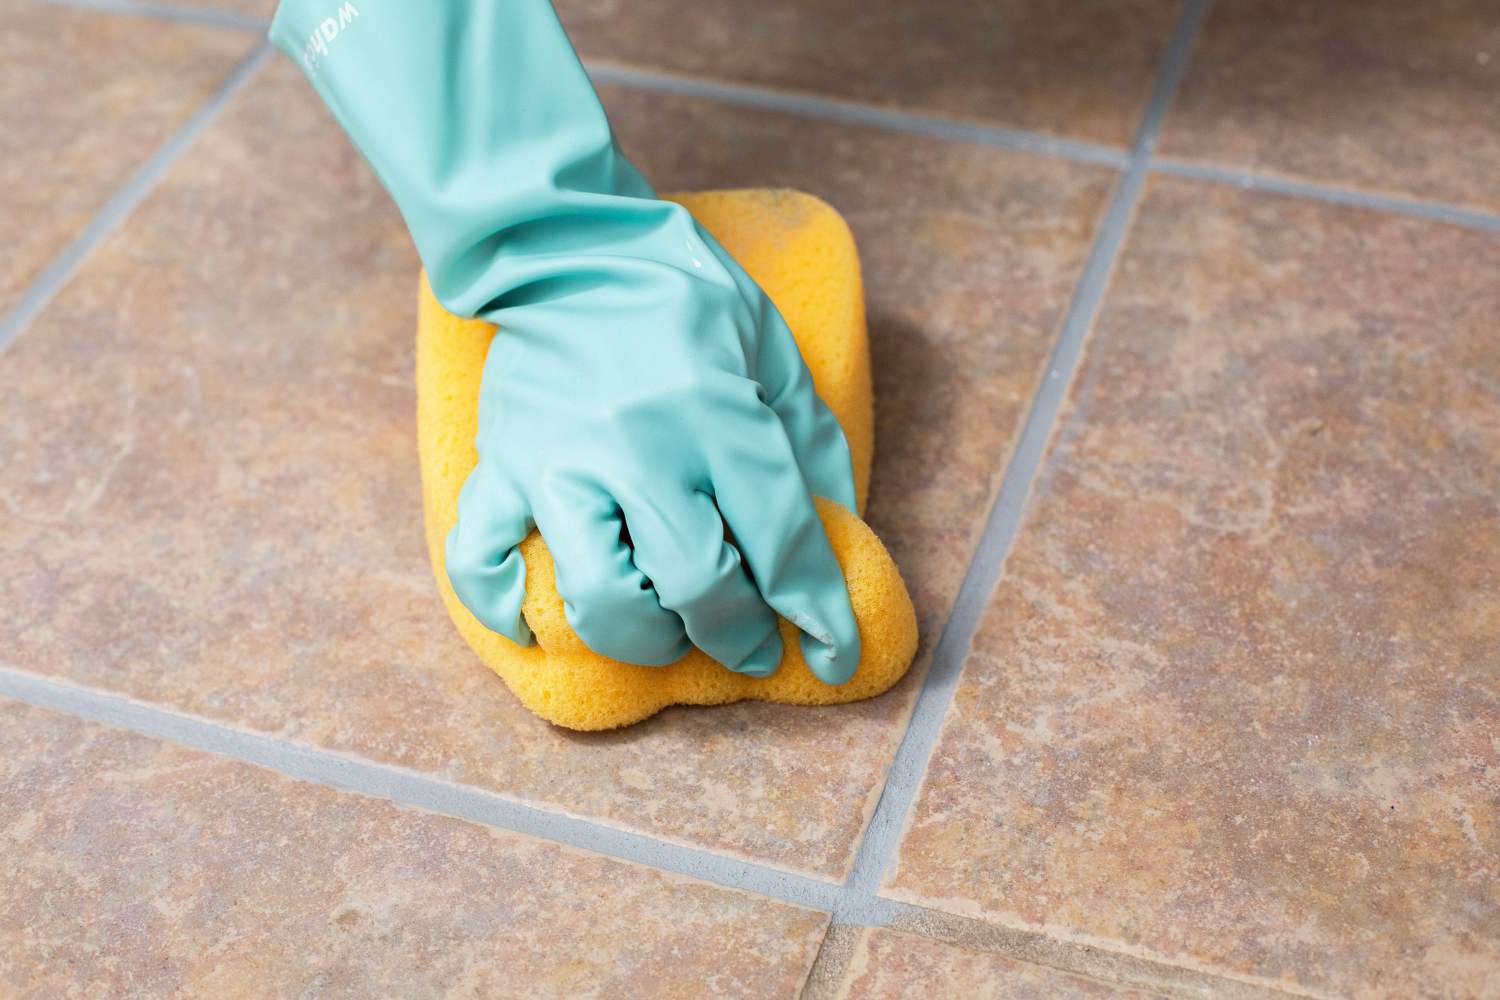
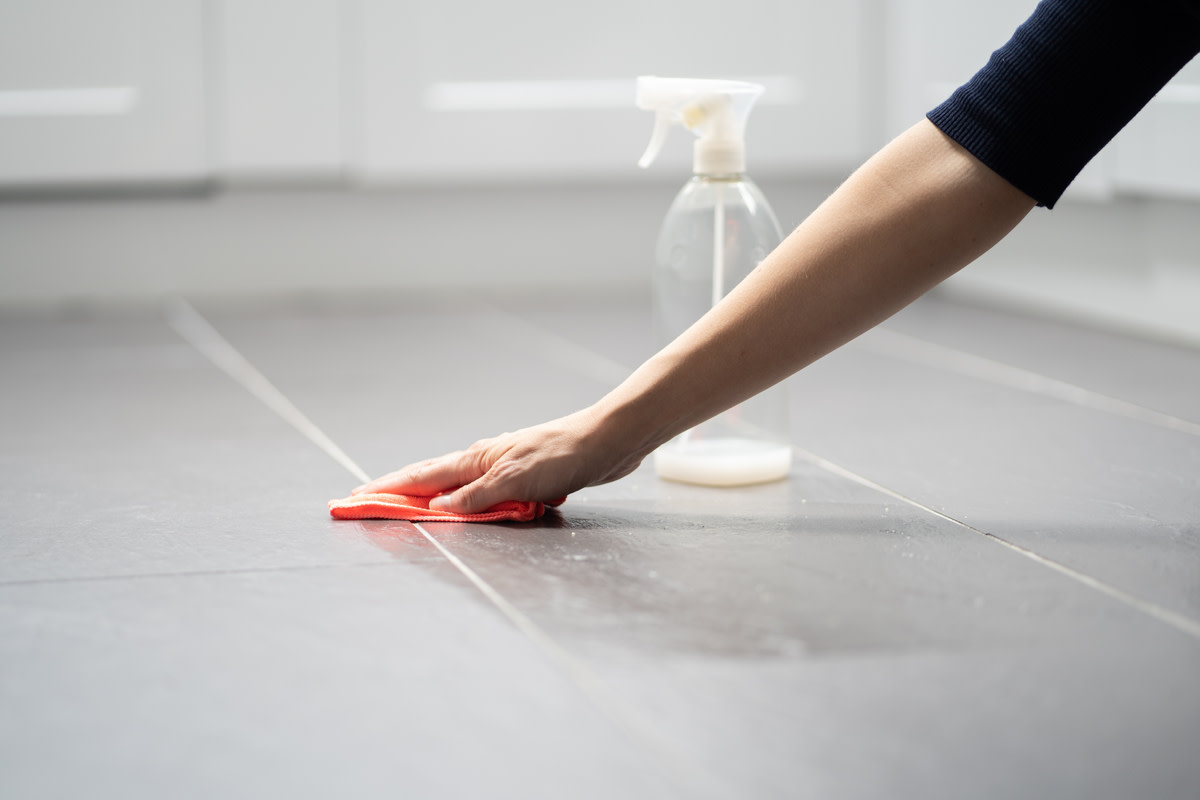
Cleaning the Tile
Cleaning the Tile
Now that your shower is prepped and ready, it’s time to focus on cleaning the tile surfaces to eliminate soap scum, mineral deposits, and other forms of grime. Here’s a detailed guide to effectively clean your shower tile:
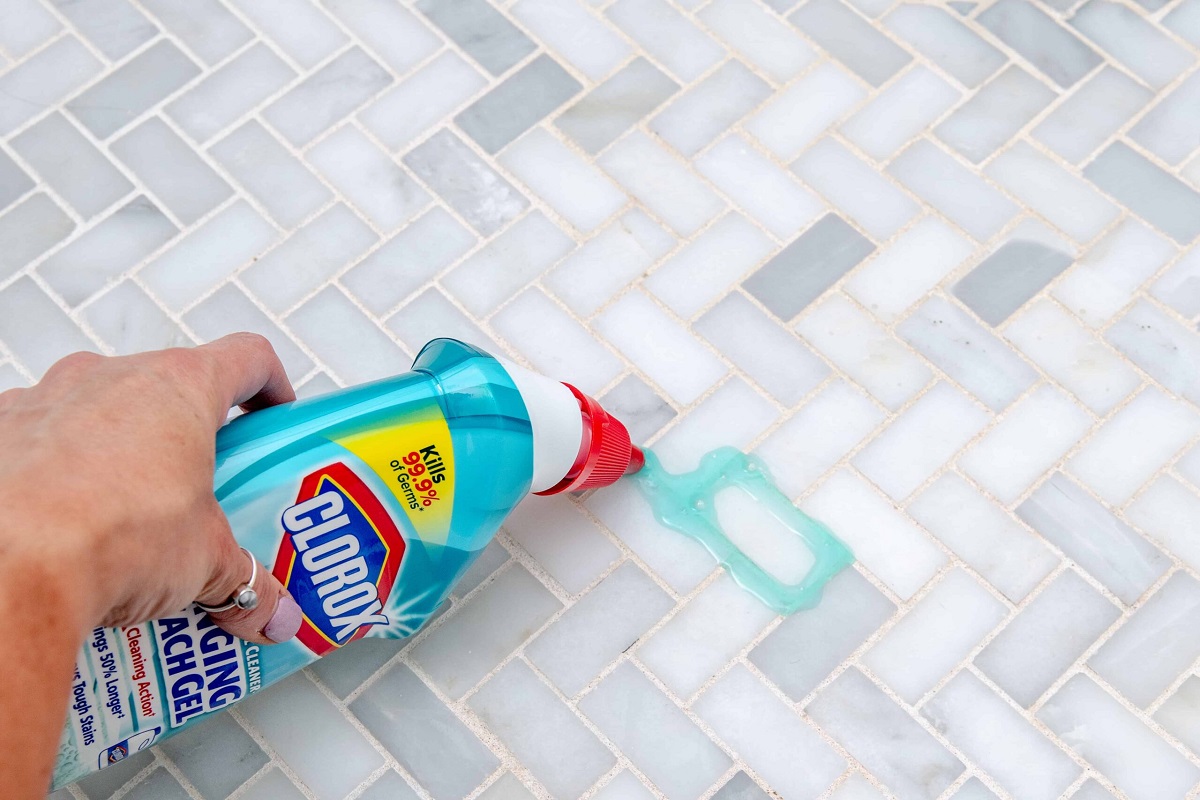
1. Apply the Cleaner: Spray a mildew-resistant shower cleaner or your homemade cleaning solution onto the tile surfaces. Ensure thorough coverage, especially in areas prone to buildup.
2. Let It Sit: Allow the cleaner to penetrate the grime for a few minutes to loosen stubborn deposits and make the cleaning process more manageable.
3. Scrub Gently: Using a microfiber cloth or sponge, gently scrub the tile surfaces in circular motions to dislodge the dirt and grime. For tougher spots, an old toothbrush can be used to target specific areas effectively.
4. Rinse Thoroughly: Once the grime has been lifted, rinse the tile surfaces thoroughly with water to remove the cleaning solution and any residual dirt.
5. Dry the Tile: Use a clean, dry microfiber cloth to wipe the tile surfaces and prevent water spots or streaks from forming.
By following these steps, you can effectively clean your shower tile, restoring its shine and cleanliness. Now that the tile is looking refreshed, it’s time to turn our attention to the grout, which often requires special attention to combat discoloration and mildew buildup.
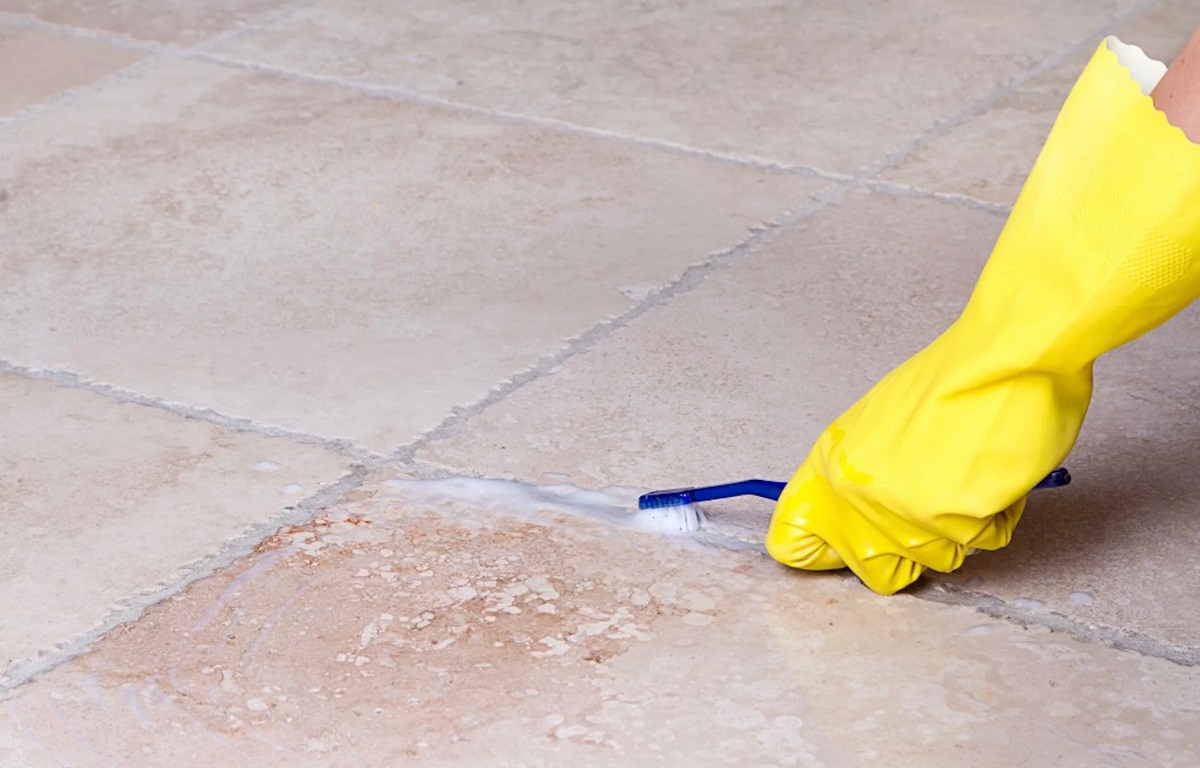
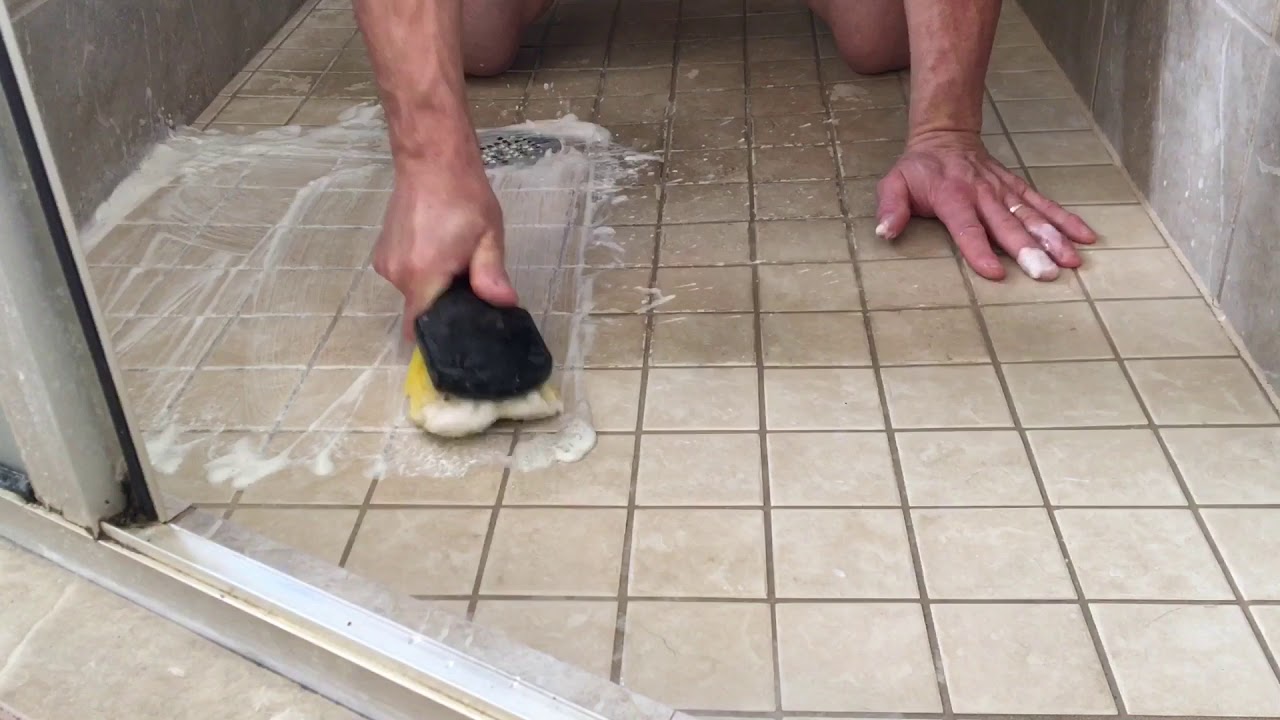
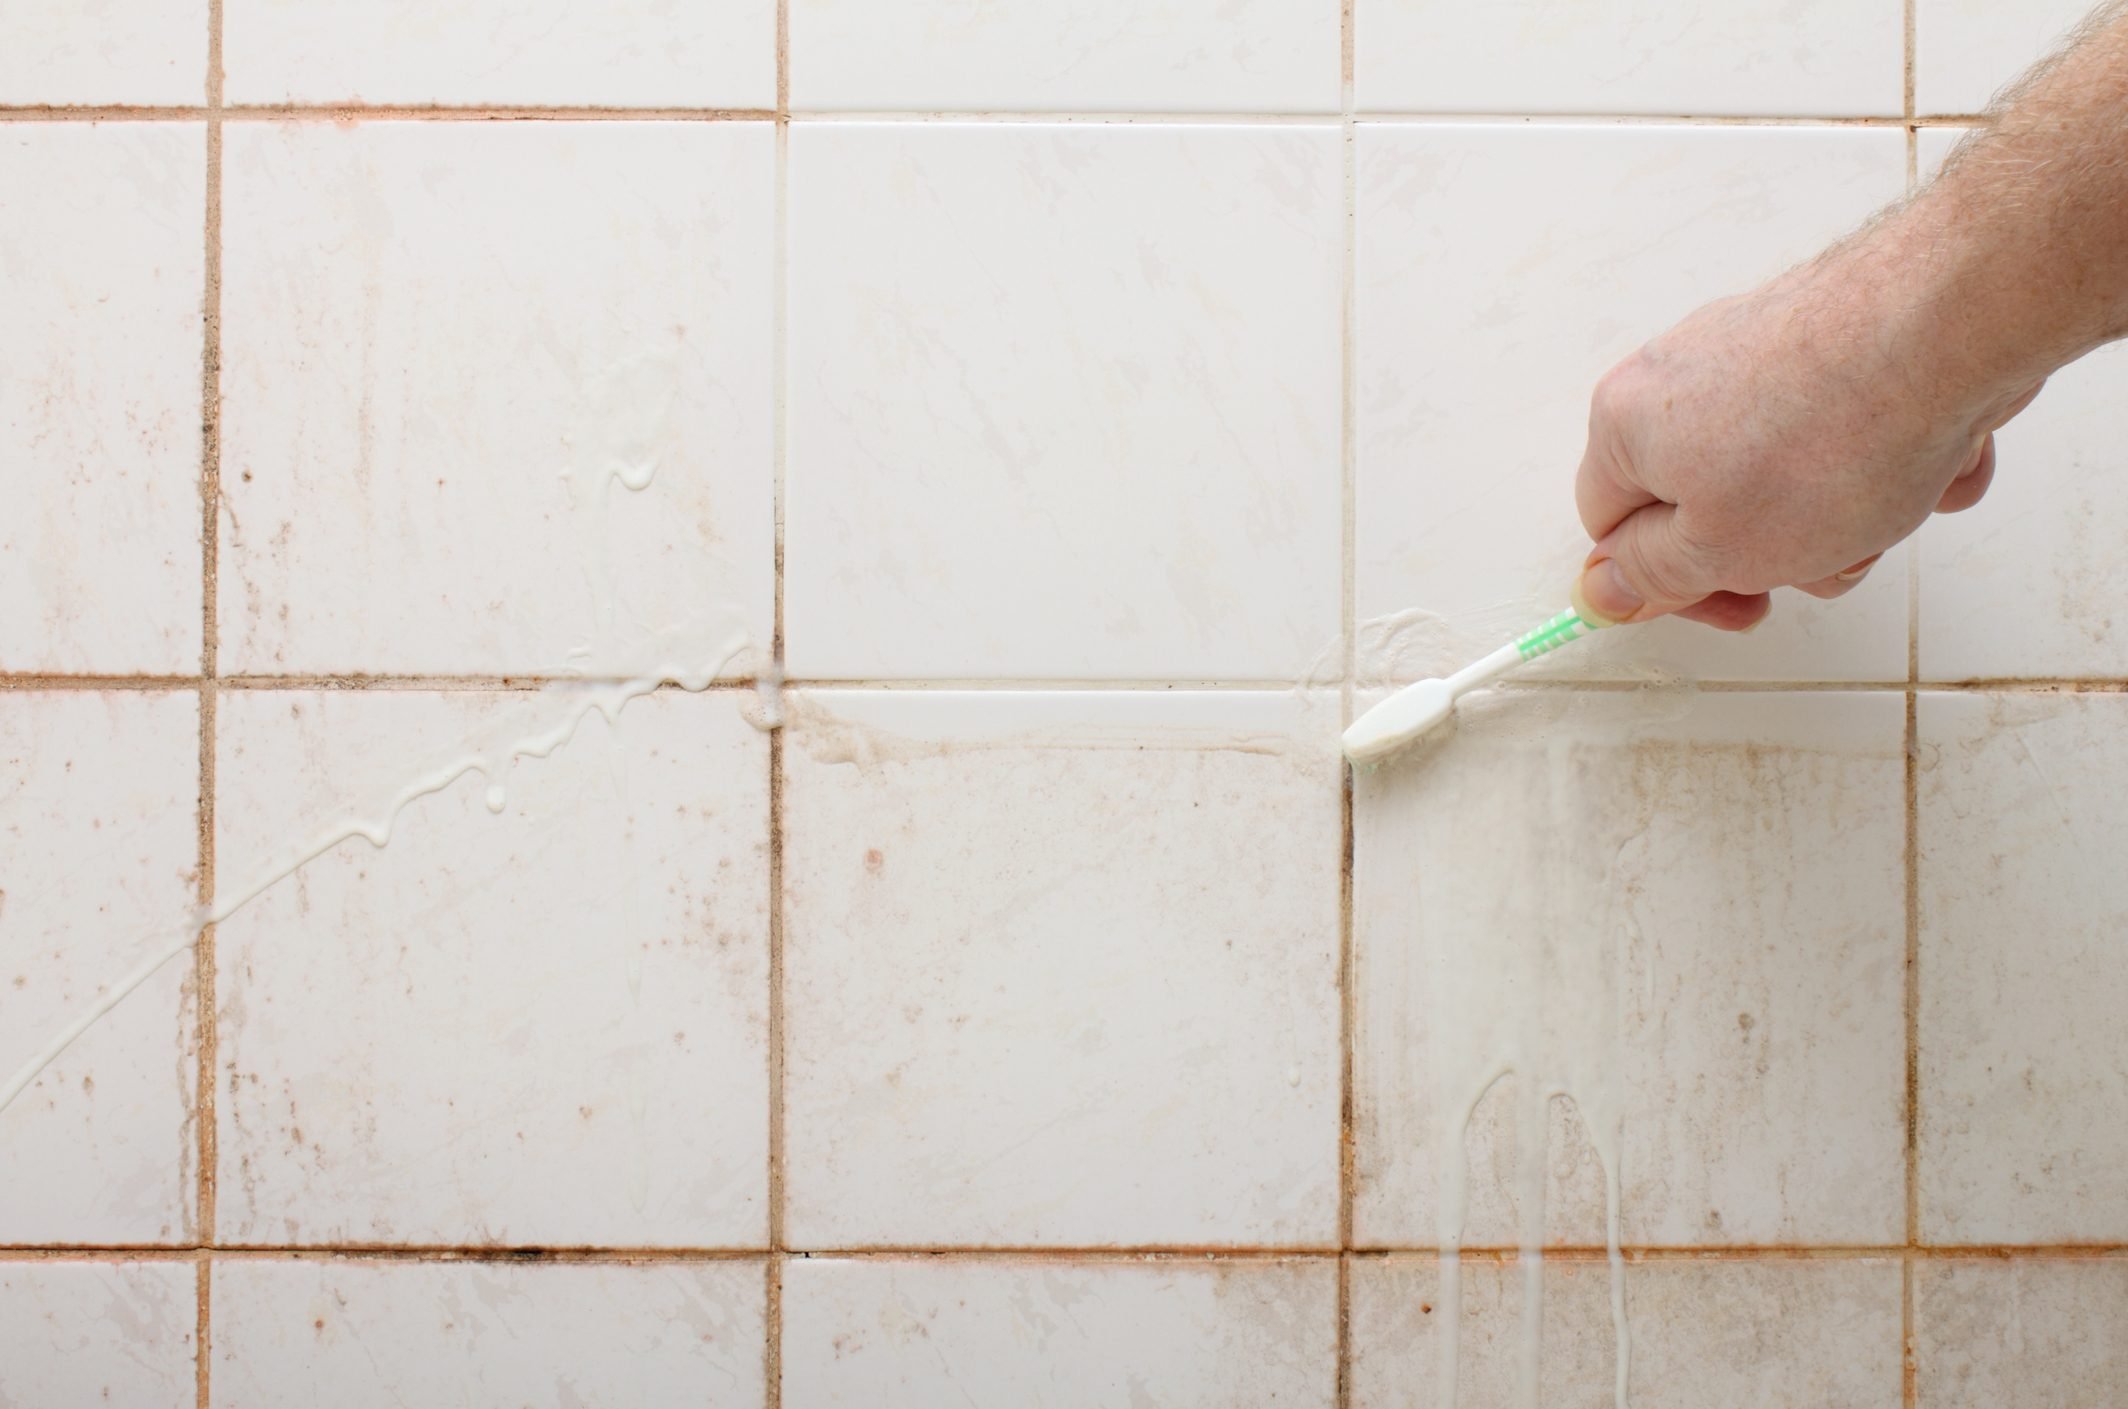
Cleaning the Grout
Read more: How To Clean Mold From A Shower Tile Grout
Cleaning the Grout
Grout, with its porous nature, is particularly susceptible to dirt, mildew, and discoloration. To restore the grout lines to their original state, follow these steps to effectively clean the grout in your shower:
1. Create a Paste: Make a paste by mixing baking soda with water to form a thick, spreadable consistency.
2. Apply the Paste: Using an old toothbrush or grout brush, apply the baking soda paste to the grout lines, ensuring complete coverage.
3. Scrub Vigorously: Gently scrub the grout lines with the paste, focusing on areas with stubborn stains or discoloration. For particularly tough stains, a paste of baking soda and white vinegar can be used for added cleaning power.
4. Rinse the Grout: Once the grout has been scrubbed, rinse it thoroughly with water to remove the baking soda paste and any loosened grime.
5. Optional Brightening: For a natural brightening effect, you can lightly dab the grout lines with lemon juice, which not only adds a fresh scent but also helps combat lingering stains.
By following these steps, you can effectively clean the grout in your shower, revitalizing its appearance and eliminating unsightly discoloration and mildew. With the tile and grout now sparkling clean, the final steps involve rinsing and drying the surfaces to complete the cleaning process.
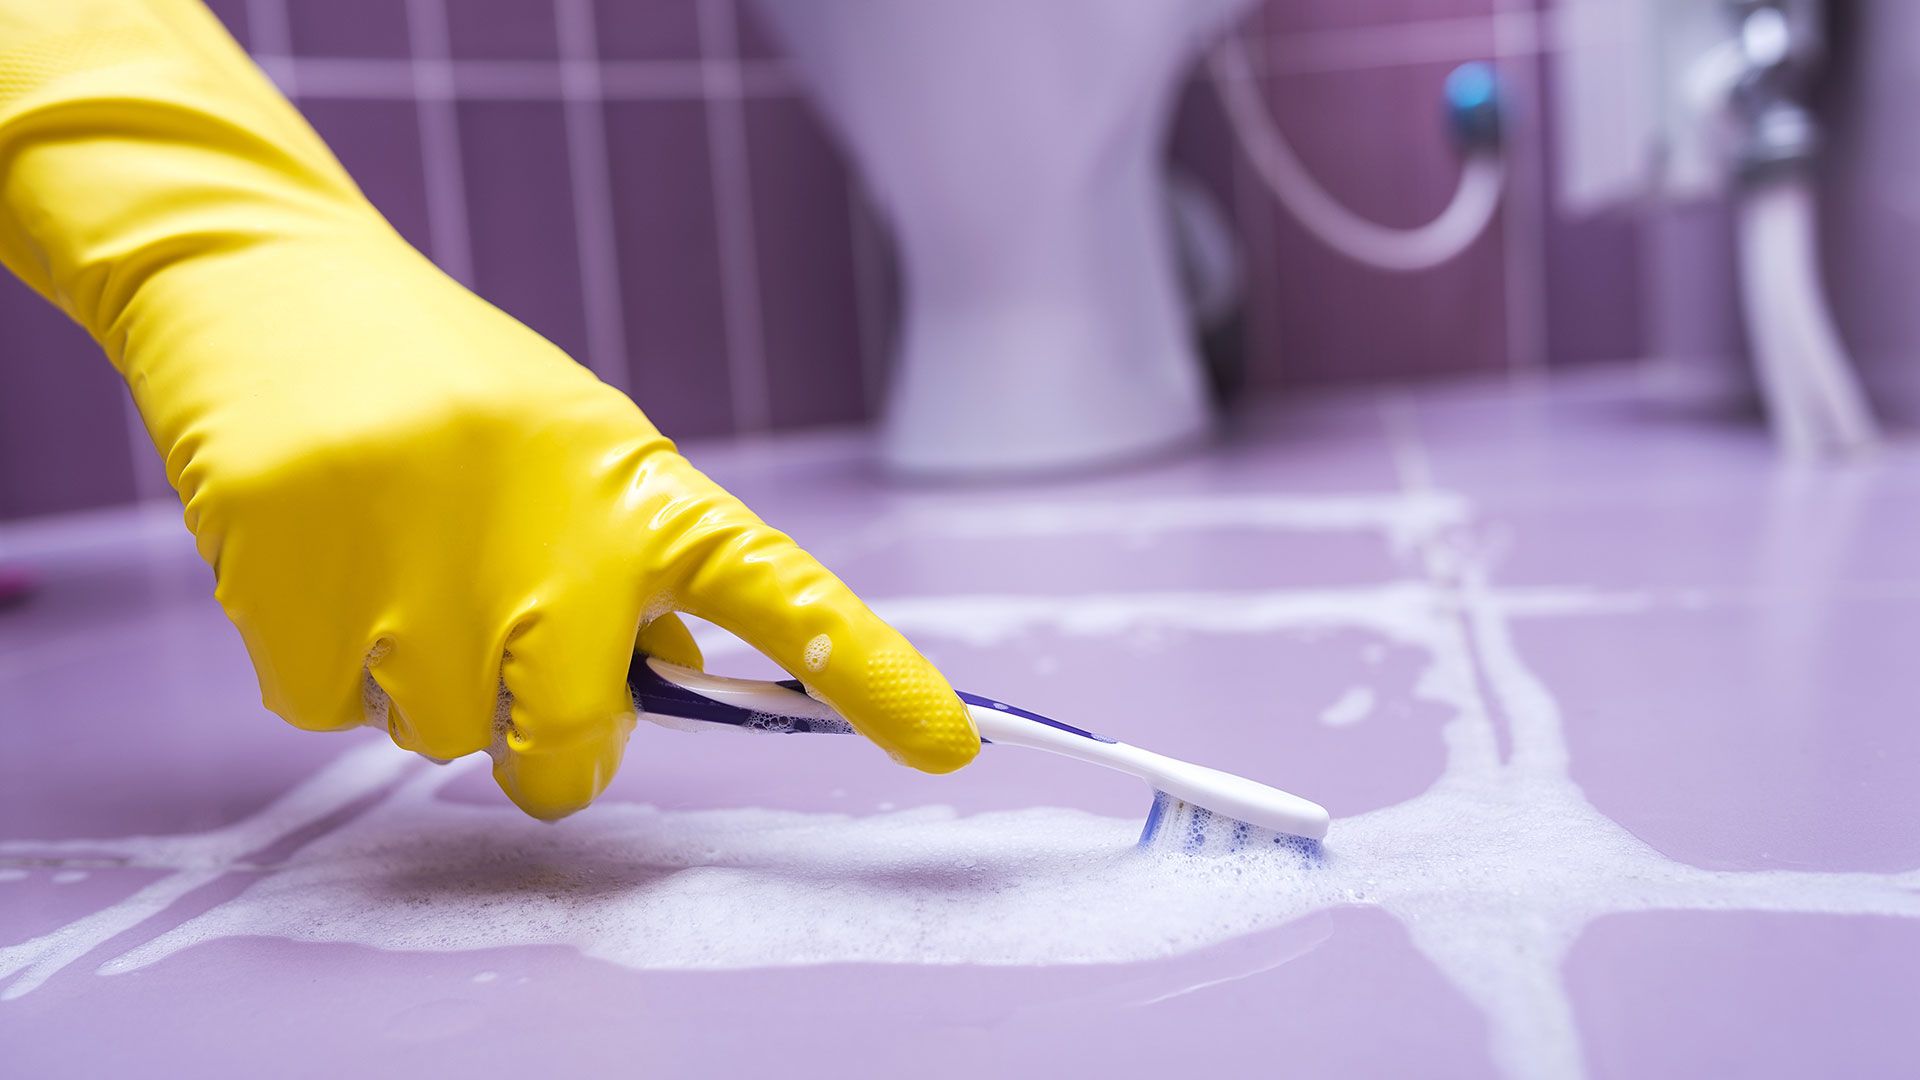
Rinse and Dry
Rinse and Dry
After the tile and grout have been thoroughly cleaned, it’s essential to complete the process by rinsing and drying the surfaces to ensure a pristine finish. Here’s how to wrap up the cleaning process effectively:
1. Rinse Thoroughly: Use a handheld showerhead or a bucket of clean water to rinse the tile and grout surfaces, ensuring that all cleaning residues are completely removed.
2. Inspect for Residual Grime: Take a moment to inspect the tile and grout for any remaining grime or soap scum. If necessary, spot-clean any areas that require additional attention.
3. Dry the Surfaces: Use a clean, dry microfiber cloth to thoroughly dry the tile and grout, preventing water spots and maintaining the refreshed appearance of your shower.
By following these steps, you can ensure that your shower tile and grout are impeccably clean and free from any cleaning residues. With the cleaning process complete, it’s important to implement maintenance tips to preserve the cleanliness and luster of your shower surfaces for the long term.
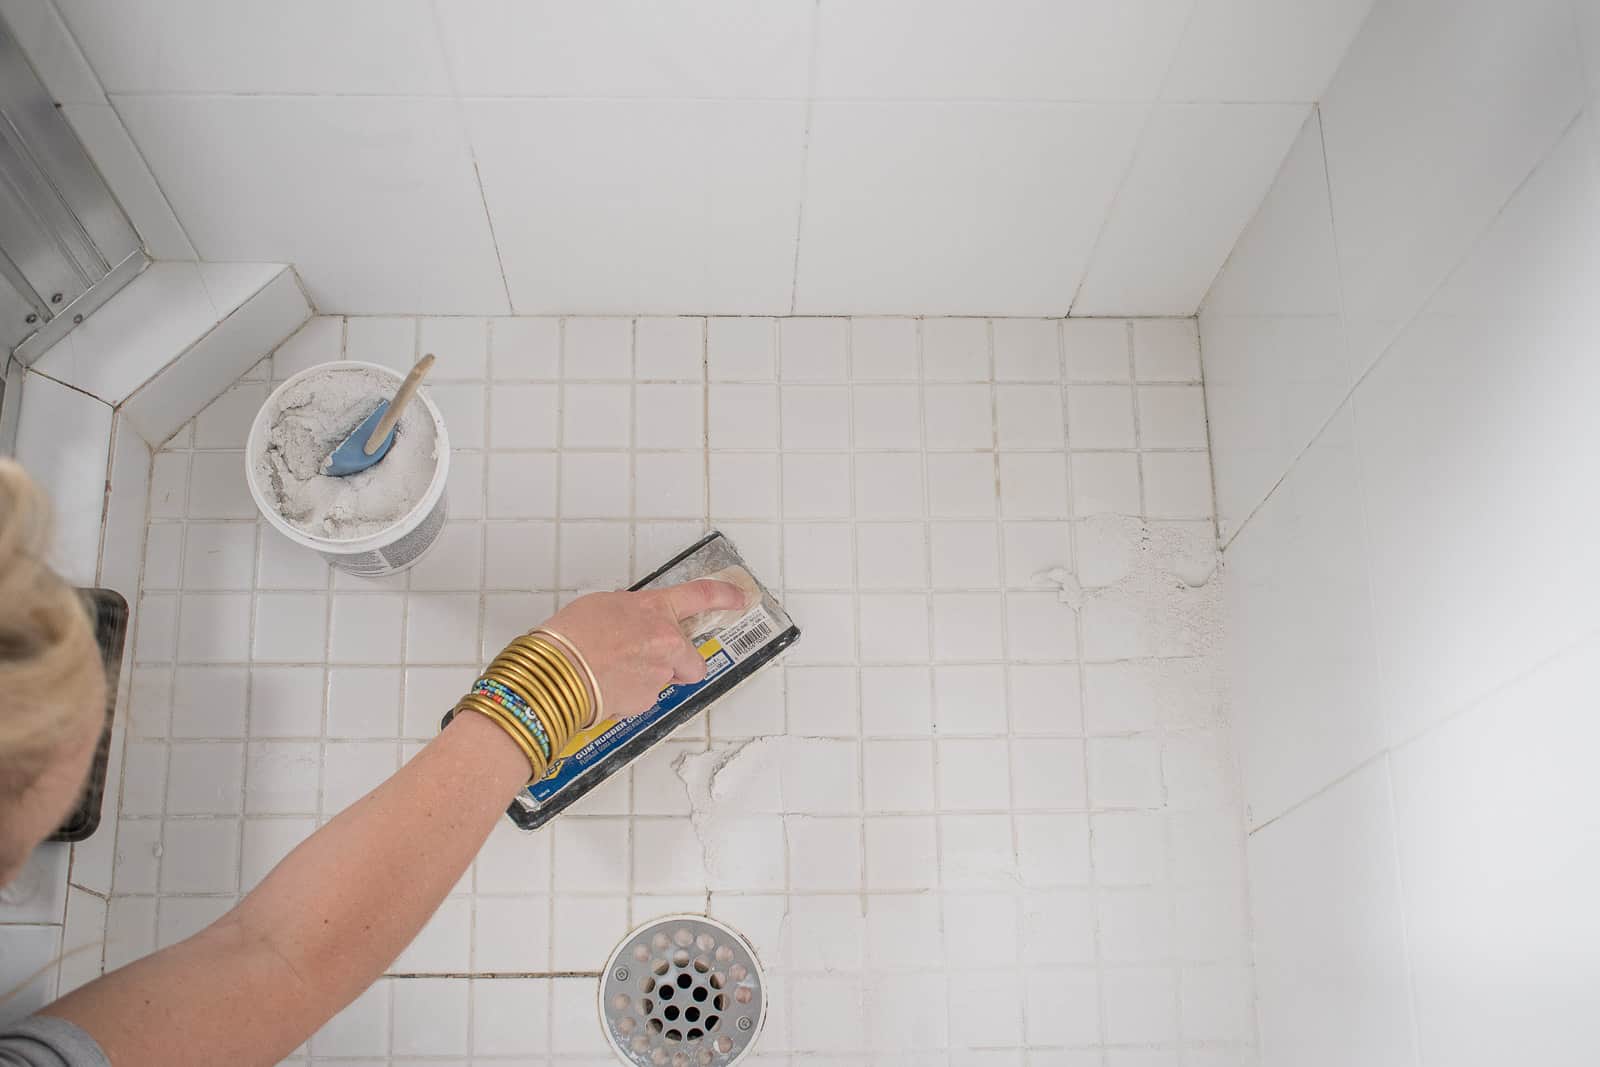
Maintenance Tips
Read more: How To Seal A Shower Tile And Grout
Maintenance Tips
After investing time and effort into cleaning your shower tile and grout, it’s essential to implement maintenance strategies to prolong the cleanliness and freshness of the surfaces. Here are some valuable tips to maintain your shower:
1. Regular Wiping: After each shower, use a squeegee or a microfiber cloth to wipe down the tile and grout surfaces, preventing water and soap residue from accumulating.
2. Preventive Sealing: Consider applying a grout sealer to the grout lines to create a protective barrier against moisture and mildew, reducing the likelihood of discoloration and staining.
3. Natural Cleaners: Opt for natural cleaning solutions, such as a mixture of water and white vinegar, to regularly clean your shower tile and grout. This eco-friendly approach helps minimize chemical buildup and is gentle on the surfaces.
4. Ventilation: Ensure proper ventilation in your bathroom by using an exhaust fan or opening a window during and after showering to reduce humidity and inhibit mold and mildew growth.
5. Periodic Deep Cleaning: Schedule regular deep cleaning sessions to prevent stubborn grime from accumulating. Consistent maintenance will make the cleaning process more manageable and maintain the pristine appearance of your shower.
By incorporating these maintenance tips into your routine, you can uphold the cleanliness and allure of your shower tile and grout, ensuring that your efforts in cleaning are sustained over time. With a little ongoing care, your shower will continue to exude freshness and cleanliness, providing a rejuvenating experience with every use.
Conclusion
Conclusion
Congratulations on successfully completing the journey of cleaning your shower tile and grout! By following the comprehensive steps outlined in this guide and implementing effective maintenance tips, you have revitalized your shower, creating a hygienic and visually appealing space within your bathroom.
Remember, maintaining a clean and fresh shower is not just about aesthetics; it also contributes to a healthy and inviting environment. With regular care and attention, you can ensure that your shower remains a rejuvenating sanctuary, free from the unsightly effects of grime and mildew.
As you continue to implement the maintenance tips and strategies provided, you’ll find that the cleaning process becomes more manageable, and the results are sustained over time. By incorporating these practices into your routine, you can enjoy a consistently pristine shower space that enhances the overall ambiance of your bathroom.
Thank you for embarking on this cleaning journey with us. We hope that the knowledge and techniques shared in this guide empower you to maintain a sparkling shower that elevates your daily routine and provides a refreshing oasis within your home.
Here’s to a shower that exudes cleanliness, freshness, and rejuvenation for years to come!
Frequently Asked Questions about How To Clean A Shower Tile And Grout
Was this page helpful?
At Storables.com, we guarantee accurate and reliable information. Our content, validated by Expert Board Contributors, is crafted following stringent Editorial Policies. We're committed to providing you with well-researched, expert-backed insights for all your informational needs.

0 thoughts on “How To Clean A Shower Tile And Grout”