Home>Furniture & Design>Bathroom Fixtures>How To Clean A Marble Shower Tile And Grout
Bathroom Fixtures
How To Clean A Marble Shower Tile And Grout
Modified: March 1, 2024
Learn how to effectively clean marble shower tile and grout with our expert tips. Keep your bathroom fixtures looking pristine and new.
(Many of the links in this article redirect to a specific reviewed product. Your purchase of these products through affiliate links helps to generate commission for Storables.com, at no extra cost. Learn more)
Introduction
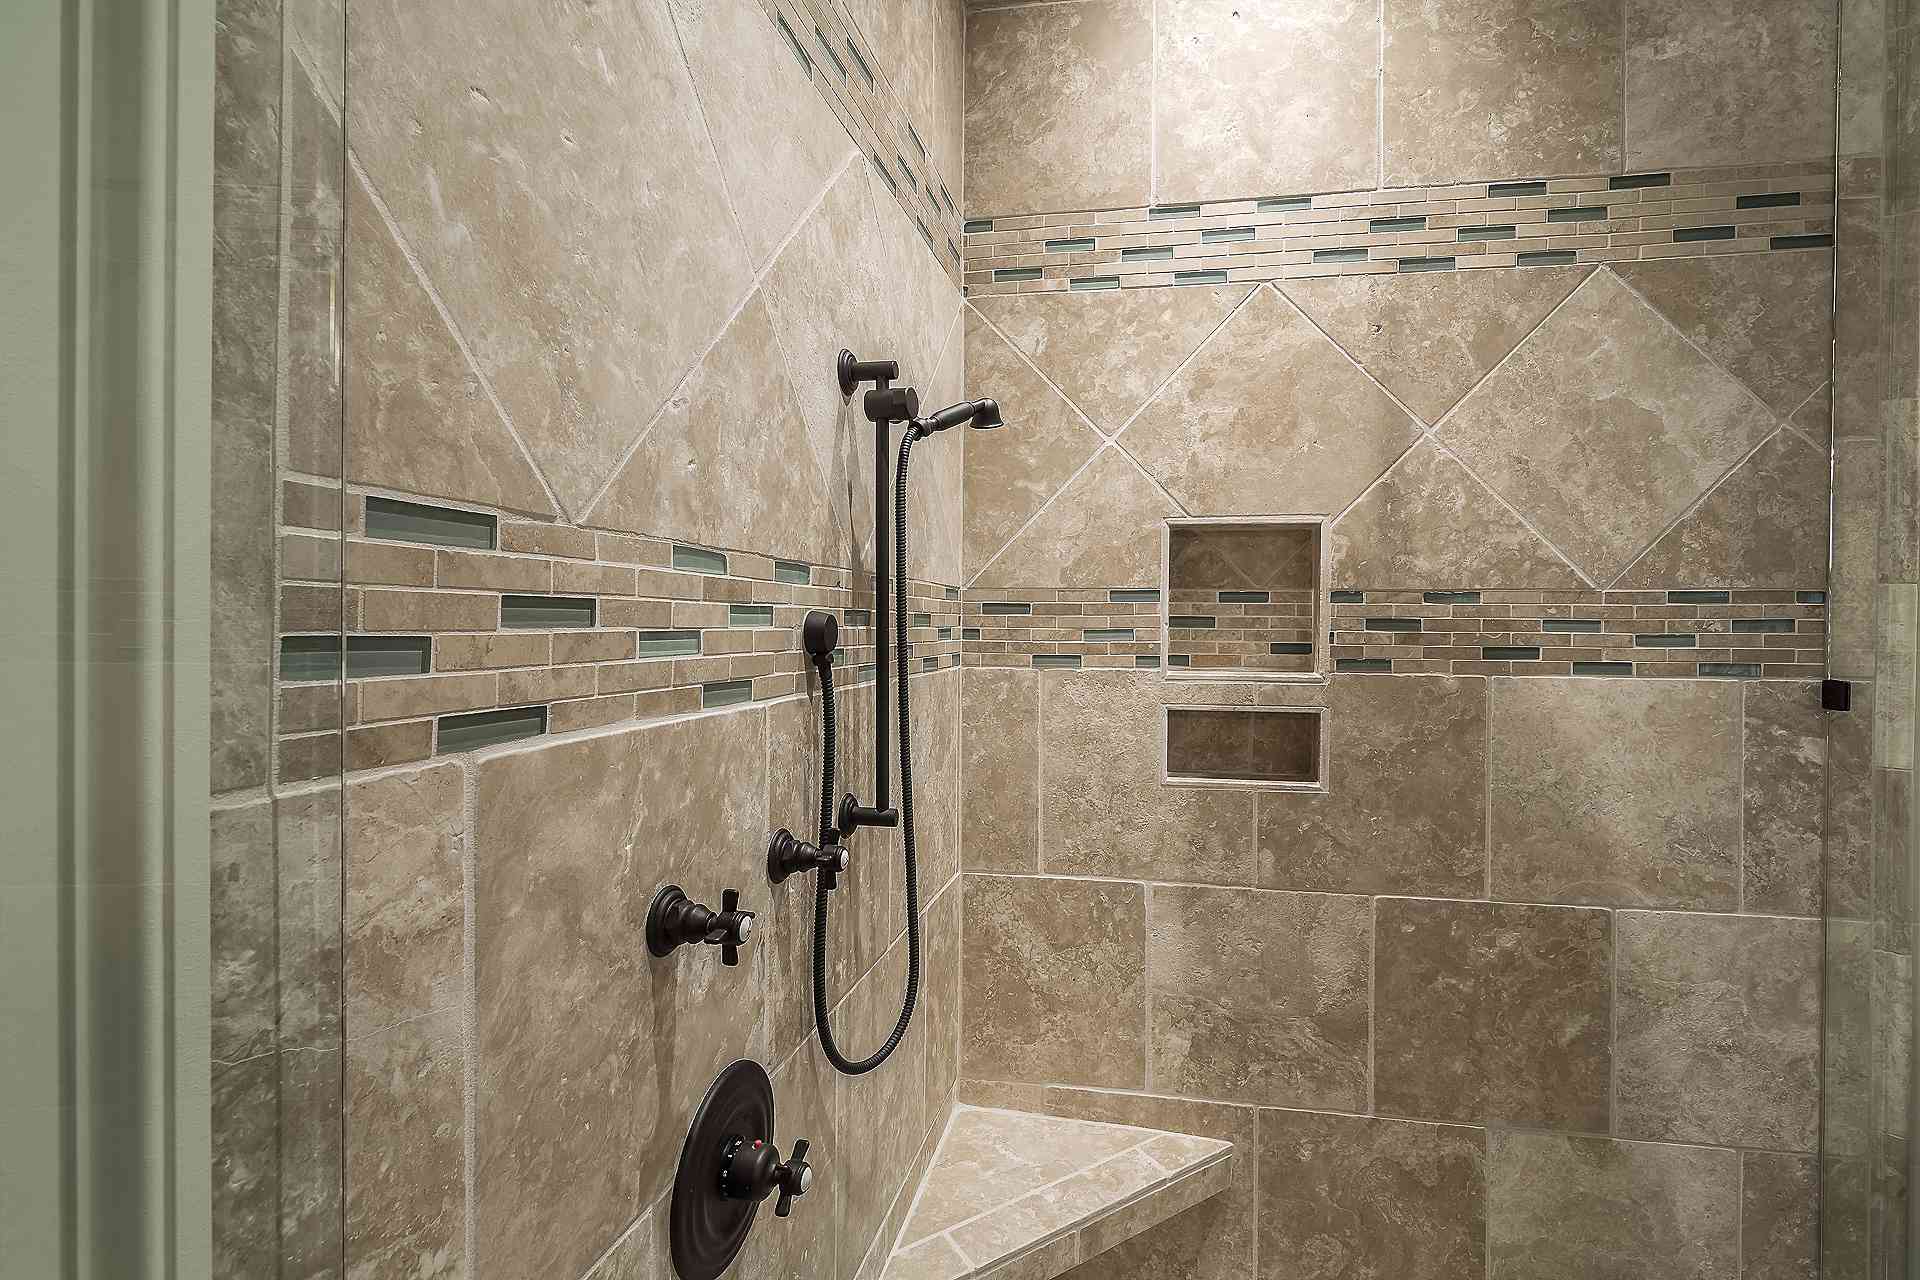
Welcome to the ultimate guide on how to clean a marble shower tile and grout. Marble is a timeless and luxurious choice for shower tiles, adding elegance and sophistication to any bathroom. However, maintaining the pristine beauty of marble requires proper care and cleaning techniques. With the right approach, you can keep your marble shower looking exquisite for years to come.
In this comprehensive guide, we will walk you through the step-by-step process of cleaning marble shower tiles and grout, ensuring that you achieve sparkling results without causing any damage to the delicate surface. From gathering the necessary materials to implementing maintenance tips, we’ve got you covered. Let’s dive into the world of marble care and discover the best practices for preserving the allure of your marble shower.
Key Takeaways:
- Preserve the beauty of your marble shower by using gentle, pH-neutral cleaners and regular maintenance. Protect the marble with a high-quality sealant to ensure long-lasting elegance and resilience.
- Before cleaning, prepare your marble shower by removing debris, ventilating the area, and testing the cleaner. Follow a step-by-step process to clean the tiles and grout, and seal the marble for lasting protection.
Read more: How To Clean A Shower Tile And Grout
Materials Needed
Before embarking on the journey of cleaning your marble shower tile and grout, it’s essential to gather the necessary materials. Having the right tools at your disposal will streamline the cleaning process and ensure optimal results. Here’s a list of materials you’ll need:
- Mild pH-neutral or stone-specific cleaner: Look for a cleaner specifically formulated for marble surfaces. Avoid acidic or abrasive cleaners, as they can damage the marble.
- Soft-bristled brush or sponge: Opt for a non-abrasive brush or sponge to gently clean the marble tiles and grout without causing scratches.
- Microfiber cloth or soft towels: These are ideal for drying the marble surfaces without leaving lint or scratches.
- Grout brush or old toothbrush: A small brush will help you target the grout lines effectively.
- Protective sealant: A high-quality marble sealant will safeguard the marble against stains and moisture.
- Bucket of warm water: Use warm water for diluting the cleaner and rinsing the surfaces.
- Protective gloves: It’s advisable to wear gloves to protect your hands while handling cleaning solutions.
- Optional: pH-neutral soap scum remover for tackling soap residue on the marble.
By ensuring that you have these materials on hand, you’ll be well-prepared to tackle the task of cleaning and maintaining your marble shower. With the right tools and products, you can effectively preserve the natural beauty of your marble tiles and grout while keeping them in pristine condition.
Preparing the Shower
Before diving into the cleaning process, it’s essential to prepare the marble shower to ensure a thorough and effective cleaning experience. Here’s a step-by-step guide to preparing the shower for cleaning:
- Remove any surface debris: Start by removing any visible debris, such as hair, soap scum, or other particles, from the marble surface. Use a soft-bristled brush or a dry microfiber cloth to gently sweep away the debris.
- Clear the grout lines: Inspect the grout lines for any accumulated dirt or grime. Use a grout brush or an old toothbrush to loosen and remove any debris from the grout.
- Protect metal fixtures: If your marble shower features metal fixtures, such as faucets or showerheads, consider covering them with a protective layer of tape or cloth to prevent the cleaning solution from causing any damage.
- Ventilate the area: Ensure that the bathroom is well-ventilated by opening windows or turning on the exhaust fan. Adequate ventilation will help dissipate fumes from cleaning solutions and promote faster drying of the marble surfaces.
- Test the cleaner: Before applying the cleaner to the entire surface, perform a patch test in an inconspicuous area to ensure that the cleaner is safe for your specific type of marble. This step is crucial for avoiding potential damage to the marble.
By following these preparatory steps, you’ll create an optimal environment for cleaning the marble shower tiles and grout. Taking the time to clear the surfaces and assess the condition of the marble will set the stage for a successful cleaning process, ultimately leading to stunning results and a revitalized shower space.
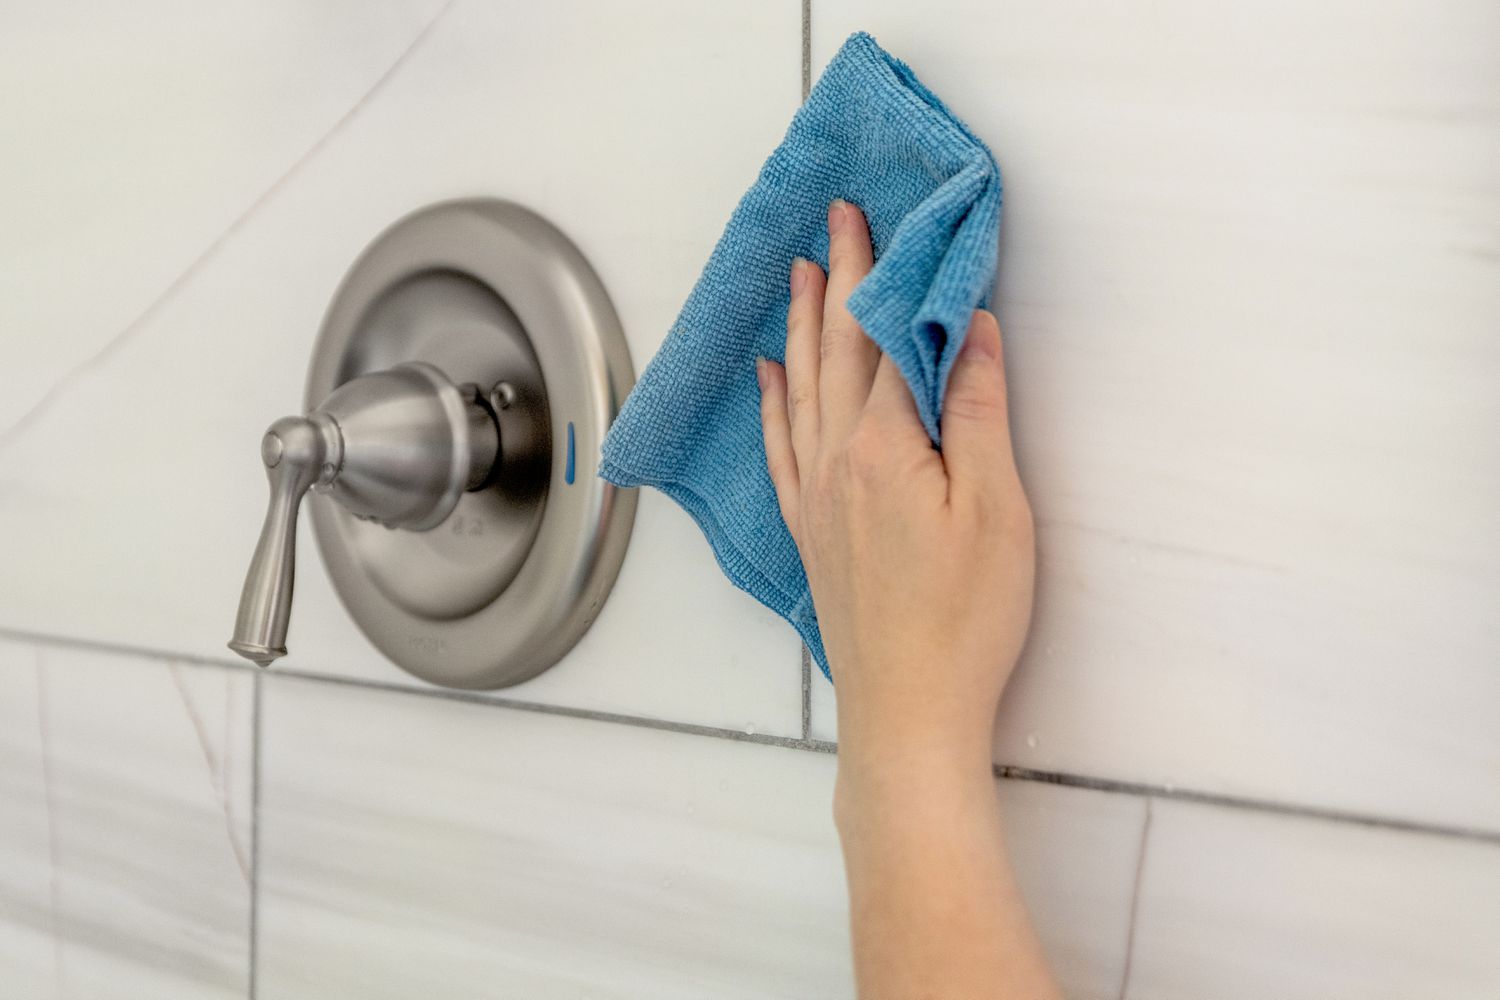
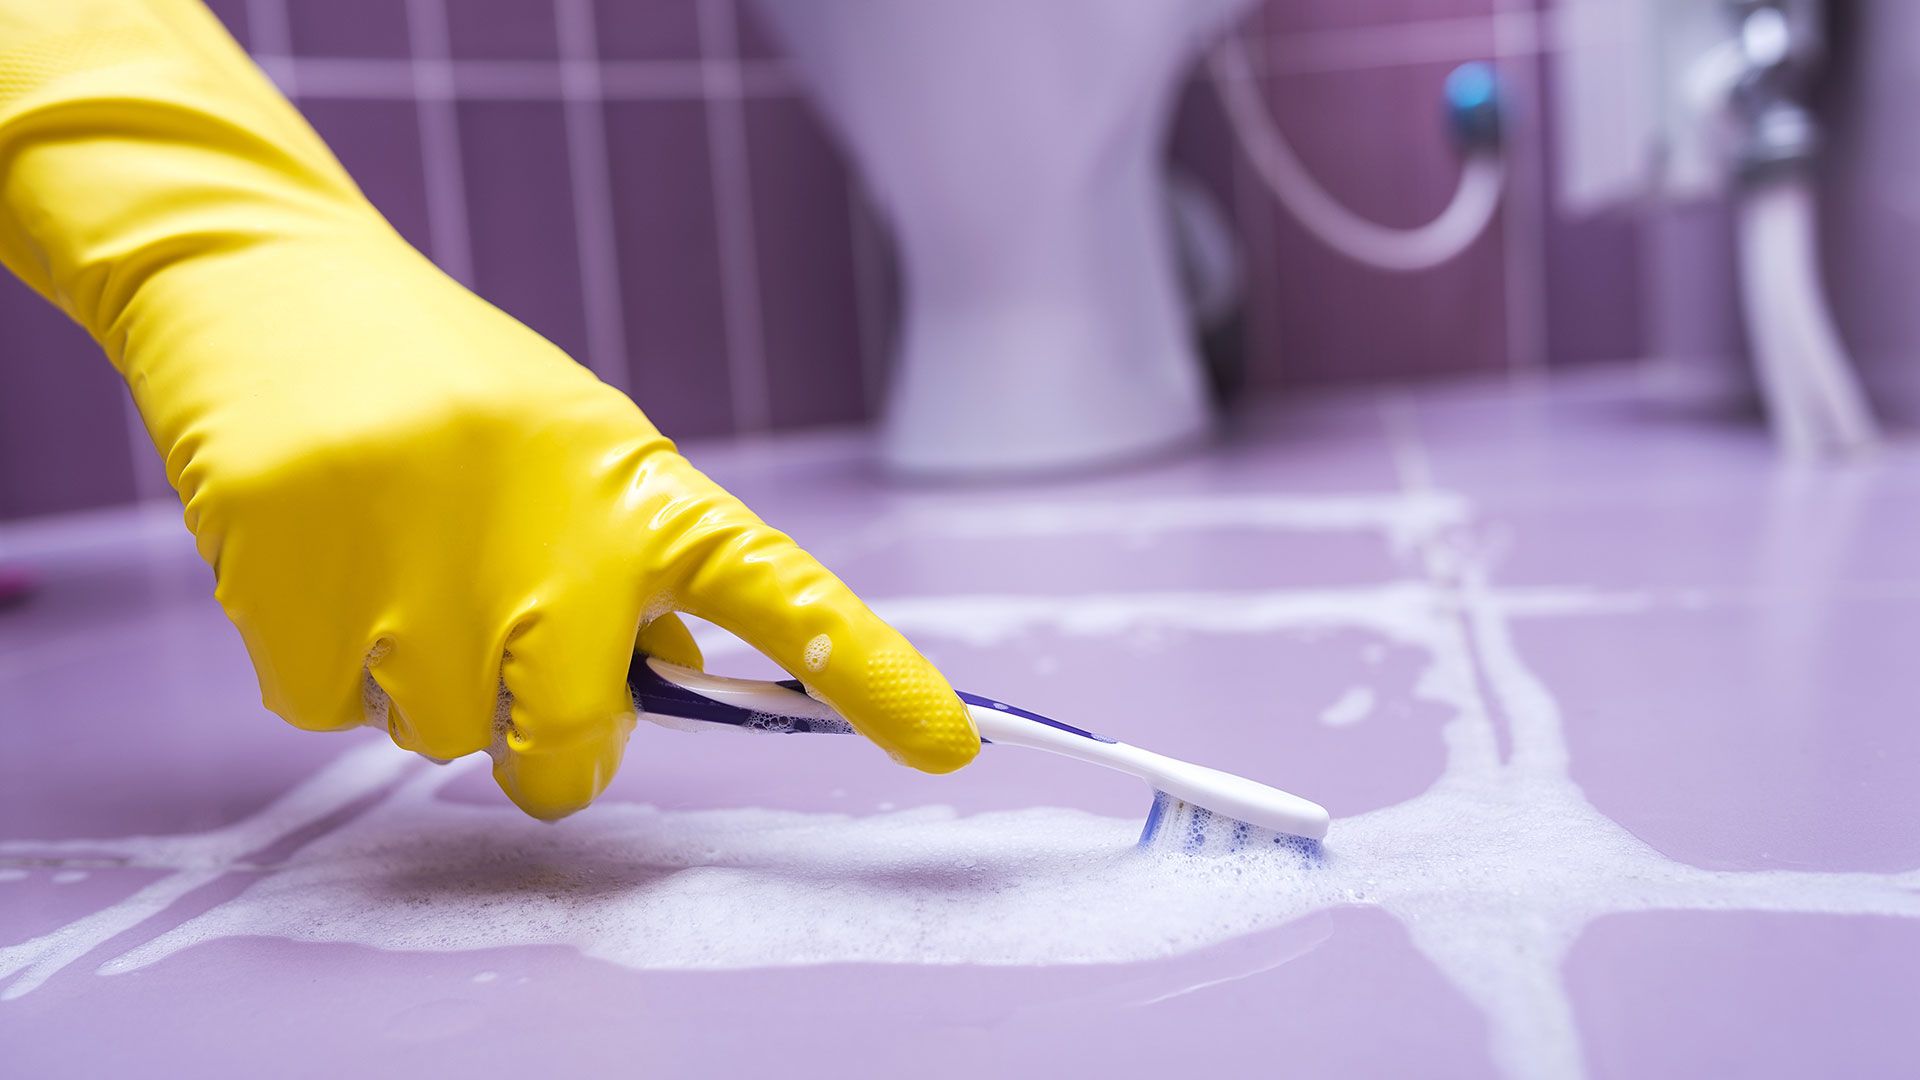
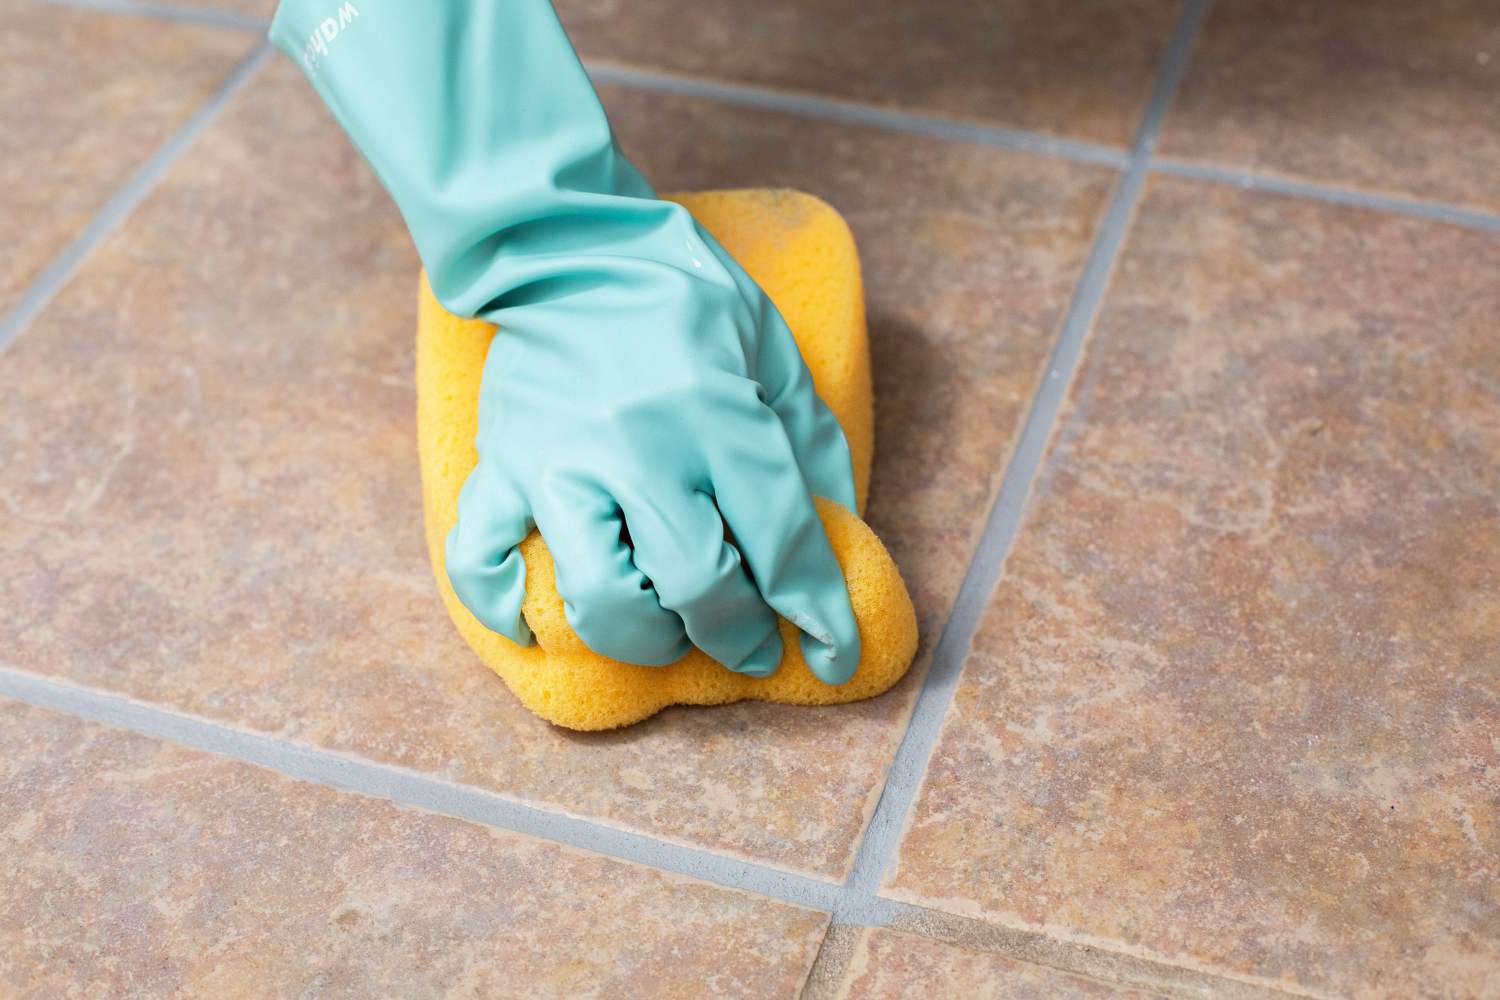
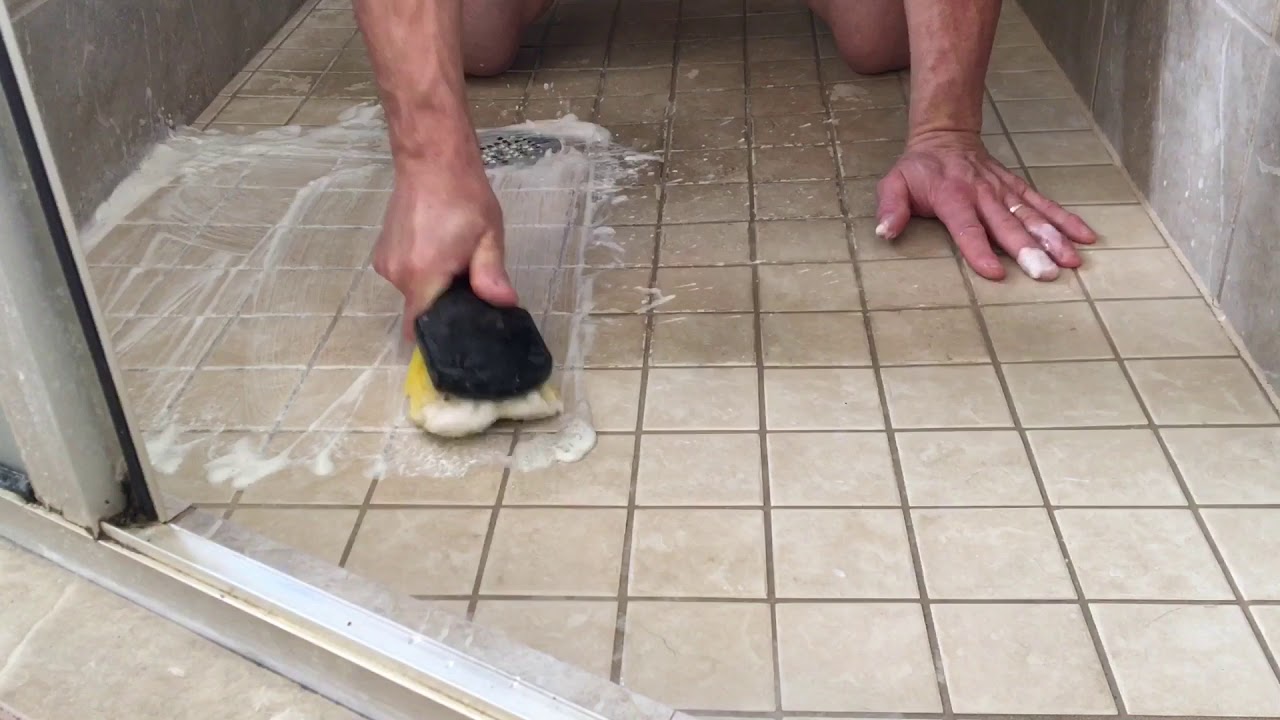
Cleaning the Marble Tiles
Now that the shower is prepared, it’s time to focus on cleaning the marble tiles. Marble is a delicate and porous material, requiring gentle yet effective cleaning methods to maintain its luster. Follow these steps to ensure a thorough and safe cleaning process:
- Dilute the cleaner: Begin by diluting the mild pH-neutral or stone-specific cleaner in a bucket of warm water according to the manufacturer’s instructions. Avoid using acidic or harsh cleaners, as they can etch the marble surface.
- Apply the cleaning solution: Dip a soft-bristled brush or sponge into the diluted cleaner, and gently apply it to the marble tiles. Work in small sections to ensure that the entire surface is covered with the cleaning solution.
- Gently scrub the tiles: Using a circular motion, gently scrub the marble tiles with the brush or sponge. Pay special attention to any areas with visible stains or soap residue, ensuring thorough coverage.
- Rinse with clean water: Once the tiles have been scrubbed, use a separate bucket of clean water and a fresh sponge or cloth to rinse off the cleaning solution. Ensure that all traces of the cleaner are thoroughly removed from the marble surface.
- Dry the tiles: Use a soft microfiber cloth or towels to dry the marble tiles completely. Drying the surface will prevent water spots and streaks, leaving the marble with a beautiful, streak-free finish.
By following these steps, you can effectively clean the marble tiles without compromising their natural beauty. The gentle yet thorough approach will help maintain the integrity of the marble while removing dirt, grime, and other impurities, leaving your shower tiles looking radiant and revitalized.
To clean a marble shower tile and grout, use a mild pH-neutral cleaner and a soft brush or sponge to gently scrub the surface. Avoid using acidic or abrasive cleaners that can damage the marble. Rinse thoroughly and dry with a clean cloth to prevent water spots.
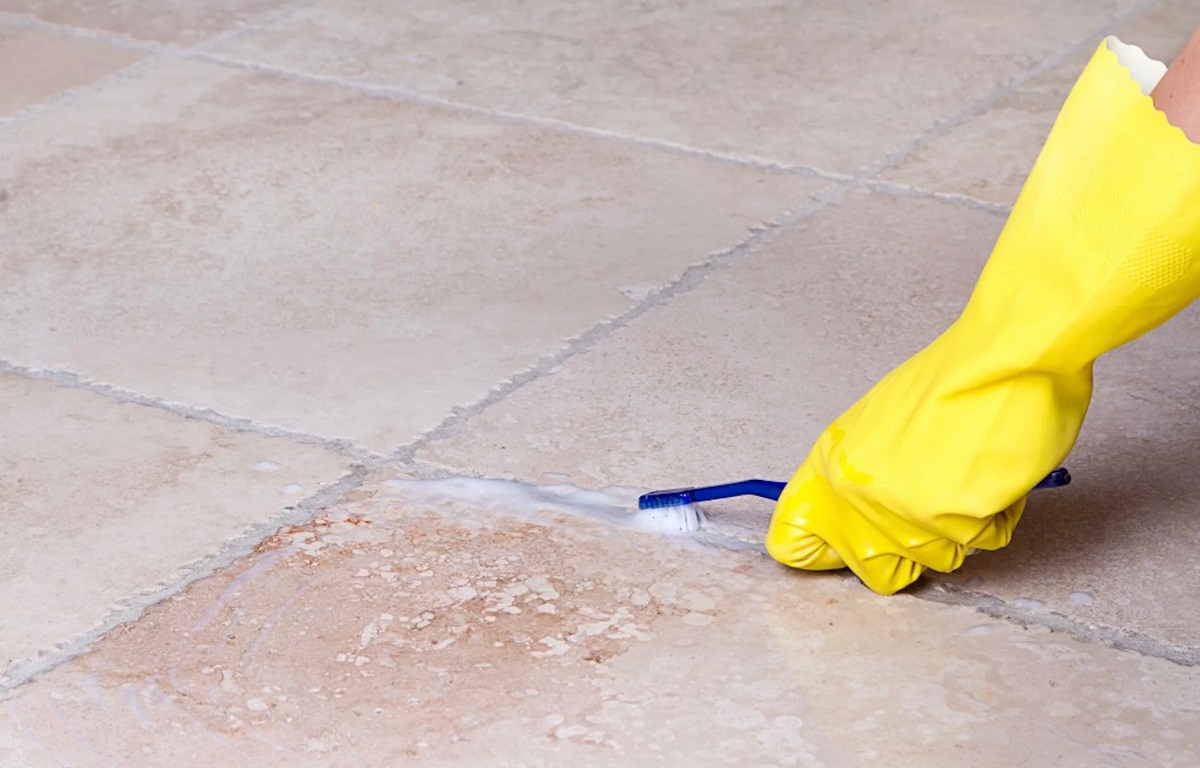
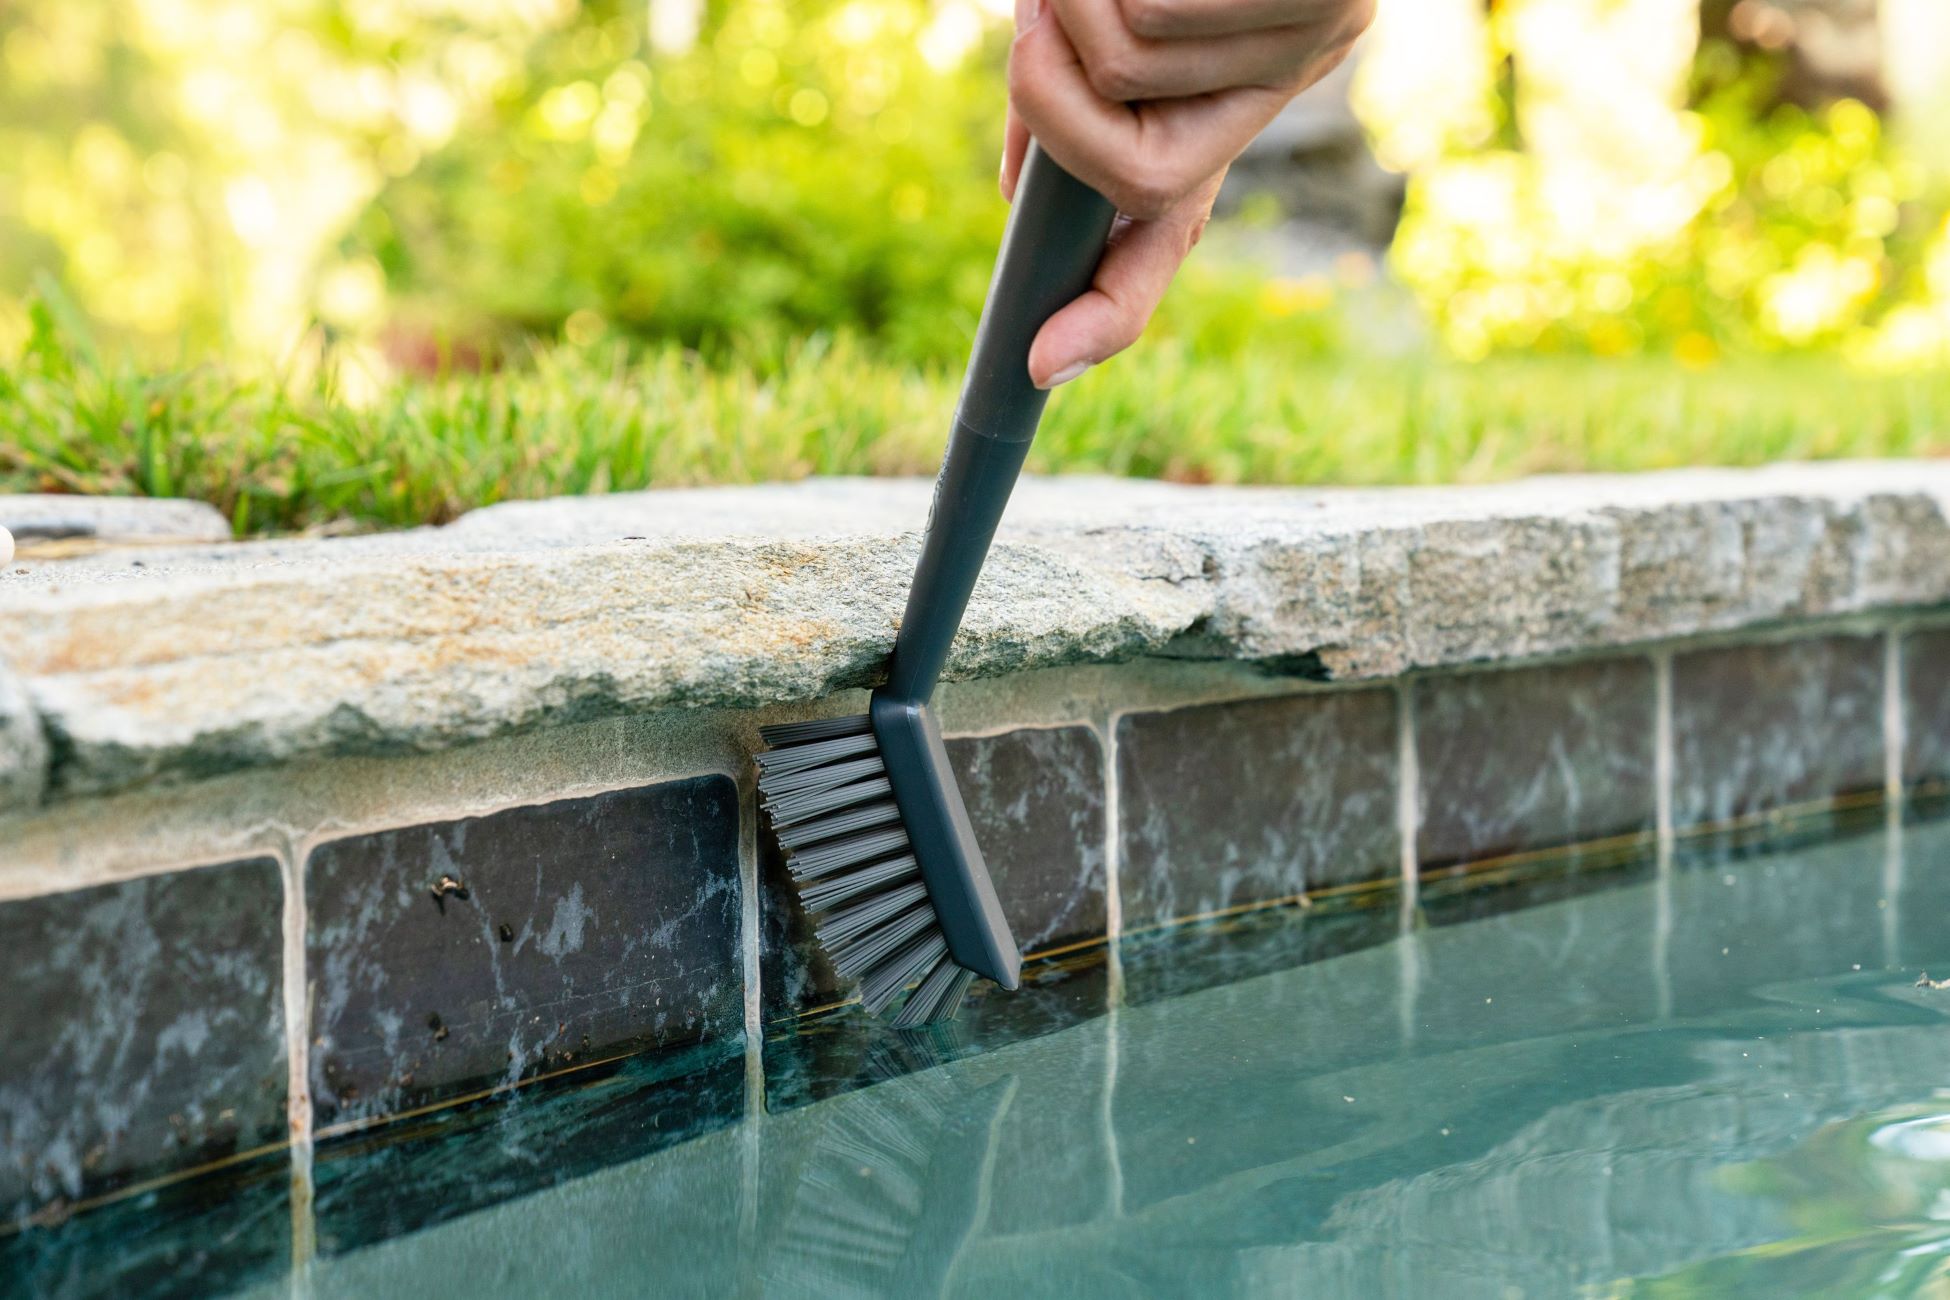
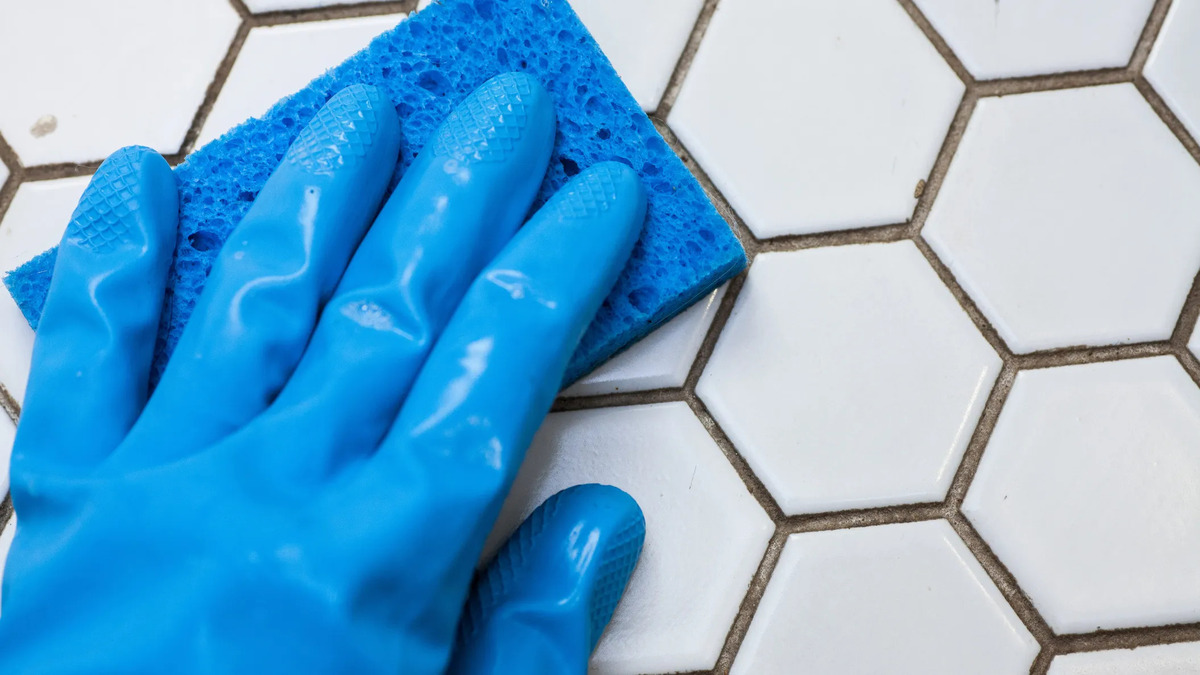
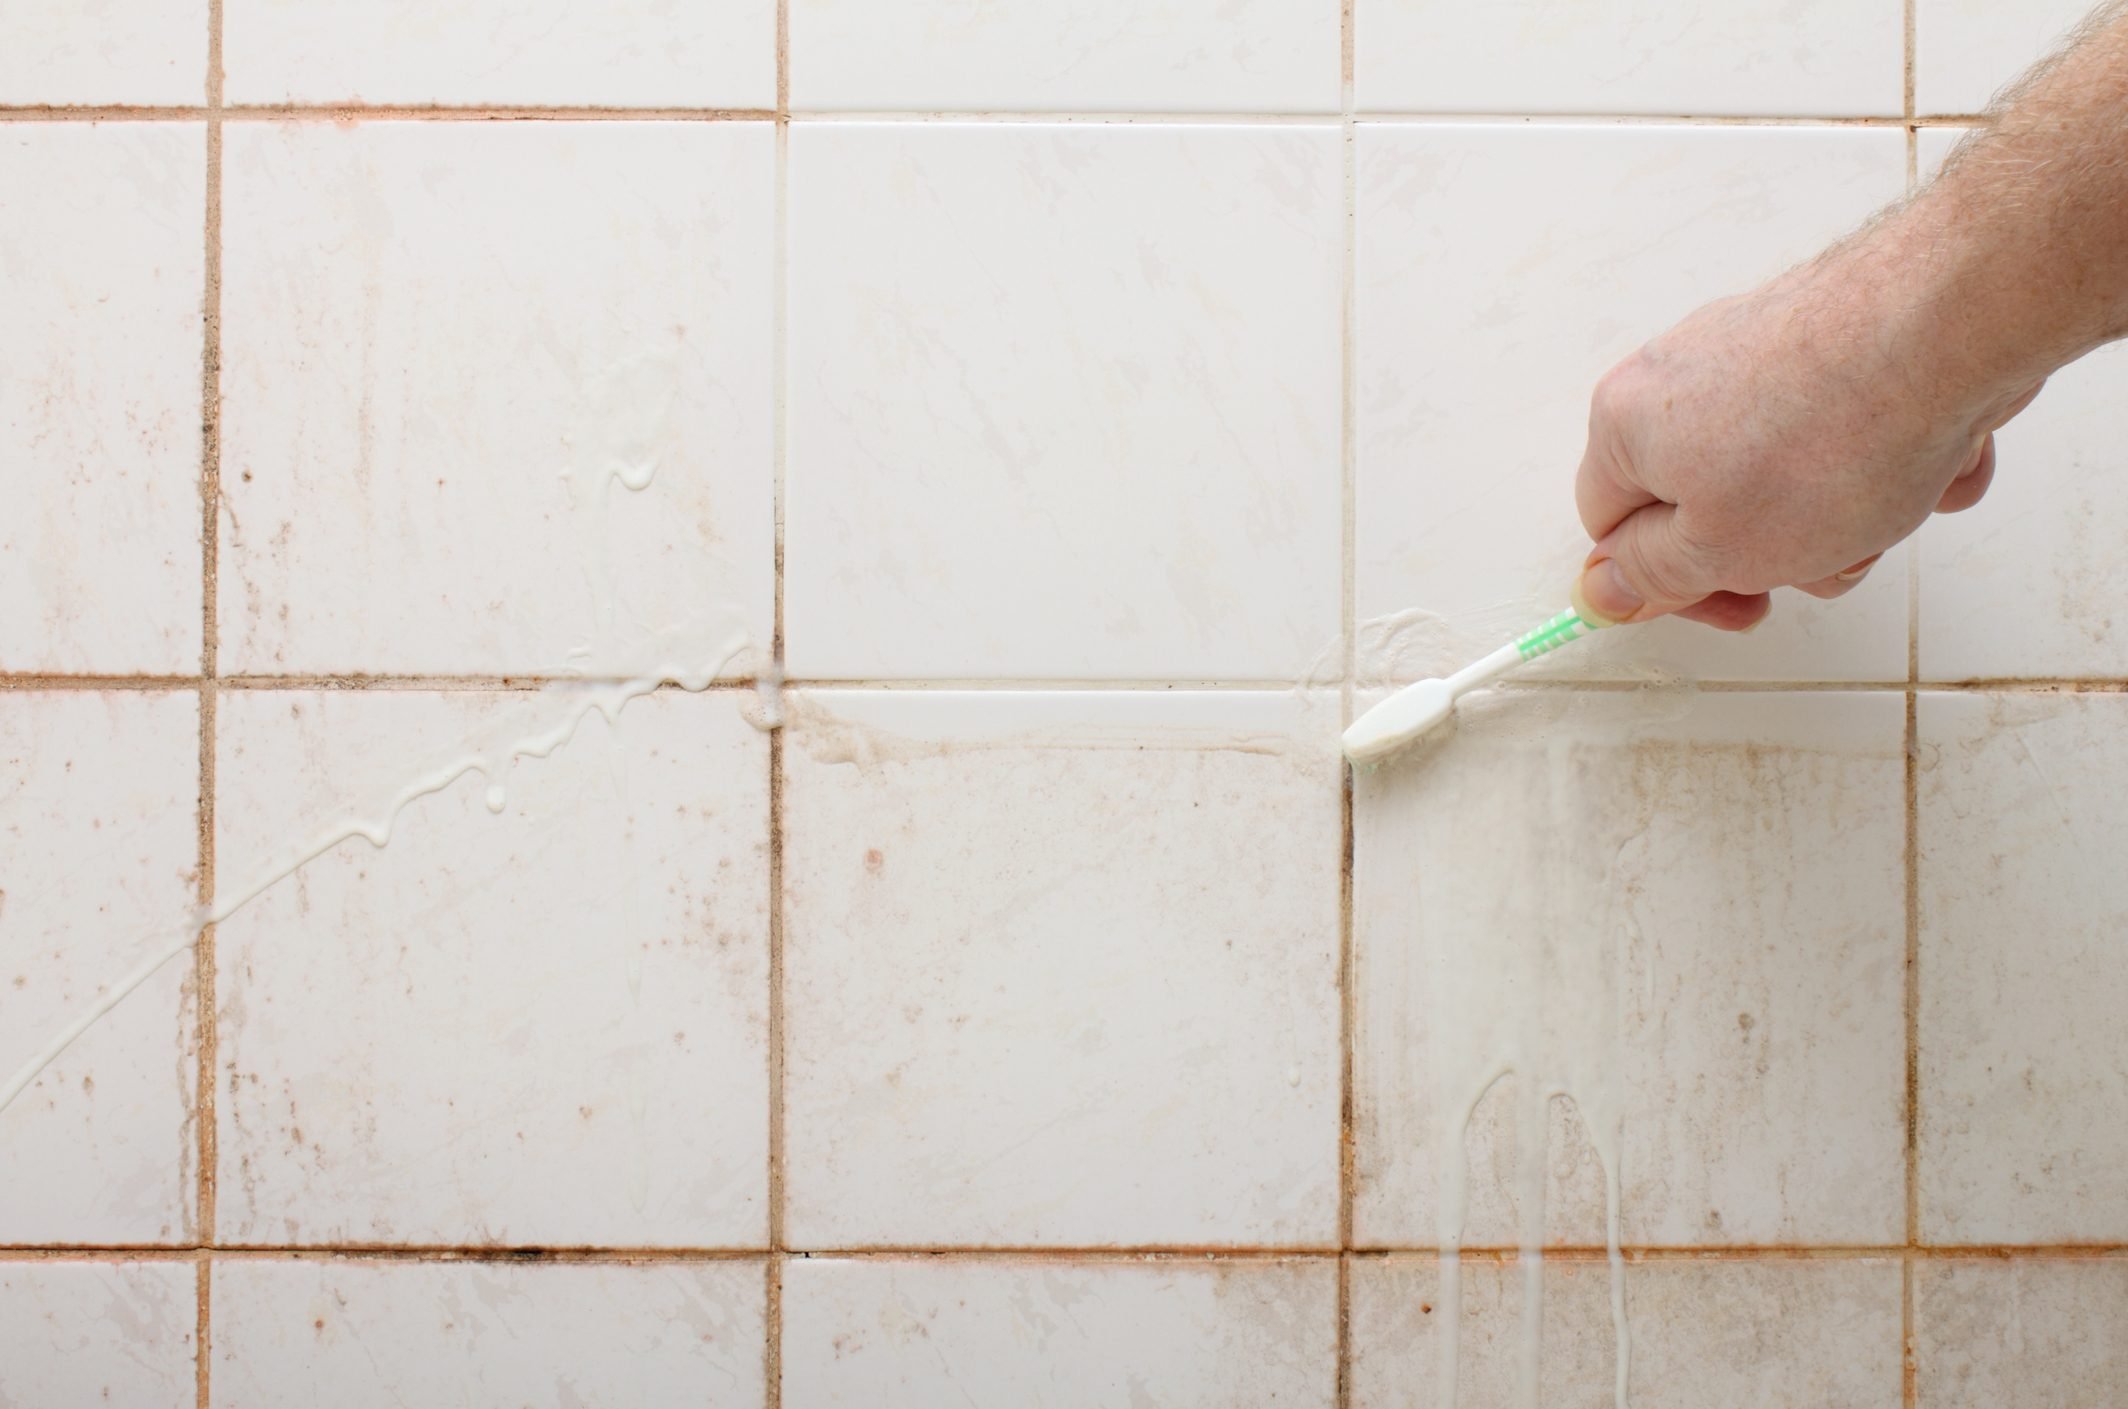
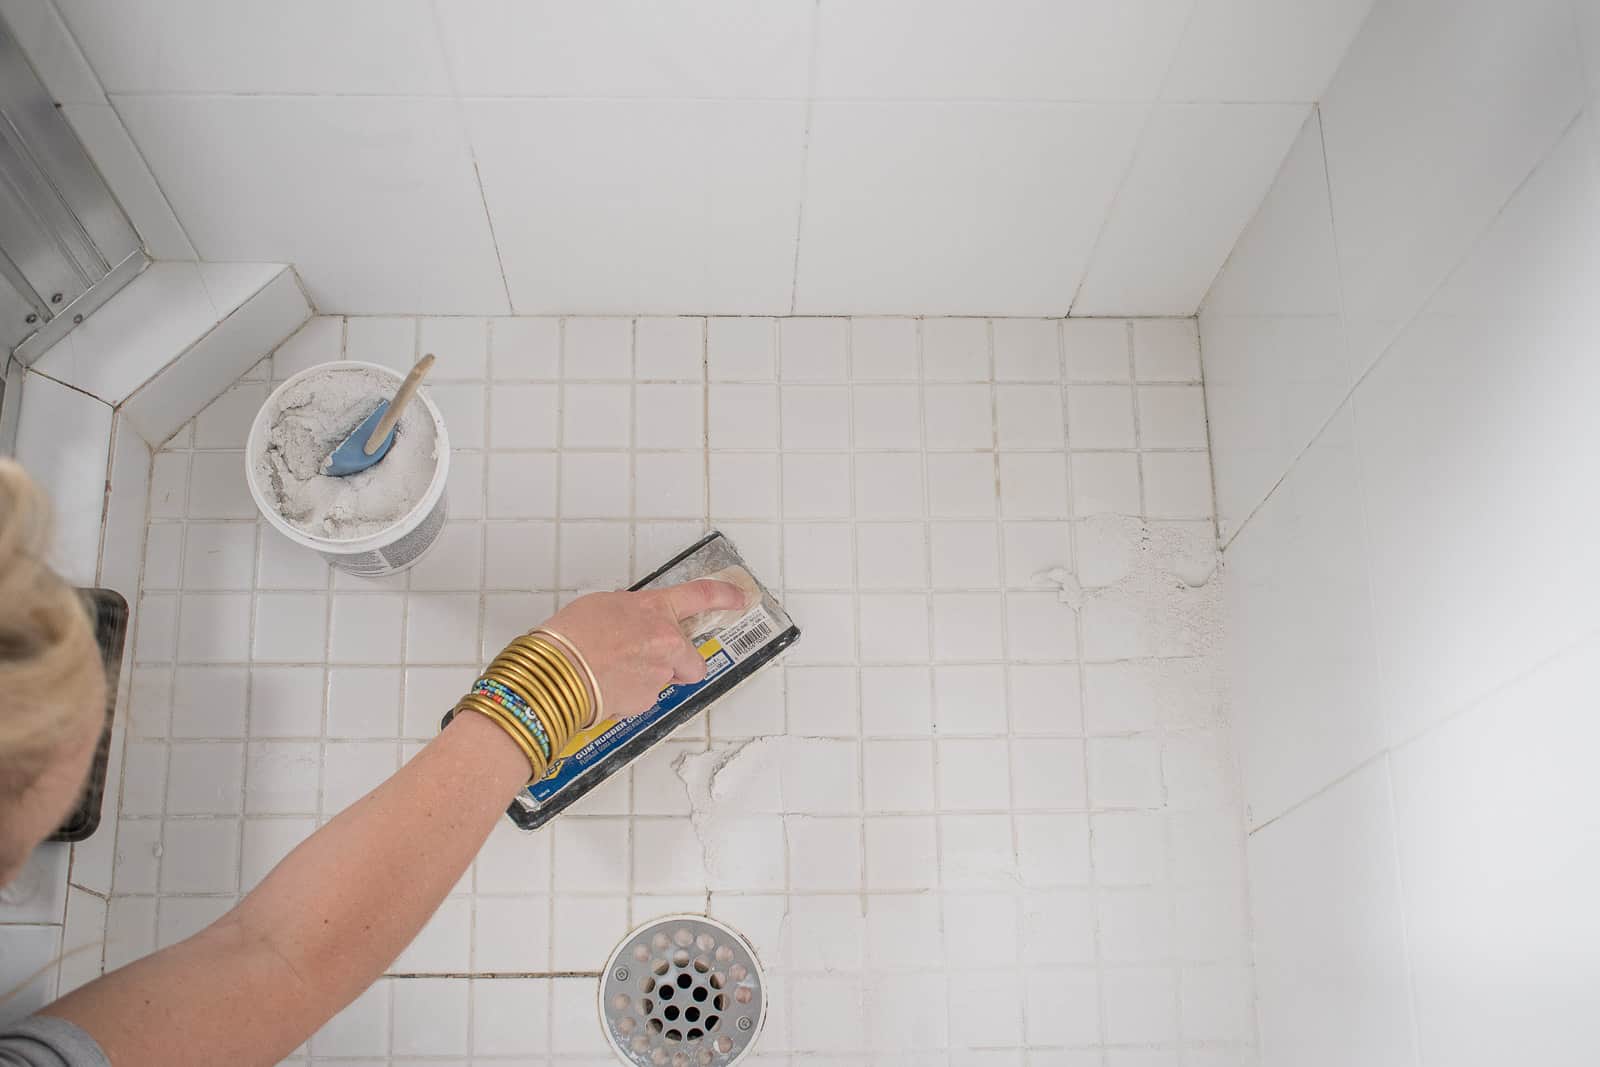
Cleaning the Grout
While cleaning the marble tiles is crucial, paying attention to the grout is equally important for achieving a pristine and rejuvenated shower space. Grout lines are prone to accumulating dirt, mold, and mildew, detracting from the overall appearance of the shower. Follow these steps to effectively clean the grout and restore its original brightness:
- Pre-treat stubborn stains: For tough stains and discoloration, consider pre-treating the grout with a pH-neutral soap scum remover. Apply the remover to the affected areas and allow it to sit for a few minutes to loosen the stains.
- Prepare the grout cleaner: If the grout does not require pre-treatment, prepare a cleaning solution by mixing a small amount of mild pH-neutral cleaner with warm water. Ensure that the cleaner is safe for both the marble tiles and the grout.
- Apply the cleaner to the grout: Using a grout brush or an old toothbrush, apply the cleaning solution to the grout lines. Work in small sections to ensure thorough coverage and effective cleaning.
- Scrub and agitate the grout: Gently scrub the grout lines with the brush, focusing on areas with visible stains or discoloration. Use circular motions and apply consistent pressure to lift dirt and grime from the grout.
- Rinse and dry the grout: After scrubbing the grout, rinse the area with clean water to remove the cleaning solution. Use a cloth or sponge to ensure that the grout is thoroughly rinsed, and then dry it with a clean towel to prevent water spots.
By following these steps, you can effectively clean the grout lines, restoring their original color and cleanliness. Addressing the grout in addition to the marble tiles will result in a comprehensive and revitalized shower space, showcasing the timeless beauty of marble in all its glory.
Read more: How To Grout A Shower Tile
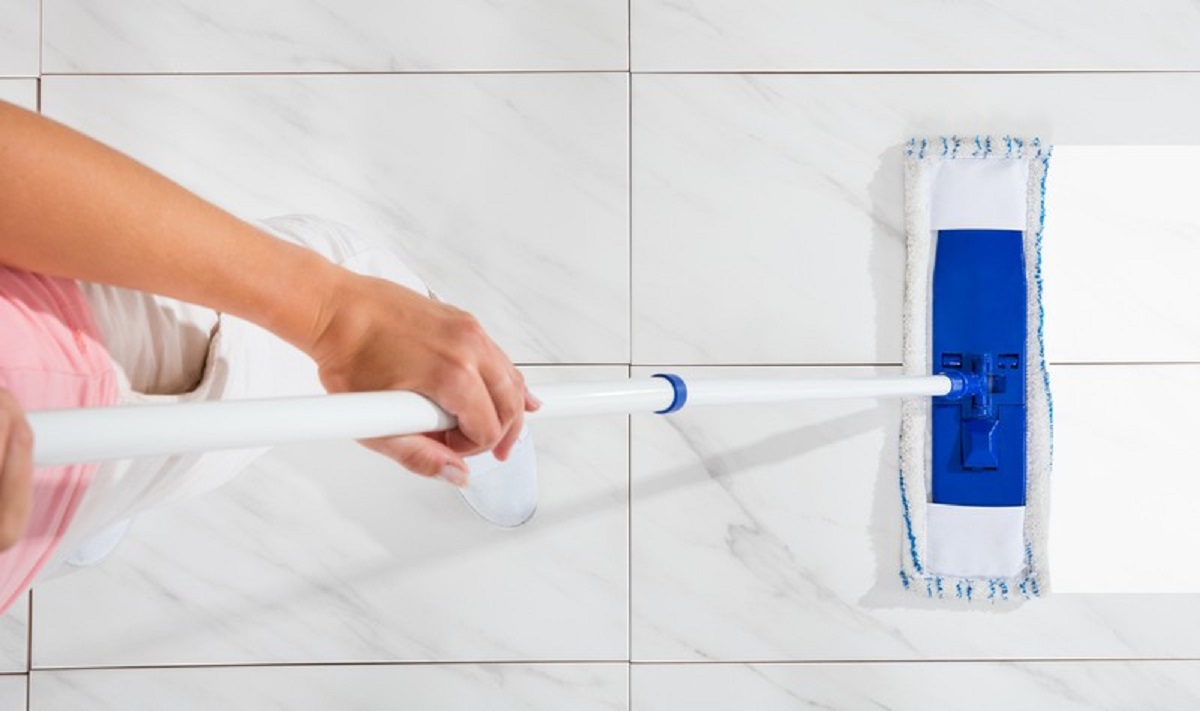
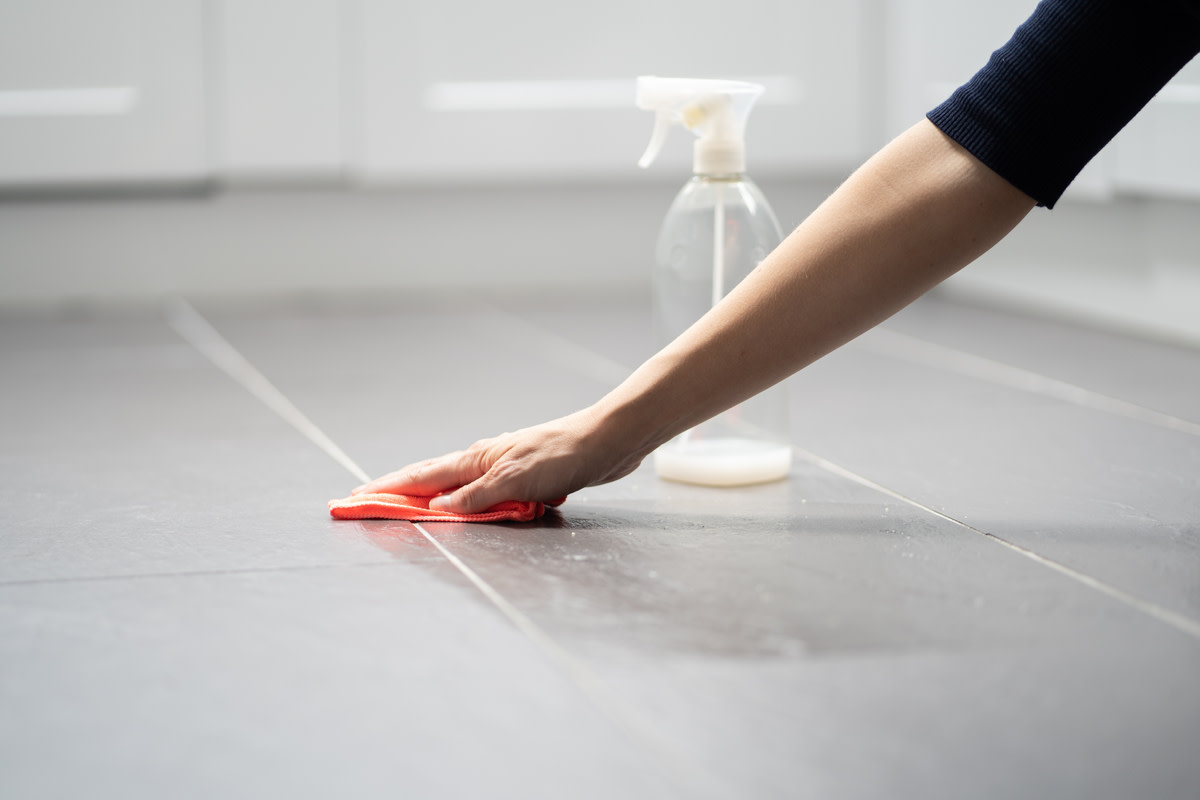
Rinsing and Drying
After completing the cleaning process for the marble tiles and grout, thorough rinsing and drying are essential to ensure a flawless finish and prevent water-related issues. Follow these steps to effectively rinse and dry the marble surfaces, leaving them sparkling and pristine:
- Rinse with clean water: Using a separate bucket of clean water and a fresh sponge or cloth, thoroughly rinse the entire marble surface, including the tiles and grout. Ensure that all traces of the cleaning solution are completely removed.
- Inspect for residue: After rinsing, inspect the marble surfaces for any remaining residue or streaks. If necessary, repeat the rinsing process to achieve a clean and residue-free finish.
- Dry the surfaces: Use a soft microfiber cloth or towels to dry the marble tiles and grout. Pay special attention to drying the grout lines, as lingering moisture can lead to mildew or discoloration over time.
- Avoid air-drying: While air-drying is an option, using a cloth to dry the marble surfaces will help prevent water spots and ensure a streak-free finish, showcasing the natural beauty of the marble.
By meticulously rinsing and drying the marble surfaces, you can achieve a flawless and radiant finish, allowing the inherent beauty of the marble to shine through. These final steps are crucial for preserving the cleanliness and luster of the shower, ensuring that your marble tiles and grout remain in impeccable condition.
Sealing the Marble
Sealing the marble surfaces in your shower is a vital step in maintaining their pristine condition and safeguarding them against stains and moisture. Marble is a porous material, making it susceptible to absorption and potential damage if not properly sealed. Follow these steps to seal the marble tiles and grout, providing long-lasting protection and preserving their natural beauty:
- Choose a high-quality sealant: Select a premium-quality marble sealant specifically designed for shower use. Ensure that the sealant is suitable for both the marble tiles and the grout, offering comprehensive protection.
- Prepare the surfaces: Before applying the sealant, ensure that the marble surfaces are clean, dry, and free of any residue. Thoroughly inspect the tiles and grout to confirm that they are in optimal condition for sealing.
- Apply the sealant: Follow the manufacturer’s instructions to apply the sealant to the marble tiles and grout. Use a clean, soft cloth or applicator to evenly distribute the sealant, working in small sections to ensure thorough coverage.
- Allow for curing time: After applying the sealant, allow it to cure for the recommended duration as specified by the manufacturer. This curing period is crucial for the sealant to effectively bond with the marble surfaces and provide maximum protection.
- Buff the surfaces: Once the sealant has cured, use a clean, dry cloth to gently buff the marble tiles and grout, removing any excess sealant and achieving a polished finish.
By sealing the marble, you create a protective barrier that enhances the durability and longevity of the surfaces, ensuring that they withstand daily use and exposure to moisture. The sealant acts as a shield, preventing liquids and stains from penetrating the marble and simplifying the cleaning process, ultimately contributing to the long-term beauty and resilience of your marble shower.
Maintenance Tips
Preserving the allure of your marble shower requires ongoing maintenance and care to ensure that it remains in impeccable condition. By implementing the following maintenance tips, you can prolong the beauty and longevity of your marble tiles and grout, allowing them to shine with timeless elegance:
- Regular cleaning: Establish a routine for cleaning your marble shower, ensuring that dirt, soap residue, and moisture are promptly addressed. Regular cleaning will prevent the accumulation of grime and maintain the natural radiance of the marble.
- Use gentle cleaning products: Stick to pH-neutral or stone-specific cleaners when cleaning your marble shower. Avoid harsh chemicals and abrasive tools that can damage the marble surfaces or degrade the sealant.
- Address spills promptly: In the event of spills or splashes, promptly wipe the affected areas with a soft cloth to prevent staining or etching of the marble. Quick action can mitigate potential damage to the surfaces.
- Reapply sealant as needed: Monitor the condition of the sealant on your marble shower and reapply it as recommended by the manufacturer or when water no longer beads on the surface. Properly maintained sealant provides essential protection for the marble.
- Preventative maintenance: Consider using a squeegee to remove excess water from the marble surfaces after each use. This practice minimizes water spots and reduces the risk of mineral deposits, preserving the pristine appearance of the marble.
- Regular inspections: Periodically inspect the marble tiles and grout for any signs of damage, discoloration, or areas in need of resealing. Proactive monitoring allows for timely maintenance and prevents issues from escalating.
By incorporating these maintenance tips into your regular care routine, you can safeguard the beauty and integrity of your marble shower, ensuring that it remains a stunning focal point in your bathroom for years to come. Diligent maintenance will preserve the timeless elegance of marble, allowing you to enjoy a luxurious and inviting shower space every day.
Frequently Asked Questions about How To Clean A Marble Shower Tile And Grout
Was this page helpful?
At Storables.com, we guarantee accurate and reliable information. Our content, validated by Expert Board Contributors, is crafted following stringent Editorial Policies. We're committed to providing you with well-researched, expert-backed insights for all your informational needs.


0 thoughts on “How To Clean A Marble Shower Tile And Grout”