Home>Furniture & Design>Bathroom Fixtures>How To Clean Mold From A Shower Tile Grout

Bathroom Fixtures
How To Clean Mold From A Shower Tile Grout
Modified: April 22, 2024
Learn effective techniques for removing mold from shower tile grout in your bathroom. Get expert tips on cleaning and preventing mold growth on bathroom fixtures.
(Many of the links in this article redirect to a specific reviewed product. Your purchase of these products through affiliate links helps to generate commission for Storables.com, at no extra cost. Learn more)
Introduction
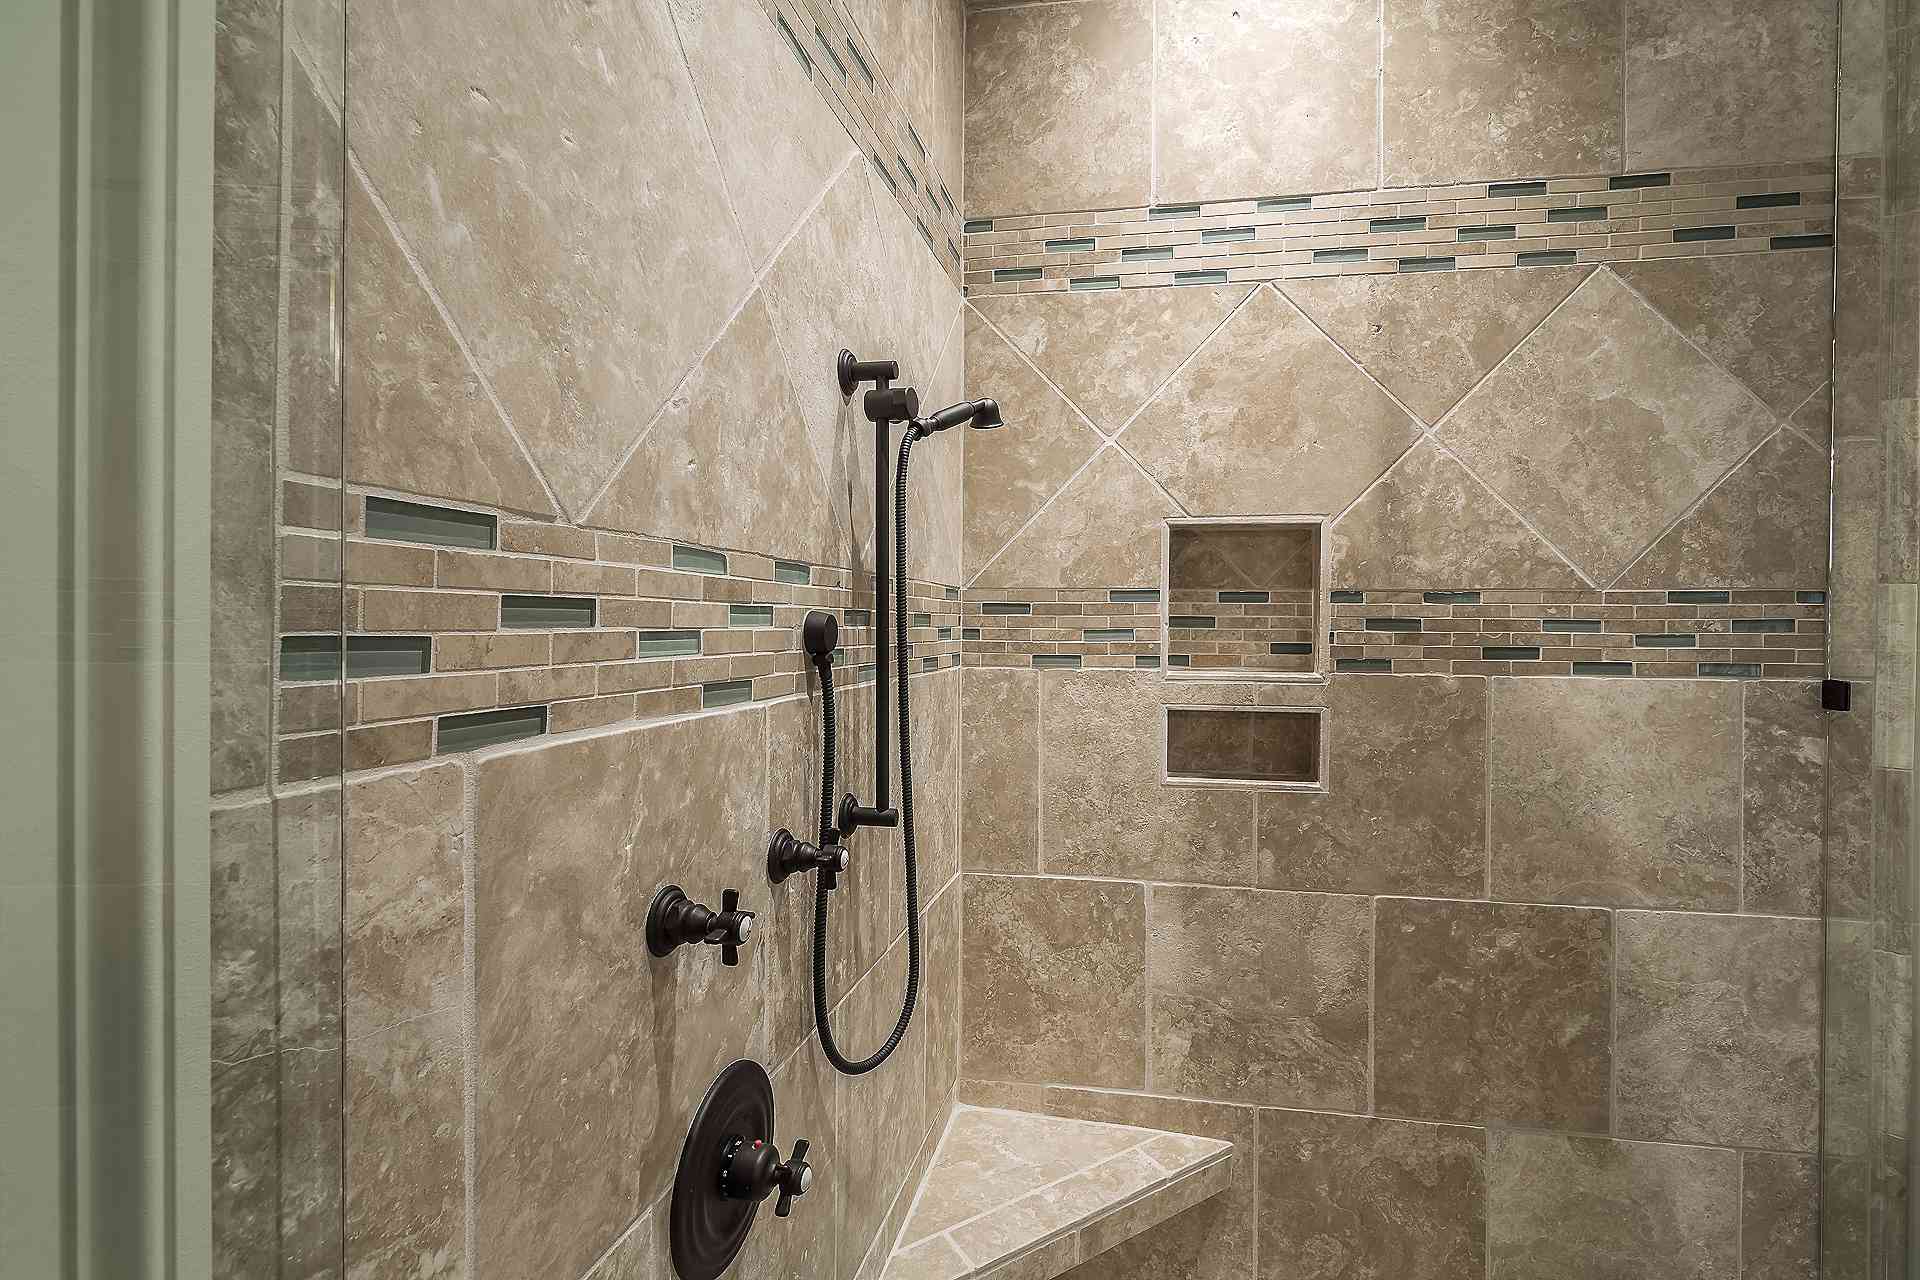
Welcome to the ultimate guide on banishing mold from your shower tile grout! Dealing with mold in the bathroom can be a frustrating and seemingly never-ending battle. However, fear not, as we are here to equip you with the knowledge and techniques to conquer this pesky problem once and for all.
Mold thrives in damp, humid environments, making the bathroom an ideal breeding ground. Shower tile grout, with its porous and sometimes uneven surface, can be particularly susceptible to mold growth. Not only is mold unsightly, but it can also pose health risks, especially for those with respiratory issues or allergies.
In this comprehensive guide, we will delve into the root causes of mold growth in shower tile grout, equip you with the necessary tools and materials, and provide a step-by-step cleaning process. Additionally, we will explore preventive measures to stop mold in its tracks and keep your shower looking fresh and clean.
By the end of this journey, you will be armed with the knowledge and confidence to tackle mold in your shower tile grout, ensuring a healthier and more pleasant bathroom environment for you and your loved ones.
Key Takeaways:
- Say goodbye to mold in your shower tile grout by understanding its causes, using the right tools, and following a step-by-step cleaning process. Keep your bathroom fresh and healthy for you and your loved ones.
- Prevent mold from coming back by keeping the area dry, ventilating the bathroom, using mold-resistant products, applying grout sealer, and inspecting for leaks. Enjoy a pristine, mold-free shower with proactive maintenance.
Read more: How To Clean A Shower Tile And Grout
Understanding Mold Growth in Shower Tile Grout
Before diving into the cleaning process, it’s essential to understand why mold loves to call your shower tile grout home. Mold spores are omnipresent, floating in the air both indoors and outdoors. When they land on a damp surface, such as shower tile grout, and find a food source, they begin to proliferate.
Shower tile grout provides an ideal environment for mold growth due to its porous nature. The constant exposure to moisture, combined with the accumulation of soap scum and body oils, creates the perfect breeding ground for mold. Additionally, the often warm and humid conditions in the bathroom contribute to the rapid growth of mold spores.
Furthermore, the lack of adequate ventilation in many bathrooms exacerbates the issue. Without proper air circulation, moisture becomes trapped, allowing mold to flourish. The dark and often neglected corners of the shower provide an additional haven for mold to thrive, making it challenging to eradicate once it takes hold.
Mold not only poses aesthetic and olfactory concerns but also presents health risks. Certain types of mold can release spores and mycotoxins that may cause respiratory issues, allergies, and other health problems, particularly in individuals with compromised immune systems.
By understanding the factors contributing to mold growth in shower tile grout, you can better appreciate the importance of regular maintenance and preventive measures. Armed with this knowledge, you are now ready to tackle the task of banishing mold from your shower tile grout and reclaiming a fresh, clean, and healthy bathroom space.
Tools and Materials Needed
Before embarking on your mold-cleaning mission, gather the following tools and materials to ensure a thorough and effective cleaning process:
Tools:
- Stiff-bristled brush or old toothbrush
- Grout brush or scrub brush with stiff bristles
- Plastic or silicone putty knife
- Microfiber cloth or sponge
- Spray bottle
- Vacuum with brush attachment (optional)
Materials:
- White vinegar
- Baking soda
- Hydrogen peroxide
- Bleach (if suitable for your grout and in a well-ventilated area)
- Grout sealer (optional, for preventive maintenance)
- Protective gloves
- Face mask (especially if using bleach or in a poorly ventilated area)
These tools and materials will equip you to tackle mold and mildew effectively, restoring your shower tile grout to its former glory. With these items at your disposal, you are ready to embark on the journey of transforming your shower from a moldy mess to a pristine oasis.
Read more: How To Clean A Shower Tile Mold
Step-by-Step Guide to Cleaning Mold from Shower Tile Grout
Now that you have gathered the necessary tools and materials, it’s time to roll up your sleeves and tackle the task of cleaning mold from your shower tile grout. Follow these steps for a thorough and effective cleaning process:
Step 1: Ventilate the Area
Before you begin, ensure that the bathroom is well-ventilated. Open windows and doors, and if possible, use a fan to improve air circulation. Proper ventilation will help minimize exposure to fumes and aid in drying the grout after cleaning.
Step 2: Prepare the Cleaning Solution
Depending on the severity of the mold, you can use a variety of cleaning solutions. For mild cases, a mixture of equal parts white vinegar and water can be effective. For tougher mold, create a paste using baking soda and water or use hydrogen peroxide. In more severe cases, a diluted bleach solution may be necessary, but use caution and ensure adequate ventilation.
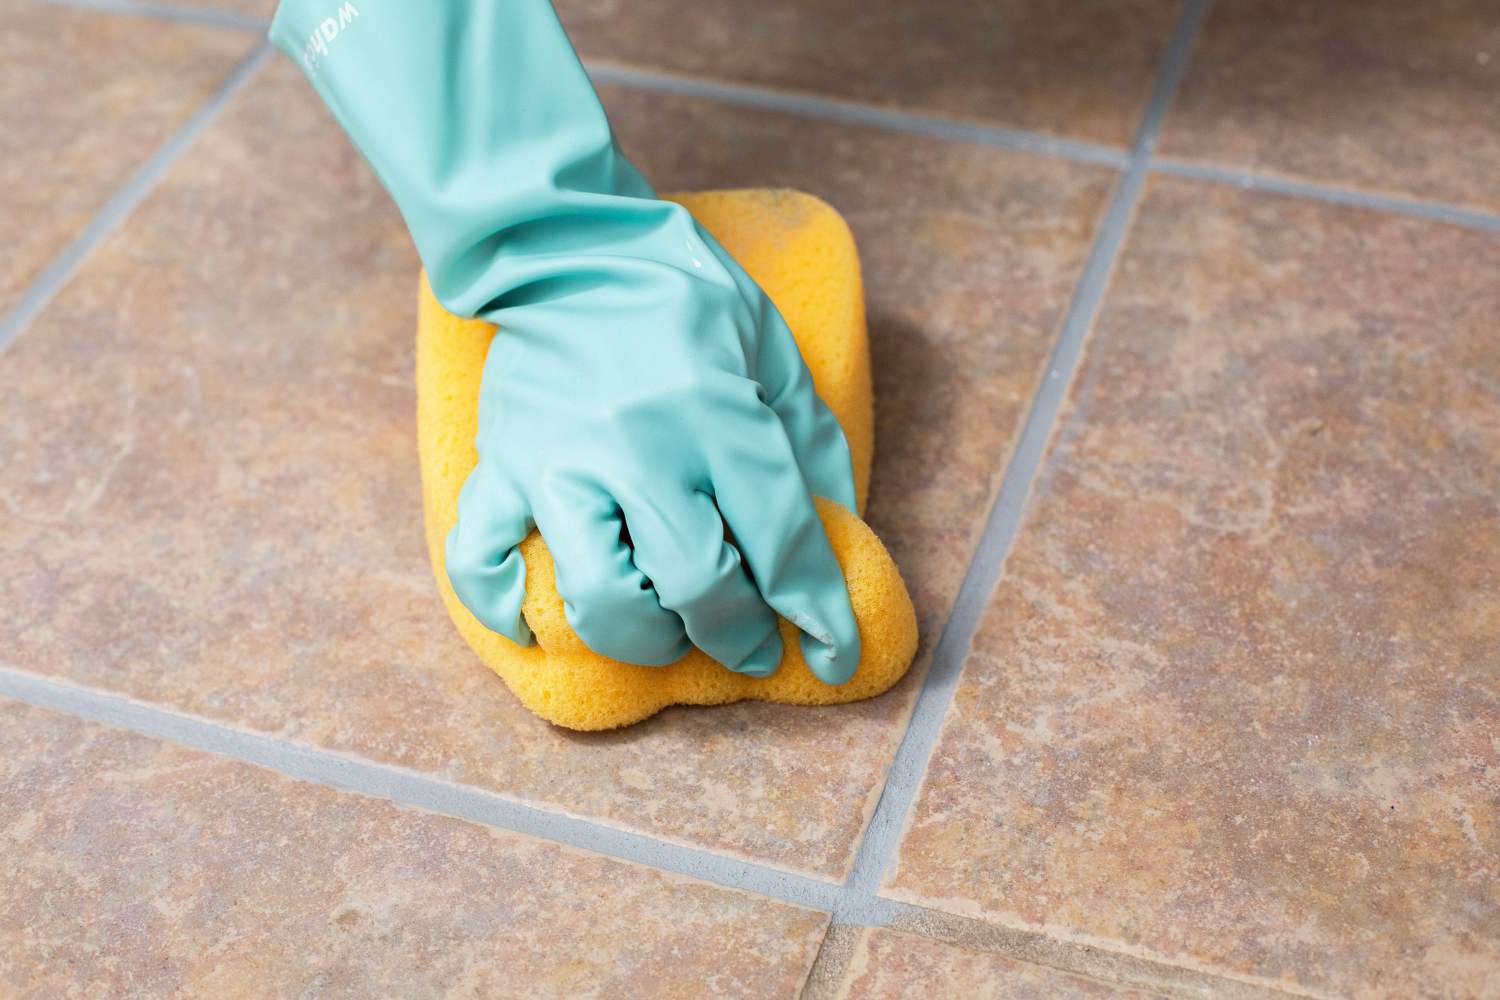
Step 3: Apply the Cleaning Solution
Spray or apply the chosen cleaning solution generously onto the moldy grout. Allow the solution to sit for 10-15 minutes to penetrate the mold and mildew.
Read more: How To Clean A Marble Shower Tile And Grout
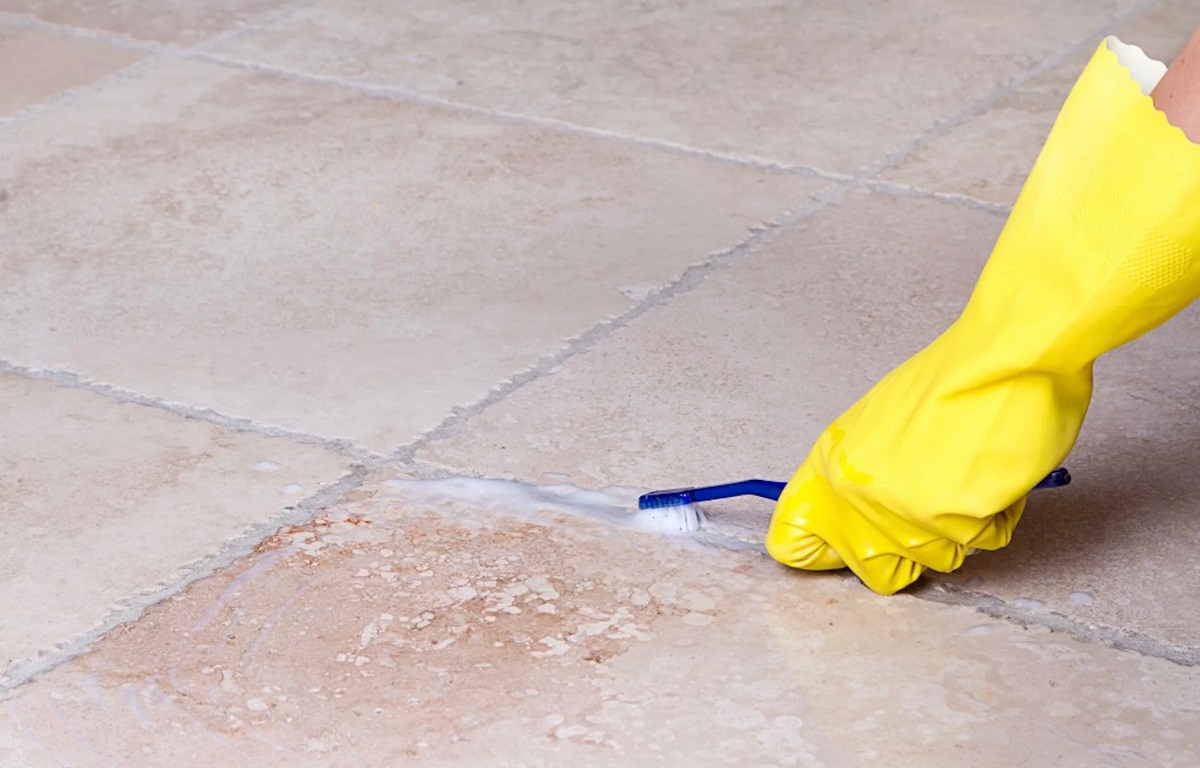
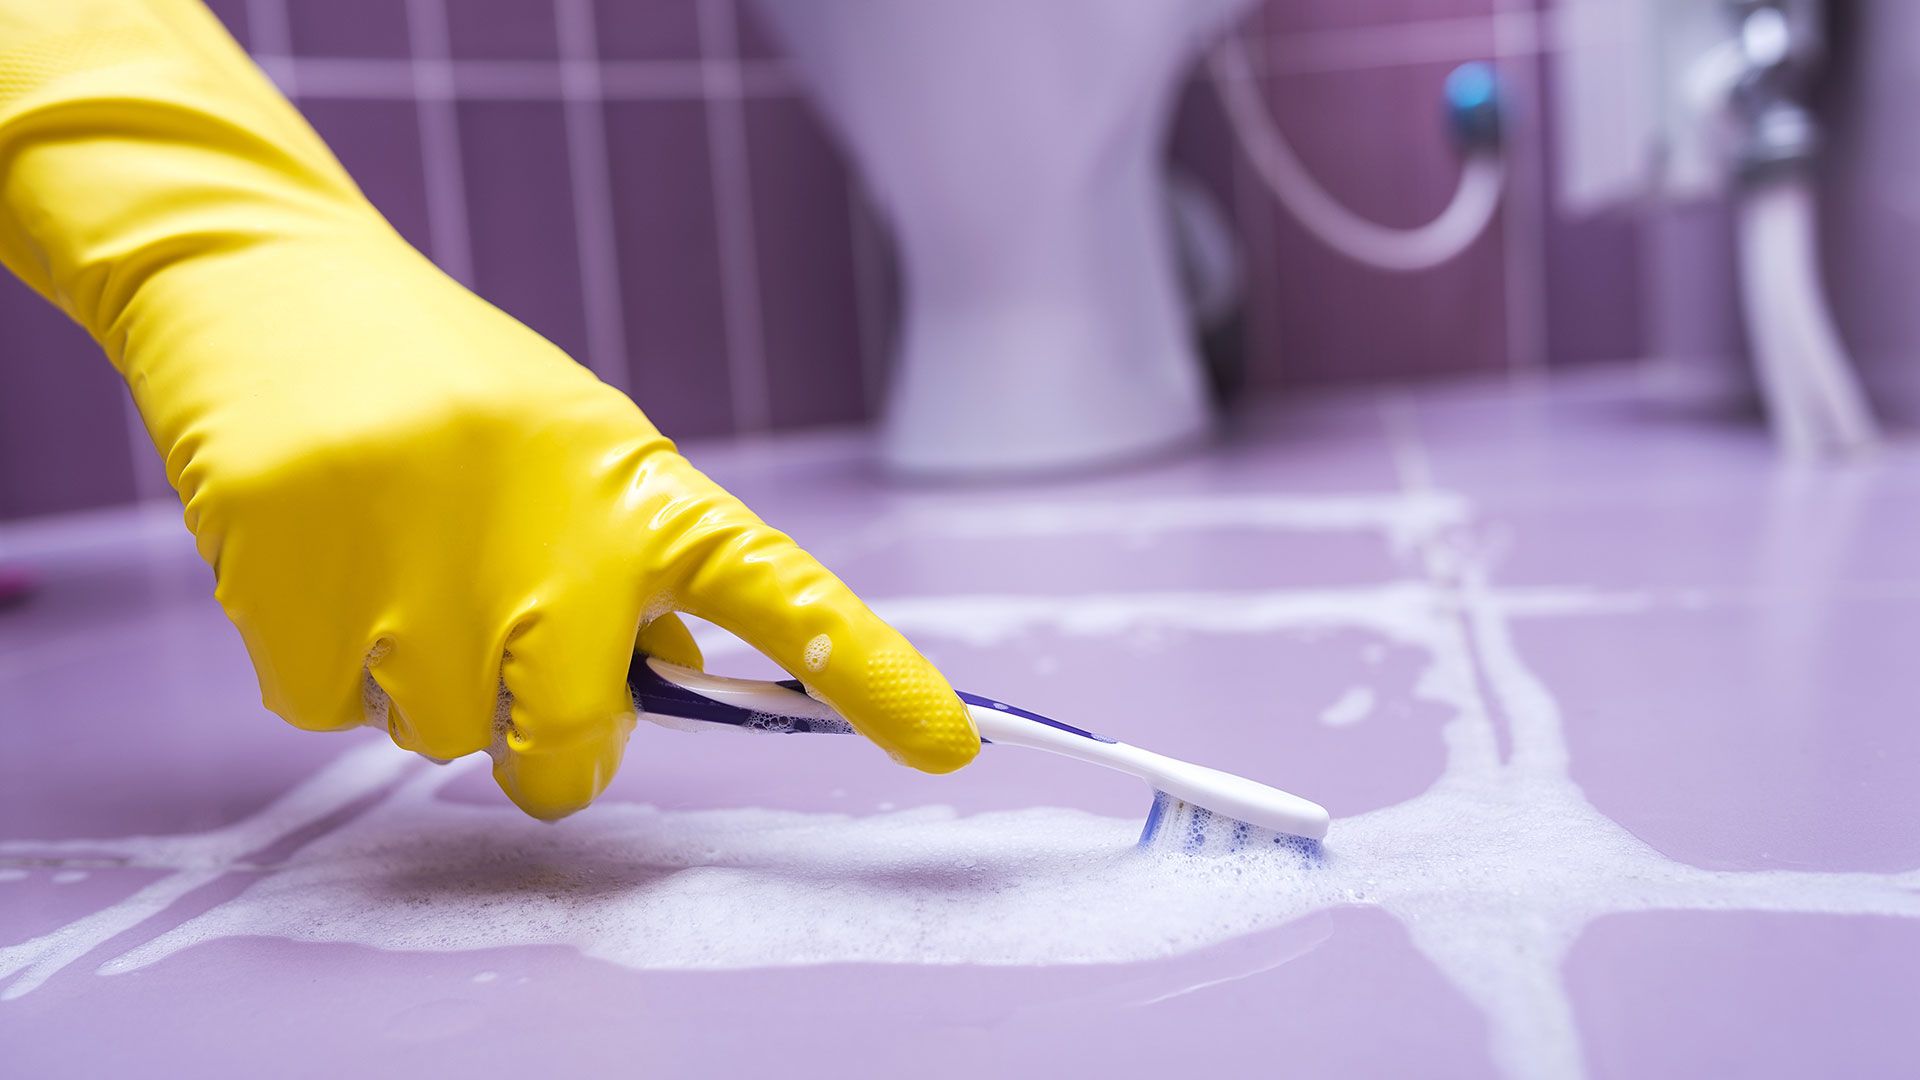
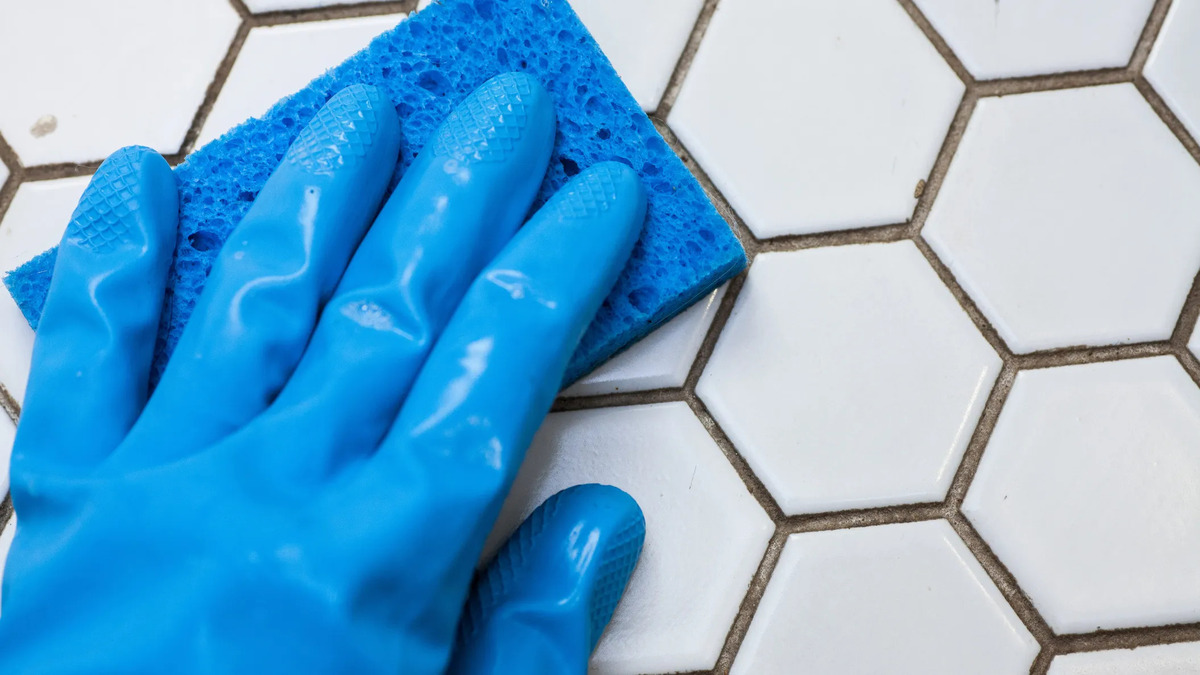
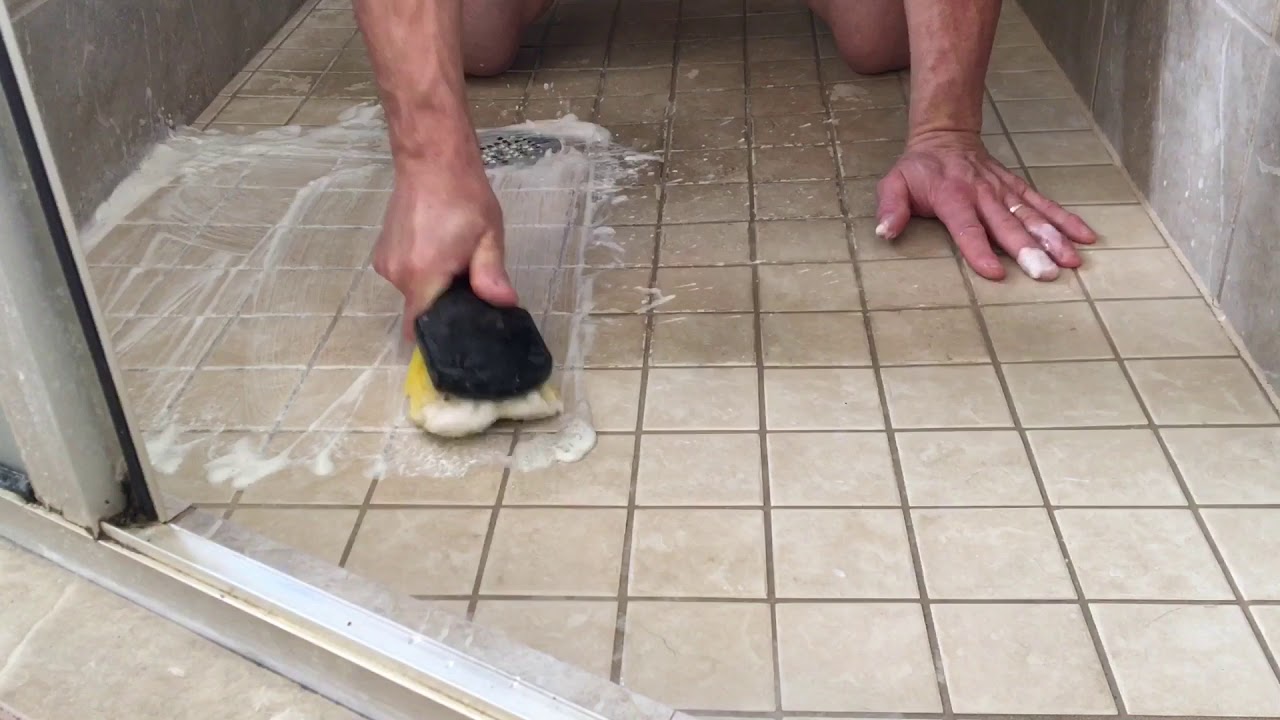
Step 4: Scrub the Grout
Using a stiff-bristled brush, grout brush, or an old toothbrush, scrub the grout lines vigorously to dislodge the mold. For stubborn mold, a plastic or silicone putty knife can be used to gently scrape the surface. Take care not to damage the grout or tiles during this process.
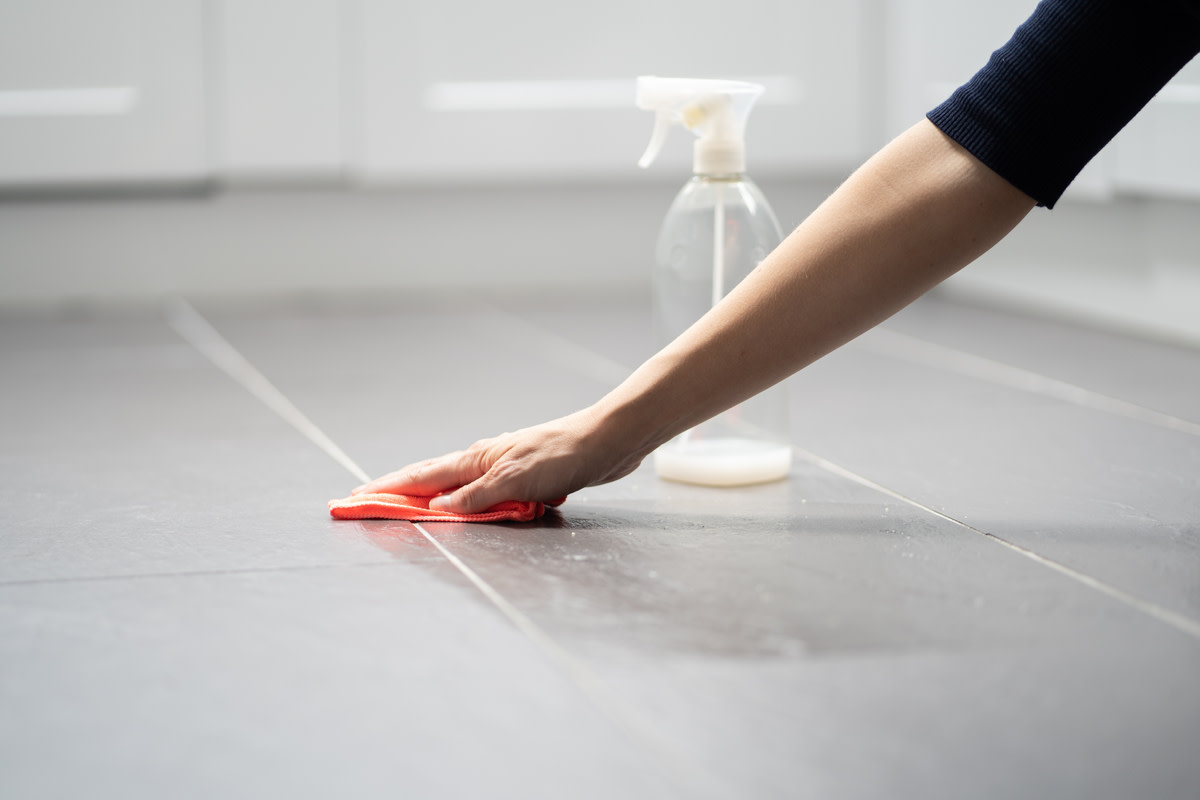
Step 5: Rinse and Dry
Wipe down the treated areas with a microfiber cloth or sponge, rinsing frequently. For a more thorough clean, use a vacuum with a brush attachment to remove any residual debris. Once the grout is clean, dry the area thoroughly to prevent mold from regrowing.
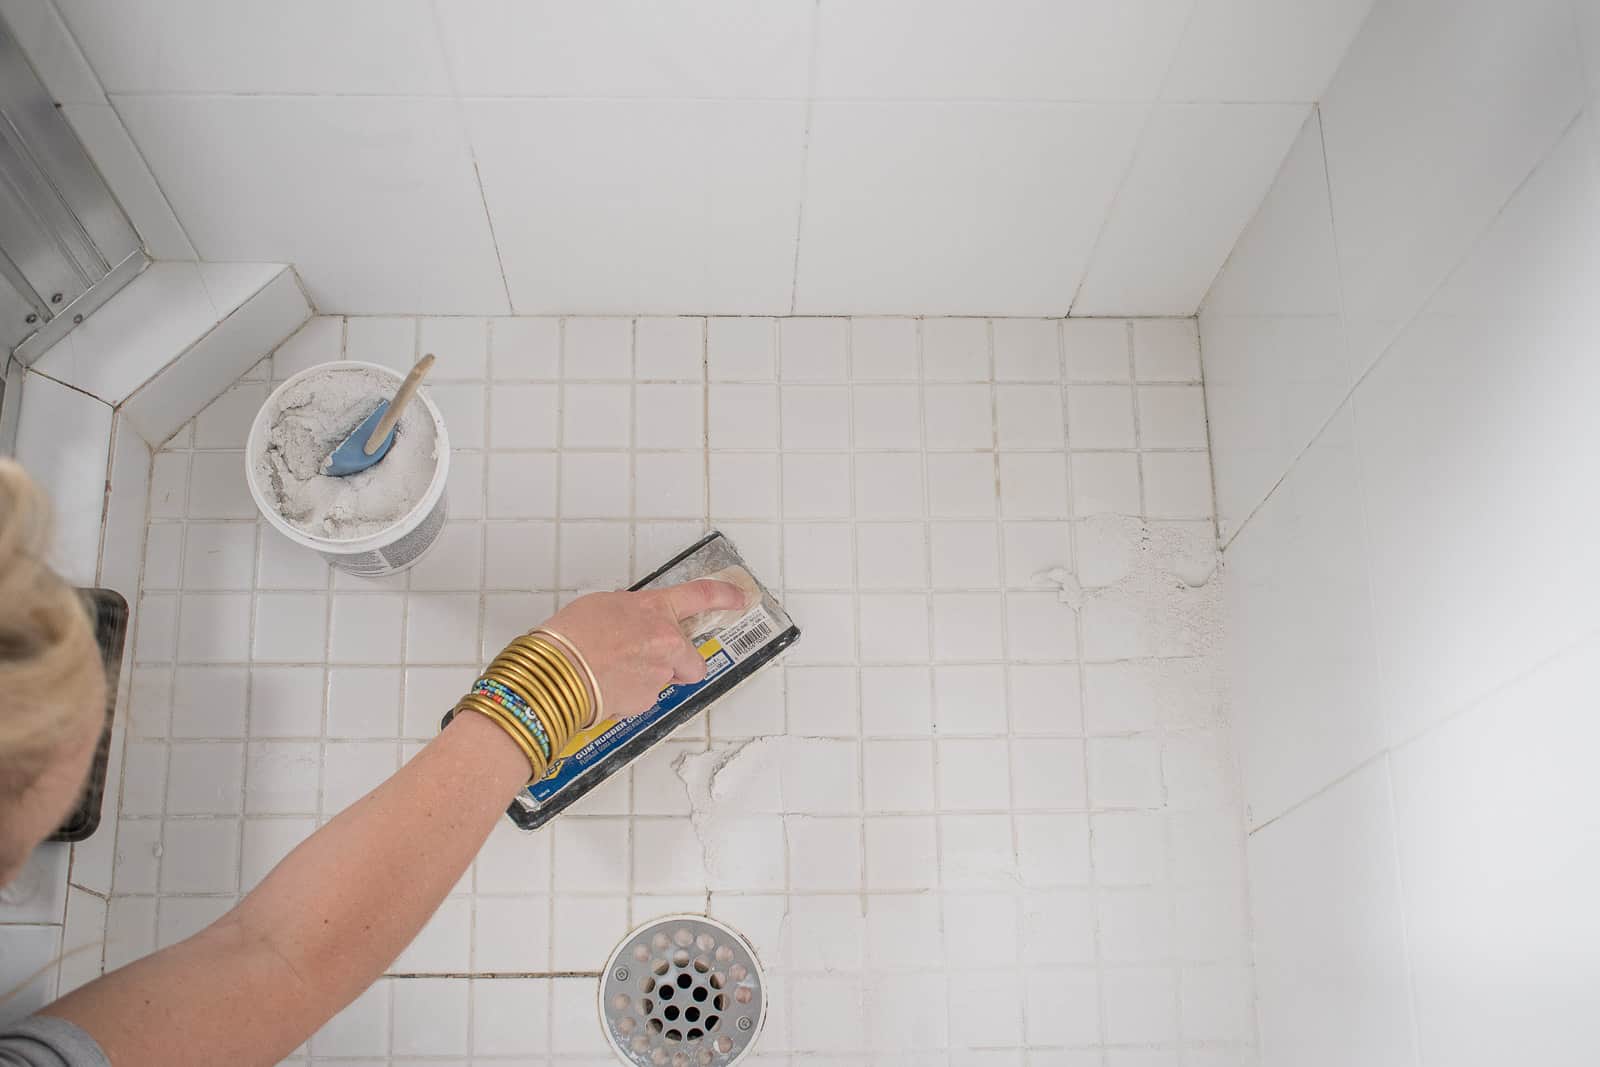
Step 6: Apply Grout Sealer (Optional)
If you want to provide an extra layer of protection against future mold growth, consider applying a grout sealer after the grout has dried completely. This optional step can help to prevent moisture and mold from penetrating the grout in the future.
By following these steps, you can effectively eliminate mold from your shower tile grout, restoring its cleanliness and freshness. With a little elbow grease and the right approach, you can transform your shower into a pristine and inviting space once again.
Preventing Mold Growth in Shower Tile Grout
Now that you’ve conquered the mold in your shower tile grout, it’s time to implement preventive measures to keep it at bay. By incorporating these proactive strategies into your cleaning routine, you can effectively prevent mold from rearing its unsightly head in the future:
Read more: How To Grout A Shower Tile
Keep the Area Dry
After showering, use a squeegee or towel to remove excess water from the walls and grout lines. This simple step can significantly reduce moisture buildup, depriving mold of the damp environment it needs to thrive.
Ventilate the Bathroom
Proper ventilation is crucial for preventing mold growth. Use an exhaust fan during and after showering to expel excess moisture from the bathroom. If your bathroom lacks a fan, consider leaving the door or window open to encourage air circulation.
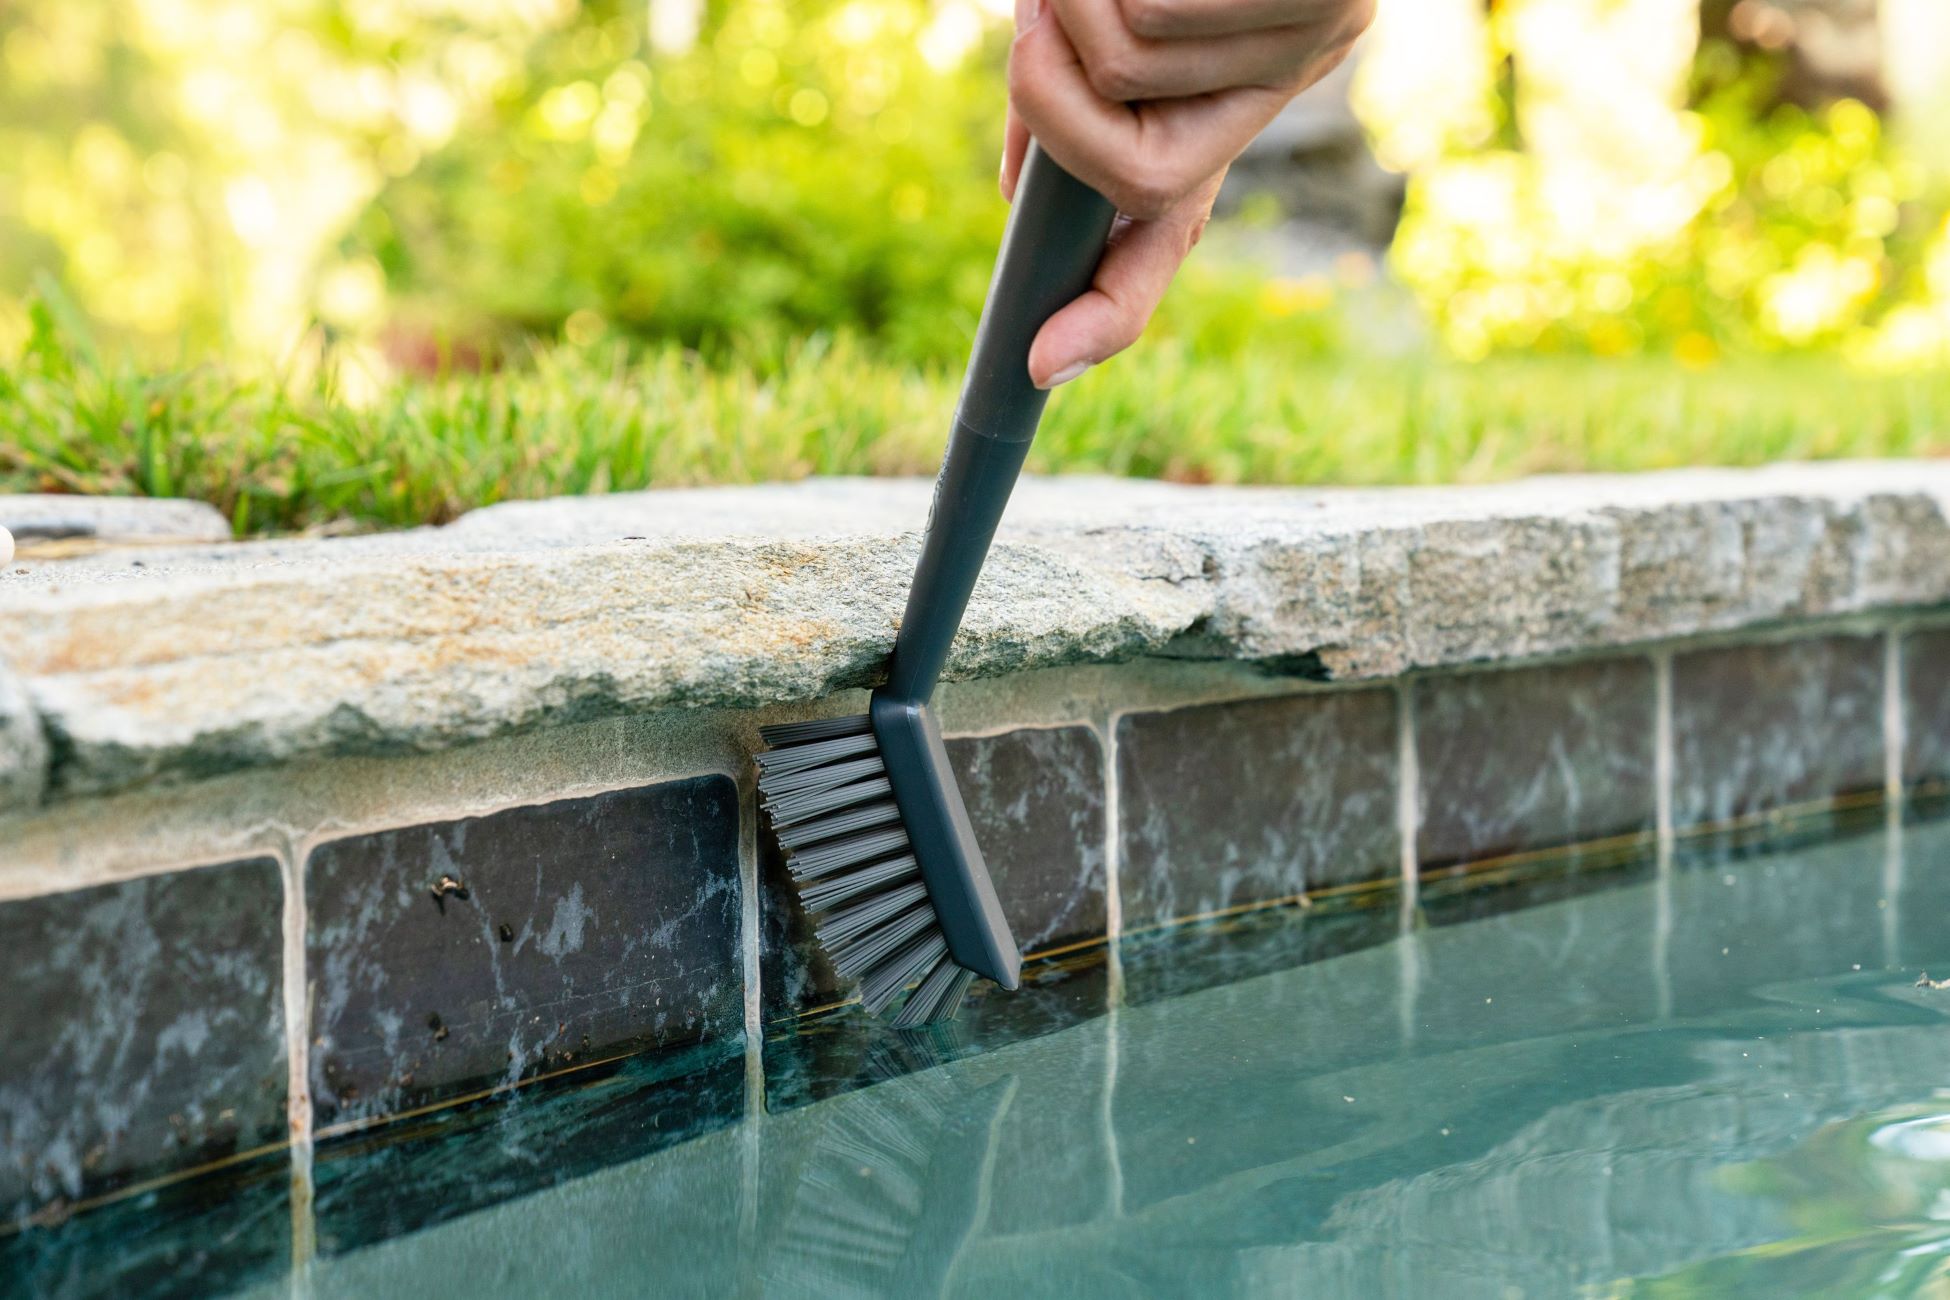
Clean Regularly
Establish a regular cleaning schedule to keep mold and mildew at bay. A quick wipe-down of the shower walls and grout lines after each use can help prevent the buildup of soap scum and grime, reducing the likelihood of mold growth.
Use Mold-Resistant Products
Consider using mold-resistant shower curtains, grout, and caulk to minimize the potential for mold growth. These specially formulated products are designed to inhibit the growth of mold and mildew, providing an added layer of protection in your shower.
Read more: How To Repair A Shower Tile Grout
Apply Grout Sealer
Applying a grout sealer can help protect the grout from moisture penetration, making it less hospitable to mold. Be sure to follow the manufacturer’s instructions for application and reapplication to maintain the sealer’s effectiveness.
Inspect for Leaks
Regularly inspect your shower area for any signs of leaks or water damage. Addressing leaks promptly can prevent moisture from seeping into hidden areas and creating an environment conducive to mold growth.
By incorporating these preventive measures into your bathroom maintenance routine, you can effectively thwart mold and mildew, ensuring a clean and healthy shower environment for the long term. With a proactive approach, you can enjoy a mold-free shower and peace of mind knowing that your efforts are keeping mold at bay.
Conclusion
Congratulations on successfully navigating the process of eradicating mold from your shower tile grout! By understanding the factors contributing to mold growth, equipping yourself with the right tools and materials, and implementing a thorough cleaning process, you have taken a significant step toward maintaining a clean and healthy bathroom environment.
It’s important to recognize that preventing mold growth requires ongoing effort and vigilance. By incorporating preventive measures such as keeping the area dry, ventilating the bathroom, and using mold-resistant products, you can minimize the likelihood of mold reappearing in your shower tile grout.
Remember, regular maintenance and proactive cleaning routines are key to keeping mold at bay. By making these practices a part of your household routine, you can enjoy a fresh, clean, and mold-free shower for the long term.
Thank you for joining us on this journey to conquer mold in the bathroom. We hope that the knowledge and techniques shared in this guide empower you to maintain a healthy and inviting shower space for yourself and your loved ones. Here’s to a future filled with pristine, mold-free showers and the peace of mind that comes with a clean and healthy home environment.
Frequently Asked Questions about How To Clean Mold From A Shower Tile Grout
Was this page helpful?
At Storables.com, we guarantee accurate and reliable information. Our content, validated by Expert Board Contributors, is crafted following stringent Editorial Policies. We're committed to providing you with well-researched, expert-backed insights for all your informational needs.

0 thoughts on “How To Clean Mold From A Shower Tile Grout”