Home>Furniture & Design>Bathroom Accessories>How To Clean Toilet Bowl Under Rim

Bathroom Accessories
How To Clean Toilet Bowl Under Rim
Modified: October 19, 2024
Learn effective techniques for cleaning the toilet bowl under the rim with our expert tips. Keep your bathroom accessories sparkling and hygienic.
(Many of the links in this article redirect to a specific reviewed product. Your purchase of these products through affiliate links helps to generate commission for Storables.com, at no extra cost. Learn more)
Introduction
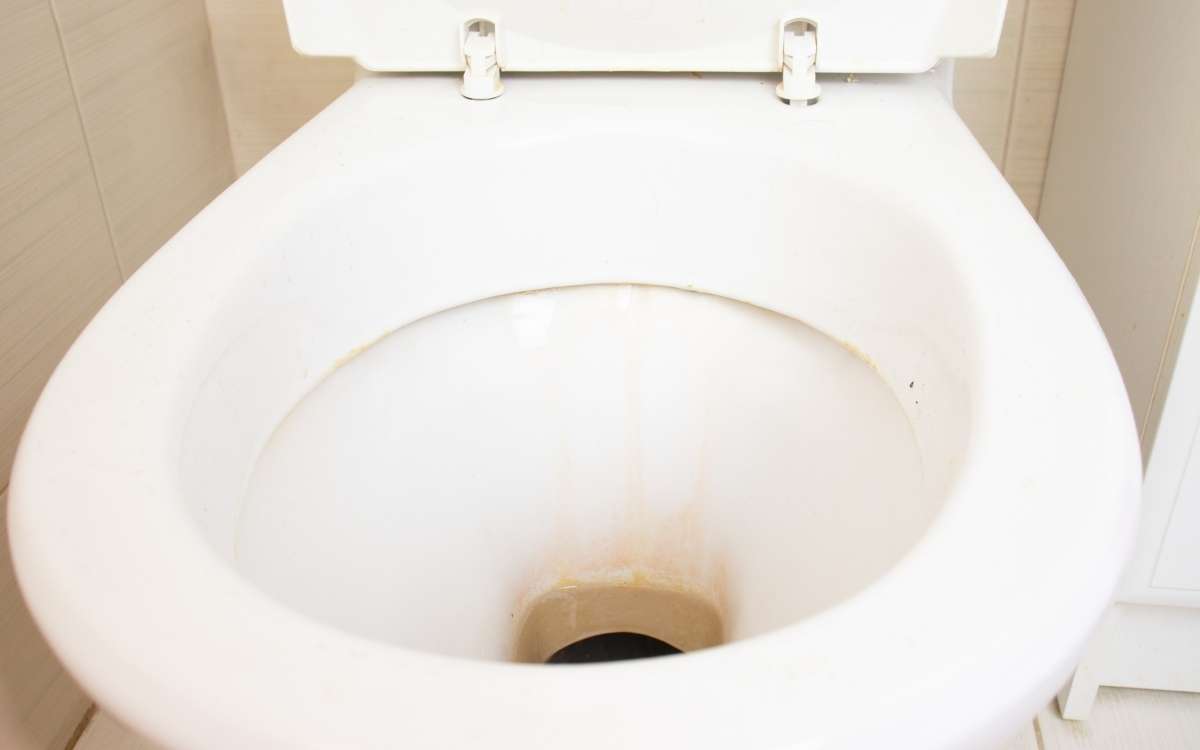
Cleaning the toilet bowl is an essential household chore, but one area that often gets overlooked is the underside of the rim. Over time, mineral deposits, bacteria, and other unsightly buildup can accumulate in this hard-to-reach area, leading to unpleasant odors and potential hygiene concerns. Neglecting to clean the toilet bowl under the rim can detract from the overall cleanliness of the bathroom and compromise the comfort of the space.
In this comprehensive guide, we will delve into the step-by-step process of effectively cleaning the toilet bowl under the rim. By following these instructions and utilizing the right tools and cleaning solutions, you can ensure that this often-neglected area of the toilet receives the attention it deserves. Not only will this contribute to a more hygienic bathroom environment, but it will also help maintain the overall cleanliness and freshness of your toilet.
By taking the time to address the buildup and grime under the rim, you can enjoy a sparkling clean toilet bowl that not only looks inviting but also promotes a healthier and more pleasant bathroom experience for you and your household. With the right approach and a commitment to regular maintenance, you can easily achieve a pristine and odor-free toilet bowl, enhancing the overall cleanliness and comfort of your home.
Key Takeaways:
- Don’t overlook the toilet bowl rim! Regularly clean with vinegar and baking soda to prevent buildup. Maintain a hygienic and inviting bathroom environment for a fresher home.
- Keep your toilet bowl sparkling! Use a toilet bowl brush and cleaning solution to scrub under the rim. Follow a regular cleaning schedule and use preventive measures for a consistently clean and odor-free toilet bowl.
Read more: How To Clean A Saniflo Toilet Bowl
Tools and materials needed
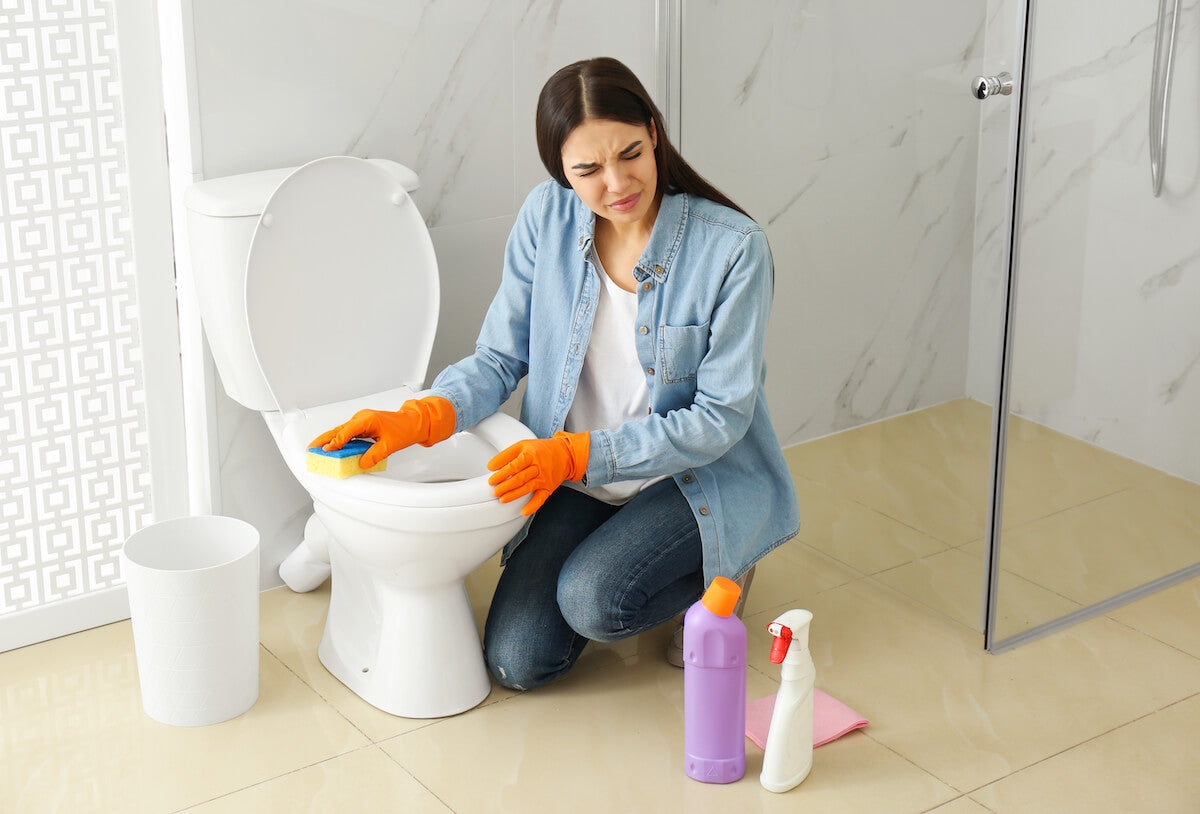
To effectively clean the toilet bowl under the rim, you will need the following tools and materials:
-
Toilet bowl brush: Choose a brush with sturdy bristles and a tapered shape to effectively reach under the rim and scrub away buildup and stains.
-
Rubber gloves: It's essential to protect your hands from coming into direct contact with cleaning solutions and potentially harmful bacteria.
-
Cleaning solution: Opt for a specialized toilet bowl cleaner or a DIY solution such as a mixture of white vinegar and baking soda. Alternatively, you can use a commercial cleaner specifically formulated to tackle tough stains and mineral deposits.
-
Spray bottle: This will be used to apply the cleaning solution under the rim, ensuring thorough coverage of the affected area.
-
Old toothbrush or scrub brush: A small brush can be useful for reaching tight spots and crevices under the rim, allowing for more precise cleaning.
-
Safety goggles (optional): If you are using a commercial cleaner with strong chemicals, it's advisable to wear safety goggles to protect your eyes from potential splashes.
-
Clean cloth or paper towels: These will be used for wiping and drying the area after cleaning, ensuring a sparkling finish.
By gathering these essential tools and materials, you will be well-equipped to tackle the task of cleaning the toilet bowl under the rim effectively. Each item serves a specific purpose in the cleaning process, enabling you to achieve optimal results and maintain a hygienic and visually appealing toilet bowl.
Step 1: Prepare the cleaning solution
The first step in effectively cleaning the toilet bowl under the rim is to prepare the cleaning solution. This crucial step sets the foundation for loosening and removing stubborn stains, mineral deposits, and bacteria that may have accumulated in this hard-to-reach area. There are several options for creating a powerful cleaning solution that will effectively tackle the buildup under the rim.
One popular and environmentally friendly option is to create a DIY cleaning solution using common household ingredients. A mixture of white vinegar and baking soda can serve as a potent and natural cleaning agent. To prepare this solution, start by pouring about a cup of white vinegar into a small bowl. Then, gradually add baking soda to the vinegar, stirring the mixture until it forms a paste-like consistency. The combination of these two ingredients creates a powerful foaming action that helps break down mineral deposits and stains, making them easier to remove during the cleaning process.
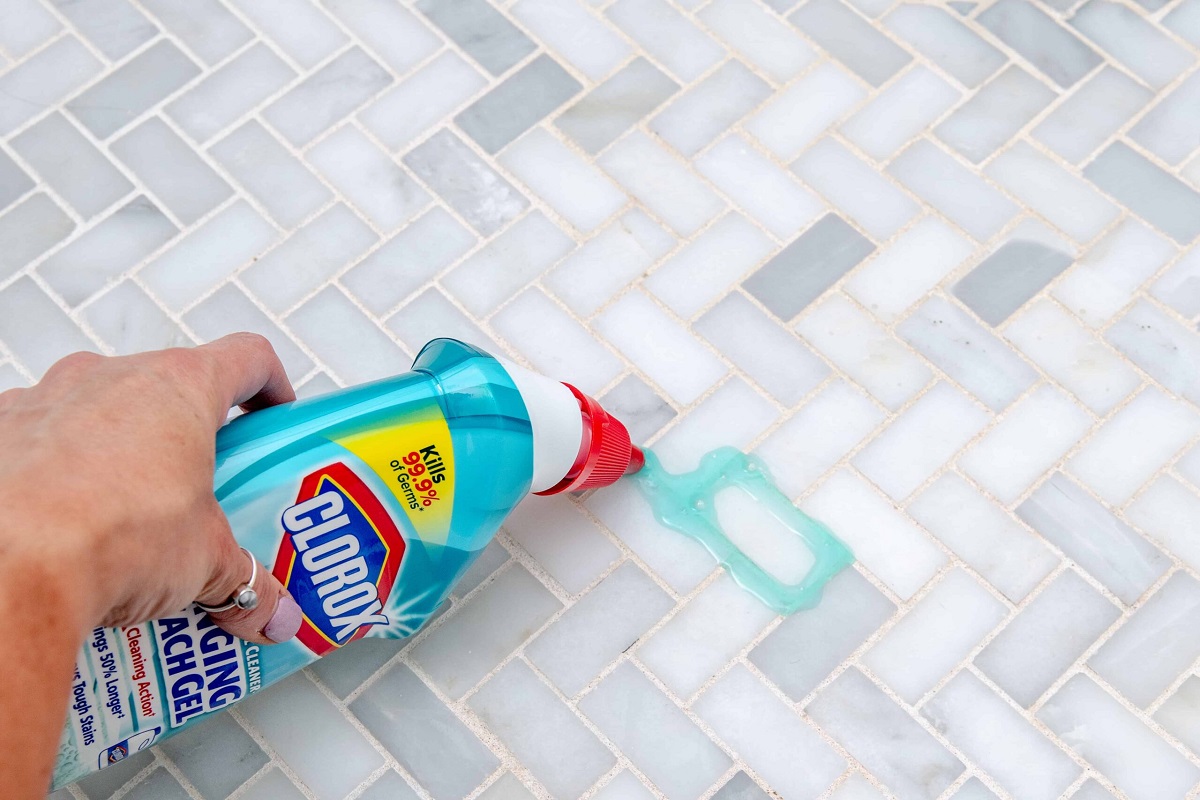
Alternatively, if you prefer a commercial cleaner, there are numerous products available specifically formulated for cleaning toilet bowls. These cleaners often contain powerful ingredients designed to dissolve tough stains and kill bacteria. When using a commercial cleaner, it's essential to carefully follow the manufacturer's instructions regarding dilution and application to ensure safe and effective use.
Once the cleaning solution is prepared, it's important to transfer it to a spray bottle for easy and targeted application under the rim. The spray bottle allows for precise coverage of the affected area, ensuring that the cleaning solution reaches all the nooks and crannies where buildup may be present. This step sets the stage for the subsequent cleaning process, enabling the solution to penetrate and begin breaking down the unsightly residue under the rim.
By taking the time to prepare an effective cleaning solution, you are laying the groundwork for a thorough and successful cleaning process. Whether you opt for a DIY solution or a commercial cleaner, the key is to ensure that the cleaning solution is potent enough to tackle the buildup under the rim, setting the stage for a sparkling and hygienic toilet bowl.
Step 2: Apply the cleaning solution under the rim
With the cleaning solution prepared and ready for use, the next step is to apply it under the rim of the toilet bowl. This critical step is essential for ensuring that the cleaning solution effectively reaches the areas where mineral deposits, bacteria, and other buildup may be lurking. Proper application of the cleaning solution sets the stage for thorough cleaning and helps to break down stubborn stains and grime, preparing the surface for the subsequent scrubbing process.
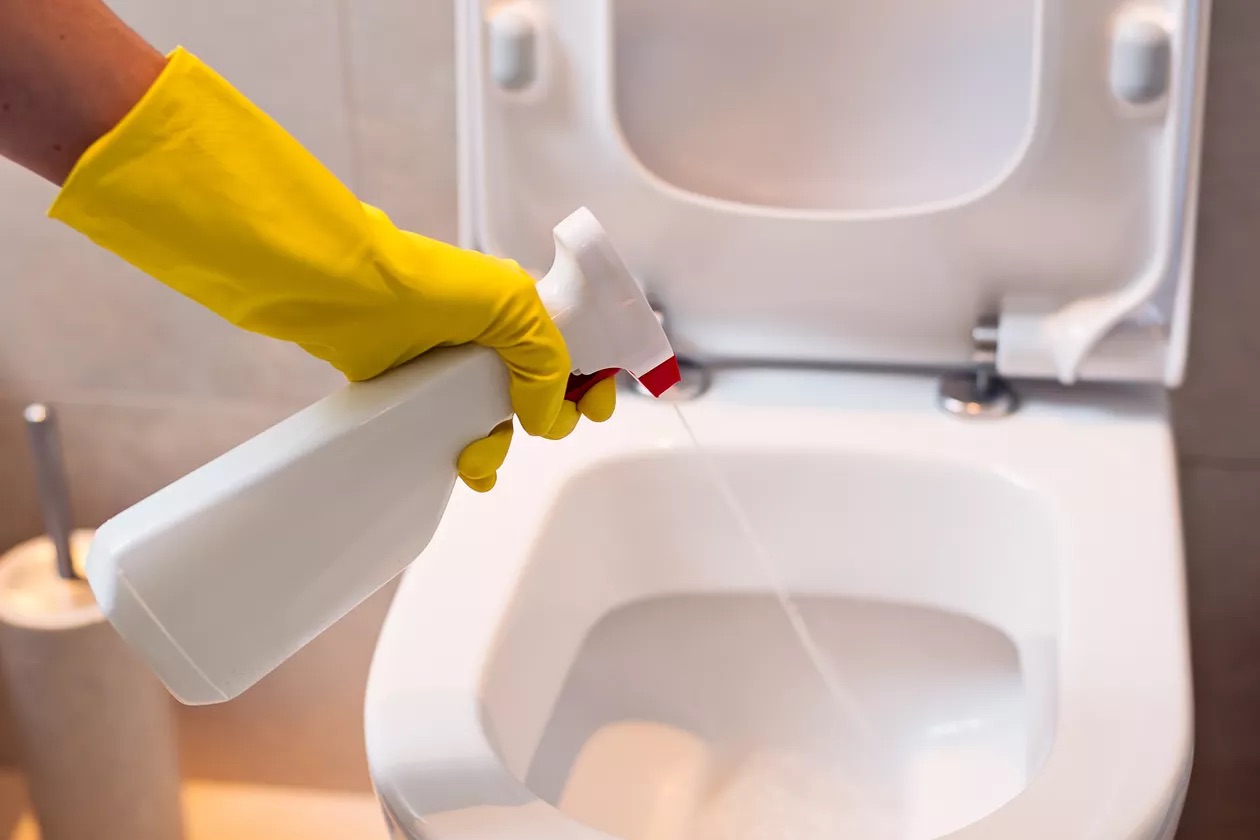
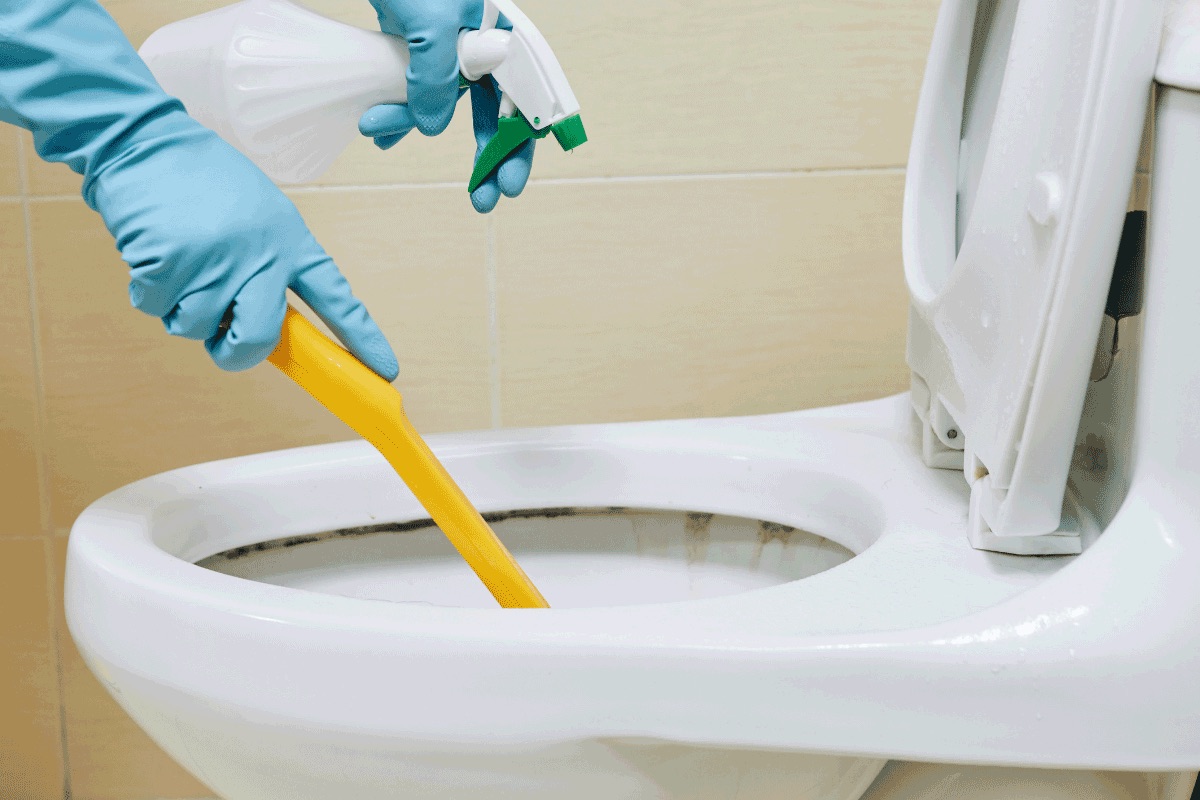
To begin, put on rubber gloves to protect your hands from coming into direct contact with the cleaning solution and any potentially harmful bacteria. Once your hands are protected, take the spray bottle containing the cleaning solution and aim it under the rim of the toilet bowl. Saturate the area thoroughly with the cleaning solution, ensuring that it reaches all the nooks and crannies where buildup may be present. The goal is to achieve comprehensive coverage of the affected area, allowing the cleaning solution to penetrate and begin loosening the stubborn residue.
As you apply the cleaning solution, be mindful of any particularly stubborn stains or areas of heavy buildup. These areas may require additional attention and a more generous application of the cleaning solution to effectively break down the accumulated grime. Take your time to ensure that the entire underside of the rim is treated with the cleaning solution, as thorough application is key to achieving optimal cleaning results.
Once the cleaning solution has been applied under the rim, allow it to sit for a few minutes to work its magic. This dwell time is crucial for allowing the cleaning solution to penetrate and begin breaking down the buildup, making it easier to remove during the subsequent scrubbing process. During this brief waiting period, the cleaning solution is hard at work, effectively targeting and loosening the unsightly residue under the rim.
By taking the time to apply the cleaning solution thoroughly and allowing it to dwell, you are setting the stage for a successful cleaning process. This step ensures that the cleaning solution has the opportunity to work its magic, preparing the buildup under the rim for effective removal during the subsequent scrubbing process. With the cleaning solution in place, the stage is set for the next crucial step in achieving a sparkling clean toilet bowl.
Use a toilet brush with angled bristles to reach under the rim. Apply a toilet bowl cleaner and scrub thoroughly. Rinse with water and repeat if necessary.
Step 3: Scrub the toilet bowl under the rim
After allowing the cleaning solution to dwell and work its magic, it's time to tackle the next crucial step in achieving a sparkling clean toilet bowl: scrubbing the area under the rim. This step is essential for physically removing the loosened buildup, stains, and bacteria, ensuring that the underside of the rim is thoroughly cleaned and restored to a pristine condition.
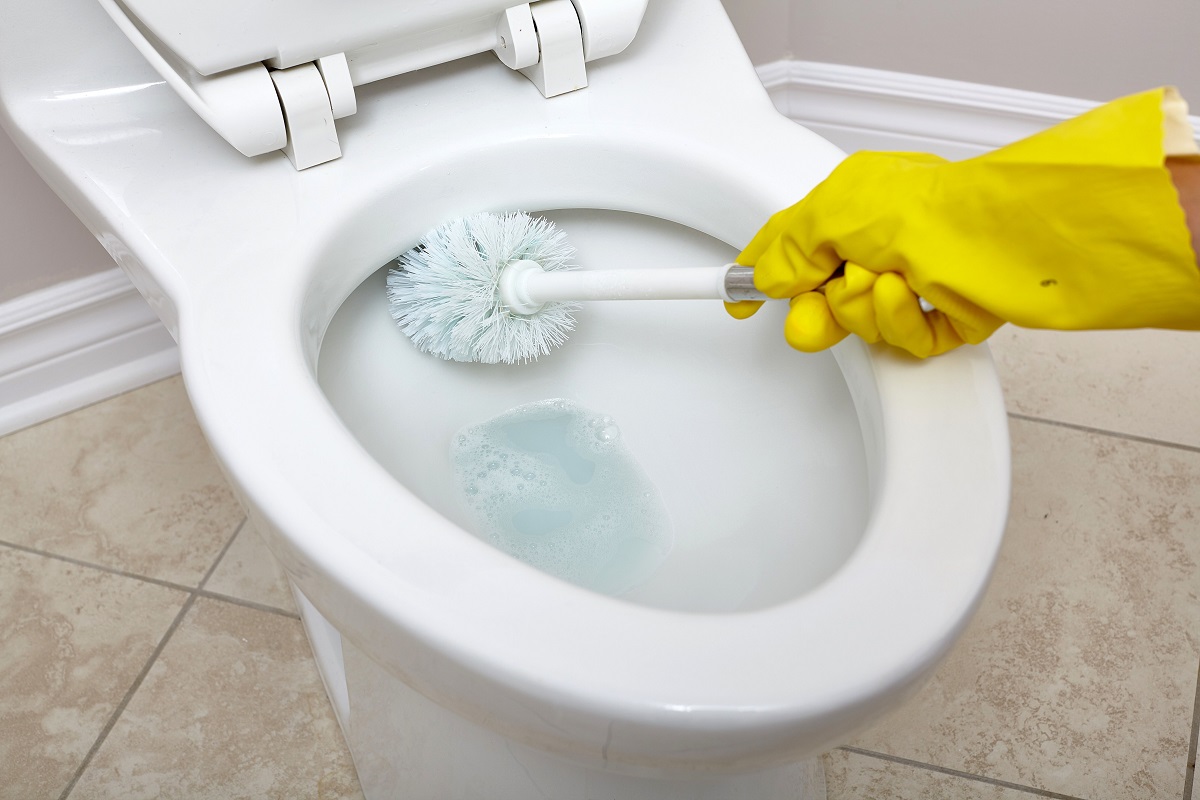
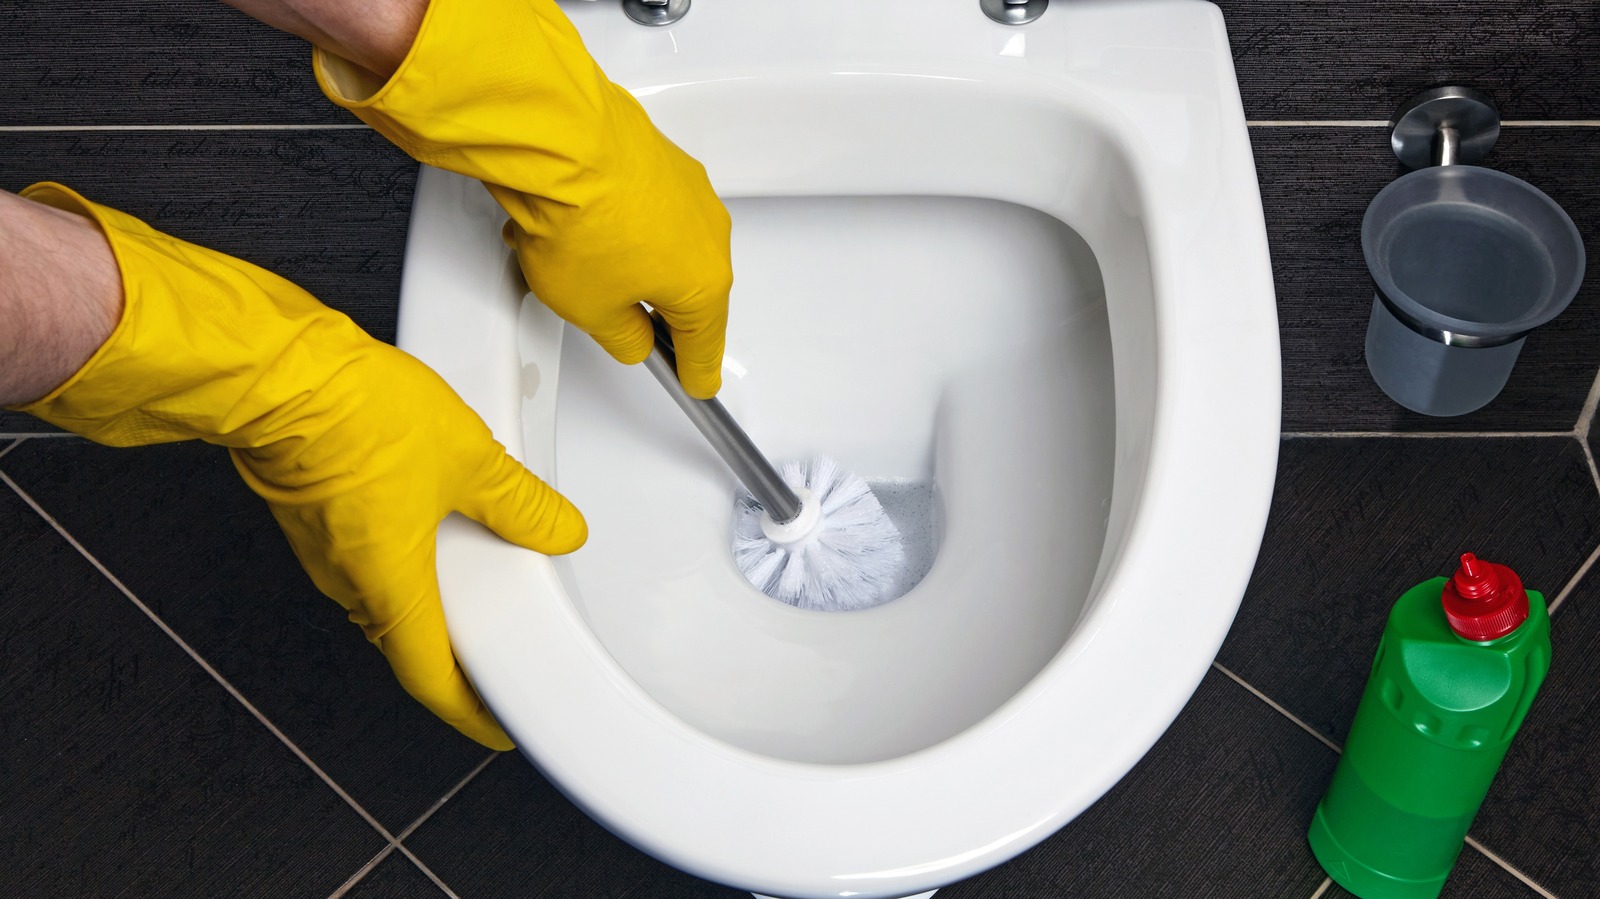
Armed with a sturdy toilet bowl brush, begin by carefully maneuvering the brush under the rim, ensuring that the bristles effectively reach the areas where buildup may be present. The tapered shape of the brush is designed to fit snugly under the rim, allowing for thorough scrubbing and removal of the loosened residue. As you scrub, pay close attention to any stubborn stains or mineral deposits, applying additional pressure and vigorous scrubbing to effectively dislodge and remove these unsightly blemishes.
In addition to the toilet bowl brush, a small scrub brush or an old toothbrush can be useful for reaching tight spots and crevices under the rim. These smaller brushes allow for more precise cleaning, ensuring that no area is overlooked and that all traces of buildup are effectively addressed.
As you scrub the area under the rim, it's important to maintain a steady and thorough approach, ensuring that all surfaces are adequately cleaned. Take your time to work methodically around the entire underside of the rim, paying special attention to any areas where buildup may be particularly stubborn or extensive. By approaching the task with diligence and attention to detail, you can effectively remove the accumulated grime and stains, revealing a clean and refreshed surface.
Throughout the scrubbing process, periodically rinse the brush in the toilet bowl water to remove loosened residue and prevent recontamination of the cleaned areas. This ensures that the brush remains effective in dislodging and removing the buildup, allowing for a more thorough and efficient cleaning process.
By diligently scrubbing the toilet bowl under the rim, you are taking proactive steps to ensure that this often-neglected area receives the attention it deserves. The physical action of scrubbing, combined with the potent cleaning solution, works in tandem to effectively remove stubborn stains, mineral deposits, and bacteria, resulting in a visibly cleaner and more hygienic toilet bowl.
As you complete the scrubbing process, take a moment to inspect the area under the rim, ensuring that all traces of buildup and stains have been effectively removed. With the thorough scrubbing complete, the next step is to rinse and dry the area, putting the finishing touches on the cleaning process and leaving you with a sparkling clean toilet bowl that is free from unsightly residue and odors.
Read more: How To Use Clr To Clean Toilet Bowl
Step 4: Rinse and dry the area
After the thorough scrubbing process, the next crucial step in achieving a sparkling clean toilet bowl is to rinse and dry the area under the rim. This final stage of the cleaning process ensures that any remaining cleaning solution, loosened residue, and bacteria are effectively removed, leaving the underside of the rim pristine and free from unsightly buildup.
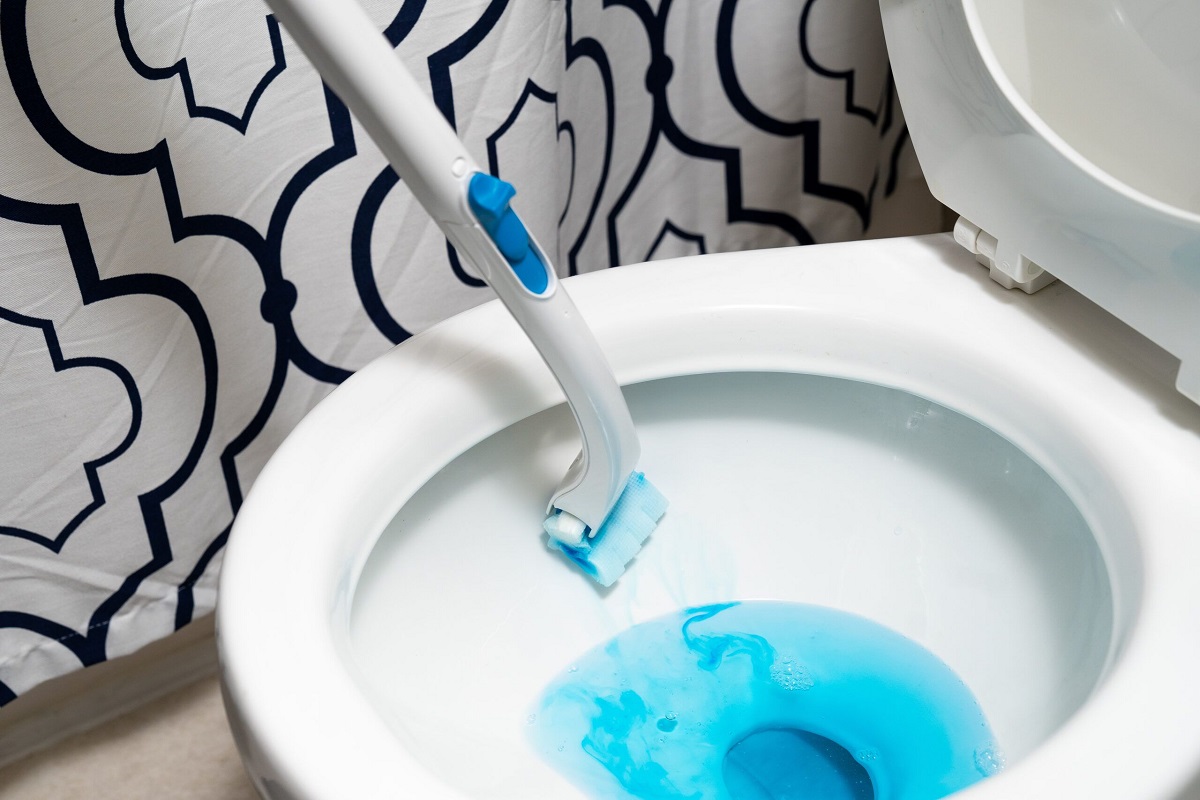
To begin the rinsing process, use the toilet brush to agitate the water in the bowl, allowing it to flow over the areas that have been scrubbed. This helps to flush away any remaining residue and cleaning solution, ensuring that the underside of the rim is thoroughly rinsed and left clean and refreshed. As the water flows over the cleaned areas, visually inspect the underside of the rim to ensure that all traces of buildup and stains have been effectively removed.
Once the rinsing process is complete, it's time to dry the area to prevent any residual moisture from contributing to future buildup or odors. Use a clean cloth or paper towels to carefully dry the underside of the rim, ensuring that all surfaces are thoroughly dried and free from moisture. Pay special attention to any crevices or tight spots where water may accumulate, ensuring that these areas are completely dried to prevent the potential for future buildup.
As you dry the area, take a moment to appreciate the results of your efforts. The once-neglected underside of the rim is now clean, refreshed, and free from unsightly residue, contributing to a more hygienic and visually appealing toilet bowl. By diligently rinsing and drying the area, you are completing the cleaning process with attention to detail, ensuring that the underside of the rim is left in optimal condition.
With the rinsing and drying process complete, take a final moment to admire the results of your efforts. The underside of the rim is now clean, free from buildup, and ready to contribute to a more hygienic and inviting bathroom environment. By following these steps and taking a proactive approach to cleaning the toilet bowl under the rim, you can maintain a sparkling clean and odor-free toilet bowl, enhancing the overall cleanliness and comfort of your home.
Additional tips for maintaining a clean toilet bowl under the rim
Maintaining a clean toilet bowl under the rim is essential for upholding a hygienic and visually appealing bathroom environment. In addition to the thorough cleaning process outlined earlier, there are several additional tips and practices that can help ensure that the underside of the rim remains clean and free from unsightly buildup.
-
Regular cleaning schedule: Establishing a regular cleaning schedule for the toilet bowl, including the often-neglected area under the rim, is crucial for preventing the accumulation of stubborn stains and bacteria. By incorporating this task into your routine cleaning regimen, you can stay ahead of potential buildup and maintain a consistently clean toilet bowl.
-
Use of toilet bowl tablets: Consider using toilet bowl cleaning tablets or in-tank cleaners to help prevent mineral deposits and bacteria from accumulating under the rim. These products can provide ongoing maintenance between thorough cleanings, contributing to a cleaner and fresher toilet bowl.
-
Vinegar and baking soda maintenance: Periodically pouring a mixture of white vinegar and baking soda into the toilet bowl and allowing it to sit can help prevent mineral deposits and stains from forming under the rim. This natural cleaning method can serve as a proactive measure to maintain a clean and odor-free toilet bowl.
-
Regular inspection: Take the time to visually inspect the underside of the rim during routine cleanings to identify any early signs of buildup or stains. By catching potential issues early, you can address them promptly and prevent the need for more intensive cleaning in the future.
-
Proper ventilation: Ensure that the bathroom is adequately ventilated to prevent moisture buildup, which can contribute to the growth of bacteria and the formation of mineral deposits. Proper ventilation can help maintain a drier and cleaner environment, reducing the potential for unsightly buildup under the rim.
-
Prompt repairs: Address any leaks or plumbing issues promptly to prevent water from accumulating around the toilet bowl, which can contribute to the formation of mineral deposits and stains. By maintaining a watertight and dry environment, you can help prevent the conditions that lead to unsightly buildup under the rim.
By incorporating these additional tips into your bathroom maintenance routine, you can proactively maintain a clean and hygienic toilet bowl under the rim. These practices, combined with the thorough cleaning process outlined earlier, contribute to a consistently clean and inviting bathroom environment, promoting the overall cleanliness and comfort of your home.
Frequently Asked Questions about How To Clean Toilet Bowl Under Rim
Was this page helpful?
At Storables.com, we guarantee accurate and reliable information. Our content, validated by Expert Board Contributors, is crafted following stringent Editorial Policies. We're committed to providing you with well-researched, expert-backed insights for all your informational needs.

0 thoughts on “How To Clean Toilet Bowl Under Rim”