Home>Furniture & Design>Bathroom Accessories>How To Fix A Toilet Bowl
Bathroom Accessories
How To Fix A Toilet Bowl
Modified: September 2, 2024
Learn how to fix a toilet bowl with our comprehensive guide on bathroom accessories. Find step-by-step instructions and expert tips to tackle the issue effectively.
(Many of the links in this article redirect to a specific reviewed product. Your purchase of these products through affiliate links helps to generate commission for Storables.com, at no extra cost. Learn more)
Introduction
A malfunctioning toilet bowl can be a source of frustration and inconvenience in any household. From a constantly running toilet to a bowl that doesn't fill up properly, there are a variety of issues that can arise. However, with a bit of know-how and the right tools, many of these problems can be easily resolved without the need to call a plumber.
In this comprehensive guide, we will walk you through the step-by-step process of fixing a toilet bowl. Whether you're dealing with a running toilet, a weak flush, or any other common toilet bowl issue, this guide will equip you with the knowledge and skills to tackle the problem with confidence.
By following the instructions outlined in this article, you can save time and money by addressing the issue yourself. Additionally, taking on this DIY project can provide a sense of accomplishment and empowerment as you successfully restore your toilet to proper working condition.
So, roll up your sleeves and get ready to learn the essential steps to fix a toilet bowl. With a positive attitude and a willingness to get your hands dirty, you'll soon be on your way to resolving the issue and enjoying the satisfaction of a well-functioning toilet. Let's dive in and get started!
Key Takeaways:
- Takeaway 1:
Fixing a toilet bowl is a DIY project that saves time and money. By following step-by-step instructions, you can address common issues and enjoy the satisfaction of a well-functioning toilet. - Takeaway 2:
Maintaining and repairing the toilet bowl contributes to a clean and pleasant bathroom. It empowers you to handle household plumbing challenges and fosters a sense of self-reliance.
Read more: How Do I Fix Low Water Level In Toilet Bowl
Tools and Materials Needed
Before embarking on the task of fixing a toilet bowl, it's essential to gather the necessary tools and materials. Having the right equipment at your disposal will streamline the repair process and ensure that you can address the issue effectively. Here's a comprehensive list of the tools and materials you'll need:
Tools:
- Adjustable Wrench: This versatile tool will come in handy for loosening and tightening various nuts and bolts during the repair process.
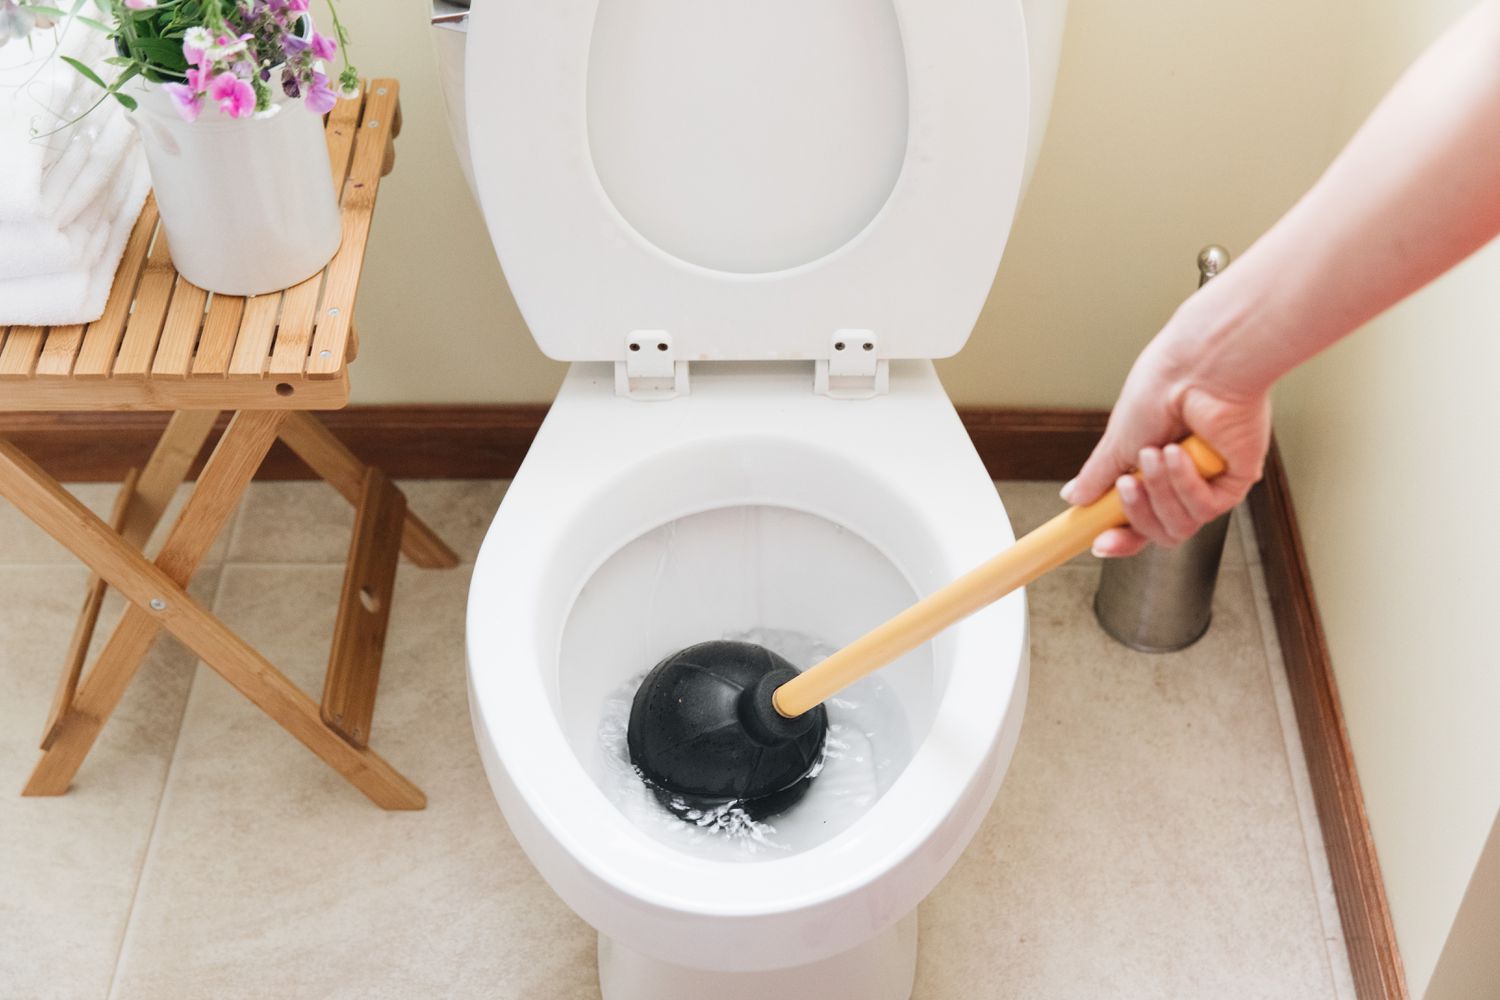
- Plunger: A plunger is a must-have for addressing clogs and restoring proper flushing functionality to the toilet bowl.
- Screwdriver Set: Ensure you have both flat-head and Phillips-head screwdrivers to accommodate different types of screws you may encounter.
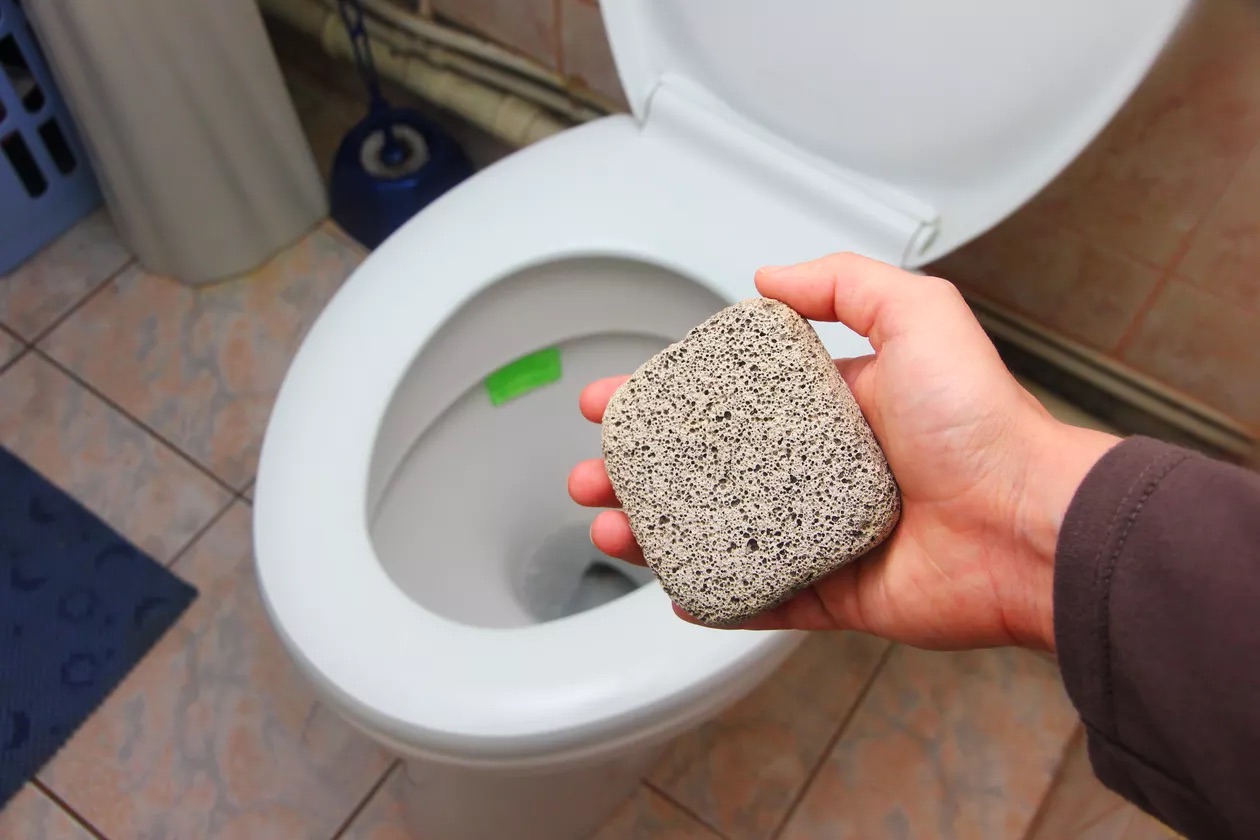
- Wire Brush: Use a wire brush to clean any mineral deposits or debris from the toilet bowl's rim and jets.
- Pliers: Pliers will be useful for gripping and manipulating small components such as the flapper chain or fill valve assembly.
- Bucket: Keep a bucket on hand to collect water and debris when draining the toilet bowl.
Materials:
- Replacement Parts: Depending on the issue you're addressing, you may need to have replacement parts on hand, such as a new flapper, fill valve, or flush valve.
- Rubber Gloves: It's advisable to wear rubber gloves to protect your hands from coming into contact with toilet water and cleaning chemicals.
- Cleaning Solution: Have a toilet bowl cleaner or a mixture of vinegar and baking soda available to thoroughly clean the toilet bowl and remove any buildup.
- Rags or Towels: Keep a supply of rags or towels nearby to wipe up spills and to ensure a clean work area.
- Flashlight: A flashlight will be useful for inspecting hard-to-reach areas within the toilet tank and bowl.
By ensuring that you have these tools and materials at your disposal, you'll be well-prepared to tackle the task of fixing your toilet bowl. With everything you need within reach, you can proceed with confidence, knowing that you're equipped to handle the repair effectively. Now that you're ready to go, let's move on to the next steps in the process.
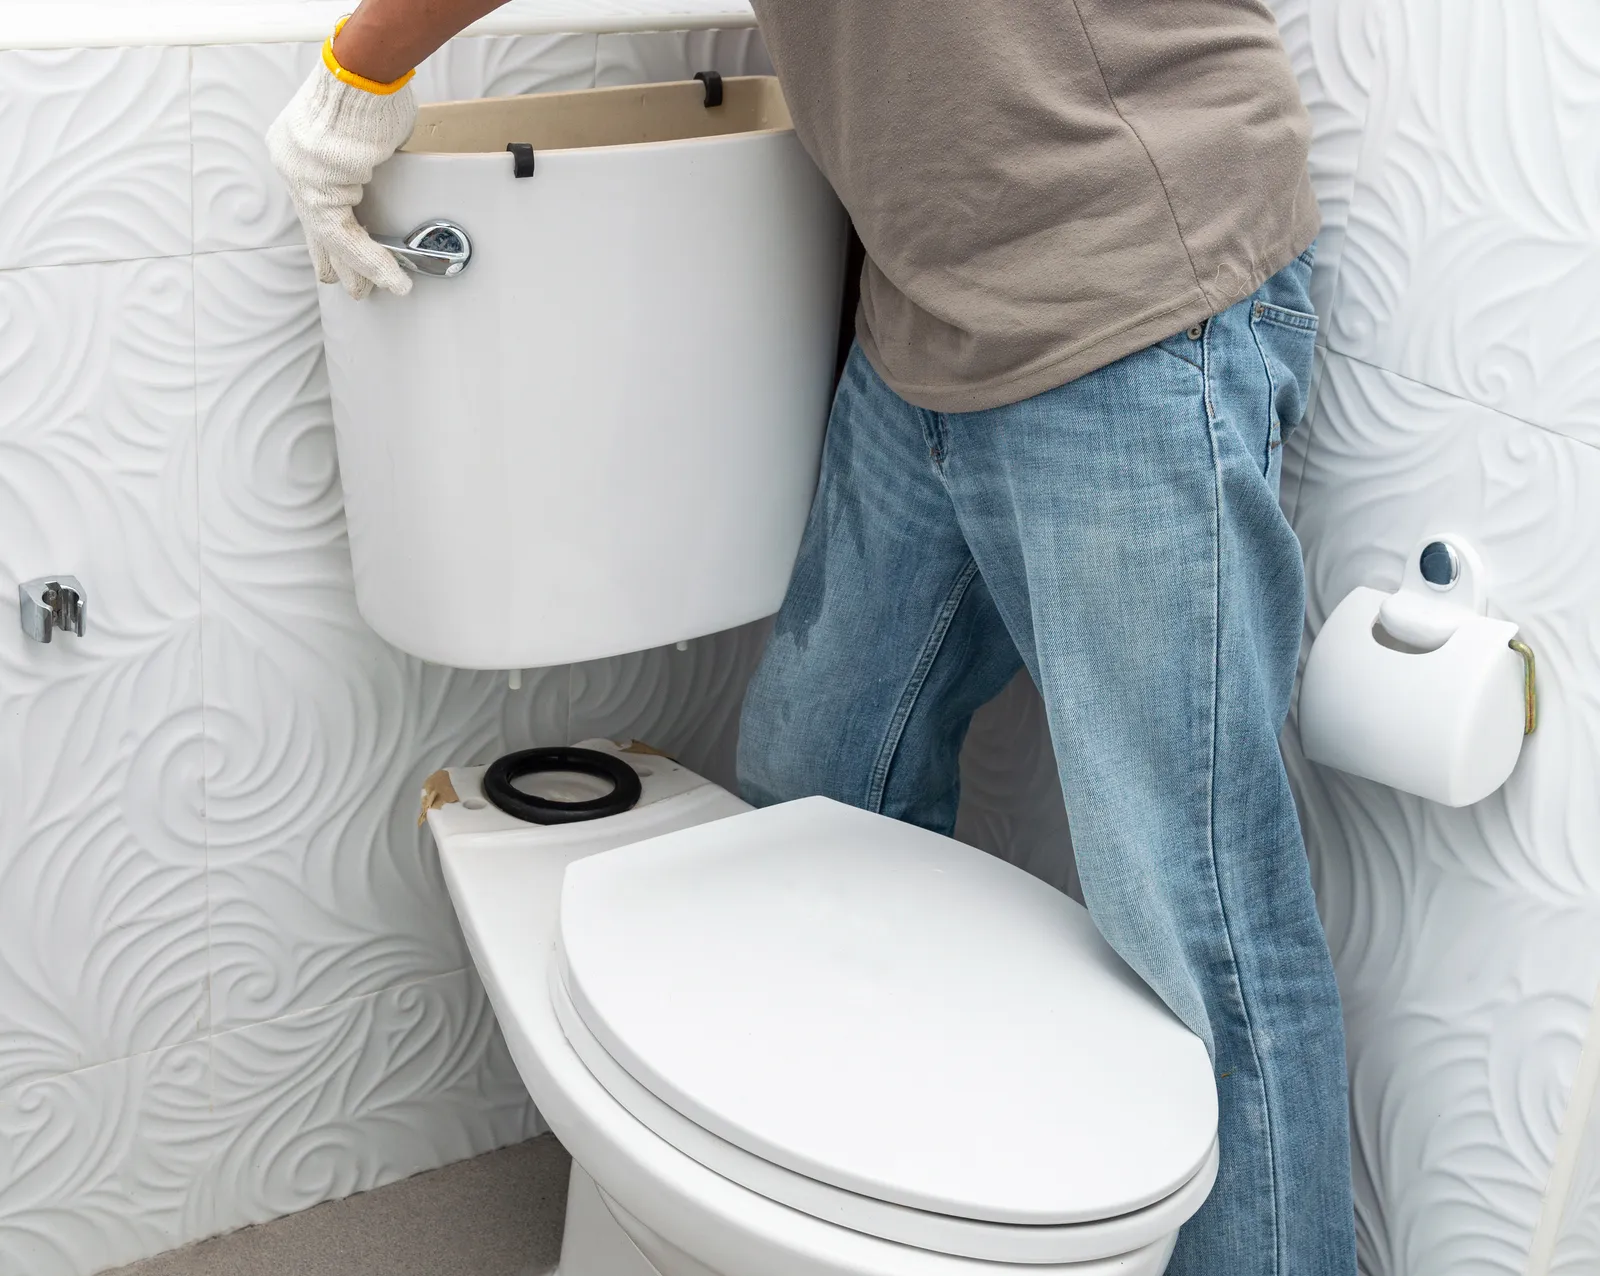
Step 1: Shut Off the Water Supply
Before beginning any work on the toilet bowl, it's crucial to shut off the water supply to the toilet. This step is essential for preventing potential leaks and minimizing the risk of water damage during the repair process. Here's a detailed guide on how to shut off the water supply to the toilet:
-
Locate the Shut-Off Valve: The shut-off valve is typically located on the wall behind the toilet. It is connected to the water supply line that feeds water into the toilet tank. The valve is usually a small knob or lever that can be turned to stop the flow of water.
-
Turn Off the Water: Rotate the shut-off valve clockwise to close it. This action will cut off the water supply to the toilet, preventing water from entering the tank and bowl.
-
Flush the Toilet: After shutting off the water supply, flush the toilet to drain the remaining water from the tank and bowl. This step will help minimize the water level in the toilet, making it easier to work on the internal components.
-
Verify the Water Supply is Off: Once the toilet has been flushed, check the tank and bowl to ensure that water is no longer flowing into the toilet. This verification step is crucial for confirming that the shut-off valve has effectively stopped the water supply.
By following these steps to shut off the water supply, you can create a safe and dry working environment for the subsequent repair tasks. This initial precautionary measure sets the stage for a smooth and efficient repair process, allowing you to address the toilet bowl issue with confidence and peace of mind. With the water supply successfully turned off, you're now ready to proceed to the next steps in fixing the toilet bowl.
Read more: How To Descale A Toilet Bowl
Step 2: Drain the Toilet Bowl
Draining the toilet bowl is a crucial step in the repair process, as it allows for easier access to the internal components and reduces the risk of water spillage during the subsequent repairs. Here's a detailed guide on how to effectively drain the toilet bowl:
-
Prepare the Work Area: Before draining the toilet bowl, place a bucket nearby to collect the water that will be emptied from the bowl. Additionally, ensure that the area around the toilet is clear of any obstacles to provide ample space for the repair process.
-
Remove Excess Water: If the toilet bowl contains a significant amount of water, use a small cup or a plastic container to scoop out as much water as possible and transfer it to the bucket. This step will help reduce the water level in the bowl, making it easier to work on the internal components.
-
Empty the Tank: Lift the lid of the toilet tank and set it aside. Inside the tank, locate the flapper, which is the rubber mechanism connected to the flush handle. Gently lift the flapper to allow the water in the tank to flow into the bowl. As the water drains from the tank, it will contribute to lowering the water level in the bowl.
-
Inspect the Drainage: Once the water level in the bowl has been significantly reduced, visually inspect the drainage to ensure that the majority of the water has been emptied into the bucket. This step is essential for confirming that the bowl is adequately drained and ready for the subsequent repair tasks.
By effectively draining the toilet bowl, you create a more manageable and controlled environment for addressing the underlying issues. This preparatory step sets the stage for a focused and efficient repair process, allowing you to proceed with the necessary inspections and repairs with ease. With the toilet bowl successfully drained, you're now ready to move on to the next steps in fixing the toilet bowl.
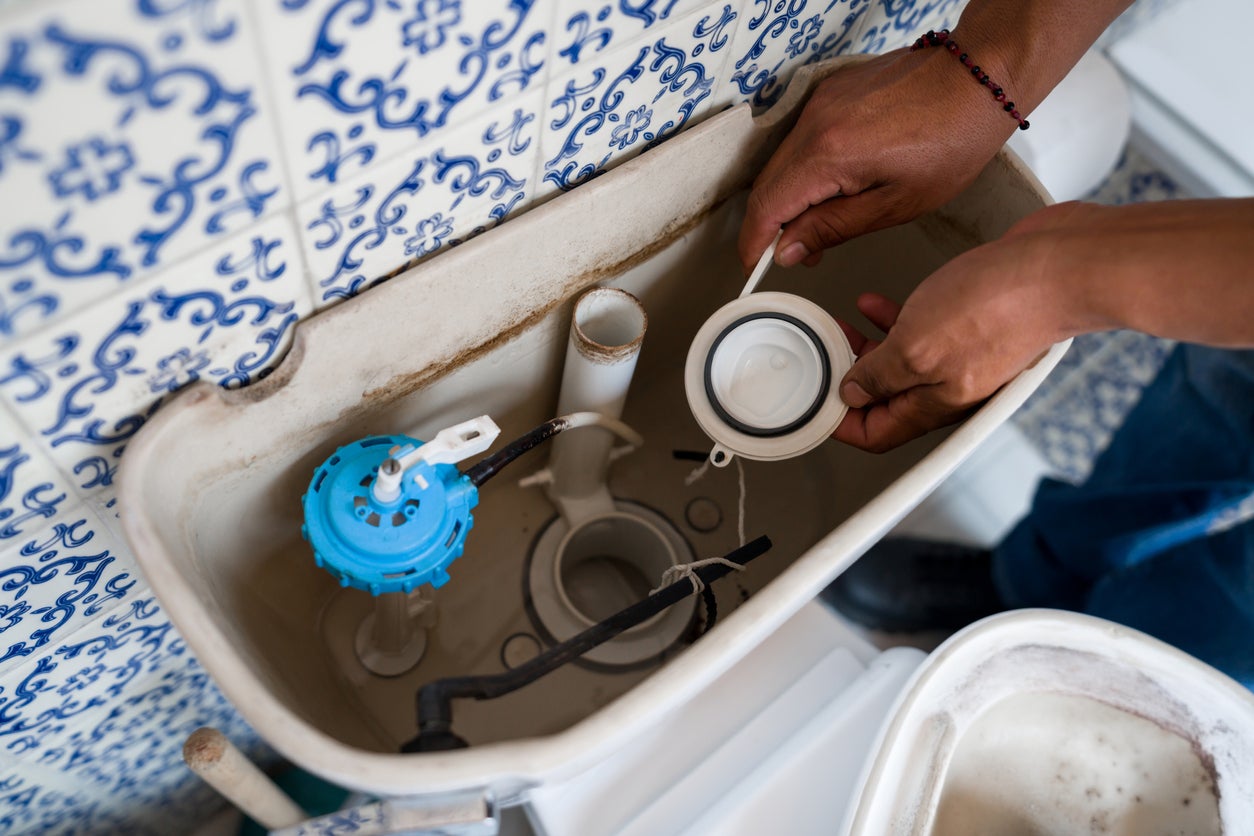
Step 3: Inspect and Fix the Flapper
The flapper is a crucial component of the toilet's flushing mechanism, responsible for controlling the release of water from the tank into the bowl during the flushing process. Over time, the flapper can deteriorate or become misaligned, leading to issues such as continuous running or incomplete flushing. In this step, we will guide you through the process of inspecting and fixing the flapper to address these common toilet bowl problems.
Inspection
-
Visual Examination: Start by visually inspecting the flapper for any signs of wear, damage, or misalignment. Look for cracks, tears, or deformation in the rubber material of the flapper. Additionally, check for mineral deposits or debris that may be preventing the flapper from forming a proper seal.
-
Operational Test: Flush the toilet and observe the flapper's performance. Pay attention to how the flapper closes after the flush cycle. If the flapper does not seal tightly or if it closes too quickly, it may indicate a need for adjustment or replacement.
Fixing the Flapper
-
Cleaning and Adjustment: If the flapper appears to be in good condition but is not sealing properly, use a wire brush to clean any mineral deposits or debris from the flapper and the sealing surface in the flush valve opening. Additionally, adjust the chain length connecting the flapper to the flush handle to ensure proper slack for smooth operation.
-
Replacement: If the flapper shows signs of wear, damage, or if cleaning and adjustment do not resolve the issue, it may be necessary to replace the flapper. Turn off the water supply to the toilet, remove the old flapper, and install a new one according to the manufacturer's instructions.
Read more: How To Dispose Of A Toilet Bowl
Testing
After inspecting and fixing the flapper, restore the water supply to the toilet and perform a test flush. Observe the flapper's performance and ensure that it forms a tight seal after each flush. Additionally, check for any signs of water leakage from the tank into the bowl. If the flapper operates smoothly and effectively seals the flush valve, you have successfully addressed this critical component of the toilet's flushing system.
By carefully inspecting and addressing issues related to the flapper, you can effectively resolve common toilet bowl problems such as continuous running, incomplete flushing, and water wastage. This proactive approach to maintaining and repairing the flapper ensures optimal flushing performance and contributes to the overall functionality of the toilet. With the flapper inspected and fixed, you're now ready to proceed to the next steps in the process of fixing the toilet bowl.
Step 4: Check and Adjust the Fill Valve
The fill valve, also known as the ballcock or float valve, plays a crucial role in regulating the water level within the toilet tank and controlling the refilling process after each flush. Over time, the fill valve may experience issues such as inconsistent water levels, continuous running, or slow refilling, all of which can impact the overall performance of the toilet. In this step, we will guide you through the process of checking and adjusting the fill valve to ensure optimal functionality.
Inspection
-
Visual Examination: Begin by visually inspecting the fill valve for any signs of wear, corrosion, or malfunction. Check for mineral deposits or debris that may be obstructing the valve's movement or interfering with its ability to maintain the proper water level in the tank.
-
Operational Test: Flush the toilet and observe the performance of the fill valve as the tank refills. Pay attention to the water level in the tank and listen for any unusual sounds or prolonged refilling. If the water level is too low or too high, or if the fill valve continues to run after the tank is filled, it may indicate a need for adjustment.
Adjusting the Fill Valve
-
Water Level Adjustment: To adjust the water level in the tank, locate the adjustment screw or knob on the fill valve. Depending on the type of fill valve, turning the screw or knob clockwise will typically raise the water level, while turning it counterclockwise will lower the water level. Make incremental adjustments and flush the toilet to test the water level until it reaches the desired height, typically indicated by a marked water line within the tank.
-
Cleaning and Maintenance: If the fill valve is obstructed by mineral deposits or debris, use a cleaning solution or vinegar to dissolve the buildup and restore the valve's proper function. Ensure that the valve's moving parts are free from obstructions and operate smoothly to control the water flow.
Read more: How To Dispose Of A Toilet Bowl
Testing
After adjusting and cleaning the fill valve, restore the water supply to the toilet and allow the tank to refill after a flush. Observe the fill valve's performance and verify that it effectively maintains the desired water level in the tank without continuous running or overfilling. Additionally, listen for any unusual sounds or vibrations that may indicate ongoing issues with the fill valve.
By carefully inspecting and adjusting the fill valve, you can address common toilet bowl problems related to water level regulation and refilling. This proactive approach to maintaining and repairing the fill valve ensures efficient water usage and contributes to the overall functionality of the toilet. With the fill valve checked and adjusted, you're now ready to proceed to the subsequent steps in the process of fixing the toilet bowl.
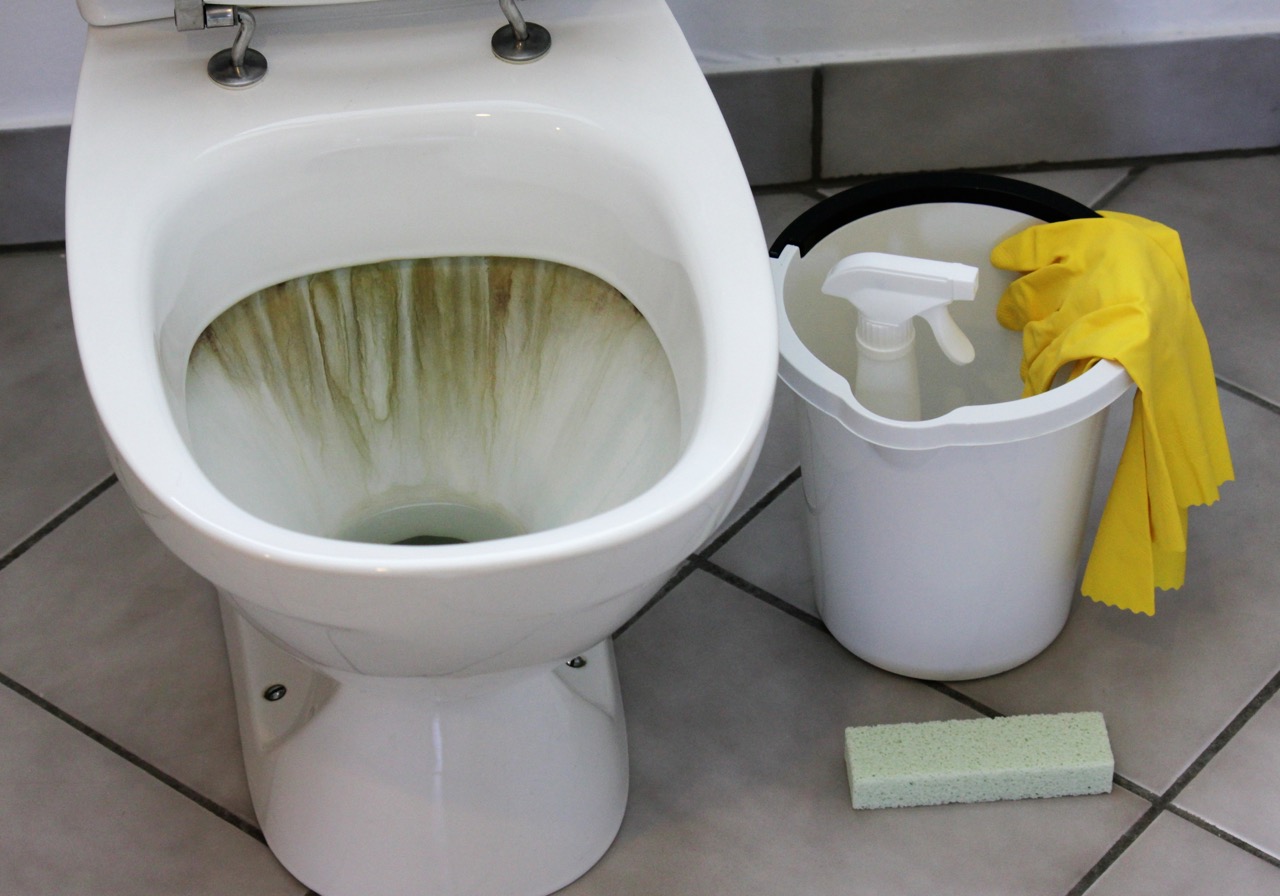
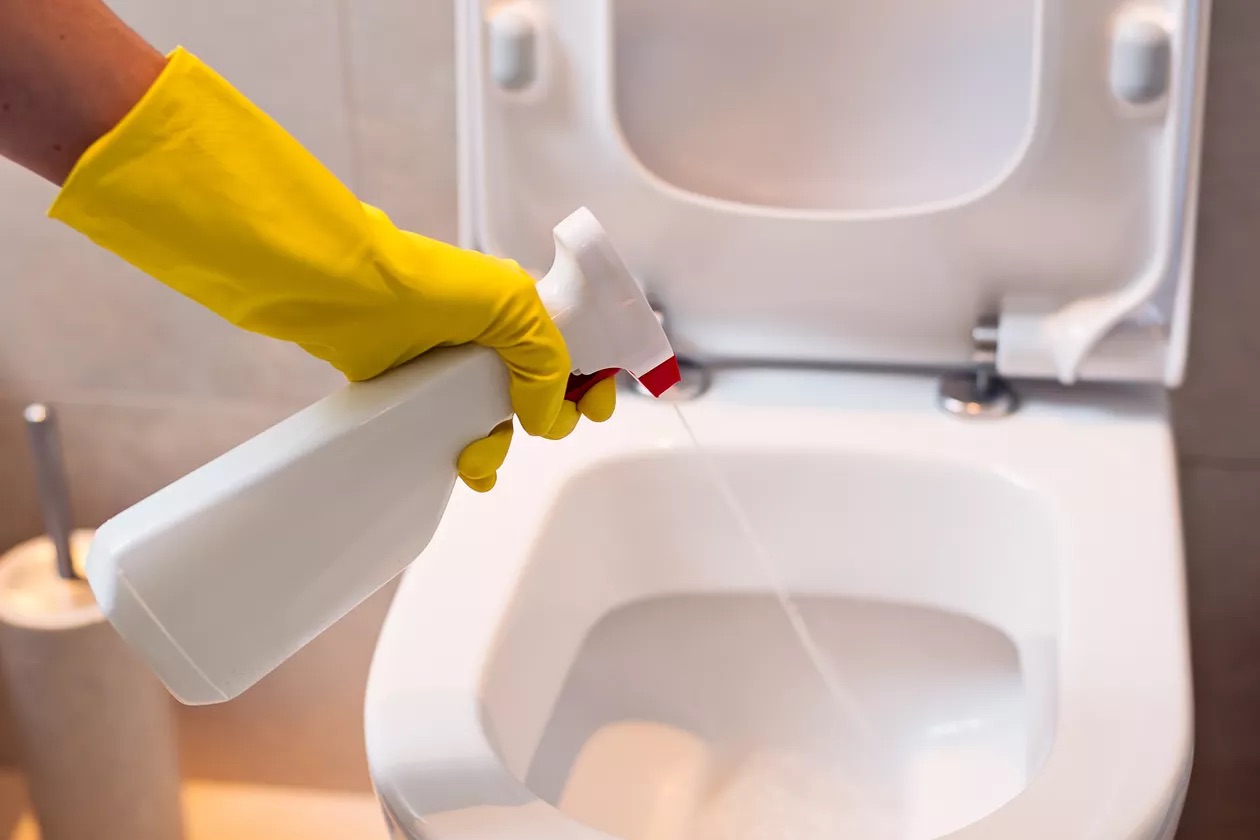
Step 5: Clean the Toilet Bowl
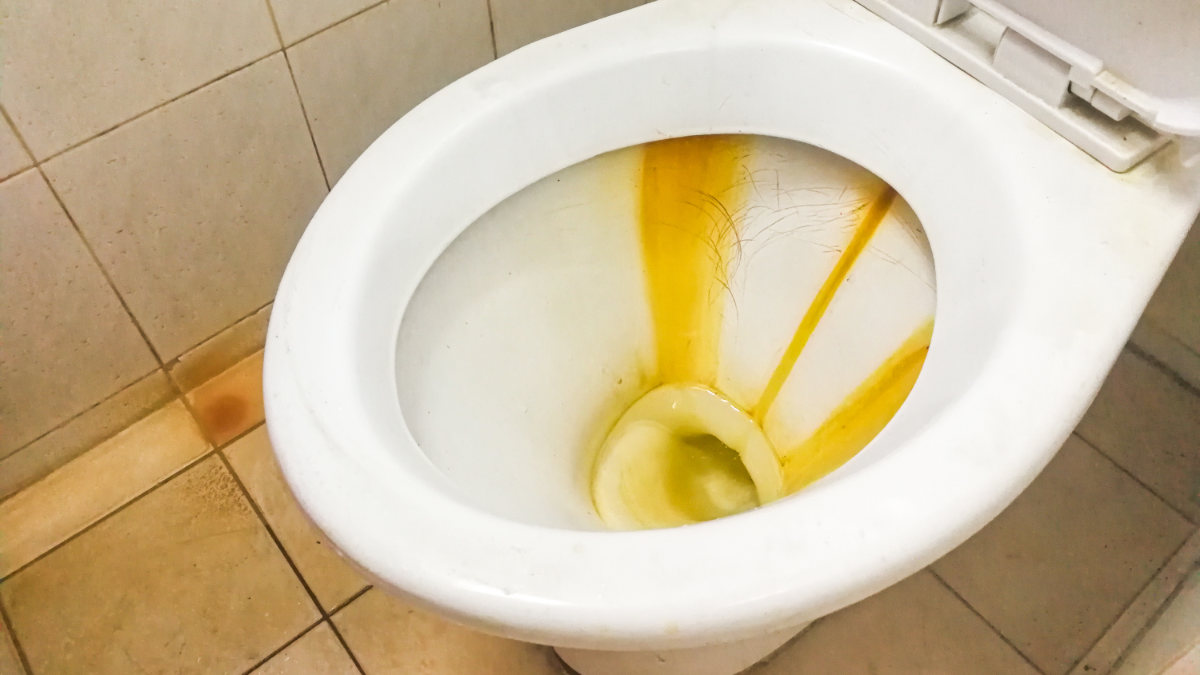
Cleaning the toilet bowl is an essential part of maintaining a hygienic and pleasant bathroom environment. Over time, mineral deposits, stains, and bacteria can accumulate in the toilet bowl, leading to unsightly discoloration and unpleasant odors. In this step, we will guide you through the process of effectively cleaning the toilet bowl to restore its cleanliness and freshness.
Preparation
Before beginning the cleaning process, gather the necessary materials, including a toilet bowl cleaner or a mixture of vinegar and baking soda, a toilet brush, rubber gloves, and a supply of clean rags or paper towels. Additionally, ensure proper ventilation in the bathroom by opening a window or turning on the exhaust fan to minimize exposure to cleaning fumes.
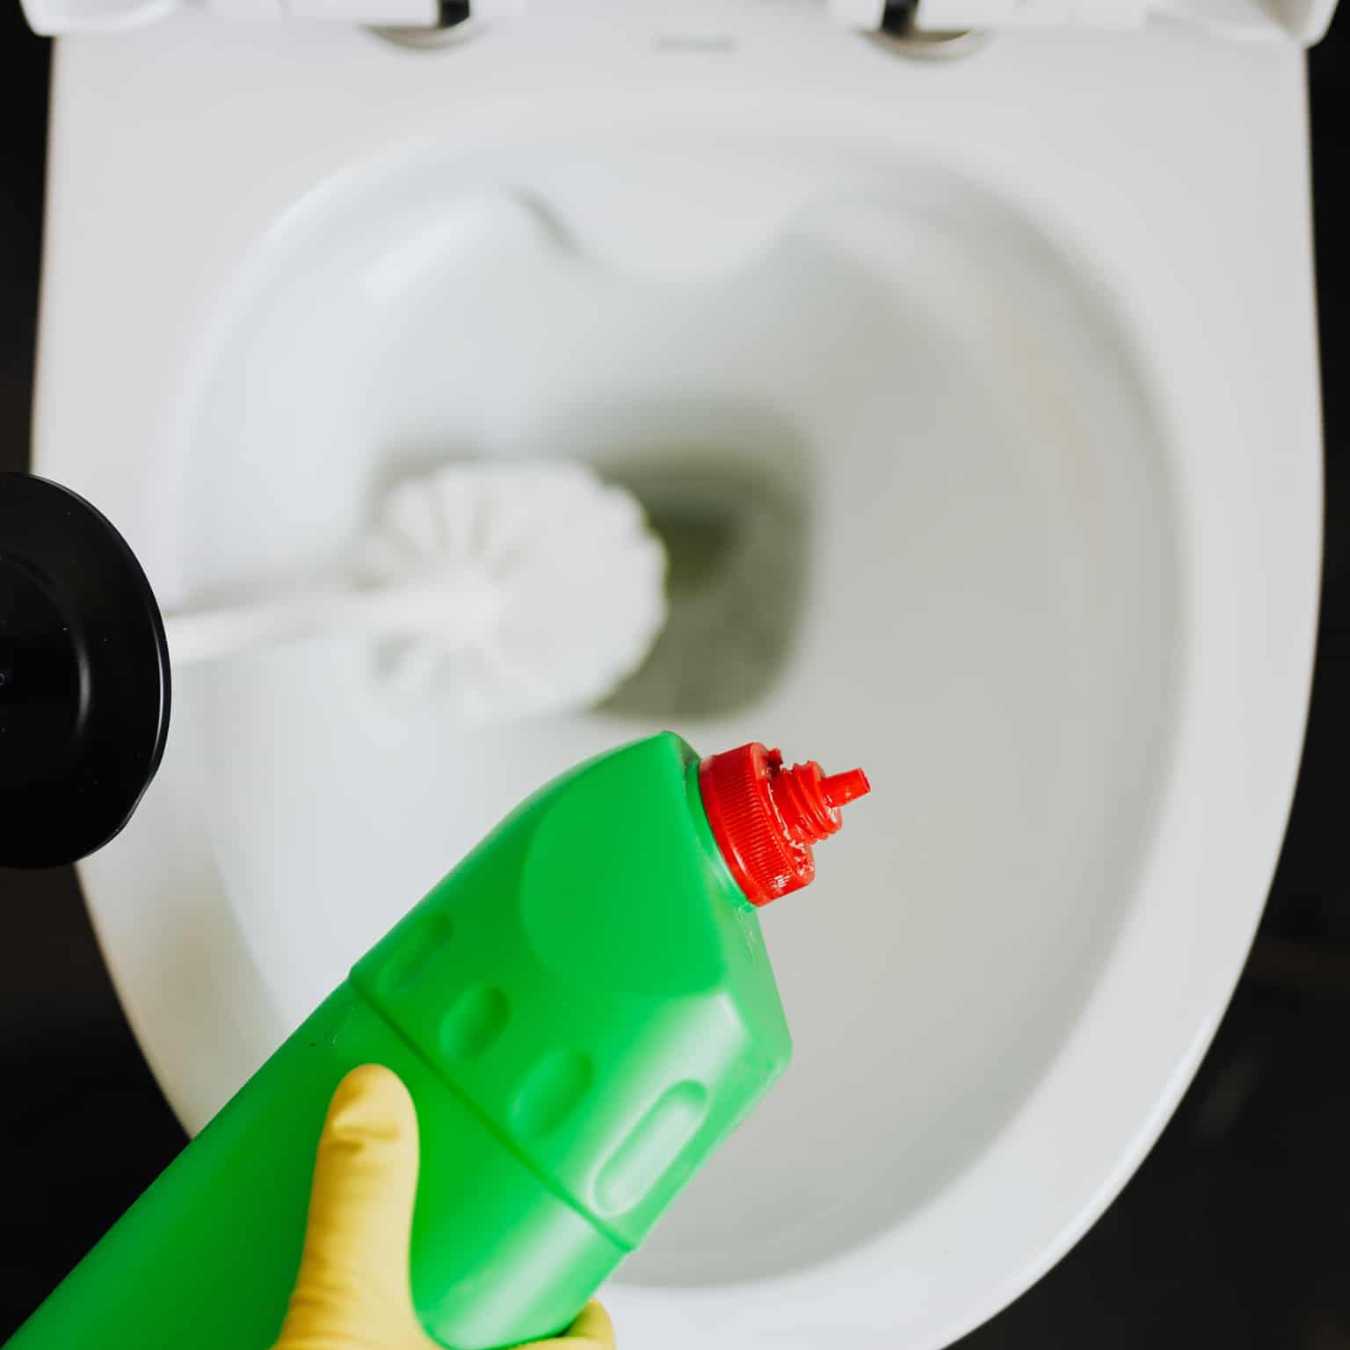
Application of Cleaner
If using a commercial toilet bowl cleaner, carefully follow the manufacturer's instructions for application and safety precautions. Apply the cleaner directly to the inside of the toilet bowl, ensuring thorough coverage of the entire surface, including under the rim and around the waterline. If using a natural cleaning solution, such as vinegar and baking soda, pour the vinegar into the bowl and add the baking soda, allowing the mixture to fizz and foam.
Read more: How To Remove A Toilet Bowl
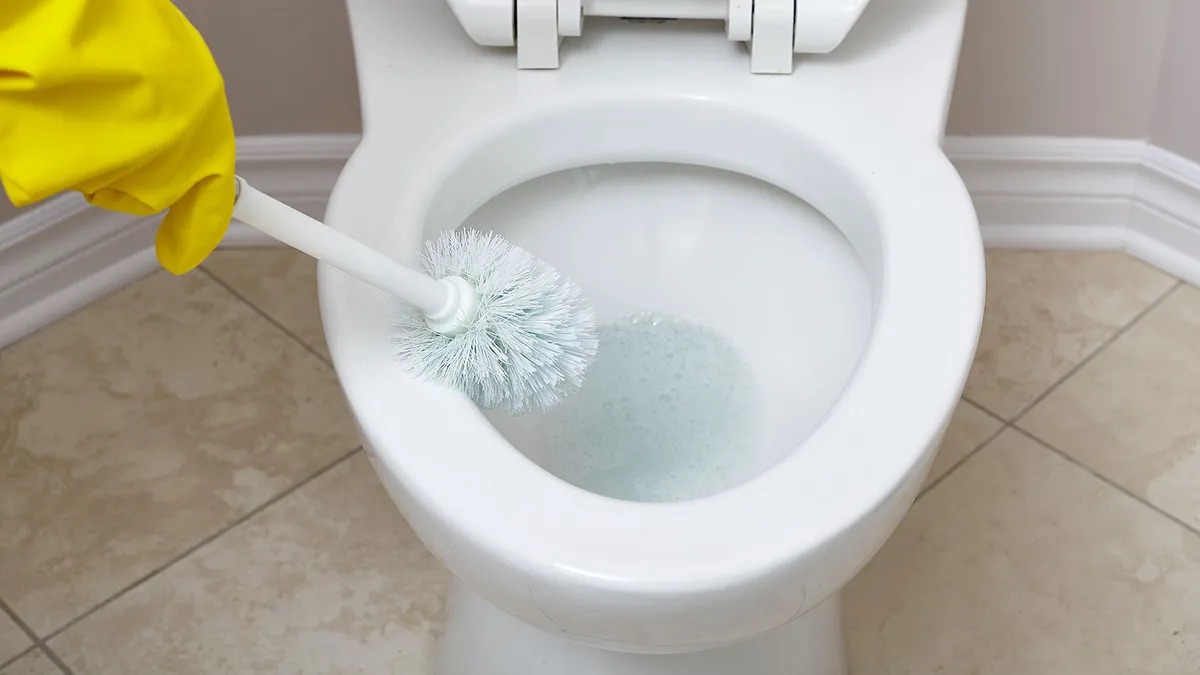
Scrubbing and Removal of Stains
Using a toilet brush, scrub the interior of the toilet bowl, focusing on areas with visible stains, mineral deposits, or discoloration. Apply additional cleaner or vinegar as needed to target stubborn stains and buildup. Pay particular attention to the rim and jets of the bowl, as these areas can harbor bacteria and mineral deposits that contribute to odors and discoloration.
Soaking and Disinfection
Allow the cleaner or vinegar and baking soda mixture to sit in the toilet bowl for the recommended duration to effectively break down stains and disinfect the surface. During this time, the cleaning solution will work to dissolve mineral deposits and kill bacteria, leaving the bowl sanitized and refreshed.
Final Rinse and Wipe Down
After the cleaning solution has had time to work its magic, use the toilet brush to thoroughly scrub the bowl once more, ensuring that all surfaces are clean and free from residue. Flush the toilet to rinse the bowl, allowing clean water to flow through and remove any remaining cleaning solution. Use clean rags or paper towels to wipe down the exterior of the toilet and the surrounding floor, ensuring a tidy and polished finish.
By following these steps to clean the toilet bowl, you can effectively remove stains, mineral deposits, and bacteria, leaving the bowl sparkling clean and odor-free. This regular maintenance not only enhances the appearance of the bathroom but also contributes to a healthier and more inviting environment for you and your family. With the toilet bowl now thoroughly cleaned, you can take pride in knowing that your bathroom is a clean and welcoming space for all who use it.
Step 6: Test the Toilet
After completing the necessary repairs and maintenance tasks, it's crucial to thoroughly test the toilet to ensure that the issues have been effectively addressed and that the bowl is functioning as intended. Testing the toilet involves a series of checks and observations to verify that the repairs have been successful and that the toilet is operating optimally. Here's a detailed guide on how to effectively test the toilet after performing the necessary maintenance:
-
Water Supply Restoration: Begin by turning the water supply back on to allow the toilet tank to refill after the repairs and cleaning have been completed. Monitor the refilling process to ensure that the fill valve operates smoothly and maintains the appropriate water level in the tank.
-
Flush Testing: Perform multiple test flushes to observe the flushing mechanism's performance. Pay attention to the strength and efficiency of the flush, ensuring that the bowl empties and refills properly without any signs of running or leakage.
-
Water Level Verification: After each flush, visually inspect the water level in the tank to confirm that it reaches the designated fill line and that the fill valve effectively stops the refilling process once the proper water level is reached.
-
Flapper Seal Check: Observe the flapper's sealing action after each flush to ensure that it forms a tight seal over the flush valve, preventing water from continuously running into the bowl. Listen for any signs of water leakage or running that may indicate a faulty flapper seal.
-
Toilet Bowl Inspection: Visually inspect the interior of the toilet bowl to ensure that it has been thoroughly cleaned and that any stains or mineral deposits have been effectively removed. Verify that the bowl is clean, odor-free, and free from any residual cleaning solution.
-
Functional Testing: Test the functionality of the toilet handle, ensuring that it operates smoothly and effectively triggers the flushing mechanism. Check for any signs of handle sticking or resistance that may indicate a need for adjustment.
By conducting a comprehensive test of the toilet, you can confirm that the repairs and maintenance tasks have been successful and that the bowl is fully operational. This final step provides peace of mind, knowing that the toilet is in optimal working condition and that any previous issues have been effectively resolved. With the toilet successfully tested and verified, you can confidently return to regular use, enjoying the benefits of a well-maintained and fully functional toilet.
Read more: How To Empty A Toilet Bowl
Conclusion
In conclusion, successfully fixing a toilet bowl involves a systematic approach that encompasses shutting off the water supply, draining the bowl, inspecting and addressing the flapper and fill valve, cleaning the bowl, and conducting thorough testing. By following these steps, you can effectively address common toilet bowl issues and ensure that your toilet operates optimally.
Taking on the task of fixing a toilet bowl not only saves time and money but also empowers you to take control of the maintenance and functionality of an essential fixture in your home. The satisfaction of successfully resolving toilet bowl issues and restoring proper functionality is a rewarding experience that contributes to a sense of accomplishment and self-sufficiency.
Furthermore, the proactive approach to maintaining and repairing the toilet bowl contributes to a hygienic and pleasant bathroom environment. By addressing issues such as continuous running, incomplete flushing, and mineral deposits, you can ensure that the toilet remains clean, efficient, and odor-free. This, in turn, enhances the overall comfort and functionality of your bathroom space.
Additionally, the knowledge and skills gained from successfully fixing a toilet bowl can be applied to future maintenance tasks, empowering you to address similar issues with confidence and proficiency. By understanding the inner workings of the toilet and the steps involved in its repair and maintenance, you become better equipped to handle household plumbing challenges.
Ultimately, the process of fixing a toilet bowl is not only a practical endeavor but also a valuable learning experience. It fosters a sense of self-reliance and resourcefulness, allowing you to take charge of maintaining an essential aspect of your home. By following the comprehensive guide outlined in this article, you can approach the task of fixing a toilet bowl with confidence and achieve successful results, ensuring that your bathroom remains a functional and inviting space for all who use it.
Frequently Asked Questions about How To Fix A Toilet Bowl
Was this page helpful?
At Storables.com, we guarantee accurate and reliable information. Our content, validated by Expert Board Contributors, is crafted following stringent Editorial Policies. We're committed to providing you with well-researched, expert-backed insights for all your informational needs.
0 thoughts on “How To Fix A Toilet Bowl”