Home>Gardening & Outdoor>Outdoor Structures>How To Install A Pergola On Grass
Outdoor Structures
How To Install A Pergola On Grass
Modified: August 27, 2024
Learn how to install a pergola on grass and enhance your outdoor space with our comprehensive guide. Discover expert tips for creating stunning outdoor structures.
(Many of the links in this article redirect to a specific reviewed product. Your purchase of these products through affiliate links helps to generate commission for Storables.com, at no extra cost. Learn more)
Introduction
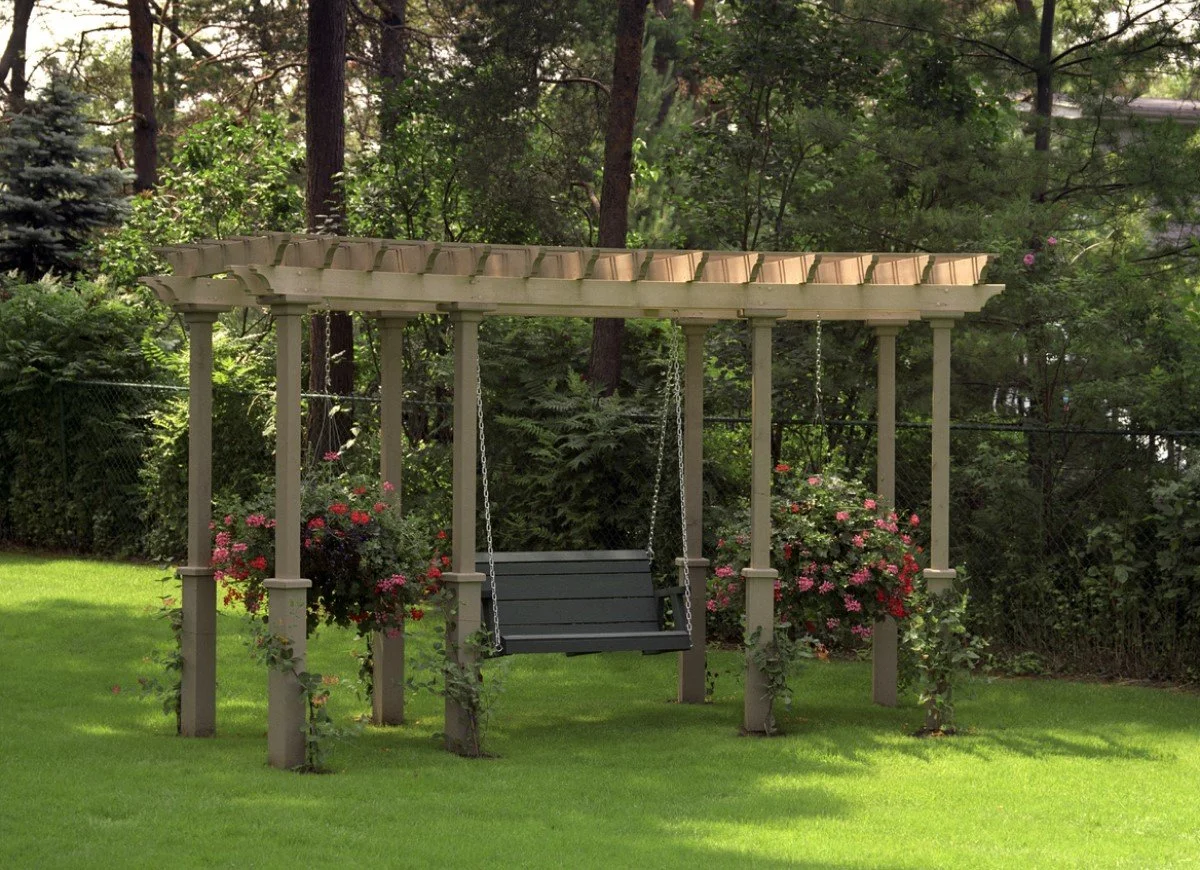
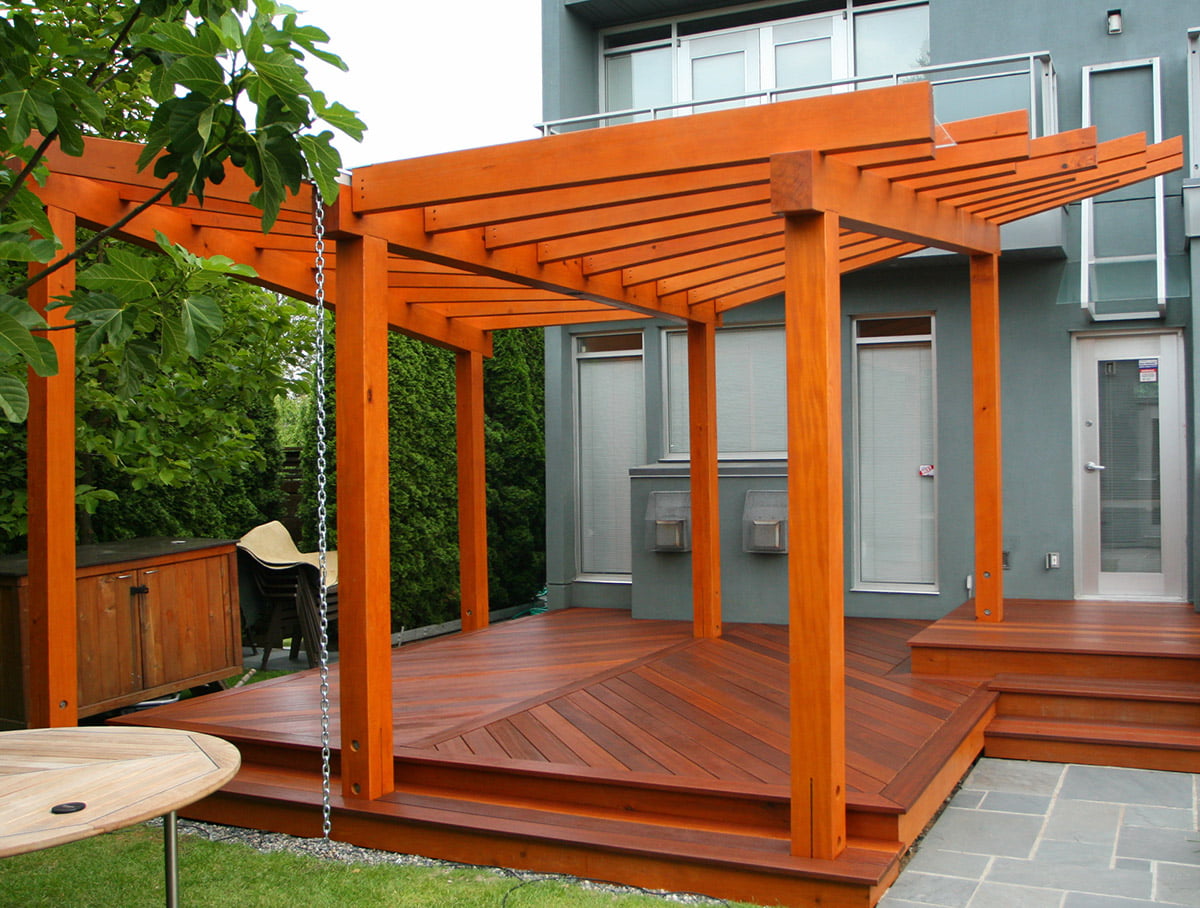
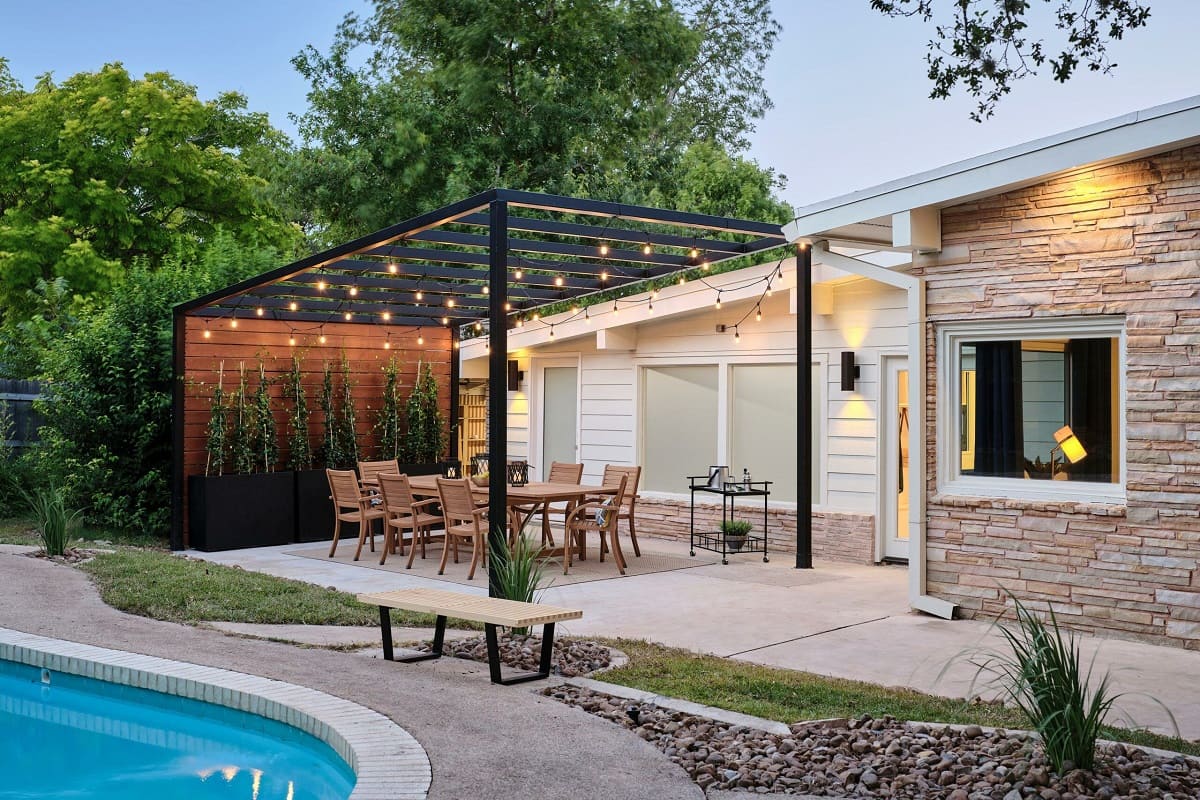
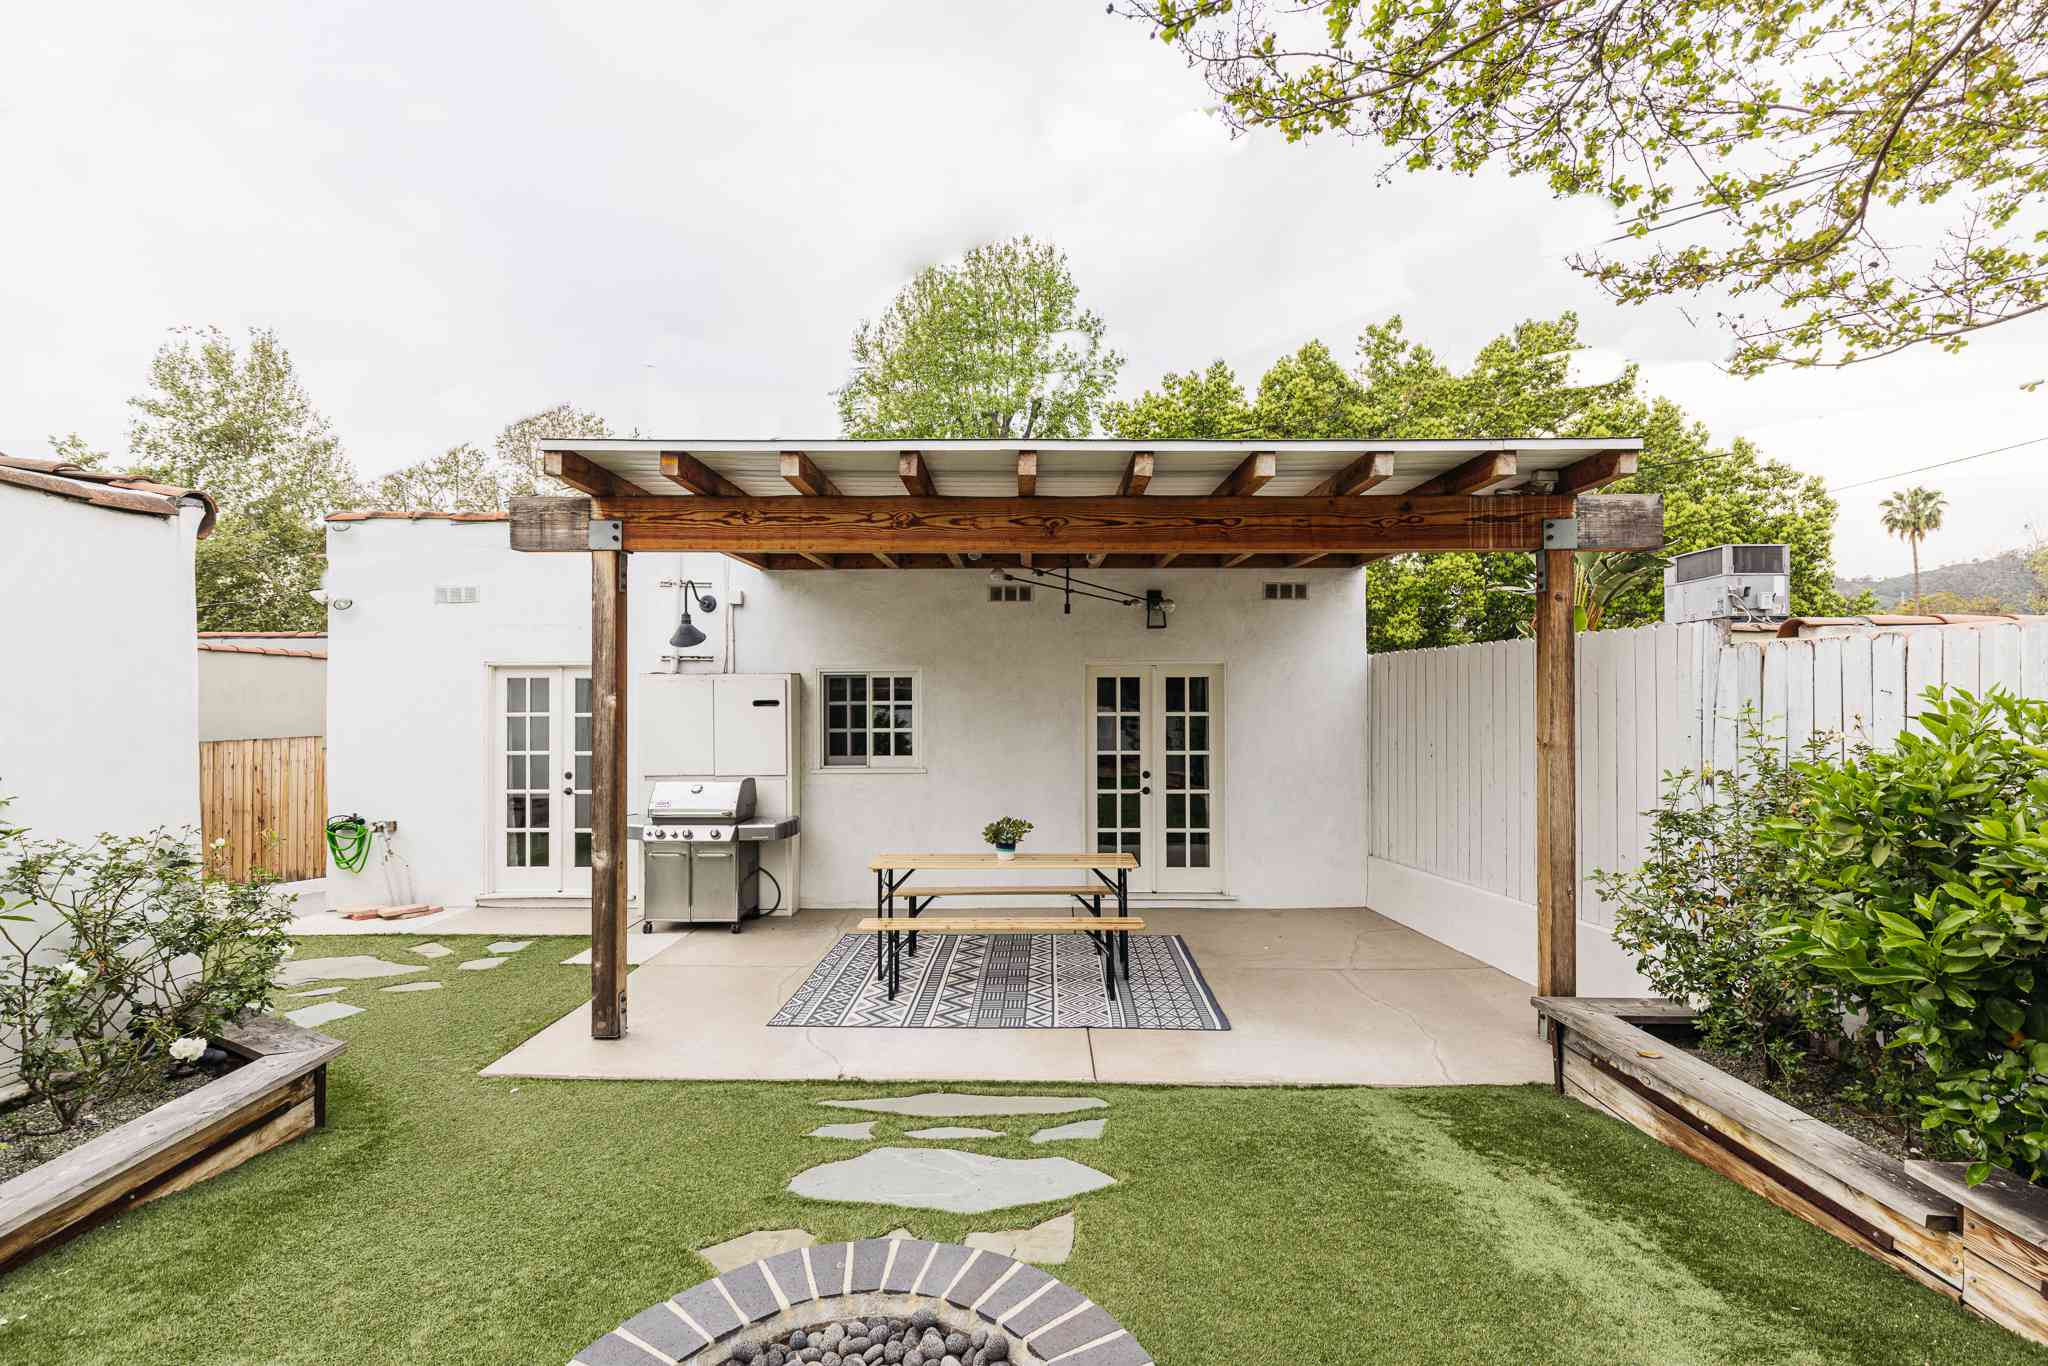
Adding a pergola to your outdoor space can transform it into a captivating and functional area for relaxation and entertainment. Whether you envision it as a cozy retreat for reading or a charming setting for al fresco dining, a pergola offers a perfect blend of beauty and functionality. One of the key decisions when installing a pergola is choosing the right location. While many opt for a patio or deck, installing a pergola on grass can create a picturesque and natural ambiance. In this guide, we’ll walk you through the steps to successfully install a pergola on grass, allowing you to create an inviting outdoor haven right in your backyard.
Key Takeaways:
- Choose a level and sunny spot for your pergola on grass. Consider wind direction and surroundings for a perfect outdoor retreat.
- Carefully prepare the ground and install the posts, crossbeams, and rafters to create a sturdy and visually appealing pergola structure.
Read more: How To Fix A Pergola To A Patio
Step 1: Choose the Location
Before diving into the installation process, it’s crucial to carefully select the ideal location for your pergola. When opting to install a pergola on grass, consider a spot that offers a balance of functionality and aesthetics. Look for an area with level ground to ensure stability and ease of installation. It’s also essential to assess the surrounding landscape, taking note of any trees, shrubs, or other structures that could potentially interfere with the pergola or obstruct the desired view.
Moreover, take into account the orientation of the pergola in relation to the sun’s path throughout the day. This will help determine the amount of shade the pergola provides and the areas it covers, allowing you to maximize its utility. Additionally, consider the prevailing wind direction to ensure that the pergola offers protection from strong gusts, creating a comfortable outdoor environment.
When choosing the location, envision how the pergola will integrate with the natural surroundings and complement the overall landscape. By carefully considering these factors, you can select a prime location that sets the stage for a stunning and functional pergola on your grassy outdoor expanse.
Step 2: Prepare the Ground
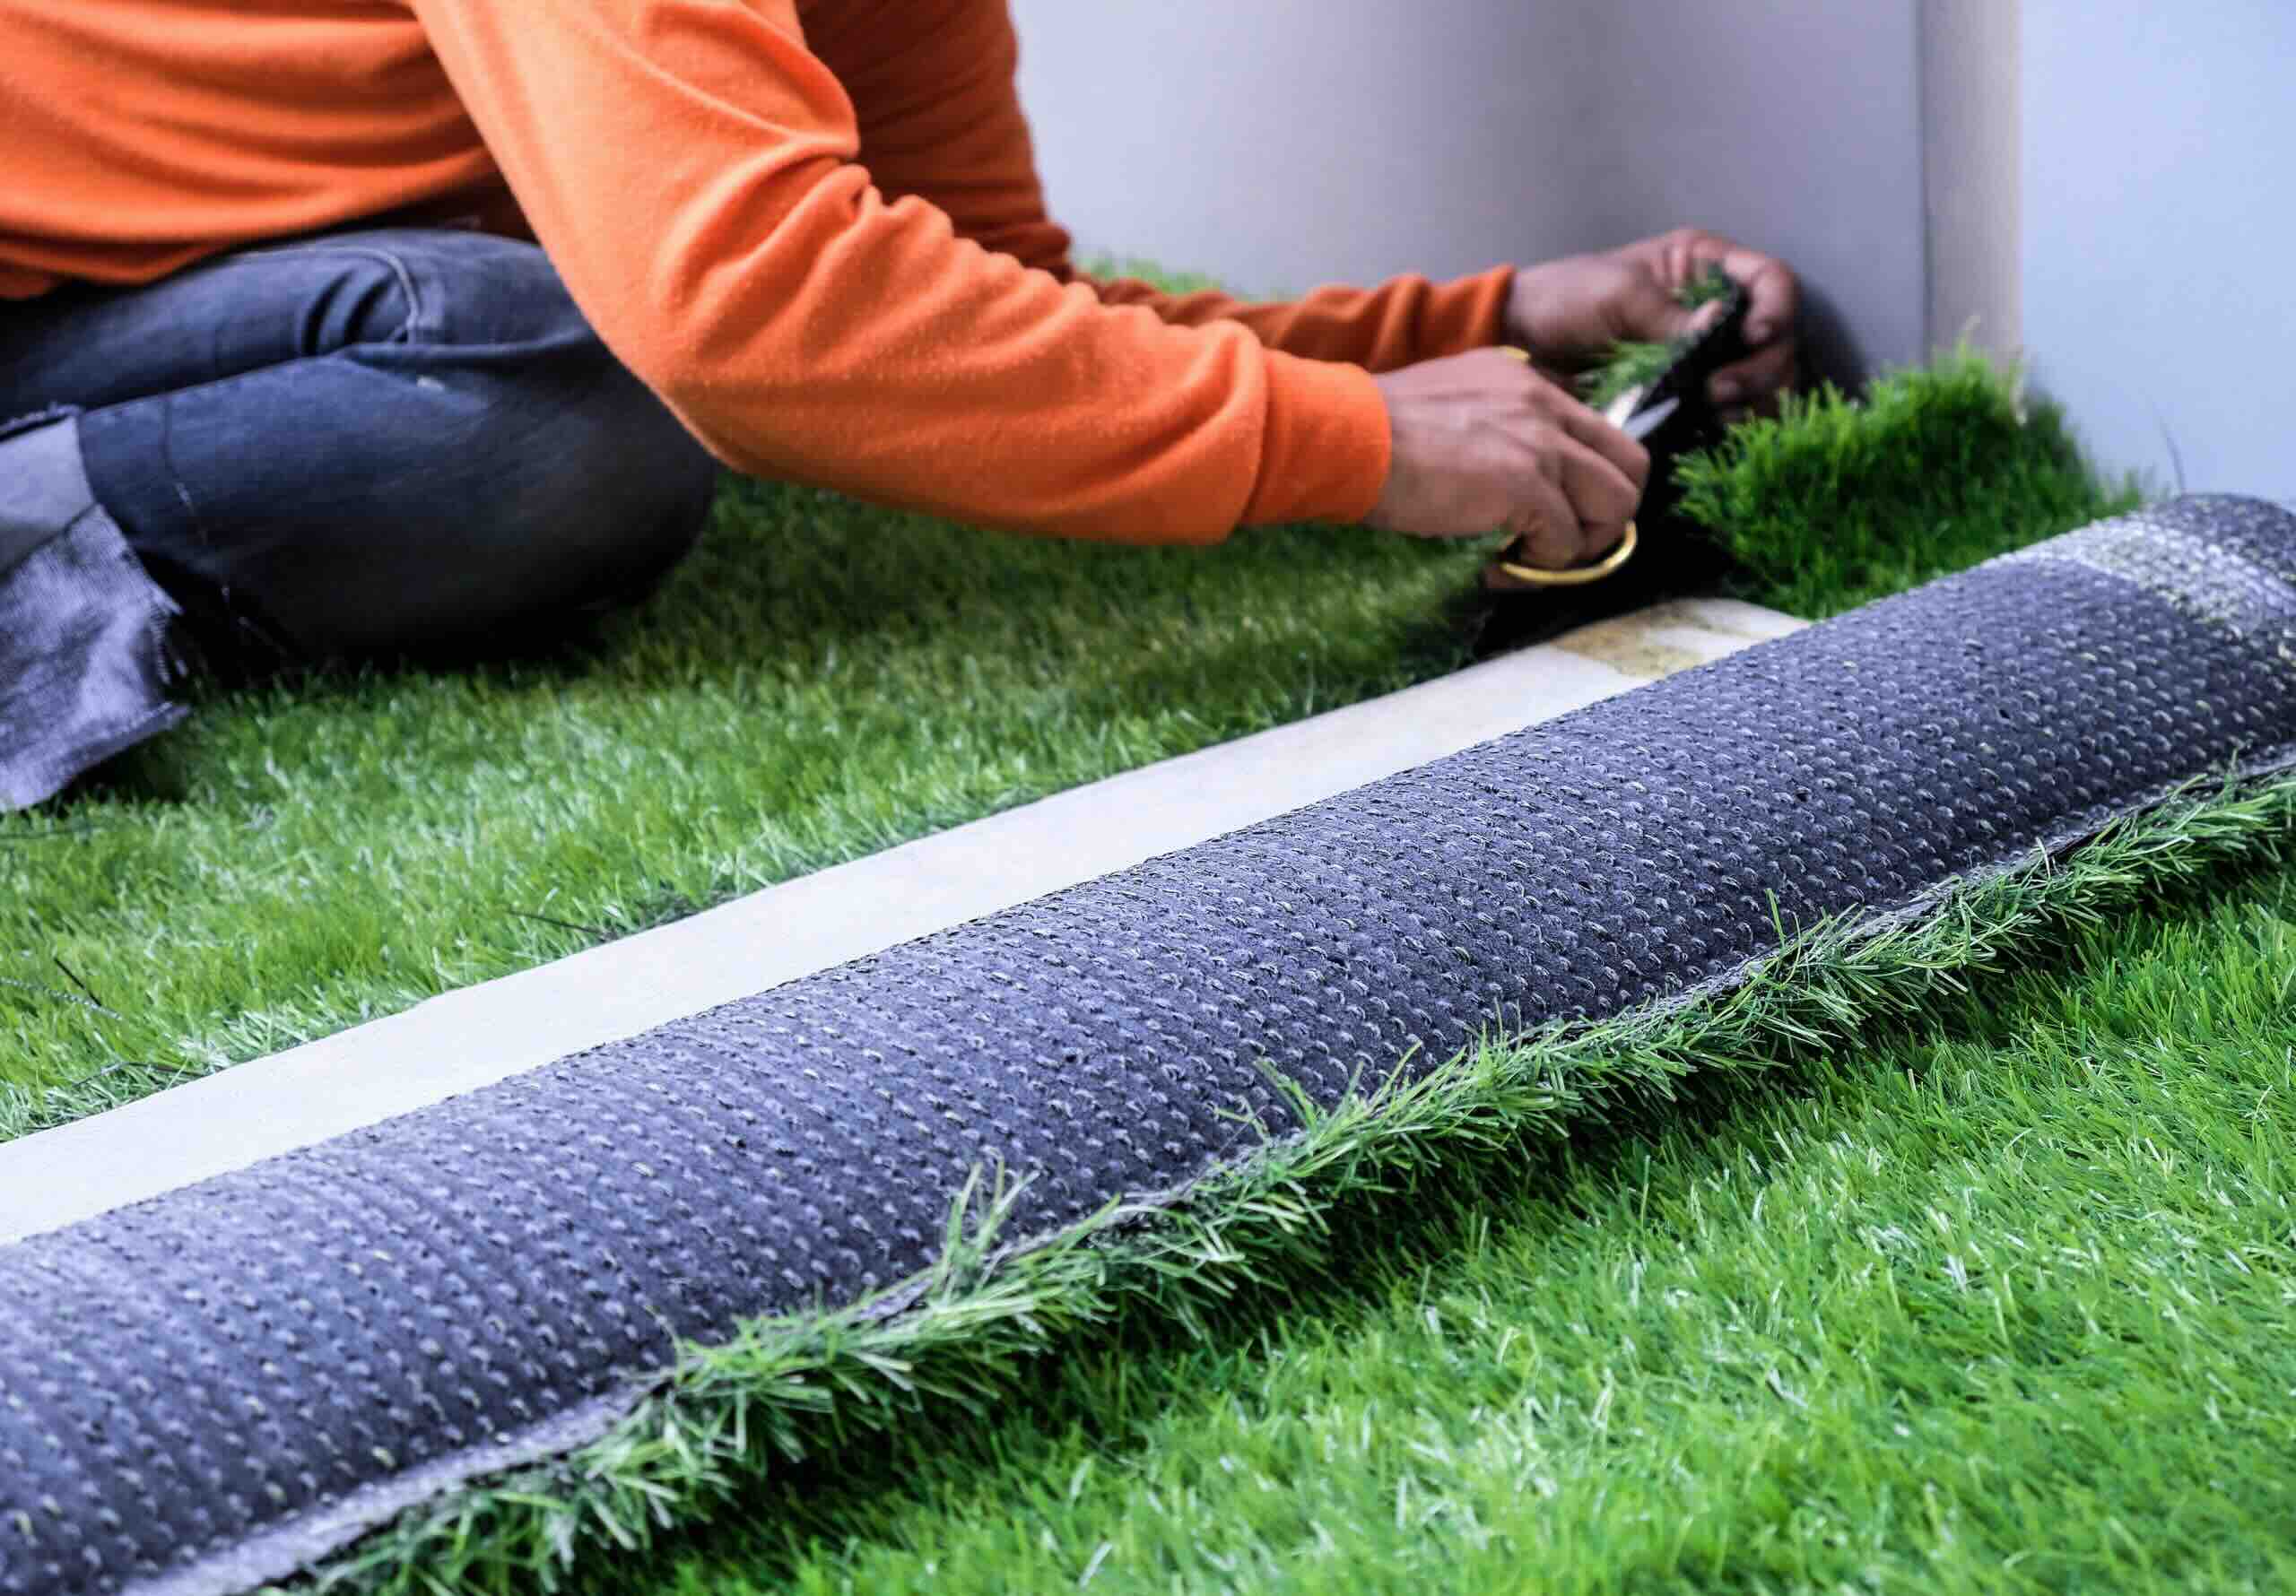
Once you’ve identified the perfect spot for your pergola, the next step is to prepare the ground for installation. Start by clearing the area of any debris, rocks, or vegetation to create a clean and level surface. This will ensure a stable foundation for your pergola and facilitate a smooth installation process.
After clearing the area, measure and mark the precise locations where the pergola’s posts will be placed. Use a tape measure and stakes to outline the perimeters, ensuring that the dimensions are accurate and align with your pergola’s design specifications. It’s essential to double-check the measurements to guarantee that the posts will be positioned correctly.
With the locations marked, proceed to dig holes for the posts. The depth of the holes will depend on the size and design of your pergola, as well as the local building codes. Typically, holes for pergola posts should be at least 24 inches deep to ensure stability. Use a post hole digger to excavate the holes, taking care to maintain uniform depth and width for each hole.
Once the holes are dug, it’s time to insert the post anchors or set the posts directly into the ground. Post anchors provide a secure and stable connection between the posts and the ground, while setting the posts directly into the ground offers a more traditional and rustic appeal. Whichever method you choose, ensure that the posts are positioned vertically and aligned with the designated locations.
After the posts are in place, fill the holes with concrete to secure the anchors or set the posts firmly in the ground. Use a level to ensure that the posts are perfectly upright and plumb. Allow the concrete to cure as per the manufacturer’s instructions, providing a solid foundation for the next steps of the installation process.
By meticulously preparing the ground for your pergola, you’ll establish a sturdy and level base, laying the groundwork for a seamless and enduring outdoor structure.
Step 3: Install the Posts
With the ground prepared, it’s time to proceed with installing the posts for your pergola. Whether you’ve chosen wooden, metal, or vinyl posts, this step forms the structural backbone of your pergola, providing support for the crossbeams and rafters that will follow.
Begin by positioning the posts in the designated locations, ensuring that they align with the layout and dimensions outlined during the ground preparation phase. If you’re using post anchors, secure them to the posts according to the manufacturer’s instructions. This typically involves fastening the anchors to the posts using appropriate hardware, creating a secure connection that will anchor the posts to the ground.
If you’re setting the posts directly into the ground, ensure that they are firmly anchored in the concrete footings and are perfectly plumb. Use a level to verify that each post is vertically aligned, making any necessary adjustments to guarantee their straightness and stability.
Once the posts are in place and securely anchored, it’s essential to verify that they are all at the same height. This ensures a level and uniform installation, laying the foundation for the subsequent components of the pergola. Use a measuring tape to confirm that the posts are all at the desired height, making adjustments as needed to achieve uniformity.
After confirming the height, it’s time to brace the posts to maintain their position and alignment while the installation progresses. Diagonal bracing can be used to temporarily secure the posts, preventing them from shifting during the installation of the crossbeams and rafters. This step is crucial for ensuring that the entire structure remains stable and plumb throughout the installation process.
By diligently installing the posts, you’ll establish a solid framework for your pergola, setting the stage for the subsequent steps that will bring your vision of an enchanting outdoor retreat to life.
Before installing a pergola on grass, make sure to mark the area and remove any obstacles like rocks or roots. Use stakes and string to outline the pergola’s footprint, then dig holes for the posts and secure them with concrete for stability.
Step 4: Attach the Crossbeams
With the posts securely in place, the next pivotal step in installing your pergola on grass is attaching the crossbeams. These horizontal beams will not only provide structural support but also contribute to the overall aesthetic appeal of your outdoor space.
Begin by measuring and cutting the crossbeams to the appropriate length, ensuring that they align with the dimensions of your pergola design. It’s crucial to use a level to mark and confirm the positions where the crossbeams will be attached to the posts. This meticulous approach will result in a well-aligned and visually appealing installation.
Once the positions are marked, it’s time to affix the crossbeams to the posts using appropriate hardware, such as heavy-duty screws or bolts. Position the crossbeams on the posts, ensuring that they are level and evenly spaced. Use a spirit level to check for horizontal alignment, making any necessary adjustments to guarantee precision and uniformity.
As you attach the crossbeams, ensure that they are securely fastened to the posts, providing a stable and durable framework for your pergola. Depending on your design preferences, you may opt for decorative end cuts on the crossbeams, adding a touch of elegance and character to your pergola structure.
Throughout the installation process, it’s essential to maintain a keen eye for detail, ensuring that the crossbeams are not only structurally sound but also visually appealing. By meticulously attaching the crossbeams, you’ll bring your pergola one step closer to becoming a captivating focal point in your outdoor oasis.
Read more: How To Build A Pergola On A Patio
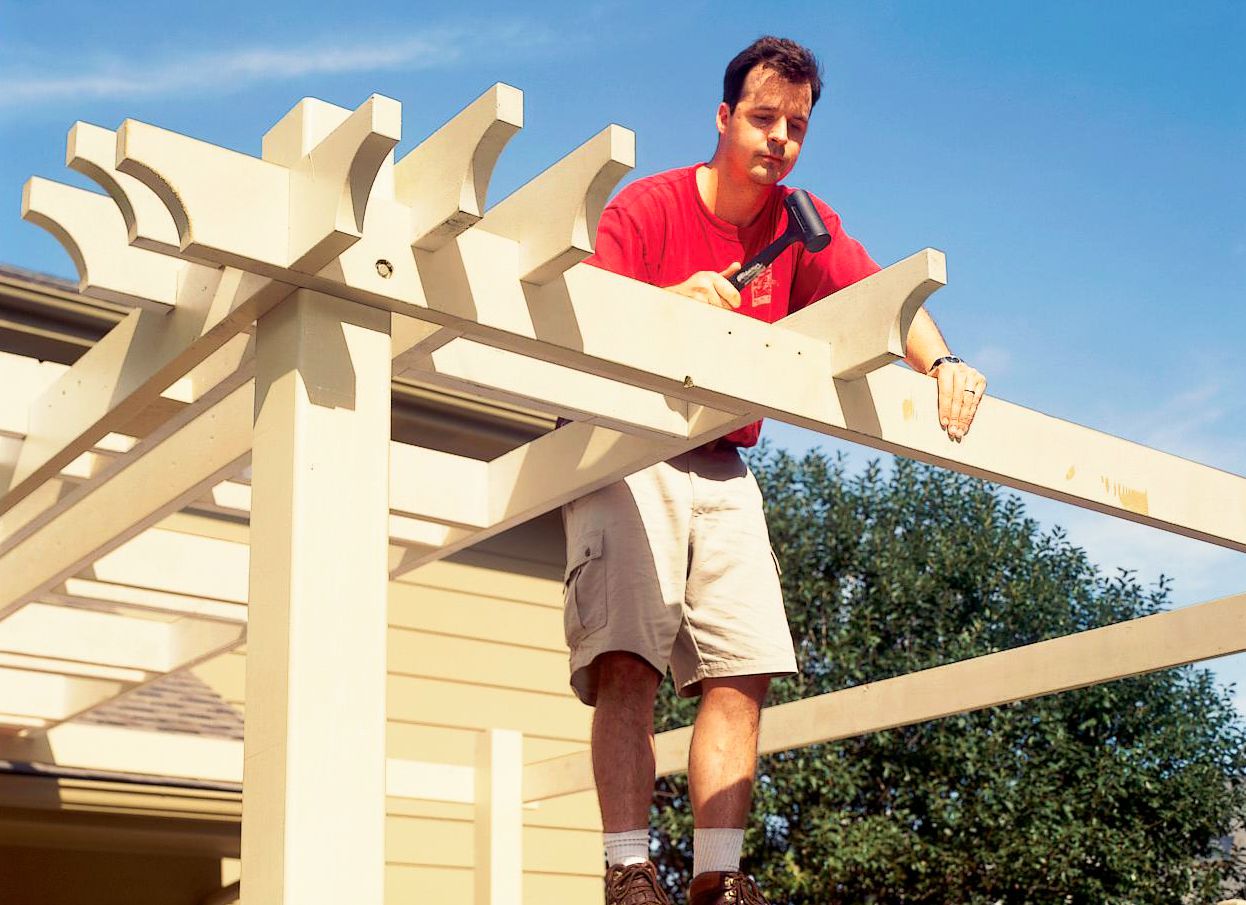
Step 5: Add the Rafters
As your pergola takes shape, the addition of rafters marks a significant milestone in the installation process. These horizontal beams, running perpendicular to the crossbeams, not only contribute to the structural integrity of the pergola but also play a key role in defining its visual appeal.
Begin by measuring and cutting the rafters to the desired length, ensuring that they align with your pergola’s design specifications. It’s crucial to take precise measurements to guarantee a uniform and visually pleasing installation. Once the rafters are cut to size, lay them out on the crossbeams, evenly spacing them to create a balanced and aesthetically pleasing arrangement.
When positioning the rafters, use a level to ensure that they are perfectly horizontal and aligned with the crossbeams. This meticulous approach will result in a visually appealing and structurally sound configuration, enhancing the overall allure of your pergola.
After confirming the alignment, secure the rafters to the crossbeams using appropriate fasteners, such as screws or nails. It’s essential to ensure that the rafters are firmly attached, providing a stable framework for your pergola. Depending on your design preferences, you may opt for decorative end cuts on the rafters, adding a touch of elegance and individuality to your outdoor structure.
Throughout the installation process, maintain a keen eye for detail, ensuring that the rafters are not only securely fastened but also contribute to the visual harmony of your pergola. By meticulously adding the rafters, you’ll bring your vision of a captivating and functional outdoor retreat one step closer to fruition.
Step 6: Secure the Pergola
As the construction of your pergola nears completion, the final step involves securing the entire structure to ensure its stability and longevity. Properly securing the pergola is essential for withstanding various weather conditions and ensuring the safety of those who will enjoy the outdoor space.
Begin by carefully inspecting all connections and fastenings, ensuring that every joint is secure and stable. Tighten any loose bolts or screws and make any necessary adjustments to guarantee that the entire structure is solid and well-anchored.
Next, assess the overall stability of the pergola by gently shaking the structure. If there is any noticeable wobbling or movement, reinforce the connections and make any additional adjustments to eliminate any instability.
Once you’re satisfied with the structural stability, it’s time to consider additional measures to secure the pergola. Depending on your local building codes and the specific conditions of your installation site, you may need to anchor the pergola to the ground using stakes or anchors. This additional reinforcement can provide extra stability, especially in areas prone to strong winds or inclement weather.
Furthermore, if your pergola will support climbing plants or vines, consider installing lattice panels or trellises to provide additional support and stability to the structure. These features not only enhance the aesthetic appeal of the pergola but also contribute to its overall strength and resilience.
Finally, take a moment to appreciate the transformation of your outdoor space as the pergola becomes a stunning focal point. With the pergola securely in place, you can look forward to enjoying countless moments of relaxation, entertainment, and natural beauty in your enhanced outdoor oasis.
Conclusion
Installing a pergola on grass presents a rewarding opportunity to elevate your outdoor space, creating a captivating environment for leisure, entertainment, and relaxation. As you embark on this endeavor, remember that meticulous planning and execution are key to achieving a successful and enduring installation.
By carefully choosing the location, preparing the ground, and methodically installing the posts, crossbeams, and rafters, you lay the foundation for a visually striking and structurally sound pergola. Each step in the installation process contributes to the transformation of your outdoor space, culminating in a captivating structure that enhances the natural beauty of your surroundings.
As you secure the pergola and take a moment to admire the results of your efforts, envision the countless moments of joy and tranquility that await in your newly enhanced outdoor sanctuary. Whether it’s hosting gatherings under the dappled sunlight or savoring peaceful moments of solitude, your pergola on grass is a testament to your commitment to creating a harmonious connection between nature and leisure.
With the pergola securely in place, you’ve not only added an enchanting architectural element to your outdoor landscape but also crafted a space that beckons you to unwind and savor the simple pleasures of outdoor living. Embrace the beauty of your pergola, and let it stand as a testament to the artful fusion of form and function in your outdoor haven.
As you embark on this journey, may your pergola on grass become a cherished retreat, inviting you to create lasting memories and bask in the splendor of nature’s embrace.
Now that you've mastered installing a pergola on grass, why not expand your skills with more outdoor projects? If you're keen on adding a personal touch, try building a DIY Pergola with planters. Ready to get your hands dirty? Learn effective ground preparation techniques for your garden. For those who love a charming boundary, discover creative landscaping ideas with our guide on garden fences.
Frequently Asked Questions about How To Install A Pergola On Grass
Was this page helpful?
At Storables.com, we guarantee accurate and reliable information. Our content, validated by Expert Board Contributors, is crafted following stringent Editorial Policies. We're committed to providing you with well-researched, expert-backed insights for all your informational needs.

0 thoughts on “How To Install A Pergola On Grass”