Articles
How To Close Off Shank On Kegerator
Modified: October 19, 2024
Learn how to efficiently close off the shank on your kegerator with these informative articles. Improve your homebrewing skills and enjoy perfectly poured pints.
(Many of the links in this article redirect to a specific reviewed product. Your purchase of these products through affiliate links helps to generate commission for Storables.com, at no extra cost. Learn more)
Introduction
If you own a kegerator, you know how important it is to maintain the quality and taste of your beer. One issue that can arise with kegerators is the presence of a shank, which is a cylindrical piece that allows the beer to flow from the keg to the tap. However, in some cases, you may want to close off the shank temporarily. This could be due to various reasons, such as cleaning the lines, storing the kegerator, or transporting it without risking leakage or contamination.
In this article, we will guide you through the process of closing off the shank on your kegerator. By following these steps, you can ensure that your kegerator remains in optimal condition and that your beer stays fresh and delicious.
Key Takeaways:
- Ensure a tight seal by measuring the shank, purchasing the right plug, and preparing the shank. Test for leaks and secure the closure for a worry-free kegerator experience.
- Closing off the shank on your kegerator is essential for maintenance, cleanliness, and convenience. Follow the steps to protect your beer’s quality and ensure a leak-free system.
Read more: How To Close Off A Chimney
Tools and Materials Needed
Before you begin the process of closing off the shank on your kegerator, gather the following tools and materials:
1. Adjustable wrench: This will be used to remove and tighten parts of the shank assembly.
2. Shank plug or cap: This is the component that will seal off the shank and prevent any liquid from flowing through.
3. Teflon tape: This will help create a tight seal and prevent any leaks.
4. Cleaning solution: If you plan on cleaning the lines while the shank is closed off, make sure to have a suitable cleaning solution on hand.
5. Cloth or paper towels: These will be used to wipe down any spilled beer or cleaning solution and keep your workspace clean.
6. Bucket or container: If you are cleaning the lines, a bucket or container will be used to collect the cleaning solution and any residue.
Having these tools and materials readily available will make the process of closing off the shank much smoother and quicker. It is always a good idea to gather everything you need before starting the project to avoid any delays or interruptions.
Step 1: Measure the Shank
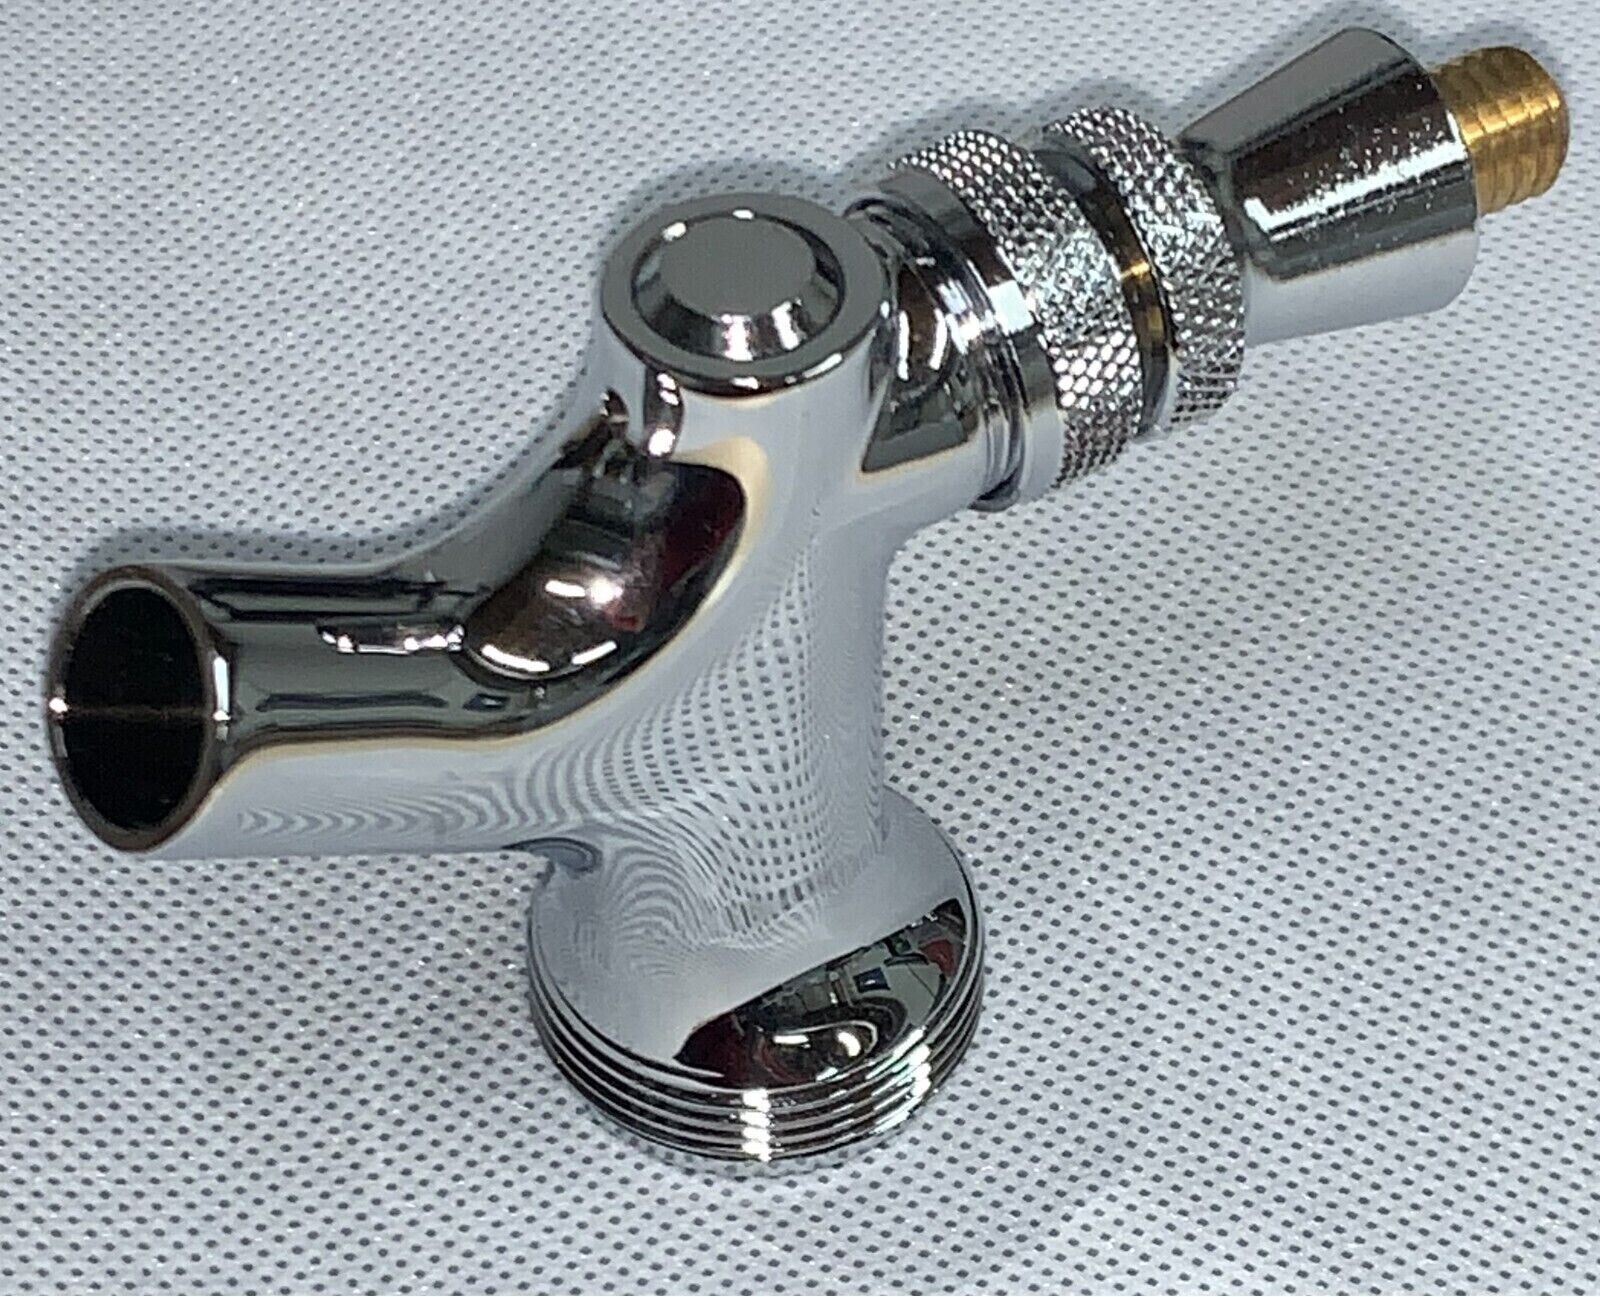
The first step in closing off the shank on your kegerator is to measure the length of the shank itself. This is important because it will help you determine the size of the shank plug or cap you will need.
To measure the shank, use a tape measure or ruler and start from the outer edge of the flange at the base of the shank. Measure all the way to the end of the shank, excluding the nozzle or faucet. Take note of the measurements, as this will guide you in selecting the appropriate shank plug or cap.
It’s important to measure accurately, as choosing the wrong size plug or cap may result in leaks or an improper fit. Most shanks come in standard sizes, such as 3 inches or 4 inches, but it’s always best to double-check the measurements to ensure a proper fit.
Once you have measured the shank, you are ready to move on to the next step: purchasing a shank plug or cap.
Step 2: Purchase a Shank Plug or Cap
Now that you have measured the shank of your kegerator, it’s time to purchase a shank plug or cap that is compatible with your shank size. You can find these items at homebrew supply stores, online retailers, or even at your local hardware store.
When selecting a shank plug or cap, make sure to choose one that matches the measurements of your shank. It should fit securely and create a watertight seal when inserted into the shank. Some shank plugs or caps may also come with a rubber gasket or O-ring to ensure a snug fit.
If you’re unsure about the correct size or type of shank plug or cap to purchase, don’t hesitate to ask for assistance from the store staff or consult the manufacturer’s recommendations for your specific kegerator model.
Once you have obtained the shank plug or cap, you’re ready to move on to the next step: preparing the shank for insertion.
Step 3: Prepare the Shank
Before inserting the shank plug or cap, it’s important to prepare the shank to ensure a proper fit and seal. Follow these steps to prepare the shank:
1. Disconnect the keg: Before working on the shank, make sure to disconnect the keg from the kegerator to avoid any accidental spills or leaks.
2. Clean the shank: Use a mild cleaning solution and a clean cloth or sponge to wipe down the external surface of the shank. This will remove any dirt, debris, or residue that may interfere with the insertion or sealing of the shank plug or cap. Remember to also clean the inner part of the shank to ensure a clean and sanitary kegerator.
3. Apply Teflon tape (optional): If you want to further ensure a tight seal, you can apply Teflon tape to the threads of the shank. This will help prevent any potential leaks. Wrap the tape around the threads in a clockwise direction, starting from the base of the shank and working your way towards the end.
By properly preparing the shank, you are laying the groundwork for a successful closure. This step ensures that the shank is clean, free from obstructions, and ready for the shank plug or cap insertion, which will be covered in the next step.
Check the beer line for any kinks or obstructions that may be causing the shank to close off. Ensure that the CO2 pressure is set correctly and that the keg is not overcarbonated, which can cause the shank to close off.
Read more: How To Close Off Jets In A Bathtub
Step 4: Insert the Shank Plug or Cap
With the shank prepared, it’s time to insert the shank plug or cap to close off the shank on your kegerator. Follow these steps for proper insertion:
1. Align the plug or cap: Hold the shank plug or cap and align it with the opening of the shank. Make sure the plug or cap is positioned correctly and ready to be inserted.
2. Insert the plug or cap: Gently push the plug or cap into the shank opening. Apply steady pressure until the plug or cap is fully inserted. It should fit snugly and create a seal to prevent any liquid from passing through.
3. Hand-tighten the plug or cap: Use your hand to tighten the plug or cap securely. Ensure that it is firmly in place but be careful not to overtighten, as this may cause damage to the shank or the plug itself.
4. Check for proper fit: After inserting and tightening the plug or cap, double-check to ensure that it is properly seated and there are no gaps or leaks. Give it a slight twist or gentle tug to confirm its stability.
By following these steps, you have successfully inserted and secured the shank plug or cap, effectively closing off the shank on your kegerator. The next step involves testing for any potential leaks, which is crucial to maintaining a sealed and functional kegerator setup.
Step 5: Test for Leakage
After closing off the shank on your kegerator, it’s essential to test for any potential leaks. Follow these steps to ensure a tight seal:
1. Reconnect the keg: Once the shank plug or cap is securely in place, reconnect the keg to the kegerator system. This will allow you to monitor for any leaks during the testing process.
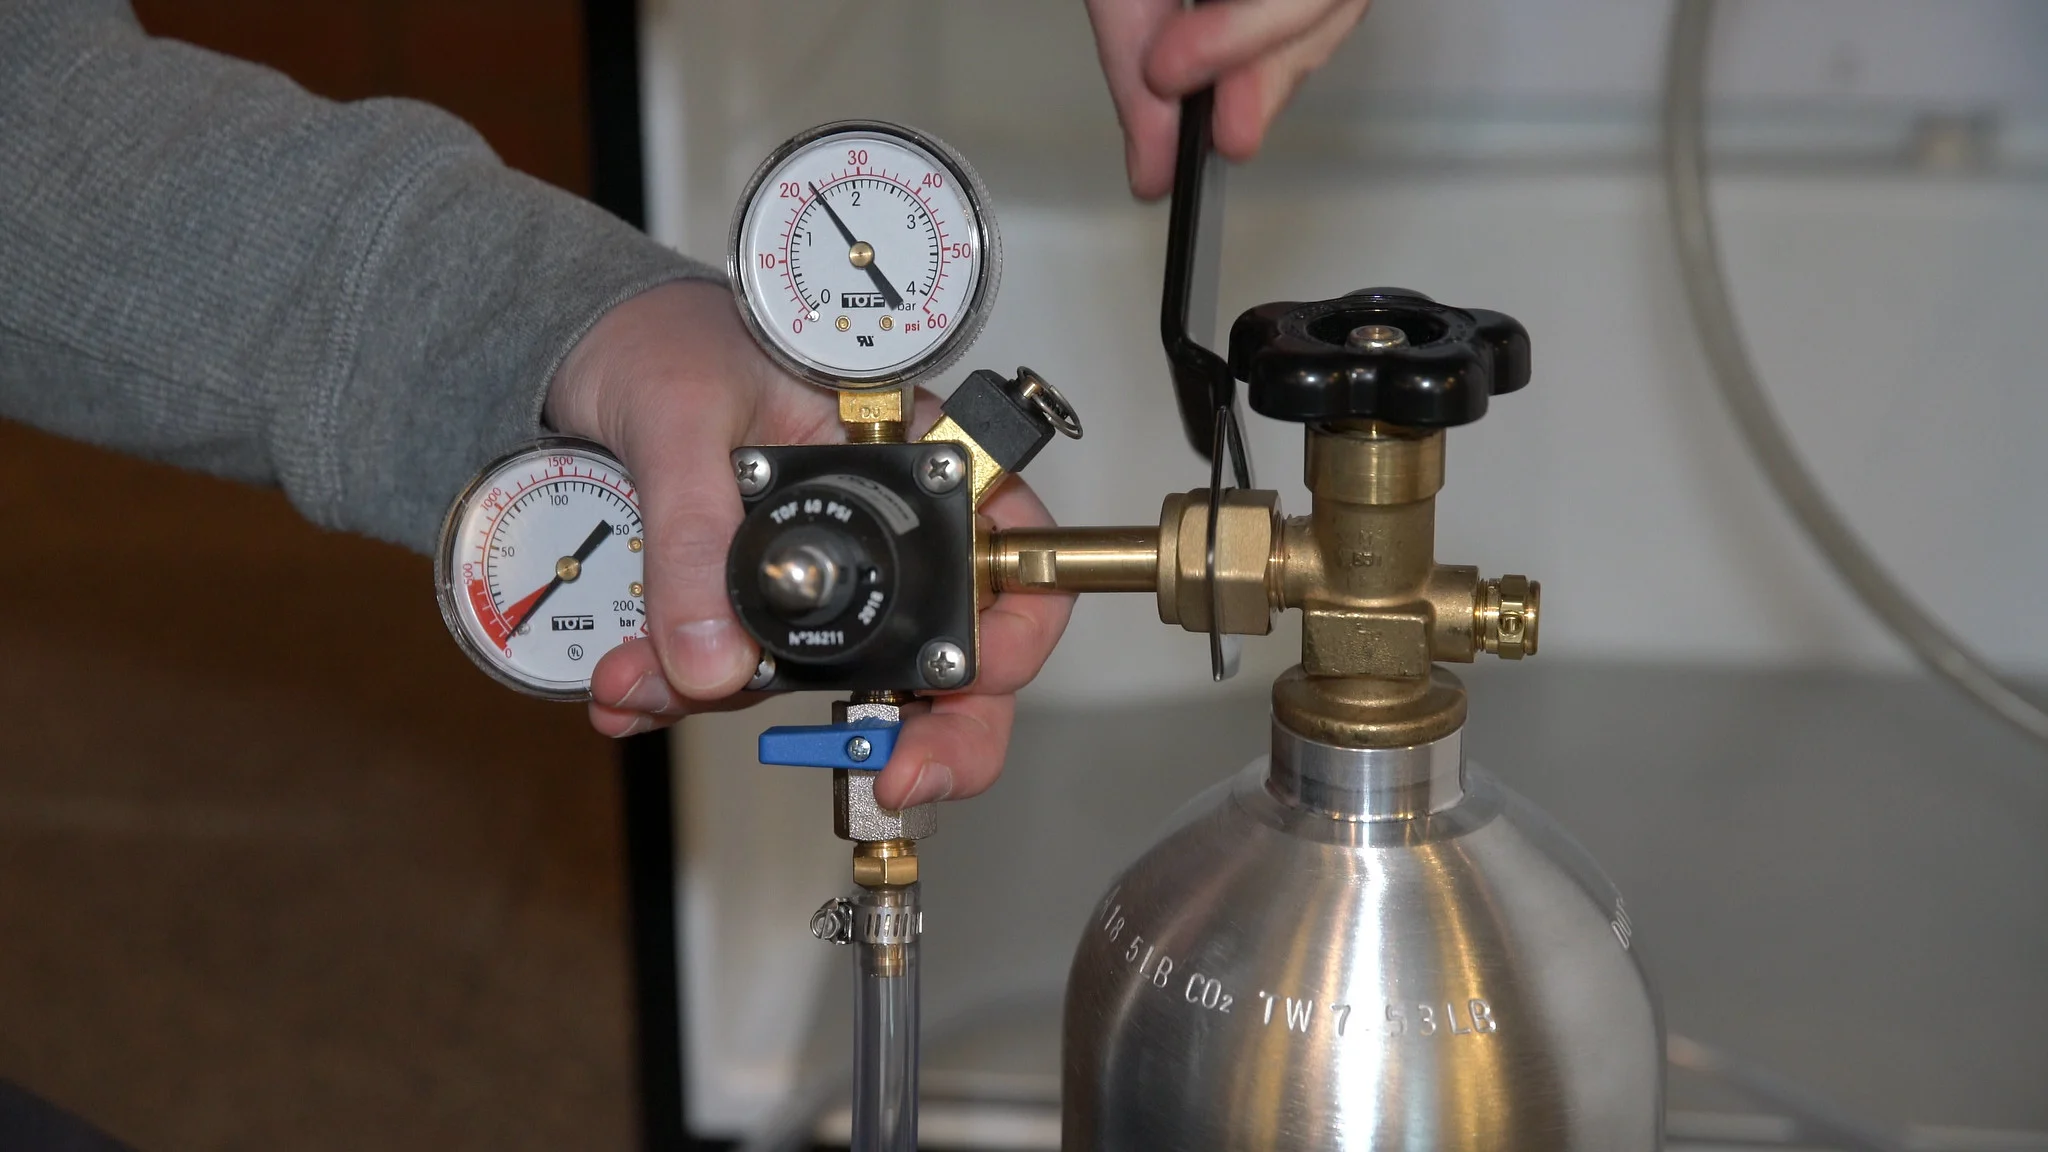
2. Pressurize the system: Turn on the CO2 gas supply and pressurize the system to the recommended level. This will create pressure within the kegerator lines and help identify any leaks.
3. Inspect for leaks: Carefully examine the shank area and other connection points in the kegerator system. Look for any signs of leaking liquid or escaping gas. Pay close attention to the shank plug or cap, ensuring that it is not leaking or causing any issues.
4. Test with a soapy water solution: If you suspect a leak but cannot visibly see it, you can mix a solution of water and soap. Apply this solution to the shank area and other connection points. If there is a leak, the soap solution will create bubbles where the air or CO2 gas is escaping.
5. Take corrective action: If you detect any leaks, identify the source and take appropriate corrective action. It may involve tightening the shank plug or cap, applying more Teflon tape, or replacing a faulty component. It’s important to address any leaks promptly to avoid beer wastage, contamination, and system damage.
By thoroughly testing for leaks and addressing any issues, you can ensure that your kegerator remains sealed and your beer stays fresh and carbonated. Once you have confirmed a leak-free system, you can proceed to the final step: securing the shank plug or cap in place.
Step 6: Secure the Plug or Cap
Now that you have successfully tested for any leakage and made any necessary adjustments, it’s time to secure the shank plug or cap in place. Follow these steps to ensure a secure closure:
1. Use an adjustable wrench: To provide additional security, you can use an adjustable wrench to tighten the plug or cap. Use the wrench to grip the flat sides of the plug or cap and gently turn it clockwise. Be careful not to overtighten, as this can damage the shank or the plug.
2. Find the sweet spot: As you tighten the plug or cap, pay attention to the resistance. There is a “sweet spot” where the plug or cap is snug but not too tight. This will ensure a secure closure without risking any damage or leaks.
3. Perform a final leak check: After securing the plug or cap, perform another leak check to confirm that the closure remains tight and there are no new leaks. Reapply the soap solution or visually inspect the shank area and other connections to ensure everything is sealed properly.
4. Clean up any residue: Wipe down any excess soap solution or cleaning residue from the shank area and surrounding surfaces. Keeping your kegerator clean will help maintain its performance and prevent any buildup or contamination.
By securing the shank plug or cap, you can have peace of mind knowing that your kegerator is closed off and your beer is protected from unwanted exposure. With this final step completed, your kegerator is ready for storing, transporting, or cleaning without any risk of leakage or contamination.
Conclusion
Closing off the shank on your kegerator is a simple yet important process to maintain the quality and integrity of your beer. By following the steps outlined in this article, you can ensure a secure and leak-free closure.
Starting with measuring the shank and purchasing the appropriate shank plug or cap, you can ensure a proper fit and seal. Preparing the shank by cleaning it and optionally applying Teflon tape further enhances the sealing effectiveness. Inserting the shank plug or cap and hand-tightening it ensures a snug fit. Testing for leaks and taking corrective action, if necessary, guarantees a properly sealed kegerator system.
Lastly, securing the plug or cap with an adjustable wrench provides added security, and performing a final leak check ensures that your kegerator is ready to store, transport, or clean without any concerns.
Closing off the shank on your kegerator not only prevents leakage and potential contamination but also allows for proper maintenance and convenience. Whether you need to clean your lines, store your kegerator, or transport it without risking spills, following these steps will help you protect the quality and taste of your beer.
Remember to always prioritize cleanliness and proper sealing for optimal beer enjoyment. By taking the time to close off the shank on your kegerator, you are investing in the longevity and performance of your beer dispensing system.
Cheers to perfectly poured pints and a well-maintained kegerator!
Frequently Asked Questions about How To Close Off Shank On Kegerator
Was this page helpful?
At Storables.com, we guarantee accurate and reliable information. Our content, validated by Expert Board Contributors, is crafted following stringent Editorial Policies. We're committed to providing you with well-researched, expert-backed insights for all your informational needs.


0 thoughts on “How To Close Off Shank On Kegerator”