Home>Furniture & Design>Bathroom Accessories>How To Close A Kohler Bathtub Drain?
Bathroom Accessories
How To Close A Kohler Bathtub Drain?
Published: February 19, 2024
Learn how to efficiently close a Kohler bathtub drain with the right bathroom accessories. Follow our step-by-step guide for a hassle-free experience.
(Many of the links in this article redirect to a specific reviewed product. Your purchase of these products through affiliate links helps to generate commission for Storables.com, at no extra cost. Learn more)
Introduction
Closing a Kohler bathtub drain is a fundamental aspect of maintaining a functional and hygienic bathroom. Over time, debris, soap scum, and hair can accumulate in the drain, leading to slow drainage or complete blockage. This not only hampers the functionality of the bathtub but also poses potential hygiene and plumbing issues. Therefore, understanding the process of closing a Kohler bathtub drain is essential for every homeowner.
In this comprehensive guide, we will walk you through the step-by-step process of effectively closing a Kohler bathtub drain. Whether you are dealing with a slow-draining bathtub or simply want to perform routine maintenance, this guide will equip you with the knowledge and techniques to ensure a smoothly functioning drain.
By following the steps outlined in this guide, you can address common issues such as slow drainage, foul odors, and potential water damage. Additionally, maintaining a clean and well-functioning drain can contribute to a more pleasant and hygienic bathing experience.
Now, let's delve into the specific steps required to effectively close a Kohler bathtub drain, ensuring that your bathroom remains a comfortable and functional space for relaxation and rejuvenation.
Key Takeaways:
- Keep your Kohler bathtub drain clean and functional by removing the drain cover, cleaning the drain, using a drain key or removal tool, tightening the drain, and conducting a comprehensive test. This ensures a pleasant and hygienic bathing experience.
- Regular maintenance of your Kohler bathtub drain, including cleaning and tightening, can prevent slow drainage, foul odors, and potential water damage. By following these steps, you can ensure a comfortable and rejuvenating bathroom environment.
Read more: How To Close Bathtub Drain
Step 1: Remove the Drain Cover
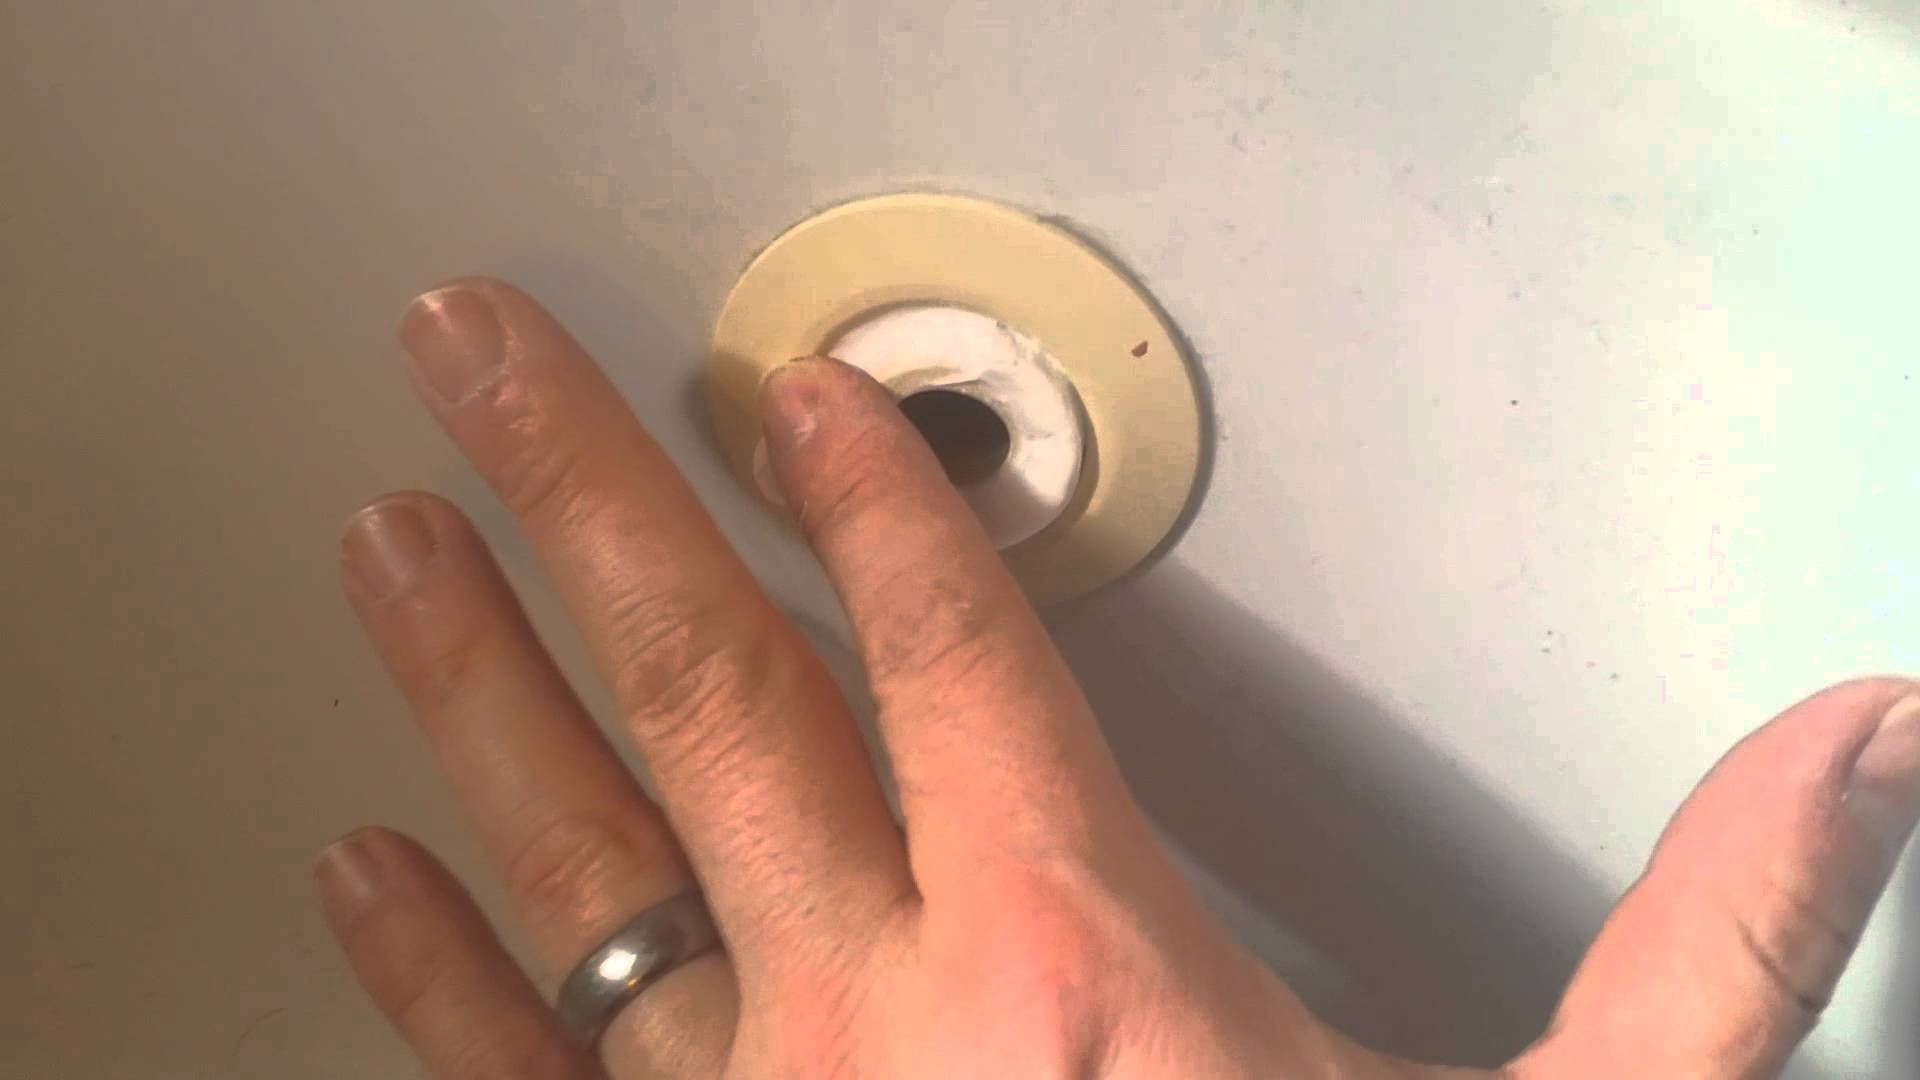
Removing the drain cover is the initial step in the process of closing a Kohler bathtub drain. This step is crucial as it allows access to the internal components of the drain, facilitating thorough cleaning and maintenance. Here's a detailed breakdown of how to effectively remove the drain cover:
1.1 Identify the Type of Drain Cover
Kohler bathtubs are equipped with various types of drain covers, including screw-on covers, lift-and-turn stoppers, and push-pull stoppers. Before proceeding, it's essential to identify the specific type of drain cover installed in your bathtub. This knowledge will guide you in selecting the appropriate method for removing the cover without causing damage.
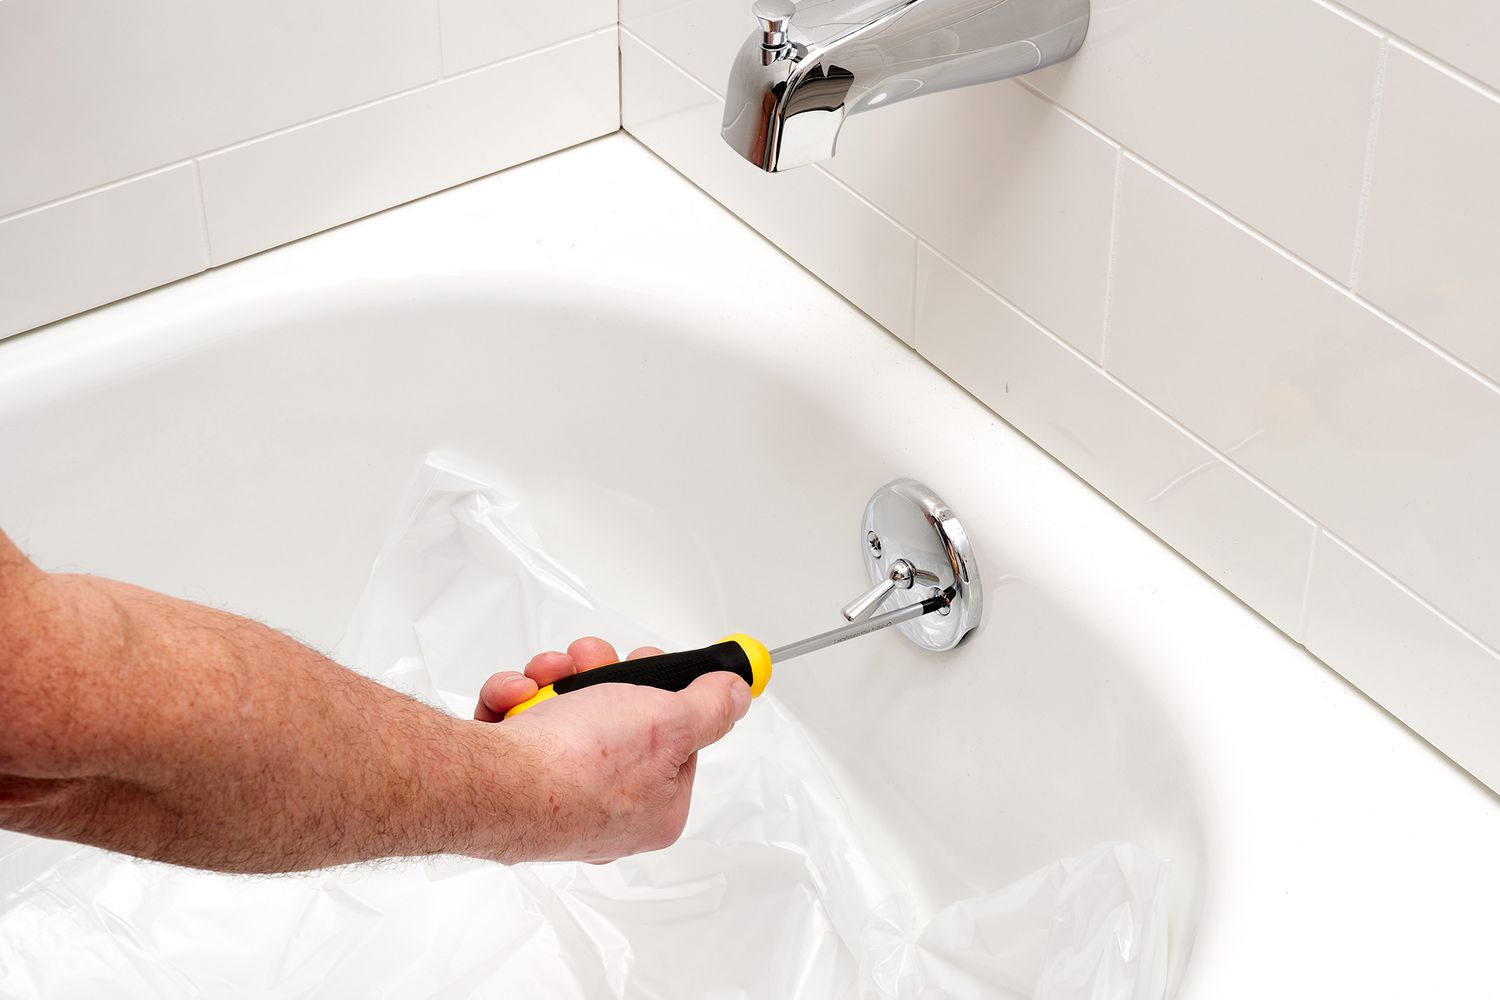
1.2 Unscrew the Screw-On Drain Cover
If your Kohler bathtub features a screw-on drain cover, you can use a screwdriver to loosen the screw securing the cover in place. Once the screw is sufficiently loosened, carefully lift the cover off the drain. Be mindful of any accompanying gaskets or seals to prevent misplacement or damage during removal.
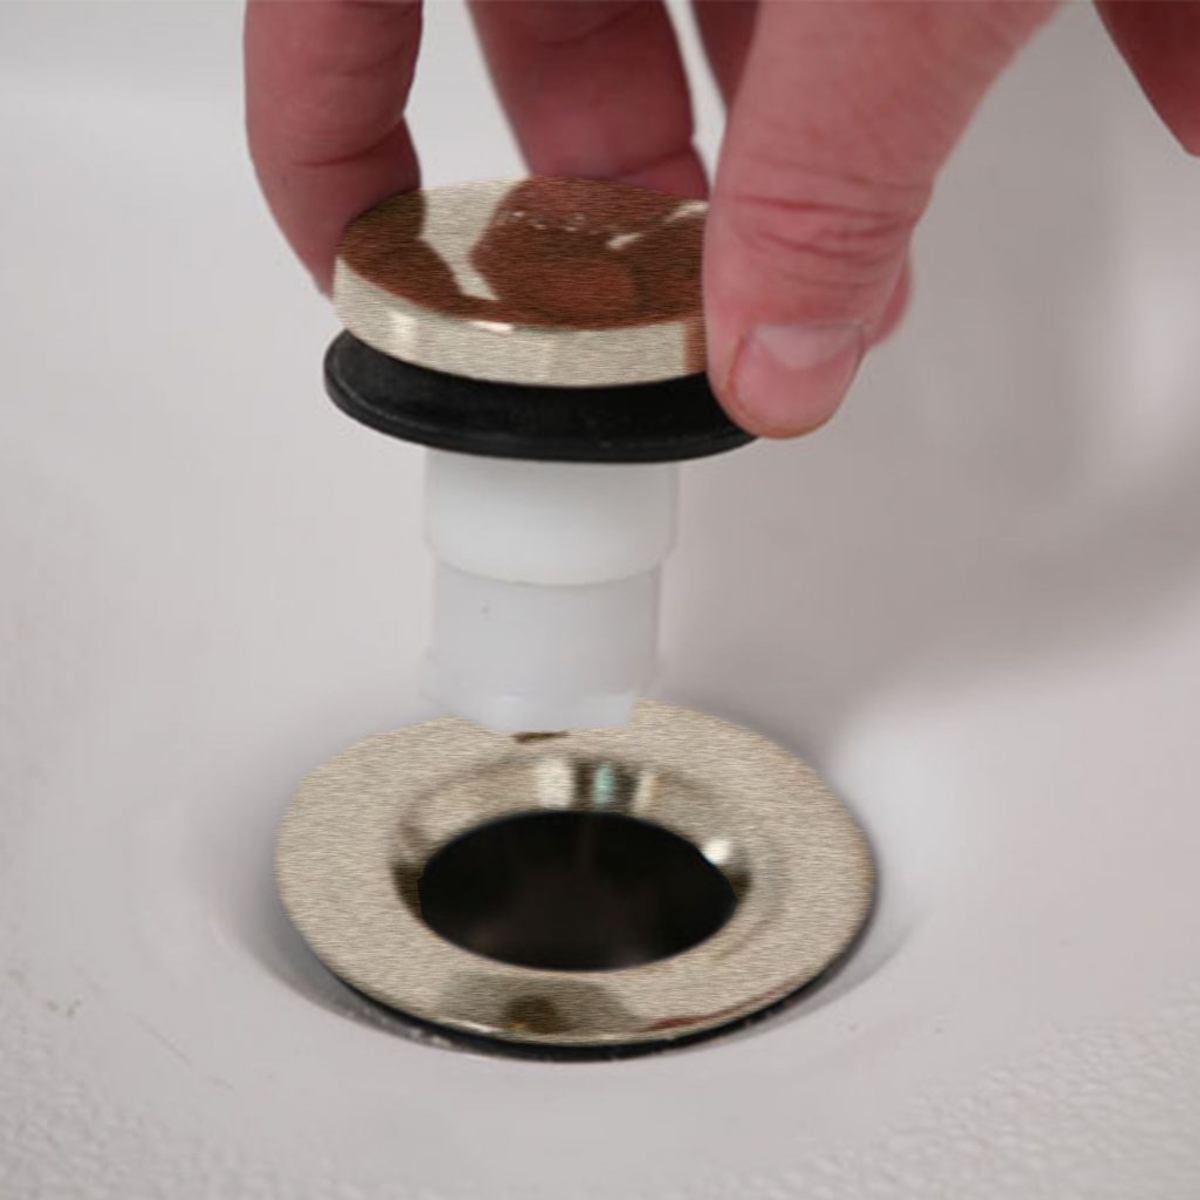
1.3 Lift or Turn the Stopper
For lift-and-turn or push-pull stoppers, the removal process involves lifting or turning the stopper to disengage it from the drain. This action typically requires applying upward pressure or rotating the stopper in the designated direction to release it from the drain assembly. Once disengaged, the stopper can be lifted out of the drain, providing access to the underlying components.
Read more: How To Take Out Kohler Bathtub Drain
1.4 Clean the Drain Cover
After successfully removing the drain cover, take the opportunity to clean it thoroughly. Use a mild cleaning solution and a brush to remove accumulated debris, soap residue, and any mineral deposits. This cleaning process not only ensures a hygienic environment but also facilitates smooth water flow and prevents potential clogging issues.
By meticulously following these steps to remove the drain cover, you can lay the groundwork for subsequent maintenance and repair tasks, ensuring that your Kohler bathtub drain remains in optimal condition. With the drain cover removed, you are now ready to proceed with the next steps in the process of effectively closing the drain and maintaining a functional and hygienic bathroom environment.
Step 2: Clean the Drain
Cleaning the drain is a crucial step in the process of closing a Kohler bathtub drain. Over time, debris, hair, soap scum, and mineral deposits can accumulate within the drain, leading to reduced water flow, foul odors, and potential blockages. By thoroughly cleaning the drain, you can mitigate these issues and ensure optimal functionality of your bathtub.
2.1 Remove Debris and Buildup
Begin by visually inspecting the drain to identify any visible debris or buildup. Using a pair of gloves, carefully remove any hair, soap residue, or foreign objects that may be obstructing the drain. A pair of needle-nose pliers can be useful for extracting stubborn debris lodged within the drain.
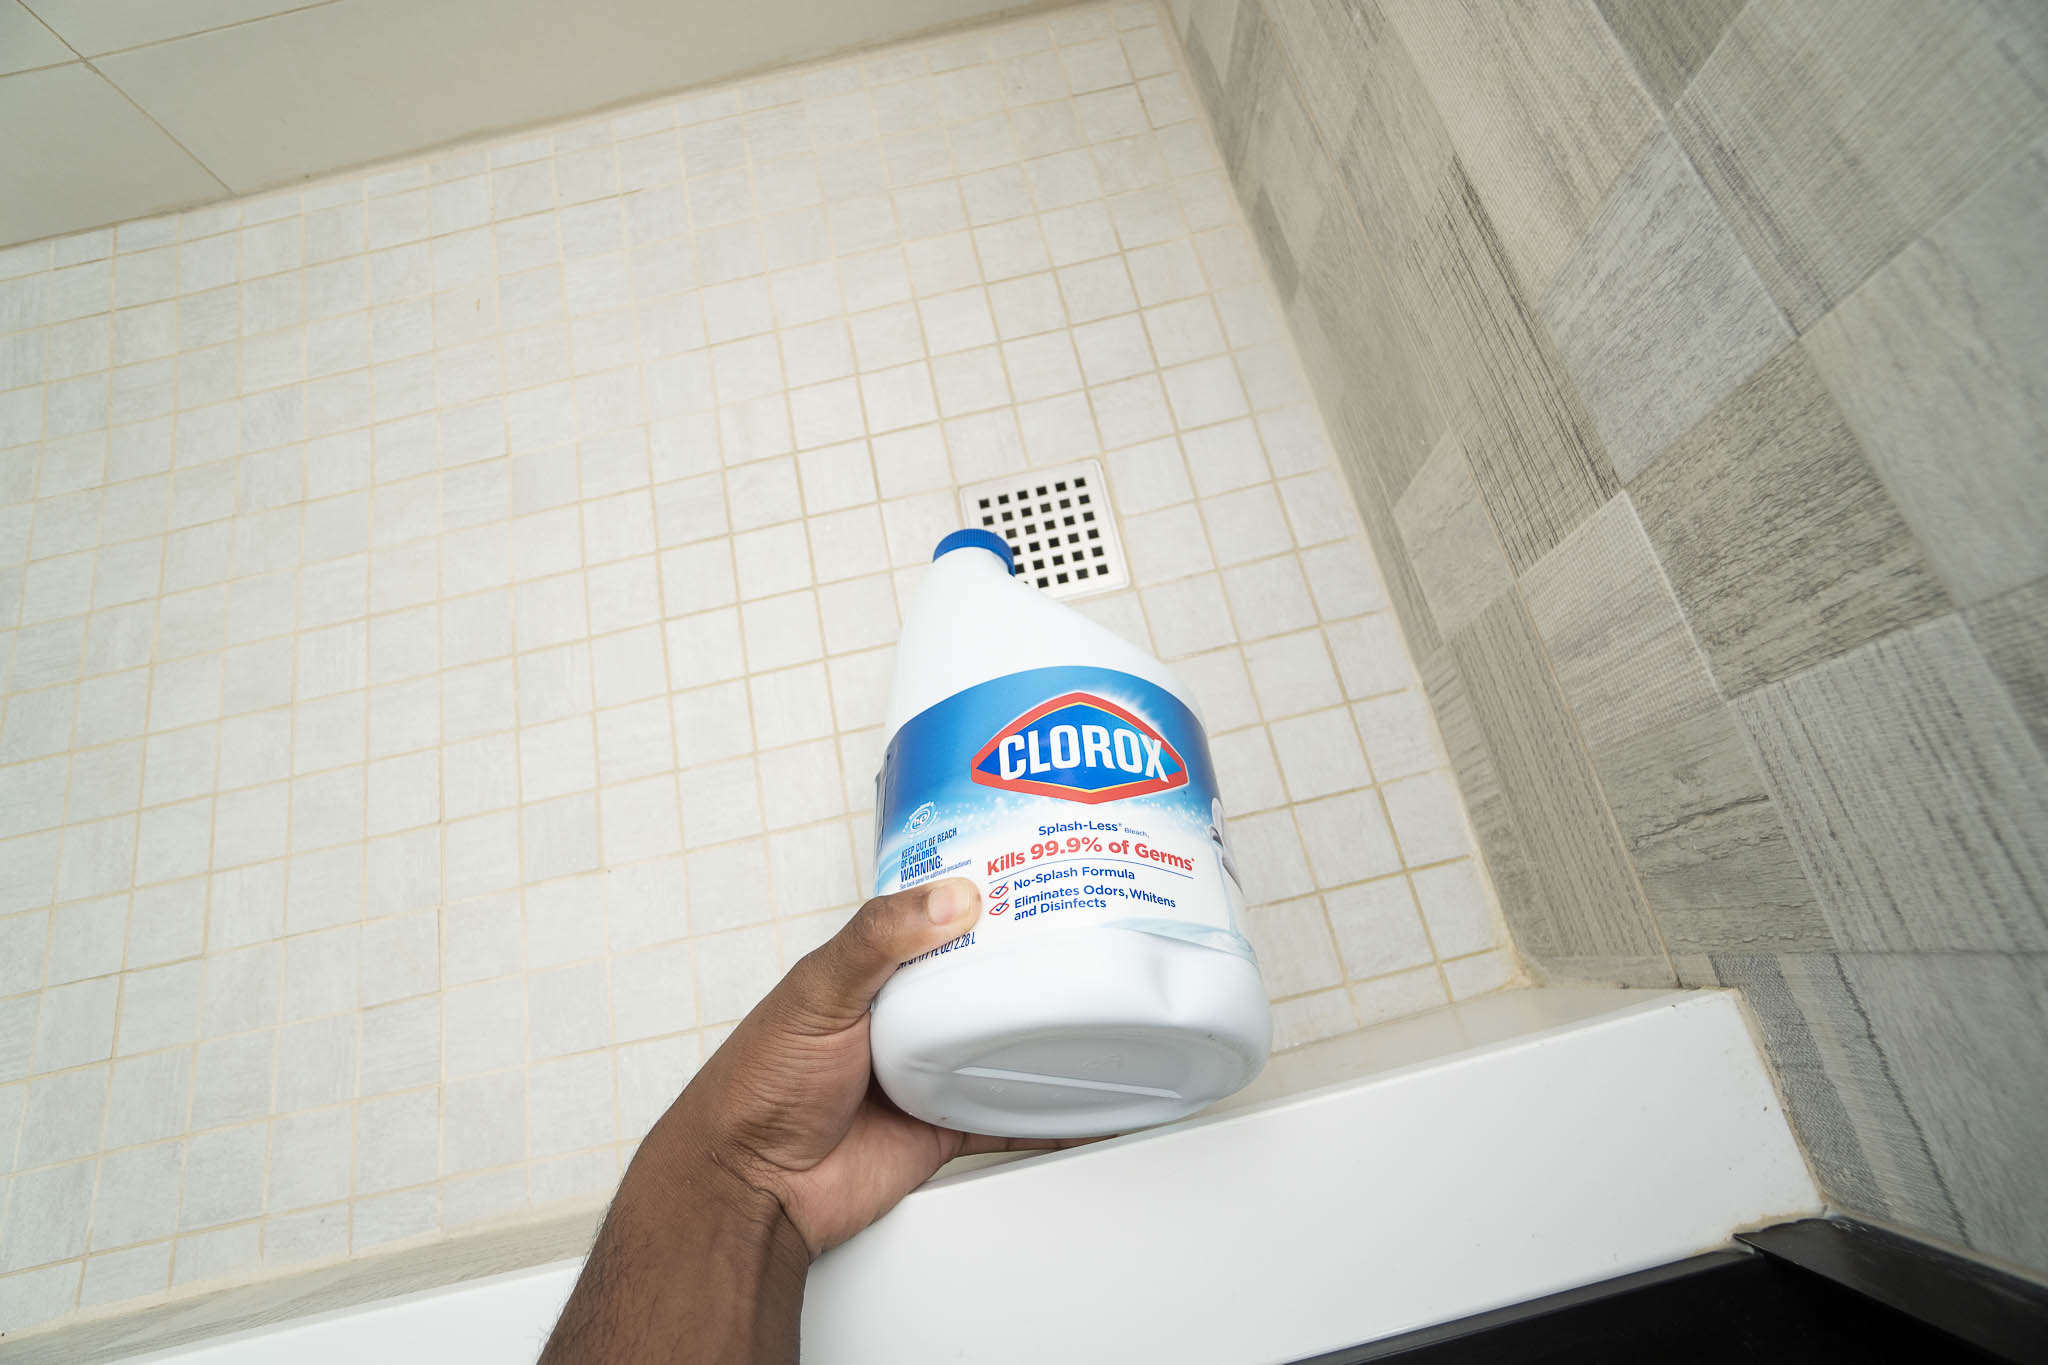
2.2 Use a Drain Cleaning Solution
After removing visible debris, it's essential to utilize a specialized drain cleaning solution to dissolve accumulated grime, grease, and organic matter within the drain. Select a high-quality, non-corrosive drain cleaner that is compatible with your Kohler bathtub's materials. Follow the manufacturer's instructions for application and allow the solution to penetrate the drain thoroughly.
Read more: How To Replace The Bathtub Drain
2.3 Employ Mechanical Cleaning Methods
In cases where the drain is heavily clogged or exhibits persistent buildup, mechanical cleaning methods can be employed. A drain snake or auger is a valuable tool for dislodging stubborn clogs and clearing obstructions within the drain pipe. Carefully insert the snake into the drain and rotate it to break apart and extract accumulated debris.
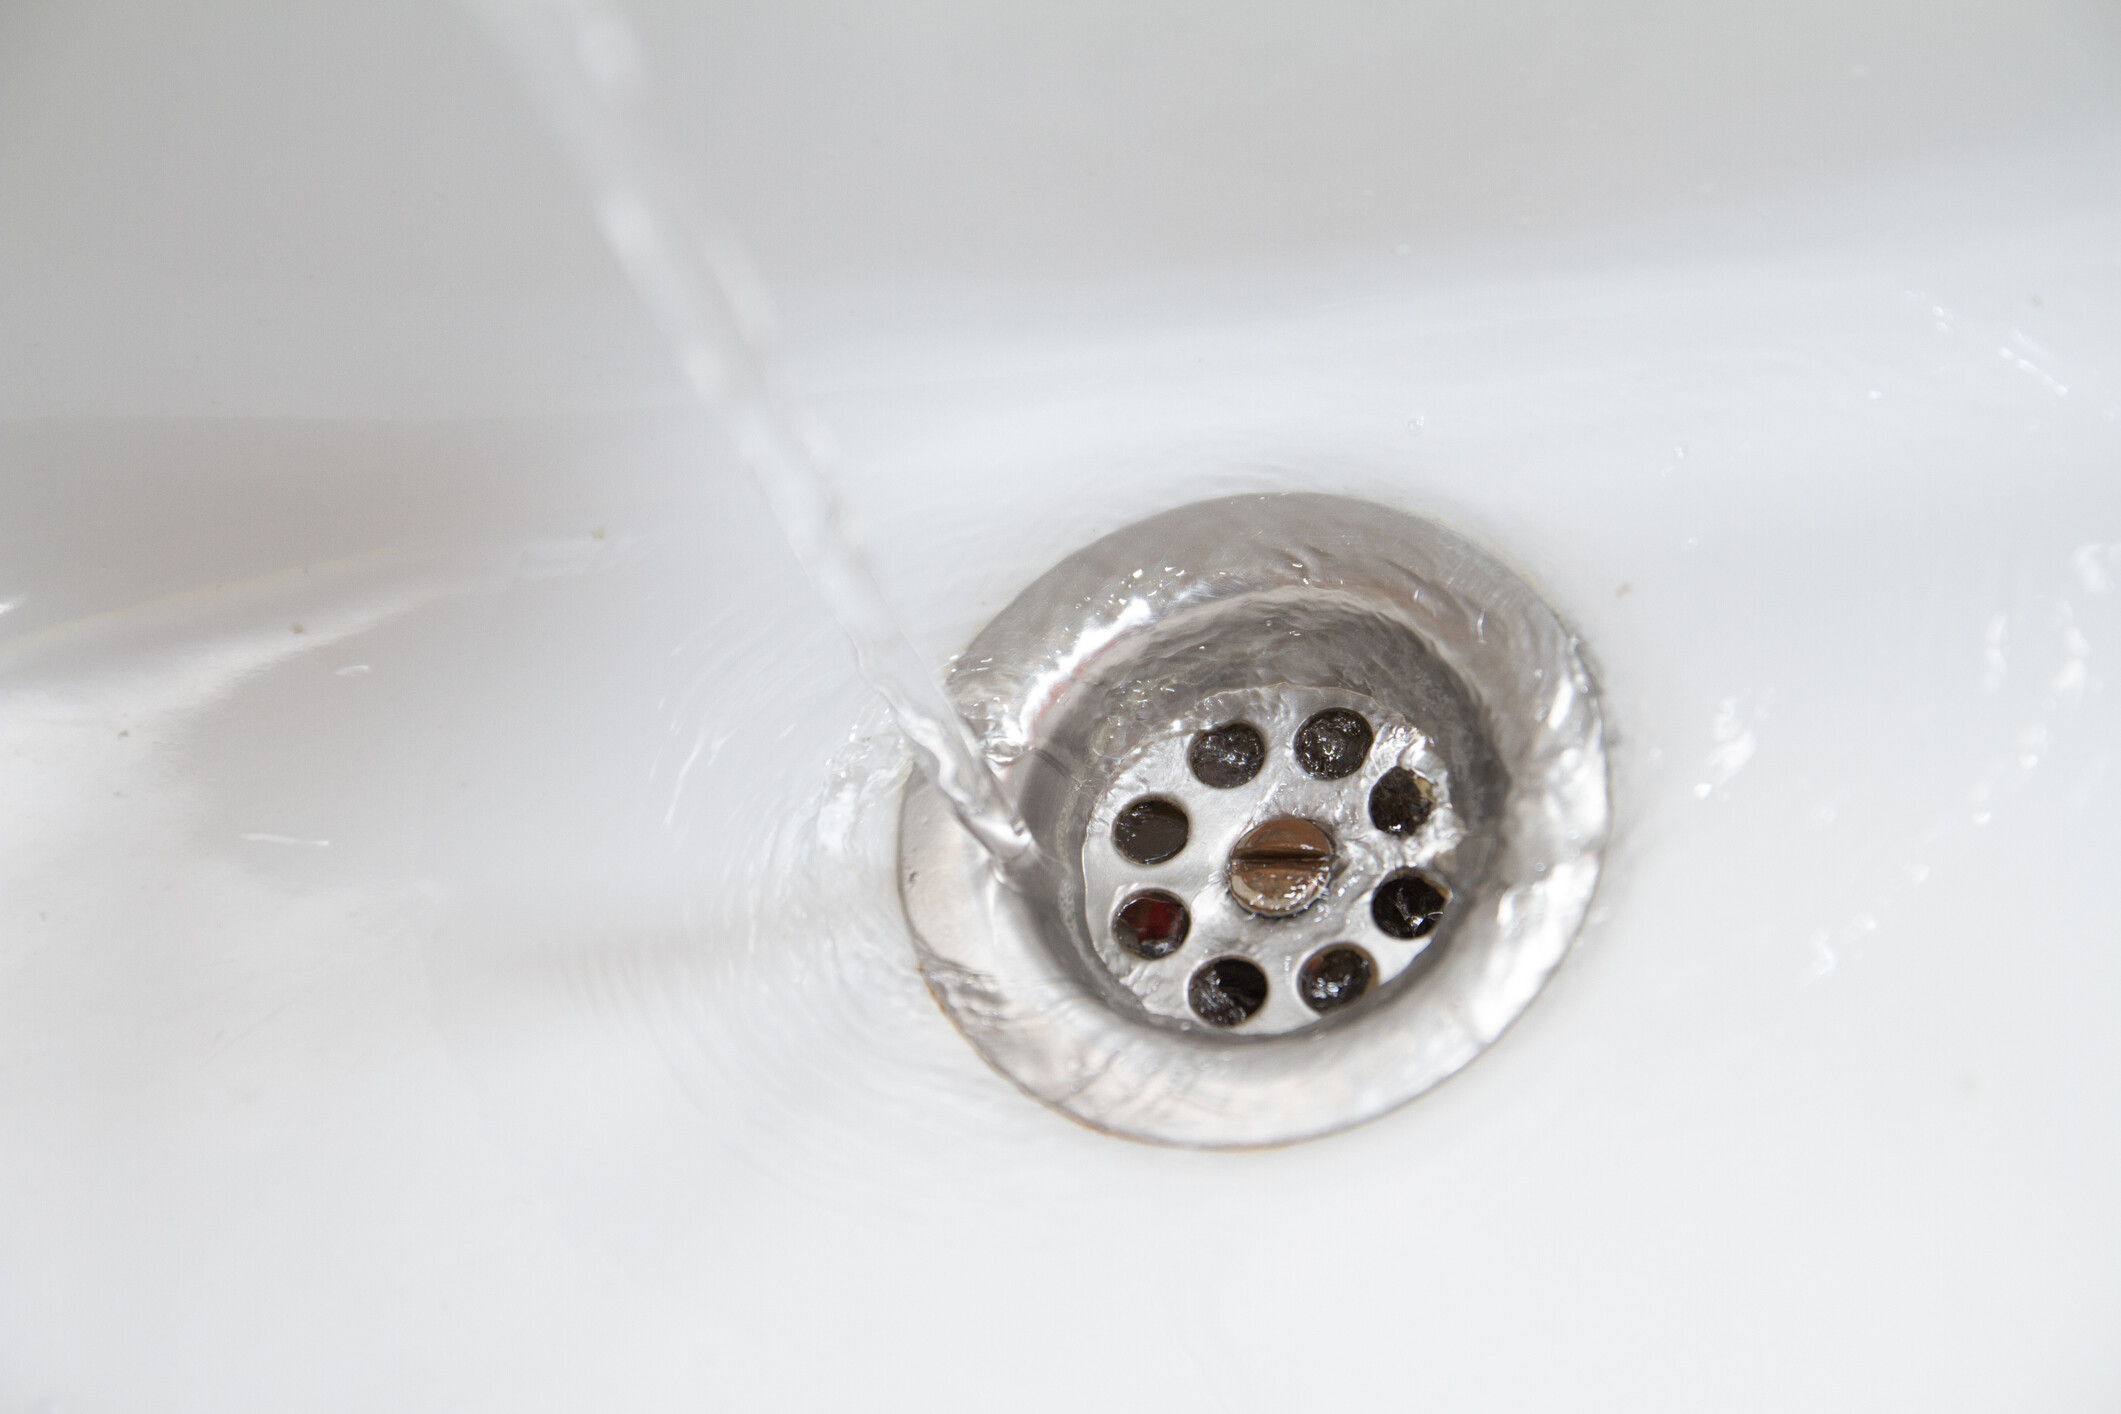
2.4 Rinse and Test the Drain
Once the cleaning solution has had sufficient time to work its magic, thoroughly rinse the drain with hot water to flush out dissolved residue and remaining debris. This rinsing process helps to restore optimal water flow and ensures that the drain is free from obstructions. After rinsing, test the drain by allowing water to flow freely and observing the drainage performance.
By meticulously cleaning the drain using the aforementioned methods, you can effectively remove accumulated debris, eliminate foul odors, and restore optimal water flow within your Kohler bathtub drain. This proactive maintenance approach contributes to a hygienic and functional bathroom environment, enhancing your overall bathing experience.
Step 3: Use a Drain Key or Drain Removal Tool
When dealing with a stubborn or malfunctioning Kohler bathtub drain, the use of a drain key or drain removal tool becomes essential in the maintenance and repair process. These specialized tools are designed to facilitate the extraction of the drain body or flange, allowing access to the underlying components for thorough cleaning, repair, or replacement.
3.1 Selecting the Appropriate Tool
Before proceeding with the use of a drain key or removal tool, it is crucial to select the appropriate tool that aligns with the specific design and dimensions of your Kohler bathtub drain. Drain keys are available in various sizes and configurations to accommodate different drain types, ensuring a secure and effective grip for extraction. Additionally, ensure that the selected tool is compatible with the material and construction of your bathtub drain to prevent damage during the removal process.
Read more: How To Move A Bathtub Drain
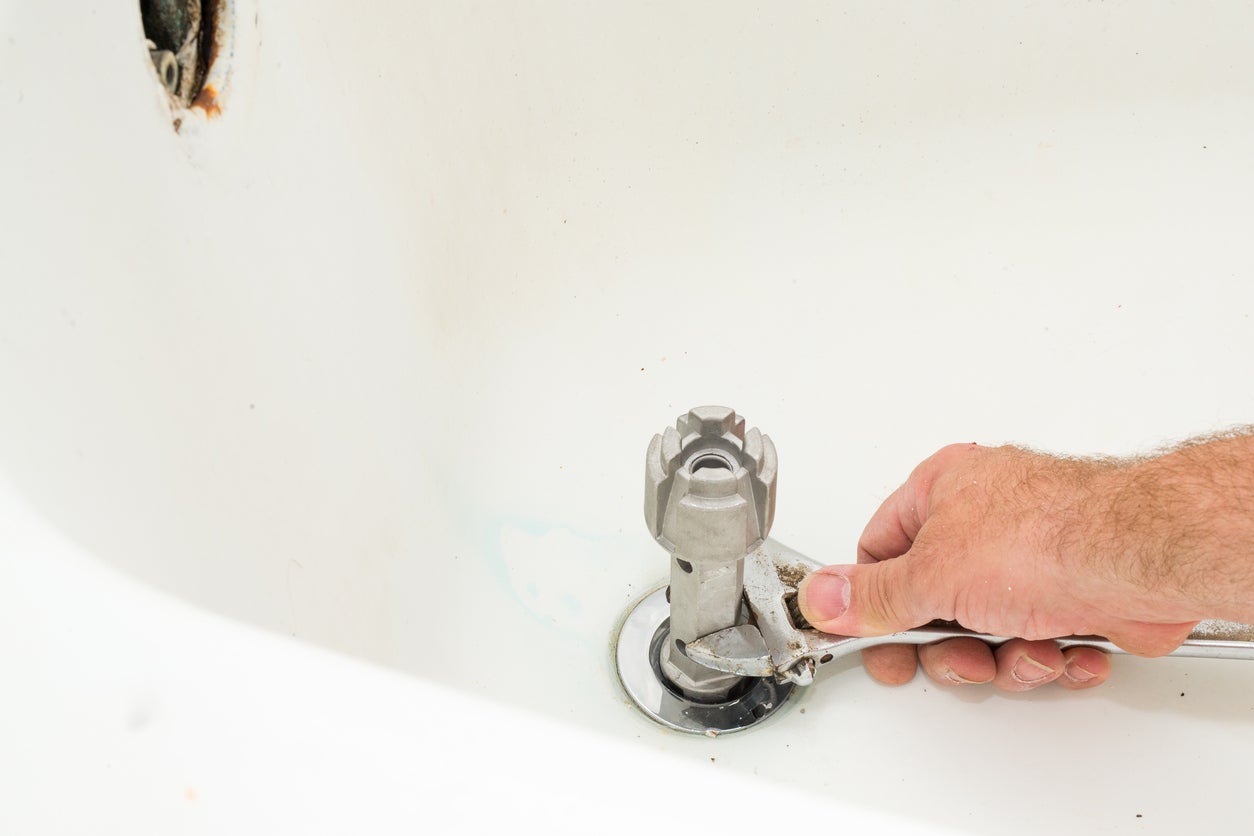
3.2 Positioning the Tool
To initiate the removal process, position the drain key or removal tool over the drain body or flange, ensuring a snug fit that enables a secure grip. The tool should engage with the internal components of the drain, providing leverage for controlled extraction without causing damage to the surrounding surfaces or drain assembly.
3.3 Applying Torque and Extraction
Once the tool is securely positioned, apply gradual torque in a counterclockwise direction to initiate the extraction process. It is essential to exercise patience and avoid excessive force to prevent potential damage to the drain or surrounding structures. As the extraction progresses, periodically assess the stability and alignment of the tool to ensure a controlled and successful removal.
3.4 Inspecting and Cleaning the Drain Body
Upon successful extraction of the drain body or flange, inspect the internal components for accumulated debris, corrosion, or damage that may impede the functionality of the drain. Thoroughly clean the extracted components using a mild cleaning solution and a brush to remove any residual buildup, ensuring optimal performance and longevity of the drain assembly.
3.5 Reinstallation or Replacement
After cleaning and inspecting the drain body, carefully reinsert it into the drain assembly, ensuring a secure and snug fit. If the inspection reveals significant damage or deterioration, consider replacing the drain body with a compatible Kohler replacement part to restore the functionality and integrity of the bathtub drain.
By effectively utilizing a drain key or removal tool, you can address maintenance and repair tasks associated with your Kohler bathtub drain, ensuring optimal functionality and mitigating potential issues that may compromise your bathing experience. These tools empower homeowners to perform essential maintenance and repair tasks with precision and confidence, contributing to a hygienic and functional bathroom environment.
Read more: How To Connect A Bathtub Drain?
Step 4: Tighten the Drain
Tightening the drain is a critical step in the process of maintaining a functional and leak-free Kohler bathtub drain. Over time, the drain components may become loose due to regular usage, potentially leading to water seepage, inefficiencies in drainage, and compromised structural integrity. By effectively tightening the drain, homeowners can mitigate these issues and ensure the optimal performance of their bathtub drain.
4.1 Assessing the Drain Components
Before proceeding with the tightening process, it is essential to assess the condition of the drain components. Inspect the drain body, flange, and associated fastening elements to identify any signs of looseness, corrosion, or wear. Additionally, ensure that the drain components are free from accumulated debris or residue that may hinder the tightening process.
4.2 Utilizing a Drain Wrench or Adjustable Pliers
To tighten the drain, a specialized drain wrench or adjustable pliers can be employed to secure the drain body or flange in place. The selection of the appropriate tool is crucial to ensure a secure grip and controlled application of torque during the tightening process. Additionally, consider the material and construction of the drain components to prevent damage during the tightening procedure.
4.3 Applying Controlled Torque
Once the appropriate tool is selected, carefully position it over the drain body or flange, ensuring a snug fit that enables controlled torque application. Gradually apply torque in a clockwise direction to tighten the drain components, exercising patience and avoiding excessive force to prevent potential damage. Periodically assess the stability and alignment of the tool to ensure a uniform and secure tightening of the drain components.
Read more: How To Plug The Bathtub Drain
4.4 Verifying Stability and Leak-Free Seal
After tightening the drain components, verify the stability and integrity of the assembly to ensure that the components are securely fastened. Additionally, inspect the surrounding areas for any signs of water seepage or leakage, which may indicate an inadequate seal. If leakage is detected, further tightening or the application of a waterproof sealant may be necessary to achieve a leak-free and secure drain assembly.
4.5 Testing the Drainage Performance
Upon completing the tightening process, test the drainage performance by allowing water to flow freely through the bathtub drain. Observe the drainage efficiency and check for any indications of water seepage or instability. A properly tightened drain should exhibit smooth water flow and maintain a leak-free seal, contributing to a functional and hygienic bathing experience.
By effectively tightening the drain using the outlined methods, homeowners can ensure the integrity and performance of their Kohler bathtub drain, mitigating potential issues related to water seepage and drainage inefficiencies. This proactive maintenance approach contributes to a secure and leak-free bathroom environment, enhancing the overall functionality and longevity of the bathtub drain.
Step 5: Test the Drain
After completing the preceding steps of removing the drain cover, cleaning the drain, using a drain key or removal tool, and tightening the drain, it is crucial to conduct a comprehensive test of the Kohler bathtub drain. This final step serves as a vital validation of the maintenance and repair efforts, ensuring that the drain functions optimally and exhibits efficient water flow without any signs of leakage or instability.
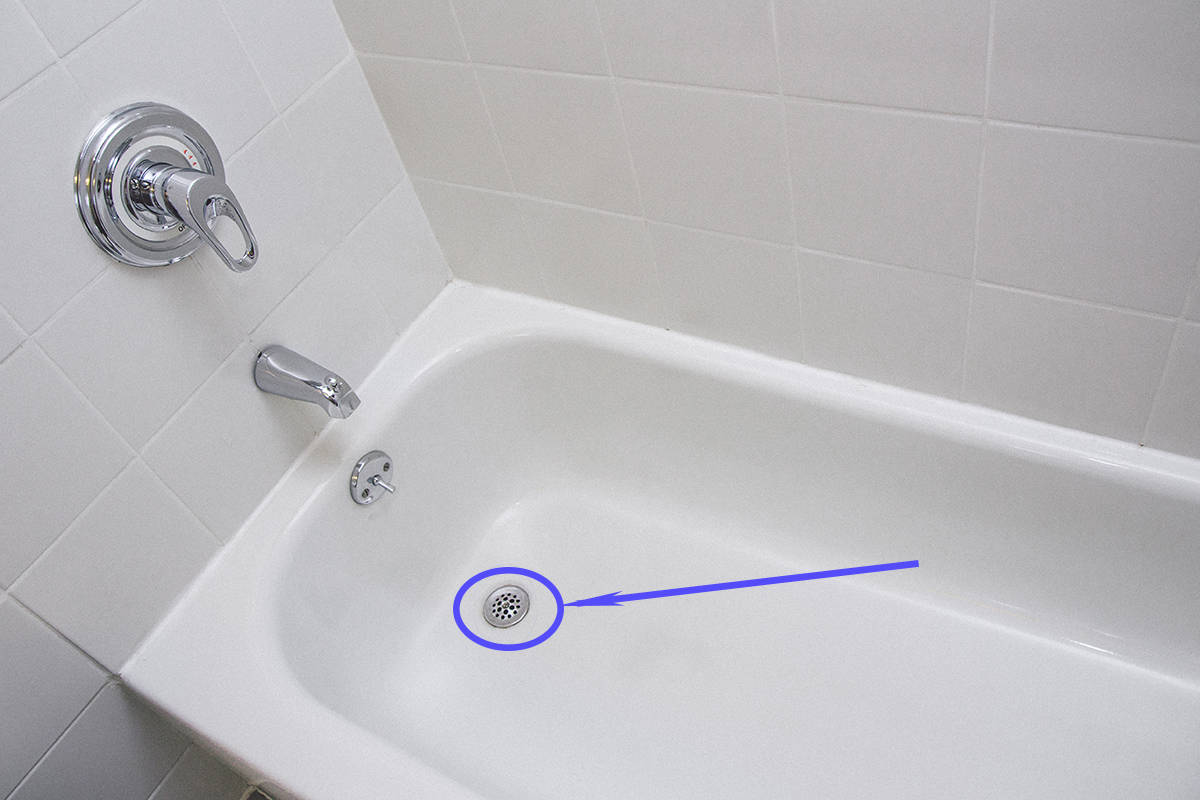
5.1 Conducting a Visual Inspection
Initiate the testing process by conducting a visual inspection of the drain and its surrounding components. Verify that the drain cover has been securely reinstalled, and there are no visible signs of misalignment or damage. Additionally, assess the cleanliness of the drain and ensure that all extracted components have been thoroughly cleaned and reinstalled.
Read more: How To Vent A Bathtub Drain
5.2 Running Water Through the Drain
With the visual inspection completed, proceed to run water through the bathtub drain to assess its drainage performance. Allow a steady stream of water to flow through the drain while observing the rate of water flow and any indications of slow drainage or blockages. This step enables the immediate detection of potential issues related to drainage efficiency.
5.3 Observing Drainage Efficiency
While the water flows through the drain, carefully observe the drainage efficiency and assess whether the water is swiftly and smoothly exiting the bathtub. A properly maintained and functional drain should exhibit consistent and efficient water flow without any signs of backup or sluggish drainage. This observation serves as a crucial indicator of the success of the maintenance and repair efforts.
5.4 Checking for Leakage
Simultaneously, inspect the surrounding areas of the drain, including the drain body, flange, and adjacent surfaces, for any signs of water seepage or leakage. A leak-free drain should maintain a secure seal, preventing water from escaping and causing potential damage to the surrounding structures. Any indications of leakage should be promptly addressed to ensure the integrity of the drain assembly.
5.5 Verifying Stability and Functionality
Finally, verify the stability and functionality of the drain by applying gentle pressure to the drain cover and surrounding components. A properly maintained and secured drain should exhibit stability and resist movement or displacement. Additionally, test the operation of the drain stopper, if applicable, to ensure smooth engagement and disengagement.
By meticulously conducting a comprehensive test of the Kohler bathtub drain, homeowners can validate the effectiveness of the maintenance and repair efforts, ensuring optimal functionality, efficient water flow, and a leak-free seal. This final step serves as a critical assurance of a hygienic and functional bathroom environment, providing peace of mind and a pleasant bathing experience.
Read more: How To Unfreeze Bathtub Drain
Conclusion
In conclusion, effectively closing a Kohler bathtub drain is a fundamental aspect of maintaining a functional, hygienic, and enjoyable bathroom environment. By following the comprehensive steps outlined in this guide, homeowners can address common issues such as slow drainage, foul odors, and potential water damage, ensuring that their Kohler bathtub remains a comfortable and rejuvenating space for relaxation.
The initial step of removing the drain cover sets the stage for subsequent maintenance and repair tasks, providing access to the internal components of the drain for thorough cleaning and inspection. By identifying the type of drain cover and employing the appropriate removal method, homeowners can ensure a seamless and damage-free extraction process.
Thoroughly cleaning the drain is essential for removing accumulated debris, soap scum, and mineral deposits that can impede water flow and lead to foul odors. Utilizing specialized cleaning solutions and mechanical cleaning methods enables homeowners to restore optimal water flow and mitigate potential clogging issues, contributing to a more hygienic bathing experience.
The use of a drain key or removal tool empowers homeowners to address stubborn or malfunctioning drains with precision and confidence, facilitating the extraction and inspection of the drain body for thorough cleaning and potential replacement. This proactive approach ensures the longevity and functionality of the bathtub drain, enhancing the overall bathroom environment.
Tightening the drain components is crucial for mitigating water seepage, drainage inefficiencies, and compromised structural integrity. By employing the appropriate tools and applying controlled torque, homeowners can secure the drain body or flange, ensuring a leak-free seal and optimal drainage performance.
Finally, conducting a comprehensive test of the Kohler bathtub drain serves as a vital validation of the maintenance and repair efforts, ensuring that the drain functions optimally and exhibits efficient water flow without any signs of leakage or instability. This final step provides homeowners with the assurance of a secure and functional bathroom environment, enhancing their overall bathing experience.
In essence, the process of effectively closing a Kohler bathtub drain encompasses proactive maintenance, precision in repair tasks, and a commitment to ensuring a hygienic and functional bathroom environment. By following the steps outlined in this guide, homeowners can uphold the integrity and performance of their Kohler bathtub drain, contributing to a comfortable and rejuvenating bathing experience for years to come.
Frequently Asked Questions about How To Close A Kohler Bathtub Drain?
Was this page helpful?
At Storables.com, we guarantee accurate and reliable information. Our content, validated by Expert Board Contributors, is crafted following stringent Editorial Policies. We're committed to providing you with well-researched, expert-backed insights for all your informational needs.

0 thoughts on “How To Close A Kohler Bathtub Drain?”