Home>Furniture & Design>Bathroom Accessories>How To Get Grout Off The Bathtub
Bathroom Accessories
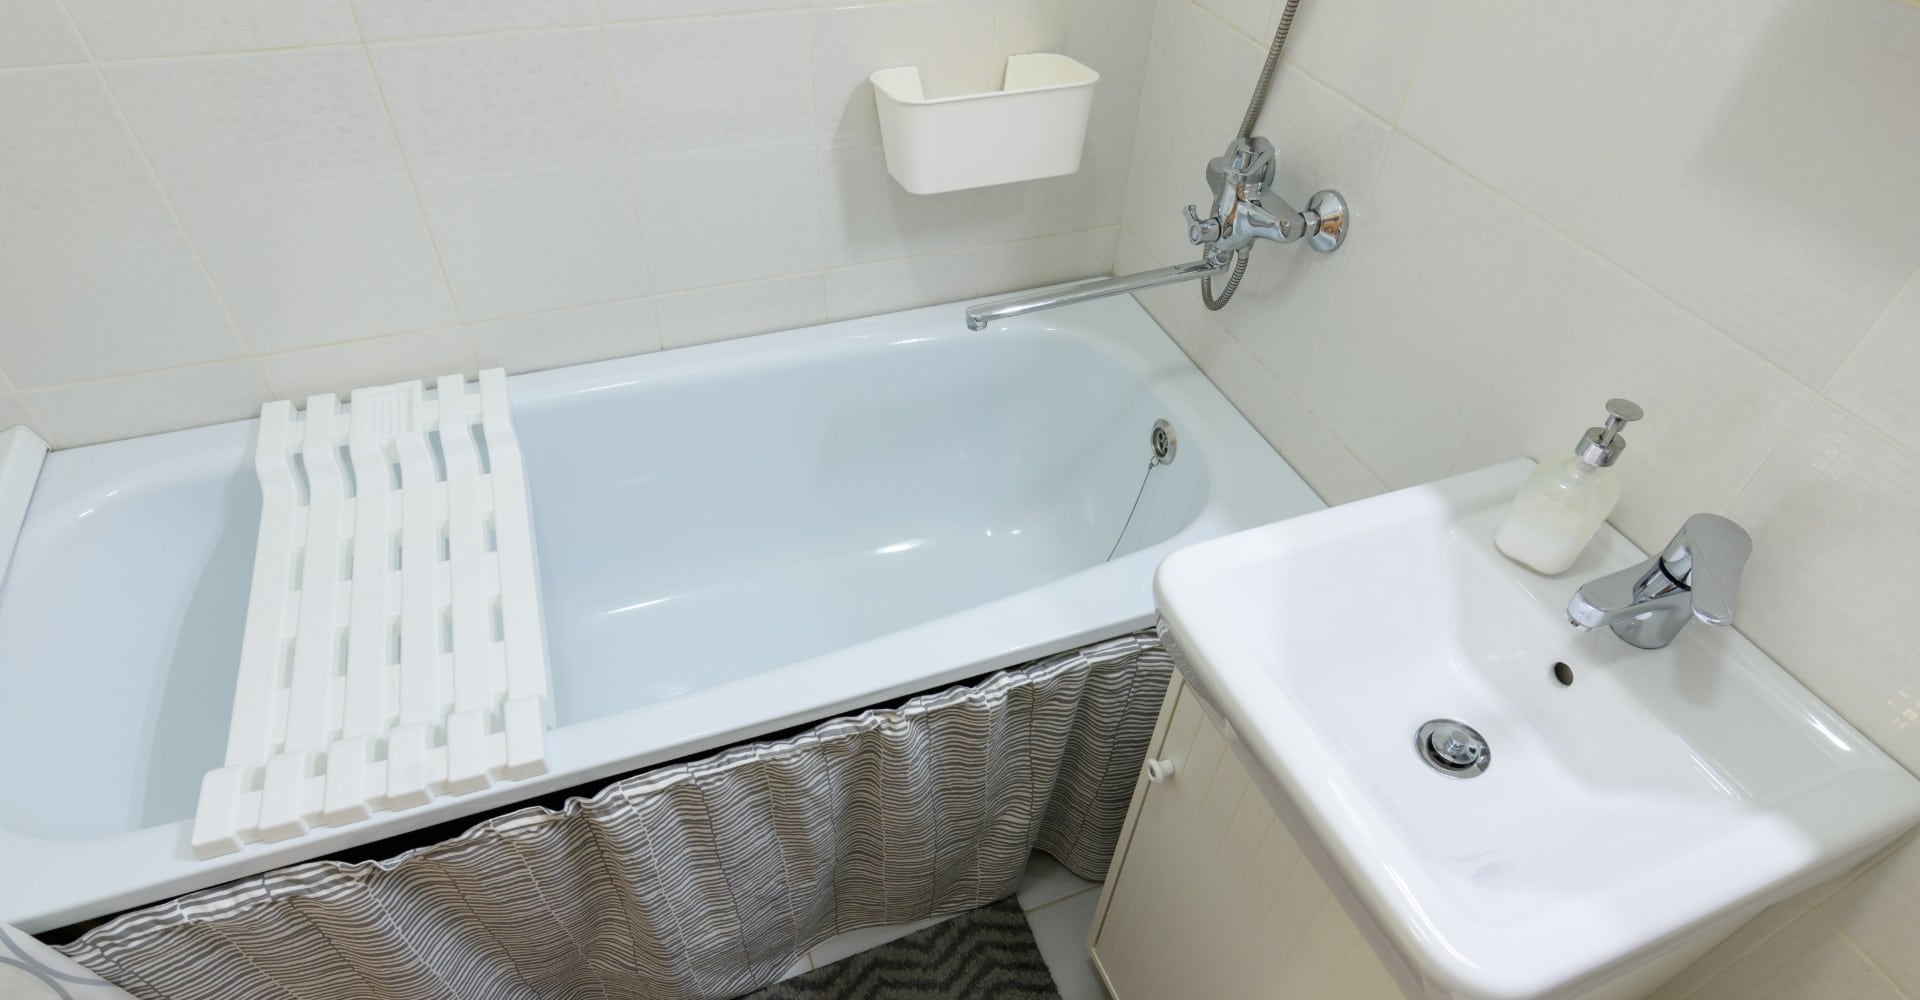
How To Get Grout Off The Bathtub
Modified: October 18, 2024
Learn how to effectively remove grout from your bathtub with our expert tips and tricks. Keep your bathroom accessories looking clean and new.
(Many of the links in this article redirect to a specific reviewed product. Your purchase of these products through affiliate links helps to generate commission for Storables.com, at no extra cost. Learn more)
Introduction
Removing grout from a bathtub can be a challenging task, but with the right tools and techniques, it can be accomplished effectively. Over time, grout can accumulate on the surface of the bathtub, leading to a dull and unattractive appearance. Additionally, grout can harbor mold and mildew, posing potential health hazards. Therefore, it's essential to address grout buildup promptly to maintain a clean and hygienic bathroom environment.
In this comprehensive guide, we will explore the step-by-step process of removing grout from a bathtub, providing valuable insights and practical tips to achieve successful results. By understanding the intricacies of grout removal and utilizing the appropriate tools and materials, you can restore the pristine condition of your bathtub and enhance the overall aesthetics of your bathroom space.
Whether you're a seasoned DIY enthusiast or a novice homeowner seeking to tackle this task for the first time, this guide will equip you with the knowledge and confidence to effectively remove grout from your bathtub. From preparing the bathtub surface to applying the grout remover and executing the scrubbing process, each step is crucial in achieving a thorough and satisfactory outcome.
By following the detailed instructions outlined in this guide, you'll be able to transform your bathtub from a grout-stained eyesore to a gleaming centerpiece of your bathroom. So, roll up your sleeves, gather your tools, and let's embark on this grout removal journey to revitalize your bathtub and elevate the ambiance of your bathroom space.
Key Takeaways:
- Say goodbye to grout grime! Follow these steps to remove grout from your bathtub and restore its pristine condition, creating a clean and inviting bathroom space.
- Gather your tools and get scrubbing! With the right materials and techniques, you can say hello to a gleaming bathtub free from grout buildup.
Read more: How To Get Grout Off Brick
Understanding Grout and Its Removal
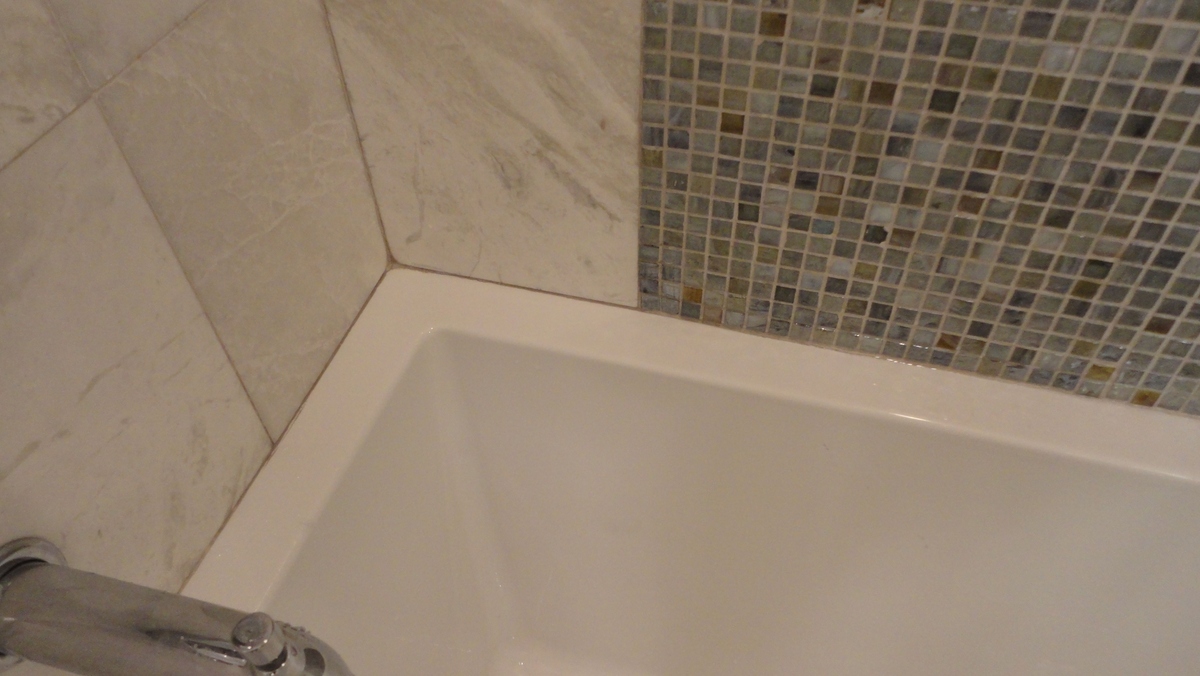
Grout, a mixture of cement, water, and sand, is commonly used to fill the gaps between tiles, providing stability and preventing moisture from seeping beneath the surface. While grout serves a functional purpose, it is susceptible to accumulating dirt, soap scum, and mold over time, especially in high-moisture areas such as bathtubs. As a result, the once pristine white grout can become discolored and unsightly, detracting from the overall appeal of the bathtub and the surrounding tiles.
When it comes to grout removal, it's essential to approach the task with a clear understanding of the composition and characteristics of grout. The removal process involves breaking down and dislodging the hardened grout from the surface of the bathtub without causing damage to the underlying tiles or the bathtub itself. This requires a delicate balance of precision and thoroughness to ensure effective removal while preserving the integrity of the surrounding materials.
To effectively remove grout from a bathtub, it's crucial to utilize specialized grout removers that are formulated to break down and dissolve the hardened grout. These removers typically contain powerful chemicals that penetrate the grout, loosening its grip on the surface and facilitating the removal process. Additionally, the use of scrubbing tools such as grout brushes or scrub pads is essential to physically dislodge the softened grout and eliminate stubborn residues.
Understanding the intricacies of grout removal also involves recognizing the importance of thorough rinsing and drying after the removal process. Residual grout particles and remover residue must be completely rinsed off the bathtub surface to prevent any potential damage or discoloration. Furthermore, ensuring that the bathtub is thoroughly dried after the grout removal process is vital to prevent the accumulation of moisture, which can lead to mold and mildew growth.
By comprehending the nature of grout and the nuances of its removal, homeowners can approach the task with confidence and precision, ultimately achieving a clean and rejuvenated bathtub surface. With the right knowledge and techniques, grout removal can be a manageable and rewarding endeavor, revitalizing the appearance of the bathtub and contributing to a fresh and inviting bathroom environment.
Tools and Materials Needed
Before embarking on the grout removal process, it's essential to gather the necessary tools and materials to ensure a smooth and efficient operation. The following items are indispensable for effectively removing grout from a bathtub:
Tools:
-
Grout Remover: A specialized grout remover solution is the cornerstone of the grout removal process. Look for a high-quality grout remover that is formulated to break down and dissolve hardened grout effectively.
-
Grout Brush or Scrub Pad: These tools are essential for physically dislodging the softened grout from the bathtub surface. A grout brush with stiff bristles or a scrub pad with abrasive properties can facilitate the removal of stubborn grout residues.
-
Protective Gloves: It's crucial to protect your hands during the grout removal process. Wear durable protective gloves to shield your skin from the grout remover and any potential irritants.
-
Safety Goggles: To safeguard your eyes from splashes and fumes, wearing safety goggles is highly recommended, especially when working with grout remover solutions.
-
Ventilation: Adequate ventilation is essential when using grout remover, as the fumes can be potent. Ensure that the bathroom is well-ventilated by opening windows or using a fan to maintain a healthy working environment.
-
Plastic Scraper or Putty Knife: These tools can be used to gently scrape away softened grout from the bathtub surface without causing damage to the tiles or the bathtub itself.
Materials:
-
Grout Remover Solution: Select a reputable grout remover solution that is suitable for the type of grout present in your bathtub. Ensure that the product is safe for use on the bathtub surface and compatible with the materials involved.
-
Clean Water: Having access to clean water for rinsing the bathtub surface is crucial. Ensure that there is a sufficient water supply to thoroughly rinse off the grout remover and any residual grout particles.
-
Clean Cloth or Sponge: Use a clean cloth or sponge to apply the grout remover solution to the bathtub surface and to facilitate the rinsing process.
-
Drying Towel or Cloth: After rinsing the bathtub, a drying towel or cloth is essential to thoroughly dry the surface and prevent the accumulation of moisture.
By assembling these essential tools and materials, you'll be well-equipped to undertake the grout removal process with confidence and precision. Each item plays a vital role in ensuring the effective and safe removal of grout from the bathtub, ultimately contributing to the restoration of a clean and rejuvenated bathtub surface.
Read more: How To Get Tar Off A Bathtub
Step 1: Preparing the Bathtub
Before commencing the grout removal process, it is crucial to prepare the bathtub surface adequately to facilitate the effective and safe removal of grout. Proper preparation sets the stage for a seamless and successful grout removal operation. Here's a detailed breakdown of the essential steps involved in preparing the bathtub for grout removal:
Clearing the Area:
Begin by clearing the surrounding area of the bathtub to create a spacious and unobstructed working environment. Remove any bath accessories, such as soap dishes, shampoo bottles, or bath mats, to ensure unimpeded access to the entire bathtub surface. Clearing the area minimizes the risk of accidental spills or damage to personal items during the grout removal process.
Ventilation:
Ensure that the bathroom is well-ventilated to disperse any fumes or odors that may arise from the grout removal process. Open windows or use a fan to promote air circulation and maintain a fresh and breathable atmosphere. Adequate ventilation is essential for creating a comfortable and safe working environment while using grout remover solutions.
Protective Gear:
Prioritize personal safety by donning protective gear, including durable gloves and safety goggles, before handling any grout remover solutions. Protective gloves shield the skin from direct contact with the grout remover, while safety goggles safeguard the eyes from potential splashes and fumes. Wearing protective gear is a fundamental precautionary measure to prevent skin irritation or eye discomfort during the grout removal process.
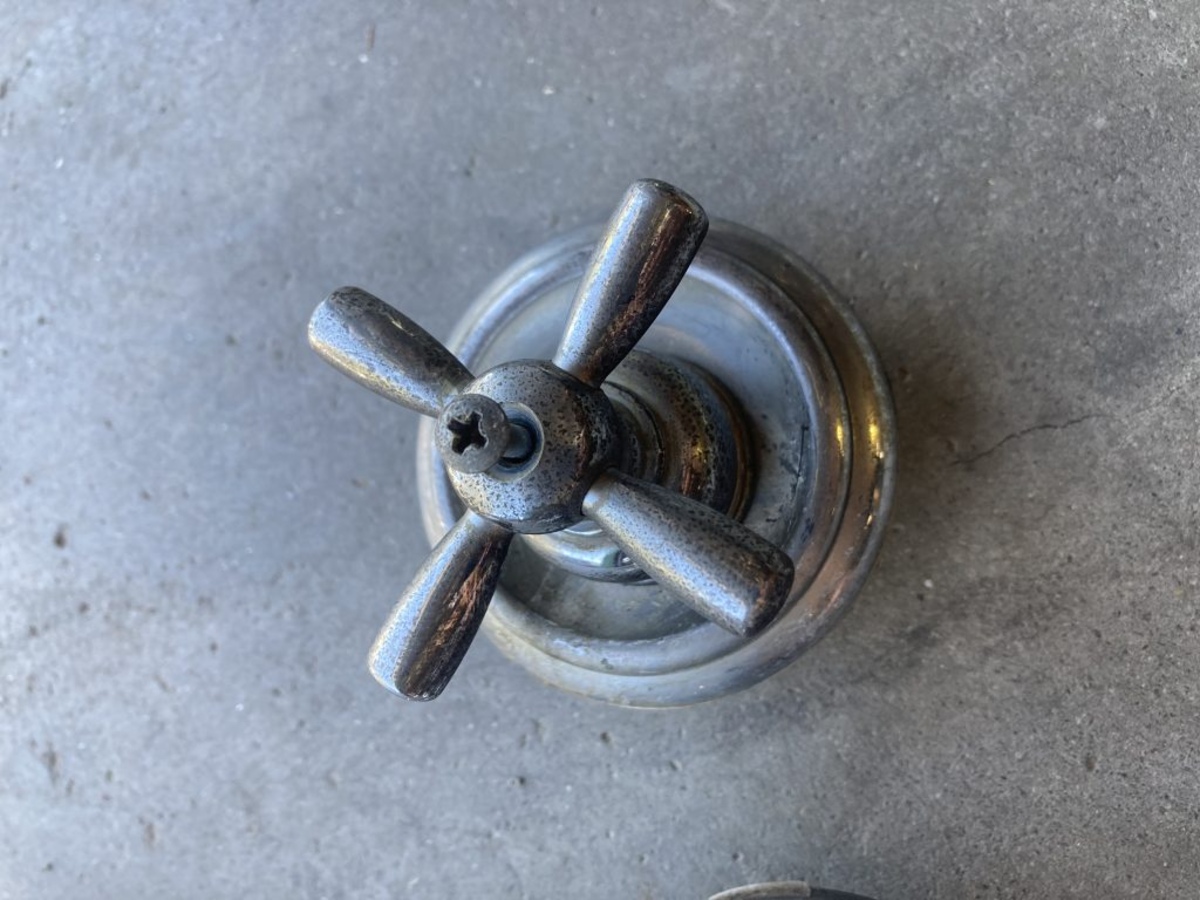
Read more: How To Get Silicone Off A Bathtub
Test Patch:
Before applying the grout remover solution to the entire bathtub surface, conduct a small test patch in an inconspicuous area to assess the product's compatibility and effectiveness. Apply a small amount of the grout remover solution to a discreet section of the bathtub and observe its reaction over the recommended duration. This test patch allows you to gauge the product's impact on the bathtub surface and ensures that it does not cause any adverse effects or discoloration.
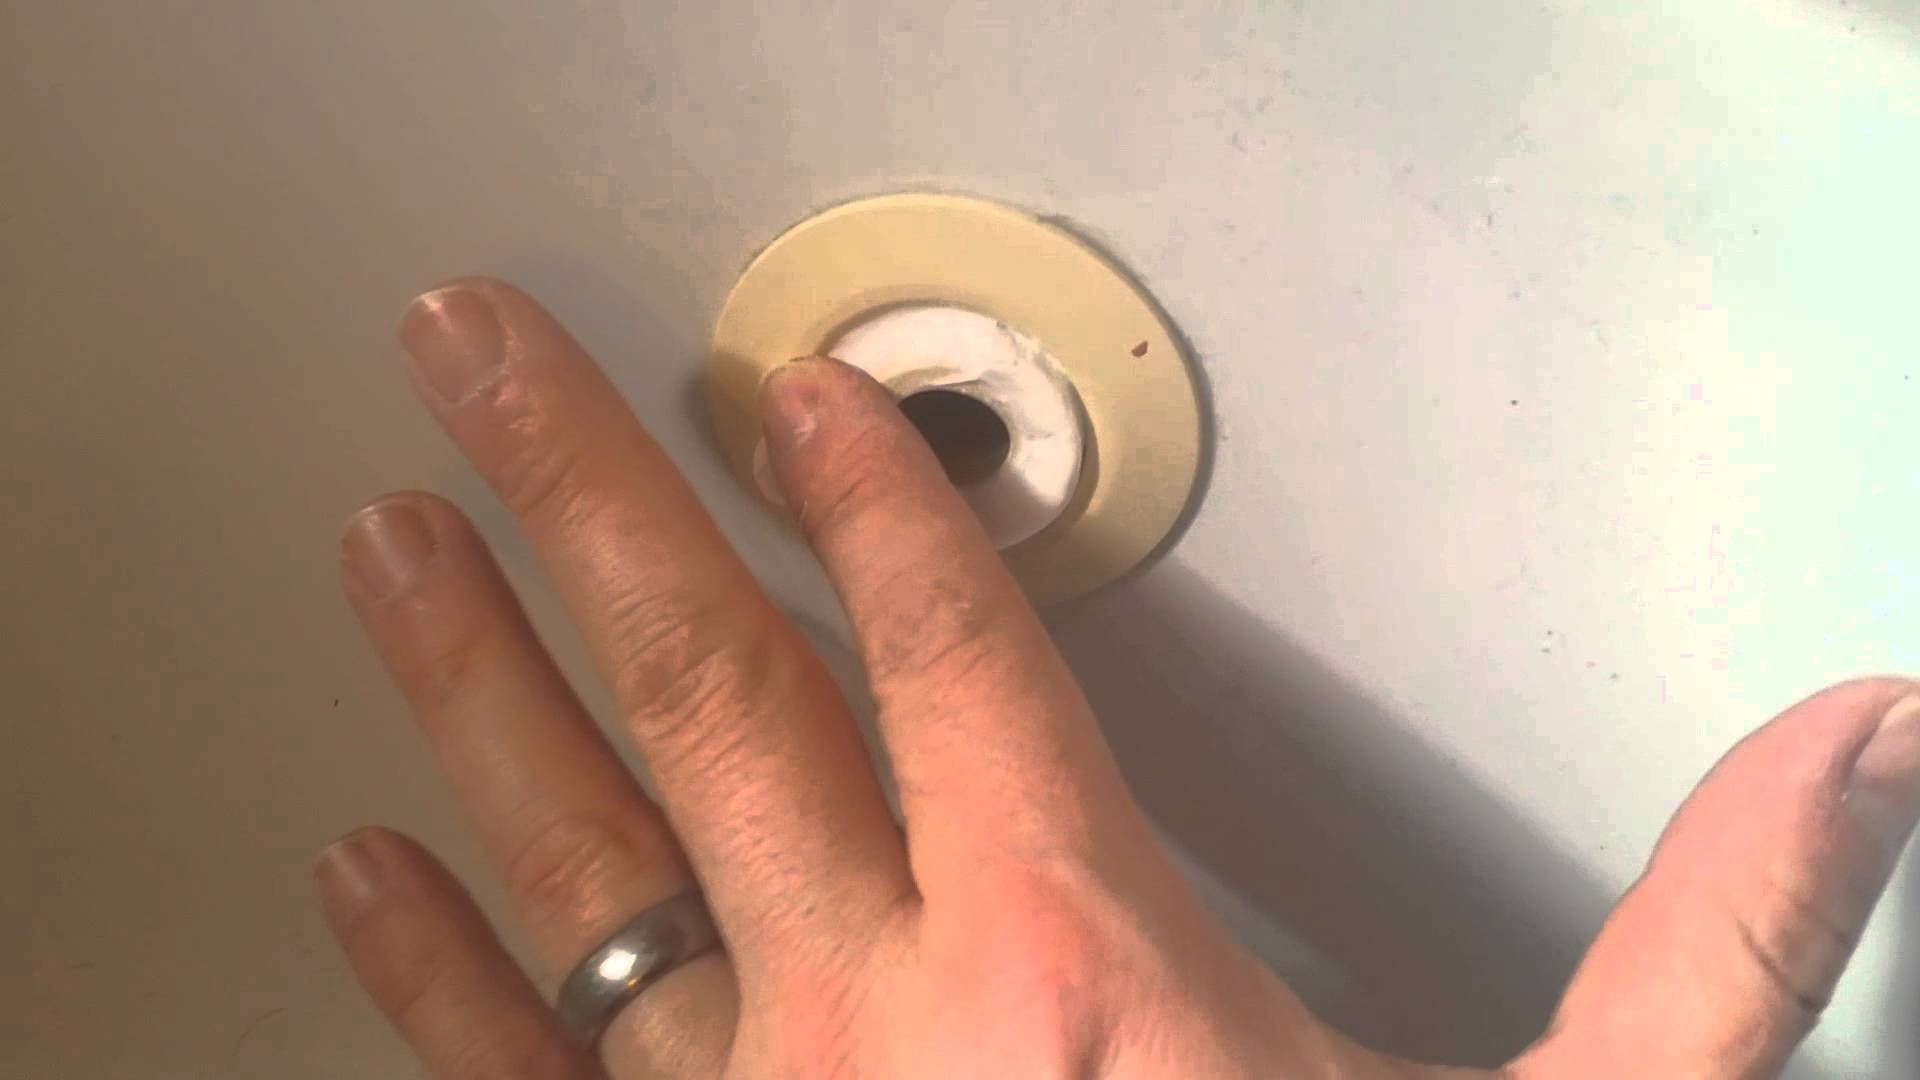
Clearing the Drain:
To prevent any potential clogging or blockages, ensure that the bathtub drain is clear of any debris or obstructions. Clearing the drain allows for smooth and unobstructed water flow during the rinsing process, facilitating the thorough removal of grout remover solution and residual grout particles from the bathtub surface.
By meticulously preparing the bathtub through these essential steps, you establish a conducive and safe environment for the subsequent stages of the grout removal process. Adequate preparation sets the foundation for a successful and efficient grout removal operation, ensuring optimal results and the preservation of the bathtub's integrity.
Step 2: Applying the Grout Remover
Once the bathtub is adequately prepared, the next critical step in the grout removal process is the application of the grout remover. This pivotal stage involves the strategic application of the specialized grout remover solution to the bathtub surface, initiating the breakdown and dissolution of the hardened grout. Here's a detailed exploration of the essential procedures involved in applying the grout remover:
Diligent Application:
Using a clean cloth or sponge, carefully apply the grout remover solution to the affected areas of the bathtub surface. Ensure thorough coverage of the grout lines and any areas where grout buildup is prominent. The application should be meticulous, targeting the specific areas requiring grout removal while avoiding contact with unaffected surfaces.
Read more: How To Get Rust Stains Off A Bathtub
Even Distribution:
Maintain an even distribution of the grout remover solution across the bathtub surface to facilitate uniform penetration and effective grout breakdown. Pay close attention to areas with stubborn grout residues, ensuring that the solution reaches and saturates the affected grout lines comprehensively.
Dwell Time:
Allow the grout remover solution to dwell on the bathtub surface for the recommended duration specified by the product manufacturer. The dwell time allows the solution to penetrate the hardened grout, softening its grip on the surface and preparing it for the subsequent removal process. Adhering to the specified dwell time is crucial to ensure optimal results and minimize the effort required during the scrubbing phase.
Cautionary Measures:
Exercise caution and precision when applying the grout remover, especially in proximity to other surfaces or materials. Avoid accidental contact with non-grout areas, such as the bathtub fixtures or surrounding tiles, to prevent any unintended impact or damage. Diligent application and precision are essential to confine the grout remover's effects to the targeted areas, minimizing the risk of adverse effects on unaffected surfaces.
Observing Reactions:
During the dwell time, closely monitor the bathtub surface for any reactions to the grout remover solution. Observe the solution's impact on the grout, noting any visible signs of softening or dissolution. This observation allows for real-time assessment of the grout remover's effectiveness and aids in determining the readiness for the subsequent scrubbing phase.
By meticulously adhering to these crucial steps in applying the grout remover, homeowners can initiate the process of breaking down and dissolving the hardened grout, setting the stage for the subsequent scrubbing and removal phase. The diligent application of the grout remover is a fundamental component of the grout removal process, laying the groundwork for the comprehensive rejuvenation of the bathtub surface.
Read more: How To Remove Grout From Bathtub
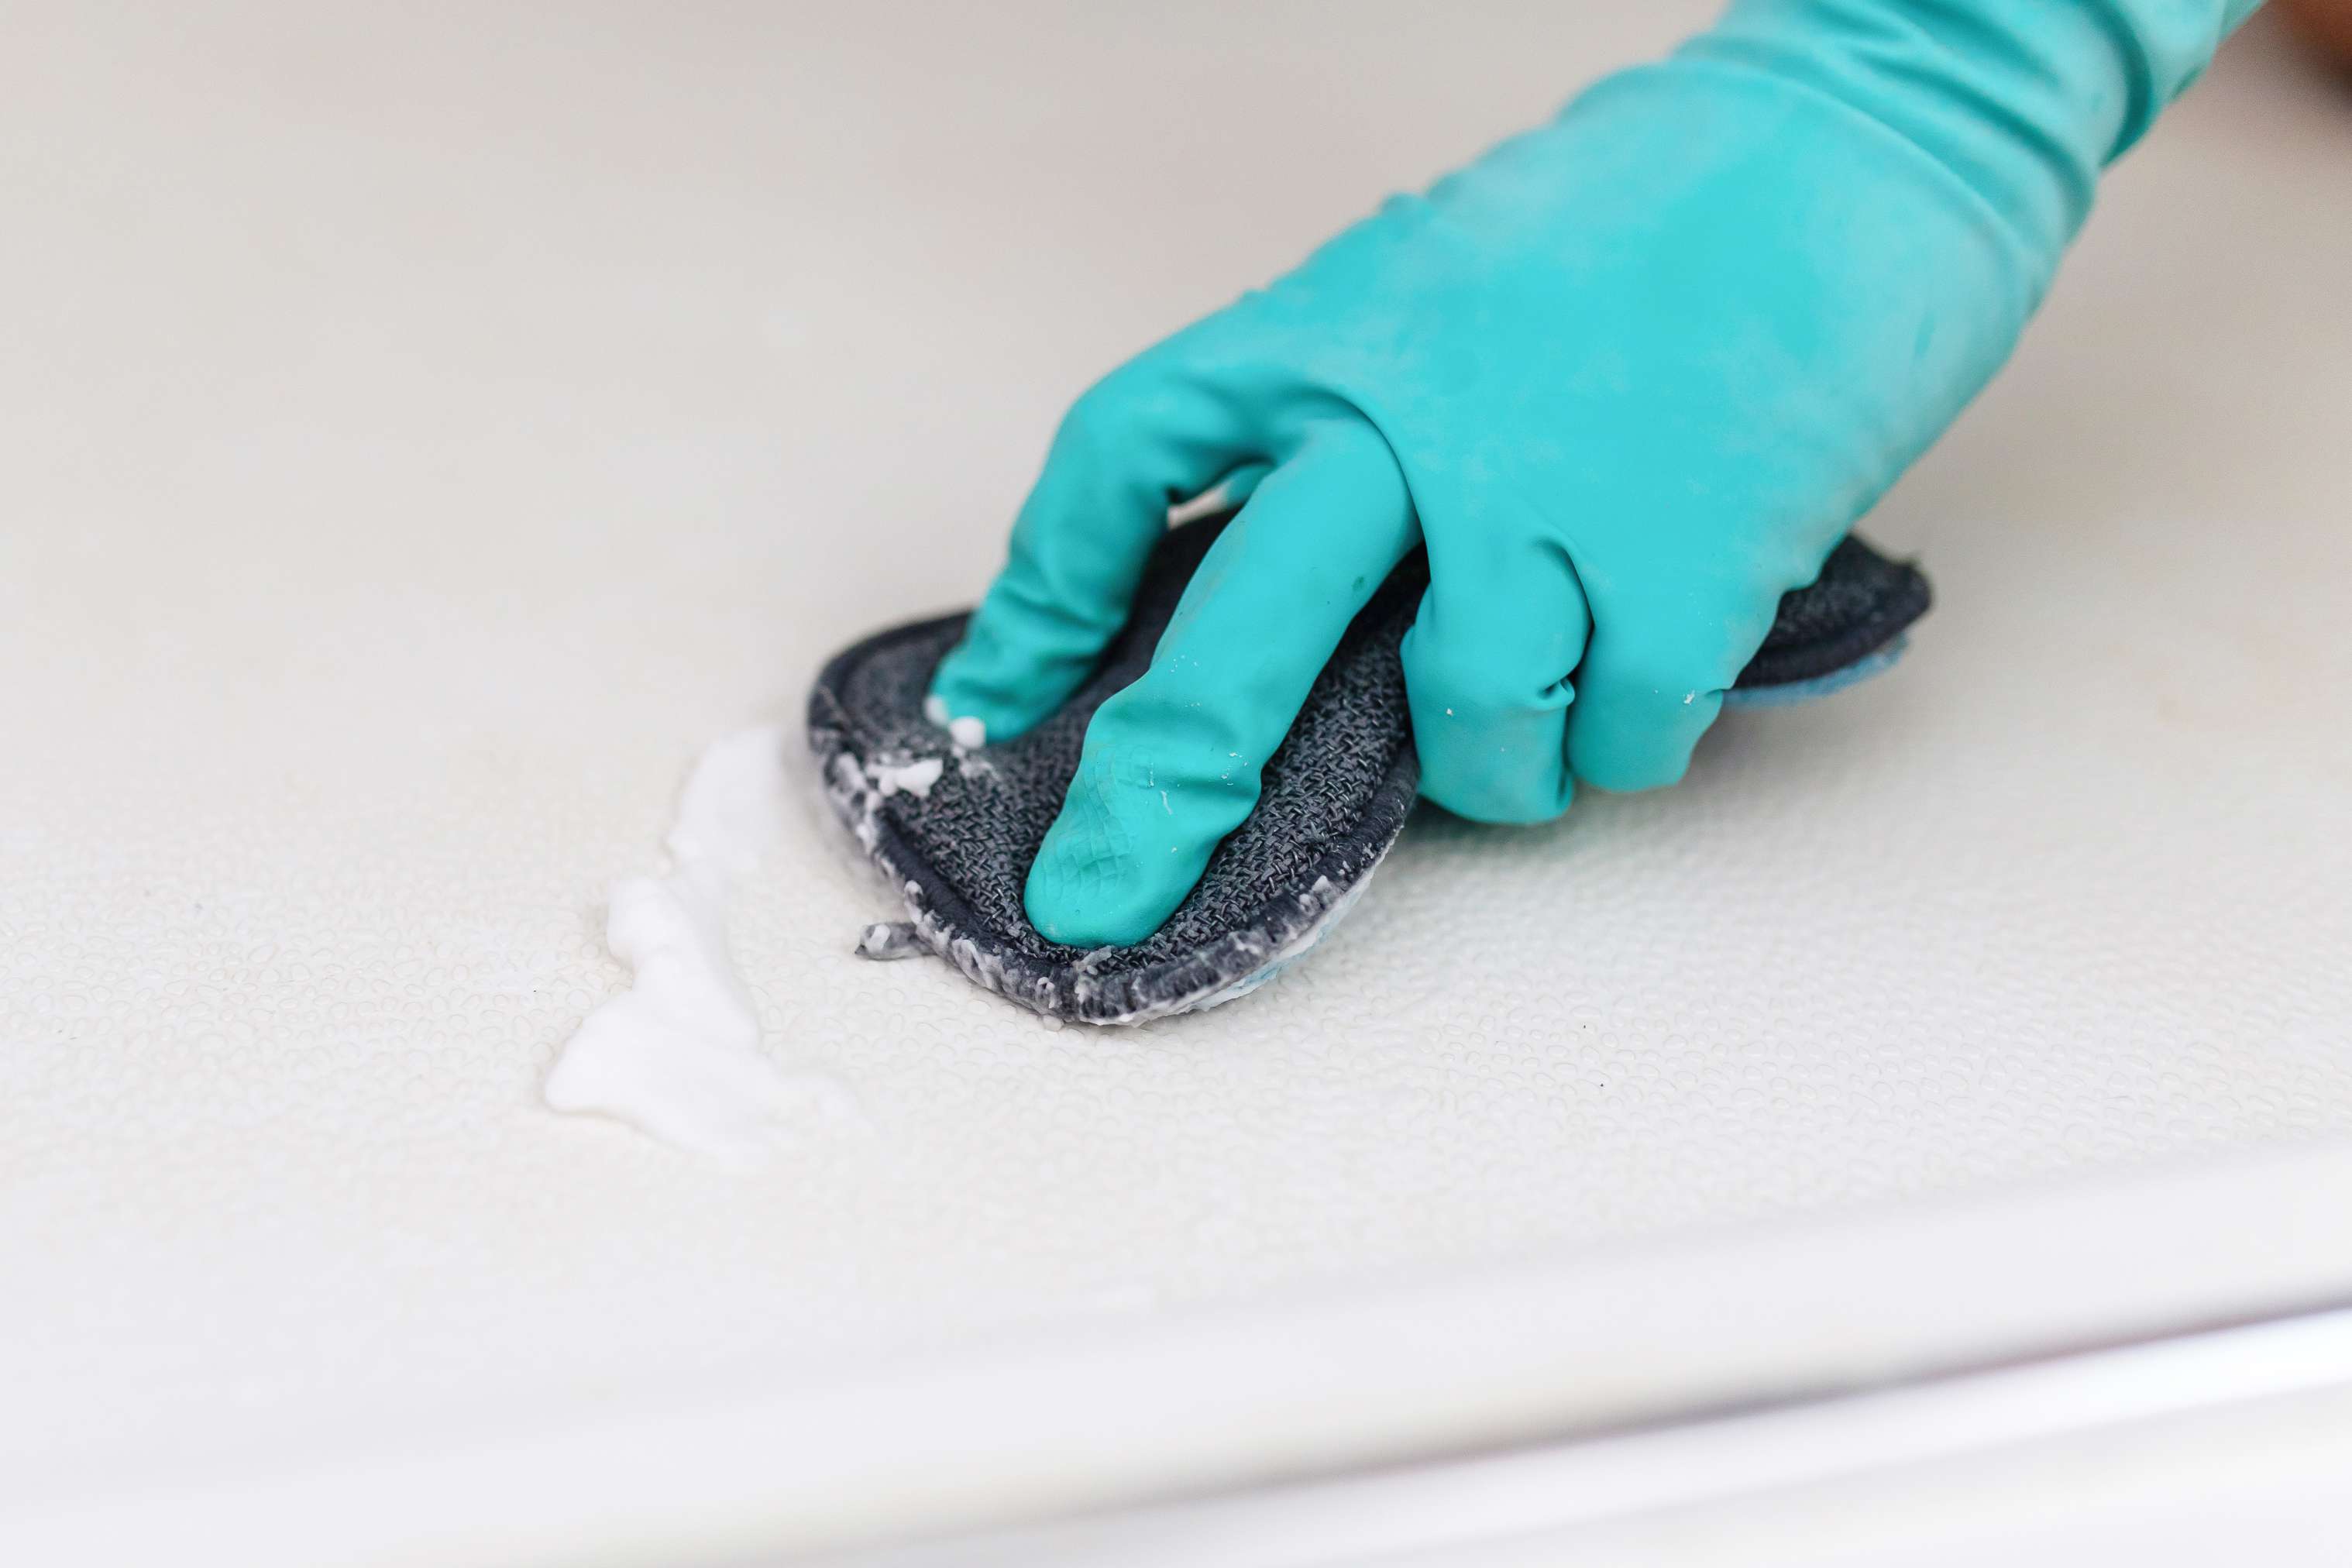
Step 3: Scrubbing the Grout
With the grout remover solution having effectively softened the hardened grout, the next pivotal step in the grout removal process is the meticulous scrubbing of the bathtub surface. This phase involves the physical dislodging and removal of the softened grout from the grout lines and the surrounding tile surface. Here's a detailed exploration of the essential procedures involved in scrubbing the grout:
Selecting the Appropriate Tool:
Choose a suitable grout brush or scrub pad that aligns with the type of tiles and grout present in your bathtub. Opt for a brush with stiff bristles or a scrub pad with abrasive properties to effectively dislodge the softened grout without causing damage to the underlying tiles. The selected tool should facilitate thorough scrubbing while ensuring precision and control over the removal process.
Methodical Scrubbing:
Begin the scrubbing process by focusing on a specific section of the bathtub surface, working in small, manageable areas to ensure comprehensive coverage. Apply moderate pressure with the grout brush or scrub pad, targeting the softened grout and persistent residues. Employ a back-and-forth or circular motion to dislodge the grout effectively, paying close attention to intricate grout lines and hard-to-reach areas.
Continuous Rinsing:
As you scrub the grout, periodically rinse the grout brush or scrub pad to remove dislodged grout particles and prevent the accumulation of debris. Additionally, intermittently rinse the bathtub surface with clean water to eliminate loosened grout and grout remover residue. This continuous rinsing process ensures that the scrubbing tool remains effective and prevents the re-deposition of grout particles onto the bathtub surface.
Read more: How To Get Hard Water Stains Off Bathtub
Patience and Persistence:
Exercise patience and persistence during the scrubbing process, especially when addressing stubborn grout residues. Multiple passes may be necessary to achieve thorough grout removal, particularly in areas with extensive grout buildup. By maintaining a methodical and persistent approach, you can ensure that the bathtub surface is meticulously scrubbed, leaving no traces of residual grout behind.
Thorough Inspection:
Upon completing the scrubbing process, conduct a thorough inspection of the bathtub surface to assess the effectiveness of the grout removal. Examine the grout lines and tile surface for any remaining grout residues or areas requiring additional attention. Address any lingering grout remnants with targeted scrubbing, ensuring that the entire bathtub surface is free from grout buildup.
By meticulously adhering to these essential steps in scrubbing the grout, homeowners can achieve a comprehensive and effective removal of grout from the bathtub surface. The meticulous scrubbing process plays a pivotal role in rejuvenating the appearance of the bathtub, contributing to a clean, revitalized, and aesthetically pleasing bathroom environment.
Step 4: Rinsing and Drying the Bathtub
After the meticulous scrubbing of the grout, the final critical step in the grout removal process involves the thorough rinsing and drying of the bathtub. This phase is essential to eliminate any residual grout remover solution, loosened grout particles, and debris, ensuring a pristine and immaculate bathtub surface. Here's a detailed exploration of the essential procedures involved in rinsing and drying the bathtub:
Gentle Rinsing:
Commence the rinsing process by using clean water to thoroughly wash the entire bathtub surface. Ensure that the water reaches all areas where the grout remover solution and dislodged grout residues may be present. Employ a gentle and methodical approach, allowing the water to effectively flush away any remaining traces of the grout remover and loosened grout particles.
Read more: How To Turn Off Water In A Bathtub
Targeted Cleaning:
In areas with intricate grout lines or tile crevices, utilize a clean cloth or sponge to facilitate targeted cleaning. Wipe these areas meticulously to ensure the complete removal of any residual grout remover solution and lingering grout particles. Pay close attention to detail, ensuring that no remnants of grout or cleaning solution remain on the bathtub surface.
Thorough Inspection:
Conduct a comprehensive inspection of the bathtub surface to verify the effectiveness of the rinsing process. Examine the grout lines, tile edges, and surrounding areas for any signs of residual grout remover solution or remaining grout particles. Address any lingering traces with additional rinsing and targeted cleaning, ensuring that the bathtub surface is impeccably clean and free from any remnants of the grout removal process.
Drying the Surface:
Once the rinsing process is complete, use a drying towel or cloth to thoroughly dry the bathtub surface. Ensure that the surface is completely free from moisture to prevent the accumulation of water spots or potential mold growth. Employ gentle and thorough drying motions, focusing on each section of the bathtub to achieve uniform dryness.
Ventilation and Final Assessment:
After drying the bathtub, promote ventilation in the bathroom to facilitate the evaporation of any residual moisture. Open windows or use a fan to enhance air circulation, expediting the drying process. Once the bathtub surface is dry, conduct a final assessment to confirm that it is immaculate and free from any remnants of the grout removal process.
By meticulously adhering to these essential steps in rinsing and drying the bathtub, homeowners can ensure the complete removal of grout remover solution and dislodged grout particles, resulting in a pristine and rejuvenated bathtub surface. The thorough rinsing and drying process is integral to the successful culmination of the grout removal endeavor, contributing to the restoration of a clean, hygienic, and visually appealing bathroom space.
Read more: How To Turn Off Bathtub Jets
Conclusion
In conclusion, the process of removing grout from a bathtub is a meticulous yet rewarding endeavor that yields a revitalized and aesthetically pleasing bathroom space. By understanding the nature of grout and its removal, homeowners can effectively address grout buildup and restore the pristine condition of their bathtubs. The comprehensive guide presented here has provided valuable insights and practical instructions for navigating each stage of the grout removal process with confidence and precision.
From the initial preparation of the bathtub surface to the application of the grout remover and the meticulous scrubbing process, each step plays a crucial role in achieving thorough grout removal. The utilization of specialized tools and materials, coupled with a methodical approach, ensures the effective dissolution and dislodging of hardened grout, ultimately rejuvenating the appearance of the bathtub.
Furthermore, the thorough rinsing and drying of the bathtub surface are essential to eliminate any residual grout remover solution and dislodged grout particles, culminating in a pristine and immaculate outcome. The meticulous attention to detail throughout the grout removal process is instrumental in preserving the integrity of the bathtub and the surrounding tiles while achieving a clean and revitalized appearance.
By following the detailed instructions outlined in this guide, homeowners can transform their bathtub from a grout-stained eyesore to a gleaming centerpiece of their bathroom. The removal of grout not only enhances the visual appeal of the bathtub but also contributes to a hygienic and inviting bathroom environment, free from the potential hazards of mold and mildew.
Ultimately, the successful removal of grout from the bathtub empowers homeowners to take pride in their bathroom space, fostering a sense of cleanliness, comfort, and rejuvenation. With the knowledge and confidence gained from this comprehensive guide, individuals can embark on the grout removal journey, revitalizing their bathtubs and elevating the ambiance of their homes.
In essence, the process of grout removal transcends the physical act of cleaning; it embodies the transformation of a functional space into a revitalized sanctuary, where cleanliness and aesthetics converge to create a welcoming and rejuvenating environment. Embracing the art of grout removal empowers homeowners to reclaim the beauty of their bathtubs and infuse their bathrooms with a renewed sense of freshness and allure.
Frequently Asked Questions about How To Get Grout Off The Bathtub
Was this page helpful?
At Storables.com, we guarantee accurate and reliable information. Our content, validated by Expert Board Contributors, is crafted following stringent Editorial Policies. We're committed to providing you with well-researched, expert-backed insights for all your informational needs.
0 thoughts on “How To Get Grout Off The Bathtub”