Home>Furniture & Design>Bathroom Accessories>How To Get Tar Off A Bathtub
Bathroom Accessories
How To Get Tar Off A Bathtub
Modified: August 27, 2024
Learn how to effectively remove tar from your bathtub with our expert tips and tricks. Keep your bathroom accessories clean and pristine with our easy-to-follow guide.
(Many of the links in this article redirect to a specific reviewed product. Your purchase of these products through affiliate links helps to generate commission for Storables.com, at no extra cost. Learn more)
Introduction
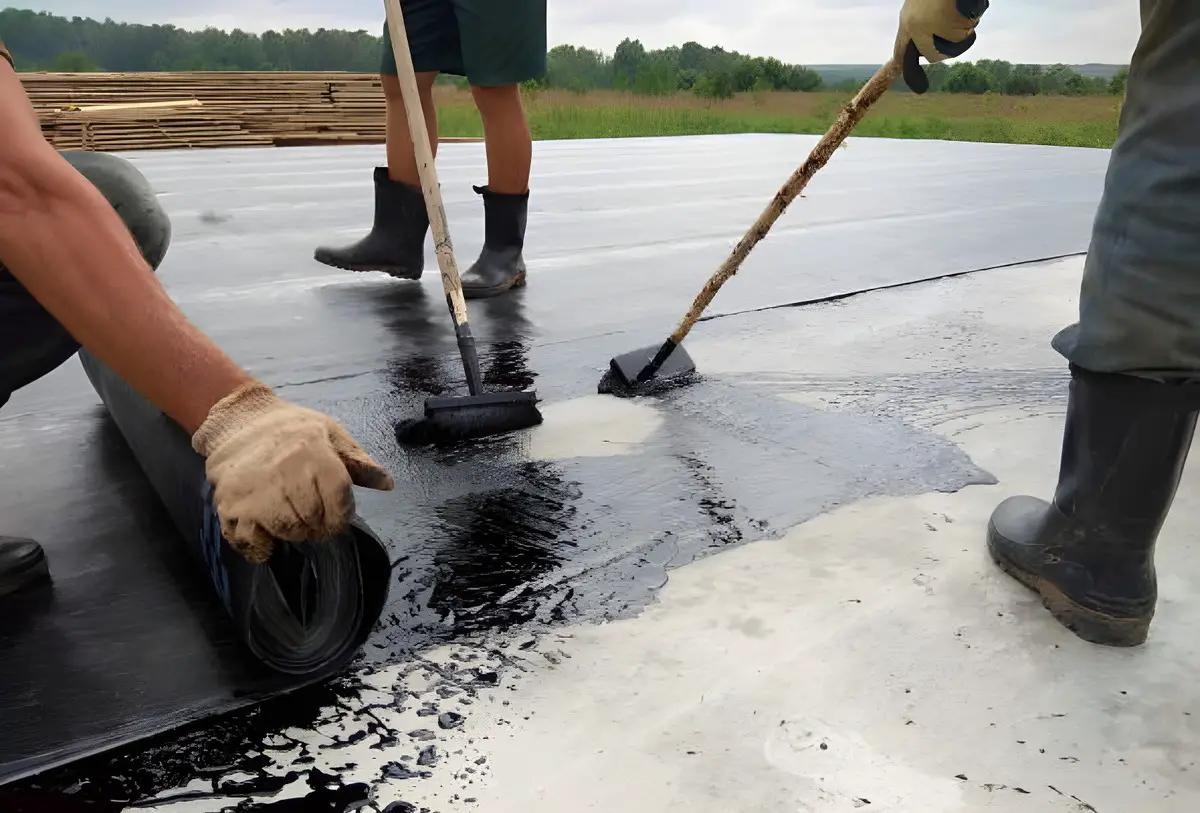
Dealing with tar on a bathtub can be a frustrating and challenging task. Whether it's due to accidental spills or residue from DIY projects, the sticky and stubborn nature of tar can make it seem like an insurmountable problem. However, with the right approach and tools, you can effectively remove tar from your bathtub and restore its pristine condition.
In this comprehensive guide, we will walk you through the step-by-step process of removing tar from your bathtub, providing you with valuable insights and practical tips to make the task more manageable. By following these instructions and leveraging the appropriate cleaning solutions and techniques, you can effectively eliminate the unsightly tar stains and maintain the cleanliness and appeal of your bathtub.
So, if you've found yourself facing the daunting task of tar removal, fear not! With our expert guidance, you'll soon be equipped with the knowledge and skills needed to tackle this challenge head-on. Let's dive into the details and discover the most effective methods for getting tar off your bathtub, ensuring that your bathroom remains a clean and inviting space for you and your family.
Key Takeaways:
- Say goodbye to tar stains on your bathtub! Use gentle scraping and a specialized cleaning solution to effectively remove stubborn tar residue. Thorough rinsing and drying ensure a clean, inviting bathtub for your family.
- Prevent future tar mishaps by using protective mats and liners in your bathtub. Regular maintenance and immediate cleanup help maintain a pristine bathtub, while avoiding harsh abrasives and seeking professional assistance when needed.
Read more: How To Get Tar Off Brick
Understanding Tar
Tar is a viscous, black, or dark brown liquid that is derived from organic materials such as wood, coal, or petroleum. It is commonly used in various industrial applications, including road construction, roofing, and waterproofing. However, when tar comes into contact with surfaces such as bathtubs, it can create stubborn and unsightly stains that are challenging to remove.
The sticky nature of tar makes it adhere firmly to surfaces, forming a resilient bond that can be difficult to break. When tar is accidentally spilled or dripped onto a bathtub, it can quickly harden and adhere to the surface, creating a tough, sticky residue that defies conventional cleaning methods.
Moreover, tar often contains a complex mixture of hydrocarbons and other organic compounds, making it resistant to water-based cleaning solutions. This chemical composition contributes to its stubborn nature, requiring specialized cleaning techniques and products to effectively dissolve and remove it from surfaces.
In addition to its adhesive properties, tar can also leave behind dark, unsightly stains that mar the appearance of the bathtub. These stains can be particularly challenging to eliminate, as they penetrate the surface and require thorough cleaning and scrubbing to restore the bathtub to its original condition.
Understanding the characteristics of tar is essential for devising an effective removal strategy. By recognizing its adhesive nature, chemical composition, and staining potential, you can tailor your cleaning approach to effectively tackle the problem at hand. With this understanding in mind, you'll be better equipped to select the appropriate tools and cleaning solutions to successfully remove tar from your bathtub, restoring its cleanliness and visual appeal.
Tools and Materials Needed
When it comes to removing tar from a bathtub, having the right tools and materials at your disposal is crucial for achieving successful results. Here's a comprehensive list of items you'll need to effectively tackle the task of tar removal:
1. Protective Gloves:
- Rubber or latex gloves are essential for protecting your hands from the cleaning solutions and tar residue. They provide a barrier against skin irritation and ensure your hands remain clean throughout the cleaning process.
2. Scraper or Putty Knife:
- A sturdy scraper or putty knife is indispensable for removing excess tar from the bathtub surface. Choose a tool with a sharp edge that can effectively dislodge hardened tar without damaging the bathtub's finish.
Read more: How To Get Tar Off A Driveway
3. Cleaning Solvent or Tar Remover:
- Select a specialized cleaning solvent or tar remover designed to dissolve and break down tar stains. Look for products specifically formulated for use on bathtubs and ensure they are safe for the bathtub's material, such as acrylic, porcelain, or enamel.
4. Microfiber Cloths or Soft Sponges:
- Soft, non-abrasive cloths or sponges are ideal for applying cleaning solutions and gently scrubbing the bathtub surface. Microfiber cloths are particularly effective for lifting and trapping tar residue without scratching or damaging the bathtub.
5. White Vinegar or Isopropyl Alcohol:
- White vinegar and isopropyl alcohol are effective natural solvents that can help dissolve tar stains and residue. They are safe for use on most bathtub surfaces and provide an eco-friendly alternative to harsh chemical cleaners.
6. Baking Soda or Mild Abrasive Cleaner:
- Baking soda or a mild abrasive cleaner can aid in scrubbing away stubborn tar stains without causing damage to the bathtub surface. These gentle abrasives help lift and loosen tar residue, facilitating its removal during the cleaning process.
Read more: How To Get Silicone Off A Bathtub
7. Protective Eyewear (Optional):
- If you anticipate splashing or aerosolized cleaning solutions during the tar removal process, wearing protective eyewear can safeguard your eyes from potential irritation or exposure to cleaning chemicals.
By assembling these essential tools and materials, you'll be well-prepared to tackle the task of removing tar from your bathtub with confidence and efficiency. Each item serves a specific purpose in the cleaning process, enabling you to address tar stains effectively while safeguarding the integrity of your bathtub's surface. With these tools at your disposal, you can proceed to the next steps of the tar removal process, equipped with the necessary resources to achieve a successful outcome.
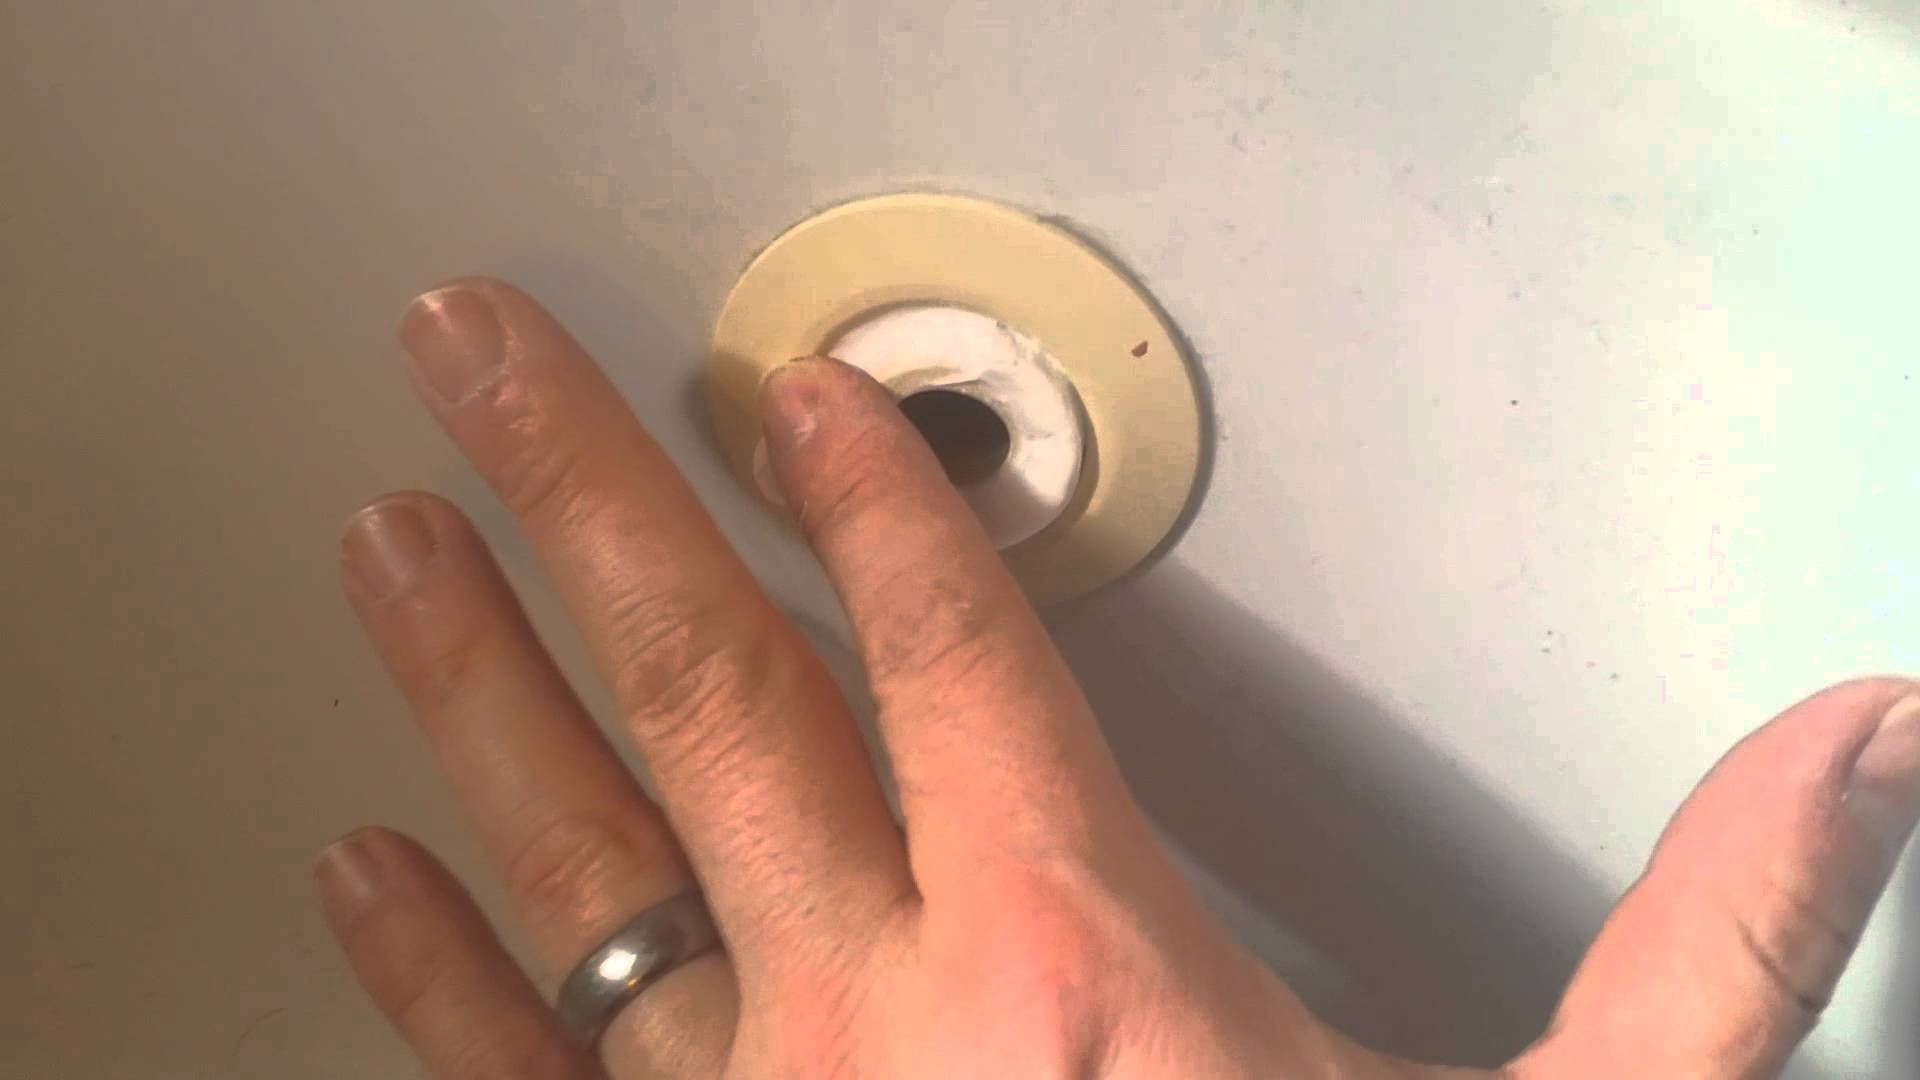
Step 1: Removing Excess Tar
The first step in the process of removing tar from a bathtub involves addressing any excess tar that may be present on the surface. This typically includes hardened or semi-hardened tar residue that has adhered to the bathtub, forming unsightly and stubborn deposits. To effectively tackle this initial phase of tar removal, you'll need to employ the following techniques and tools:
Scraper or Putty Knife:
Begin by equipping yourself with a sturdy scraper or putty knife, ideally with a sharp edge that can effectively dislodge hardened tar without causing damage to the bathtub's finish. Carefully position the edge of the scraper against the excess tar and apply gentle pressure to loosen and lift the tar from the surface. Work methodically, focusing on small sections at a time to ensure thorough removal of the tar residue.
Gentle Scraping:
Exercise caution during the scraping process to avoid scratching or gouging the bathtub surface. Use controlled, deliberate movements to gently dislodge the tar, taking care not to apply excessive force that could potentially damage the bathtub's material. By employing a gentle scraping technique, you can gradually lift the excess tar without compromising the integrity of the bathtub's finish.
Read more: How To Get Grout Off The Bathtub
Repeat as Needed:
Depending on the extent of the tar deposits, you may need to repeat the scraping process multiple times to fully address the excess tar. Be patient and thorough in your approach, ensuring that all visible tar residue is effectively removed before proceeding to the next phase of the cleaning process.
By diligently removing excess tar from the bathtub surface, you'll pave the way for subsequent cleaning steps to be more effective. This initial phase sets the stage for the application of cleaning solutions and targeted scrubbing, allowing you to address the remaining tar stains with greater precision and efficiency. With the excess tar successfully removed, you can proceed to the next steps of the tar removal process, confident in your progress toward restoring the cleanliness and visual appeal of your bathtub.
Step 2: Applying Cleaning Solution
Once the excess tar has been effectively removed from the bathtub surface, the next crucial step in the tar removal process involves the application of a specialized cleaning solution or tar remover. This pivotal phase is essential for breaking down and dissolving the remaining tar stains, preparing them for targeted scrubbing and removal. To execute this step with precision and efficacy, follow the detailed guidelines below:
Selecting the Appropriate Cleaning Solution:
Choose a cleaning solvent or tar remover specifically formulated for use on bathtubs and designed to dissolve tar stains effectively. Ensure that the selected product is compatible with the material of your bathtub, whether it is acrylic, porcelain, enamel, or another type. Reading the manufacturer's instructions and safety guidelines is imperative to ensure proper usage and optimal results.
Preparing the Cleaning Solution:
Follow the manufacturer's instructions to prepare the cleaning solution or tar remover. This may involve diluting the product with water or applying it directly to the affected areas of the bathtub. If you prefer a natural and eco-friendly alternative, consider using white vinegar or isopropyl alcohol, both of which are effective at dissolving tar stains and residue without posing harm to the bathtub's surface.
Read more: How To Get Rust Stains Off A Bathtub
Application Technique:
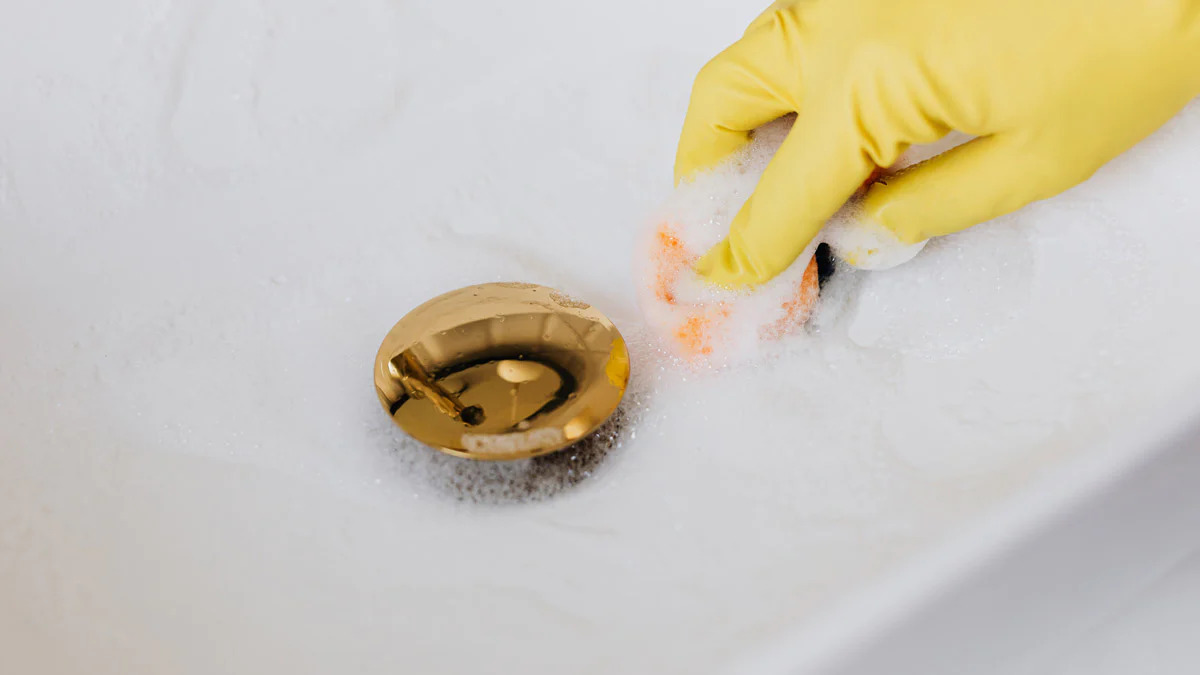
Using a soft microfiber cloth or sponge, apply the cleaning solution to the remaining tar stains on the bathtub surface. Ensure thorough coverage of the affected areas, allowing the cleaning solution to penetrate and break down the stubborn tar residue. Exercise caution to prevent splashing or dripping of the cleaning solution onto surrounding surfaces, and wear protective gloves to safeguard your hands during the application process.
Dwell Time:
Allow the cleaning solution to dwell on the tar stains for the recommended duration specified by the product's instructions. This dwell time is crucial for the solvent to effectively penetrate and dissolve the tar, preparing it for subsequent removal. Patience during this phase is key, as the cleaning solution works to loosen and break down the stubborn tar deposits.
Reapplication if Necessary:
For particularly stubborn or persistent tar stains, consider reapplying the cleaning solution and allowing it to dwell for an extended period. This additional treatment can further enhance the effectiveness of the solvent in dissolving the tar, facilitating its removal during the subsequent scrubbing process.
By meticulously following these steps and techniques for applying a cleaning solution, you can effectively prepare the remaining tar stains for targeted scrubbing and removal. This pivotal phase sets the stage for the final steps of the tar removal process, bringing you closer to the successful restoration of your bathtub's cleanliness and visual appeal.
Step 3: Scrubbing the Tar
With the excess tar removed and the cleaning solution effectively breaking down the remaining stains, the next critical step in the tar removal process involves targeted scrubbing to lift and eliminate the stubborn tar residue from the bathtub surface. This phase requires precision, patience, and the right tools to ensure thorough cleaning without causing damage to the bathtub's material.
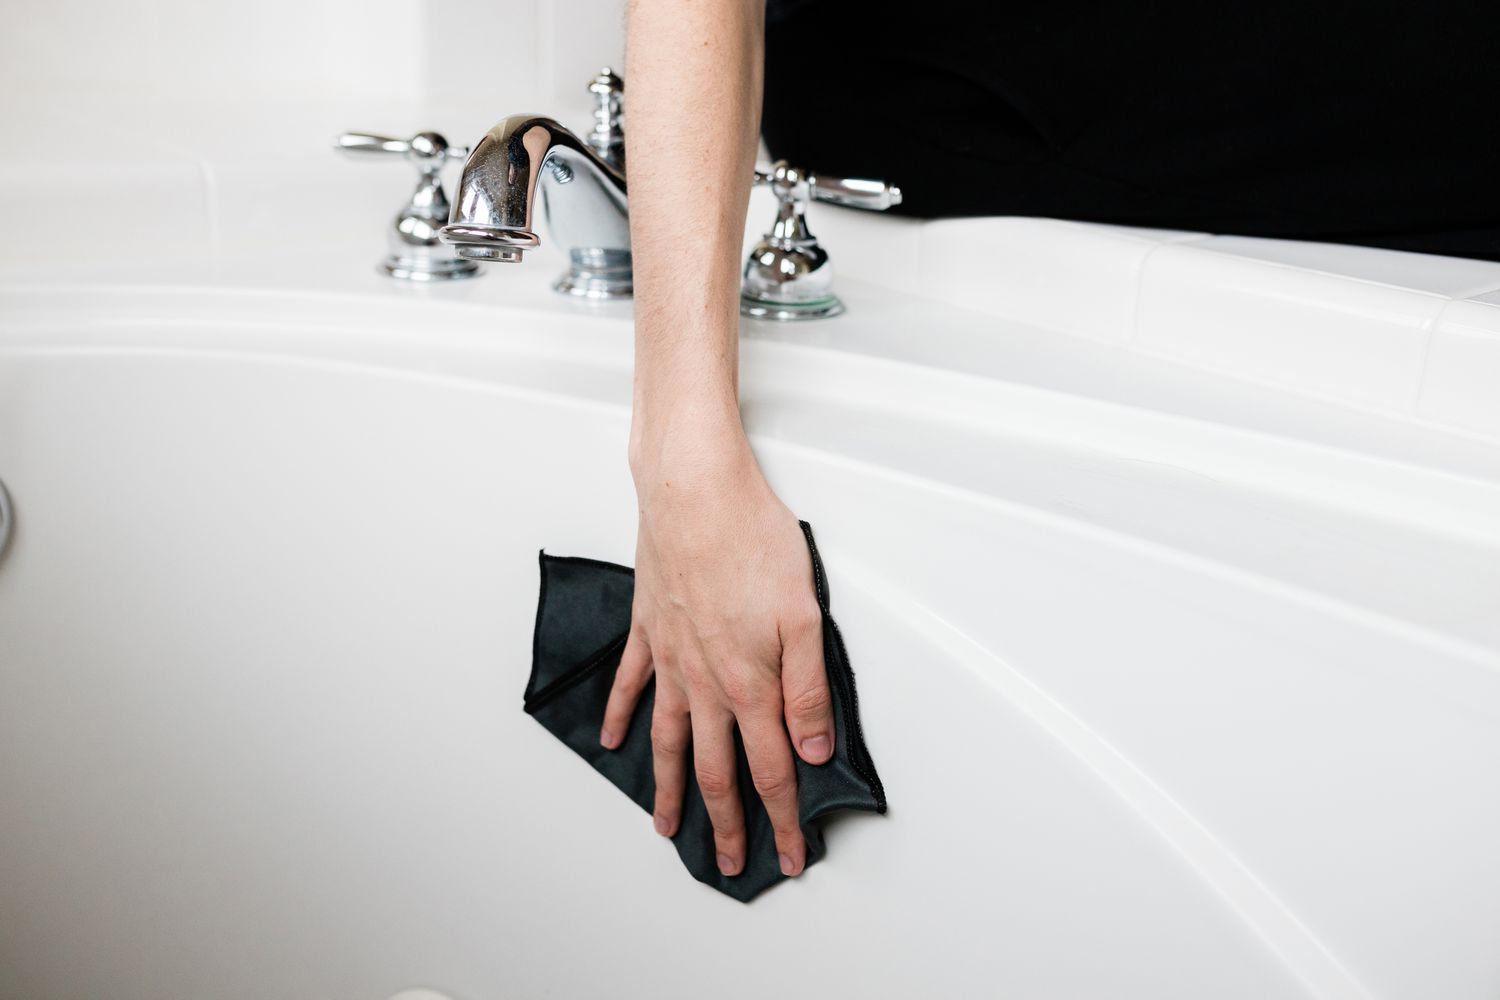
To commence the scrubbing process, equip yourself with a soft microfiber cloth or sponge, ideally one designated for cleaning purposes to avoid cross-contamination with other surfaces. Gently but firmly, begin scrubbing the areas affected by tar stains, using circular or back-and-forth motions to dislodge and lift the dissolved tar residue. Exercise caution to avoid applying excessive pressure that could potentially scratch or damage the bathtub's surface, particularly if it is made of acrylic or enamel.
For particularly stubborn tar stains that require additional abrasion, consider incorporating a mild abrasive cleaner or baking soda into the scrubbing process. These gentle abrasives can aid in lifting and loosening the tar residue without causing harm to the bathtub's finish, facilitating its removal during the scrubbing phase.
As you scrub the tar-stained areas, periodically inspect the progress to gauge the effectiveness of the cleaning process. If certain areas exhibit persistent tar residue, apply additional cleaning solution and continue scrubbing to further break down and lift the remaining stains. Patience and diligence are key during this phase, as thorough and methodical scrubbing is essential for achieving comprehensive tar removal.
Once the scrubbing process is complete and the tar stains have been successfully lifted from the bathtub surface, thoroughly rinse the area with clean water to remove any residual cleaning solution or abrasive particles. Use a separate clean cloth or sponge to ensure all traces of the cleaning solution and tar residue are effectively rinsed away, leaving the bathtub surface clean and free of any lingering contaminants.
By meticulously executing the scrubbing phase, you can effectively eliminate the stubborn tar stains from your bathtub, restoring its cleanliness and visual appeal. This pivotal step brings you closer to the successful resolution of the tar removal process, ensuring that your bathtub remains a pristine and inviting feature of your bathroom.
Read more: How To Get Tar Out Of Carpet
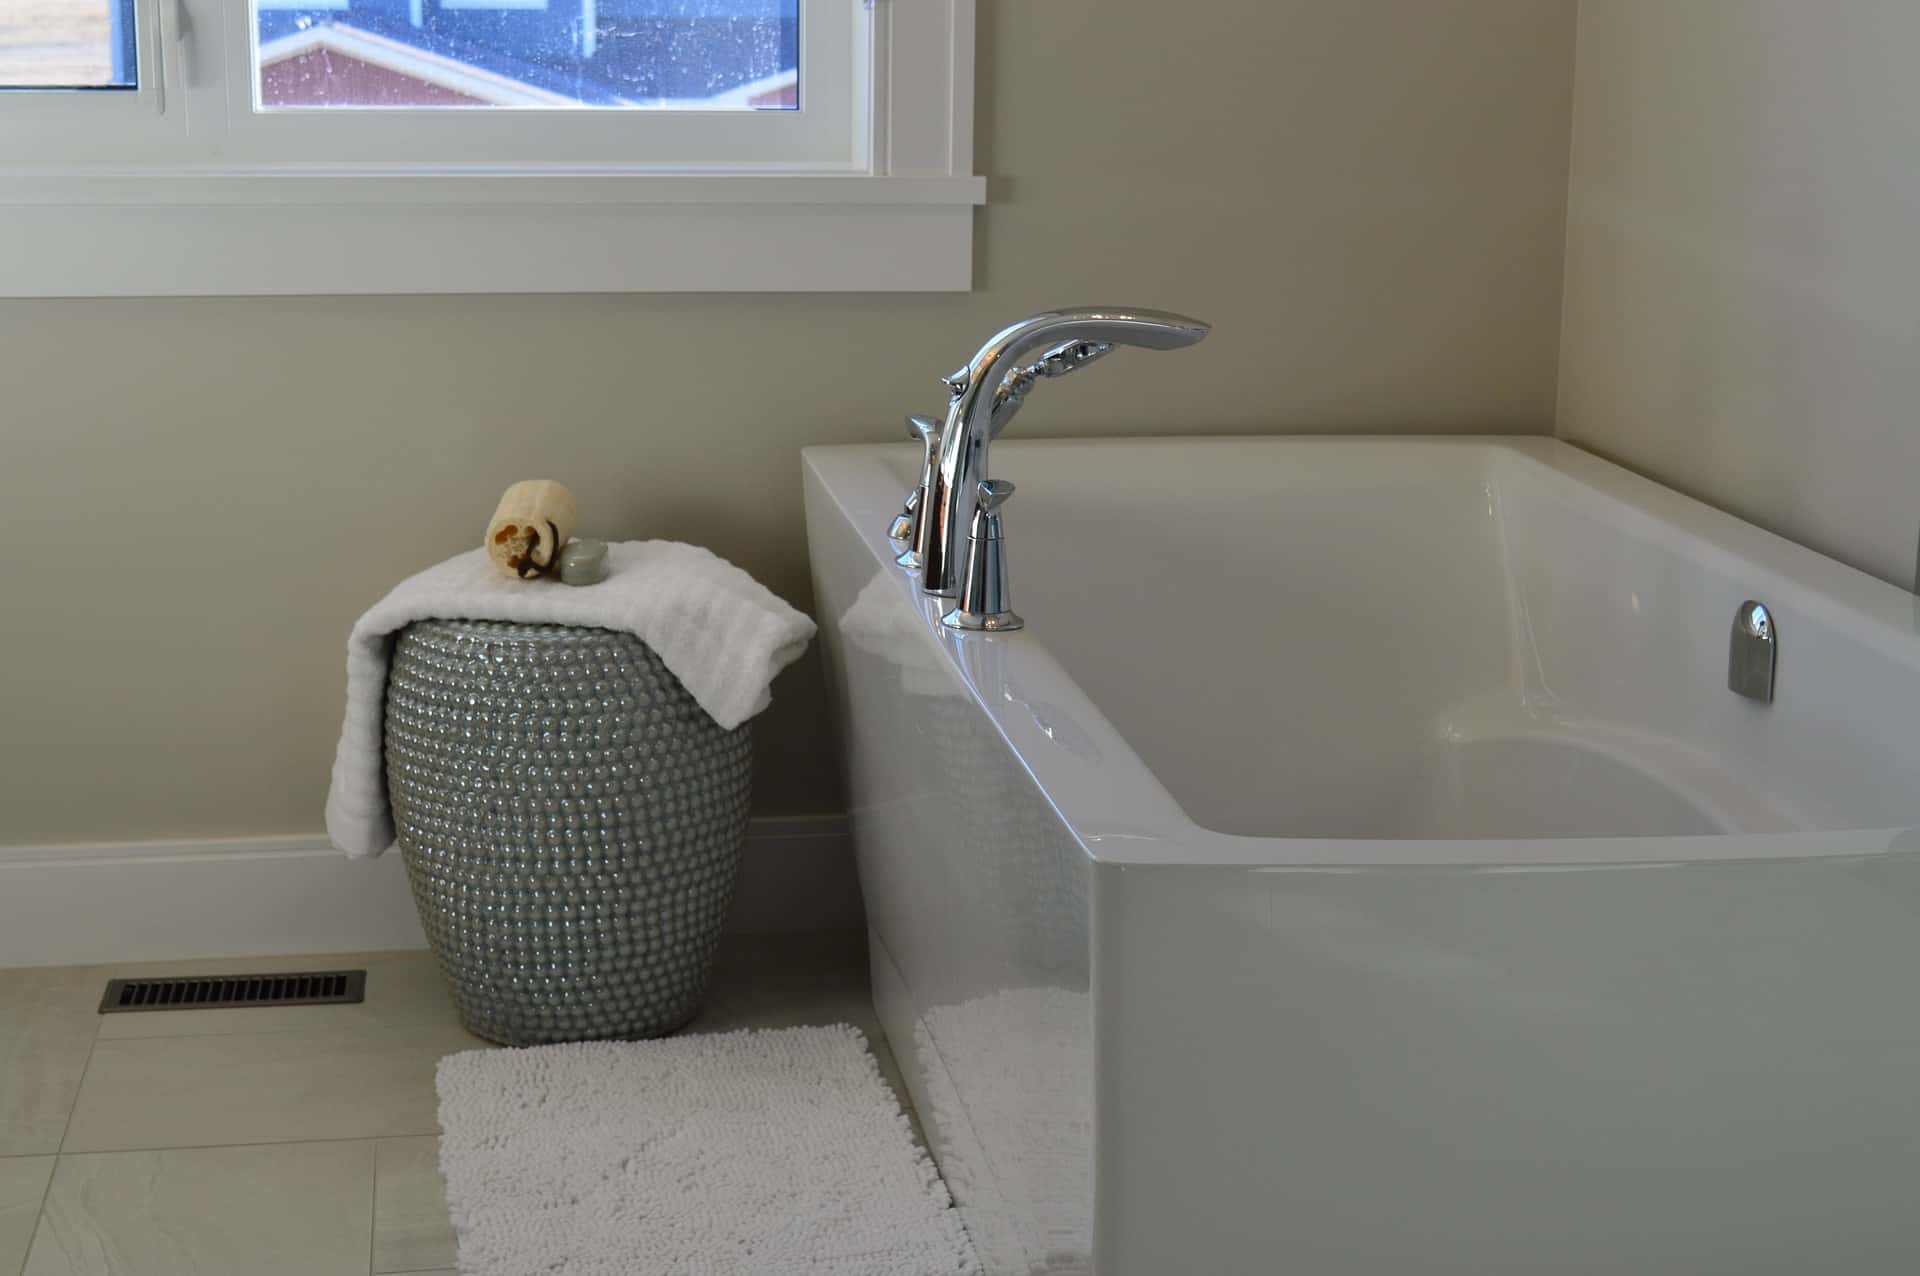
Step 4: Rinsing and Drying the Bathtub
After successfully removing the tar stains from the bathtub surface, the final step in the tar removal process involves thorough rinsing and drying to ensure the complete elimination of any residual cleaning solution, tar residue, and abrasive particles. This critical phase is essential for restoring the pristine cleanliness and visual appeal of the bathtub, providing a fresh and inviting bathing environment for you and your family.
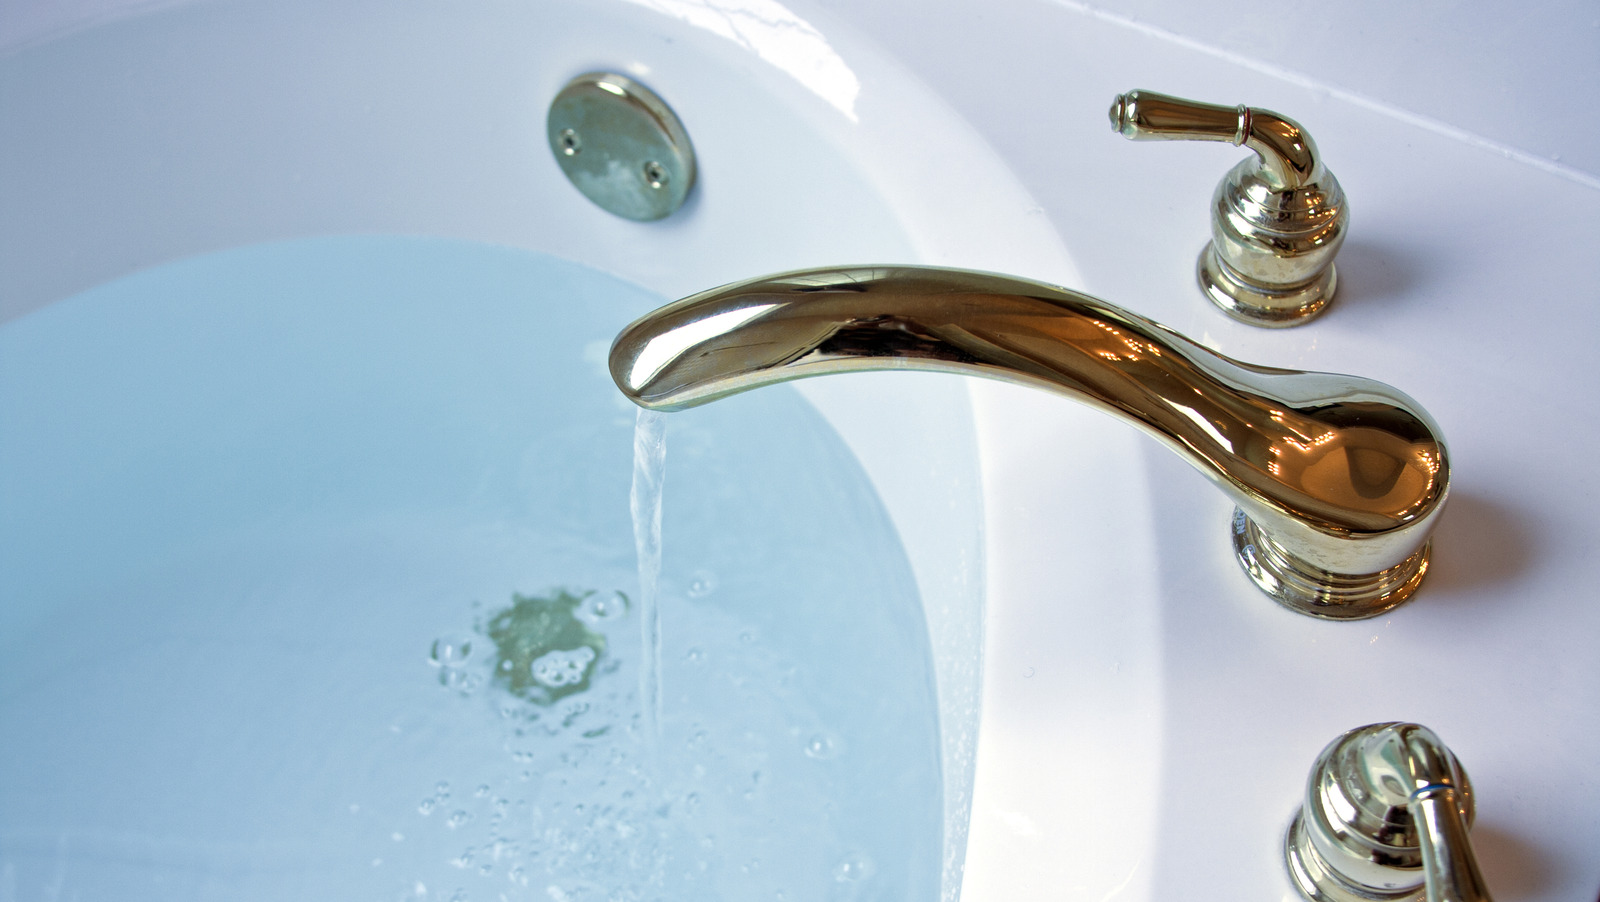
To commence the rinsing process, use a handheld showerhead or a clean bucket of water to thoroughly rinse the entire bathtub surface. Ensure that the water effectively reaches all areas affected by the tar removal process, including corners, edges, and textured surfaces where residual contaminants may accumulate. Use a gentle, steady stream of water to dislodge and wash away any remaining traces of the cleaning solution and tar residue, allowing the bathtub to emerge clean and free of lingering contaminants.
As you rinse the bathtub, visually inspect the surface to confirm the absence of any residual tar stains or cleaning solution. Pay particular attention to areas that were heavily affected by tar deposits, ensuring that all traces of the stubborn residue have been effectively eliminated. This meticulous inspection is crucial for verifying the success of the tar removal process and confirming the restoration of the bathtub's cleanliness.
Following the thorough rinsing, proceed to dry the bathtub surface using a clean, dry microfiber cloth or soft towel. Gently pat and wipe the entire surface to absorb any remaining moisture and ensure a streak-free finish. Take care to dry all areas of the bathtub, including the surrounding edges and fixtures, to prevent water spots and maintain a pristine appearance.
If necessary, utilize a separate dry cloth to address any lingering moisture or water droplets, ensuring that the bathtub surface is completely dry and free of any residual moisture. Thorough drying is essential for preventing the formation of water spots and maintaining the visual appeal of the bathtub following the tar removal process.
By diligently executing the rinsing and drying phase, you can effectively conclude the tar removal process with a clean, dry, and visually appealing bathtub. This final step ensures that the bathtub is ready for immediate use, providing a refreshing and hygienic bathing experience for you and your household. With the tar stains successfully eliminated and the bathtub meticulously rinsed and dried, you can revel in the satisfaction of a clean and rejuvenated bathroom space.
Additional Tips and Warnings
-
Preventive Measures: To minimize the risk of tar spills and stains in the future, consider using protective mats or liners in the bathtub when engaging in activities that involve tar or tar-containing materials. These preventive measures can serve as a barrier, safeguarding the bathtub surface from potential tar spills and simplifying the cleaning process.
-
Regular Maintenance: Implement a routine maintenance schedule for your bathtub, including gentle cleaning and inspection to promptly address any spills or stains. Regular maintenance can prevent tar residue from accumulating and becoming more challenging to remove over time, preserving the pristine condition of your bathtub.
-
Test in inconspicuous areas: Before applying any cleaning solution or abrasive cleaner to the entire bathtub surface, conduct a patch test in an inconspicuous area to ensure compatibility and assess any potential adverse reactions. This precautionary measure can prevent unintended damage to the bathtub's finish and material.
-
Ventilation: Ensure adequate ventilation in the bathroom during the tar removal process to disperse any fumes or odors from cleaning solutions. Proper ventilation contributes to a comfortable and safe environment, minimizing exposure to cleaning chemicals and promoting air circulation.
-
Avoid Harsh Abrasives: Refrain from using harsh abrasives, such as steel wool or abrasive pads, as they can scratch and damage the bathtub surface. Opt for gentle cleaning tools and mild abrasives to safeguard the integrity of the bathtub's material while effectively addressing tar stains.
-
Seek Professional Assistance: In cases where tar stains are particularly stubborn or extensive, consider seeking professional assistance from a reputable cleaning service or bathtub refinishing specialist. Professional expertise and specialized equipment can ensure thorough tar removal without compromising the bathtub's integrity.
-
Safety Precautions: Adhere to safety guidelines and precautions specified by the manufacturer of cleaning solutions and tar removers. Wear protective gloves, eyewear, and clothing as recommended to minimize exposure to cleaning chemicals and ensure personal safety throughout the tar removal process.
-
Consult Manufacturer Guidelines: Refer to the manufacturer's guidelines and recommendations for cleaning and maintenance specific to your bathtub's material. Following the manufacturer's instructions can help preserve the longevity and appearance of the bathtub while addressing tar stains effectively.
-
Immediate Cleanup: Promptly address any tar spills or drips on the bathtub surface to prevent the tar from hardening and becoming more challenging to remove. Immediate cleanup can mitigate the impact of tar stains and simplify the subsequent cleaning process.
-
Regular Inspection: Periodically inspect the bathtub for any signs of tar residue or stains, addressing them promptly to prevent the accumulation of stubborn deposits. Regular inspection enables proactive maintenance and ensures the ongoing cleanliness and appeal of your bathtub.
By incorporating these additional tips and adhering to the provided warnings, you can navigate the process of tar removal with confidence and efficiency, safeguarding the cleanliness and visual appeal of your bathtub while minimizing potential challenges and risks.
Frequently Asked Questions about How To Get Tar Off A Bathtub
Was this page helpful?
At Storables.com, we guarantee accurate and reliable information. Our content, validated by Expert Board Contributors, is crafted following stringent Editorial Policies. We're committed to providing you with well-researched, expert-backed insights for all your informational needs.
0 thoughts on “How To Get Tar Off A Bathtub”