Home>Furniture & Design>Bathroom Accessories>How To Cover A Bathtub

Bathroom Accessories
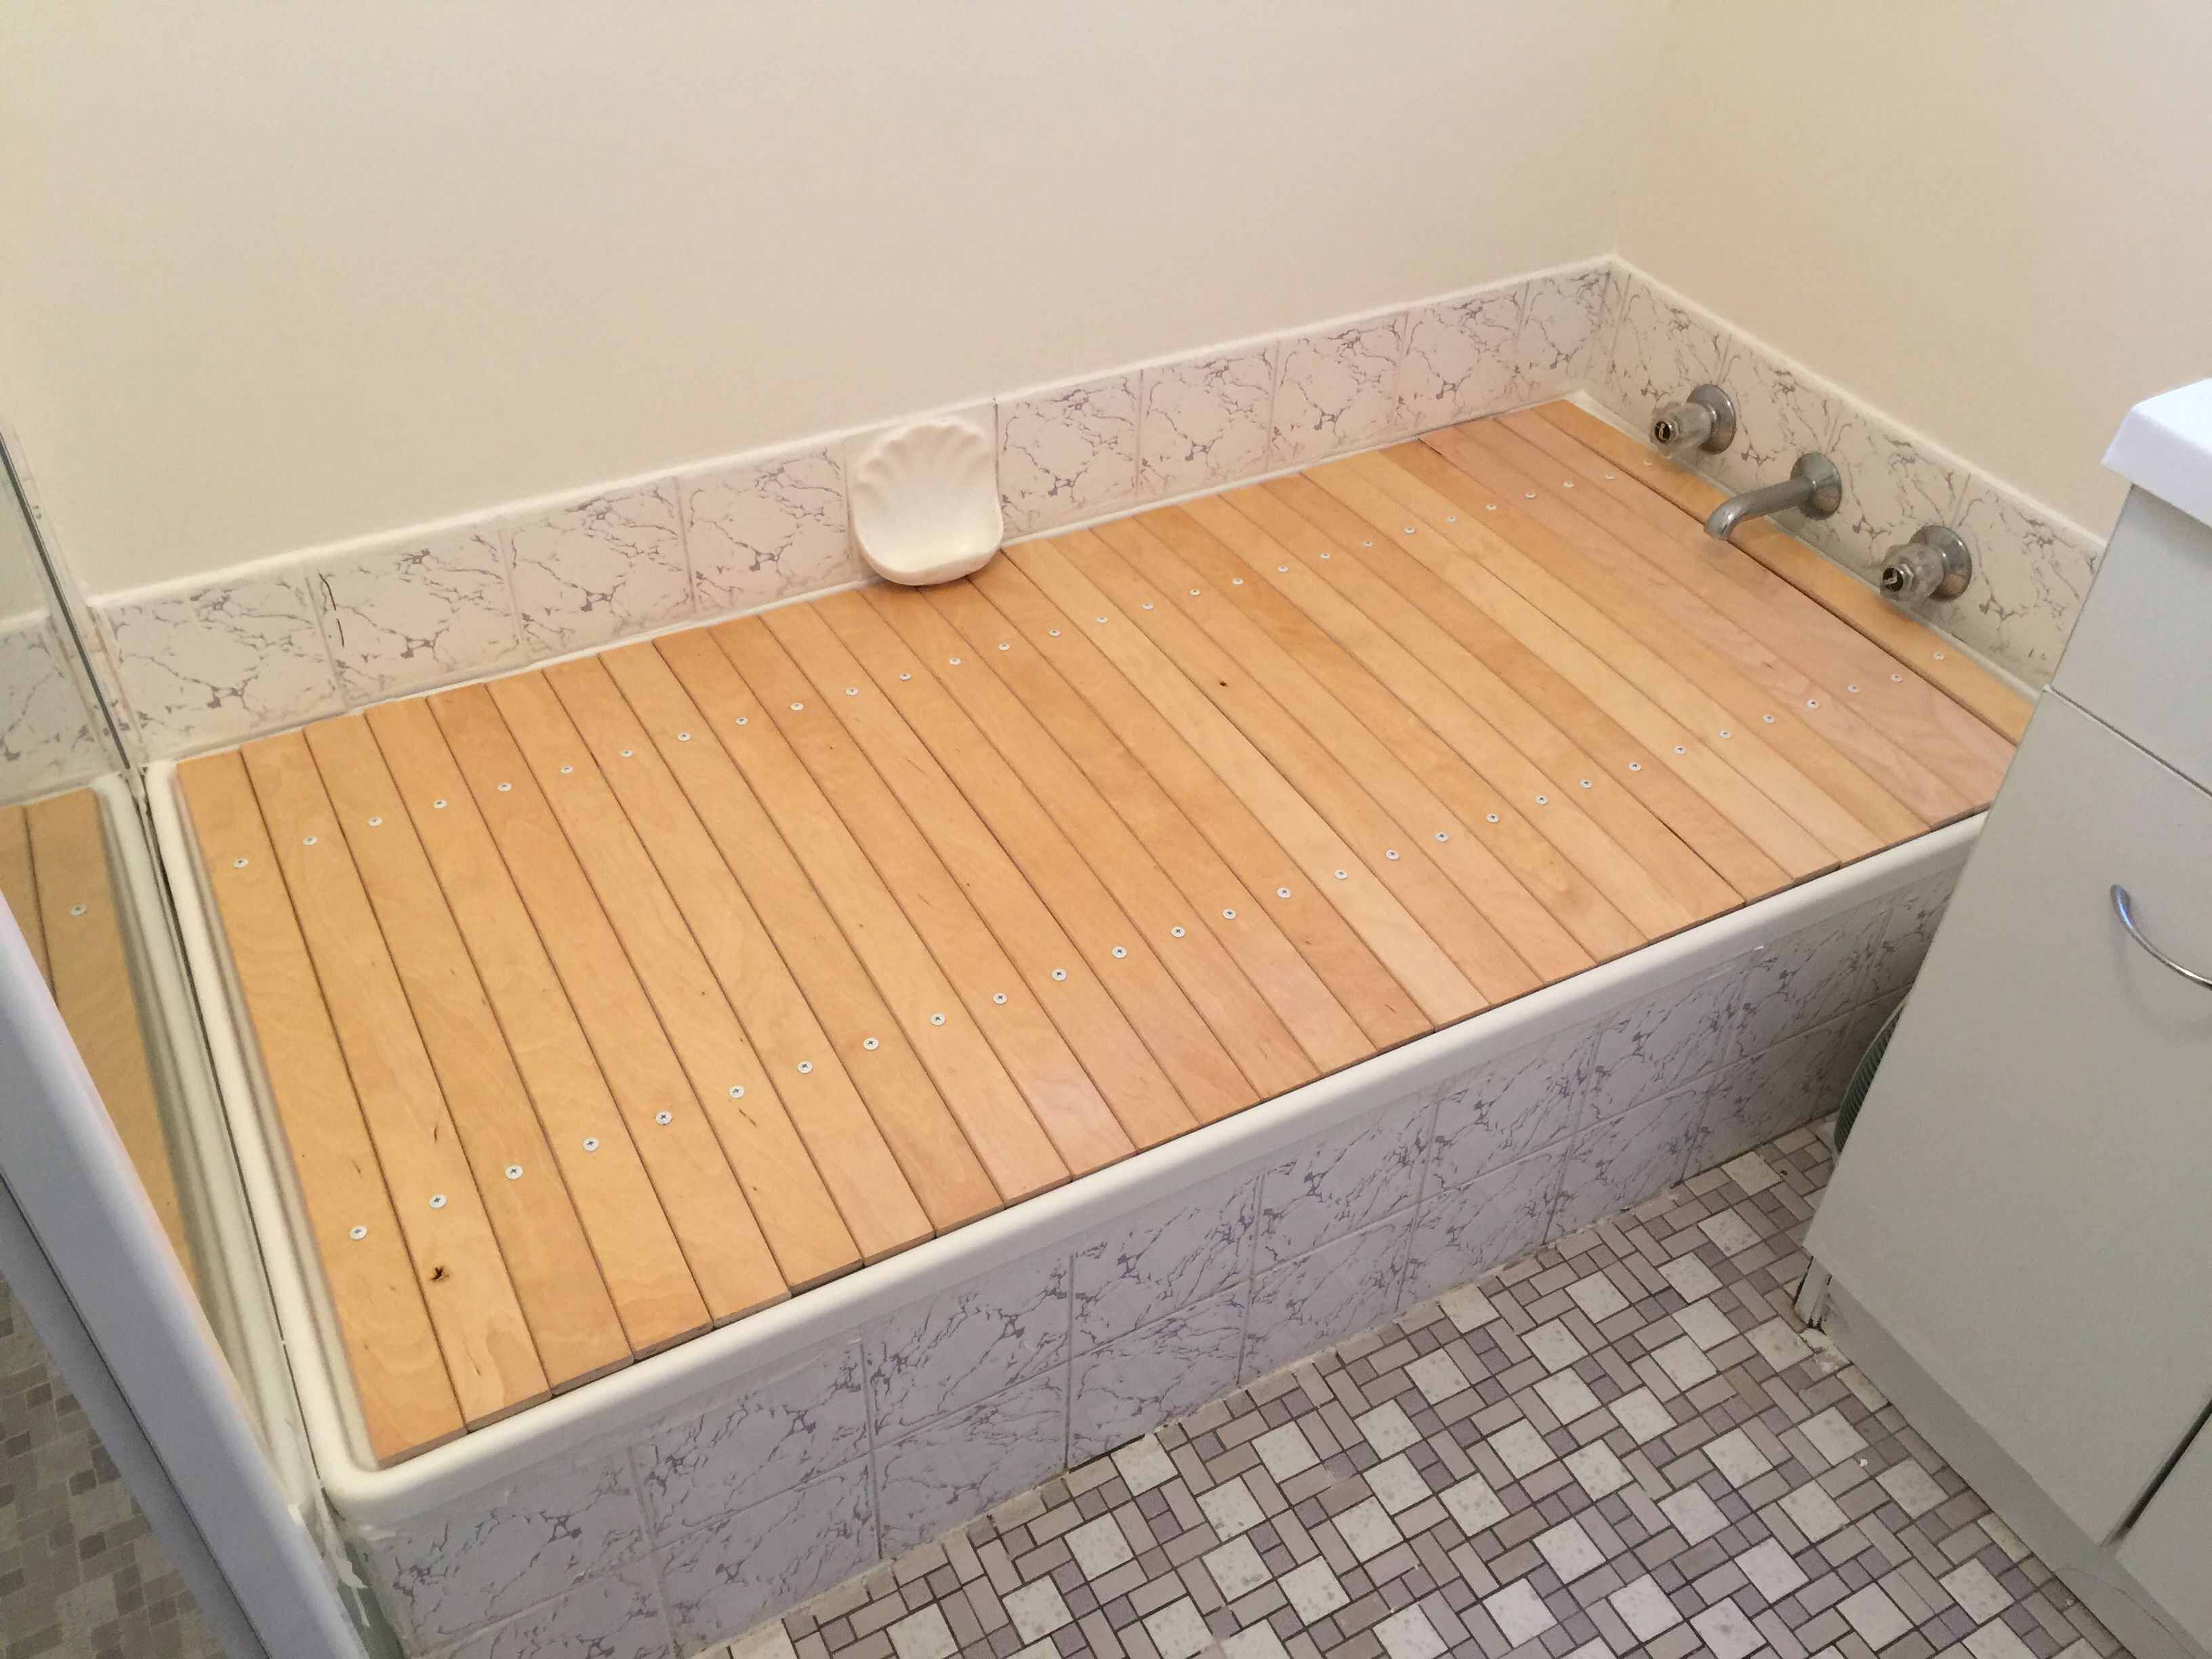
How To Cover A Bathtub
Modified: April 22, 2024
Learn how to cover a bathtub and enhance your bathroom with the best accessories. Find everything you need for a stylish and functional bathroom.
(Many of the links in this article redirect to a specific reviewed product. Your purchase of these products through affiliate links helps to generate commission for Storables.com, at no extra cost. Learn more)
Introduction
Covering a bathtub is a fantastic way to breathe new life into your bathroom without the cost and hassle of a full replacement. Whether you're looking to update the look of your bathtub, conceal imperfections, or protect the surface from wear and tear, this DIY project can yield impressive results with the right approach. By following a few simple steps and using the appropriate materials, you can transform the appearance of your bathtub and enhance the overall aesthetic of your bathroom.
Bathtub coverings come in various forms, such as bathtub liners, refinishing kits, and epoxy coatings. Each option offers unique benefits and considerations, allowing you to choose the best solution based on your specific needs and preferences. While bathtub liners provide a quick and convenient way to cover the existing tub, refinishing kits and epoxy coatings offer a more customizable and long-lasting finish. Understanding the differences between these options will help you make an informed decision and achieve the desired outcome for your bathroom.
In this comprehensive guide, we will walk you through the step-by-step process of covering a bathtub using a refinishing kit or epoxy coating. From gathering the necessary materials to preparing the surface, applying primer and top coat, to allowing sufficient drying time, each stage is crucial to the success of the project. By following these instructions and tips, you can revitalize your bathtub and create a fresh, appealing look that complements your bathroom decor.
Whether you're a seasoned DIY enthusiast or embarking on your first home improvement project, covering a bathtub is a rewarding endeavor that can significantly enhance the visual appeal and functionality of your bathroom. With careful preparation, attention to detail, and a willingness to embrace the creative process, you can achieve professional-looking results and enjoy a rejuvenated bathtub that adds value to your home.
Now, let's dive into the step-by-step process of covering a bathtub, and discover how you can transform your bathroom with a simple yet impactful upgrade.
Key Takeaways:
- Revitalize your bathtub with a refinishing kit or epoxy coating to update its look and protect it from wear and tear. Follow the step-by-step guide for a rewarding DIY project that enhances your bathroom’s aesthetic appeal.
- Transform your bathtub into a rejuvenated centerpiece of your bathroom by covering it with a professional-quality finish. Enjoy the cost-effective and customizable benefits of refinishing kits and epoxy coatings for a visually impactful upgrade.
Read more: How To Remove Jacuzzi Bathtub Jet Covers
Step 1: Gather Materials
Before embarking on the bathtub covering project, it's essential to gather all the necessary materials and tools to ensure a smooth and efficient process. Here's a comprehensive list of items you'll need:
-
Refinishing Kit or Epoxy Coating: Select a high-quality refinishing kit or epoxy coating specifically designed for bathtubs. These products typically include a primer, top coat, and other essential components for achieving a durable and attractive finish.
-
Protective Gear: Prioritize safety by wearing protective gear, including gloves, safety goggles, and a mask, to shield yourself from fumes and chemicals during the refinishing process.
-
Cleaning Supplies: Prepare a mild abrasive cleaner, such as trisodium phosphate (TSP) or a similar product, to thoroughly clean the bathtub surface and remove any soap scum, mineral deposits, or grime.
-
Sandpaper or Sanding Pad: Acquire fine-grit sandpaper or a sanding pad to lightly sand the bathtub surface, promoting adhesion for the primer and top coat.
-
Painter's Tape and Plastic Sheeting: Use painter's tape to mask off areas around the bathtub, such as the faucet, handles, and walls, to prevent accidental overspray. Additionally, plastic sheeting can be used to protect the surrounding floor and fixtures.
-
Ventilation: Ensure proper ventilation in the bathroom by opening windows and using a fan to exhaust fumes and promote air circulation during the refinishing process.
-
Stir Sticks and Mixing Containers: Have stir sticks and suitable containers on hand for mixing the primer and top coat components as per the manufacturer's instructions.
-
Applicators: Depending on the refinishing kit or epoxy coating, you may need foam brushes, rollers, or a spray gun for applying the primer and top coat evenly.
-
Cleaning Rags and Tack Cloth: Prepare lint-free cleaning rags and tack cloth to wipe down the bathtub surface between cleaning, sanding, and coating stages.
-
Utility Knife: Keep a utility knife handy for precise trimming of painter's tape and plastic sheeting, ensuring clean lines and minimal overspray.
By gathering these materials and tools in advance, you'll be well-equipped to proceed with the subsequent steps of preparing the bathtub surface, applying the primer and top coat, and achieving a professional-looking finish that revitalizes your bathroom space.
Step 2: Prepare the Surface
Proper surface preparation is crucial for the success of your bathtub covering project. Before applying the primer and top coat, it's essential to thoroughly clean and smooth the bathtub surface to ensure optimal adhesion and a flawless finish. Here's a detailed guide on how to prepare the surface effectively:
Clean the Surface
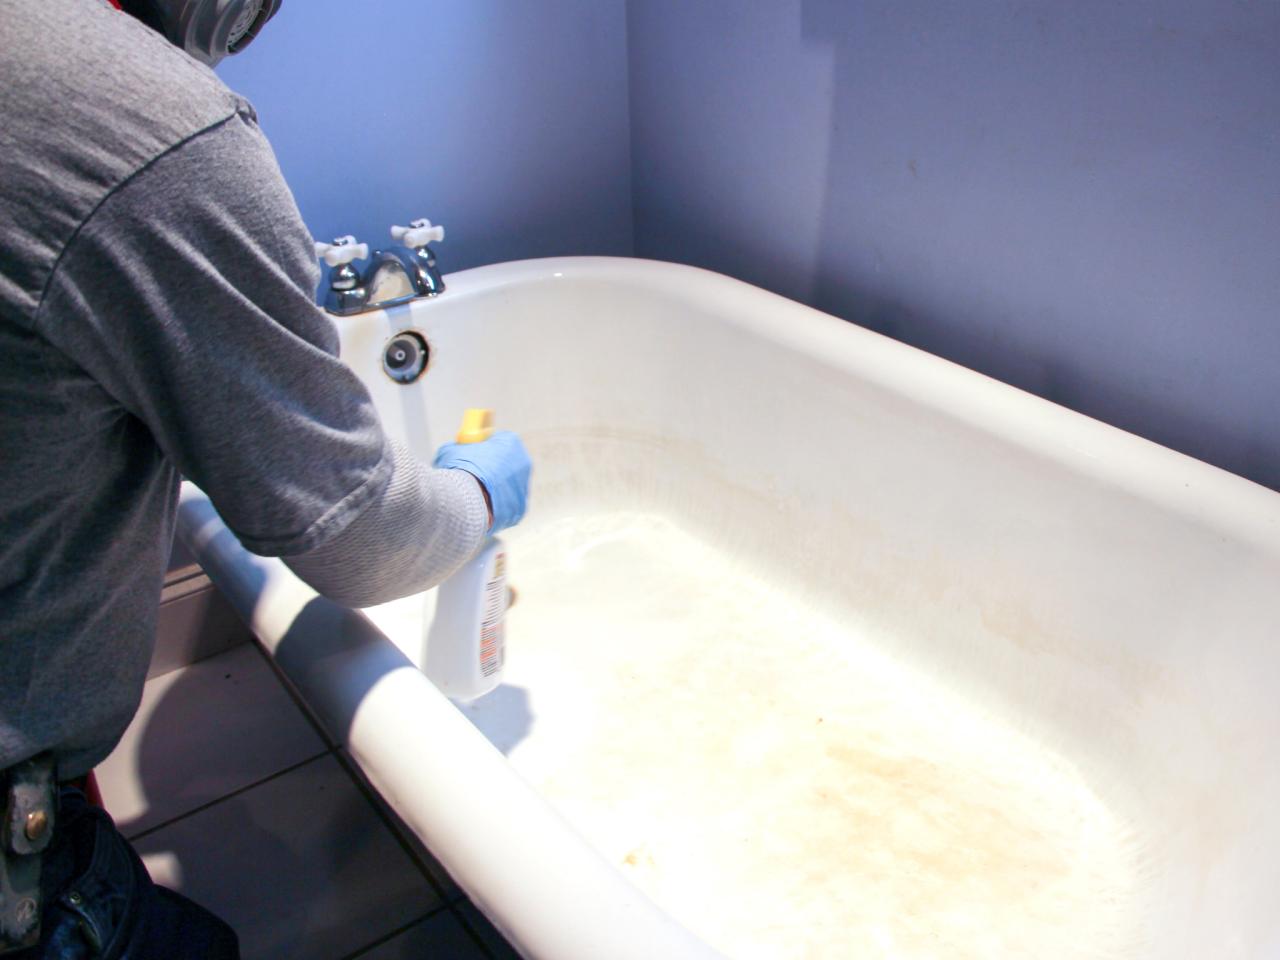
Begin by cleaning the bathtub surface with a mild abrasive cleaner, such as trisodium phosphate (TSP) or a similar product. This will help remove soap scum, mineral deposits, and any lingering grime that could compromise the adhesion of the refinishing materials. Use a scrubbing pad or sponge to thoroughly scrub the entire surface, paying close attention to areas around the drain, faucet, and edges of the tub. Rinse the bathtub thoroughly with clean water to remove any residue from the cleaning solution.
Remove Old Caulk and Hardware
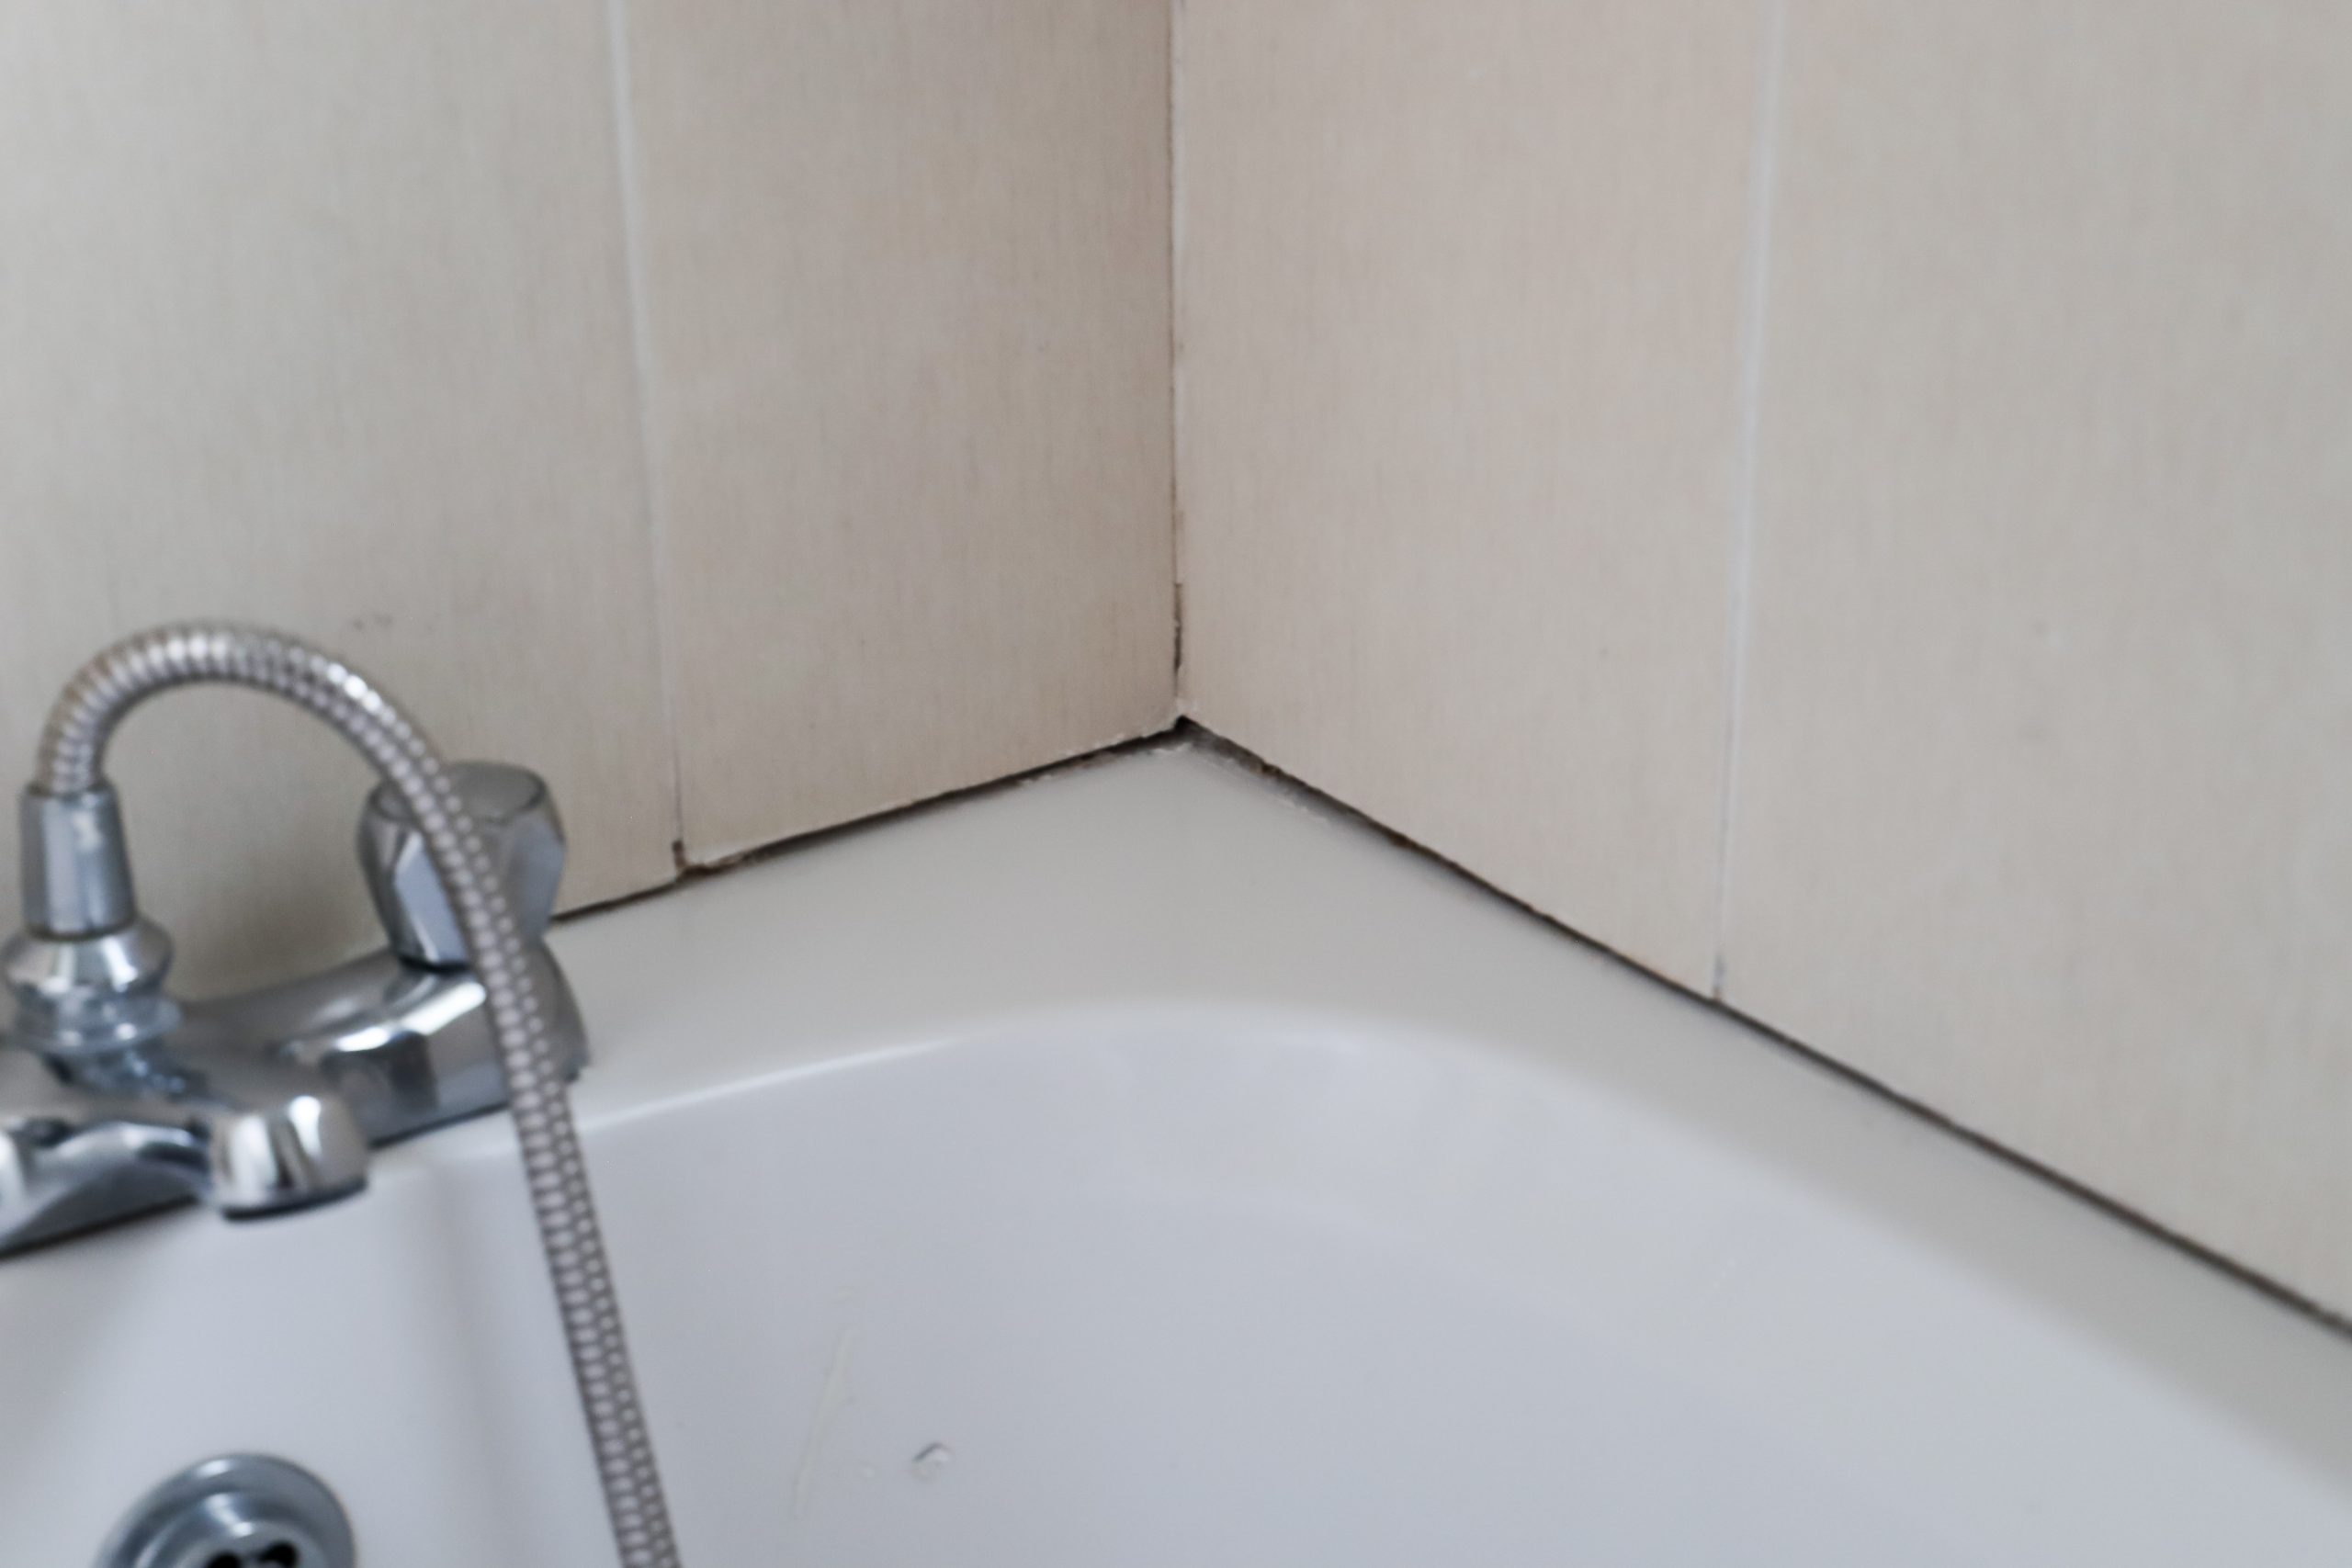
Inspect the bathtub for any old caulk or silicone sealant around the edges and remove it using a utility knife or caulk removal tool. Additionally, if there are any hardware fixtures such as handles or spouts, carefully remove them to ensure a smooth and even application of the refinishing materials. This step is essential for achieving a professional-looking result and ensuring that the new coating adheres uniformly to the entire surface.
Sand the Surface
Once the bathtub is clean and free of old caulk and hardware, use fine-grit sandpaper or a sanding pad to lightly sand the entire surface. This step promotes adhesion by creating a slightly rough texture for the primer and top coat to grip onto. Be sure to sand evenly and consistently, focusing on areas that may have a glossy or smooth finish. After sanding, thoroughly wipe down the bathtub with a tack cloth to remove any dust or debris, ensuring a clean and smooth surface for the next steps.
Mask Off Surrounding Areas
To protect the surrounding areas from overspray and accidental contact with refinishing materials, use painter's tape to mask off the edges of the bathtub, as well as any fixtures, tiles, or walls adjacent to the tub. Additionally, cover the floor with plastic sheeting to prevent any drips or spills from affecting the bathroom floor. This careful masking ensures that the refinishing process remains contained and focused on the bathtub surface.
By meticulously following these steps to prepare the bathtub surface, you'll create an ideal foundation for applying the primer and top coat, setting the stage for a successful and visually stunning transformation of your bathtub.
Step 3: Apply Primer
Applying the primer is a critical step in the bathtub covering process, as it sets the stage for the adhesion of the top coat and ensures a durable and long-lasting finish. The primer serves as a bonding agent, creating a strong foundation for the subsequent layers of the refinishing materials. Here's a detailed guide on how to apply the primer effectively:
Prepare the Primer
Before applying the primer, carefully read and follow the manufacturer's instructions provided with the refinishing kit or epoxy coating. Ensure that the primer is thoroughly mixed according to the specified guidelines, using stir sticks and appropriate containers. Proper mixing is essential to activate the primer and achieve optimal adhesion to the bathtub surface.
Apply the Primer
Using a high-quality foam brush, roller, or spray gun, apply the primer evenly to the entire bathtub surface. Begin with the edges and corners, working your way toward the center of the tub to ensure comprehensive coverage. It's crucial to maintain a consistent application thickness as recommended by the manufacturer, avoiding excessive buildup or thin spots that could compromise the integrity of the coating.
Work in Sections
To achieve a smooth and uniform finish, consider working in manageable sections, especially for larger bathtubs. This approach allows you to maintain control over the application process and ensures that the primer is applied evenly without drying too quickly. Be mindful of overlapping strokes to blend the primer seamlessly and minimize visible brush or roller marks.
Allow Proper Drying Time
After applying the primer, allow sufficient drying time as specified by the manufacturer. It's essential to create a well-ventilated environment to facilitate the drying process and promote proper curing of the primer. Avoid using the bathtub or exposing it to moisture during this crucial phase to prevent any compromise to the primer's adhesion and overall effectiveness.
Inspect for Uniform Coverage
Once the primer has dried completely, carefully inspect the bathtub surface to ensure that the primer has been applied uniformly without any missed areas or inconsistencies. Address any imperfections or uneven spots before proceeding to the next stage of applying the top coat, as thorough preparation is key to achieving a flawless and professional-looking result.
By following these steps and guidelines for applying the primer, you'll establish a solid foundation for the subsequent layers of the refinishing process, ultimately transforming your bathtub into a rejuvenated centerpiece of your bathroom.
Read more: How To Polish A Bathtub
Step 4: Apply Top Coat
After successfully applying the primer and allowing it to dry thoroughly, the next crucial step in the bathtub covering process is the application of the top coat. The top coat serves as the protective and aesthetic layer that enhances the durability and visual appeal of the bathtub surface. Here's a detailed guide on how to apply the top coat effectively, ensuring a professional-quality finish that revitalizes your bathtub.
Prepare the Top Coat
Before proceeding with the top coat application, carefully review the manufacturer's instructions provided with the refinishing kit or epoxy coating. Properly mix the top coat components as directed, ensuring thorough blending to activate the protective properties and achieve a consistent finish. Utilize the recommended applicators, such as foam brushes, rollers, or a spray gun, based on the specific requirements outlined by the manufacturer.
Apply the Top Coat
Begin the application of the top coat by working in small sections, starting from one end of the bathtub and progressing methodically to ensure comprehensive coverage. Maintain a steady and even application, avoiding excessive buildup or thin spots that could compromise the integrity of the finish. Consistent strokes and attention to detail are essential to achieve a smooth and uniform top coat across the entire bathtub surface.
Ensure Even Coverage
As you apply the top coat, pay close attention to ensure even coverage and minimal overlap marks. Work systematically to blend each section seamlessly, maintaining a consistent thickness as recommended by the manufacturer. This meticulous approach contributes to the overall aesthetic appeal and longevity of the top coat, creating a visually stunning and durable finish that transforms the appearance of your bathtub.
Read more: How To Frame A Bathtub
Allow for Proper Drying
Once the top coat has been applied, allow ample time for it to dry completely, following the specified drying duration provided by the manufacturer. It's crucial to create a well-ventilated environment and refrain from using the bathtub or exposing it to moisture during this critical phase. Proper drying is essential to ensure the top coat cures effectively, resulting in a resilient and attractive surface that withstands daily use and maintains its luster.
Inspect and Touch Up if Necessary
After the top coat has dried, carefully inspect the bathtub surface to ensure uniform coverage and address any imperfections or inconsistencies. If needed, perform any necessary touch-ups to achieve a flawless finish, paying attention to detail and maintaining the high standard set by the primer and initial top coat application. Thorough inspection and touch-ups contribute to the overall quality and visual impact of the bathtub covering project.
By following these detailed steps and guidelines for applying the top coat, you'll elevate the appearance and functionality of your bathtub, achieving a professional-quality finish that enhances the overall aesthetic of your bathroom.
Step 5: Allow to Dry
Once the primer and top coat have been meticulously applied to the bathtub surface, it is crucial to allow for proper drying to ensure the effectiveness and longevity of the refinishing process. Drying time is a critical phase that directly impacts the adhesion, durability, and overall quality of the newly applied coatings. By following the manufacturer's specified drying guidelines and creating an optimal environment for the drying process, you can achieve a resilient and visually appealing finish that revitalizes your bathtub.
Proper ventilation is essential during the drying phase, as it facilitates the evaporation of solvents and promotes the curing of the coatings. Open windows and use a fan to ensure adequate airflow, expediting the drying process and minimizing the accumulation of fumes in the bathroom. Additionally, maintaining a consistent room temperature within the recommended range specified by the manufacturer contributes to the uniform drying of the primer and top coat, preventing potential issues such as uneven curing or surface imperfections.
It is imperative to refrain from using the bathtub or exposing it to moisture during the designated drying period. Any premature contact with water or excessive humidity can compromise the integrity of the coatings, leading to adhesion issues, surface blemishes, or prolonged drying times. By exercising patience and allowing the coatings to dry undisturbed, you set the stage for a resilient and visually stunning bathtub surface that withstands daily use and maintains its aesthetic appeal.
The duration of the drying period varies based on the specific refinishing products used and environmental factors such as temperature and humidity. It is essential to adhere to the recommended drying time provided by the manufacturer, ensuring that the coatings cure thoroughly and achieve their intended properties. Rushing the drying process or disregarding the specified duration can undermine the effectiveness of the refinishing materials, potentially compromising the overall quality and longevity of the newly transformed bathtub surface.
By allowing the primer and top coat to dry completely according to the manufacturer's guidelines, you ensure that the refinishing process culminates in a durable, attractive, and long-lasting finish. This patient approach to the drying phase contributes to the overall success of the bathtub covering project, allowing you to enjoy a rejuvenated bathtub that enhances the ambiance and functionality of your bathroom space.
Step 6: Reinstall Fixtures
After the primer and top coat have thoroughly dried, the final step in the bathtub covering process involves the careful reinstallation of fixtures to complete the rejuvenation of the bathtub. Reattaching hardware such as handles, spouts, and drain covers not only restores the functionality of the bathtub but also adds the finishing touches to the newly refinished surface. Here's a detailed guide on how to approach the reinstallation of fixtures with precision and attention to detail.
Read more: How To Shower In A Bathtub?
Inspect and Clean Fixtures
Before reinstalling the fixtures, carefully inspect each component to ensure that it is in good condition and free of any accumulated debris or residue. Clean the fixtures thoroughly using a mild soap solution and a soft cloth to remove any dirt, grime, or remnants of the refinishing process. This meticulous cleaning ensures that the fixtures complement the revitalized bathtub surface and contribute to a cohesive and polished appearance.
Apply New Caulk or Sealant
Prior to reattaching the fixtures, consider applying fresh caulk or silicone sealant around the edges of the bathtub where the fixtures will be secured. This step not only provides a clean and watertight seal but also enhances the overall aesthetic by concealing gaps and creating a seamless transition between the fixtures and the refinished surface. Utilize a high-quality caulk or sealant that is compatible with the bathtub material and complements the chosen refinishing products.
Secure Fixtures with Care
Carefully position and secure each fixture in its designated location, ensuring a snug and stable fit without overtightening or causing damage to the newly refinished surface. Use the appropriate tools, such as a wrench or screwdriver, to fasten the fixtures securely while exercising caution to avoid scratching or marring the bathtub surface. Pay attention to alignment and symmetry, ensuring that the fixtures are positioned uniformly and contribute to the overall visual appeal of the bathtub.
Test Functionality
Once the fixtures are reinstalled, perform a thorough functionality test to ensure that handles, spouts, and drain components operate smoothly and effectively. Test the water flow, handle movements, and drain closure to verify that the fixtures function as intended without any issues or irregularities. Address any concerns or adjustments promptly to guarantee that the reinstalled fixtures enhance the usability and convenience of the refinished bathtub.
Read more: How To Not Slip In The Bathtub
Final Inspection
Conduct a comprehensive inspection of the reinstalled fixtures and the surrounding areas to confirm that the reattachment process has been executed with precision and care. Verify that the caulking or sealant is neatly applied and complements the overall appearance of the bathtub. Address any final touch-ups or adjustments to achieve a cohesive and professional finish that showcases the revitalized bathtub as a focal point of the bathroom.
By following these detailed steps for the reinstallation of fixtures, you complete the transformation of your bathtub with a meticulous and polished approach. The careful attention to detail in this final step ensures that the refinished bathtub not only looks stunning but also functions seamlessly, allowing you to enjoy the enhanced aesthetic and practicality of your revitalized bathroom space.
Conclusion
In conclusion, the process of covering a bathtub using a refinishing kit or epoxy coating presents a rewarding opportunity to rejuvenate your bathroom space with a fresh and appealing aesthetic. By following the step-by-step guide outlined in this comprehensive resource, you can transform the look of your bathtub while adding value to your home. From gathering the necessary materials to meticulously preparing the surface, applying the primer and top coat, and reattaching fixtures, each stage of the bathtub covering process contributes to the overall success of the project.
The decision to cover a bathtub rather than opting for a full replacement offers numerous advantages, including cost-effectiveness, minimal disruption, and the ability to customize the finish to suit your preferences. Whether you're looking to conceal imperfections, update the style of your bathtub, or protect the surface from wear and tear, the versatility of refinishing kits and epoxy coatings provides a practical and visually impactful solution.
Throughout the process, prioritizing safety, meticulous surface preparation, and adherence to the manufacturer's guidelines for product application are essential for achieving professional-quality results. By investing time and attention to detail in each step, you can create a rejuvenated bathtub that serves as a centerpiece of your bathroom, reflecting your personal style and enhancing the overall ambiance of the space.
Furthermore, the completion of the bathtub covering project marks the beginning of a renewed appreciation for your bathroom, as the revitalized bathtub becomes a focal point that elevates the entire room. The seamless integration of the refinished bathtub with the existing decor and fixtures contributes to a cohesive and harmonious aesthetic, showcasing your attention to detail and commitment to enhancing your living environment.
As you admire the transformation of your bathtub, take pride in the accomplishment of a DIY project that not only enhances the visual appeal of your home but also demonstrates your creativity and resourcefulness. The revitalized bathtub serves as a testament to your ability to embrace home improvement projects with confidence and achieve professional-looking results that surpass expectations.
In essence, the process of covering a bathtub is a testament to the transformative power of DIY projects, offering a tangible and visually stunning outcome that enhances the comfort and beauty of your living space. Embrace the opportunity to revitalize your bathtub, and revel in the satisfaction of a successful home improvement endeavor that leaves a lasting impression on your home and your daily life.
Frequently Asked Questions about How To Cover A Bathtub
Was this page helpful?
At Storables.com, we guarantee accurate and reliable information. Our content, validated by Expert Board Contributors, is crafted following stringent Editorial Policies. We're committed to providing you with well-researched, expert-backed insights for all your informational needs.





0 thoughts on “How To Cover A Bathtub”