Home>Furniture & Design>Bathroom Accessories>How To Build A Roman Bathtub
Bathroom Accessories
How To Build A Roman Bathtub
Published: February 18, 2024
Discover the best bathroom accessories and learn how to build a Roman bathtub with our expert tips and guidance. Create a luxurious and timeless bathing experience in your own home.
(Many of the links in this article redirect to a specific reviewed product. Your purchase of these products through affiliate links helps to generate commission for Storables.com, at no extra cost. Learn more)
Introduction
Welcome to the world of luxurious bathing experiences! If you've ever dreamt of soaking in a Roman-style bathtub, surrounded by opulent accessories and basking in the ambiance of ancient indulgence, then you're in for a treat. In this comprehensive guide, we will walk you through the process of building your very own Roman bathtub, transforming your bathroom into a haven of relaxation and elegance.
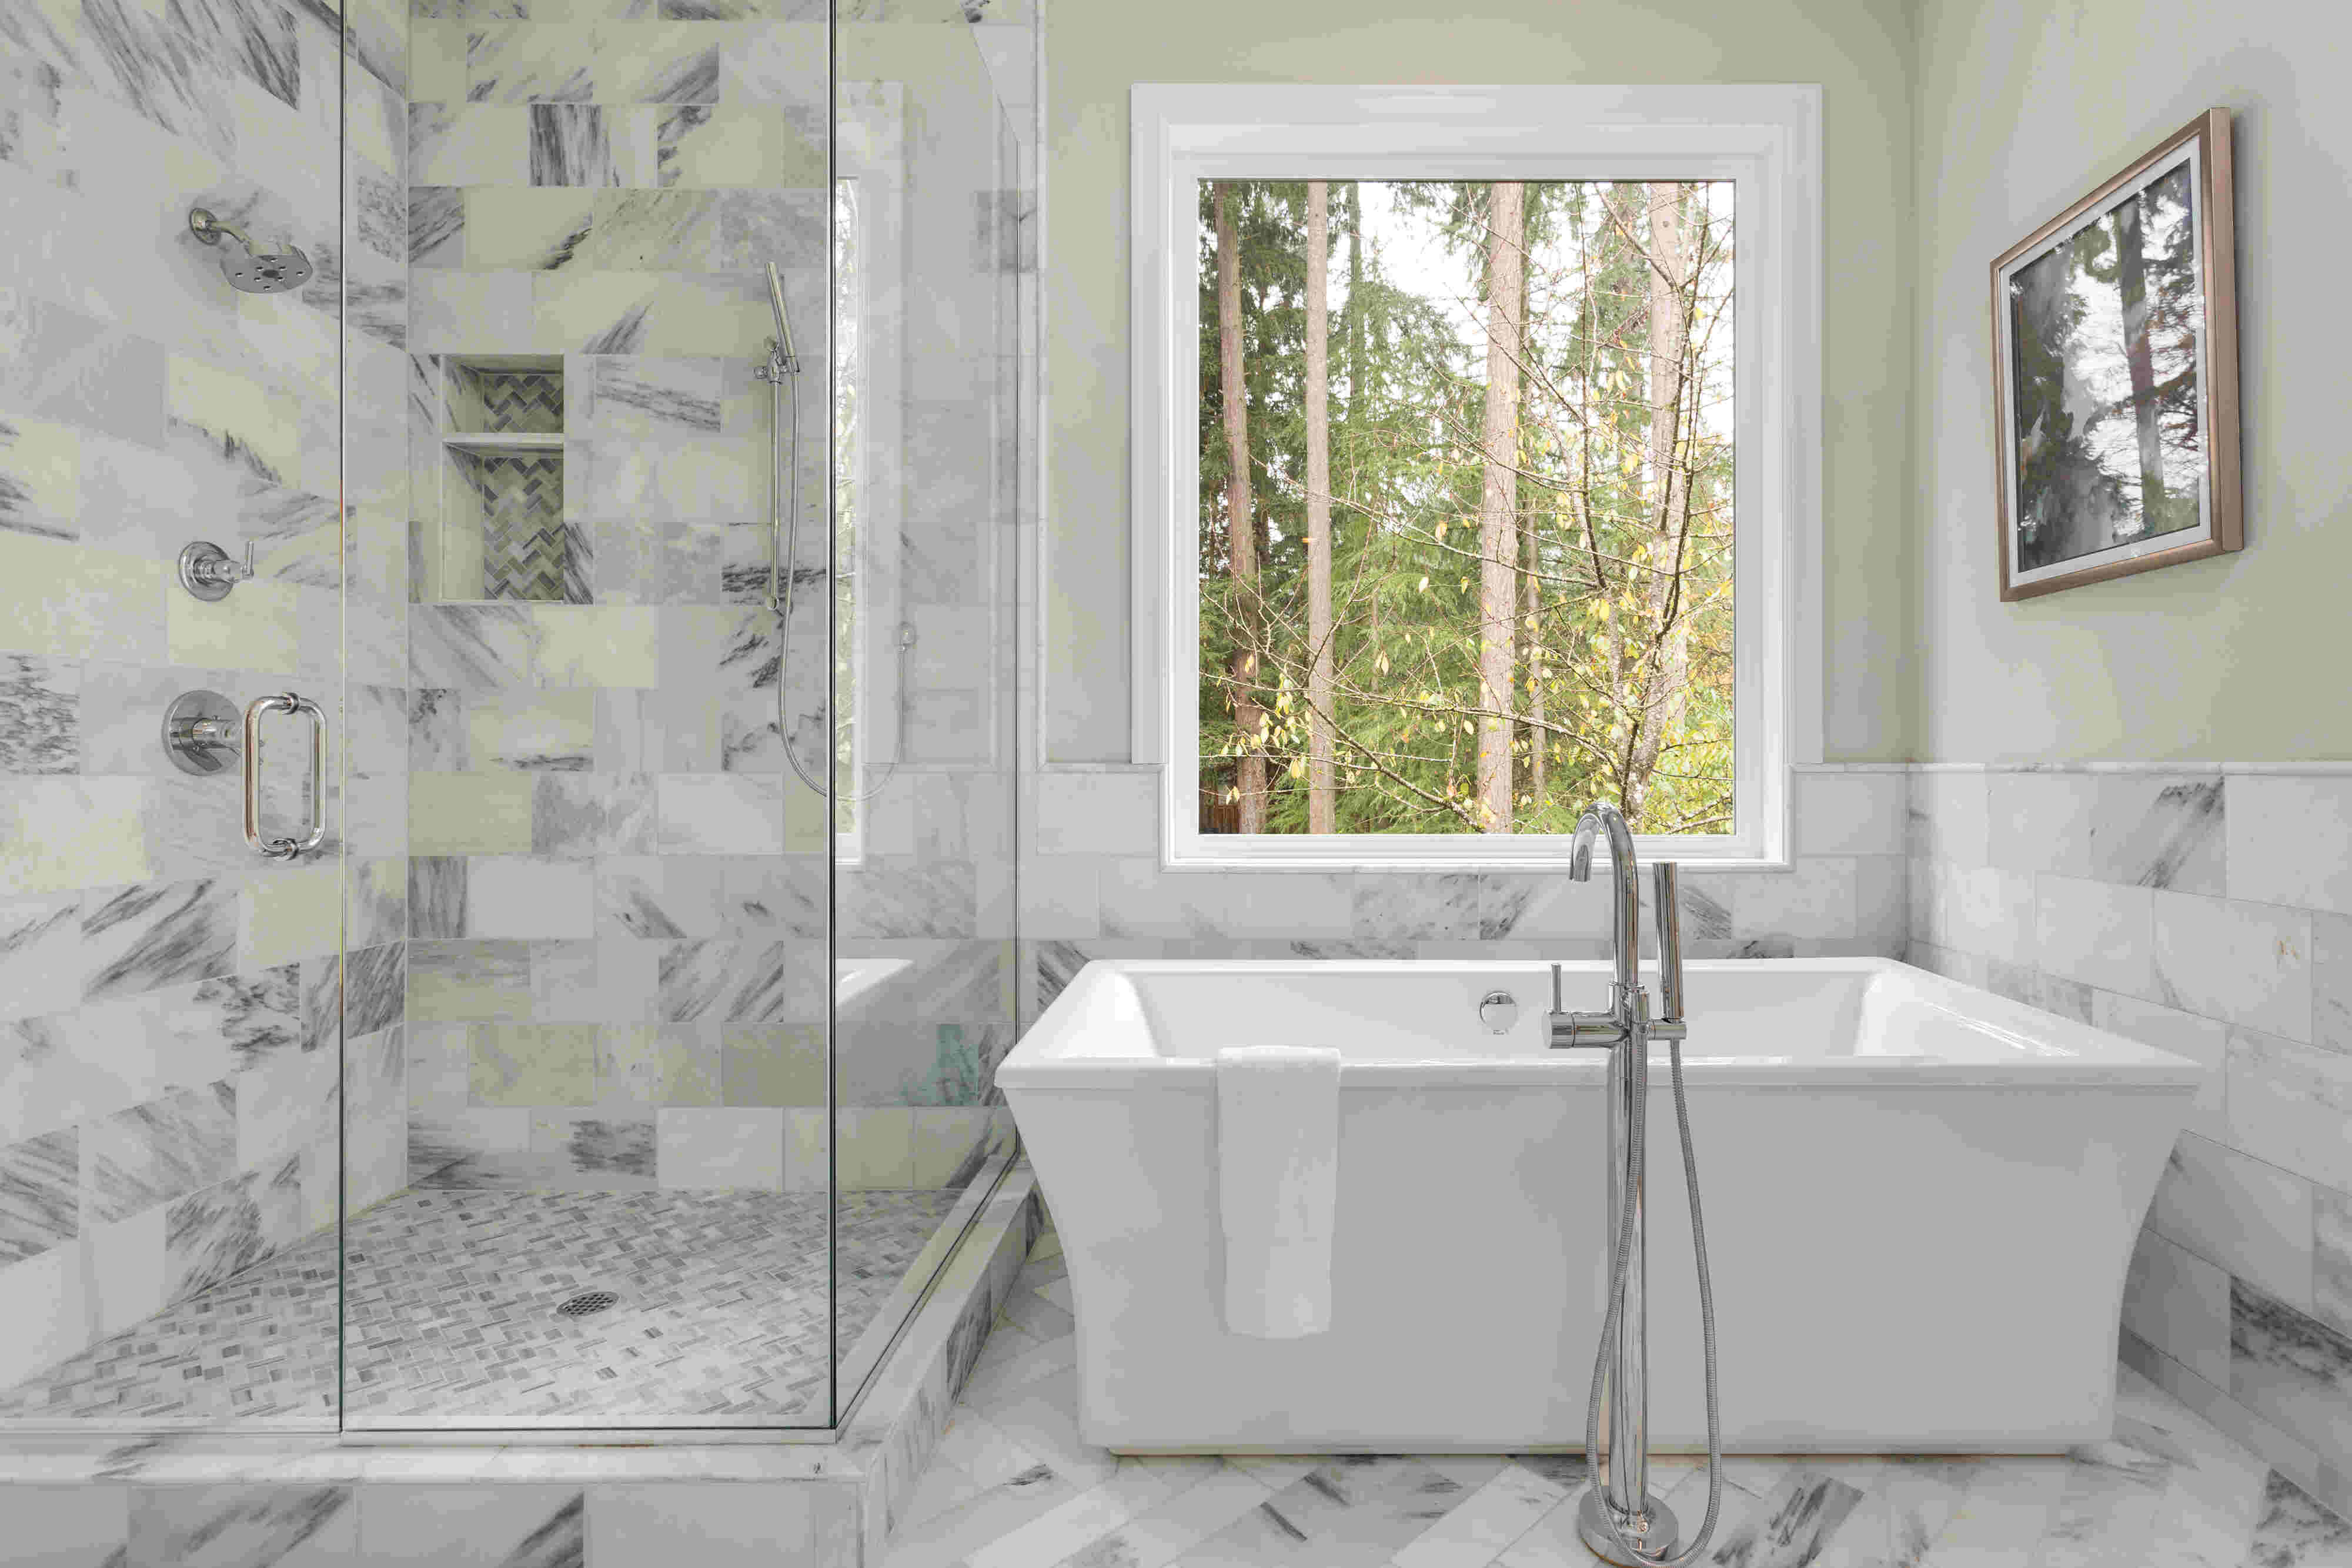
Imagine stepping into a space where the stresses of the day melt away as you immerse yourself in a deep, sumptuous tub reminiscent of the opulent Roman baths of antiquity. The allure of a Roman bathtub lies not only in its functionality but also in its ability to evoke a sense of timeless luxury and sophistication. With its classic design and spacious dimensions, a Roman bathtub offers a sanctuary within your home, inviting you to unwind and rejuvenate in style.
Whether you're a seasoned DIY enthusiast or a novice looking to embark on a new project, this guide will equip you with the knowledge and inspiration to bring your vision to life. From gathering the necessary materials and tools to adding the finishing touches, each step will be carefully outlined to ensure a seamless and rewarding construction process.
By the end of this journey, you'll have the satisfaction of creating a stunning centerpiece for your bathroom, one that exudes the grandeur and allure of ancient Rome while providing a modern-day retreat for relaxation and self-care. So, roll up your sleeves, unleash your creativity, and let's embark on this exciting endeavor to build your very own Roman bathtub. Get ready to elevate your bathing experience to a whole new level of luxury and indulgence!
Key Takeaways:
- Transform your bathroom into a luxurious Roman bathing sanctuary by meticulously building a strong foundation, integrating opulent tiles and fixtures, and adding personalized comfort features for a timeless indulgent experience.
- Elevate your bathing oasis with ambient lighting, luxurious accessories, aromatic scents, and personalized comfort features, creating a haven of opulence and relaxation reminiscent of ancient Roman baths.
Read more: What Are Roman Blinds
Step 1: Gather Materials and Tools
Before diving into the construction of your Roman bathtub, it's essential to gather all the necessary materials and tools. This step sets the foundation for a smooth and efficient building process, ensuring that you have everything at your fingertips to bring your vision to life.
Materials
-
Bathtub Shell: The centerpiece of your Roman bathtub, the bathtub shell serves as the foundation for the entire structure. Opt for a durable and spacious shell that complements the design aesthetic you envision for your luxurious bathing oasis.
-
Waterproofing Membrane: To protect the surrounding areas from water damage, invest in a high-quality waterproofing membrane. This crucial component will ensure that your Roman bathtub remains a long-lasting and secure addition to your bathroom.
-
Mortar Mix: A reliable mortar mix is essential for constructing the foundation and supporting structure of your bathtub. Look for a blend that offers strength and stability, capable of withstanding the weight and pressure of the bathtub shell.
-
Tile Adhesive and Grout: Select tile adhesive and grout that are suitable for the type of tiles you plan to use for the bathtub's interior and exterior surfaces. These materials will contribute to the aesthetic appeal and durability of your Roman bathtub.
-
Decorative Tiles: Choose decorative tiles that capture the essence of Roman luxury and elegance. Consider intricate patterns, rich colors, and textured surfaces to adorn your bathtub, creating a captivating focal point within your bathroom.
-
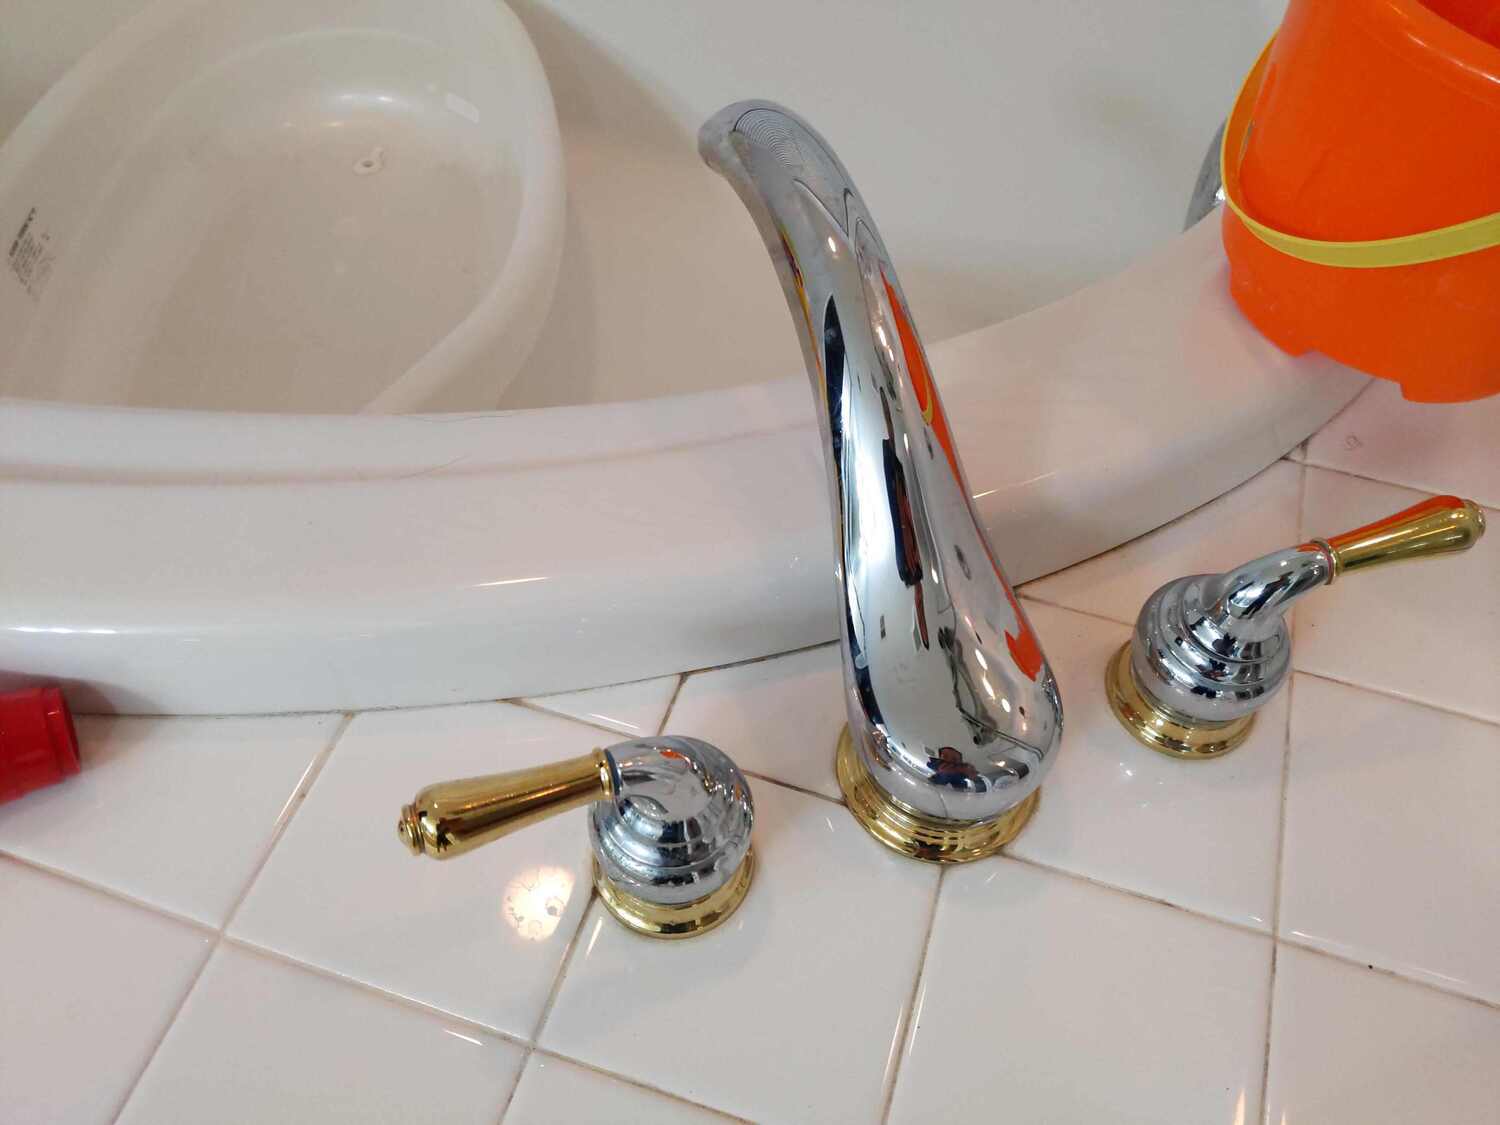
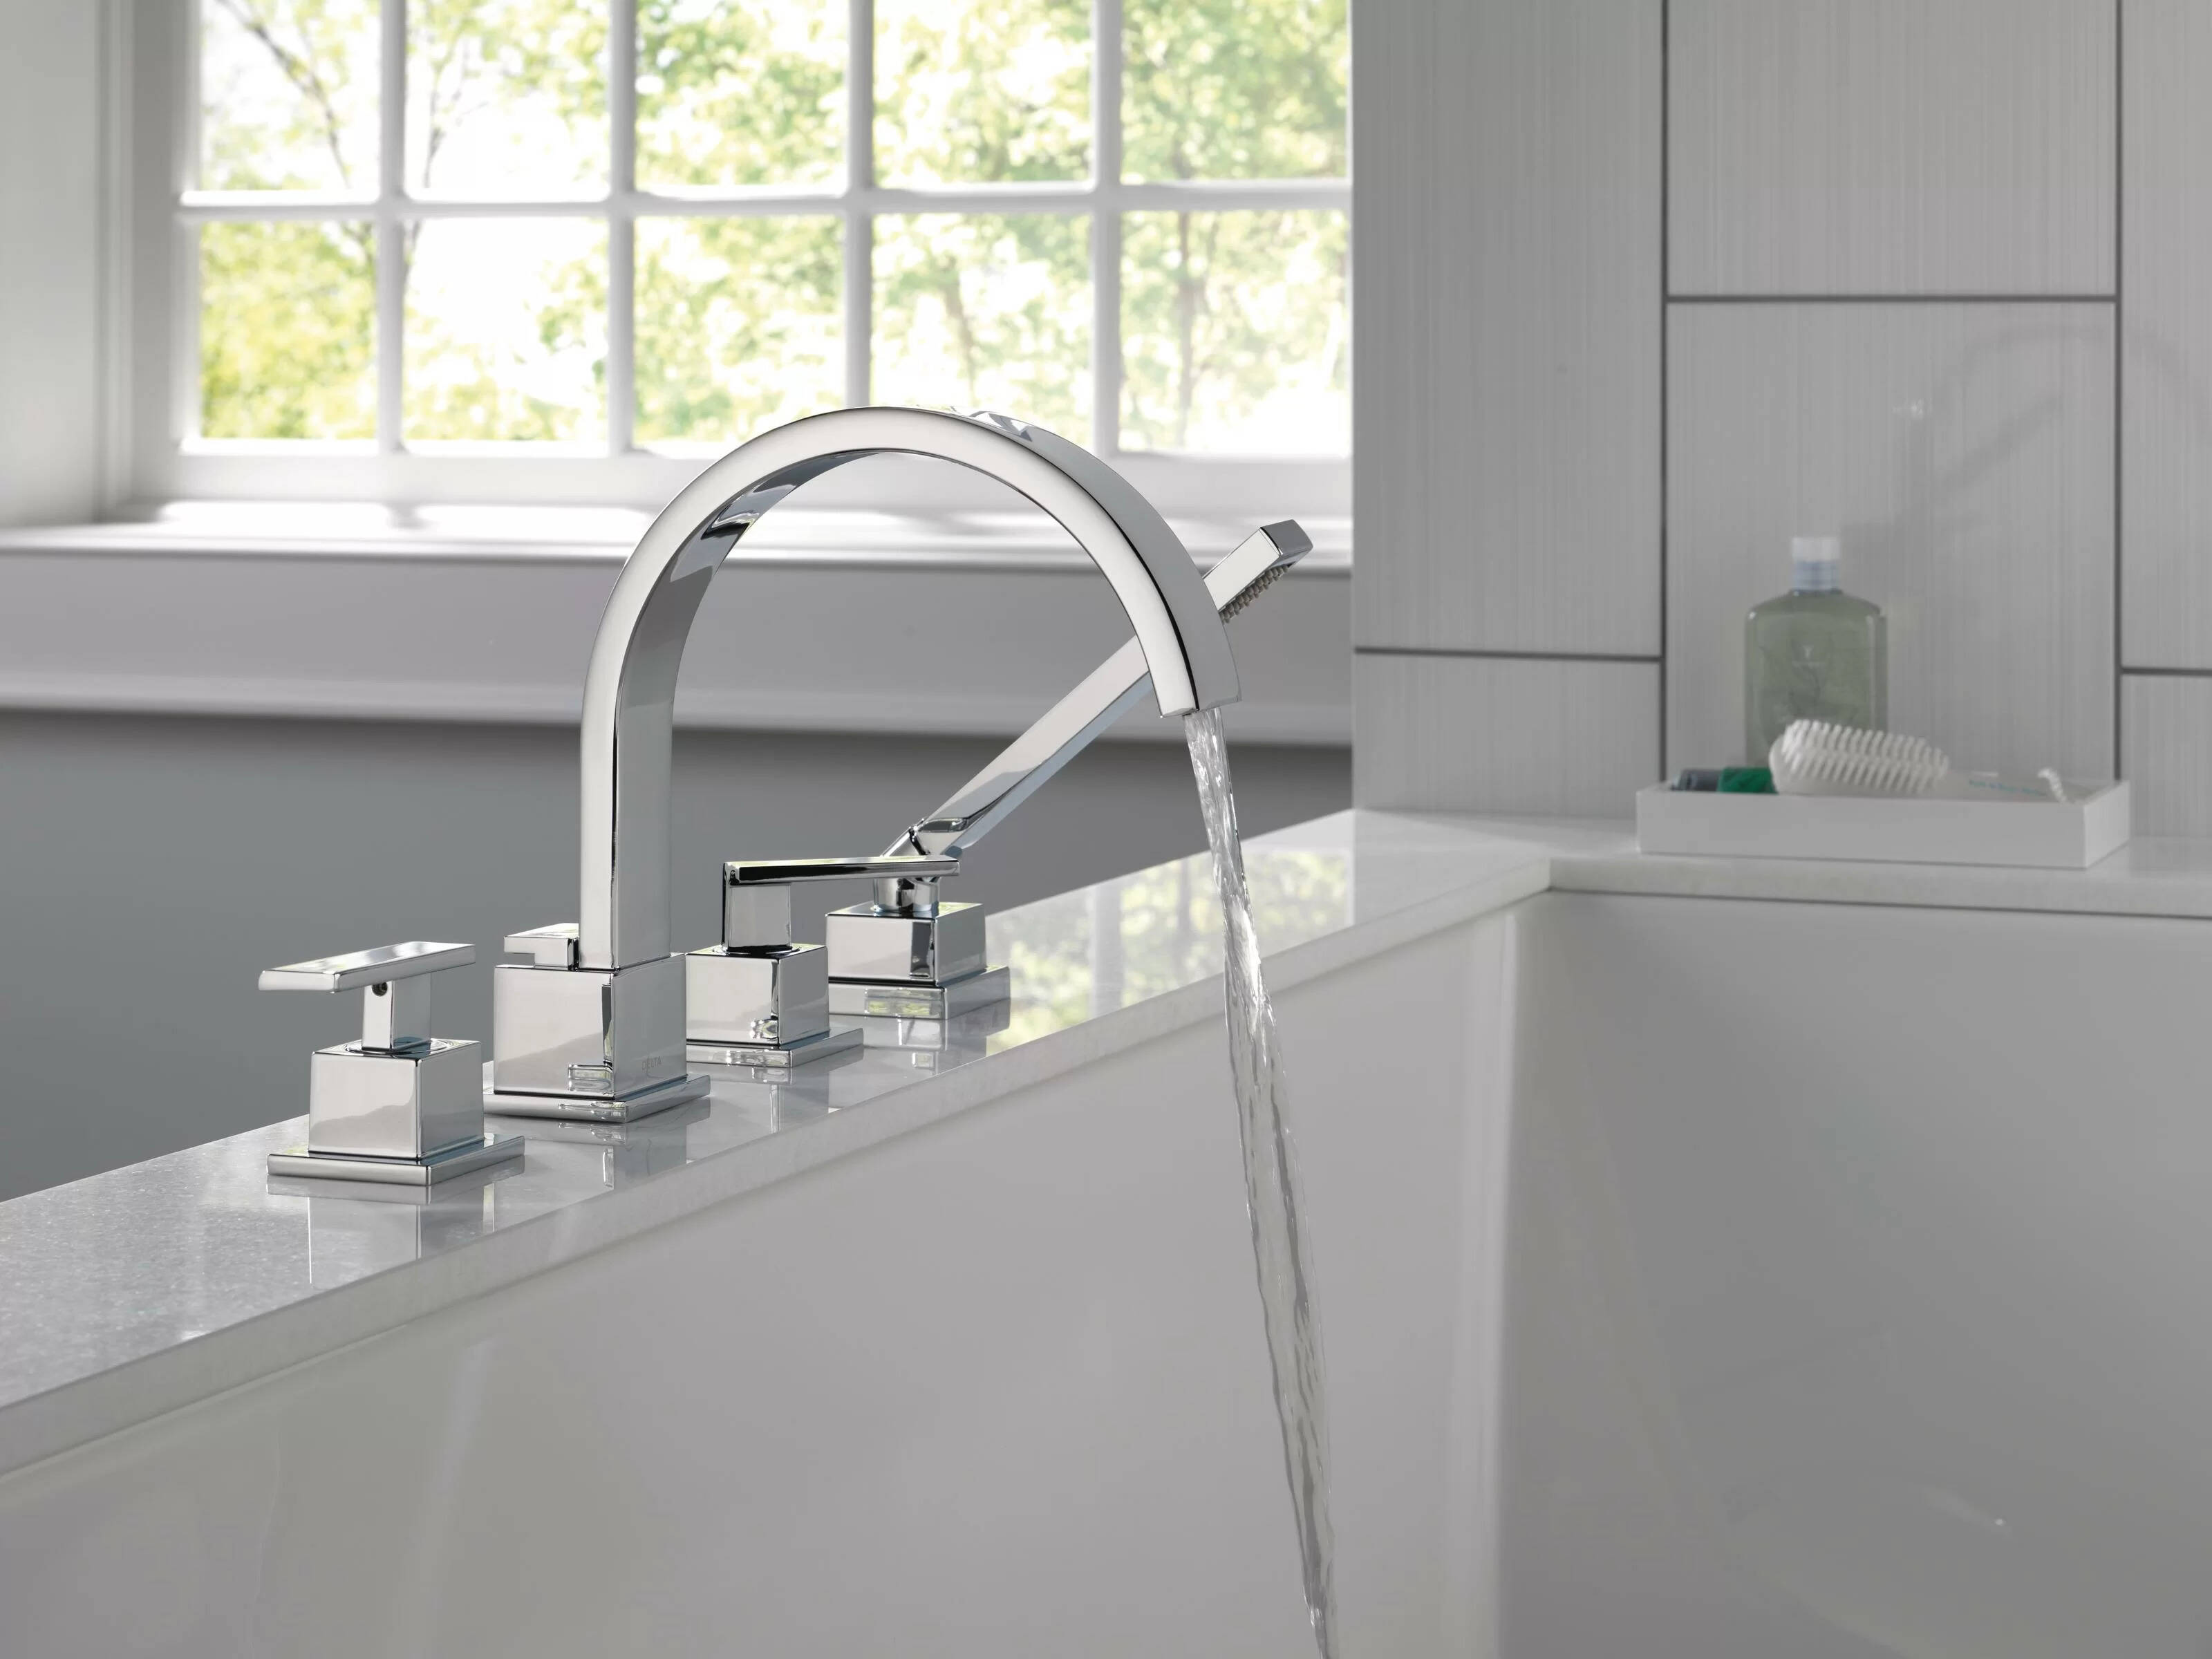
Plumbing Fixtures: Ensure that you have all the necessary plumbing fixtures, including faucets, drains, and any additional features you desire for your Roman bathtub. Select fixtures that align with the overall design theme and provide optimal functionality.
-
Sealant and Caulk: Invest in high-quality sealant and caulk to seal joints, edges, and seams, preventing water leakage and maintaining the integrity of your Roman bathtub over time.
Tools
-
Trowel and Float: These essential tools will be used for applying mortar, adhesive, and grout during the construction and tiling process.
-
Tile Cutter: A precise tile cutter is indispensable for achieving accurate cuts and ensuring a seamless installation of decorative tiles.
-
Level and Measuring Tools: Accurate measurements and a level surface are crucial for the stability and aesthetic appeal of your Roman bathtub. Equip yourself with reliable measuring tools and a level to maintain precision throughout the construction process.
-
Safety Gear: Prioritize safety by obtaining protective gear such as gloves, goggles, and a dust mask to safeguard yourself during the construction and installation phases.
-
Mixing Tools: Whether it's a drill with a mixing attachment or a mixing paddle, having the right tools for blending mortar, adhesive, and grout will streamline the preparation process.
By meticulously gathering the required materials and tools, you'll lay the groundwork for a successful and gratifying journey toward constructing your Roman bathtub. With these essentials in hand, you're ready to move on to the next step and bring your vision of opulent bathing luxury to fruition.
Step 2: Prepare the Site
Preparing the site for the construction of your Roman bathtub is a crucial phase that sets the stage for a seamless and successful building process. This step involves creating a suitable environment that will accommodate the installation of the bathtub shell and the surrounding infrastructure. By meticulously preparing the site, you'll ensure that the foundation and structural elements of your Roman bathtub are positioned for stability, longevity, and visual appeal.
Read more: How To Use Roman Candles
Clear the Space
Begin by clearing the designated area in your bathroom where the Roman bathtub will be installed. Remove any existing fixtures, such as the previous bathtub or shower enclosure, to create an open and unobstructed space. Clearing the area allows for a clean slate, enabling you to assess the dimensions and layout for the optimal placement of the bathtub shell.
Assess Plumbing and Electrical Requirements
Before proceeding with the installation, it's essential to evaluate the plumbing and electrical considerations for your Roman bathtub. Ensure that the plumbing connections align with the intended location of the bathtub, allowing for seamless integration of faucets, drains, and any additional features. Similarly, assess the electrical requirements if your bathtub includes features such as hydrotherapy jets or lighting, ensuring that the necessary provisions are in place.
Level the Floor and Walls
Achieving a level and stable foundation is paramount for the structural integrity of your Roman bathtub. Use a level to assess the floor and walls, making any necessary adjustments to ensure that the surfaces are even and stable. This step is critical for preventing issues such as uneven weight distribution and potential structural instability once the bathtub is in place.
Install Support Framework
Depending on the design and weight of the bathtub shell, it may be necessary to install a support framework to reinforce the structural integrity of the installation area. This framework provides additional support for the bathtub shell and ensures that the weight is evenly distributed, minimizing the risk of sagging or instability over time.
Read more: How To Make Roman Blinds
Waterproofing Preparation
Implementing a comprehensive waterproofing strategy is essential to protect the surrounding areas from water damage and ensure the longevity of your Roman bathtub. Apply a high-quality waterproofing membrane to the designated installation area, creating a protective barrier that safeguards the underlying structures from moisture and potential leaks.
By meticulously preparing the site for the installation of your Roman bathtub, you'll establish a solid foundation for the subsequent construction phases. This meticulous approach sets the stage for a seamless and rewarding building process, ensuring that your Roman bathtub becomes a stunning centerpiece within your bathroom, exuding the timeless allure and luxury of ancient Rome.
Step 3: Build the Foundation
With the site meticulously prepared, the next pivotal step in constructing your Roman bathtub is to build a robust and stable foundation that will support the bathtub shell and ensure its longevity and structural integrity. The foundation serves as the cornerstone of the entire structure, providing the necessary support and stability for the luxurious bathing oasis you are creating within your bathroom.
Subfloor Reinforcement
Begin by reinforcing the subfloor to accommodate the weight of the bathtub shell and the water it will contain. Assess the existing subfloor to determine its load-bearing capacity and make any necessary enhancements to ensure it can adequately support the bathtub. Adding additional floor joists or reinforcing the subfloor with sturdy materials will bolster the foundation, minimizing the risk of structural issues over time.
Mortar Application
Once the subfloor is reinforced, it's time to apply a layer of mortar to create a stable base for the bathtub shell. Prepare a high-quality mortar mix and carefully spread it over the designated installation area, ensuring an even and consistent application. The mortar serves as a supportive layer, distributing the weight of the bathtub and providing a secure foundation for the subsequent installation steps.
Read more: How To Measure For Roman Blinds
Positioning the Bathtub Shell
With the mortar in place, carefully position the bathtub shell onto the prepared foundation. Ensure that the shell is aligned with the surrounding walls and that it sits securely on the mortar layer. Take precise measurements to confirm that the bathtub is centered and level, making any necessary adjustments to achieve an optimal position.
Securing the Bathtub Shell
Once the bathtub shell is in position, secure it to the foundation using appropriate fastening methods. Depending on the design of the bathtub and the materials involved, this may involve anchoring the shell to the subfloor or utilizing additional support structures to reinforce its stability. Ensuring that the bathtub shell is securely fastened is essential for its long-term durability and safety.
Waterproofing Integration
Integrate waterproofing measures into the foundation construction to safeguard the surrounding areas from potential water damage. Seal the joints and edges of the bathtub shell with a high-quality waterproofing membrane, creating a protective barrier that prevents moisture from seeping into the underlying structures. This proactive approach will contribute to the longevity and resilience of your Roman bathtub.
By meticulously building a strong and reliable foundation for your Roman bathtub, you are laying the groundwork for a luxurious and enduring bathing experience. The attention to detail and precision in this foundational phase will set the stage for the subsequent construction steps, ensuring that your Roman bathtub becomes a captivating centerpiece within your bathroom, evoking the timeless allure and opulence of ancient Rome.
Step 4: Construct the Bathtub
With the foundation in place, the construction of the bathtub itself marks a significant stride toward realizing your Roman bathing oasis. This phase involves the meticulous assembly of the bathtub structure, encompassing the installation of interior and exterior surfaces, plumbing fixtures, and essential components that will culminate in a stunning and functional centerpiece for your bathroom.
Read more: What Is Roman Glass
Installing Decorative Tiles
Begin by adorning the interior and exterior surfaces of the bathtub shell with carefully selected decorative tiles that capture the essence of Roman luxury and elegance. Whether opting for intricate mosaic patterns, rich earthy tones, or textured surfaces reminiscent of ancient Roman baths, the choice of tiles plays a pivotal role in defining the aesthetic appeal of your Roman bathtub. With precision and attention to detail, apply the selected tiles using high-quality adhesive, ensuring a seamless and visually captivating finish that exudes timeless opulence.
Plumbing Fixture Integration
Integrate the necessary plumbing fixtures, including faucets, drains, and any additional features tailored to your bathing preferences. Position the fixtures strategically, ensuring optimal functionality and aesthetic harmony with the overall design of the bathtub. Secure the fixtures in place, making watertight connections and ensuring that they seamlessly complement the luxurious ambiance of your Roman bathing sanctuary.
Sealing and Finishing Touches
Once the decorative tiles and plumbing fixtures are in place, proceed to seal the joints, edges, and seams with high-quality sealant and caulk. This meticulous step serves to fortify the waterproofing integrity of the bathtub, preventing water leakage and preserving the structural integrity of the installation. With the finishing touches applied, take the time to inspect the bathtub meticulously, ensuring that every detail aligns with your vision of a Roman bathing haven within your home.
Embracing Timeless Luxury
As the construction of the bathtub nears completion, immerse yourself in the realization of a timeless luxury that transcends eras. The culmination of this phase signifies the transformation of a mere shell into a captivating embodiment of Roman opulence and indulgence. With each tile meticulously placed and every fixture seamlessly integrated, your Roman bathtub emerges as a testament to the fusion of ancient allure and modern comfort, inviting you to indulge in a bathing experience steeped in history and sophistication.
By meticulously constructing the bathtub with unwavering attention to detail and a commitment to timeless elegance, you are one step closer to basking in the splendor of your very own Roman bathing sanctuary. The culmination of this phase sets the stage for the final touches that will elevate your bathroom into a realm of luxury and relaxation, evoking the grandeur and allure of ancient Rome within the confines of your modern-day abode.
Read more: How To Clean Roman Blinds At Home
Step 5: Add Finishing Touches
With the construction of the Roman bathtub nearing its culmination, the addition of finishing touches serves as the crowning moment, elevating the bathing sanctuary to a realm of unparalleled luxury and sophistication. This pivotal phase encompasses the integration of elements that transcend functionality, embracing the essence of opulence and timeless allure.
Ambient Lighting and Accents
Introduce ambient lighting elements that envelop the Roman bathtub in a warm and inviting glow, accentuating its grandeur and creating a serene atmosphere for relaxation. Consider incorporating subtle LED lighting around the perimeter of the bathtub or installing elegant sconces to illuminate the bathing space with a soft, soothing radiance. These lighting accents not only enhance the visual appeal but also contribute to the creation of a tranquil ambiance reminiscent of the ancient Roman baths.
Luxurious Bath Accessories
Embrace the indulgence of Roman bathing traditions by adorning the bathtub with luxurious accessories that evoke a sense of pampering and refinement. From ornate soap dishes and dispensers to plush towels and bathrobes, select accessories that exude sophistication and complement the opulent aesthetic of the Roman bathtub. The careful curation of these elements adds a touch of extravagance, inviting you to immerse yourself in a truly indulgent bathing experience.
Aromatic Sensory Experience
Elevate the sensory allure of the Roman bathtub by infusing the air with captivating aromas that evoke relaxation and rejuvenation. Consider incorporating essential oil diffusers or scented candles to envelop the bathing space in fragrant notes of lavender, citrus, or exotic florals. The harmonious blend of aromas enhances the overall sensory experience, transporting you to a realm of tranquility and serenity as you luxuriate in the opulent embrace of the Roman bathtub.
Read more: How To Attach Roman Blinds To Window
Personalized Comfort Features
Tailor the bathing experience to your preferences by integrating personalized comfort features that elevate the functionality and indulgence of the Roman bathtub. Whether it's a built-in heated backrest, a soothing whirlpool system, or a digital control panel for customized hydrotherapy settings, these features add a modern touch of convenience while enhancing the overall comfort and luxury of the bathing sanctuary.
Reflecting Timeless Elegance
As the finishing touches are meticulously integrated, the Roman bathtub emerges as a captivating embodiment of timeless elegance and indulgence. The amalgamation of ambient lighting, luxurious accessories, aromatic sensory experiences, and personalized comfort features culminates in a bathing sanctuary that transcends the ordinary, inviting you to revel in the grandeur and allure of ancient Rome within the confines of your modern-day abode.
By infusing the Roman bathtub with these exquisite finishing touches, you elevate your bathing experience to a realm of unparalleled luxury and sophistication, creating a haven of opulence and relaxation within your home. Each element harmonizes to evoke the timeless allure of ancient Roman baths, enveloping you in a sanctuary that transcends the ordinary and invites you to indulge in the splendor of a bygone era.
Conclusion
As we conclude this transformative journey of building a Roman bathtub, it's essential to reflect on the remarkable evolution that has taken place within your bathroom. What was once a mere space for daily routines has now been elevated into a sanctuary of opulence and indulgence, reminiscent of the grandeur and allure of ancient Rome. The culmination of this endeavor represents not only the construction of a luxurious bathing oasis but also the embodiment of timeless elegance and sophistication within your home.
The process of building a Roman bathtub has been a testament to the fusion of creativity, craftsmanship, and unwavering attention to detail. From meticulously gathering materials and tools to meticulously integrating finishing touches, every step has been a labor of love aimed at creating a space that transcends mere functionality, embracing the essence of indulgence and relaxation.
The journey began with a vision of transforming your bathing experience into a luxurious retreat, and through each phase, that vision has been brought to life with precision and artistry. The careful selection of materials, the meticulous construction of the foundation, the artful integration of decorative tiles, and the addition of personalized comfort features have all contributed to the realization of a Roman bathing sanctuary that exudes timeless allure and modern comfort.
As you stand on the threshold of this transformative achievement, envision the countless moments of relaxation, rejuvenation, and indulgence that await within the embrace of your Roman bathtub. It is a space where the stresses of the day dissipate, where tranquility reigns, and where the timeless elegance of ancient Rome converges with the comforts of contemporary living.
In the midst of the finishing touches, as ambient lighting casts a warm glow and luxurious accessories adorn the bathing sanctuary, take a moment to revel in the realization of a vision brought to life. The Roman bathtub stands as a testament to your creativity, your dedication to craftsmanship, and your unwavering pursuit of a lifestyle that embraces luxury and sophistication.
As you embark on this new chapter of bathing indulgence, may the Roman bathtub serve as a constant reminder of the transformative power of vision, creativity, and meticulous craftsmanship. It is a testament to the enduring allure of ancient traditions and the timeless elegance that transcends eras, inviting you to immerse yourself in a bathing experience that transcends the ordinary and embraces the extraordinary.
In the embrace of your Roman bathtub, may you find moments of respite, rejuvenation, and sheer indulgence, as you bask in the opulence and allure of a bygone era within the confines of your modern-day abode.
Frequently Asked Questions about How To Build A Roman Bathtub
Was this page helpful?
At Storables.com, we guarantee accurate and reliable information. Our content, validated by Expert Board Contributors, is crafted following stringent Editorial Policies. We're committed to providing you with well-researched, expert-backed insights for all your informational needs.

0 thoughts on “How To Build A Roman Bathtub”