Home>Furniture & Design>Bathroom Accessories>How To Repaint A Bathtub
Bathroom Accessories
How To Repaint A Bathtub
Modified: April 22, 2024
Learn how to repaint a bathtub and give your bathroom accessories a fresh new look with our step-by-step guide. Transform your bathroom with this easy DIY project.
(Many of the links in this article redirect to a specific reviewed product. Your purchase of these products through affiliate links helps to generate commission for Storables.com, at no extra cost. Learn more)
Introduction
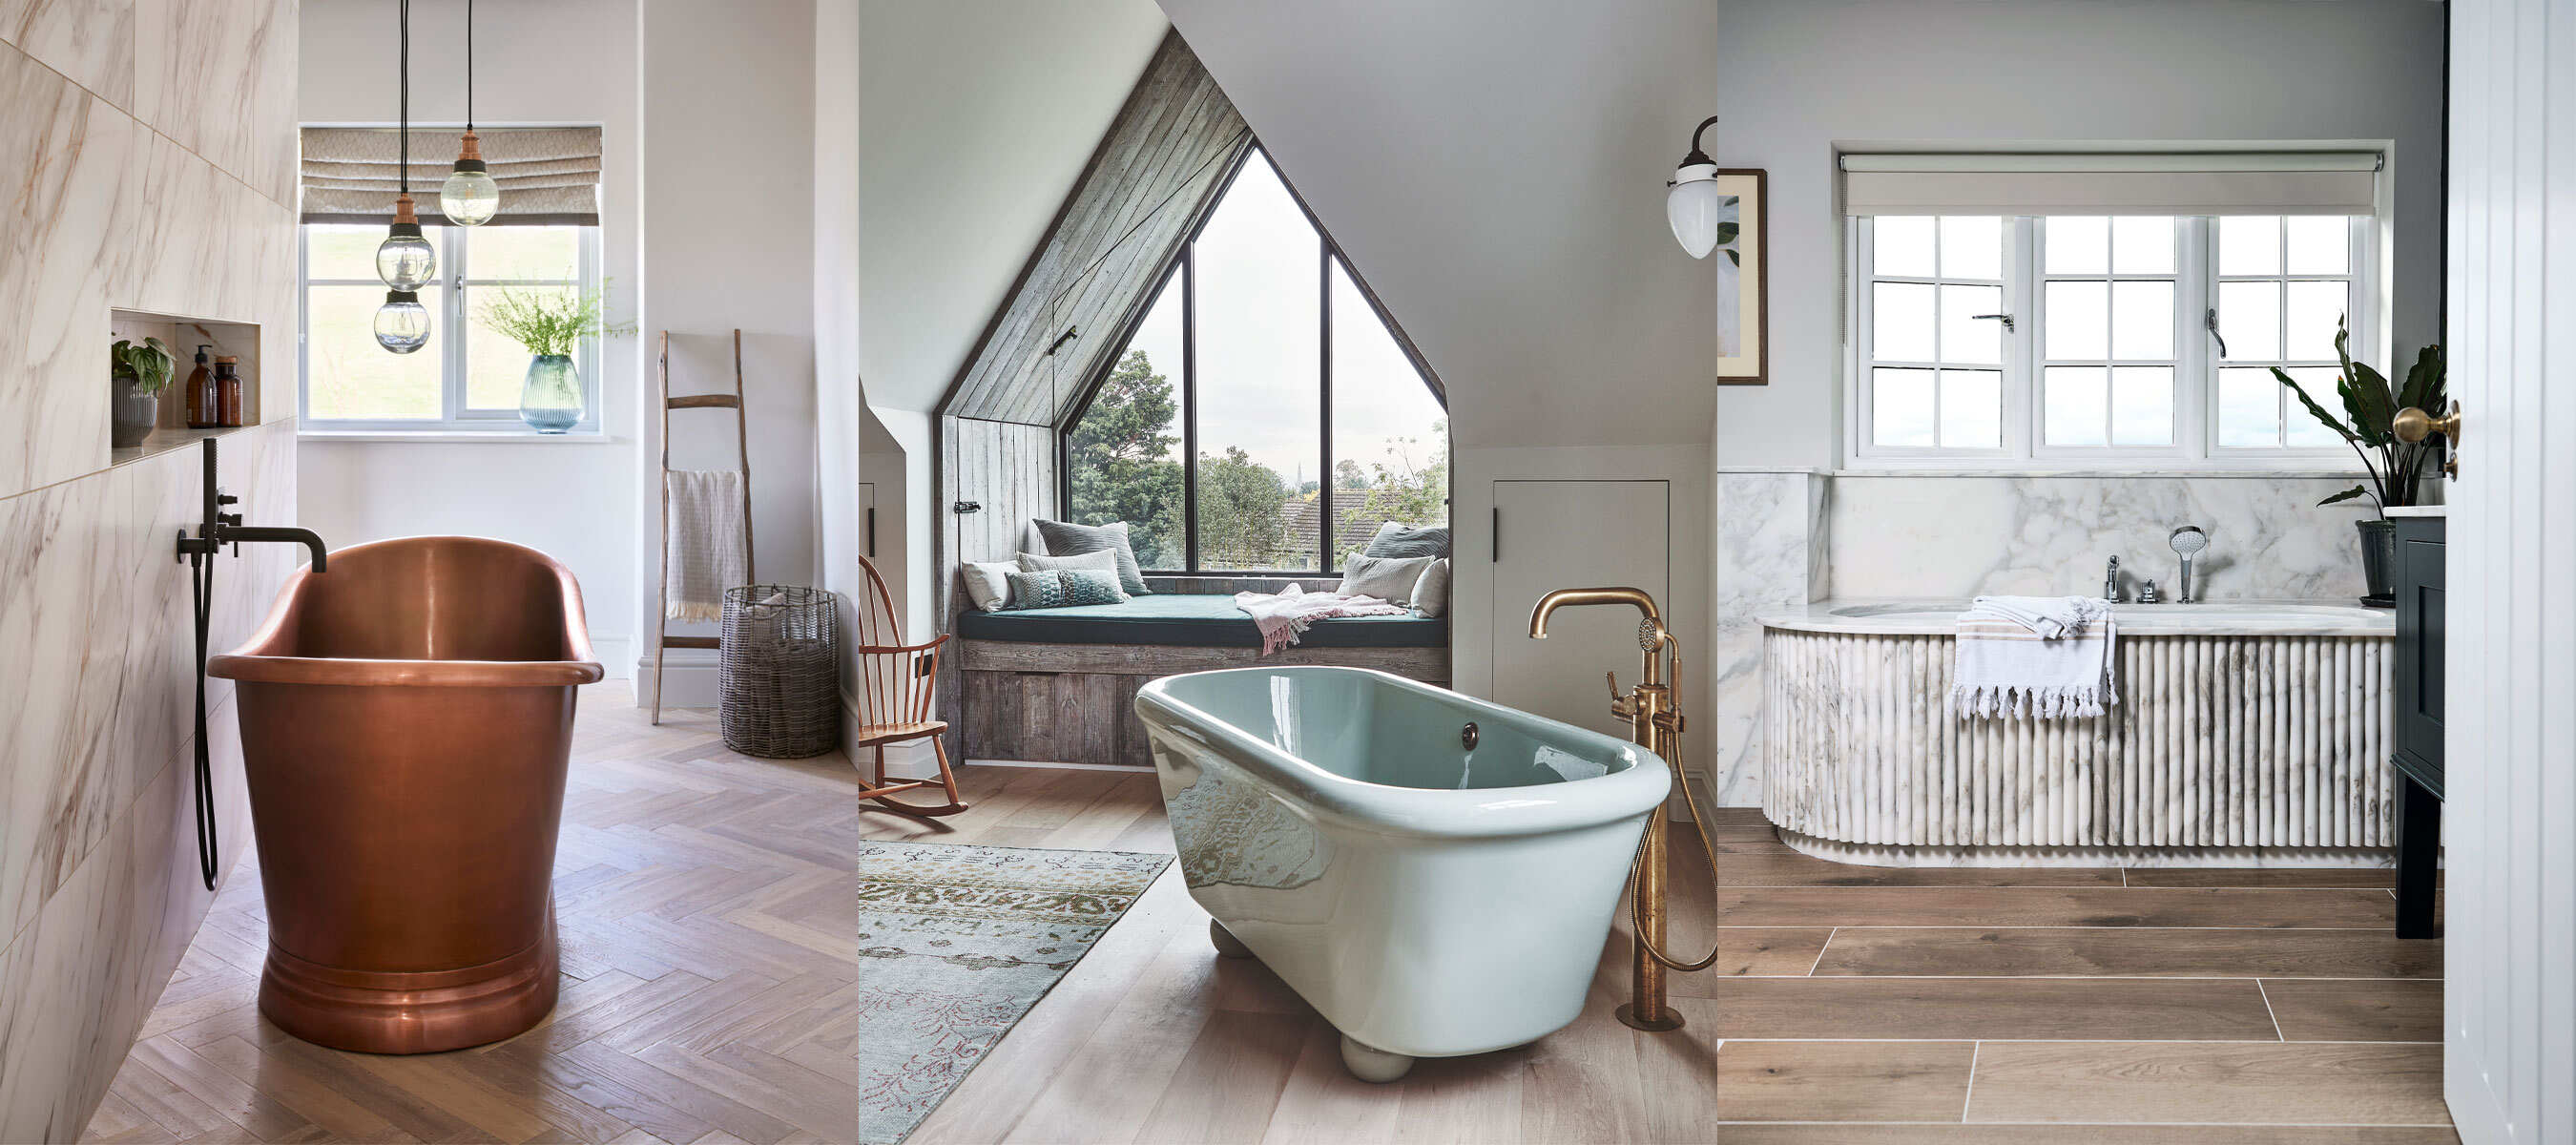
Repainting a bathtub can be a cost-effective way to revitalize your bathroom and give it a fresh, new look. Over time, bathtubs can become worn, stained, or outdated, but with the right materials and a bit of elbow grease, you can transform your bathtub into a sparkling centerpiece of your bathroom. Whether you're looking to update the color of your bathtub or simply refresh its appearance, repainting can be a rewarding and budget-friendly home improvement project.
Before diving into the process of repainting your bathtub, it's essential to understand the key steps involved and the materials required. Proper preparation and attention to detail are crucial for achieving a professional-looking finish that will stand the test of time. By following a systematic approach and using high-quality products, you can breathe new life into your bathtub and create a stunning focal point in your bathroom.
In the following steps, we will guide you through the process of repainting your bathtub, from gathering the necessary materials and preparing the area to applying primer and epoxy paint. We'll also cover essential tips for ensuring proper drying and reinstallation of fixtures. With this comprehensive guide, you'll be equipped with the knowledge and confidence to tackle this rewarding home improvement project and enjoy the satisfaction of a beautifully repainted bathtub. So, roll up your sleeves and get ready to transform your bathroom with a fresh coat of paint!
Key Takeaways:
- Revitalize your bathroom by repainting your bathtub with the right materials and preparation. Achieve a professional-looking finish and enjoy a budget-friendly home improvement project.
- Thoroughly clean, sand, apply primer, and epoxy paint to transform your bathtub. Exercise patience during drying and enjoy the revitalized centerpiece of your bathroom.
Read more: How To Repaint A Brick House
Step 1: Gather Materials and Prepare the Area
Before embarking on the bathtub repainting journey, it's crucial to gather all the necessary materials and prepare the area for the task ahead. Here's a detailed breakdown of what you'll need and the essential steps to prepare the space:
Materials Needed:
- Protective Gear: Ensure you have protective gear such as gloves, safety goggles, and a mask to shield yourself from fumes and chemicals.
- Cleaning Supplies: Gather a high-quality bathtub cleaner, abrasive cleaning pads, and a sponge for thorough cleaning.
- Sandpaper: Acquire fine-grit sandpaper to smooth the bathtub surface and create an ideal base for the new paint.
- Primer and Epoxy Paint: Invest in a high-quality bonding primer specifically designed for bathtubs, as well as a durable epoxy paint in your desired color.
- Painter's Tape and Drop Cloths: Secure painter's tape to protect surrounding surfaces and lay down drop cloths to prevent accidental spills and splatters.
- Ventilation: If the bathroom lacks proper ventilation, consider using a fan or opening windows to ensure adequate airflow during the painting process.
Area Preparation:
- Clear the Surrounding Space: Remove any personal items, bath accessories, and decorative elements from the vicinity of the bathtub to create a clear working area.
- Ventilate the Bathroom: If possible, open windows and doors to promote air circulation and minimize the inhalation of fumes.
- Protect Fixtures and Surfaces: Use painter's tape to cover fixtures, faucets, and any areas you want to shield from paint. Lay down drop cloths to safeguard the floor and other surfaces from accidental spills.
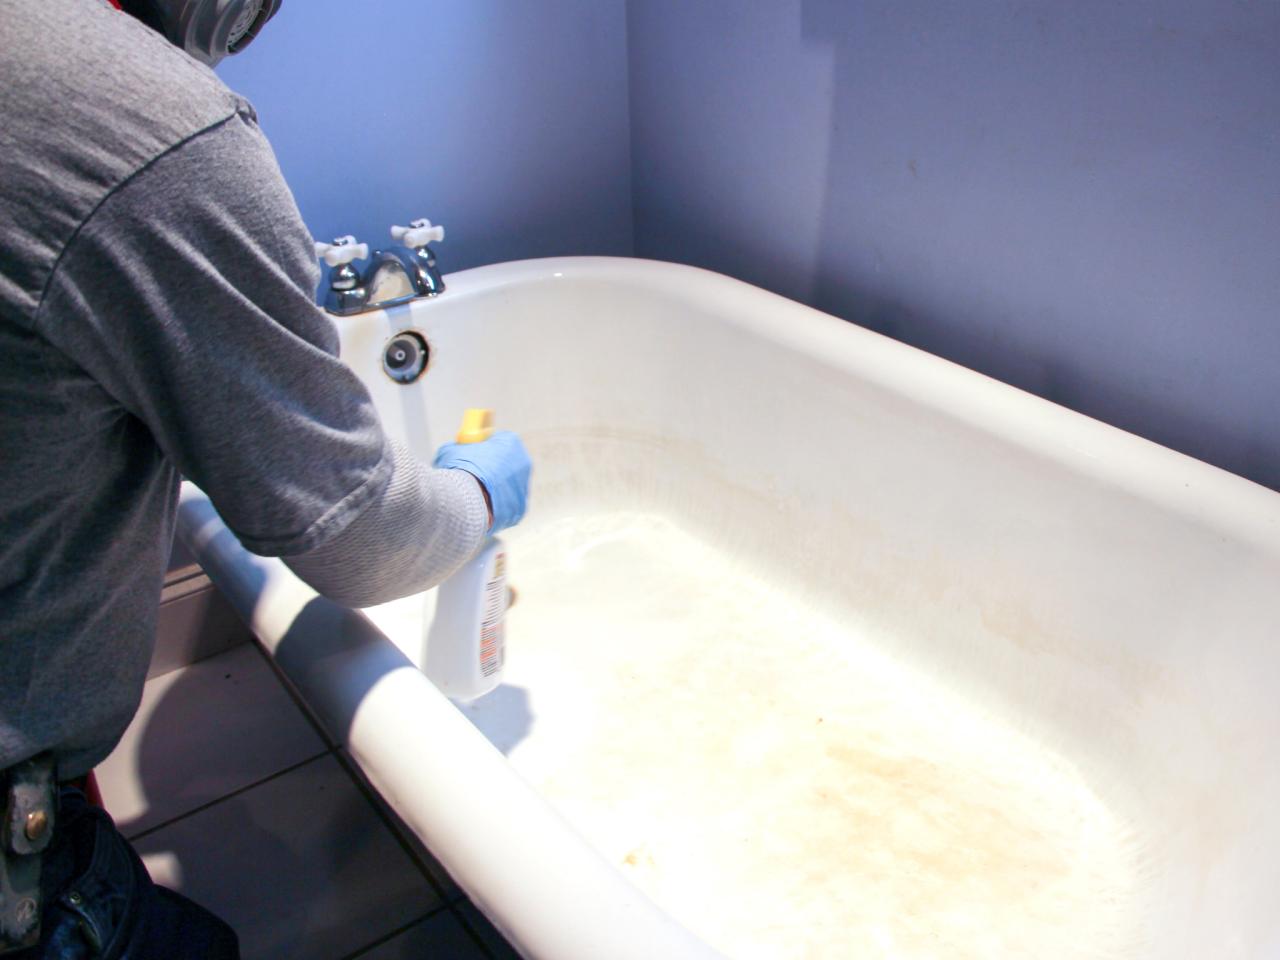
- Clean the Bathtub: Thoroughly clean the bathtub using a high-quality cleaner and abrasive pads to remove soap scum, mineral deposits, and any other residues. Rinse the bathtub thoroughly and allow it to dry completely before proceeding.
- Sand the Surface: Gently sand the entire bathtub surface with fine-grit sandpaper to create a slightly rough texture that will help the primer and paint adhere effectively. After sanding, wipe down the bathtub with a damp cloth to remove any dust or debris.
By meticulously gathering the required materials and diligently preparing the area, you'll set the stage for a successful bathtub repainting project. This initial step lays the foundation for achieving a professional and long-lasting finish, ensuring that your efforts yield a beautifully revitalized bathtub that enhances the overall aesthetic of your bathroom.
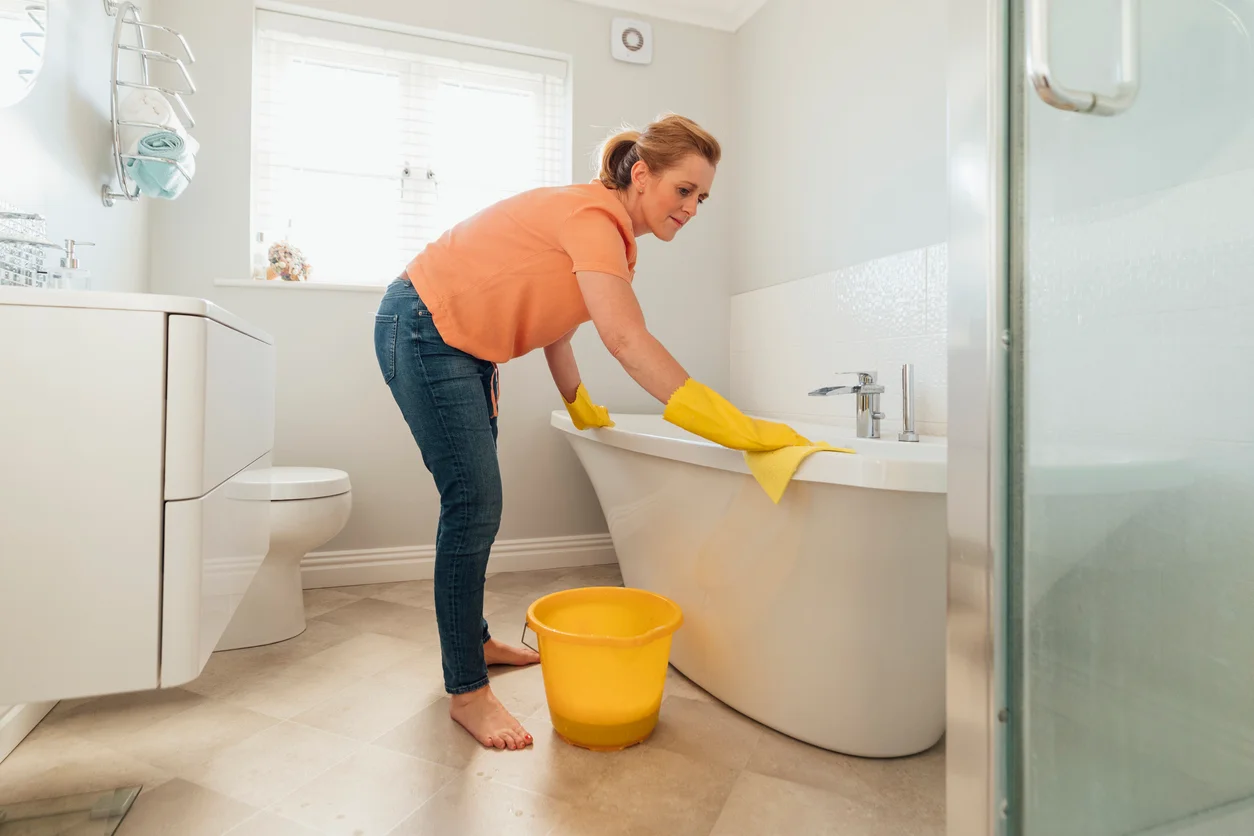
Step 2: Clean and Sand the Bathtub
After gathering the necessary materials and preparing the area, the next crucial step in repainting a bathtub is to thoroughly clean and sand the surface. This process is essential for ensuring proper adhesion of the primer and paint, ultimately contributing to a durable and professional-looking finish.
Read more: How To Repaint A Brass Lamp
Cleaning the Bathtub
Begin by using a high-quality bathtub cleaner specifically formulated to remove soap scum, mineral deposits, and other residues that may have accumulated over time. Apply the cleaner generously and use abrasive cleaning pads to scrub the entire surface of the bathtub, paying particular attention to areas with stubborn stains or buildup. This thorough cleaning process not only prepares the surface for painting but also ensures a hygienic and pristine foundation for the new finish.
Once the bathtub has been scrubbed and cleaned, rinse it thoroughly with water to remove any remaining cleaner and residues. It's crucial to eliminate all traces of the cleaning solution to prevent any potential interference with the primer and paint application. After rinsing, allow the bathtub to dry completely before proceeding to the next step.
Sanding the Surface
Sanding the bathtub surface is a critical step that creates a slightly rough texture, promoting optimal adhesion of the primer and paint. Using fine-grit sandpaper, gently sand the entire surface of the bathtub, including the walls and bottom, to ensure uniformity in texture. The goal is to create a surface that is smooth to the touch but with enough texture to facilitate bonding with the new coatings.
During the sanding process, pay attention to any areas with existing imperfections, such as chips or scratches, and aim to smooth them out as much as possible. Additionally, be mindful of the edges and corners, ensuring that they are adequately sanded to promote a seamless and professional-looking finish.
After sanding, it's essential to remove any dust or debris resulting from the process. Wipe down the bathtub with a damp cloth or sponge to eliminate any residual particles, ensuring that the surface is clean and ready for the next steps in the repainting process.
By meticulously cleaning and sanding the bathtub, you are laying the groundwork for a successful and long-lasting repainting project. These preparatory steps are instrumental in achieving a smooth and durable finish, ensuring that your efforts result in a beautifully revitalized bathtub that enhances the overall aesthetic of your bathroom.
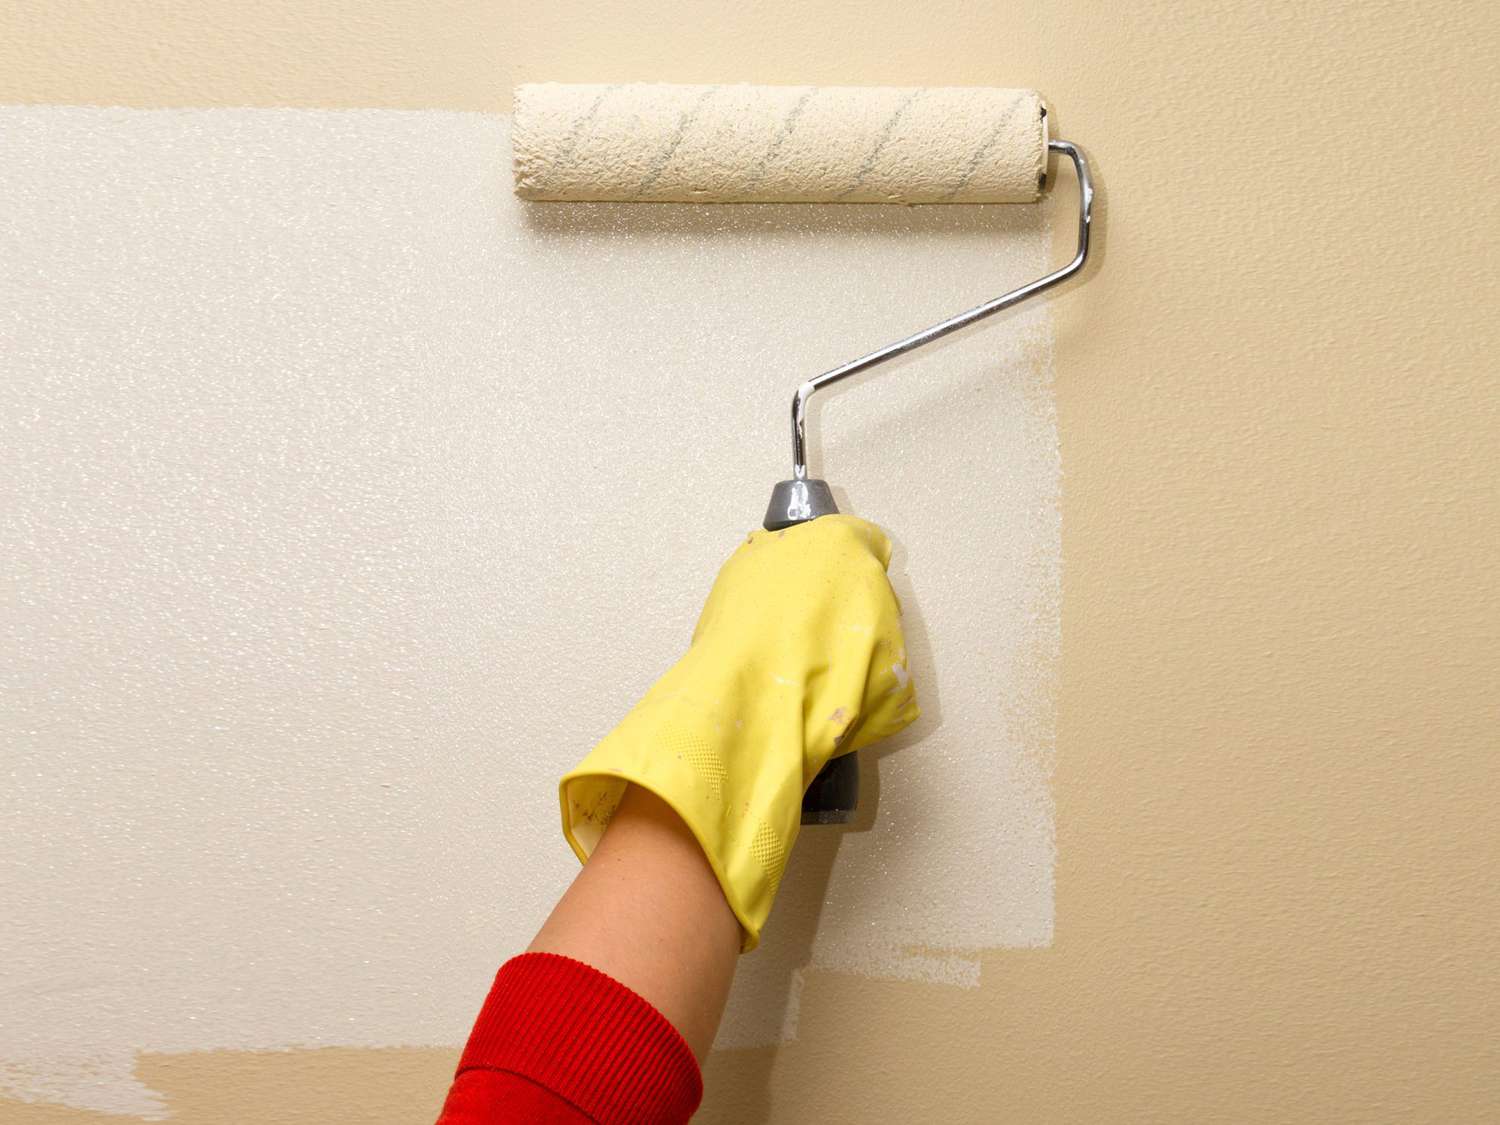
Step 3: Apply Primer
Applying primer is a crucial step in the process of repainting a bathtub, as it serves as the foundation for the new finish, promoting adhesion and durability. The primer creates a bonding surface that allows the epoxy paint to adhere effectively, ensuring a long-lasting and professional-looking result.
Before applying the primer, it's essential to ensure that the bathtub surface is clean, dry, and free of any dust or debris resulting from the previous cleaning and sanding steps. Any residual particles can compromise the effectiveness of the primer, so thorough preparation is key to achieving optimal results.
When selecting a primer for bathtub repainting, it's important to choose a high-quality bonding primer specifically designed for use on bathtubs and other high-moisture areas. These specialized primers are formulated to create a strong bond with the bathtub surface, providing excellent adhesion for the subsequent layers of paint.
To apply the primer, use a high-quality synthetic brush or a foam roller to ensure smooth and even coverage. Begin by carefully cutting in around the edges and corners of the bathtub with the brush, ensuring that all areas are adequately covered. Once the edges are primed, use the foam roller to apply a uniform coat of primer to the larger surface areas, working in small sections to maintain control and consistency.
It's important to follow the manufacturer's instructions regarding the application and drying times for the primer. Typically, the primer will require sufficient drying time before the application of the epoxy paint. Ensure that the primer is completely dry and cured according to the specified duration, as this will contribute to the overall durability and longevity of the repainted finish.
After the primer has dried thoroughly, inspect the bathtub surface to ensure that it is uniformly coated and free of any imperfections. If necessary, apply a second coat of primer to achieve optimal coverage and adhesion. The goal is to create a smooth and well-primed surface that will serve as the ideal base for the application of the epoxy paint.
By meticulously applying the primer and allowing it to dry properly, you are setting the stage for the successful application of the epoxy paint, ultimately leading to a beautifully revitalized bathtub. The primer plays a pivotal role in ensuring the longevity and professional quality of the repainted finish, making it a critical step in the overall bathtub repainting process.
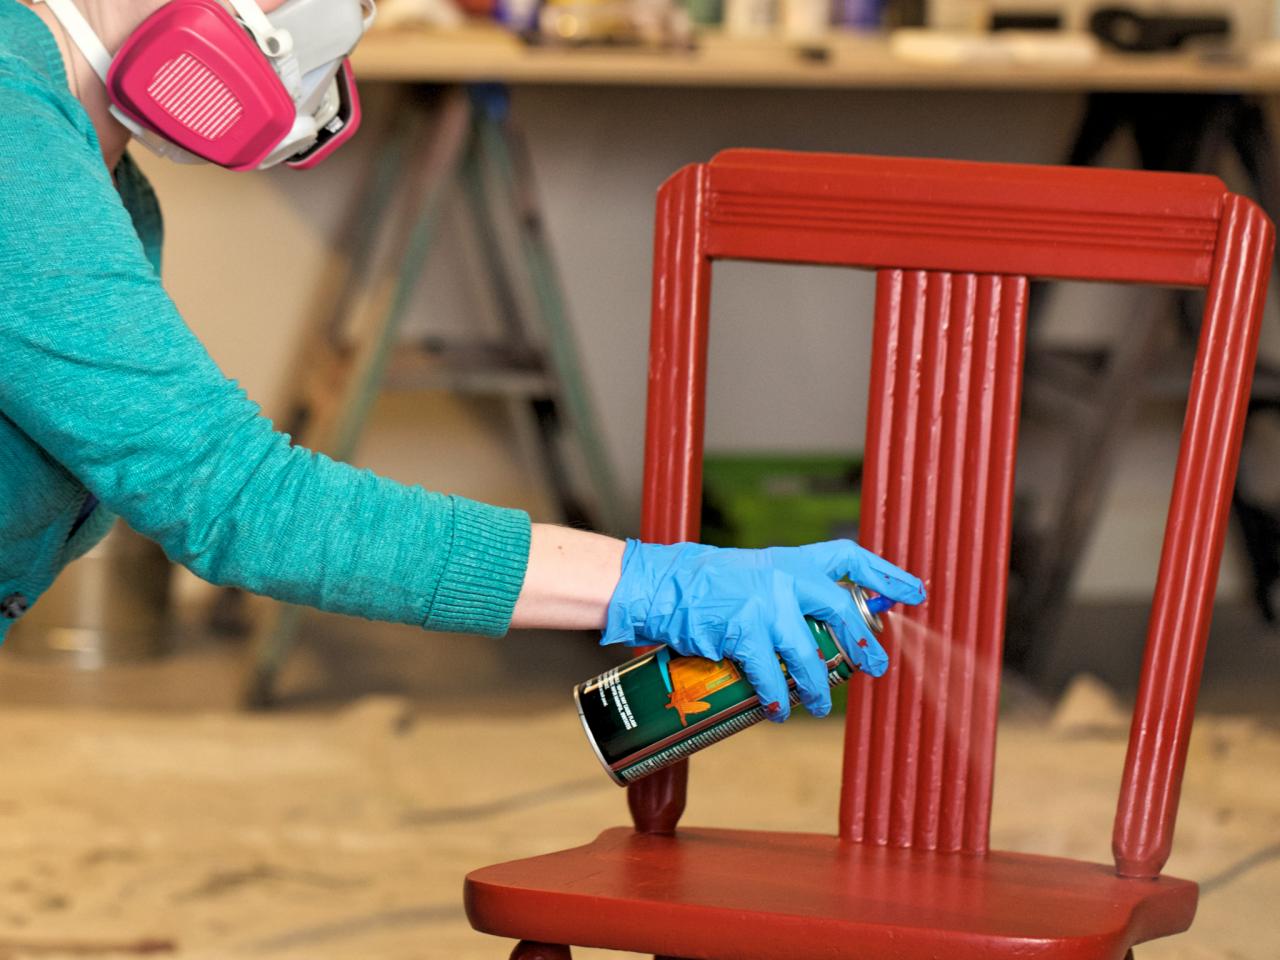
Step 4: Apply Epoxy Paint
Once the primer has been applied and allowed to dry thoroughly, the next pivotal step in repainting a bathtub is the application of epoxy paint. Epoxy paint is specifically formulated to withstand the demands of high-moisture environments, making it an ideal choice for revitalizing bathtubs and ensuring a durable, long-lasting finish.
When selecting epoxy paint for bathtub repainting, it's essential to choose a high-quality product designed specifically for use in wet areas. These specialized paints offer excellent adhesion, durability, and resistance to water, chemicals, and daily wear and tear. Additionally, epoxy paint is available in a variety of colors, allowing you to customize the look of your bathtub to suit your preferences and complement your bathroom decor.
Before applying the epoxy paint, ensure that the bathtub surface is clean, dry, and free of any dust or debris. Thorough preparation is crucial for achieving optimal adhesion and a professional-looking finish. It's also important to protect surrounding surfaces and fixtures from accidental paint splatters by using painter's tape and drop cloths.
To apply the epoxy paint, use a high-quality synthetic brush or a foam roller to ensure smooth and even coverage. Begin by carefully cutting in around the edges and corners of the bathtub with the brush, ensuring that all areas are adequately covered. Once the edges are painted, use the foam roller to apply a uniform coat of epoxy paint to the larger surface areas, working in small sections to maintain control and consistency.
It's recommended to apply multiple thin coats of epoxy paint, allowing each coat to dry completely before applying the next. This approach helps achieve a smooth and durable finish while minimizing the risk of drips, runs, or uneven coverage. Following the manufacturer's instructions regarding the application and drying times is essential for ensuring the effectiveness and longevity of the epoxy paint.
After applying the final coat of epoxy paint and allowing it to dry thoroughly, inspect the bathtub surface to ensure that it is uniformly coated and free of any imperfections. The result should be a beautifully revitalized bathtub with a smooth, glossy finish that enhances the overall aesthetic of your bathroom.
By meticulously applying the epoxy paint and allowing it to dry properly, you are completing the transformative process of repainting your bathtub, resulting in a stunning centerpiece that adds a fresh and vibrant touch to your bathroom.
Read more: How To Repaint A Fire Pit
Step 5: Allow Sufficient Drying Time
After the application of the final coat of epoxy paint, allowing sufficient drying time is crucial to ensure the longevity and durability of the newly repainted bathtub. While the immediate transformation may be visually striking, it's essential to exercise patience and diligence during the drying process to achieve a professional-quality finish that will withstand the rigors of daily use.
The manufacturer's instructions for the specific epoxy paint used should serve as the primary guide for the drying time. Typically, epoxy paint requires a minimum of 24 to 48 hours to dry completely. However, factors such as humidity levels, ventilation, and ambient temperature can influence the drying process. Therefore, it's important to consider these variables and adjust the drying time accordingly to ensure optimal results.
During the drying period, it's imperative to prevent any contact with water or moisture on the newly painted surface. This includes refraining from using the bathtub for bathing or showering, as well as avoiding any activities that may introduce moisture to the painted surface. Additionally, maintaining proper ventilation in the bathroom can aid in expediting the drying process and ensuring a uniform and durable finish.
While it may be tempting to expedite the drying process, it's crucial to exercise patience and allow the paint to cure naturally. Premature exposure to water or moisture can compromise the integrity of the finish, leading to potential imperfections or reduced durability. By adhering to the recommended drying time and avoiding premature use of the bathtub, you are safeguarding the quality and longevity of the repainted surface.
Once the epoxy paint has dried thoroughly, carefully inspect the bathtub surface to ensure that it is uniform, smooth, and free of any imperfections. This visual assessment is essential for identifying any areas that may require touch-ups or additional attention before the bathtub is ready for use. By conducting a thorough inspection, you can address any potential issues and ensure that the repainted bathtub meets your expectations in terms of appearance and quality.
By allowing sufficient drying time and exercising patience throughout the process, you are contributing to the overall success of the bathtub repainting project. This critical step ensures that the newly repainted bathtub achieves a durable, professional-quality finish that enhances the aesthetic appeal of your bathroom, providing long-lasting satisfaction and visual impact.
Before repainting a bathtub, make sure to thoroughly clean and sand the surface to ensure the new paint adheres properly. Use a high-quality epoxy or acrylic paint designed specifically for bathtubs for best results.
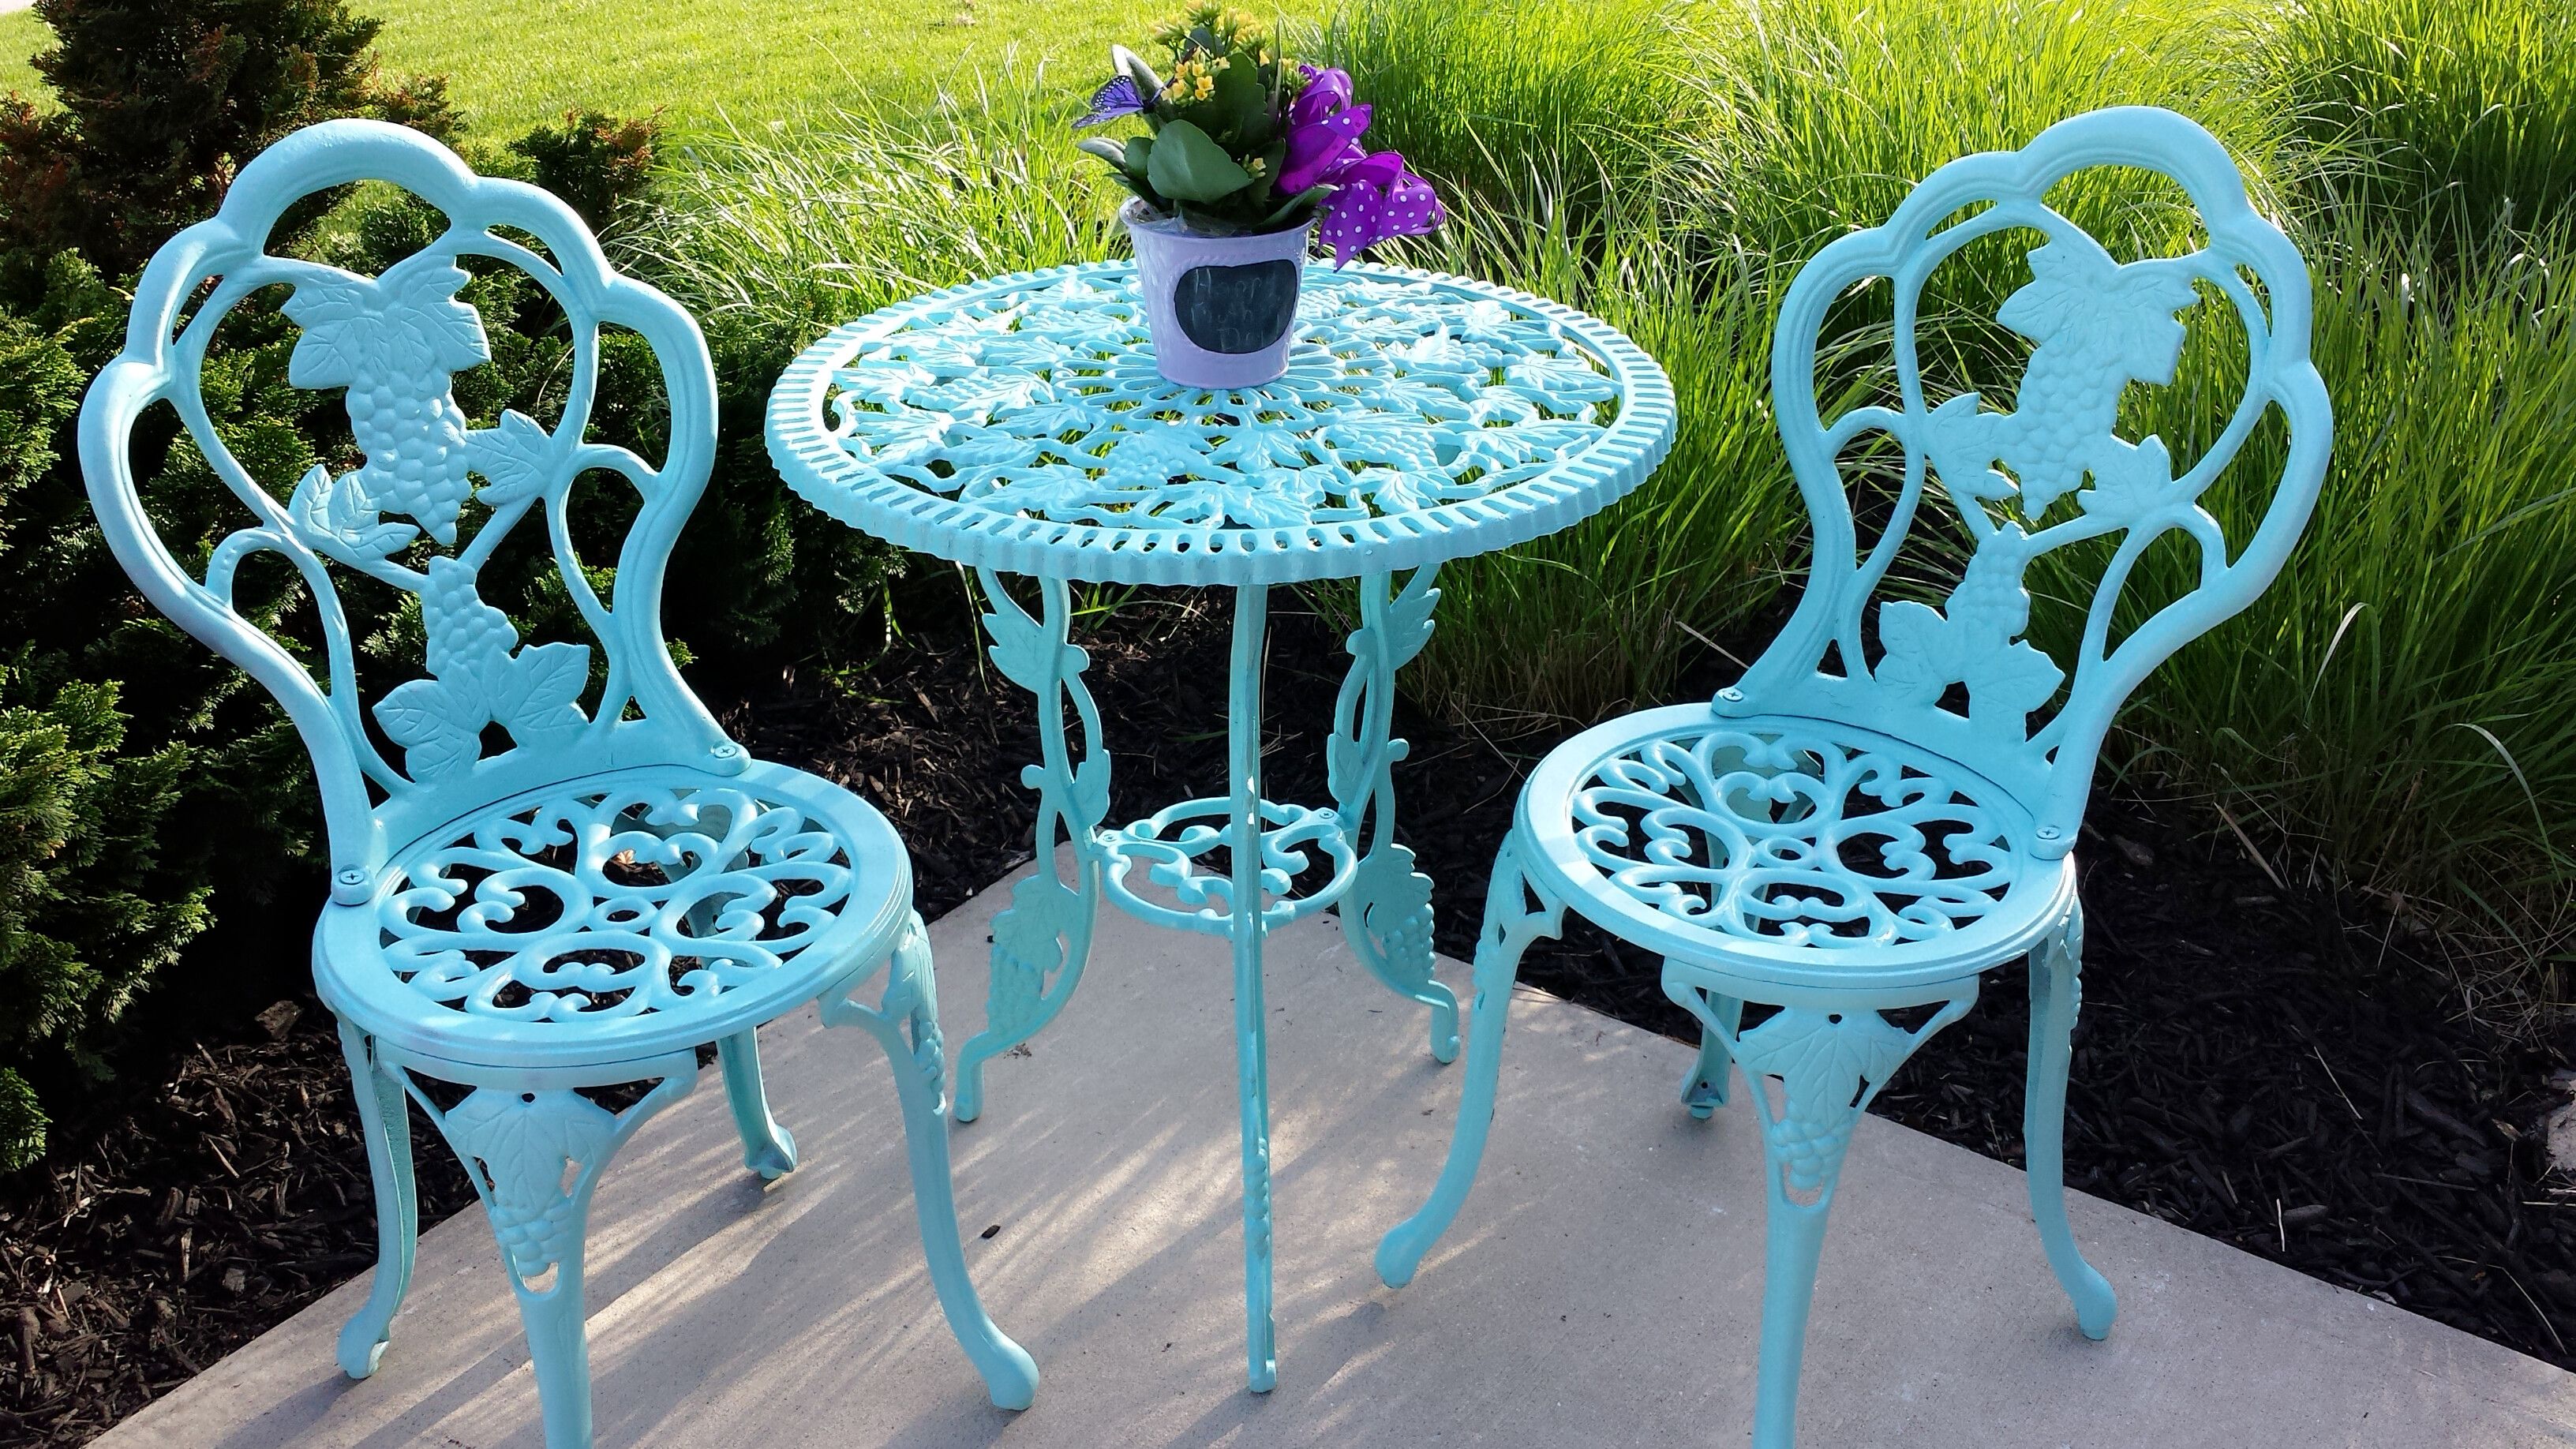
Step 6: Reinstall Fixtures and Enjoy Your Newly Repainted Bathtub
With the epoxy paint thoroughly dried and the bathtub looking revitalized, it's time to complete the project by reinstalling fixtures and savoring the transformation. This final step adds the finishing touches to the repainting process, allowing you to fully appreciate the renewed beauty of your bathtub.
Begin by carefully removing any painter's tape and drop cloths that were used to protect surrounding surfaces and fixtures during the painting process. Take care to peel away the tape gently to avoid any accidental damage to the newly painted surface. Once the protective materials have been removed, inspect the area to ensure that no residual paint or debris remains, leaving the surroundings clean and pristine.
Next, proceed to reinstall any fixtures and accessories that were temporarily removed to facilitate the repainting process. This may include faucets, showerheads, handles, and any other components that were detached to allow for thorough surface preparation and painting. As you reinstall each fixture, ensure that it is securely fastened and properly aligned, taking care to avoid any damage to the freshly painted surface.
Once all fixtures have been reinstalled, take a moment to admire the transformation of your bathtub. The newly repainted surface, adorned with a fresh coat of epoxy paint, exudes a vibrant and rejuvenated appearance, elevating the overall aesthetic of your bathroom. The revitalized bathtub serves as a focal point, adding a touch of elegance and sophistication to the space.
With the fixtures securely in place and the bathtub looking resplendent, it's time to savor the fruits of your labor. Take a moment to appreciate the visual impact of the repainted bathtub, reveling in the sense of accomplishment that comes with successfully completing a home improvement project. Whether you opted for a bold new color or simply refreshed the existing hue, the revitalized bathtub breathes new life into the bathroom, creating a welcoming and inviting atmosphere.
As you step back and admire the newly repainted bathtub, take pride in the transformation you have achieved. The project not only enhances the visual appeal of your bathroom but also reflects your dedication to maintaining a beautiful and well-cared-for home. With the fixtures reinstalled and the bathtub looking resplendent, it's time to enjoy the renewed ambiance and bask in the satisfaction of a successfully repainted bathtub.
Frequently Asked Questions about How To Repaint A Bathtub
Was this page helpful?
At Storables.com, we guarantee accurate and reliable information. Our content, validated by Expert Board Contributors, is crafted following stringent Editorial Policies. We're committed to providing you with well-researched, expert-backed insights for all your informational needs.
0 thoughts on “How To Repaint A Bathtub”