Home>Furniture & Design>Bathroom Accessories>How To Replace Stopper In A Bathtub
Bathroom Accessories
How To Replace Stopper In A Bathtub
Modified: October 19, 2024
Learn how to easily replace the stopper in your bathtub with our step-by-step guide. Find the best bathroom accessories and get your tub working like new!
(Many of the links in this article redirect to a specific reviewed product. Your purchase of these products through affiliate links helps to generate commission for Storables.com, at no extra cost. Learn more)
Introduction
Replacing the stopper in a bathtub is a common maintenance task that can improve the functionality and aesthetics of your bathroom. Over time, bathtub stoppers can become worn, damaged, or simply outdated, leading to issues with drainage and water retention. By learning how to replace a bathtub stopper, you can ensure that your bathtub remains in optimal condition and continues to provide a relaxing and enjoyable bathing experience.
Whether you're dealing with a push-pull, lift-and-turn, or toe-touch bathtub stopper, the process of replacement typically involves a few simple steps. With the right tools and materials, along with a clear understanding of the process, you can successfully complete this DIY project without the need for professional assistance. Not only does this save you money, but it also empowers you to take control of your home maintenance and make personalized improvements to your living space.
In this comprehensive guide, we will walk you through the step-by-step process of replacing a bathtub stopper, providing detailed instructions and valuable tips to ensure a successful outcome. From removing the old stopper to installing the new one and testing its functionality, you will gain the knowledge and confidence needed to tackle this project with ease. By the end of this guide, you will be equipped with the expertise to revitalize your bathtub and enhance the overall appeal of your bathroom.
So, gather your tools and let's embark on this DIY journey to rejuvenate your bathtub with a brand-new stopper. Whether you're a seasoned DIY enthusiast or a novice looking to expand your home maintenance skills, this guide is designed to support you every step of the way. Let's dive in and discover the gratifying process of replacing a bathtub stopper, revitalizing your bathing space, and elevating your home living experience.
Key Takeaways:
- Revitalize your bathtub by replacing the stopper with simple tools and materials. Enjoy a satisfying DIY project that enhances your bathing experience and saves money.
- Empower yourself to maintain and improve your home by replacing a bathtub stopper. Gain confidence in DIY projects and create a more inviting bathroom space.
Read more: How To Make A Homemade Bathtub Stopper
Tools and Materials Needed
When preparing to replace a bathtub stopper, it's essential to gather the necessary tools and materials to ensure a smooth and efficient process. Here's a comprehensive list of items you'll need to have on hand before beginning the replacement:
Tools:
- Screwdriver: Depending on the type of stopper, you may need a flathead or Phillips screwdriver to remove the screws holding the old stopper in place.
- Pliers: These will come in handy for loosening and removing the old stopper, especially if it's stuck due to corrosion or mineral buildup.
- Adjustable Wrench: If your stopper is connected to a linkage or trip lever, an adjustable wrench will be necessary for disconnecting it from the drain.
- Plumber's Putty: This waterproof sealing compound is used to create a watertight seal when installing the new stopper, preventing leaks and ensuring a secure fit.
- Pipe Tape: Also known as Teflon tape, this thin, white tape is used to seal pipe threads, providing a tight and leak-free connection when reassembling the drain components.
Materials:
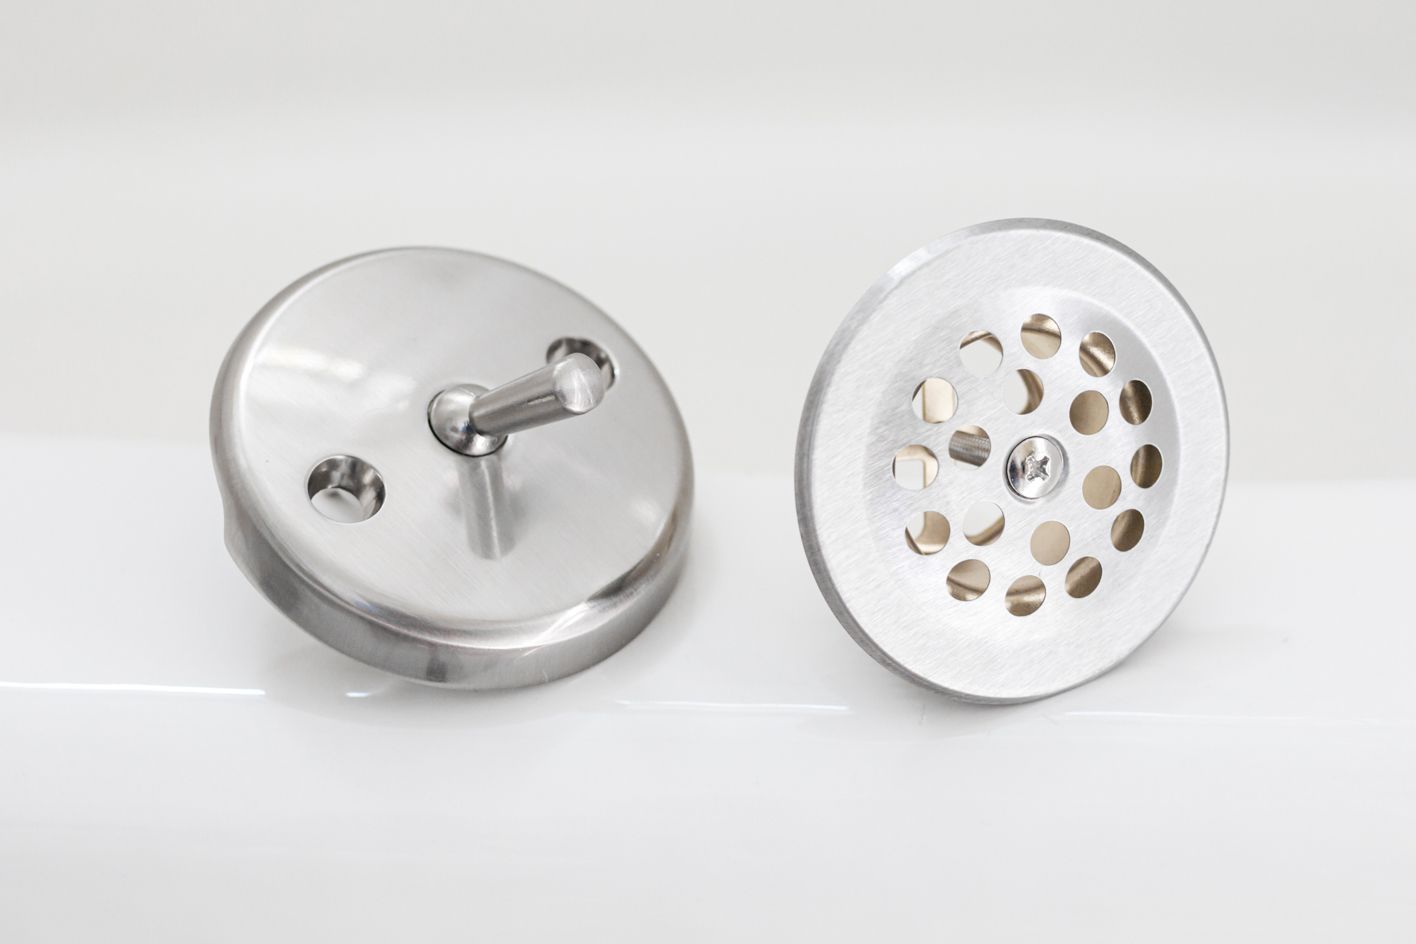
- New Bathtub Stopper: Whether you opt for a push-pull, lift-and-turn, or toe-touch stopper, ensure that you have the replacement stopper on hand, compatible with your bathtub's drain mechanism.
- Rubber Gasket or O-Ring: Depending on the type of stopper, you may need a rubber gasket or O-ring to create a tight seal and prevent water from leaking around the stopper.
- Replacement Screws: If the new stopper does not come with screws, it's important to have the appropriate screws available to secure the stopper in place.
- Cleaning Solution: Before installing the new stopper, it's beneficial to clean the drain and surrounding area to ensure a hygienic and debris-free environment for the replacement process.
- Rags or Towels: Having rags or towels on hand will help absorb any water or spills that may occur during the replacement process, keeping your work area clean and dry.
By gathering these tools and materials, you'll be well-prepared to tackle the task of replacing your bathtub stopper with confidence and efficiency. With everything in place, you can proceed to the next steps of removing the old stopper and installing the new one, knowing that you have the necessary resources at your disposal to complete the project successfully.
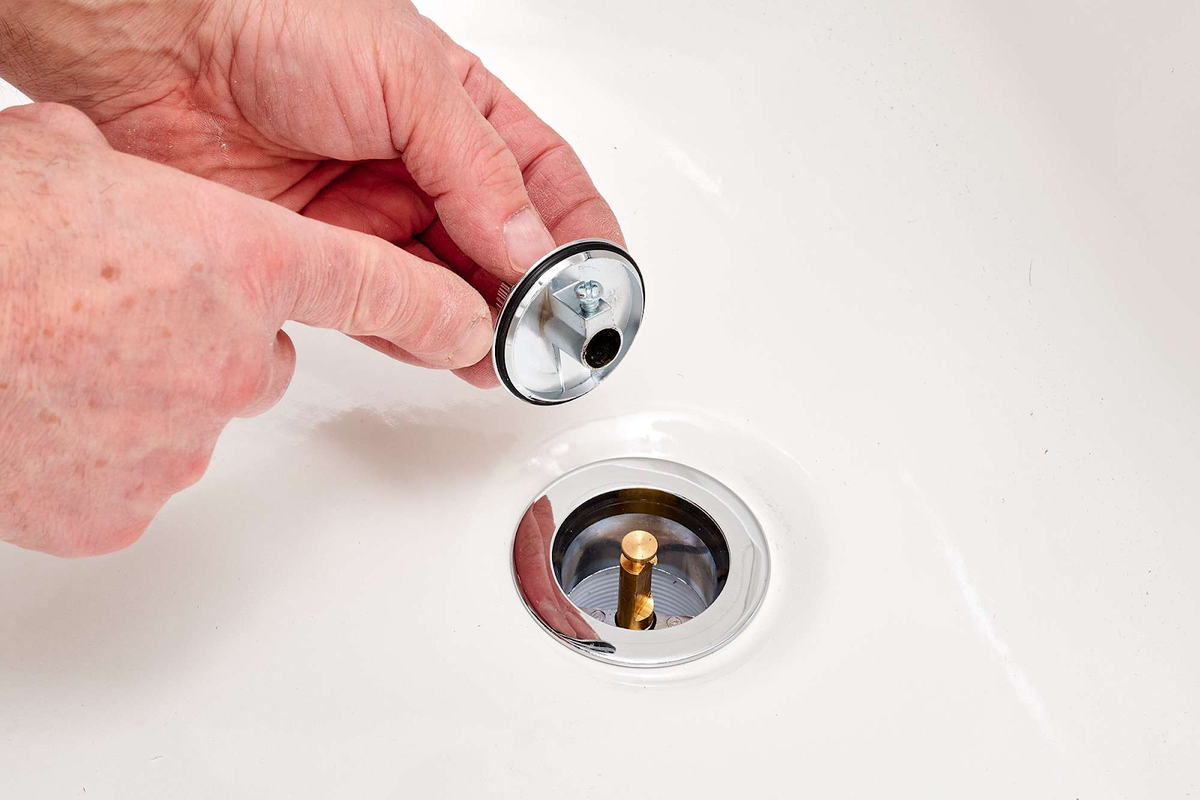
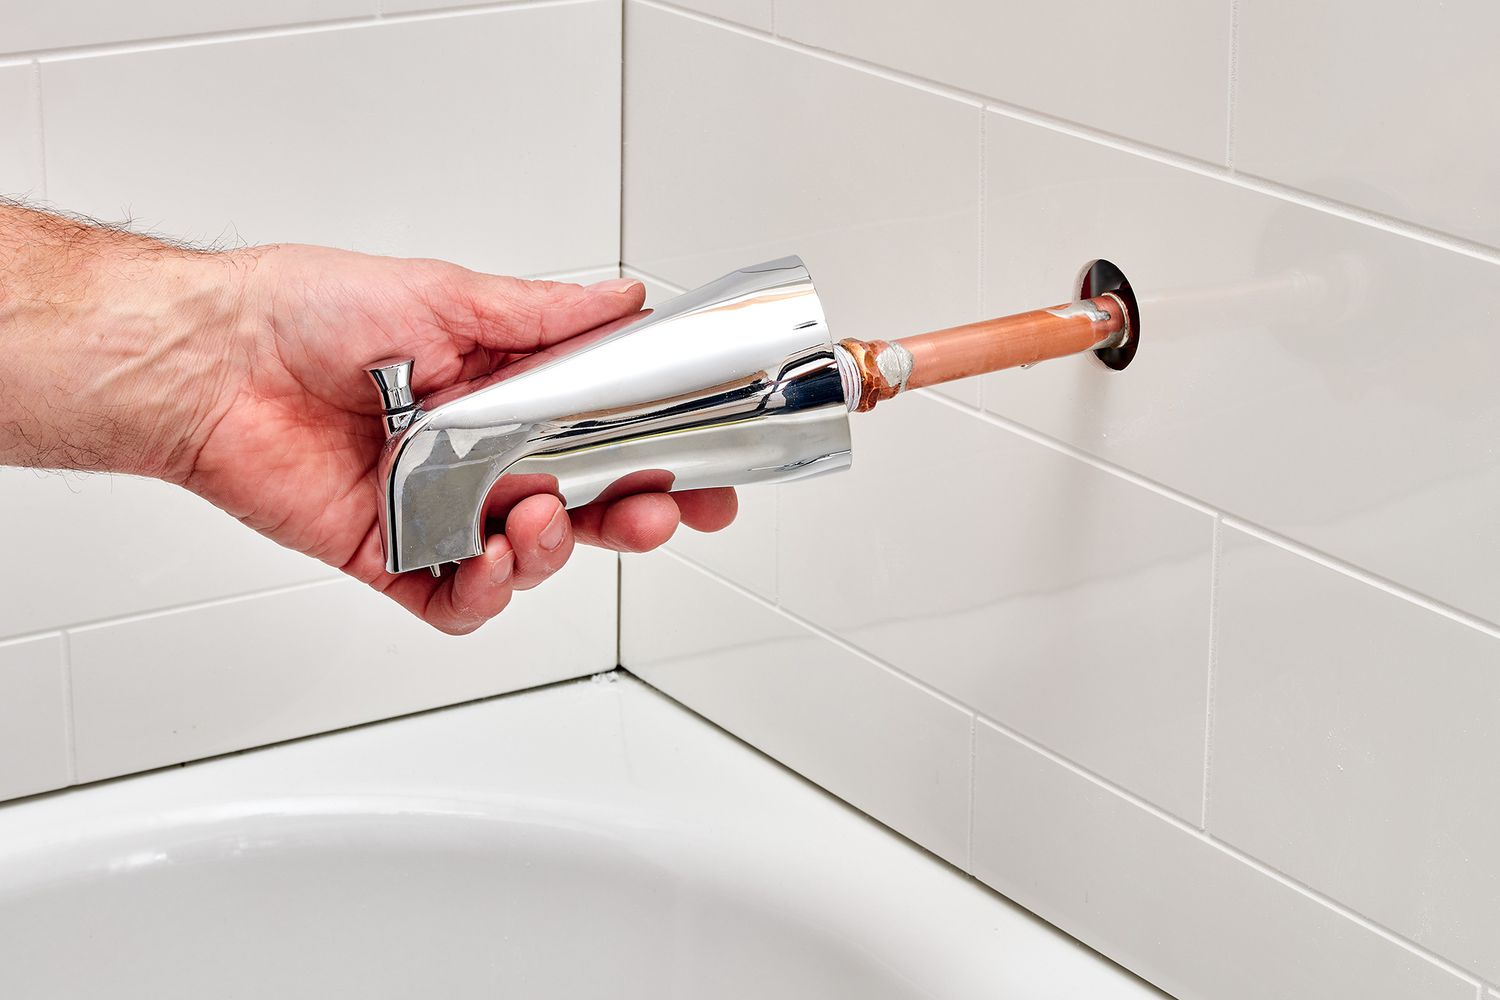
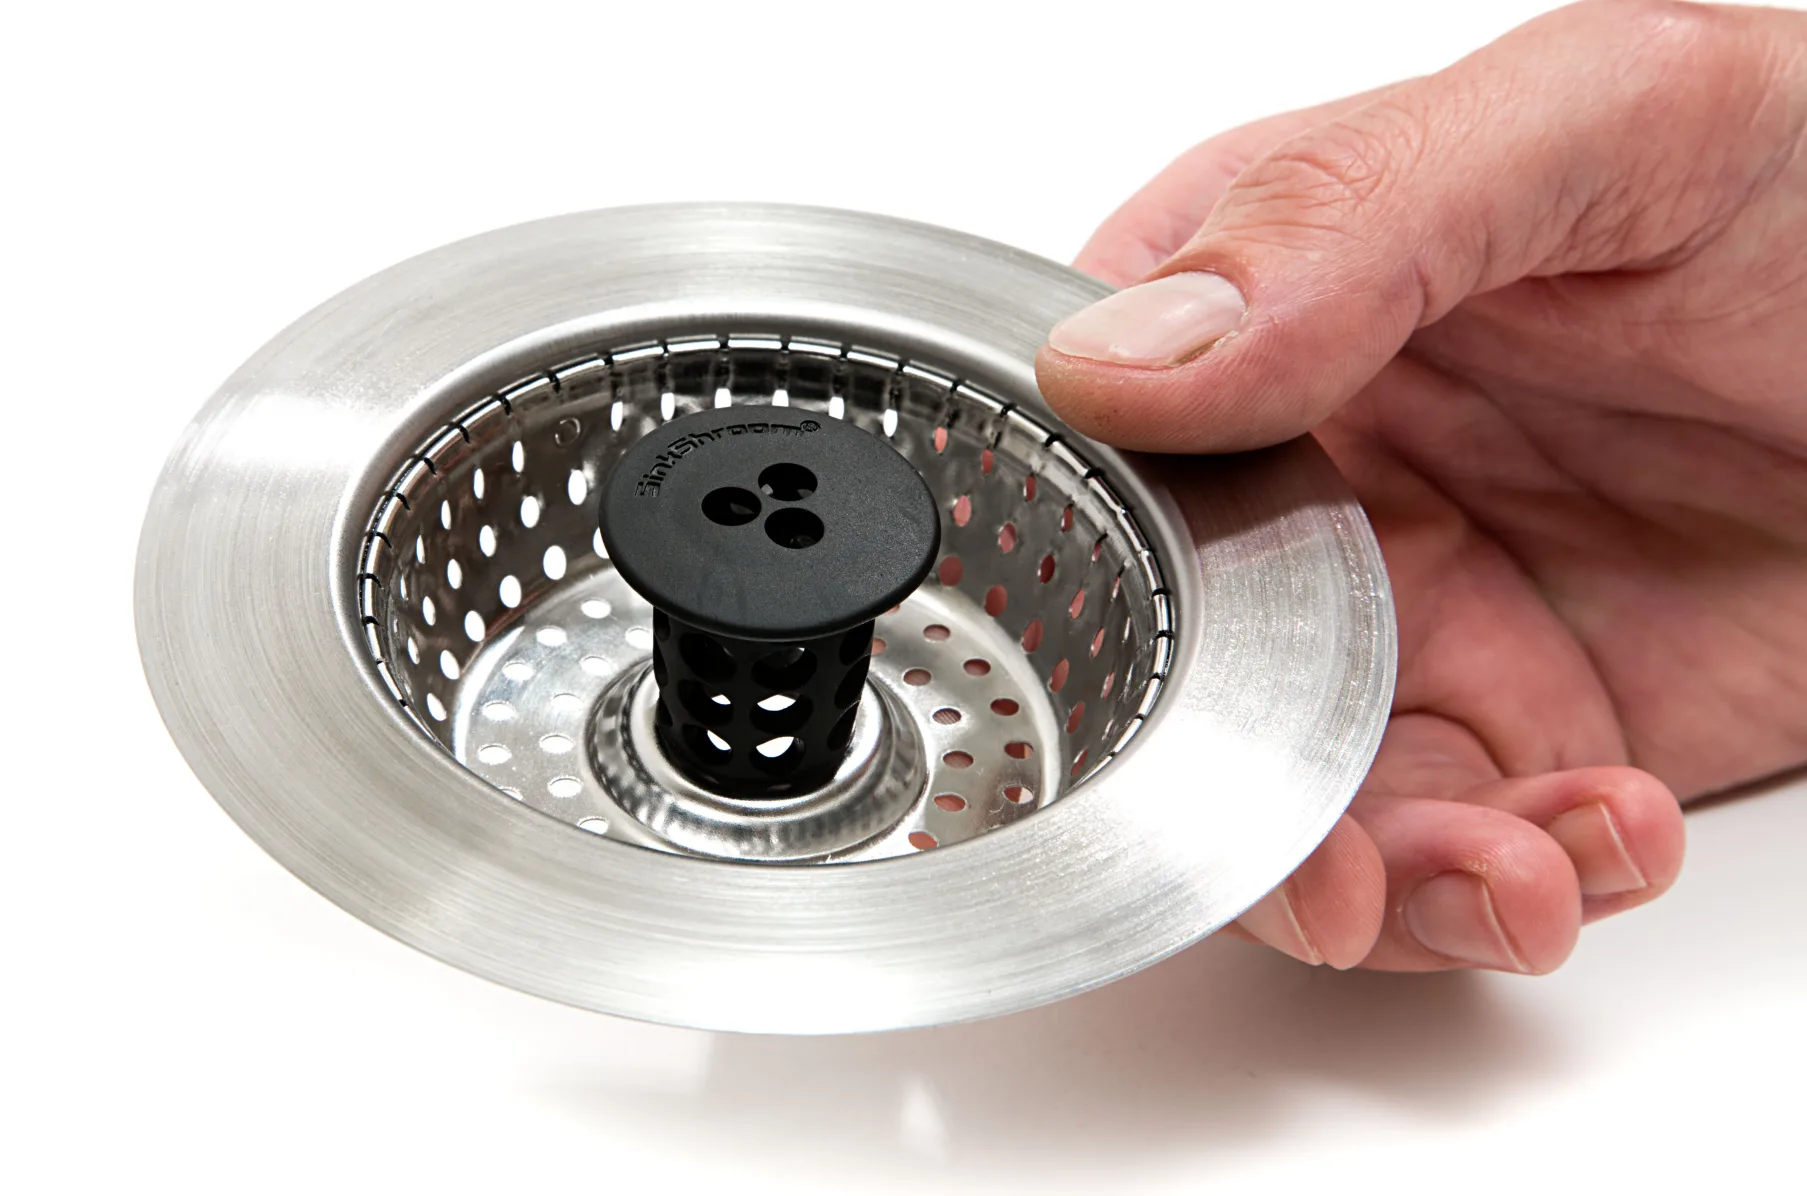
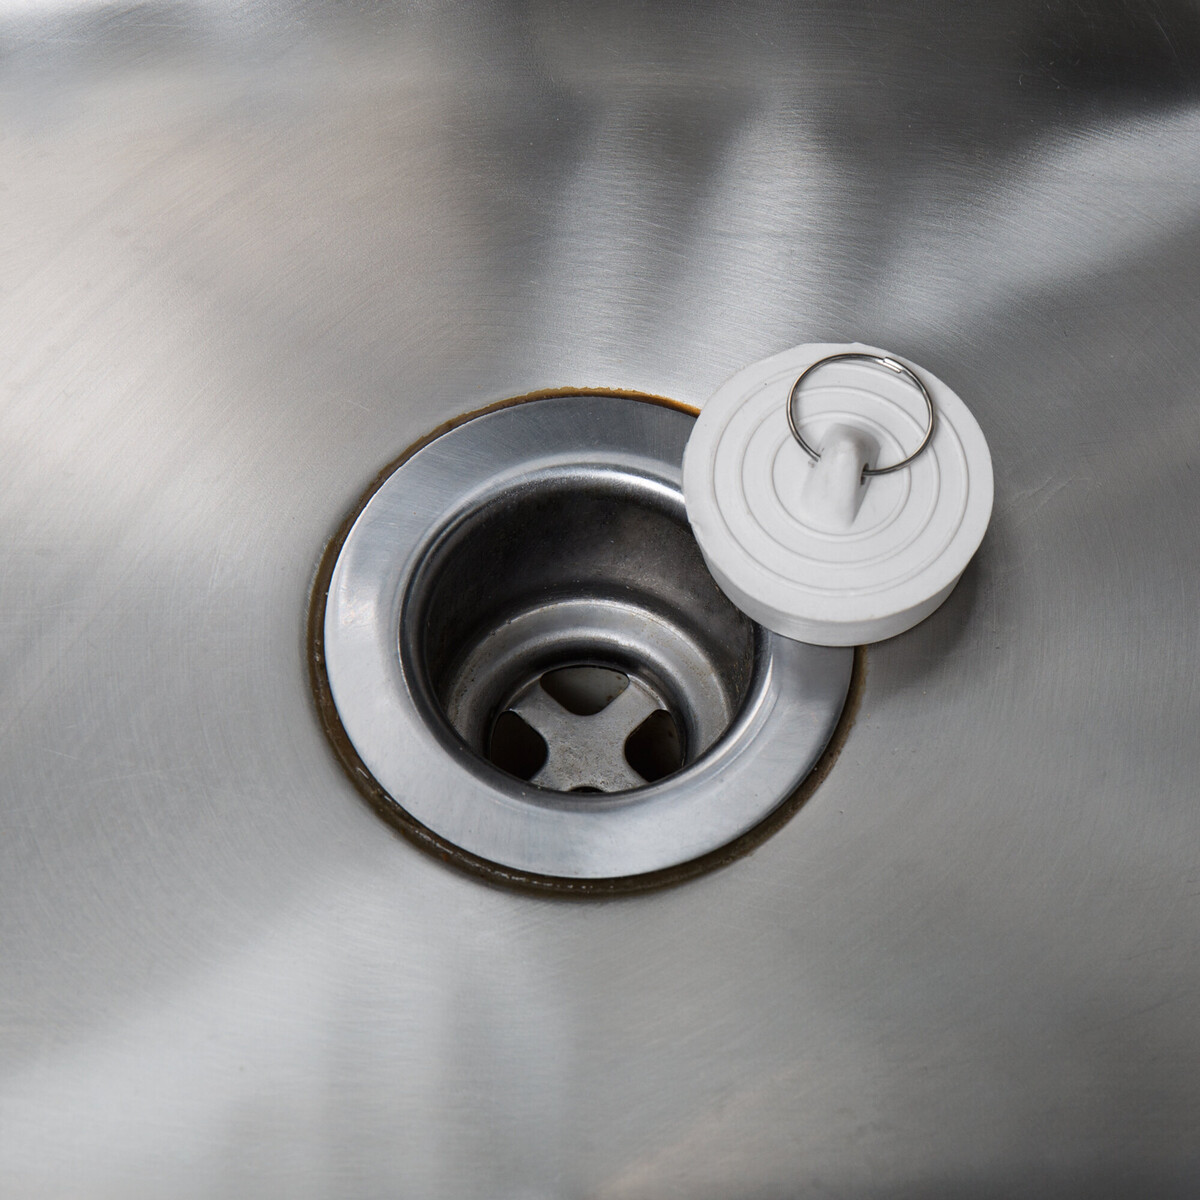
Removing the Old Stopper
Removing the old stopper is the initial step in the process of replacing a bathtub stopper. This phase requires careful attention to detail and a systematic approach to ensure that the old stopper is safely and effectively disengaged from the drain. Here's a detailed guide on how to remove the old stopper from your bathtub:
-
Access the Drain: Begin by accessing the area around the bathtub drain. Depending on the type of stopper you have, this may involve removing the overflow cover plate or accessing the drain directly from the tub.
-
Identify the Stopper Type: Different types of bathtub stoppers require varying removal methods. For a push-pull stopper, you may need to unscrew the knob or handle to access the underlying mechanism. Lift-and-turn stoppers often have a set screw that needs to be loosened before the stopper can be lifted out. Toe-touch stoppers can be removed by twisting them counterclockwise to release them from the drain.
-
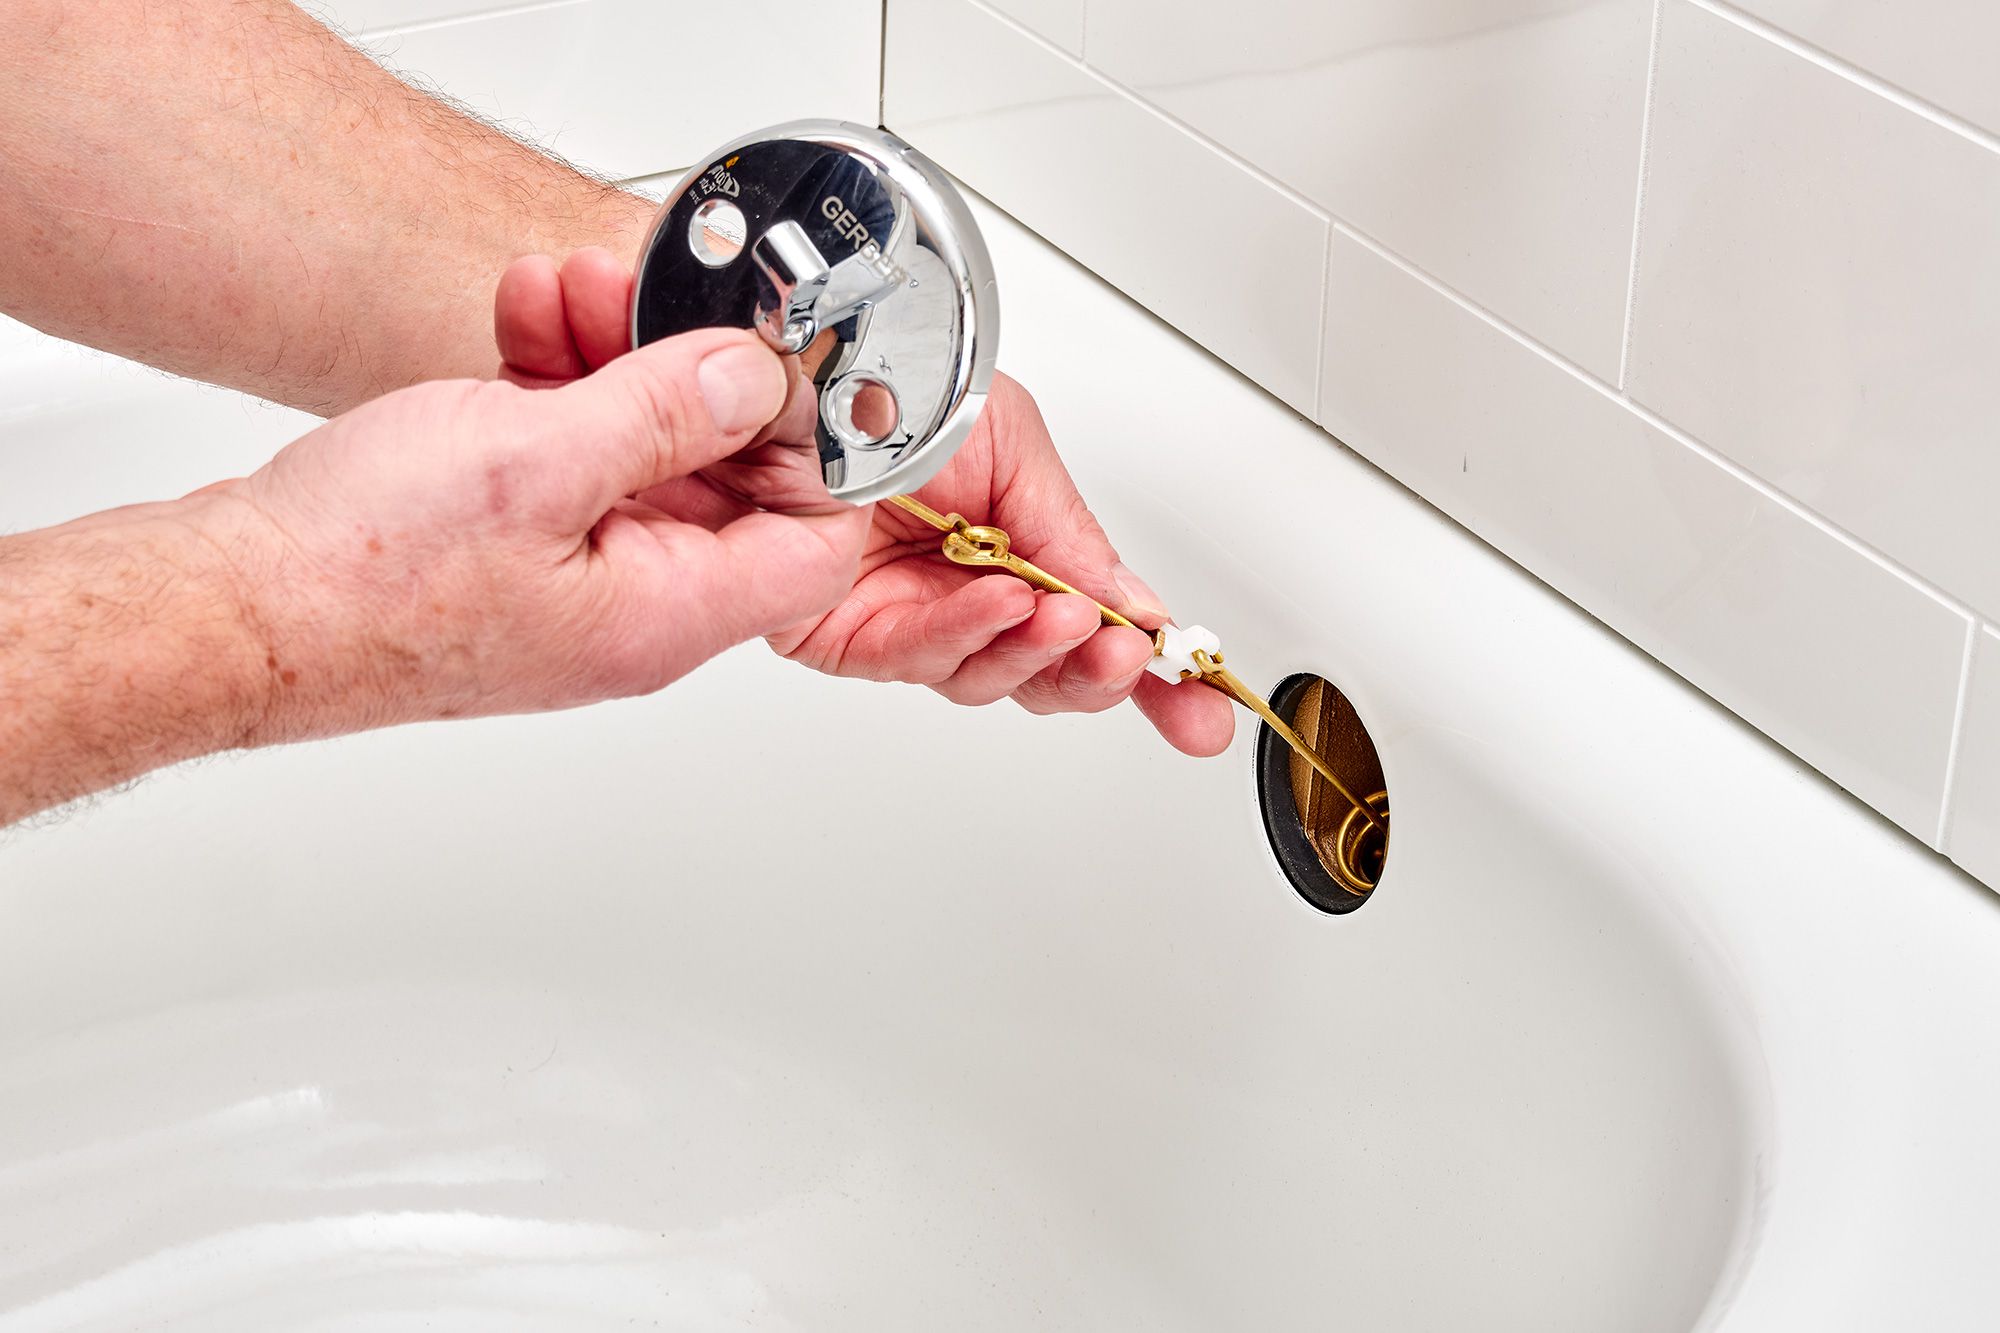
Unscrew or Unhook the Stopper: Using a screwdriver or pliers, carefully unscrew or unhook the old stopper from the drain. If the stopper is connected to a linkage or trip lever, you may need to detach it using an adjustable wrench, ensuring that all connections are loosened and free from the drain components.
-
Inspect for Debris: Once the old stopper is removed, take a moment to inspect the drain and surrounding area for any debris, hair, or mineral buildup that may have accumulated over time. Clearing away any obstructions will help ensure a smooth installation process for the new stopper.
-
Clean the Stopper: Before proceeding with the installation of the new stopper, it's a good practice to clean the old stopper, especially if you plan to reuse it or if it's in relatively good condition. This will help maintain the overall hygiene and appearance of the stopper.
By following these steps, you can effectively remove the old stopper from your bathtub, setting the stage for the next phase of installing the new stopper. With the old stopper safely disengaged and the drain area cleared of any debris, you are now ready to proceed with the installation of the replacement stopper, bringing you one step closer to revitalizing your bathtub and enhancing your bathing experience.
Read more: How To Get Bathtub Stopper Out
Installing the New Stopper
With the old stopper successfully removed, it's time to embark on the exciting phase of installing the new stopper in your bathtub. This transformative step will not only enhance the functionality of your bathtub but also contribute to the overall aesthetic appeal of your bathroom. Here's a comprehensive guide on how to install the new stopper with precision and confidence:
-
Prepare the New Stopper: Before proceeding with the installation, ensure that the new stopper is clean and free of any debris. If the stopper includes a rubber gasket or O-ring, inspect it to confirm that it is in good condition and ready for installation. Additionally, if the new stopper requires screws for attachment, have them readily available for the installation process.
-
Apply Plumber's Putty: If the new stopper requires a watertight seal, such as in the case of a lift-and-turn stopper, apply plumber's putty to the underside of the stopper. This will create a secure seal when the stopper is inserted into the drain, preventing water from leaking around the edges.
-
Insert the Stopper: Carefully position the new stopper into the bathtub drain, ensuring that it aligns properly with the drain opening. If the stopper is equipped with a knob or handle, make sure it is oriented in a user-friendly position for easy operation.
-
Secure the Stopper: If the new stopper requires screws for attachment, use the appropriate screws and a screwdriver to secure it in place. Ensure that the stopper is firmly anchored to the drain, providing stability and reliability during use.
-
Connect the Linkage or Trip Lever (if applicable): For stoppers that are connected to a linkage or trip lever, reattach the components using an adjustable wrench. Confirm that the connections are secure and that the stopper operates smoothly when engaged and disengaged.
-
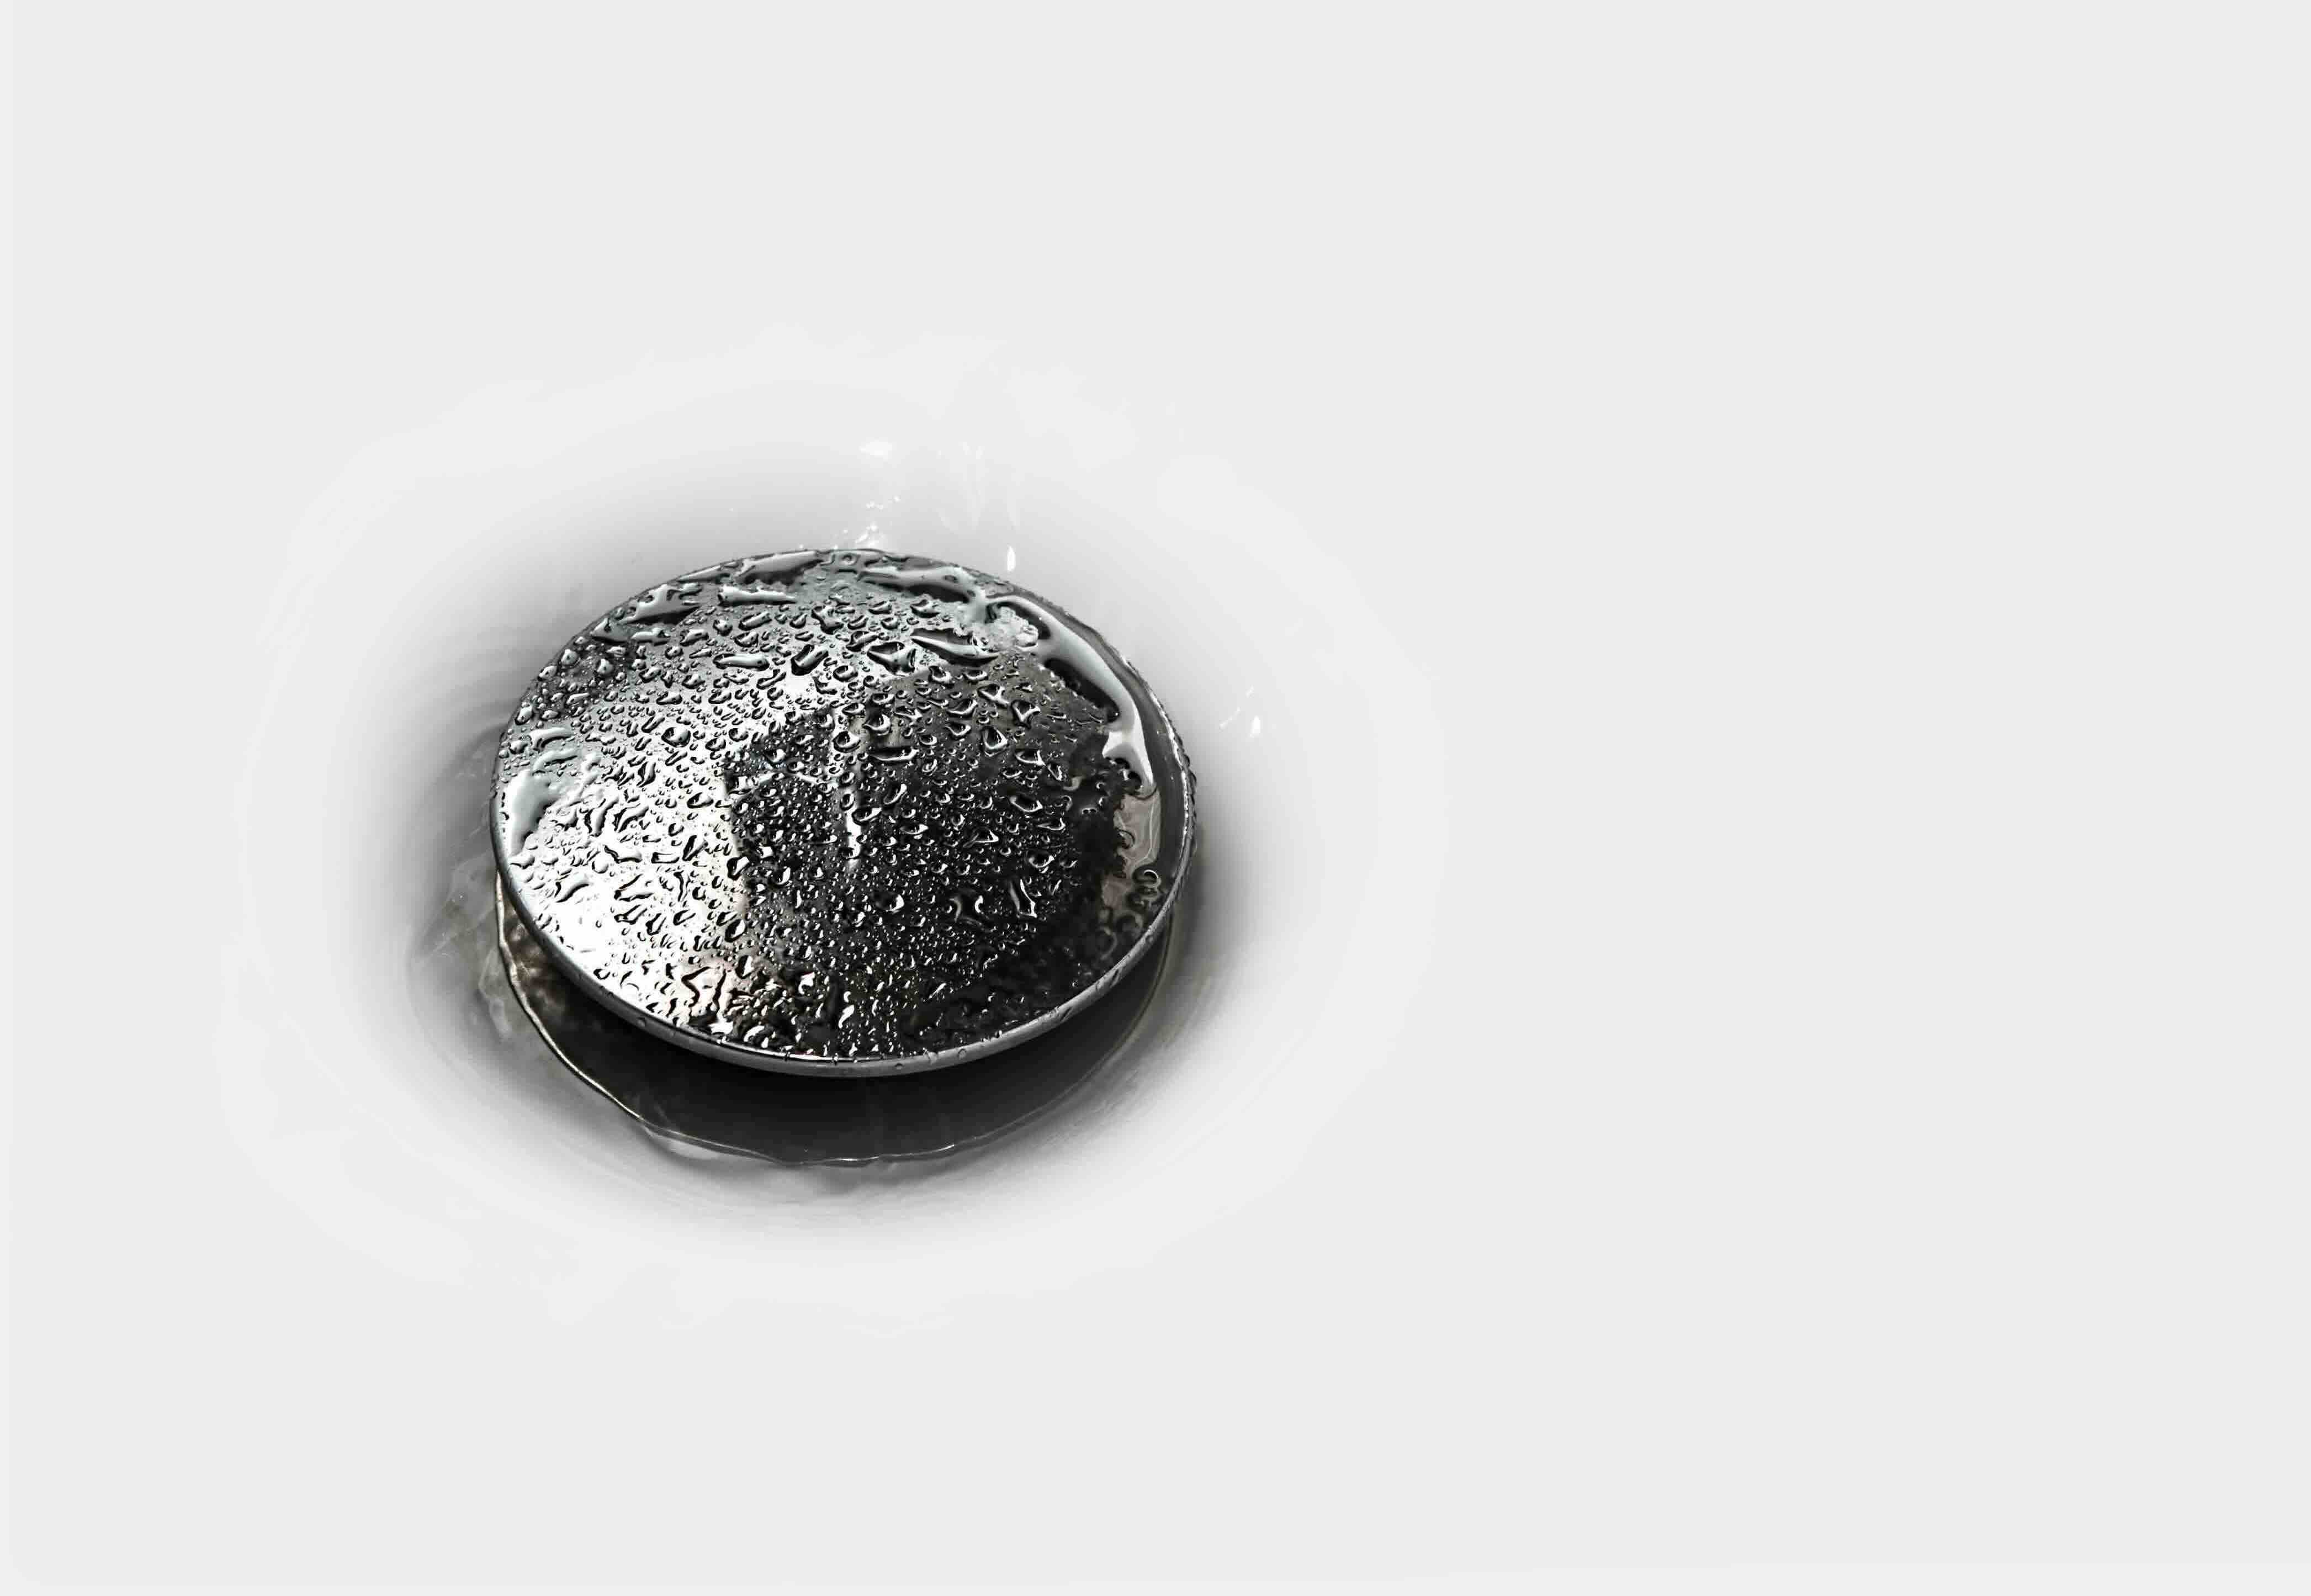
Test the Stopper: Once the new stopper is installed, fill the bathtub with water to test its functionality. Engage the stopper using the designated mechanism, whether it's a push-pull, lift-and-turn, or toe-touch operation, and observe how effectively it seals the drain to retain water.
By following these detailed steps, you can successfully install the new stopper in your bathtub, bringing a renewed sense of functionality and visual appeal to your bathing space. With the new stopper in place, you are one step closer to enjoying a revitalized bathtub that enhances your daily routine and elevates the comfort of your home.
Now that the new stopper is securely installed, it's time to move on to the final phase of testing its functionality to ensure that it operates as intended, providing efficient water retention and effortless operation. Let's proceed to the next step and confirm the successful installation of the new stopper in your bathtub.
To replace a stopper in a bathtub, first, remove the old stopper by unscrewing it or lifting it out. Then, insert the new stopper and secure it in place according to the manufacturer’s instructions.
Testing the Stopper
With the new stopper securely installed in your bathtub, it's essential to conduct a thorough testing process to ensure that it functions as intended, effectively sealing the drain and retaining water during baths. Testing the stopper not only validates the success of the installation but also provides the opportunity to make any necessary adjustments before finalizing the project.
To test the stopper, follow these detailed steps:
-
Fill the Bathtub: Begin by filling the bathtub with water to a level that allows the stopper to be fully engaged. This will provide the ideal conditions for testing the stopper's ability to retain water without any leaks or seepage.
-
Engage the Stopper: Using the designated mechanism, such as a push-pull, lift-and-turn, or toe-touch operation, engage the stopper to seal the drain. Ensure that the stopper is fully closed and securely in place to prevent water from draining out.
-
Observe for Leaks: Once the stopper is engaged and the bathtub is filled with water, carefully observe the area around the drain for any signs of leakage. Check for water seepage or dripping, particularly around the edges of the stopper and the drain opening.
-
Assess Water Retention: Allow the bathtub to sit filled with water for a few minutes, monitoring the water level to ensure that it remains consistent without any noticeable decrease. This will confirm the stopper's effectiveness in retaining water and preventing drainage.
-
Operate the Drain: After testing the stopper's ability to retain water, it's important to verify that the drain operates smoothly when the stopper is disengaged. Release the stopper using the designated mechanism and observe how effectively the water drains from the bathtub.
-
Make Adjustments if Necessary: If any issues are identified during the testing process, such as minor leaks or inadequate water retention, consider making adjustments to the stopper's positioning or the sealing components. This may involve repositioning the stopper, tightening screws, or applying additional plumber's putty to create a more secure seal.
By meticulously testing the stopper and addressing any potential concerns, you can ensure that the installation is a resounding success, providing you with a fully functional and reliable bathtub stopper. This thorough testing process allows you to enjoy the confidence of knowing that your bathtub stopper operates seamlessly, contributing to a satisfying and enjoyable bathing experience.
With the stopper successfully tested and confirmed to meet your expectations, you have completed the comprehensive process of replacing the bathtub stopper, rejuvenating your bathing space, and enhancing the functionality of your bathtub. Congratulations on successfully completing this DIY project and taking proactive steps to maintain and improve your home environment.
Conclusion
In conclusion, the process of replacing a bathtub stopper is a rewarding DIY endeavor that empowers homeowners to enhance the functionality and aesthetics of their bathroom space. By following the step-by-step guide outlined in this comprehensive resource, you have gained valuable insights into the intricacies of removing the old stopper, installing the new one, and testing its functionality. This journey has equipped you with the knowledge and confidence needed to revitalize your bathtub and elevate your daily bathing experience.
As you reflect on the completion of this project, it's important to acknowledge the sense of accomplishment that comes with taking proactive steps to maintain and improve your home environment. By mastering the art of replacing a bathtub stopper, you have not only saved on potential professional service costs but also cultivated a deeper connection with your living space, fostering a sense of ownership and pride in your ability to tackle home maintenance tasks.
Furthermore, the successful replacement of your bathtub stopper signifies a commitment to ongoing home care and maintenance, setting a positive precedent for future DIY projects and improvements. This accomplishment serves as a testament to your resourcefulness and willingness to invest time and effort in preserving the functionality and visual appeal of your home.
As you enjoy the revitalized functionality of your bathtub, take pride in the fact that you have contributed to the overall well-being of your living space. The renewed stopper not only enhances the efficiency of your bathtub's drainage system but also adds a touch of freshness to your bathroom, creating a more inviting and enjoyable environment for relaxation and self-care.
Moving forward, the knowledge and skills acquired through this experience can be applied to future home maintenance endeavors, empowering you to take on new challenges with confidence and proficiency. Whether it's addressing other plumbing fixtures, tackling minor repairs, or embarking on creative home improvement projects, the successful replacement of your bathtub stopper has laid a foundation for continued growth and mastery in the realm of DIY home maintenance.
In essence, the journey of replacing a bathtub stopper transcends the physical act of installation; it embodies a spirit of empowerment, resourcefulness, and dedication to nurturing your living space. As you revel in the satisfaction of a job well done, remember that every DIY achievement contributes to the creation of a home that reflects your care, personality, and commitment to maintaining a comfortable and harmonious living environment.
Frequently Asked Questions about How To Replace Stopper In A Bathtub
Was this page helpful?
At Storables.com, we guarantee accurate and reliable information. Our content, validated by Expert Board Contributors, is crafted following stringent Editorial Policies. We're committed to providing you with well-researched, expert-backed insights for all your informational needs.


0 thoughts on “How To Replace Stopper In A Bathtub”