Home>Furniture & Design>Bathroom Accessories>How To Fix A Syringe Plunger
Bathroom Accessories
How To Fix A Syringe Plunger
Modified: March 19, 2024
Learn how to easily fix a syringe plunger with our step-by-step guide. Find solutions for bathroom accessories and more. Expert tips and tricks!
(Many of the links in this article redirect to a specific reviewed product. Your purchase of these products through affiliate links helps to generate commission for Storables.com, at no extra cost. Learn more)
Introduction
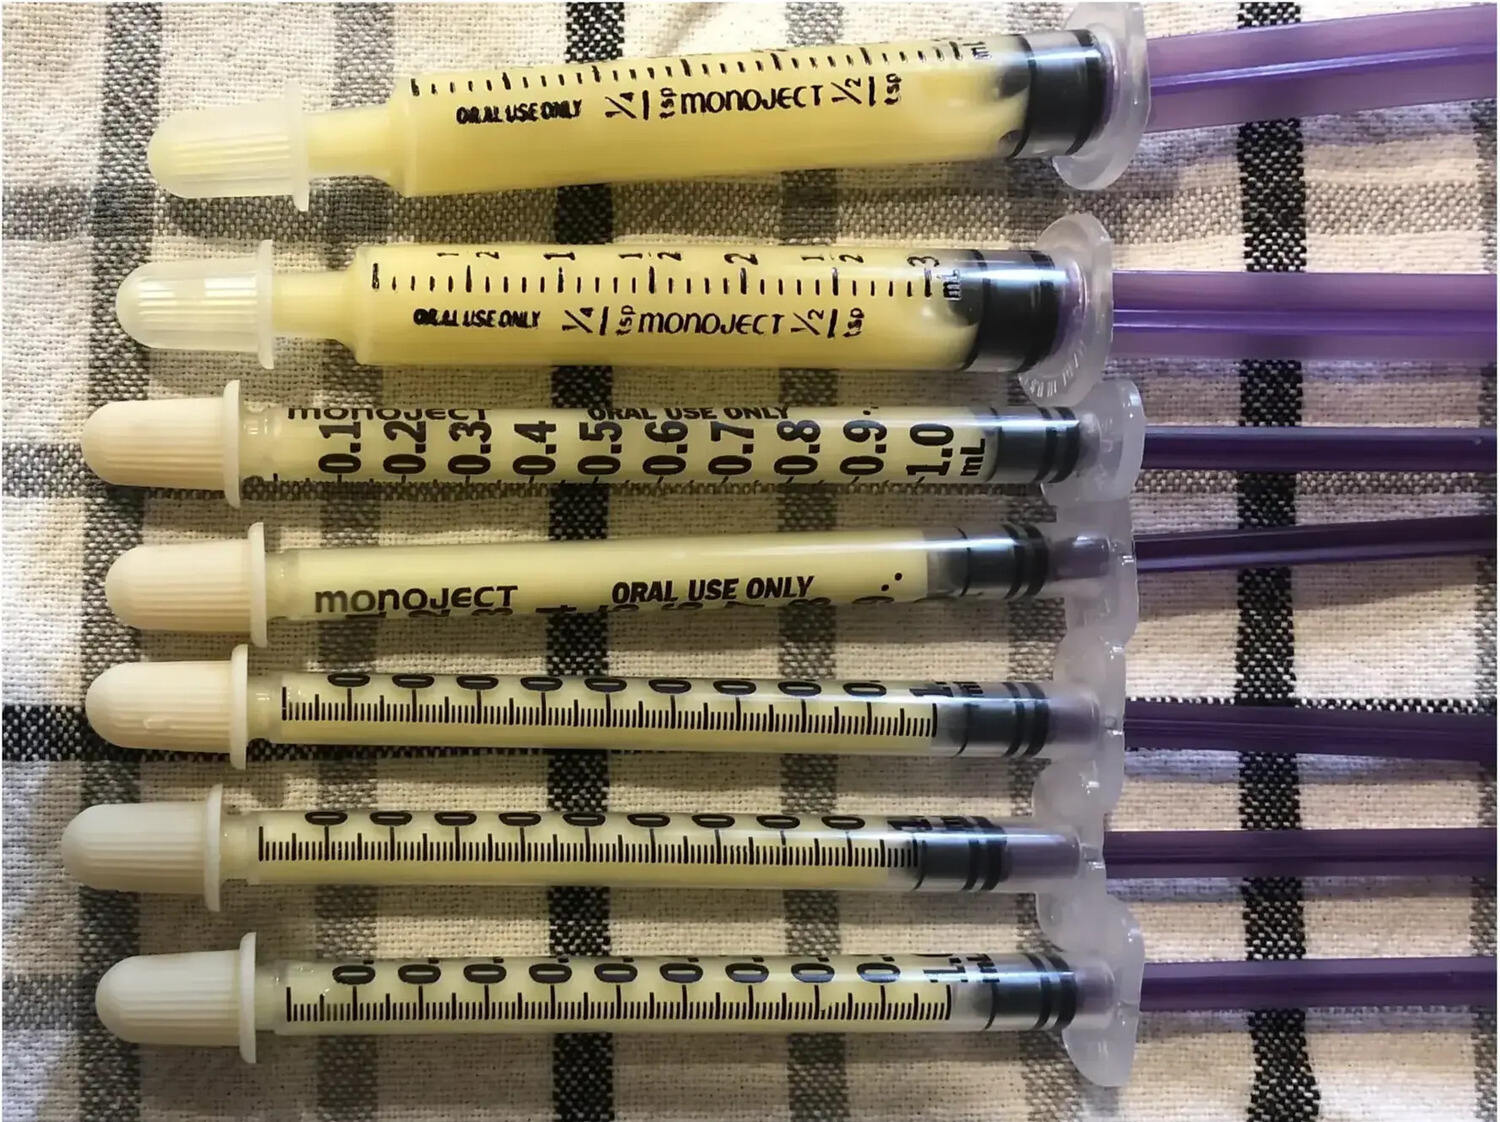
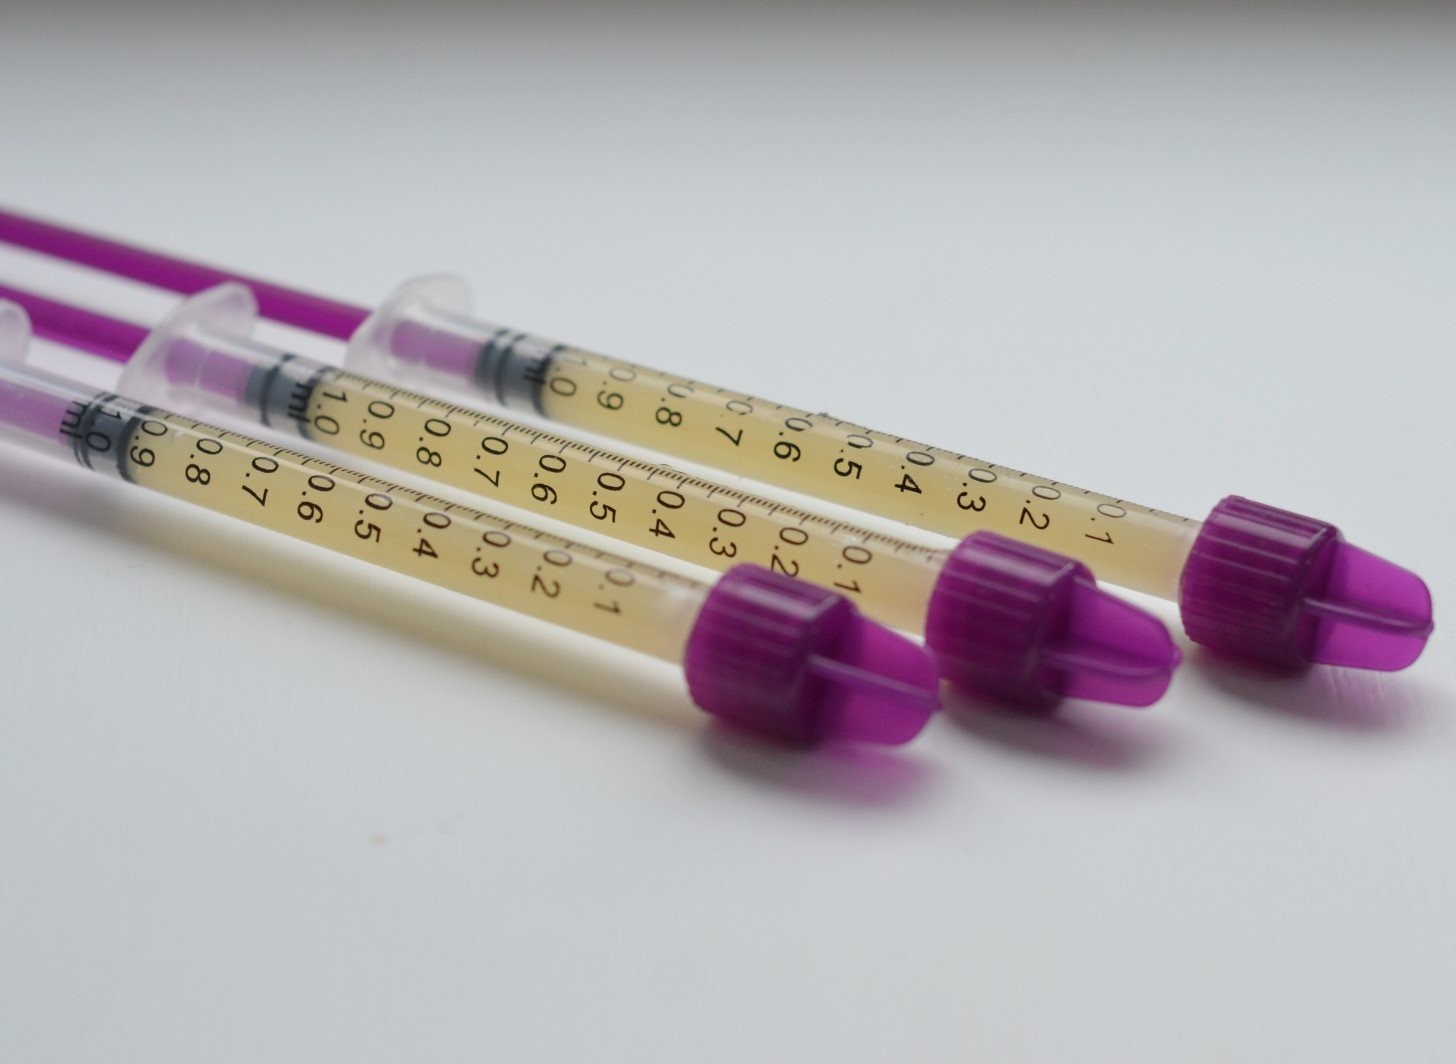
When it comes to medical procedures, precision and accuracy are paramount. A crucial tool in the medical field is the syringe, which allows for the precise measurement and administration of fluids. However, over time, the plunger of a syringe may encounter issues such as sticking or becoming difficult to operate. This can be a frustrating obstacle, especially in critical moments where every second counts.
Fortunately, the process of fixing a syringe plunger is a manageable task that can be performed with the right tools and a methodical approach. By following a few simple steps, you can restore the functionality of the syringe plunger, ensuring that it operates smoothly and reliably when needed.
In the following guide, we will walk through the step-by-step process of fixing a syringe plunger, from gathering the necessary materials to reassembling the syringe. Whether you are a medical professional, a caregiver, or an individual with a need for precise fluid administration, mastering the art of fixing a syringe plunger will equip you with the confidence and capability to address this common issue.
By the end of this guide, you will have the knowledge and skills to troubleshoot and resolve plunger-related issues with your syringe, ensuring that it remains a dependable tool for accurate fluid delivery. Let's dive into the process and empower ourselves with the ability to maintain the functionality of this essential medical instrument.
Key Takeaways:
- Fixing a syringe plunger is a manageable task that empowers individuals to maintain the functionality of this essential medical instrument. By following a step-by-step guide, anyone can address common issues and ensure smooth and accurate operation.
- The process involves gathering materials, disassembling the syringe, cleaning the plunger, applying lubricant, and reassembling the syringe. Mastering this art equips individuals with the confidence and capability to ensure seamless delivery of precise fluid administration.
Read more: What Is The Plunger Of A Syringe
Step 1: Gather necessary materials
Before embarking on the task of fixing a syringe plunger, it is essential to gather the necessary materials to ensure a smooth and efficient process. Having the right tools at your disposal will enable you to address the issue with precision and effectiveness. Here are the essential materials required for this task:
-
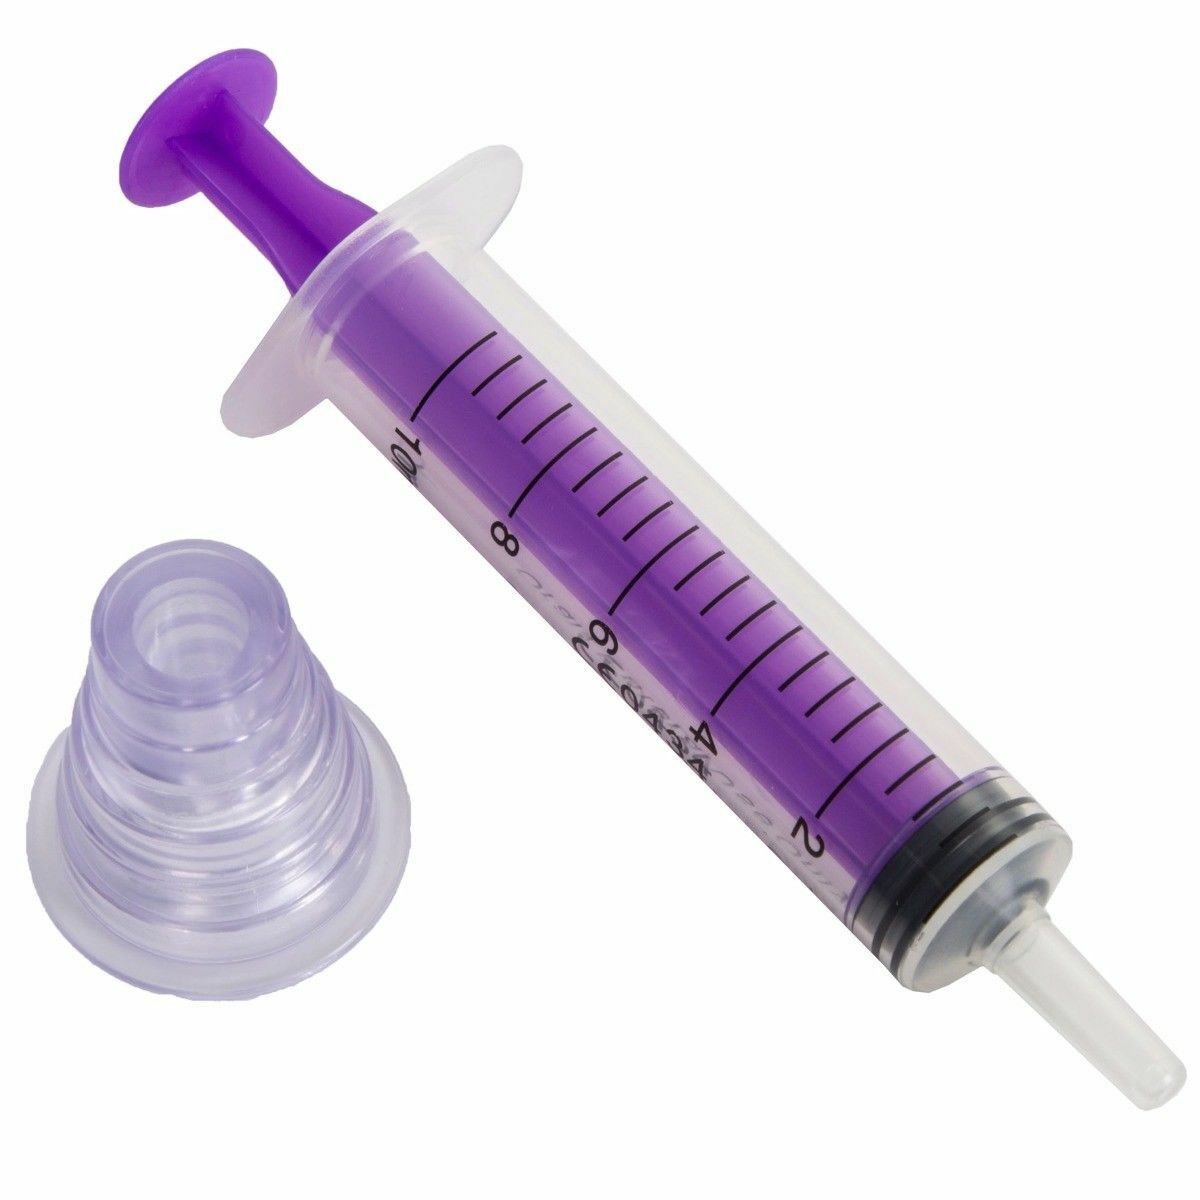
Syringe: The syringe in question, which requires attention, should be readily available. Ensure that it is clean and free from any residual substances to facilitate the repair process.
-
Rubbing Alcohol: This is a crucial cleaning agent that will help remove any debris or residue from the syringe plunger. It is important to maintain a sterile environment when dealing with medical instruments, and rubbing alcohol serves this purpose effectively.
-
Lubricant: A suitable lubricant, such as medical-grade silicone oil, is necessary to ensure that the plunger moves smoothly within the syringe barrel after the cleaning process. The lubricant will help reduce friction and ensure seamless operation.
-
Clean Cloth or Paper Towels: These are essential for wiping and drying the syringe components after cleaning and before lubrication. It is important to maintain cleanliness throughout the process to prevent contamination.
-
Disposable Gloves: Wearing disposable gloves is advisable to maintain hygiene and prevent the transfer of oils and dirt from the hands to the syringe components.
-
Work Surface: A clean and flat work surface provides a stable area for disassembling and reassembling the syringe. It is important to choose a well-lit and organized space to work comfortably.
By ensuring that these materials are readily available, you can proceed with confidence, knowing that you have everything necessary to address the issue with the syringe plunger. With the materials in hand, you are now prepared to move on to the next step in the process of fixing the syringe plunger.
Step 2: Disassemble the syringe
To begin the process of fixing a syringe plunger, the first step is to carefully disassemble the syringe to gain access to the plunger and its components. This step requires precision and attention to detail to ensure that the syringe is disassembled without causing any damage to its parts. Here's a detailed guide on how to disassemble the syringe:
-
Prepare the Work Surface: Start by laying down a clean cloth or paper towels on the work surface to create a clean and organized area for the disassembly process. It is important to work on a stable and well-lit surface to prevent any accidental mishaps.
-
Put on Disposable Gloves: Before handling the syringe, it is advisable to wear disposable gloves to maintain a sterile environment and prevent any transfer of oils or contaminants from the hands to the syringe components.
-
Inspect the Syringe: Carefully examine the syringe to familiarize yourself with its components and construction. Identify the barrel, plunger, and any other parts that may be present, such as a rubber stopper or gasket.
-
Hold the Syringe Securely: Grasp the syringe firmly but gently, ensuring that you have a good grip on both the barrel and the plunger. It is important to handle the syringe with care to avoid accidental damage or spillage of any remaining fluids.
-
Separate the Plunger from the Barrel: With a steady hand, gently pull the plunger out of the barrel. Depending on the type of syringe, the plunger may be a separate component or attached to a piston. Exercise caution to avoid applying excessive force that could cause damage.
-
Inspect the Components: Once the plunger is removed, carefully inspect the barrel, plunger, and any additional components for any signs of residue, debris, or damage. This visual inspection will provide valuable insights into the condition of the syringe and the areas that may require attention.
By following these steps, you can effectively disassemble the syringe, gaining access to the plunger and its associated components. This sets the stage for the subsequent steps in the process, allowing for thorough cleaning and maintenance to address any issues affecting the syringe plunger. With the syringe disassembled, you are now ready to proceed to the next phase of fixing the plunger and restoring the syringe to optimal functionality.
Step 3: Clean the plunger
Cleaning the plunger of a syringe is a critical step in the process of restoring its functionality. Over time, syringe plungers can accumulate residue, debris, or dried fluids, leading to sticking or difficulty in operation. By thoroughly cleaning the plunger and its associated components, you can effectively address these issues and ensure that the syringe operates smoothly and reliably.
Submerge the Plunger in Rubbing Alcohol
Begin the cleaning process by submerging the plunger in rubbing alcohol. This serves as an effective solvent for dissolving and removing any residual substances that may be causing the plunger to stick or operate inefficiently. Ensure that the plunger is fully immersed in the rubbing alcohol, allowing it to penetrate and loosen any debris or dried fluids.
Read more: How To Read A Syringe Plunger
Agitate and Clean the Plunger
Once the plunger is submerged, gently agitate it within the rubbing alcohol to dislodge any stubborn residue. Use a swirling motion to ensure that the rubbing alcohol reaches all areas of the plunger, including the seal and the inner surface of the barrel. This thorough agitation will help dislodge any debris and facilitate the cleaning process.
Inspect and Wipe the Plunger
After agitating the plunger, carefully remove it from the rubbing alcohol and inspect it for any remaining residue or debris. Use a clean cloth or paper towel to wipe the plunger, ensuring that all surfaces are thoroughly cleaned. Pay close attention to the seal and the edges of the plunger, as these areas are prone to accumulating residue that can impede smooth operation.
Clean the Barrel and Additional Components
In addition to cleaning the plunger, it is important to address the cleanliness of the syringe barrel and any additional components such as rubber stoppers or gaskets. Use a separate cloth or paper towel soaked in rubbing alcohol to clean the inner surface of the barrel and any associated parts. This comprehensive cleaning ensures that all components are free from residue, contributing to the overall functionality of the syringe.
Allow for Drying
Once the plunger, barrel, and associated components have been thoroughly cleaned, allow them to air dry completely. Ensure that there is no residual rubbing alcohol remaining, as it can affect the performance of the syringe. Once dry, the components will be ready for the next step in the process of fixing the syringe plunger.
By following these detailed steps to clean the plunger and associated components, you can effectively address any issues related to residue or debris, ensuring that the syringe operates smoothly and reliably. This meticulous cleaning process sets the stage for the subsequent steps in the repair process, allowing for the seamless restoration of the syringe to optimal functionality.
Read more: How To Lubricate A Syringe Plunger
Step 4: Lubricate the plunger
After thoroughly cleaning the plunger and associated components, the next crucial step in the process of fixing a syringe plunger is to apply lubrication. Lubricating the plunger is essential for ensuring smooth and friction-free movement within the syringe barrel, ultimately contributing to the reliable operation of the syringe. Here's a detailed guide on how to effectively lubricate the plunger and prepare it for seamless functionality:
Select a Suitable Lubricant
The choice of lubricant plays a significant role in the performance and longevity of the syringe plunger. It is essential to use a high-quality lubricant that is compatible with medical instruments and safe for use in healthcare settings. Medical-grade silicone oil is a commonly recommended lubricant for syringe plungers, as it provides excellent lubrication properties without compromising the integrity of the syringe components or posing any risk to patients.
Apply a Thin Layer of Lubricant
Using a clean and dry cloth or paper towel, apply a thin layer of the selected lubricant to the outer surface of the plunger. It is important to use a minimal amount of lubricant to prevent excess buildup, which can lead to contamination or interfere with the precise measurement of fluids. Ensure that the lubricant is evenly distributed on the plunger, covering all contact points that come into contact with the syringe barrel.
Lubricate the Barrel and Seal
In addition to lubricating the plunger, it is advisable to apply a small amount of lubricant to the inner surface of the syringe barrel. Using a clean applicator or cloth, spread the lubricant evenly along the inner walls of the barrel, ensuring that it provides a smooth surface for the plunger to move without encountering resistance. If the syringe features a rubber seal or gasket, apply a thin layer of lubricant to ensure a secure and friction-free seal between the plunger and the barrel.
Read more: How To Fix A Plunger In A Bathroom Sink
Exercise Caution and Precision
When applying the lubricant, exercise caution to avoid over-lubrication, which can lead to excess buildup and potential contamination. It is important to maintain a precise and controlled application of the lubricant, ensuring that it serves its purpose of reducing friction and facilitating smooth movement without compromising the sterile nature of the syringe.
Test the Plunger Movement
Once the lubrication process is complete, carefully insert the plunger back into the syringe barrel and test its movement. The plunger should glide smoothly and effortlessly within the barrel, reflecting the effectiveness of the applied lubricant. If any resistance or irregular movement is observed, reassess the lubrication and ensure that it is evenly distributed for optimal performance.
By following these detailed steps to lubricate the plunger and associated components, you can effectively prepare the syringe for seamless operation. The application of high-quality lubricant ensures that the plunger moves with precision and reliability, contributing to the overall functionality and performance of the syringe. With the plunger successfully lubricated, the stage is set for the final step in the process of fixing the syringe plunger, allowing for its reassembly and readiness for use in medical procedures.
Step 5: Reassemble the syringe
With the plunger cleaned and lubricated, the final step in the process of fixing a syringe plunger is to reassemble the syringe, ensuring that all components are securely and accurately positioned for optimal functionality. The reassembly process requires attention to detail and precision to guarantee that the syringe operates reliably and consistently. Here's a comprehensive guide on how to effectively reassemble the syringe:
-
Position the Plunger: Begin by carefully inserting the plunger back into the syringe barrel, ensuring that it aligns correctly and moves smoothly within the barrel. Exercise caution to avoid any misalignment or resistance, as the proper positioning of the plunger is essential for accurate fluid measurement and administration.
-
Check the Seal: If the syringe features a rubber seal or gasket, ensure that it is securely in place and forms a tight seal with the inner walls of the barrel. The seal plays a crucial role in preventing fluid leakage and maintaining the integrity of the syringe during use.
-
Secure the Components: Once the plunger is in place, verify that all components, including the barrel, plunger, and any additional parts, are securely assembled. Gently twist and push the plunger to confirm that it moves freely and without obstruction, indicating the successful reassembly of the syringe.
-
Inspect for Residue: Conduct a visual inspection of the syringe to ensure that there is no residual debris or lubricant buildup that could compromise its functionality. Wipe the exterior of the syringe with a clean cloth to remove any excess lubricant and maintain a sterile and clean surface.
-
Test the Syringe: Before putting the syringe back into use, perform a test to ensure that the plunger operates smoothly and accurately within the barrel. Depress the plunger to verify its movement and confirm that it provides consistent and precise fluid measurement.
By following these detailed steps to reassemble the syringe, you can effectively complete the process of fixing the syringe plunger, ensuring that it is ready for use in medical procedures. The meticulous reassembly process guarantees that all components are aligned and functioning optimally, providing confidence in the reliability and accuracy of the syringe. With the syringe successfully reassembled, it is now prepared to fulfill its essential role in delivering precise fluid administration in healthcare settings.
Conclusion
In conclusion, the process of fixing a syringe plunger is a manageable task that empowers individuals, medical professionals, and caregivers to maintain the functionality and reliability of this essential medical instrument. By following the step-by-step guide outlined in this comprehensive tutorial, individuals can address common issues such as sticking or difficulty in operation, ensuring that the syringe plunger operates smoothly and accurately when needed.
The journey begins with gathering the necessary materials, including the syringe, rubbing alcohol, lubricant, clean cloth or paper towels, disposable gloves, and a suitable work surface. These materials form the foundation for the subsequent steps, providing the essential tools for effective plunger maintenance.
The process then progresses to the meticulous disassembly of the syringe, allowing for access to the plunger and its associated components. Careful handling and inspection set the stage for the thorough cleaning of the plunger, barrel, and additional parts, ensuring that all residue and debris are effectively removed.
Lubrication emerges as a pivotal step, where the application of a high-quality lubricant such as medical-grade silicone oil facilitates smooth and friction-free movement of the plunger within the syringe barrel. The precision and controlled application of the lubricant contribute to the reliable performance of the syringe, enhancing its suitability for medical procedures.
The final phase of reassembling the syringe ensures that all components are securely positioned, allowing for a seamless and accurate operation of the plunger. This meticulous reassembly process guarantees the integrity and functionality of the syringe, providing confidence in its readiness for use in healthcare settings.
By mastering the art of fixing a syringe plunger, individuals can embrace the responsibility of maintaining the performance and reliability of this critical medical instrument. Whether in a clinical environment, home care setting, or personal use, the ability to troubleshoot and address plunger-related issues equips individuals with the confidence and capability to ensure the seamless delivery of precise fluid administration.
In essence, the process of fixing a syringe plunger transcends mere maintenance; it embodies a commitment to precision, reliability, and patient care. By embracing this responsibility, individuals contribute to the seamless operation of medical procedures, ultimately enhancing the quality of healthcare delivery and the well-being of patients.
Frequently Asked Questions about How To Fix A Syringe Plunger
Was this page helpful?
At Storables.com, we guarantee accurate and reliable information. Our content, validated by Expert Board Contributors, is crafted following stringent Editorial Policies. We're committed to providing you with well-researched, expert-backed insights for all your informational needs.


0 thoughts on “How To Fix A Syringe Plunger”