Home>Furniture & Design>Bathroom Accessories>How To Remove Grout From Bathtub
Bathroom Accessories
How To Remove Grout From Bathtub
Modified: March 2, 2024
Learn effective techniques for removing grout from your bathtub and restoring your bathroom accessories to their former glory. Discover expert tips and tricks for a sparkling clean bathroom.
(Many of the links in this article redirect to a specific reviewed product. Your purchase of these products through affiliate links helps to generate commission for Storables.com, at no extra cost. Learn more)
Introduction
Removing grout from a bathtub can be a daunting task, but with the right tools and techniques, it can be accomplished effectively and efficiently. Over time, grout in the bathtub can become discolored, cracked, or simply outdated, making the entire bathroom appear worn and uninviting. Whether you're looking to refresh the appearance of your bathtub or preparing for a renovation, knowing how to remove grout properly is essential.
Grout removal is a crucial step in the process of renovating or updating your bathroom. By removing old, damaged grout, you create a clean canvas for regrouting or applying new sealant, ensuring a fresh and polished look for your bathtub. Additionally, removing grout can help prevent water damage and mold growth, as damaged grout can allow water to seep into the walls and flooring, leading to costly repairs down the line.
In this comprehensive guide, we will walk you through the step-by-step process of removing grout from your bathtub. From safety precautions to the tools and materials you'll need, we've got you covered. By following these instructions, you can restore the beauty of your bathtub and create a clean, hygienic environment in your bathroom.
So, roll up your sleeves and get ready to breathe new life into your bathtub as we delve into the process of removing grout. With the right approach and a bit of elbow grease, you'll soon have a bathtub that looks fresh, clean, and inviting. Let's get started!
Key Takeaways:
- Prioritize safety by wearing protective gear, ventilating the area, and handling tools with care when removing grout from your bathtub. Safety first for a smooth and incident-free grout removal process!
- Gather the right tools and materials, clear the space, and create a workstation before removing grout from your bathtub. Preparation is key for a successful and efficient grout removal process!
Read more: How To Remove Grout From Floor
Safety Precautions
Before embarking on the task of removing grout from your bathtub, it's crucial to prioritize safety. The process involves working with potentially hazardous materials and tools, so taking the necessary precautions is essential to prevent accidents and injuries. Here are the key safety measures to keep in mind:
-
Protective Gear: Prior to starting the grout removal process, ensure that you are equipped with the appropriate protective gear. This includes wearing safety goggles to shield your eyes from any debris or particles that may be dislodged during the removal process. Additionally, donning a dust mask or respirator will help prevent inhalation of grout dust, which can be harmful to your respiratory system.
-
Ventilation: Adequate ventilation is crucial when working with grout remover and other chemicals. Ensure that the bathroom is well-ventilated by opening windows and using exhaust fans to minimize the buildup of fumes and airborne particles. If possible, consider using a portable fan to further improve air circulation in the workspace.
-
Chemical Handling: If you are using a chemical grout remover, carefully read and follow the manufacturer's instructions for safe handling and application. Be mindful of any warnings or precautions specified on the product label, and avoid direct skin contact with the remover. In the event of accidental contact, rinse the affected area immediately with water and seek medical attention if irritation persists.
-
Tool Safety: When using tools such as grout saws or rotary tools for grout removal, exercise caution to prevent accidental cuts or injuries. Ensure that the cutting blades are sharp and in good condition to minimize the risk of slippage or mishaps during use. Always handle tools with care and store them in a secure location when not in use.
-
Stability and Support: To prevent slips and falls while working in the bathtub, use a sturdy step stool or ladder to maintain stability and reach areas that are higher or out of arm's reach. Additionally, ensure that the bathtub surface is dry and free from any slippery substances to minimize the risk of accidents.
By adhering to these safety precautions, you can create a secure and controlled environment for removing grout from your bathtub. Prioritizing safety not only protects you from potential harm but also ensures a smooth and incident-free grout removal process. Now that you're equipped with the necessary safety measures, let's move on to the tools and materials you'll need for the task.
Tools and Materials Needed
When it comes to removing grout from a bathtub, having the right tools and materials at your disposal is essential for a successful and efficient process. Here's a comprehensive list of the items you'll need to tackle the task of grout removal:
Tools:
-
Grout Saw or Rotary Tool: A grout saw or rotary tool equipped with a grout removal attachment is indispensable for effectively cutting through and removing old grout from the joints. These tools allow for precise and controlled grout removal, enabling you to access tight spaces and corners with ease.
-
Safety Goggles: Protecting your eyes from debris and grout dust is paramount. Safety goggles provide a barrier against particles that may become airborne during the grout removal process, ensuring the safety of your eyes.
-
Dust Mask or Respirator: To safeguard your respiratory health, a dust mask or respirator is essential for filtering out grout dust and minimizing inhalation of potentially harmful particles. This is particularly important when working with grout remover or using power tools.
-
Grout Remover (Chemical or Non-Chemical): Depending on your preference, you can opt for a chemical grout remover or a non-chemical alternative. Chemical grout removers are effective for dissolving and softening grout, while non-chemical options such as manual grout saws provide a more hands-on approach.
-
Grout Scraper or Utility Knife: A grout scraper or utility knife is useful for clearing out the remaining grout residue from the joints after initial removal. This ensures a clean and smooth surface for regrouting or applying new sealant.
-
Sturdy Step Stool or Ladder: Accessing hard-to-reach areas of the bathtub may require a sturdy step stool or ladder to provide stability and support while working. This is especially important for reaching higher sections of the bathtub safely.
Materials:
-
New Grout or Sealant: If you plan to regrout the bathtub after removing the old grout, ensure that you have new grout or sealant on hand. Select a high-quality grout or sealant that complements the design and color scheme of your bathroom.
-
Cleaning Solution: A mild cleaning solution or grout cleaner will be needed to thoroughly clean the bathtub surface after grout removal. This helps remove any remaining grout residue and prepares the surface for regrouting or sealing.
-
Clean Water: Having access to clean water is essential for rinsing the bathtub surface after grout removal. This ensures that any cleaning solution or grout residue is completely removed, leaving the surface ready for the next steps.
By gathering these tools and materials, you'll be well-prepared to embark on the grout removal process with confidence and efficiency. With the right equipment at your disposal, you can effectively restore the appearance of your bathtub and create a fresh foundation for future improvements.
Read more: How To Remove Adhesive From A Bathtub
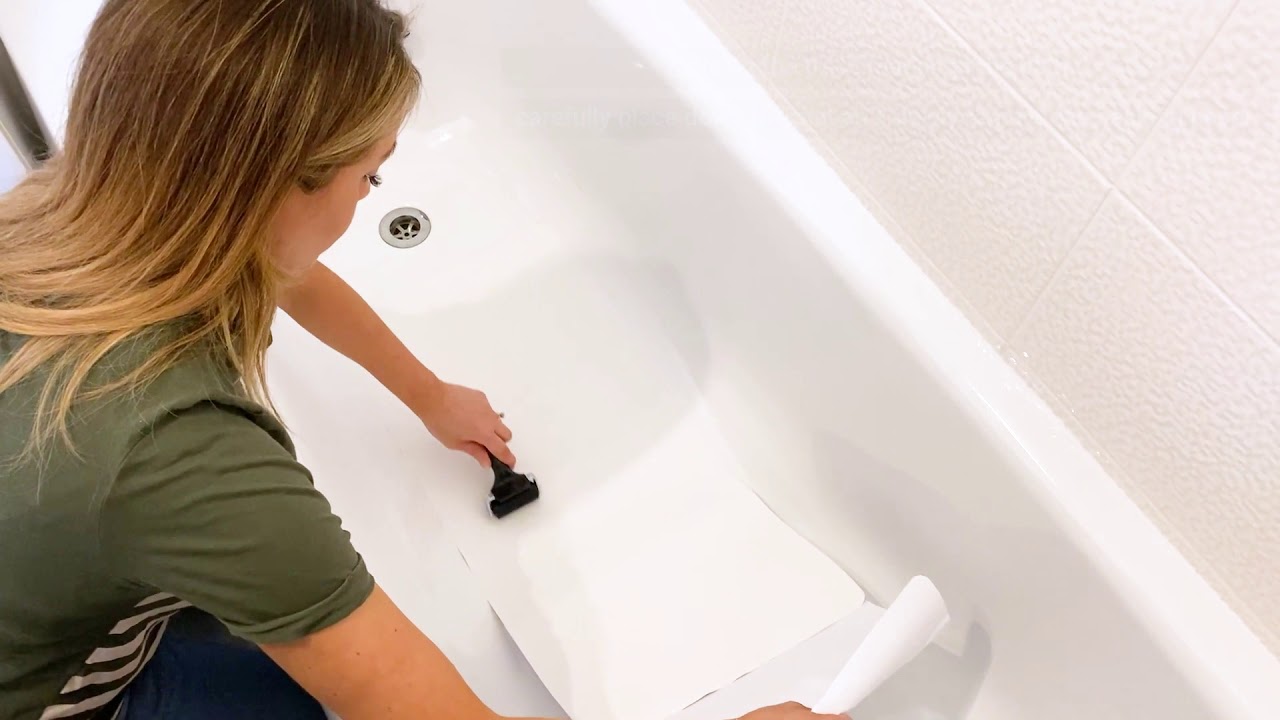
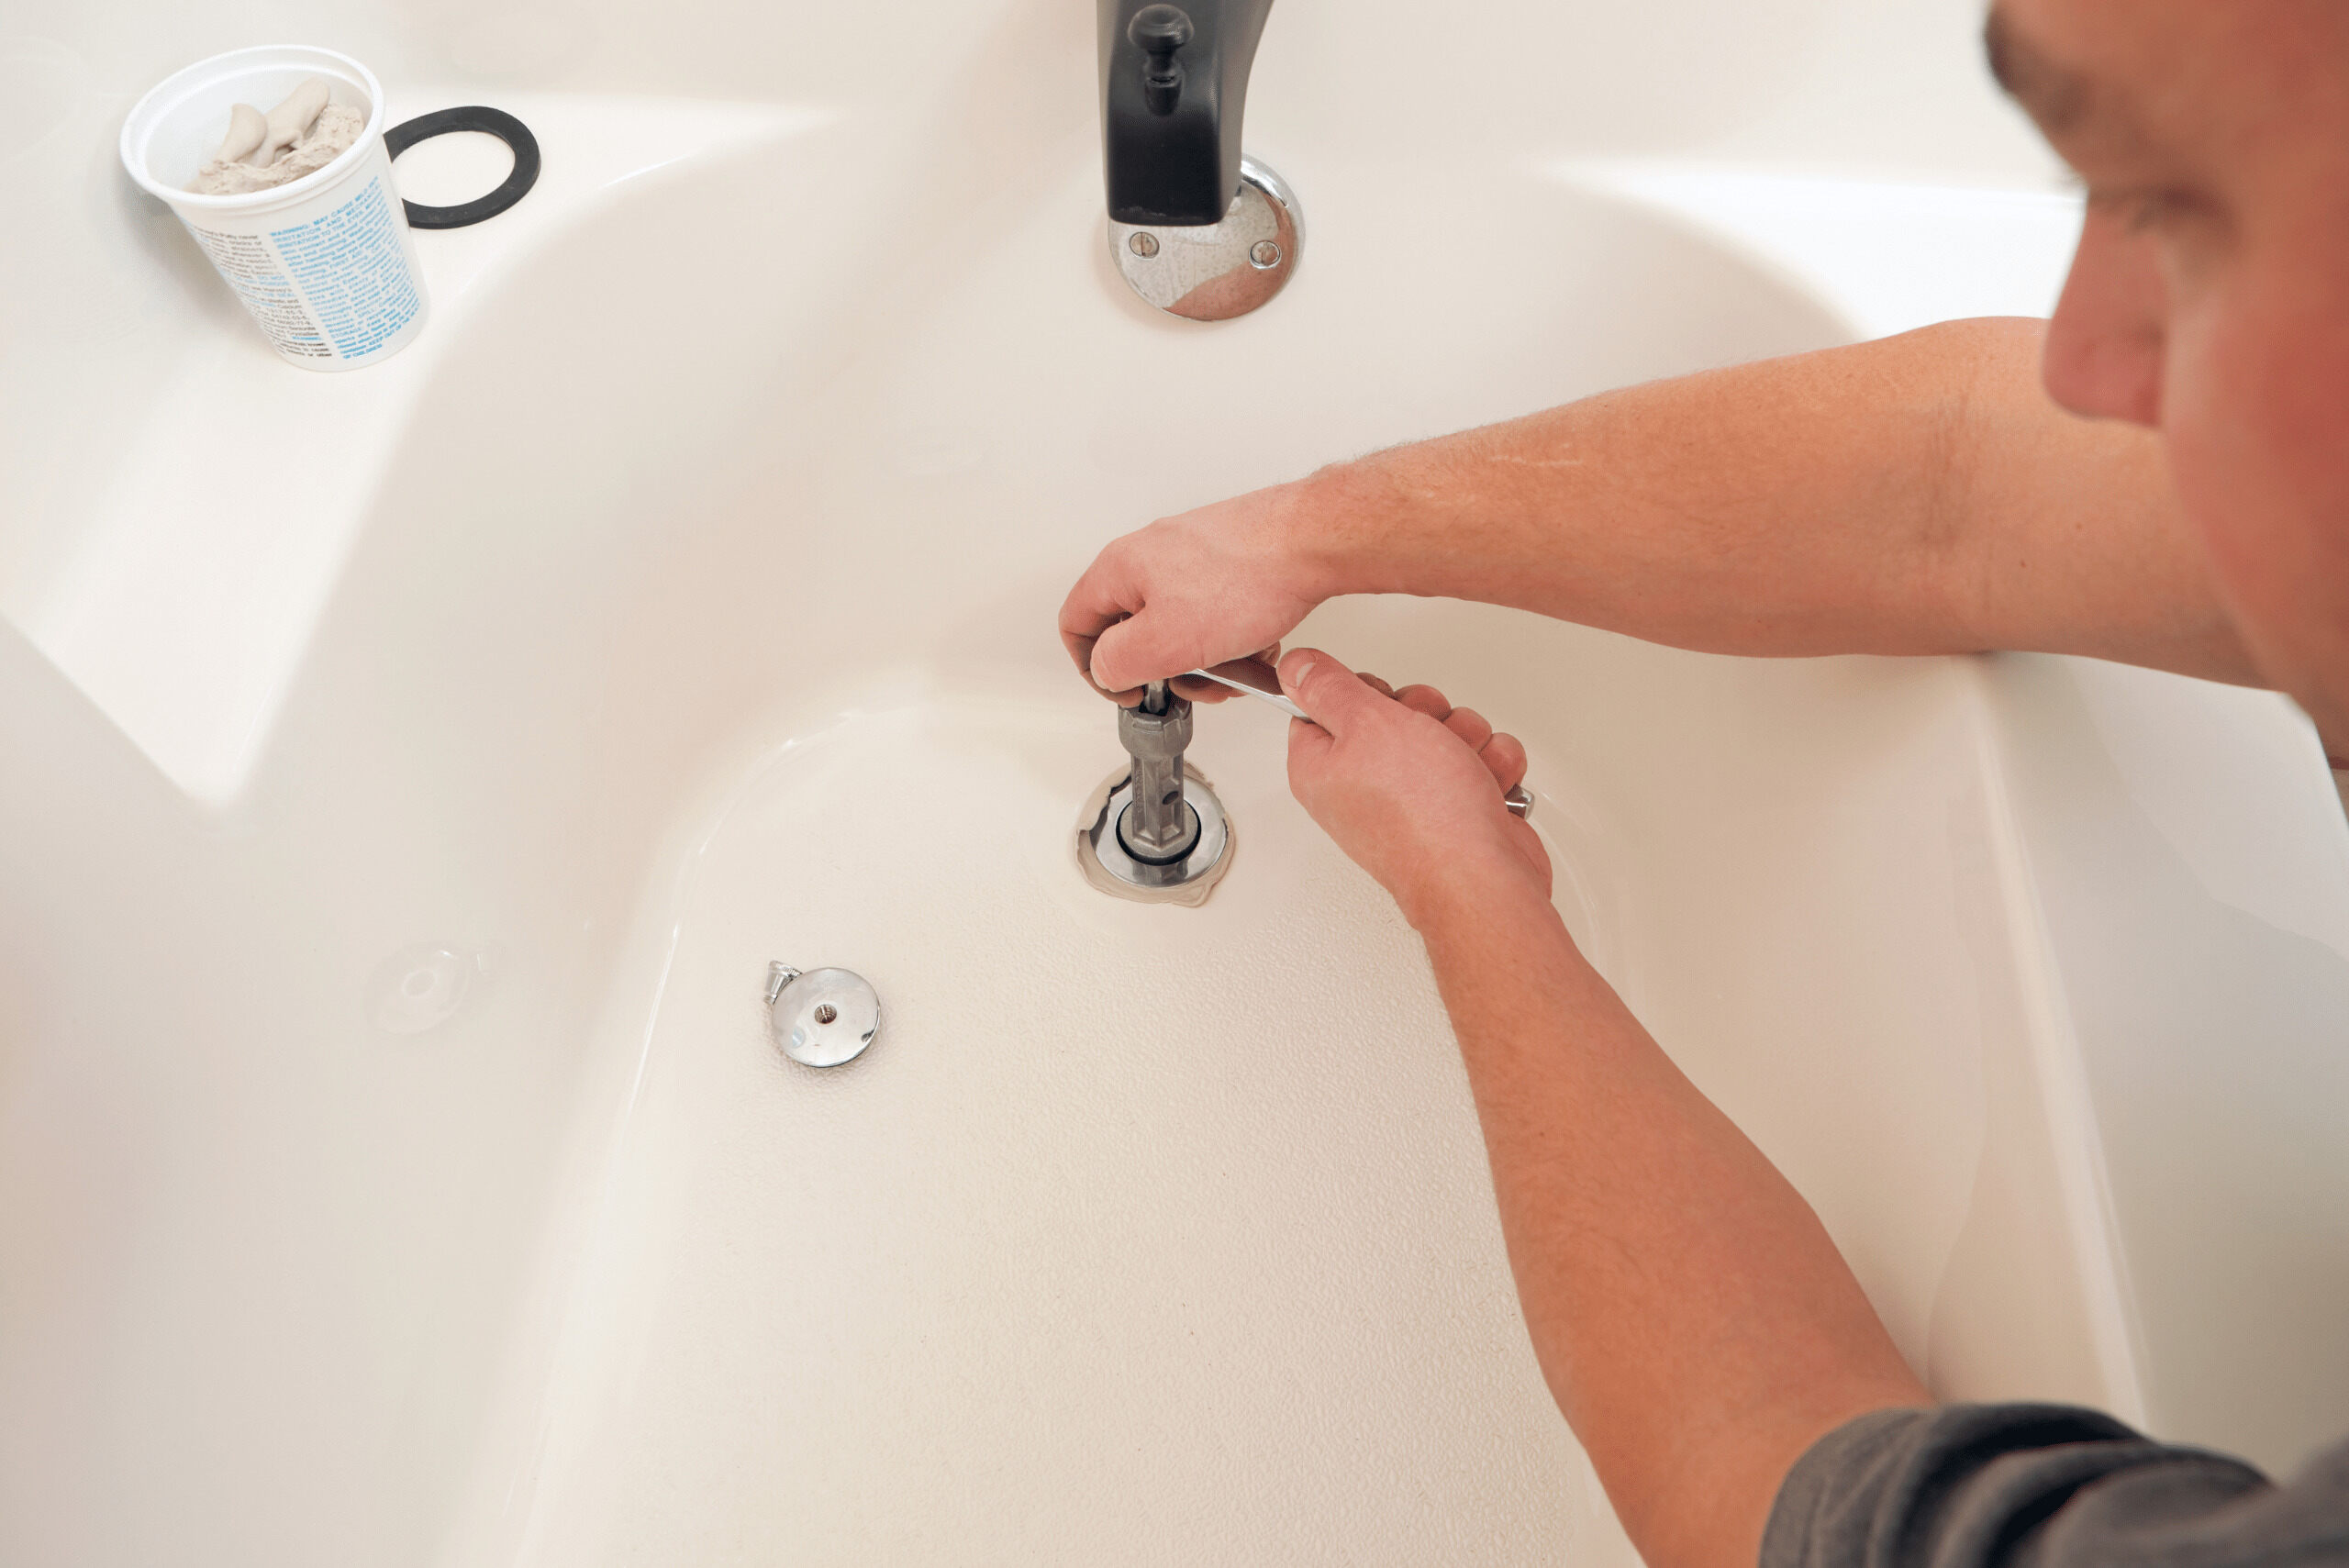
Step 1: Prepare the Area
Before diving into the grout removal process, it's essential to prepare the area surrounding the bathtub to create a conducive and organized workspace. Proper preparation sets the stage for a smooth and efficient grout removal process. Here's a detailed guide on how to prepare the area effectively:
Clear the Surrounding Space
Begin by removing any items or accessories from the bathtub and its immediate surroundings. This includes bath mats, shower caddies, soap dishes, and any other items that may obstruct access to the grout lines. Clearing the space ensures that you have ample room to maneuver and work comfortably during the grout removal process.
Protect Adjacent Surfaces
To prevent accidental damage to adjacent surfaces such as the bathtub edges and walls, it's advisable to apply masking tape or painter's tape along these areas. This protective measure creates a barrier that shields the surfaces from accidental scratches or scuffs during the grout removal process. Additionally, if the bathtub is made of delicate materials such as acrylic or fiberglass, consider using protective sheets or drop cloths to cover and safeguard the surface from potential damage.
Ventilate the Area
Proper ventilation is crucial when working with grout remover and other cleaning solutions. Open windows and doors to allow fresh air to circulate through the bathroom, minimizing the buildup of fumes and airborne particles. If the bathroom is not well-ventilated, consider using a portable fan to improve air circulation and create a more comfortable working environment.
Read more: How To Remove Rust From The Bathtub
Gather Necessary Tools and Materials
Ensure that all the required tools and materials for grout removal are within reach. This includes the grout saw or rotary tool, safety goggles, dust mask or respirator, grout remover, grout scraper or utility knife, and any additional items such as a step stool or ladder. Having everything readily available saves time and ensures a seamless transition between preparation and the actual grout removal process.
Create a Workstation
Designate a clear and organized workstation within the bathroom for the grout removal task. Arrange the tools and materials in a systematic manner, making them easily accessible as you progress through the removal process. Having a well-organized workstation minimizes the risk of misplacing tools and allows for a more focused and efficient workflow.
By meticulously preparing the area before commencing the grout removal process, you establish a controlled and conducive environment for the task at hand. This thoughtful preparation sets the stage for a successful grout removal endeavor, ensuring that you can proceed with confidence and precision. With the area prepared, you're now ready to move on to the next step of removing grout from your bathtub.
Step 2: Apply Grout Remover
With the area prepared and safety measures in place, it's time to apply the grout remover to begin the process of breaking down the old grout. Whether you opt for a chemical grout remover or a non-chemical alternative, the application process is a critical step in loosening the grout from the bathtub joints. Here's a detailed guide on how to effectively apply the grout remover:
-
Read and Follow Instructions: If you are using a chemical grout remover, carefully read and adhere to the manufacturer's instructions for application. Pay close attention to the recommended dwell time, which specifies the duration the remover should remain on the grout lines before further action. Following the instructions ensures that the remover is applied correctly and maximizes its effectiveness.
-
Apply the Grout Remover: Using a brush or applicator recommended for the specific grout remover, carefully apply the product to the targeted grout lines. Ensure thorough coverage of the grout, allowing the remover to penetrate and soften the grout material. If you are using a non-chemical grout remover such as a grout saw, proceed to carefully and methodically cut through the grout lines to begin the removal process.
-
Allow Dwell Time: If using a chemical grout remover, allow the product to dwell on the grout lines for the specified duration as indicated in the manufacturer's instructions. This dwell time is crucial for the remover to effectively break down the grout, making it easier to remove. During this period, monitor the remover to ensure that it remains in contact with the grout without drying out.
-
Monitor Progress: As the grout remover takes effect, observe the changes in the grout's appearance and texture. You may notice the grout softening or becoming more pliable, indicating that the remover is effectively breaking down the grout material. This visual assessment helps gauge the progress of the remover and informs the subsequent steps in the grout removal process.
-
Prepare for Next Steps: While the grout remover is at work, prepare the necessary tools and materials for the subsequent stages of grout removal. This includes having the grout scraper or utility knife on hand to clear out the softened grout, as well as ensuring access to clean water for rinsing the bathtub surface after the grout removal process.
By following these steps, you can effectively apply the grout remover to initiate the breakdown of the old grout from the bathtub joints. This crucial step sets the foundation for the subsequent stages of grout removal, paving the way for a thorough and efficient process. With the grout remover in action, you're one step closer to achieving a revitalized and refreshed bathtub appearance.
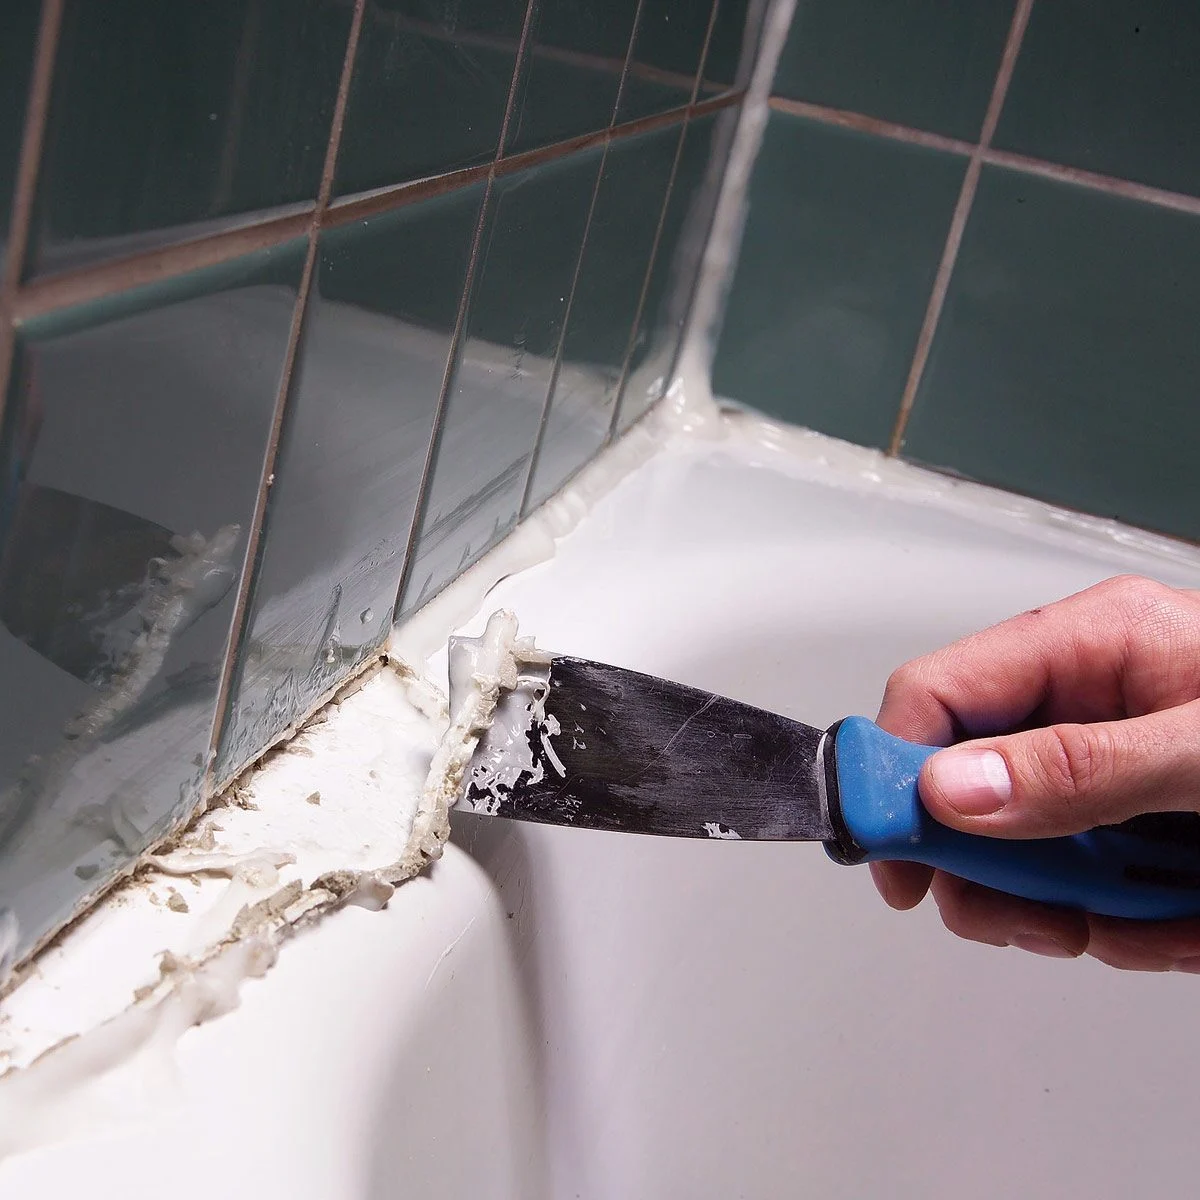
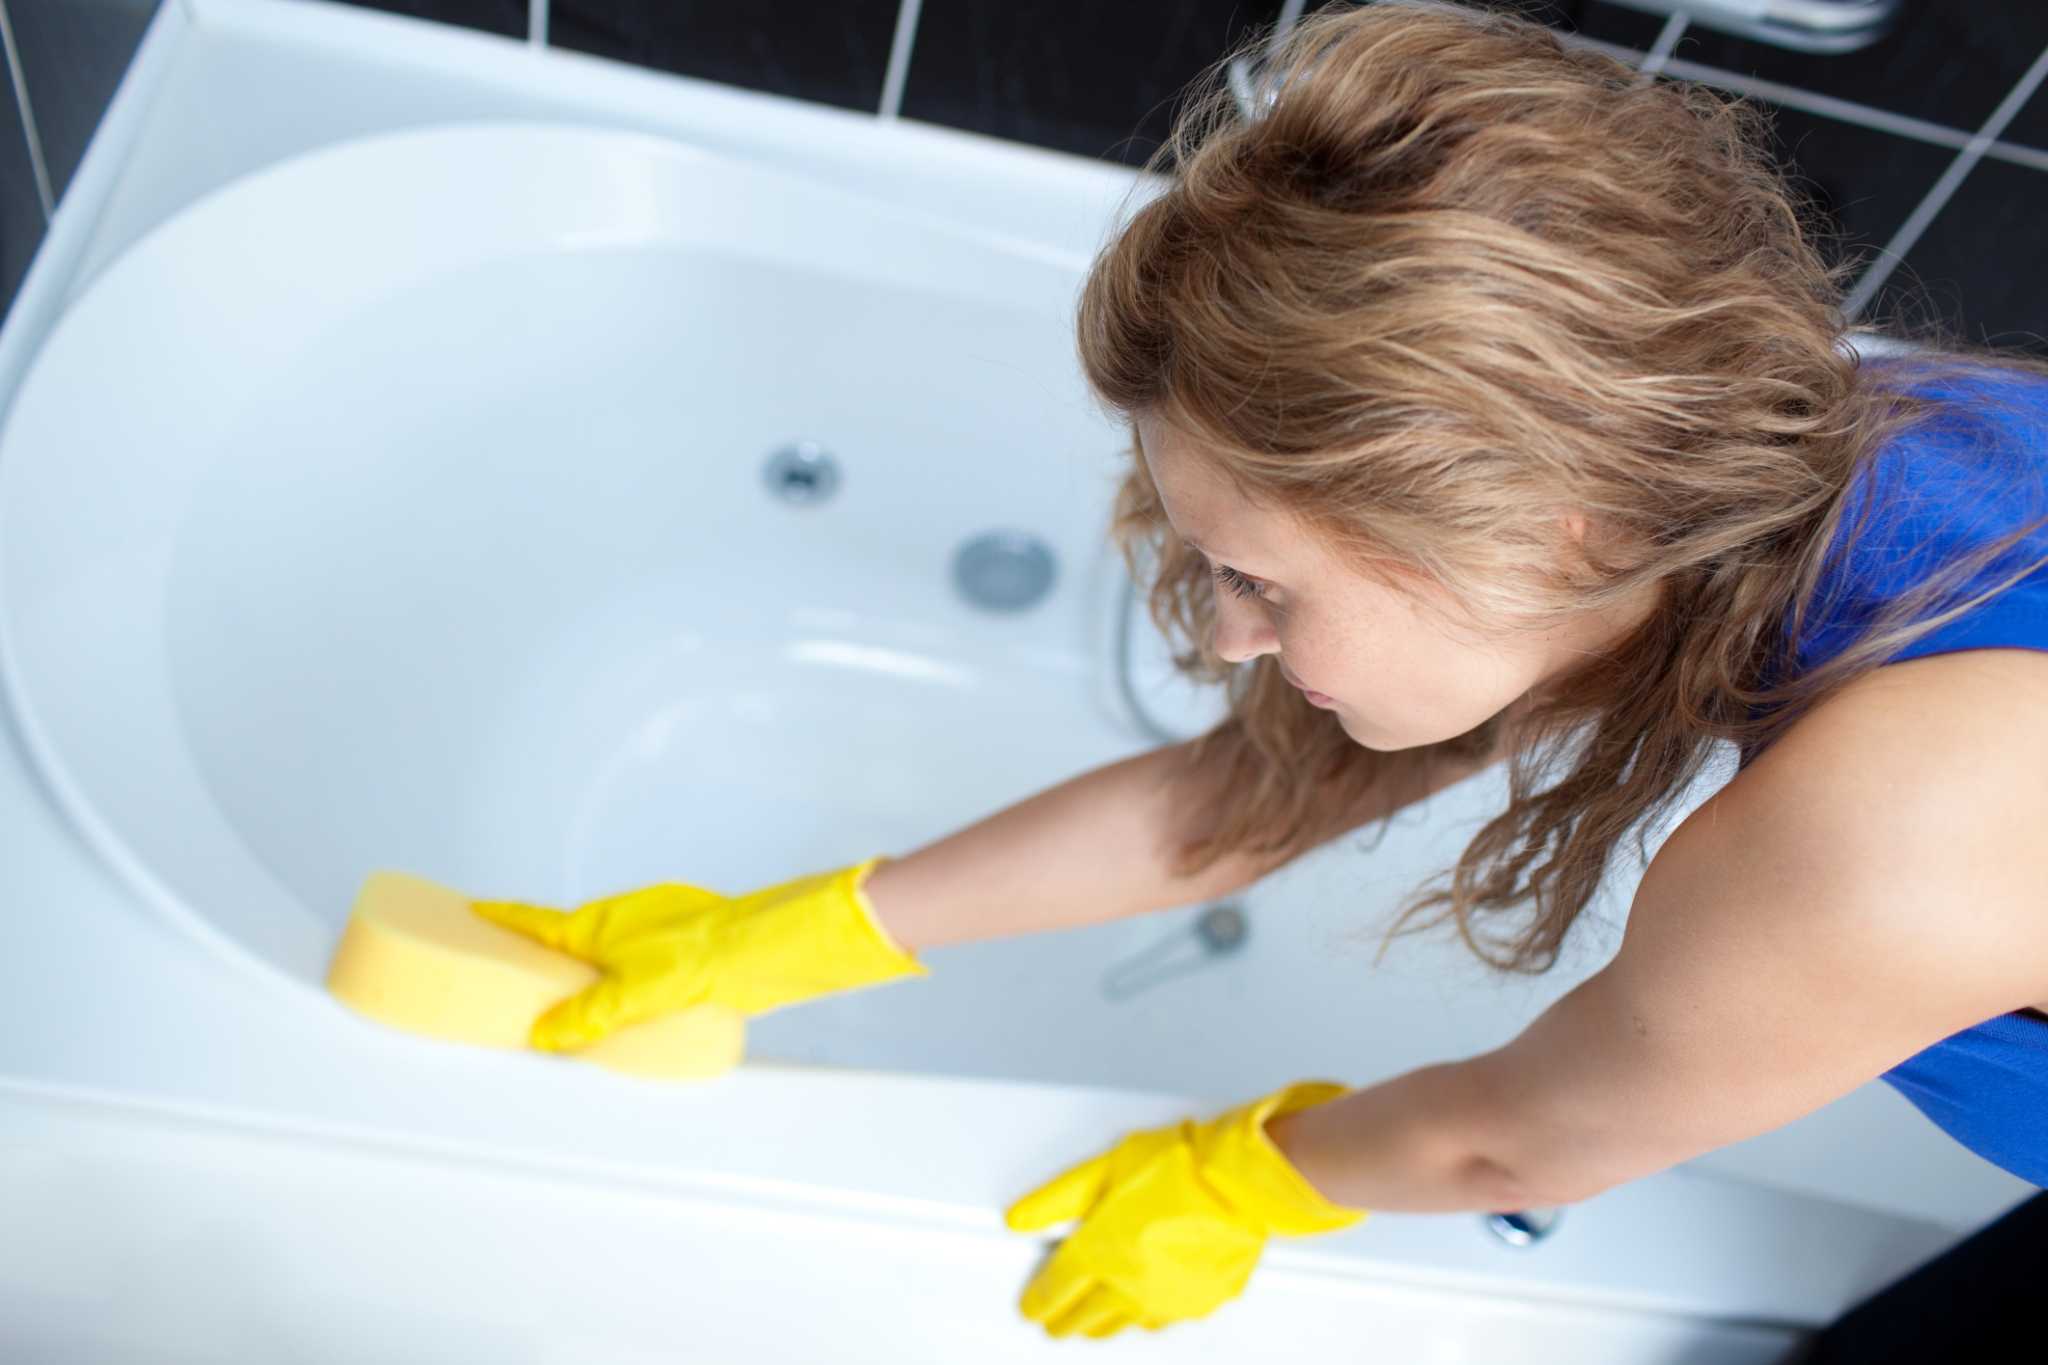
Step 3: Scrub the Grout
Once the grout remover has had sufficient time to soften the old grout, the next step involves scrubbing the grout to further loosen and remove the softened material from the bathtub joints. This critical stage requires attention to detail and a methodical approach to ensure thorough grout removal. Here's a detailed guide on how to effectively scrub the grout:
-
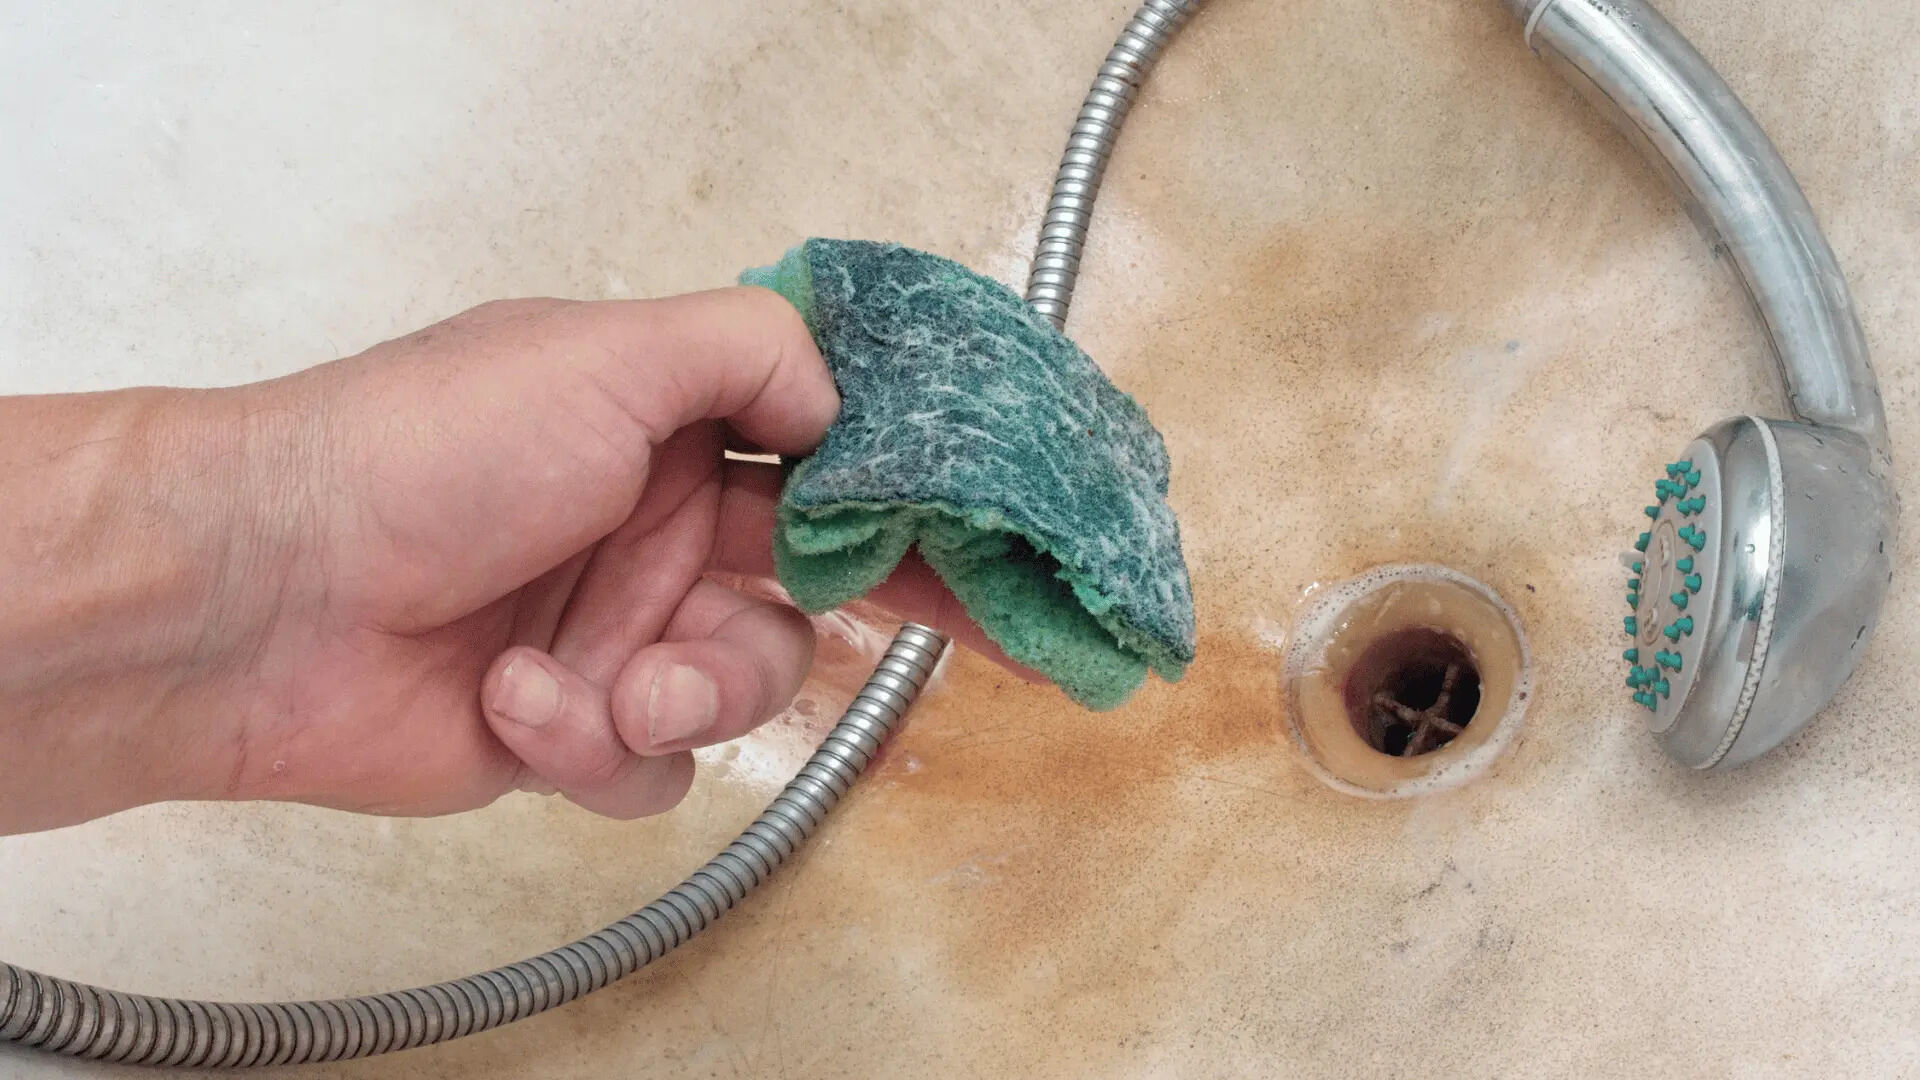
Select the Appropriate Tool: Choose a suitable tool for scrubbing the grout, such as a grout brush or an old toothbrush. The bristles of the brush should be firm enough to dislodge the softened grout without causing damage to the surrounding surfaces. Additionally, ensure that the brush is small enough to access tight corners and narrow grout lines effectively.
-
Scrub in Circular Motions: Dip the grout brush into clean water to moisten the bristles, then begin scrubbing the grout lines in circular motions. Apply gentle pressure to dislodge the softened grout, working systematically from one section of the bathtub to the next. Focus on small areas at a time to ensure thorough cleaning and removal of the loosened grout.
-
Rinse and Repeat: Periodically rinse the grout brush in clean water to remove dislodged grout particles and prevent them from resettling in the joints. This rinsing process helps maintain the effectiveness of the brush and prevents the spread of grout residue. Continue scrubbing and rinsing until the majority of the softened grout has been removed from the bathtub joints.
-
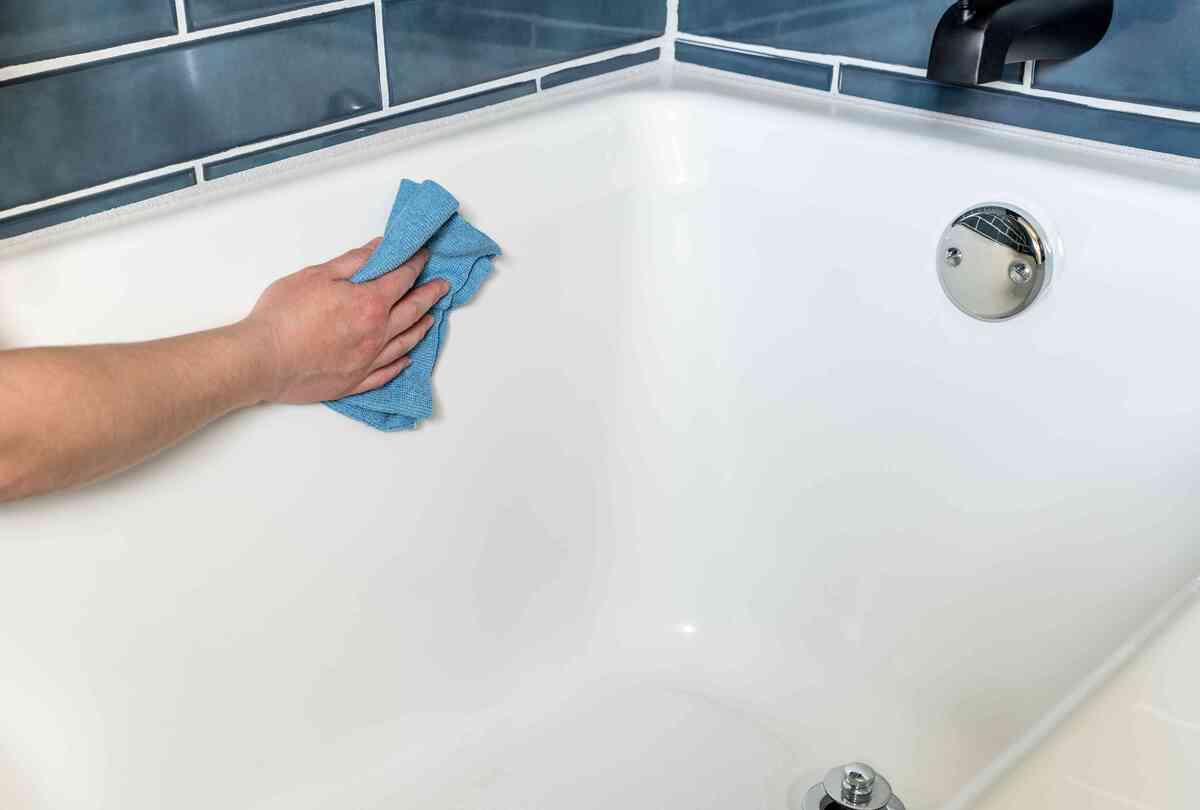
Inspect and Touch Up: After scrubbing the grout, inspect the bathtub joints to assess the progress of grout removal. Use a clean, damp cloth to wipe the grout lines and check for any remaining grout residue. If necessary, perform additional spot scrubbing to address any stubborn areas where grout remnants persist.
-
Prepare for Rinsing: Once the majority of the softened grout has been scrubbed and removed, prepare for the rinsing stage by ensuring that clean water is readily available. This will facilitate the final removal of any remaining grout particles and prepare the bathtub surface for the subsequent steps in the grout removal process.
By following these steps, you can effectively scrub the grout to remove the softened material from the bathtub joints. This meticulous process ensures that the grout lines are thoroughly cleaned and prepared for the final stages of grout removal. With the grout scrubbed and the bathtub joints cleared of softened grout, you're ready to proceed to the next phase of the grout removal process.
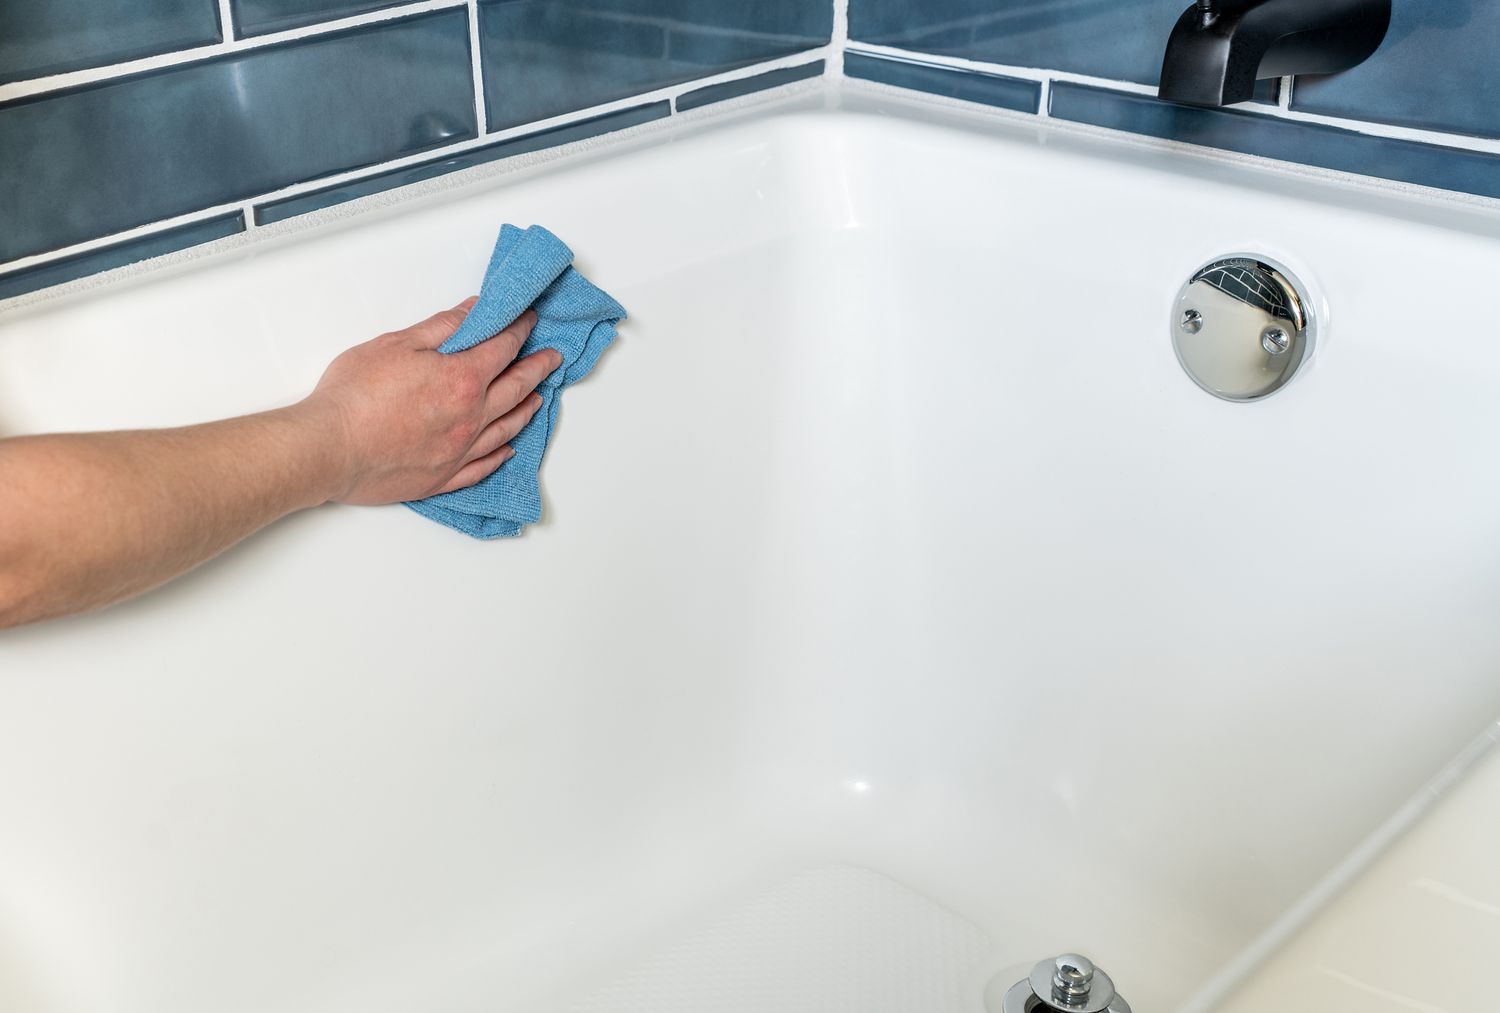
Step 4: Rinse and Dry the Bathtub
After the thorough scrubbing of the grout, the next crucial step is to rinse and dry the bathtub to remove any remaining grout residue and prepare the surface for the subsequent steps in the grout removal process. This stage is essential for ensuring that the bathtub is clean, free from grout particles, and ready for regrouting or sealing. Here's a detailed guide on how to effectively rinse and dry the bathtub:
Rinsing the Bathtub Surface
-
Clean Water Rinse: Begin by using clean water to thoroughly rinse the bathtub surface, focusing on the areas where grout removal took place. This rinsing process helps flush out any remaining grout particles and residue, ensuring that the bathtub joints are clear and free from debris.
-
Use a Sponge or Cloth: Dip a sponge or clean cloth into the water and gently wipe the bathtub surface, paying particular attention to the grout lines. This manual rinsing method allows for targeted cleaning and ensures that any lingering grout remnants are effectively removed.
-
Inspect for Residue: After the initial rinsing, inspect the bathtub surface to check for any remaining grout residue. If traces of grout are still present, repeat the rinsing process to ensure thorough removal of all grout particles.
Drying the Bathtub Surface
-
Dry with a Towel: Once the bathtub has been thoroughly rinsed, use a dry towel to carefully pat the surface and absorb any excess water. This drying process helps prevent water spots and ensures that the bathtub surface is left clean and dry.
-
Air Circulation: To expedite the drying process, open windows and doors to allow for natural air circulation within the bathroom. This promotes faster evaporation of any remaining moisture on the bathtub surface, leaving it completely dry and ready for the next steps.
-
Inspect for Dryness: After drying the bathtub surface, visually inspect the grout lines and surrounding areas to ensure that the surface is completely dry. This visual assessment helps confirm that the bathtub is ready for regrouting or sealing, with no residual moisture that could affect the application of new grout or sealant.
By meticulously rinsing and drying the bathtub, you ensure that the grout removal process is completed with precision and thoroughness. This final stage sets the stage for the subsequent steps, whether it's regrouting the bathtub to achieve a fresh look or applying new sealant to protect the joints. With the bathtub surface clean, dry, and free from grout residue, you're now prepared to proceed with the next phase of enhancing your bathtub's appearance and functionality.
Conclusion
In conclusion, the process of removing grout from a bathtub is a transformative endeavor that not only revitalizes the appearance of the bathtub but also contributes to the overall cleanliness and hygiene of the bathroom. By following the step-by-step guide outlined in this comprehensive article, you can effectively restore the beauty of your bathtub and create a clean, polished environment in your bathroom.
The journey of grout removal begins with meticulous preparation, emphasizing the importance of safety precautions, gathering the necessary tools and materials, and creating a conducive workspace. Prioritizing safety and organization sets the stage for a smooth and controlled grout removal process, ensuring that you can proceed with confidence and efficiency.
The application of grout remover marks a pivotal stage in the process, where the targeted grout lines are treated to soften and break down the old grout material. Whether utilizing a chemical grout remover or a non-chemical alternative, the application process sets the foundation for the subsequent stages of grout removal, paving the way for a thorough and effective transformation.
Scrubbing the grout follows, requiring attention to detail and a methodical approach to ensure that the softened grout is effectively dislodged and removed from the bathtub joints. This meticulous process guarantees that the grout lines are thoroughly cleaned, setting the stage for the final phase of grout removal.
Rinsing and drying the bathtub surface represent the culmination of the grout removal process, where any remaining grout residue is meticulously removed, and the surface is left clean, dry, and ready for the next steps. This final stage ensures that the bathtub is prepared for regrouting or sealing, setting the stage for a fresh and polished appearance.
In essence, the process of removing grout from a bathtub is not only a practical endeavor but also a transformative journey that rejuvenates the entire bathroom space. By embracing the steps outlined in this guide, you can breathe new life into your bathtub, creating a clean, hygienic, and visually appealing environment that enhances the overall ambiance of your home. So, roll up your sleeves and embark on the journey of grout removal, knowing that a fresh and revitalized bathtub awaits at the end of the process.
Frequently Asked Questions about How To Remove Grout From Bathtub
Was this page helpful?
At Storables.com, we guarantee accurate and reliable information. Our content, validated by Expert Board Contributors, is crafted following stringent Editorial Policies. We're committed to providing you with well-researched, expert-backed insights for all your informational needs.
0 thoughts on “How To Remove Grout From Bathtub”