Articles
How To Hang A Hook In The Ceiling
Modified: August 28, 2024
Learn the step-by-step process of hanging a hook in the ceiling with our informative articles. Get the job done quickly and efficiently.
(Many of the links in this article redirect to a specific reviewed product. Your purchase of these products through affiliate links helps to generate commission for Storables.com, at no extra cost. Learn more)
Introduction
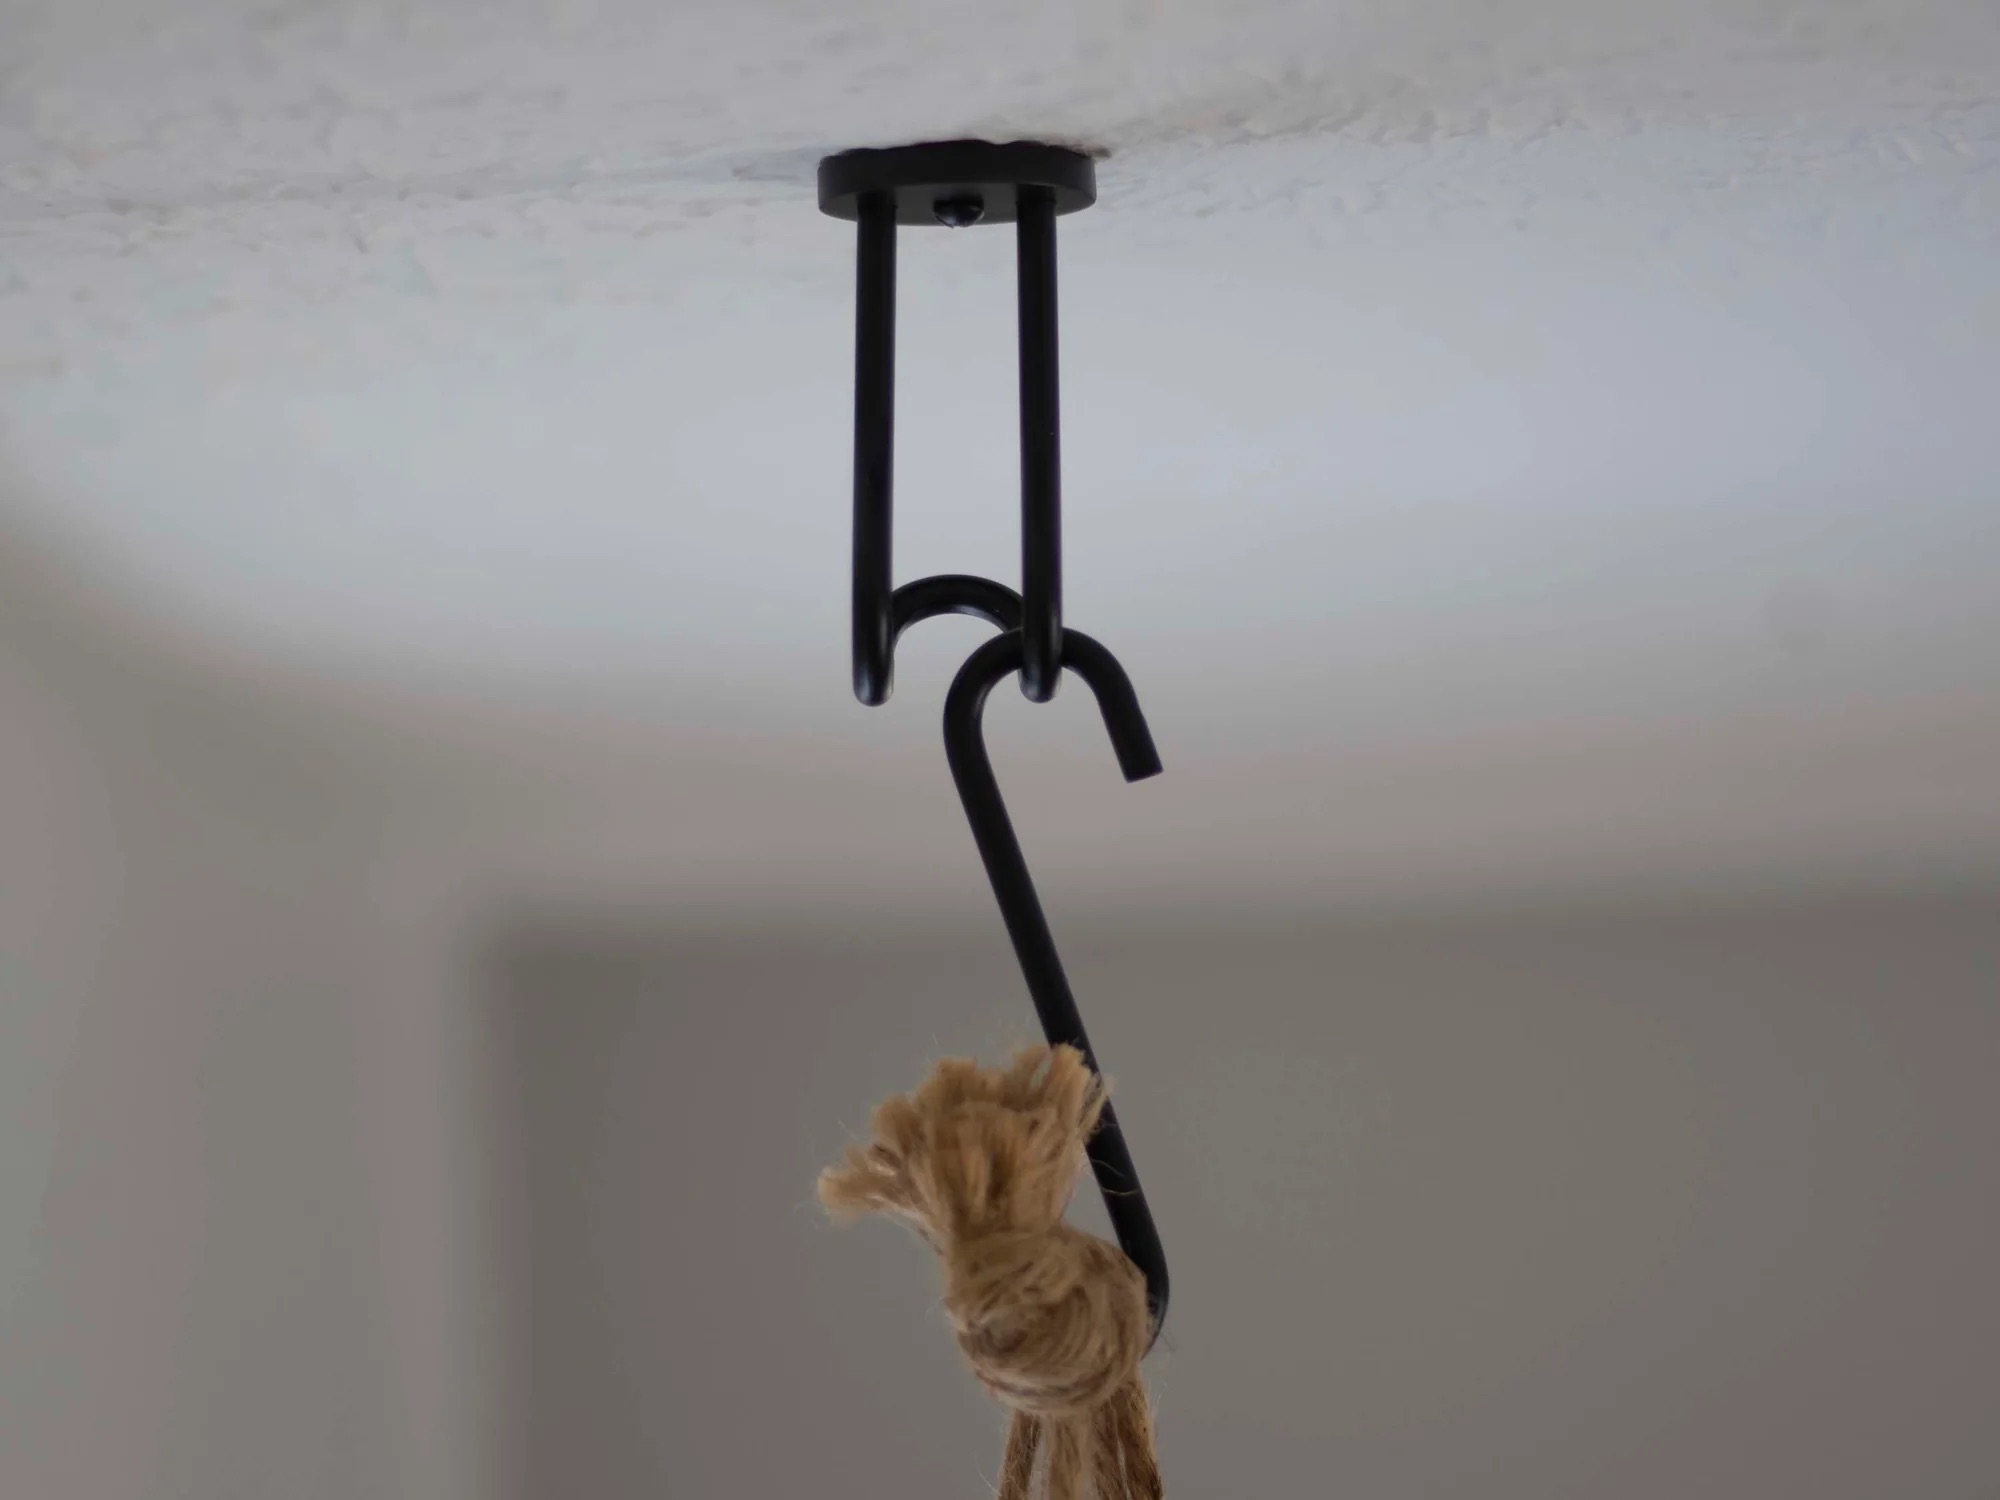
Are you looking to hang a hook in the ceiling? Whether it’s for hanging plants, decorations, or even a hammock, installing a hook in your ceiling can provide a convenient and versatile solution. But where do you start? How do you ensure the hook is securely installed and capable of supporting the weight you require?
In this article, we will guide you through the steps to hang a hook in your ceiling safely and effectively. By following these instructions, you’ll be able to confidently tackle this task and enjoy the benefits of having a hook in your ceiling for various purposes.
Before we begin, it is important to mention that safety should always be a priority. If you’re unsure about any step or if you don’t have the necessary tools or experience, it may be best to consult a professional or seek assistance. Now, let’s dive into the process of hanging a hook in the ceiling!
Key Takeaways:
- Ensure safety and functionality by gathering necessary materials, determining the ideal location, and identifying a suitable anchor point before installing a hook in your ceiling.
- Test the stability and weight capacity of the hook to ensure a secure installation, allowing you to confidently hang various items for added convenience and versatility.
Read more: How To Hook Up A Ceiling Fan
Step 1: Gather necessary materials
Before you can start installing a hook in your ceiling, it’s important to gather all the necessary materials. Having everything ready beforehand will make the process much smoother and save you from interruptions or unplanned trips to the hardware store.
Here’s a list of materials you’ll typically need:
- A sturdy step ladder or stool: This will allow you to reach the ceiling safely and efficiently.
- A measuring tape: It will help you determine the ideal location and ensure proper spacing.
- A pencil or marker: This will be used to mark the spot where the hook will be installed.
- A stud finder (optional): If you’re attaching the hook to a wooden ceiling joist, a stud finder can help you locate the right spot.
- Drill and drill bits: You’ll need these to create the pilot hole for the hook or anchor.
- A toggle bolt or ceiling hook: Depending on your specific needs and the weight you intend to hang, choose a suitable hook or anchor that can support the load.
- A screwdriver or drill with appropriate attachment: This will be used to secure the hook in place.
Once you have gathered all the necessary materials, ensure that they are in good condition and functioning properly. It’s also a good idea to read the instructions or guidelines provided by the manufacturer of the hook or anchor you’ll be using, as they may offer specific recommendations related to installation.
With all the materials ready, you’re now equipped to move on to the next step: determining the ideal location for your ceiling hook.
Step 2: Determine the ideal location
Choosing the right location for your ceiling hook is crucial to ensure stability and functionality. Before you mark the spot, consider the following factors:
- Functionality: What will you be hanging from the hook? Determine the purpose and weight of the item you intend to hang. This will help you determine the best location that can support the load.
- Ceiling structure: Assess the type of ceiling you have. Is it drywall, wood, concrete, or another material? This information will help determine the type of hook or anchor needed.
- Clearance: Consider the clearance required for the item to hang comfortably without obstructing any doors, windows, or walkways.
- Aesthetic considerations: If the hook will be visible, consider the overall aesthetics and ensure it complements the room’s design.
Once you’ve taken these factors into account, use a measuring tape to determine the exact location. Mark the spot lightly with a pencil or marker. If you’re hanging multiple hooks, ensure appropriate spacing between them to maintain balance and functionality.
If you’re attaching the hook to a wooden ceiling joist, use a stud finder to locate the right spot. This will provide additional stability and support.
Keep in mind that if you’re unsure about the ceiling structure or if you’re unable to locate a suitable spot, it’s advised to consult a professional who can guide you in choosing the proper location for your ceiling hook.
With the ideal location determined, you’re ready to move on to the next step: identifying a suitable ceiling anchor point.
Step 3: Identify suitable ceiling anchor point
Identifying a suitable anchor point in your ceiling is crucial for the stability and effectiveness of the hook installation. The type of anchor will depend on the material of your ceiling and the weight you intend to hang. Here are a few options to consider:
- Wooden ceiling joists: If you have a wooden ceiling, locating a joist is an ideal anchor point. Use a stud finder or tap the ceiling with your knuckles to identify a solid, less hollow-sounding area.
- Drywall or plaster ceilings: For drywall or plaster ceilings without wooden joists, you’ll need to use anchor systems like toggle bolts or drywall anchors. These anchors provide added support and prevent the hook from pulling out of the ceiling.
- Concrete or masonry ceilings: If you have a concrete or masonry ceiling, special anchors like concrete screws or expansion anchors will be required. These are designed to penetrate and secure into the hard surface.
Once you’ve determined the anchor point based on your ceiling type, mark it accurately using a pencil or marker. Ensure the mark is clearly visible and aligns with the ideal location you determined in the previous step.
It’s important to note that if you’re unsure about the ceiling structure or if you’re uncertain about which anchor point to choose, it’s best to consult a professional who can provide guidance specific to your situation.
Now that you have identified a suitable anchor point, it’s time to move on to the next step: installing a toggle bolt or ceiling hook.
When hanging a hook in the ceiling, be sure to locate a ceiling joist for a secure anchor. Use a stud finder to locate the joist, then drill a pilot hole and screw in the hook securely.
Step 4: Install a toggle bolt or ceiling hook
With the anchor point identified, it’s time to install the toggle bolt or ceiling hook. The type of installation will depend on the weight of the item you intend to hang and the type of anchor you are using. Here’s how to proceed:
- If you’re using a toggle bolt:
- Insert the pointed end of the toggle bolt through the hole in the ceiling. Ensure that the wings of the bolt are pressed tightly against the head.
- Using a screwdriver or drill with the appropriate attachment, start turning the bolt clockwise. As you do so, the wings will extend and secure against the backside of the ceiling, providing stability.
- Continue turning until the bolt is firmly in place, but be careful not to overtighten, as it can damage the ceiling.
- If you’re using a ceiling hook:
- Position the hook against the marked spot on the ceiling. Ensure it is aligned and level.
- Using a pencil or marker, mark the spot where the anchor holes or screws need to be inserted.
- Follow the manufacturer’s instructions to install the anchor holes or screws into the marked spots.
- Once the holes or screws are in place, position the hook over the anchor holes or screws and securely tighten it using a screwdriver or drill.
Make sure to double-check that the toggle bolt or ceiling hook is properly installed and secure. Give it a gentle tug to ensure it can support the weight you intend to hang.
Once the toggle bolt or ceiling hook is securely in place, it’s time to move on to the next step: securing the hook in place.
Read more: How To Hook Up A Ceiling Light
Step 5: Secure the hook in place
Now that the toggle bolt or ceiling hook is installed, it’s important to secure the hook in place to ensure it stays in position and can support the weight of the item you will be hanging. Here’s what you need to do:
- If you’re using a toggle bolt:
- Once the toggle bolt is in place, ensure the hook is threaded onto the bolt.
- Using a screwdriver or drill, carefully tighten the screw on the hook, securing it against the ceiling.
- Avoid overtightening, as it can damage the ceiling or weaken the toggle bolt. Ensure the hook is securely fastened, but not excessively tightened.
- If you’re using a ceiling hook:
- Ensure the hook is positioned over the anchor holes or screws.
- Using a screwdriver or drill, secure the hook by tightening the screws or tightening the anchor mechanisms as per the manufacturer’s instructions.
- Check that the hook is stable and feels secure when gently tugged or moved.
It’s important to ensure that the hook is tightly secured in place before proceeding. This will minimize the risk of it coming loose or falling, providing you with a safe and reliable hanging solution.
Now that the hook is securely in place, you can move on to the final step: testing the stability of the installation.
Step 6: Test the stability
Before you hang anything on the hook, it’s crucial to test the stability of the installation. This step ensures that the hook is securely fastened and capable of supporting the weight you intend to hang. Here’s how to proceed:
- Gently apply downward pressure on the hook or give it a light tug to check if it feels secure. If the hook wobbles or feels unstable, it may indicate a loose installation.
- If you notice any instability, it’s important to reinforce the installation by tightening the screws or adjusting the anchor mechanism as needed. Take the necessary steps to ensure a stable and secure hook.
- If the hook feels solid and stable, you can proceed to the next step: testing the weight capacity.
To test the weight capacity of the hook, gradually add some weight to it. Start with a small amount and monitor the hook’s response. Observe if there are any signs of strain, wobbling, or bending.
If the hook shows any signs of instability or does not support the desired weight, it’s crucial to reassess the installation. You may need to consult a professional or consider alternative anchor options to ensure proper support.
Once you are satisfied with the stability and weight capacity of the hook, you can confidently proceed with hanging your item, whether it’s a plant, decoration, or any other object you intended to hang.
Remember, it’s always important to be mindful of the weight limitations and guidelines provided by the hook or anchor manufacturer to maintain the integrity of the installation.
Congratulations! You have successfully installed a hook in your ceiling. Enjoy the convenience and versatility it provides.
However, please note that if you require further support or if you have any doubts about the installation process, it’s always recommended to seek professional assistance to ensure safety and proper functionality.
Conclusion
Installing a hook in your ceiling can provide a functional and versatile solution for hanging various items. By following the steps outlined in this article, you have learned how to install a hook safely and effectively.
Remember, safety should always be a priority when undertaking any DIY project. If you are unsure or lack the necessary tools or experience, it’s best to consult a professional to ensure a proper and secure installation.
Throughout the process, we have covered essential steps such as gathering the necessary materials, determining the ideal location, identifying a suitable anchor point, installing a toggle bolt or ceiling hook, securing the hook in place, and testing its stability.
By carefully selecting the appropriate anchor point, using the right materials, and following the manufacturer’s guidelines, you can ensure a sturdy and reliable installation that can safely support the weight of your desired items.
Always remember to test the stability of the hook before hanging anything on it and periodically check its condition to ensure ongoing performance and safety.
Now that you have successfully installed a hook in your ceiling, you can enjoy the convenience of hanging plants, decorations, or other items to enhance your living space.
However, if you have any doubts or concerns during the installation process, it is advisable to seek professional advice or assistance to ensure a secure and reliable installation.
With the right tools, knowledge, and precautions, you can confidently and safely hang a hook in your ceiling and enjoy the benefits it brings for years to come.
Frequently Asked Questions about How To Hang A Hook In The Ceiling
Was this page helpful?
At Storables.com, we guarantee accurate and reliable information. Our content, validated by Expert Board Contributors, is crafted following stringent Editorial Policies. We're committed to providing you with well-researched, expert-backed insights for all your informational needs.


0 thoughts on “How To Hang A Hook In The Ceiling”