Home>Furniture & Design>Bathroom Accessories>How To Replace A Toilet Bowl
Bathroom Accessories
How To Replace A Toilet Bowl
Modified: February 18, 2024
Learn how to replace a toilet bowl with our step-by-step guide. Find the best bathroom accessories and upgrade your space today.
(Many of the links in this article redirect to a specific reviewed product. Your purchase of these products through affiliate links helps to generate commission for Storables.com, at no extra cost. Learn more)
Introduction
Replacing a toilet bowl may seem like a daunting task, but with the right tools, materials, and a step-by-step guide, it can be a manageable project for any DIY enthusiast. Whether you're upgrading to a new toilet bowl for aesthetic reasons or addressing a persistent plumbing issue, this comprehensive guide will walk you through the process with clarity and confidence.
A well-functioning toilet is essential for any household, and a new toilet bowl can significantly enhance the overall functionality and appearance of your bathroom. By following the steps outlined in this guide, you can ensure a successful and efficient replacement process, ultimately contributing to the comfort and convenience of your home.
From gathering the necessary tools and materials to testing for leaks, each step is crucial in achieving a seamless transition from the old to the new. With careful attention to detail and a methodical approach, you can tackle this project with ease, saving both time and money on professional installation services.
So, roll up your sleeves, gather your tools, and let's embark on this journey to transform your bathroom with a brand-new toilet bowl. Whether you're a seasoned DIY enthusiast or a first-time home improver, this guide will equip you with the knowledge and confidence to complete the task efficiently and effectively. Let's dive into the step-by-step process and make your toilet bowl replacement a success!
Key Takeaways:
- Replacing a toilet bowl is a manageable DIY project that enhances your bathroom’s functionality and appearance. With the right tools and steps, you can save time and money while achieving a successful replacement.
- Thorough preparation, careful execution, and meticulous attention to detail are crucial for a seamless toilet bowl replacement. Testing for leaks ensures a reliable and efficient toilet system, safeguarding your bathroom against water damage.
Read more: How To Replace Rv Toilet Bowl Seals
Step 1: Gather necessary tools and materials
Before embarking on the task of replacing a toilet bowl, it's essential to gather all the necessary tools and materials to ensure a smooth and efficient process. Here's a comprehensive list of items you'll need:
Tools:
- Adjustable wrench
- Screwdriver (flathead and Phillips head)
- Putty knife
- Hacksaw
- Bucket
- Level
- Gloves
- Safety goggles
Materials:
- New toilet bowl
- Wax ring
- Toilet mounting bolts
- Toilet mounting gasket
- Toilet mounting washers
- Closet bolts
- Toilet bowl caps
- Flexible water supply line
- Teflon tape
Having these tools and materials at your disposal will ensure that you're fully equipped to tackle the project without any interruptions. It's crucial to have the right tools for the job to avoid any unnecessary delays or complications during the replacement process.
Additionally, it's advisable to wear gloves and safety goggles to protect yourself from any potential hazards, especially when dealing with plumbing and sanitation components. Safety should always be a top priority when undertaking any home improvement project.
By gathering these tools and materials in advance, you'll set the stage for a successful toilet bowl replacement. With everything at your fingertips, you can proceed to the next steps with confidence, knowing that you have the necessary resources to complete the task effectively.
Now that you have all the tools and materials ready, it's time to move on to the next step in the process: turning off the water supply. This crucial step sets the stage for the subsequent phases of the replacement process, ensuring a systematic and well-prepared approach to the project.
Step 2: Turn off the water supply
Before beginning the process of replacing a toilet bowl, it is crucial to turn off the water supply to the toilet. This step is essential to prevent any water spillage or leaks during the removal and installation of the new toilet bowl. Here's a detailed guide on how to turn off the water supply and prepare for the subsequent steps in the replacement process.
-
Locate the Shut-Off Valve: The shut-off valve is typically located behind the toilet, near the base or along the wall. It is a small valve connected to the water supply line leading to the toilet. Turn the valve clockwise to shut off the water flow to the toilet. If the valve is difficult to turn, use a pair of pliers or an adjustable wrench to gently rotate it until the water supply is completely closed off.
-
Flush the Toilet: After shutting off the water supply, flush the toilet to drain the remaining water from the tank and bowl. This will minimize the amount of water that will need to be dealt with during the removal process.
-
Disconnect the Water Supply Line: Once the toilet is flushed and the water supply is turned off, disconnect the water supply line from the toilet tank. Use an adjustable wrench to loosen the nut connecting the supply line to the bottom of the tank. Place a bucket or towel beneath the connection to catch any residual water that may drain out.
-
Ensure the Water Supply is Off: After disconnecting the water supply line, double-check to ensure that the water supply is completely turned off. This is a crucial safety measure to prevent any unexpected water flow during the subsequent steps of removing the old toilet bowl.
By following these steps to turn off the water supply, you will effectively prepare the toilet for the next phase of the replacement process. Ensuring that the water supply is securely turned off is essential for a smooth and hassle-free removal of the old toilet bowl and the installation of the new one. With the water supply safely turned off, you can proceed with confidence to the next step of removing the old toilet bowl and making way for the new one.
Read more: How To Descale A Toilet Bowl
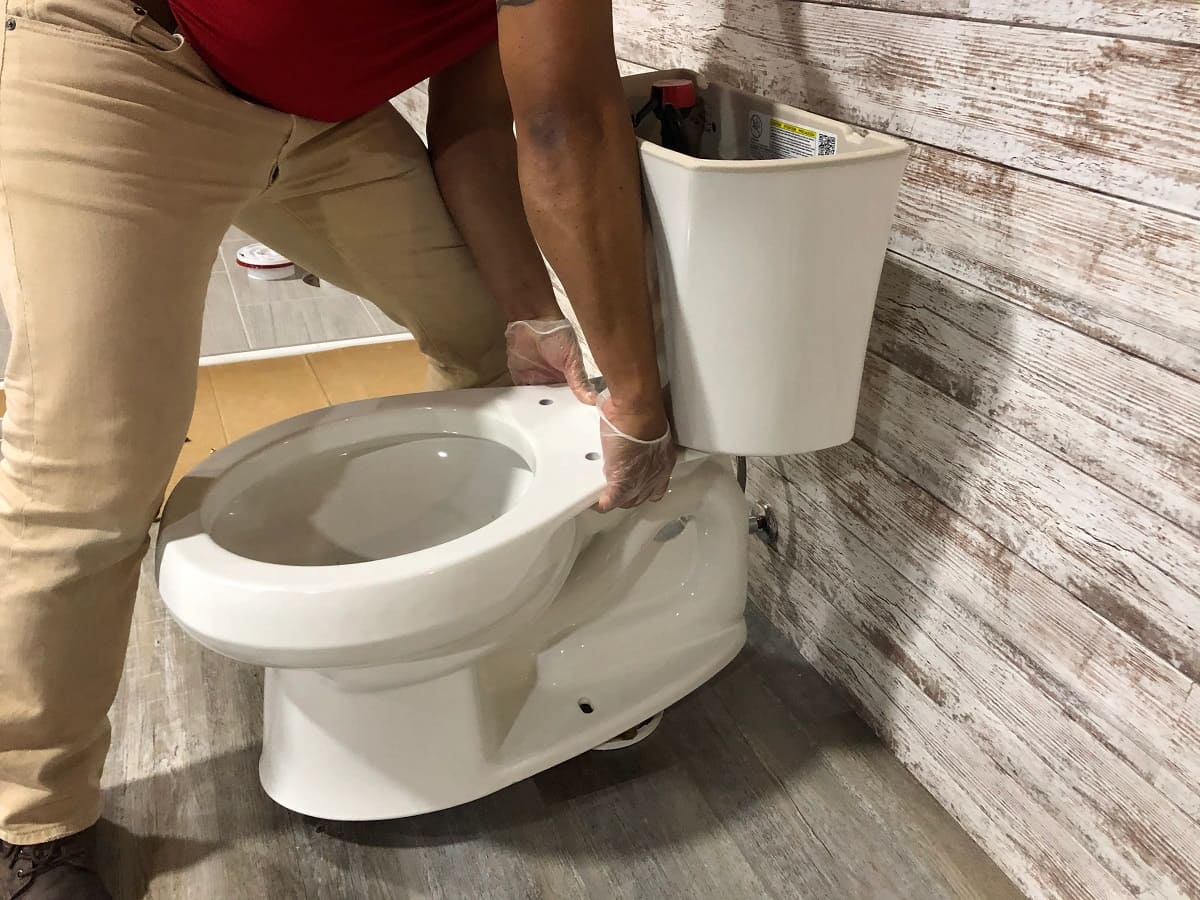
Step 3: Remove the old toilet bowl
Removing the old toilet bowl is a critical step in the process of replacing it with a new one. This phase requires careful attention to detail and a systematic approach to ensure a smooth transition. Here's a detailed guide on how to remove the old toilet bowl effectively:
-
Empty the Tank and Bowl: Start by emptying the tank and bowl of any remaining water. Use a small cup or sponge to remove as much water as possible from the tank and bowl. This will make the toilet lighter and easier to handle during the removal process.
-
Disconnect the Water Supply Line: Ensure that the water supply line is already disconnected, as outlined in the previous step. If not done earlier, use an adjustable wrench to loosen the nut connecting the supply line to the bottom of the tank. Any residual water should have been drained into a bucket or absorbed by a towel.
-
Remove the Caps and Nuts: Locate the caps covering the closet bolts at the base of the toilet. These caps can usually be pried off with a flathead screwdriver. Once the caps are removed, use an adjustable wrench to loosen and remove the nuts securing the toilet to the floor. It may be necessary to use penetrating oil if the nuts are rusted or difficult to loosen.
-
Lift and Remove the Toilet: With the nuts and caps removed, carefully lift the toilet straight up to detach it from the closet bolts and wax ring. It's essential to lift with caution to avoid damaging the floor or causing injury. Enlist the help of a partner if the toilet is heavy or awkward to lift on your own.
-
Scrape Off the Wax Ring: After removing the toilet, you'll likely find a wax ring remaining on the flange. Use a putty knife to carefully scrape off the old wax ring and any remnants from the flange. It's crucial to ensure that the flange is clean and free of debris before installing the new toilet bowl.
By following these steps to remove the old toilet bowl, you'll effectively prepare the bathroom for the installation of the new one. It's important to handle the old toilet with care and attention to detail to avoid any damage to the flooring or plumbing components. With the old toilet removed, you're now ready to proceed to the next step of installing the new toilet bowl, bringing you one step closer to completing the replacement process.
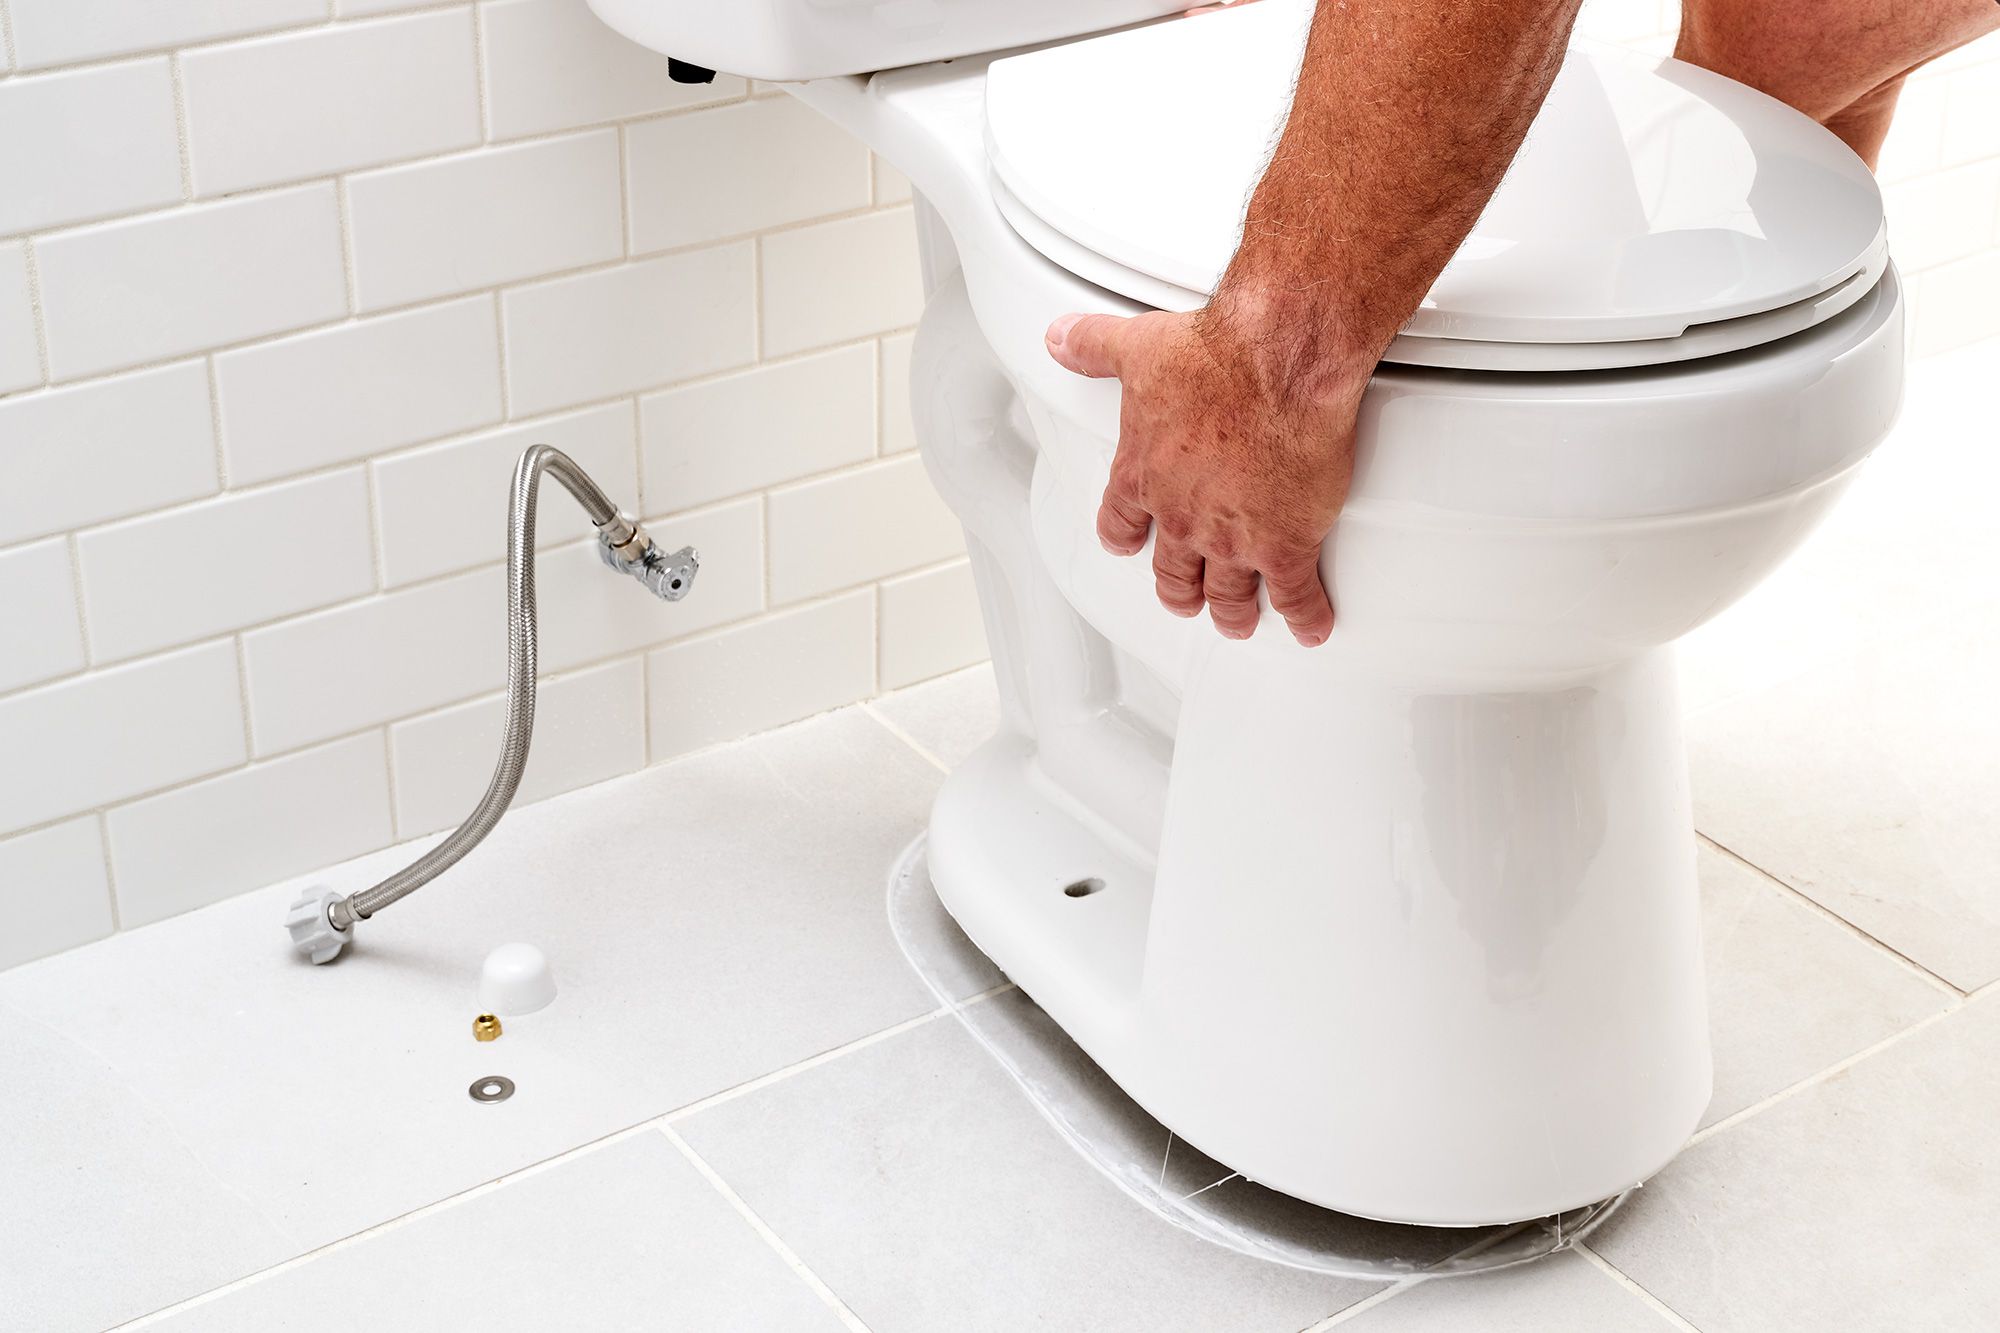
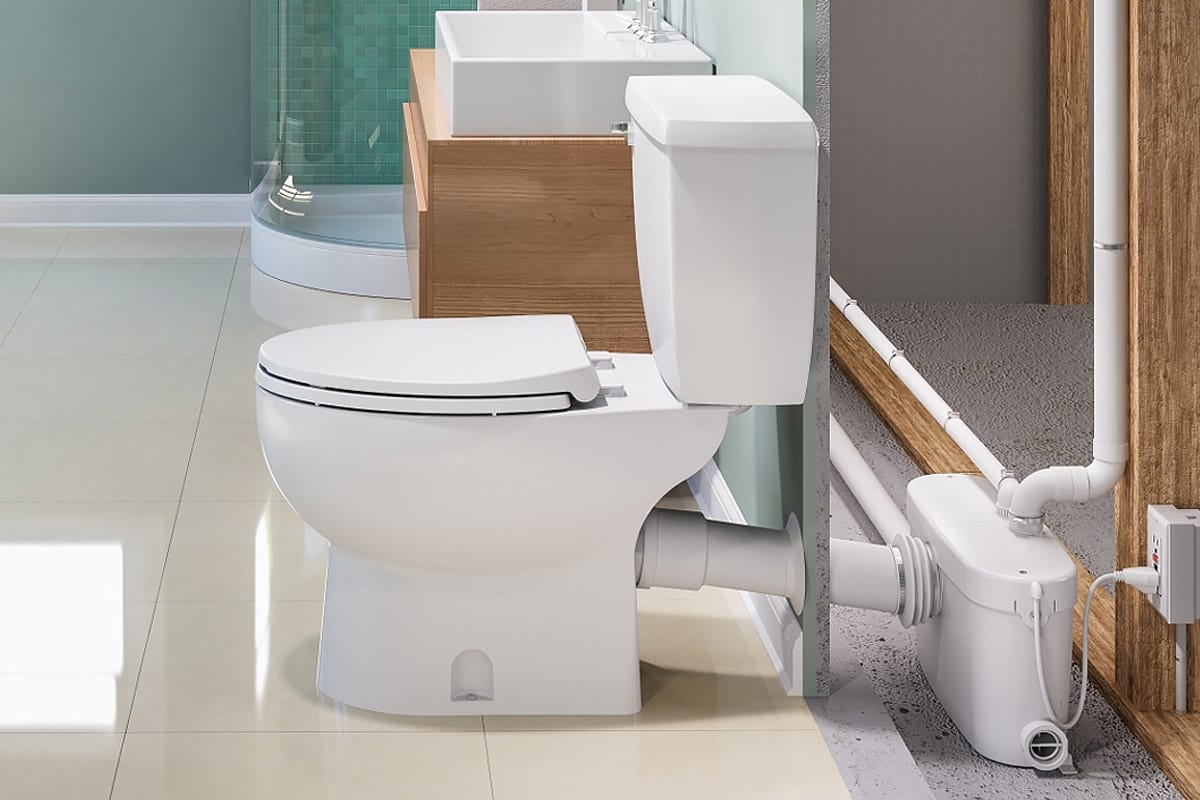
Step 4: Install the new toilet bowl
Installing a new toilet bowl is a pivotal phase in the process of replacing a toilet. This step requires precision and attention to detail to ensure a secure and functional installation. Here's a comprehensive guide on how to install the new toilet bowl effectively:
-
Prepare the Flange: Before installing the new toilet bowl, inspect the flange to ensure it is clean and free of any debris or remnants from the old wax ring. The flange should be in good condition and securely anchored to the floor. If the flange is damaged or corroded, it may need to be replaced before proceeding with the installation.
-
Position the New Toilet Bowl: Carefully position the new toilet bowl over the closet bolts and align it with the flange. Take care to lower the bowl onto the bolts and ensure that it sits evenly and securely on the floor. Use a level to check that the bowl is perfectly aligned and not tilted in any direction.
-
Secure the Toilet Bowl: Once the toilet bowl is properly positioned, place washers and nuts onto the closet bolts and hand-tighten them. Use a wrench to gently tighten the nuts, taking care not to over-tighten, which could crack the porcelain. Alternate between the nuts to ensure even pressure and a secure fit.
-
Attach the Tank: If the new toilet bowl includes a separate tank, carefully place the tank onto the bowl and secure it with the provided hardware. Follow the manufacturer's instructions for attaching the tank to the bowl, ensuring a tight and stable connection.
-
Connect the Water Supply: Reconnect the water supply line to the bottom of the tank, ensuring a snug fit without over-tightening. Use Teflon tape on the threads to prevent any potential leaks. Once the supply line is securely connected, turn on the water supply and allow the tank to fill.
-
Test for Stability: Gently rock the toilet bowl from side to side to ensure that it is stable and securely anchored to the floor. If there is any wobbling or instability, recheck the closet bolts and nuts to ensure they are properly tightened.
-
Apply Caulk (Optional): To provide a finished look and prevent water seepage, consider applying a thin bead of caulk around the base of the toilet bowl where it meets the floor. This step is optional but can enhance the overall appearance and seal any gaps.
By following these steps to install the new toilet bowl, you'll effectively complete a crucial phase of the replacement process. It's essential to take your time and ensure that the installation is done with precision and care to guarantee a functional and reliable toilet. With the new toilet bowl securely in place, you're now ready to proceed to the next step of reconnecting the water supply and testing for leaks, bringing you closer to the successful completion of the replacement project.
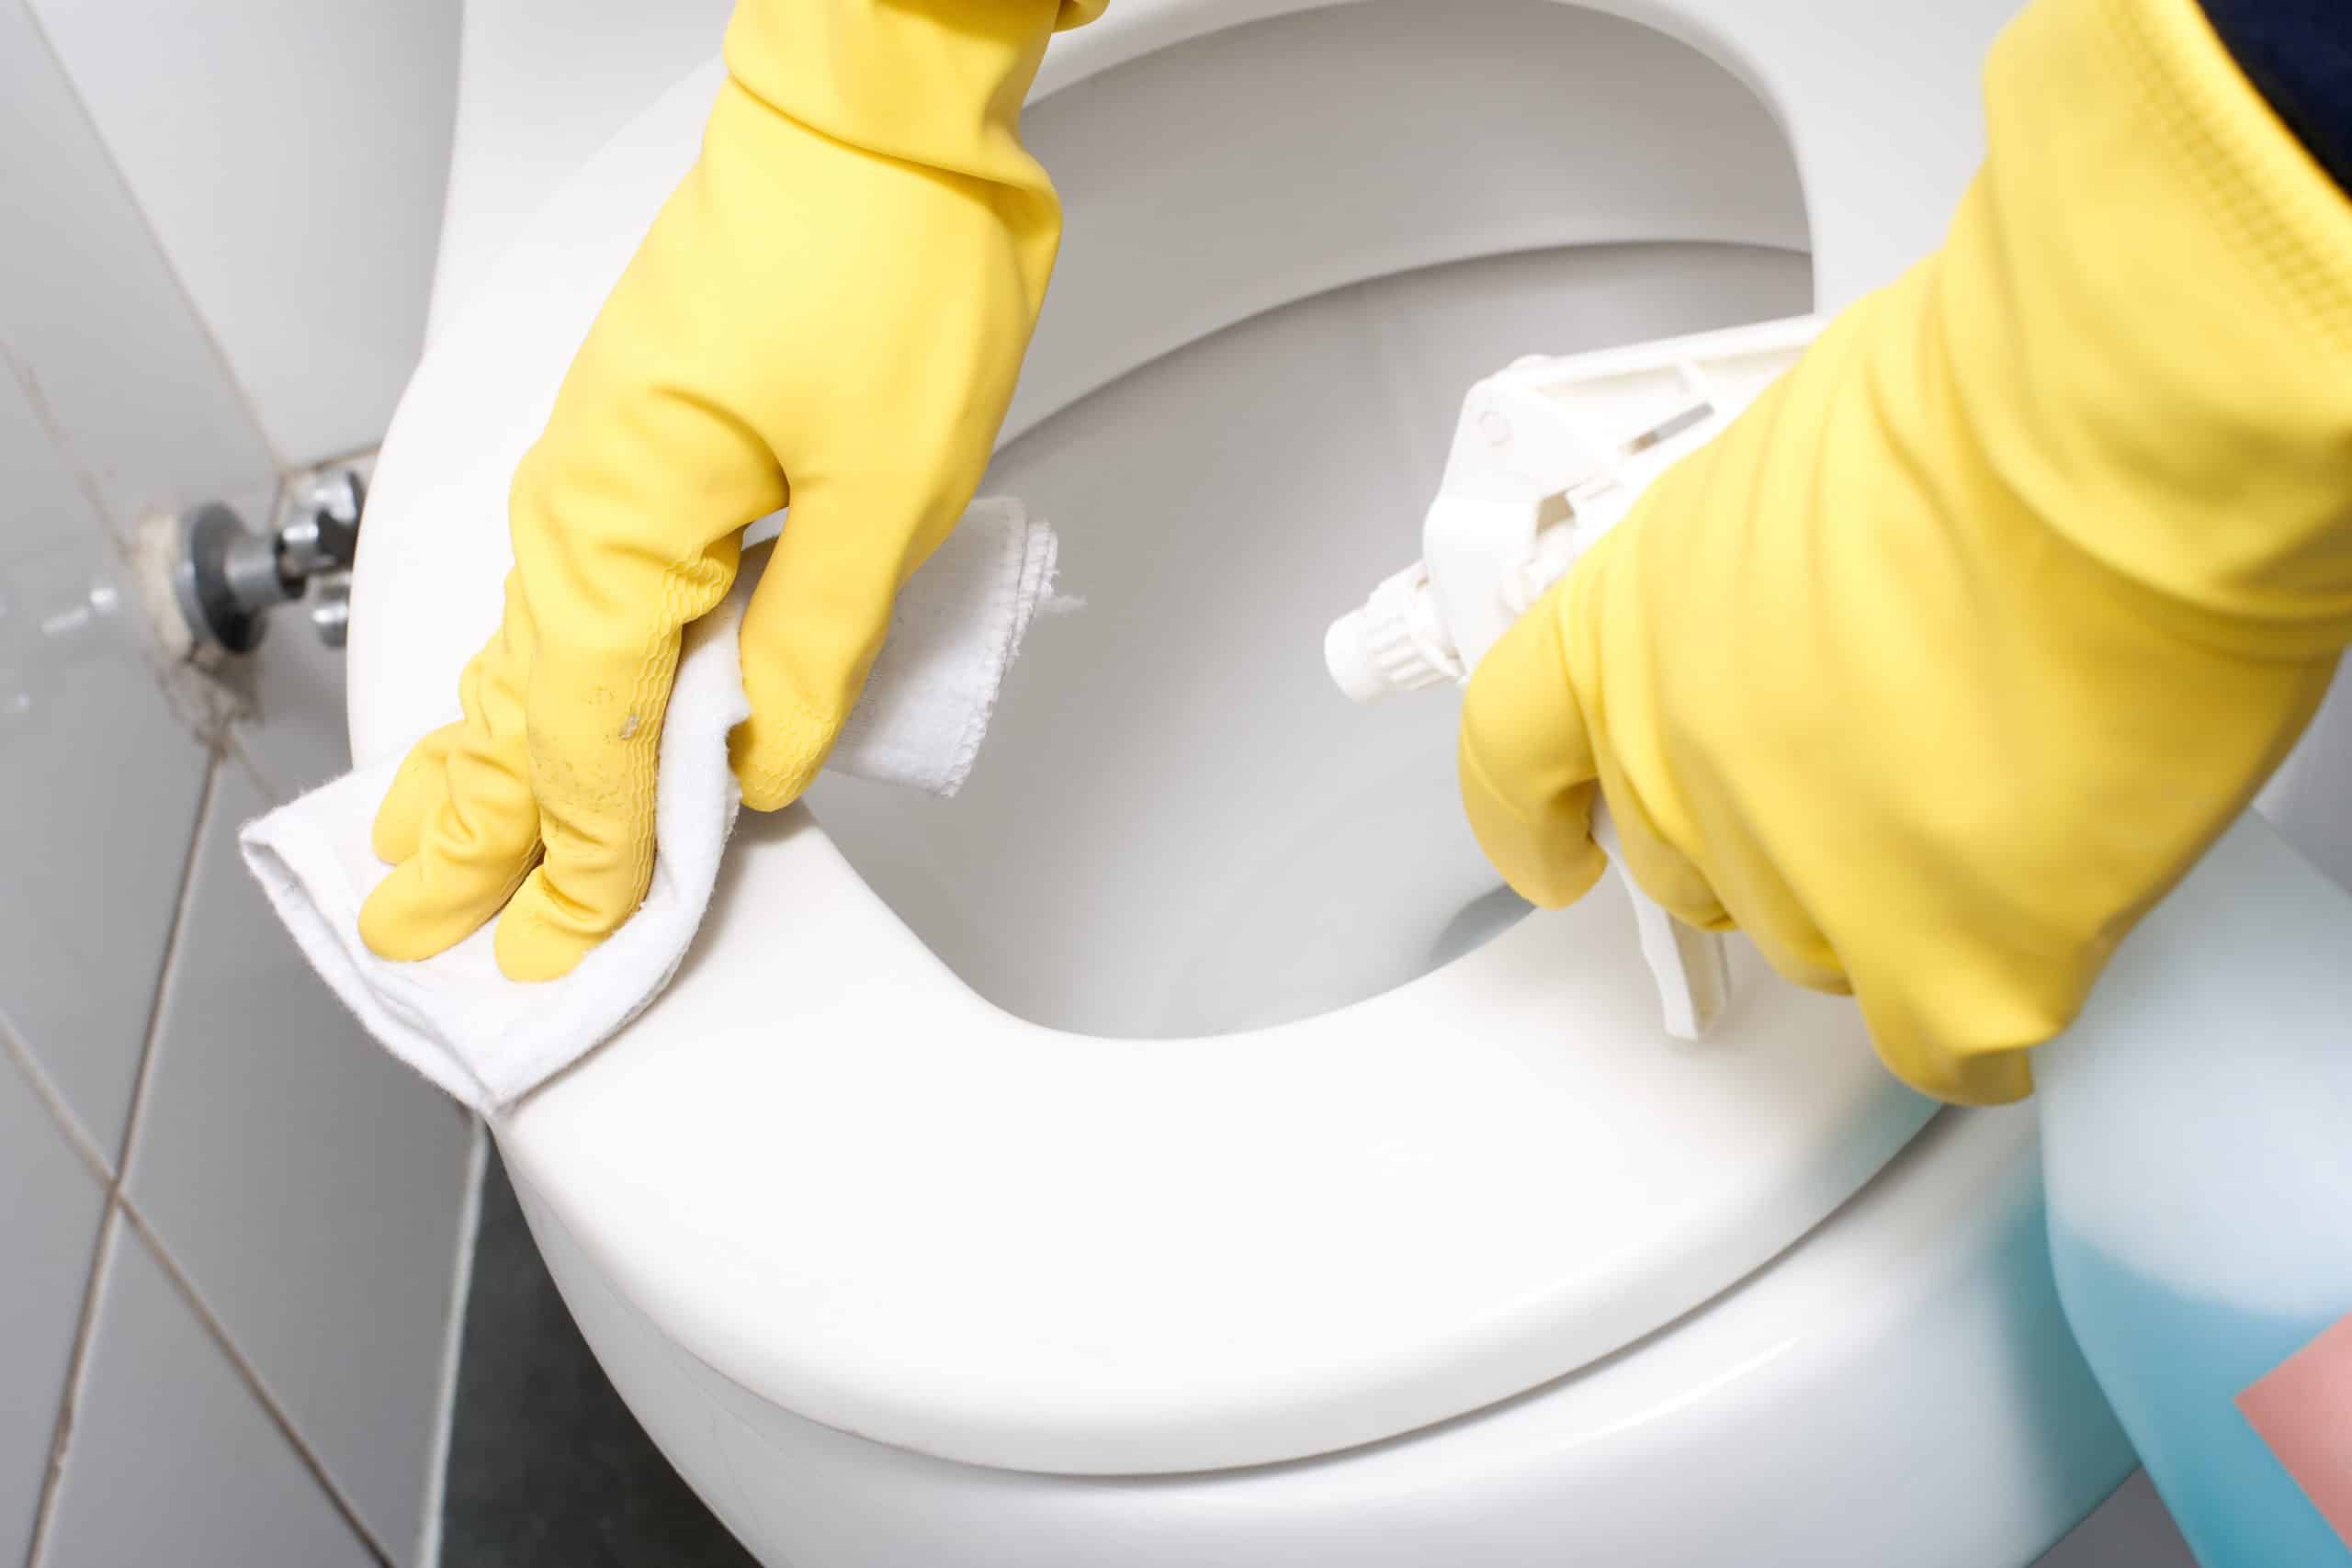
Before removing the old toilet bowl, make sure to turn off the water supply and flush the toilet to empty the tank. This will make the removal process cleaner and easier.
Step 5: Reconnect the water supply
With the new toilet bowl securely installed, the next critical step in the replacement process is to reconnect the water supply. This phase is essential to restore the functionality of the toilet and ensure a seamless transition to its operational state. Here's a detailed guide on how to reconnect the water supply effectively:
-
Inspect the Water Supply Line: Before reconnecting the water supply, carefully inspect the flexible water supply line for any signs of damage or wear. Ensure that the line is free from kinks, cracks, or deterioration that could lead to leaks or water flow issues. If any damage is detected, it's crucial to replace the supply line with a new, high-quality component to guarantee optimal performance.
-
Attach the Water Supply Line: With the inspection complete, carefully attach the flexible water supply line to the bottom of the toilet tank. Ensure that the connection is secure and snug, using an adjustable wrench to tighten the nut without over-tightening, which could cause damage to the threads or the tank itself. Applying Teflon tape to the threads can help create a watertight seal and prevent potential leaks.
-
Turn On the Water Supply: Once the water supply line is securely connected, it's time to turn on the water supply to the toilet. Slowly open the shut-off valve in a clockwise direction to allow water to flow into the tank. Monitor the connection for any signs of leaks or drips, and be prepared to quickly turn off the water supply if any issues arise.
-
Fill and Test the Tank: As the water supply is restored, the tank will begin to fill with water. Keep a close eye on the tank to ensure that it fills to the appropriate level without any irregularities. Once the tank is filled, flush the toilet to verify that the water flows smoothly into the bowl and that the flushing mechanism operates as intended.
-
Check for Leaks: After the tank has been filled and the toilet has been flushed, carefully inspect the area around the water supply line and the base of the toilet for any signs of leaks. Look for water drips, pooling, or dampness, indicating potential issues with the water supply connection or the wax ring seal. Address any leaks promptly to prevent water damage and ensure the proper functioning of the toilet.
By following these steps to reconnect the water supply, you'll effectively complete the essential phase of restoring the toilet's functionality after the installation of the new bowl. It's crucial to pay close attention to the water supply connection and monitor for any signs of leaks to guarantee a reliable and efficient toilet system. With the water supply reconnected and tested, you're now ready to proceed to the final step of testing for leaks, bringing you closer to the successful completion of the replacement project.
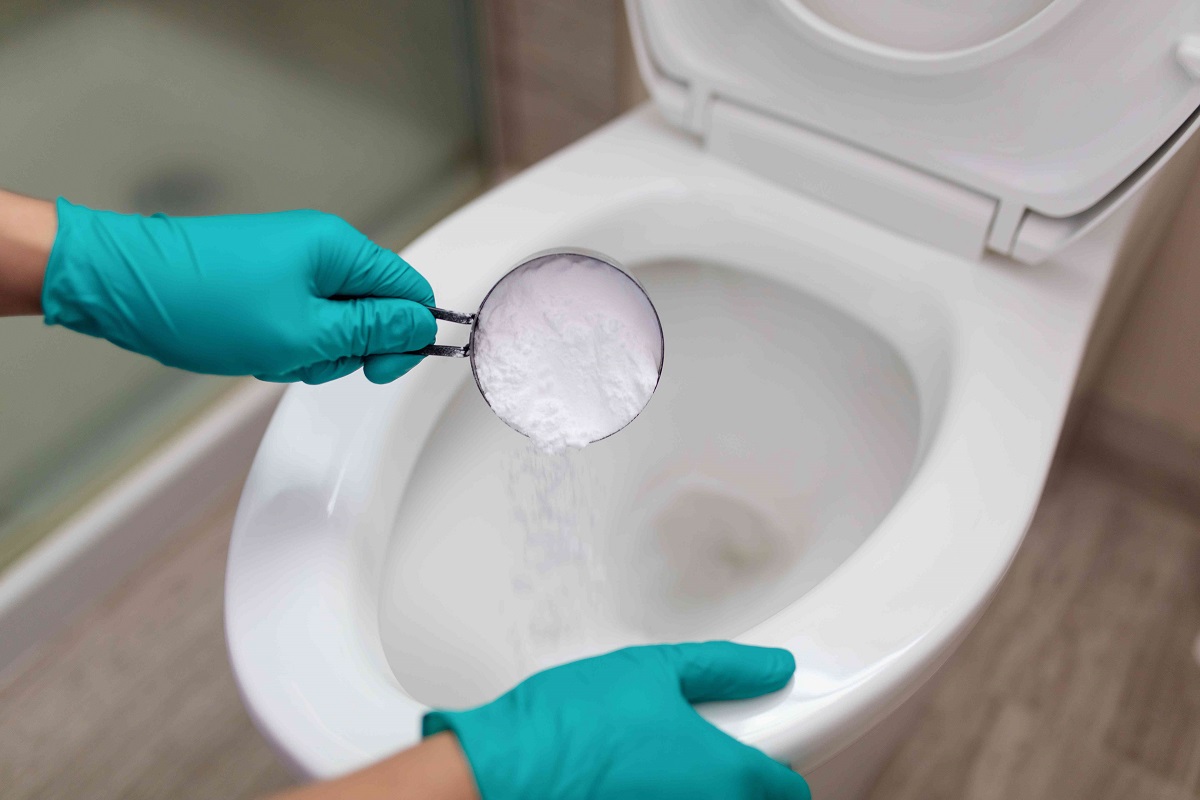
Step 6: Test for leaks
After completing the installation of the new toilet bowl and reconnecting the water supply, it is crucial to thoroughly test for leaks to ensure the integrity of the entire system. This step is essential for identifying and addressing any potential issues that could compromise the functionality of the toilet and lead to water damage in the bathroom. Here's a detailed guide on how to effectively test for leaks and safeguard the performance of the newly installed toilet bowl:
-
Inspect the Water Supply Connection: Begin by closely examining the water supply line connection to the toilet tank. Check for any signs of moisture, drips, or pooling water around the connection point. Even minor leaks can indicate a faulty seal or improper tightening, which should be promptly addressed to prevent water damage.
-
Examine the Base of the Toilet: Carefully inspect the area around the base of the toilet for any indications of leaks. Look for water seepage, dampness, or discoloration of the flooring, as these can be telltale signs of a compromised wax ring seal or an unstable toilet bowl. Addressing any leaks at this stage is crucial to prevent water from seeping into the subfloor and causing structural damage.
-
Flush the Toilet Repeatedly: Flush the toilet multiple times to observe the water flow and ensure that the flushing mechanism operates smoothly without any irregularities. Listen for any unusual sounds or vibrations that could indicate a malfunction in the flushing system. Additionally, monitor the tank and bowl for any unexpected water accumulation or seepage during and after flushing.
-
Monitor Over an Extended Period: After conducting initial tests, it's advisable to monitor the toilet and its surroundings over an extended period, such as several hours or overnight. This prolonged observation can reveal subtle leaks or intermittent issues that may not be immediately apparent during the initial testing. Patience and vigilance during this monitoring phase can help detect and address any hidden leaks.
-
Addressing Identified Leaks: If any leaks are detected during the testing process, it's crucial to address them promptly. Tighten the water supply line connection, replace the wax ring, or adjust the toilet bowl's positioning as necessary to eliminate leaks. Ignoring or delaying the resolution of leaks can lead to extensive water damage and compromise the functionality of the toilet.
By meticulously testing for leaks and promptly addressing any identified issues, you can ensure the reliability and performance of the newly installed toilet bowl. Thorough testing and vigilant observation are essential for safeguarding your bathroom against water damage and maintaining a fully functional and efficient toilet system.
Read more: How To Dispose Of A Toilet Bowl
Conclusion
Congratulations on successfully completing the replacement of your toilet bowl! By following the step-by-step guide outlined in this comprehensive tutorial, you have not only enhanced the functionality and aesthetics of your bathroom but also demonstrated your ability to tackle a significant home improvement project with confidence and precision.
The process of replacing a toilet bowl may have initially seemed daunting, but your commitment to thorough preparation, careful execution, and meticulous attention to detail has resulted in a seamless and successful outcome. From gathering the necessary tools and materials to testing for leaks, each phase of the replacement process has contributed to the overall transformation of your bathroom.
As you reflect on the journey from removing the old toilet bowl to installing the new one, it's important to acknowledge the sense of accomplishment that comes with completing a hands-on project that directly impacts the comfort and convenience of your home. Your dedication to mastering the intricacies of home maintenance and improvement is a testament to your resourcefulness and commitment to creating a living space that reflects your personal standards of quality and functionality.
Furthermore, the skills and knowledge gained from this experience can serve as a foundation for future home improvement endeavors, empowering you to take on new challenges with confidence and proficiency. Whether it's tackling plumbing repairs, installing fixtures, or embarking on larger renovation projects, the expertise acquired through the process of replacing a toilet bowl positions you as a capable and resourceful homeowner.
By investing your time and effort into this project, you have not only saved on professional installation costs but also gained a deeper understanding of the essential components that contribute to a well-functioning toilet system. Your proactive approach to home maintenance and improvement sets a valuable precedent for maintaining the overall integrity and functionality of your living space.
As you admire the newly installed toilet bowl and revel in the satisfaction of a job well done, take pride in the fact that you have successfully navigated a significant home improvement task, contributing to the overall comfort and functionality of your home. Your dedication to excellence and your willingness to take on new challenges are commendable, and they will undoubtedly continue to enrich your experience as a homeowner.
With the completion of the toilet bowl replacement project, you have not only transformed your bathroom but also demonstrated your ability to take on and conquer new challenges, setting the stage for future home improvement endeavors. Your commitment to excellence and your proactive approach to maintaining and enhancing your living space are commendable, and they will undoubtedly continue to enrich your experience as a homeowner.
Frequently Asked Questions about How To Replace A Toilet Bowl
Was this page helpful?
At Storables.com, we guarantee accurate and reliable information. Our content, validated by Expert Board Contributors, is crafted following stringent Editorial Policies. We're committed to providing you with well-researched, expert-backed insights for all your informational needs.

0 thoughts on “How To Replace A Toilet Bowl”