Home>Furniture & Design>Bathroom Accessories>How To Remove Sand From A Bathtub Drain
Bathroom Accessories
How To Remove Sand From A Bathtub Drain
Modified: February 28, 2024
Learn effective ways to remove sand from your bathtub drain with our expert tips and bathroom accessories. Keep your drain clean and clog-free!
(Many of the links in this article redirect to a specific reviewed product. Your purchase of these products through affiliate links helps to generate commission for Storables.com, at no extra cost. Learn more)
Introduction
Dealing with a clogged bathtub drain can be a frustrating experience, especially when the culprit is an accumulation of sand. Whether it's from a day at the beach or simply washing off sandy feet, sand can quickly build up in the drain, leading to slow drainage or a complete blockage. However, with the right tools and techniques, you can effectively remove sand from your bathtub drain and restore proper functionality to your plumbing system.
In this comprehensive guide, we will walk you through the step-by-step process of removing sand from a bathtub drain. From gathering the necessary tools to utilizing proven methods such as plunging and drain snaking, we will cover everything you need to know to tackle this common household issue. By following these instructions, you can save time and money by addressing the problem yourself, without the need to call a professional plumber.
So, if you've noticed that your bathtub is draining slowly or not at all due to sand accumulation, don't worry. With a little patience and the right approach, you can effectively clear the sand from your bathtub drain and prevent future clogs. Let's dive into the process and get your bathtub drain flowing freely once again.
Key Takeaways:
- Say goodbye to slow bathtub drainage by using a plunger and drain snake to dislodge and remove sand from the drain. Keep your plumbing system flowing freely with these simple yet effective DIY techniques!
- Keep your bathtub drain clean and clog-free by using hot water, cleaning solutions, and regular maintenance. With the right tools and methods, you can easily tackle sand accumulation and maintain a hassle-free bathing experience.
Read more: How Do You Remove The Drain From A Bathtub?
Step 1: Gather necessary tools
Before embarking on the task of removing sand from your bathtub drain, it's essential to gather the necessary tools to ensure a smooth and efficient process. Having the right equipment at your disposal will enable you to tackle the job effectively and minimize any potential challenges along the way.
Here are the essential tools you will need:
-
Plunger: A standard cup plunger is a fundamental tool for dislodging clogs in drains. It creates a seal around the drain opening, allowing you to apply pressure to dislodge the sand and restore proper drainage.
-
Drain snake: Also known as a plumbing snake or auger, this flexible tool is designed to navigate through the drain pipe, hook onto debris, and pull it out. A drain snake is particularly effective for removing stubborn sand and other debris that may be causing the blockage.
-
Rubber gloves: Protecting your hands with rubber gloves is crucial when dealing with drain cleaning. Gloves not only shield your skin from potential irritants but also provide a better grip when using the plunger and drain snake.
-
Bucket: Having a bucket on hand is useful for collecting any water that may accumulate during the cleaning process. It also provides a convenient container for storing removed debris and ensuring a tidy workspace.
-
Old towels or rags: Keep a few old towels or rags nearby to wipe up any spills and to provide a clean surface for organizing your tools. They also come in handy for drying the area around the bathtub after the cleaning process is complete.
By ensuring you have these essential tools readily available, you can approach the task of removing sand from your bathtub drain with confidence and efficiency. With the right equipment at your disposal, you'll be well-prepared to tackle the subsequent steps in the process and restore proper drainage to your bathtub.
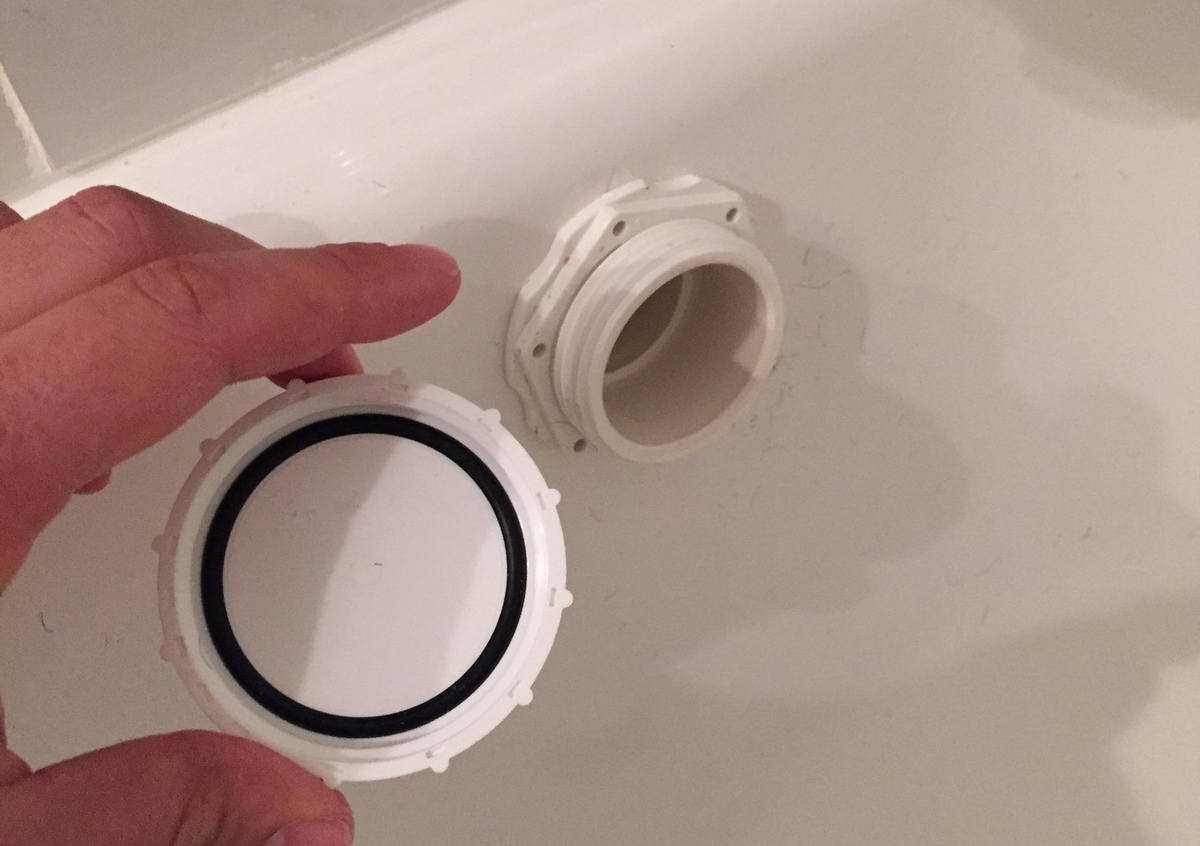
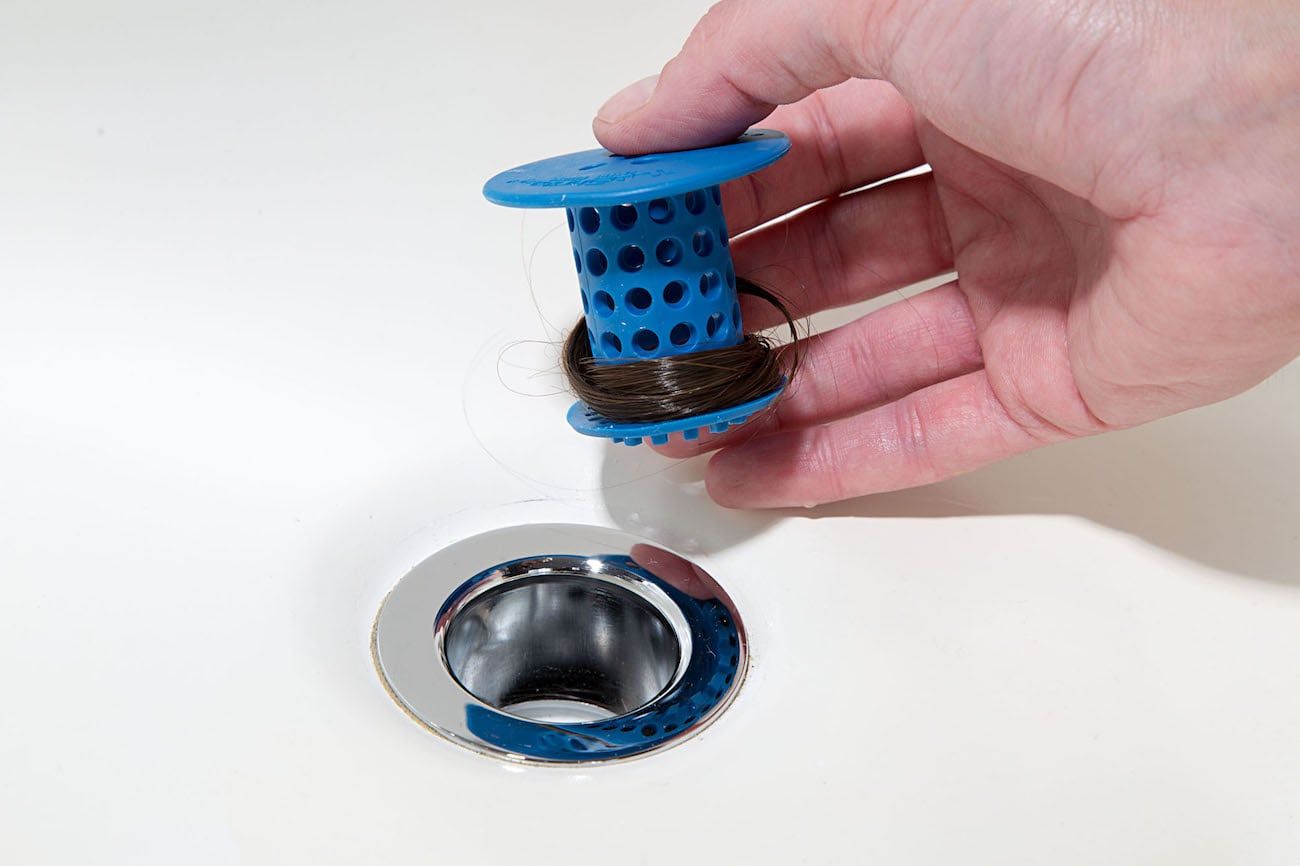
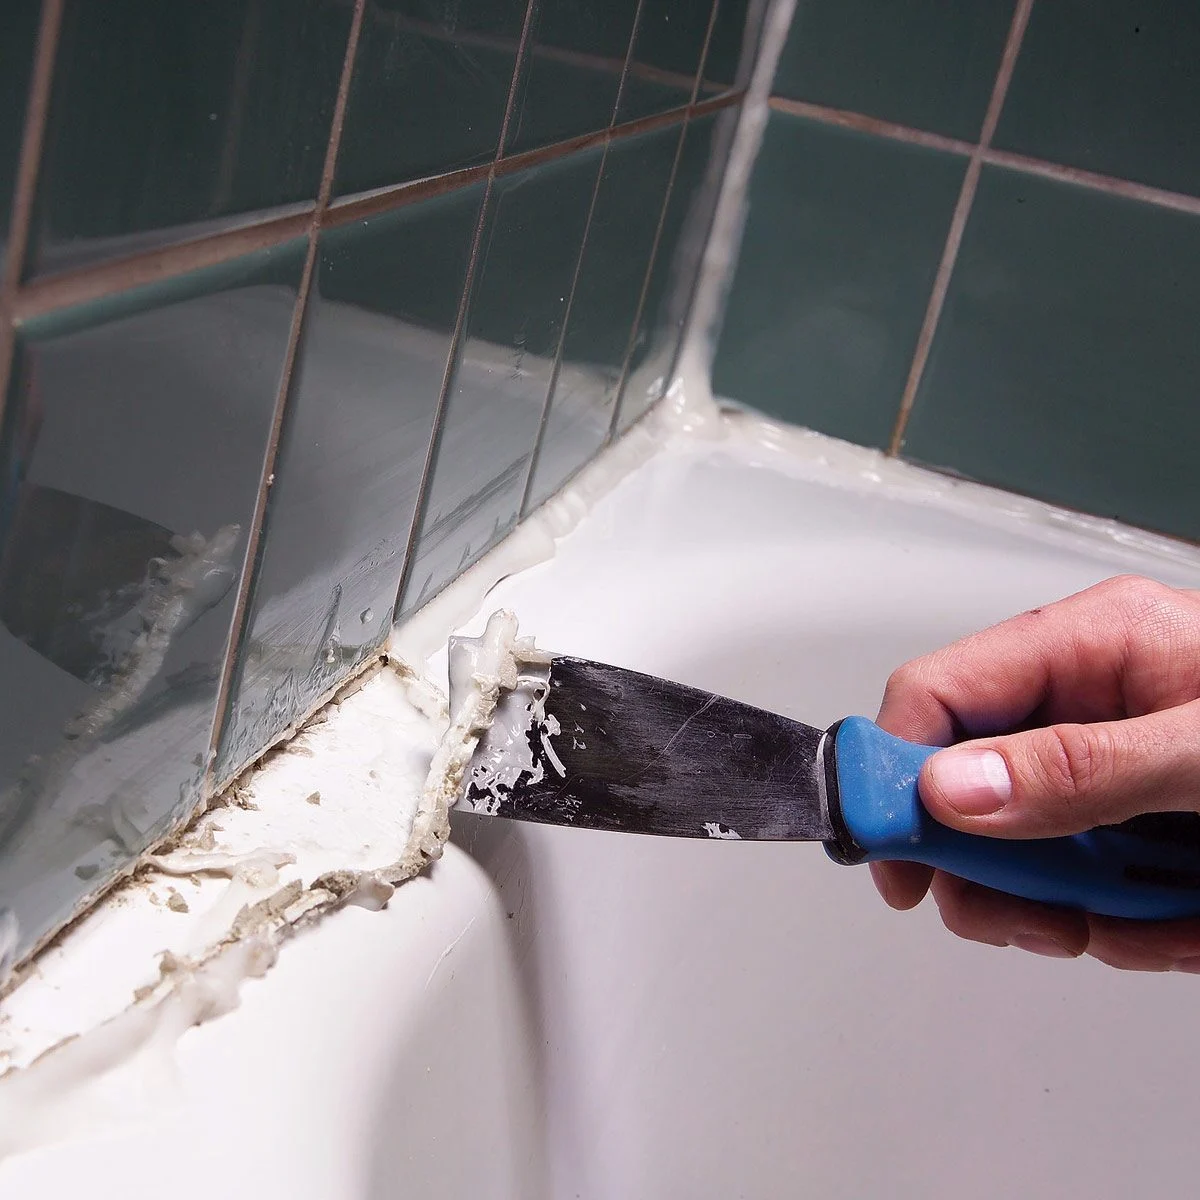
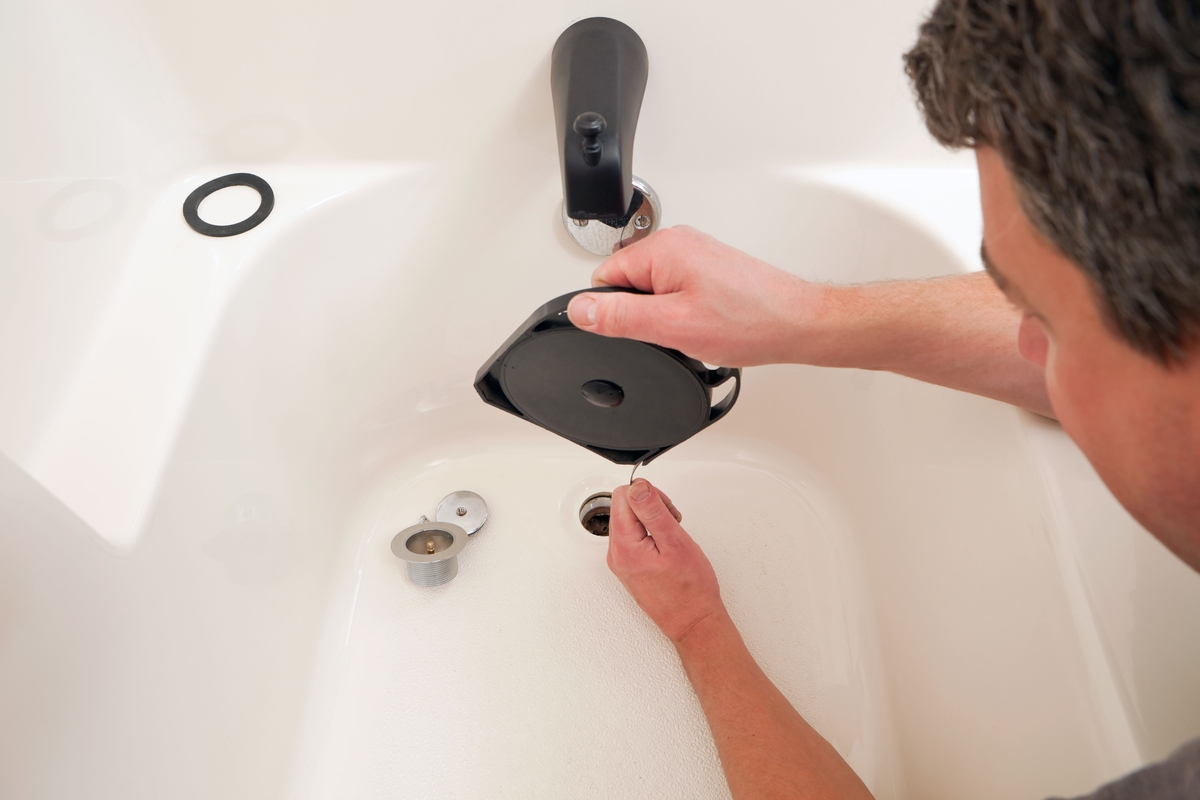
Step 2: Remove the bathtub drain cover
Removing the bathtub drain cover is a crucial initial step in gaining access to the drain and addressing the sand accumulation within. The cover, often referred to as the strainer or stopper, is designed to prevent large debris from entering the drain while allowing water to flow through. Here's a detailed guide on how to remove the bathtub drain cover effectively:
-
Identify the Type of Drain Cover: Bathtub drain covers come in various designs, including screw-on covers, lift-and-turn stoppers, and push-pull stoppers. It's important to determine the specific type of cover your bathtub drain has, as the removal method may vary based on the design.
-
Screw-On Drain Covers: If your bathtub drain cover is secured with screws, you will need a screwdriver to loosen and remove the screws. Carefully unscrew each fastener, ensuring they are fully detached from the cover. Once the screws are removed, lift the cover off the drain opening.
-
Lift-and-Turn or Push-Pull Stoppers: For lift-and-turn or push-pull stoppers, the removal process involves twisting or lifting the stopper to release it from the drain. Depending on the design, you may need to rotate the stopper counterclockwise or lift it upward while twisting to disengage it from the drain.
-
Inspect and Clean the Drain Cover: After removing the cover, take a moment to inspect it for any accumulated hair, soap scum, or debris. Use a brush or old toothbrush to clean the cover thoroughly, ensuring that it is free from any obstructions that could impede water flow.
-
Clear the Drain Opening: With the cover removed, visually inspect the drain opening for any visible sand or debris. Use a flashlight to illuminate the area and identify any blockages within the drain. If you notice a significant buildup of sand, it's an indication that further cleaning and removal steps will be necessary.
By following these steps, you can successfully remove the bathtub drain cover and prepare the drain for the subsequent cleaning and unclogging procedures. With the cover out of the way, you'll have clear access to the interior of the drain, allowing you to proceed with the next steps in the process of removing sand from your bathtub drain.
Step 3: Use a plunger to dislodge the sand
Using a plunger is an effective method for dislodging sand and other debris that may be causing a blockage in your bathtub drain. The suction and pressure created by the plunger can help to break up and dislodge the sand, allowing it to move through the drain and restore proper water flow. Here's a detailed guide on how to use a plunger to dislodge the sand from your bathtub drain:
-
Prepare the Plunger: Ensure that the plunger cup is clean and free from any debris or residue. It's essential to create a tight seal between the plunger and the drain opening to maximize the suction and pressure exerted during the plunging process.
-
Cover the Overflow Drain: In some bathtubs, there is an overflow drain located near the top of the tub. To achieve maximum suction, cover the overflow drain with a rag or duct tape to prevent air from escaping during the plunging process. This directs the force of the plunge directly into the drain, enhancing its effectiveness.
-
Fill the Tub with a Small Amount of Water: Adding a small amount of water to the bathtub can improve the effectiveness of the plunger by providing additional force and hydraulic pressure. The water helps to create a better seal between the plunger and the drain, enhancing the plunging action.
-
Position the Plunger: Place the plunger over the drain opening, ensuring that it covers the entire area. Press down firmly to create a tight seal, and then begin plunging with a vigorous up-and-down motion. The goal is to create a strong suction and pressure that dislodges the sand and clears the blockage.
-
Repeat the Plunging Process: Continue plunging for several minutes, maintaining a steady and forceful rhythm. If you hear or feel the sand breaking up and moving through the drain, it's a sign that the plunging action is having an impact. Be persistent and thorough in your plunging efforts to maximize the effectiveness of this method.
-
Check the Drainage: After plunging, remove the plunger and carefully observe the drainage in the bathtub. If the water is flowing more freely and the sand has been dislodged, you have successfully cleared the blockage using the plunger. If the water is still draining slowly, you may need to proceed to the next step in the process to further address the sand accumulation.
By following these steps and using a plunger to dislodge the sand from your bathtub drain, you can effectively tackle the blockage and restore proper drainage to your bathtub. The plunging method is a simple yet powerful technique for addressing sand accumulation and is often successful in clearing minor blockages within the drain.
To remove sand from a bathtub drain, try using a plunger to dislodge the sand or a drain snake to pull it out. You can also mix equal parts of vinegar and baking soda, pour it down the drain, and then flush with hot water to help break up the sand.
Step 4: Use a drain snake to remove remaining sand
If the sand accumulation in your bathtub drain persists after using a plunger, employing a drain snake, also known as a plumbing snake or auger, can be an effective next step in the unclogging process. A drain snake is a flexible tool designed to navigate through the drain pipe, hook onto debris, and pull it out, making it particularly useful for removing stubborn sand and other obstructions.
Here's a detailed guide on how to use a drain snake to remove remaining sand from your bathtub drain:
-
Select the Right Type of Drain Snake: There are different types of drain snakes available, including handheld augers and motorized snakes. For a bathtub drain, a handheld auger is typically sufficient. Ensure that the auger's cable is long enough to reach the blockage within the drain pipe.
-
Prepare the Drain Snake: Before inserting the drain snake into the drain, extend the cable to its full length and secure it in place. The end of the cable should have a hook or coil designed to grab onto debris within the drain.
-
Insert the Drain Snake: Carefully guide the end of the drain snake into the drain opening, feeding it slowly and steadily into the drain pipe. Use gentle pressure to navigate the cable through the pipe, being mindful not to force it or cause damage to the plumbing.
-
Rotate and Maneuver the Snake: As the drain snake advances through the drain pipe, you may encounter resistance, indicating that the cable has reached the blockage. Begin rotating the handle of the drain snake to maneuver the cable within the pipe, allowing the hook or coil to grab onto the sand and debris.
-
Apply Tension and Retract the Snake: Once the drain snake has secured the sand, apply tension to the cable and slowly retract the snake from the drain. The hooked end of the cable will pull the sand out of the drain, effectively clearing the blockage.
-
Inspect and Repeat if Necessary: After retracting the drain snake, inspect the removed debris to ensure that the sand has been effectively cleared from the drain. If there are still signs of remaining sand or blockage, repeat the process, carefully reinserting the drain snake and targeting the remaining obstruction.
By following these steps and using a drain snake to remove remaining sand from your bathtub drain, you can effectively address persistent blockages and ensure that the drain is free from obstructions. The drain snake serves as a valuable tool for reaching and removing debris that may be causing slow drainage or complete blockage, allowing you to restore proper functionality to your bathtub drain.
Read more: How To Remove Bathtub Drain Flange
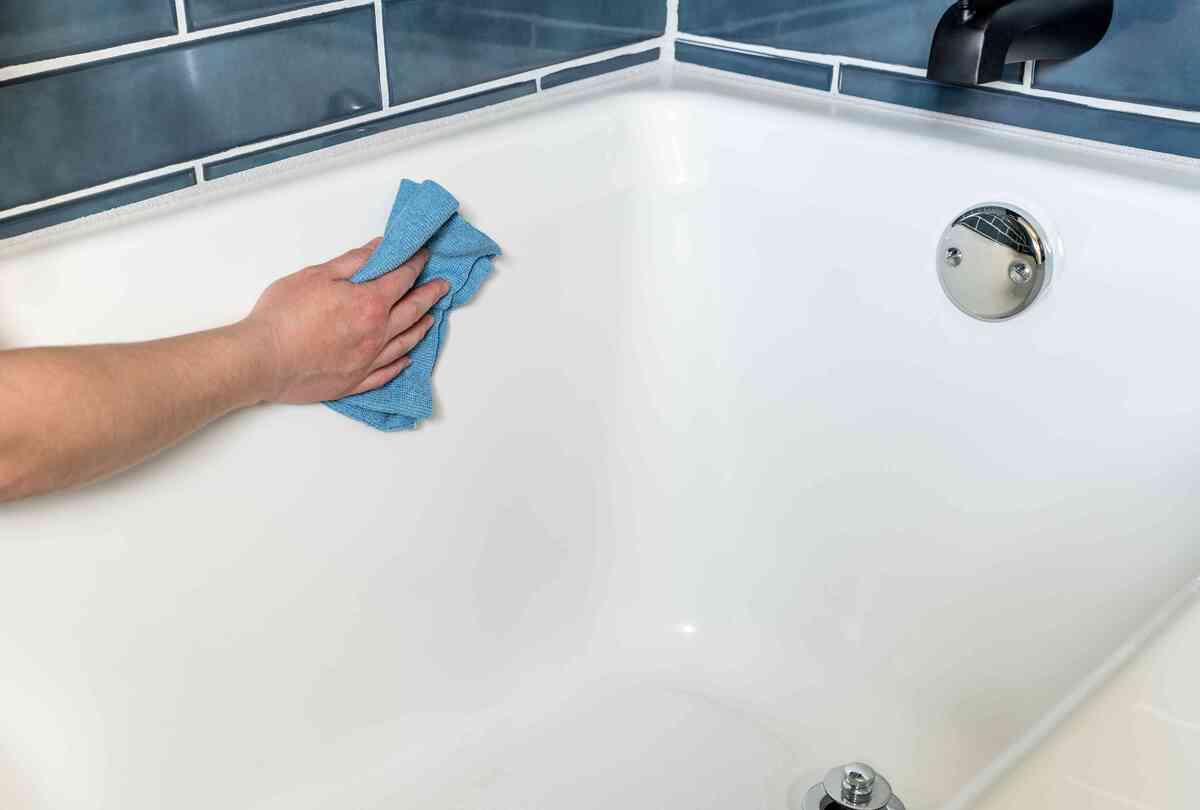
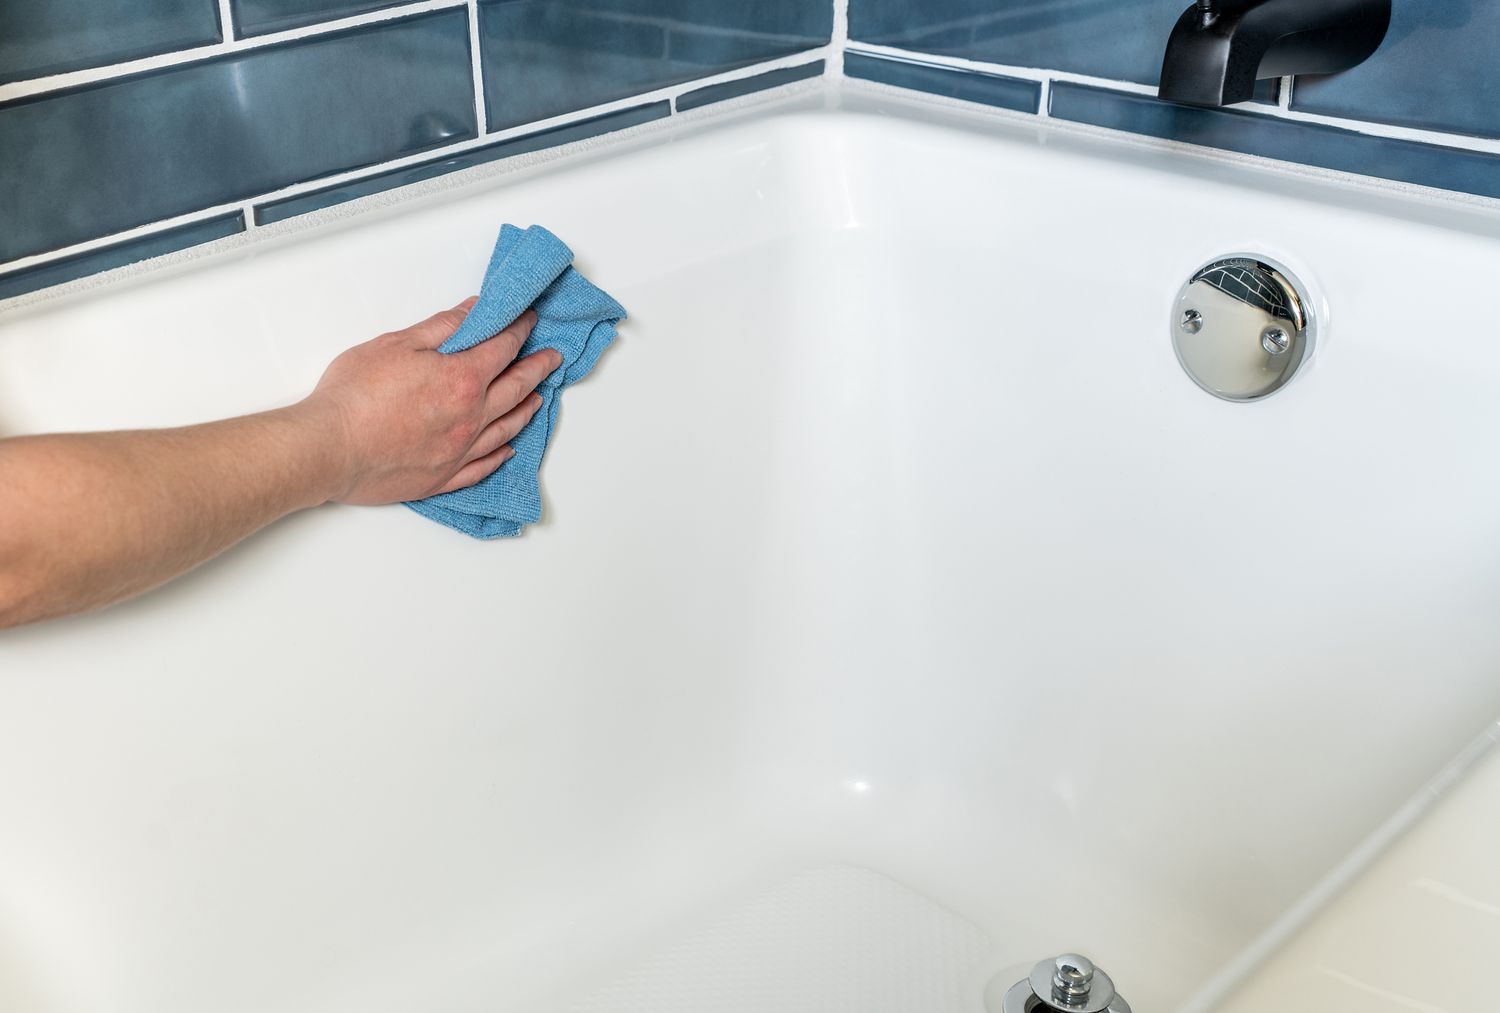
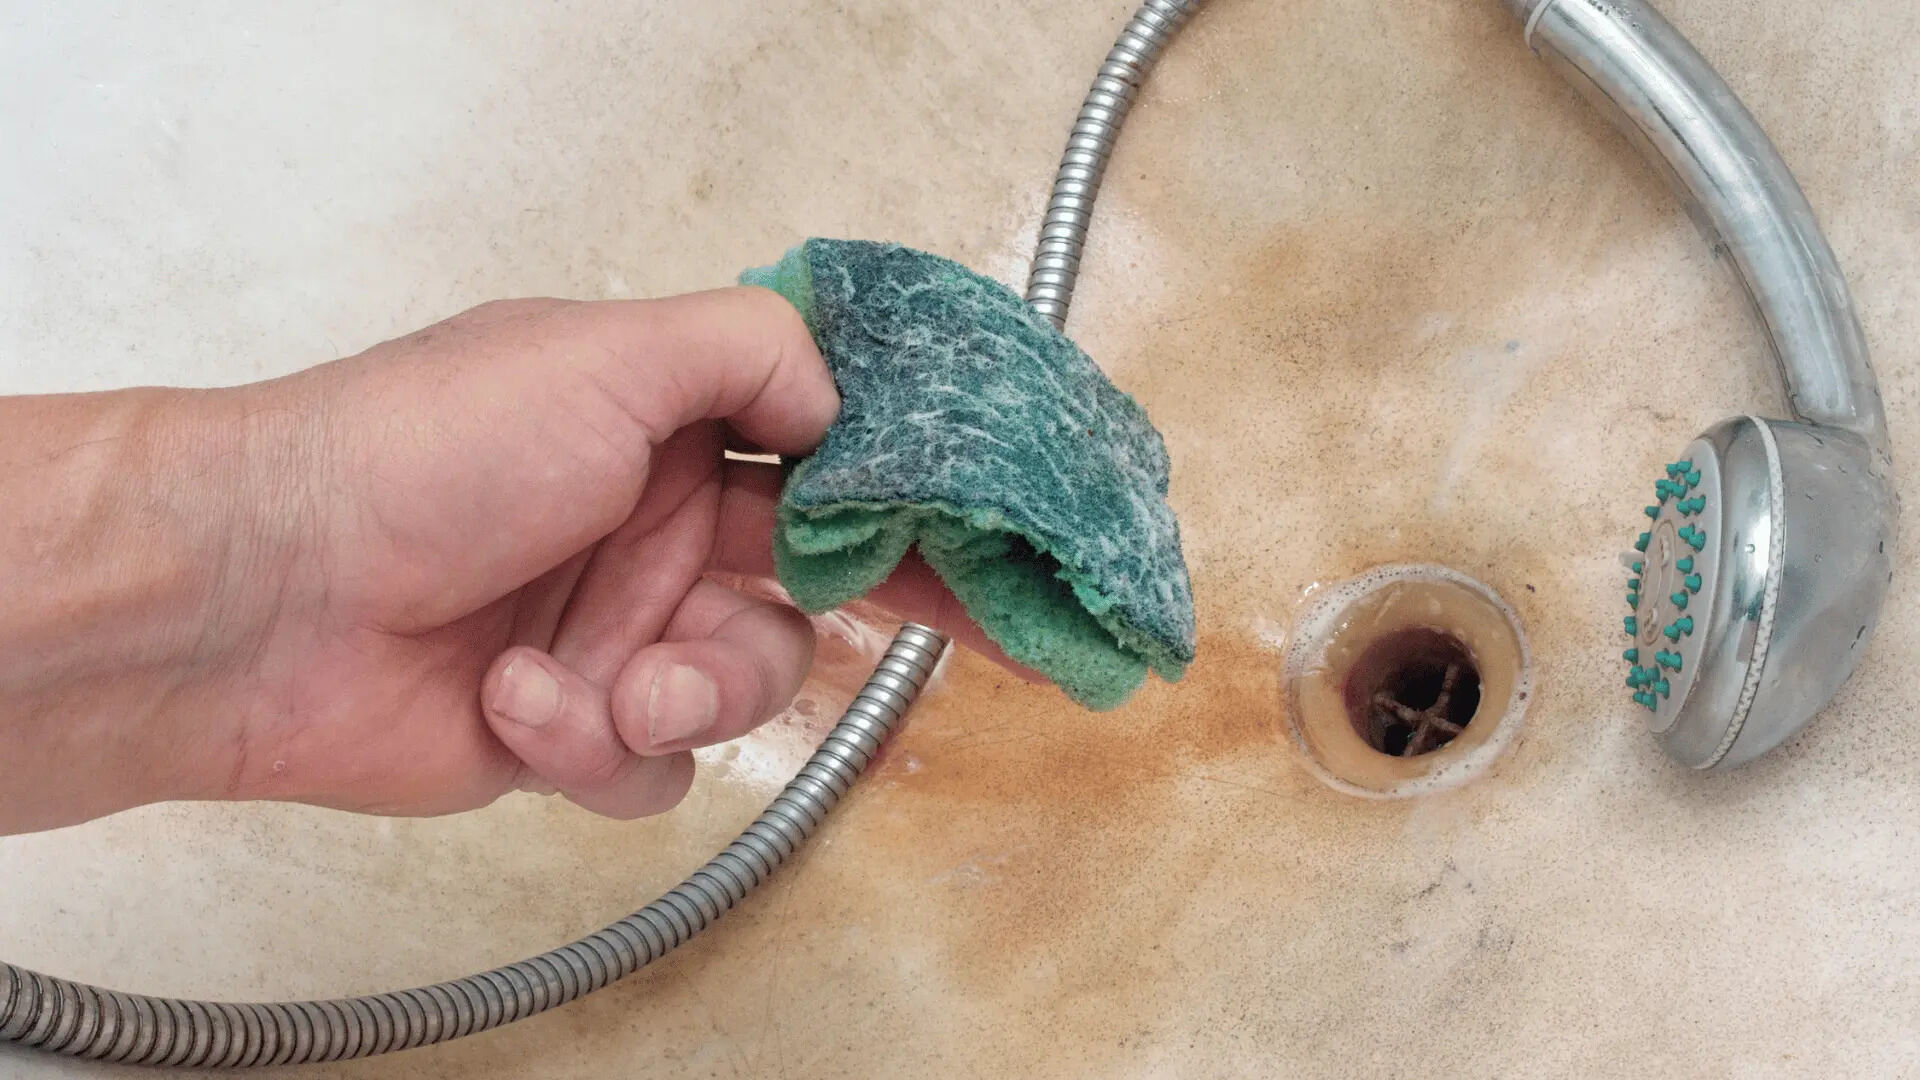
Step 5: Clean the bathtub drain
Once you have dislodged and removed the sand from your bathtub drain using a plunger and drain snake, it's essential to thoroughly clean the drain to ensure optimal functionality and prevent future blockages. Cleaning the bathtub drain involves removing any residual debris, eliminating potential sources of odor, and restoring the drain to a hygienic state. Here's a detailed guide on how to clean the bathtub drain effectively:
-
Flush the Drain with Hot Water: Begin by running hot water from the faucet into the bathtub drain. The hot water helps to flush out any remaining sand particles, soap scum, and other debris that may be lingering within the drain pipe. The force of the water can dislodge and carry away small particles, contributing to a cleaner and more efficient drain.
-
Use a Drain Cleaning Solution: To further clean and deodorize the drain, consider using a commercial drain cleaning solution or a homemade mixture of baking soda and vinegar. Pour the solution down the drain and allow it to sit for a specified period, as indicated on the product label or recipe instructions. The cleaning solution helps to break down organic matter, eliminate odors, and sanitize the drain.
-
Scrub the Drain Cover and Surrounding Area: Remove the bathtub drain cover and scrub it thoroughly to remove any accumulated grime, soap residue, and remaining sand particles. Use a brush or old toothbrush to clean the cover, ensuring that it is free from any obstructions that could impede water flow. Additionally, clean the surrounding area of the drain to maintain a hygienic environment.
-
Inspect and Test the Drainage: After cleaning the drain, run water from the faucet to test the drainage and ensure that the water flows freely without any signs of obstruction. Observe the flow of water and listen for any unusual sounds that may indicate lingering issues. If the water drains smoothly and without delay, it's a sign that the cleaning process has been successful.
-
Preventative Maintenance: To maintain a clean and functional bathtub drain, consider implementing preventative maintenance practices, such as using a hair catcher to prevent hair and debris from entering the drain, and periodically flushing the drain with hot water and a cleaning solution to prevent buildup.
By following these steps and thoroughly cleaning the bathtub drain, you can ensure that the drain is free from residual sand, debris, and potential sources of odor. A clean and well-maintained drain promotes efficient water flow and contributes to a hygienic bathing environment, allowing you to enjoy a hassle-free and functional bathtub for the long term.
Conclusion
In conclusion, successfully removing sand from a bathtub drain involves a systematic approach that combines the use of essential tools and proven techniques. By following the step-by-step process outlined in this guide, you can effectively address sand accumulation and restore proper drainage to your bathtub without the need for professional assistance.
The initial step of gathering the necessary tools, including a plunger, drain snake, rubber gloves, bucket, and old towels, sets the stage for a well-prepared and efficient cleaning process. These tools provide you with the means to tackle the blockage effectively and minimize any potential challenges along the way.
Removing the bathtub drain cover is a crucial initial step that grants clear access to the drain, allowing you to address the sand accumulation within. By identifying the type of drain cover and following the specific removal method, you can prepare the drain for subsequent cleaning and unclogging procedures.
Using a plunger to dislodge the sand from the drain is a simple yet powerful technique that can effectively break up and clear minor blockages. By creating a tight seal, covering the overflow drain, and employing a vigorous plunging motion, you can dislodge the sand and restore proper water flow to the bathtub.
If the sand accumulation persists, utilizing a drain snake becomes a valuable next step in the unclogging process. The flexible tool is adept at navigating through the drain pipe, hooking onto debris, and pulling it out, making it particularly useful for removing stubborn sand and other obstructions.
Thoroughly cleaning the bathtub drain is essential to ensure optimal functionality and prevent future blockages. By flushing the drain with hot water, using a drain cleaning solution, scrubbing the drain cover and surrounding area, and implementing preventative maintenance practices, you can maintain a clean and functional bathtub drain for the long term.
In essence, by following these comprehensive steps and utilizing the appropriate tools and techniques, you can effectively remove sand from your bathtub drain and prevent future clogs. This proactive approach not only saves time and money but also empowers you to maintain a clean and functional plumbing system within your home. With a little patience and the right approach, you can ensure that your bathtub drain flows freely, providing you with a hassle-free and enjoyable bathing experience.
Frequently Asked Questions about How To Remove Sand From A Bathtub Drain
Was this page helpful?
At Storables.com, we guarantee accurate and reliable information. Our content, validated by Expert Board Contributors, is crafted following stringent Editorial Policies. We're committed to providing you with well-researched, expert-backed insights for all your informational needs.


0 thoughts on “How To Remove Sand From A Bathtub Drain”