Home>Furniture & Design>Bathroom Accessories>How To Remove Delta Bathtub Drain Plug
Bathroom Accessories
How To Remove Delta Bathtub Drain Plug
Modified: October 18, 2024
Learn how to easily remove a Delta bathtub drain plug with our step-by-step guide. Find the best bathroom accessories for your needs.
(Many of the links in this article redirect to a specific reviewed product. Your purchase of these products through affiliate links helps to generate commission for Storables.com, at no extra cost. Learn more)
Introduction
Removing a Delta bathtub drain plug can be a daunting task, especially if you're unfamiliar with the process. Whether you're dealing with a clogged drain or simply need to clean the drain plug, understanding the steps involved can make the process much more manageable. By following a few simple steps and using the right tools, you can successfully remove the drain plug without the need for professional assistance.
In this guide, we'll walk you through the process of removing a Delta bathtub drain plug, providing you with the knowledge and confidence to tackle this task on your own. From gathering the necessary tools and materials to executing each step with precision, you'll gain a comprehensive understanding of the process, empowering you to maintain your bathtub's drainage system effectively.
So, if you're ready to take control of your bathtub's maintenance and learn how to remove a Delta bathtub drain plug, let's dive into the essential tools and materials you'll need to get started.
Key Takeaways:
- Don’t be intimidated by removing a Delta bathtub drain plug! With the right tools and step-by-step guidance, you can tackle this task confidently and maintain your bathtub’s drainage system effectively.
- By following the detailed process of removing the drain plug, you’ll not only address immediate maintenance needs but also set the stage for proactive care and attention to your bathtub’s drainage system.
Read more: How To Remove Drain Plug In Bathtub
Tools and Materials Needed
Before embarking on the process of removing a Delta bathtub drain plug, it's crucial to gather the necessary tools and materials to ensure a smooth and efficient experience. Here's a comprehensive list of items you'll need:
Tools:
- Screwdriver: A flathead or Phillips screwdriver will be essential for removing the screws securing the overflow plate.
- Needle-Nose Pliers: These will come in handy for gripping and maneuvering small components within the drain assembly.
- Adjustable Wrench: You'll need this tool to loosen and remove the drain flange from the bathtub's drain pipe.
- Plumber's Putty Knife: This tool will aid in removing any existing plumber's putty around the drain flange.
- Rubber Mallet: In case the drain flange is stuck, a rubber mallet can help gently tap it loose without causing damage.
Materials:
- Replacement Gasket: It's advisable to have a replacement gasket on hand in case the existing one is damaged during the removal process.
- Plumber's Putty: You may need to reseal the drain flange with plumber's putty after cleaning or replacing the drain plug.
- Cleaning Solution: A mild cleaning solution or vinegar can be used to clean the drain components before reassembly.
- Rags or Towels: Keep these nearby to wipe away any excess water or cleaning solution during the process.
- Safety Gloves: Protect your hands with a pair of durable safety gloves while handling the drain assembly and using cleaning solutions.
By ensuring you have these tools and materials at your disposal, you'll be well-prepared to tackle the task of removing the Delta bathtub drain plug with confidence and efficiency. With everything in place, you can proceed to the next step of the process, which involves removing the overflow plate.
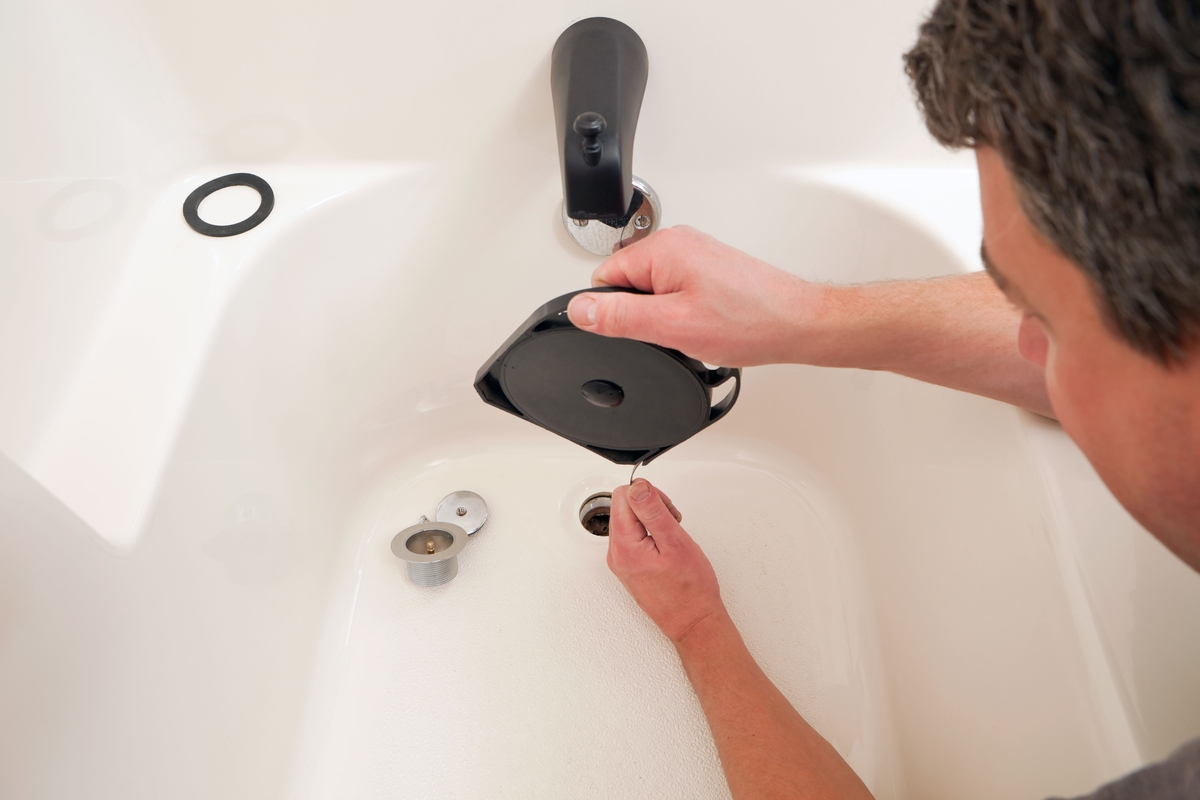
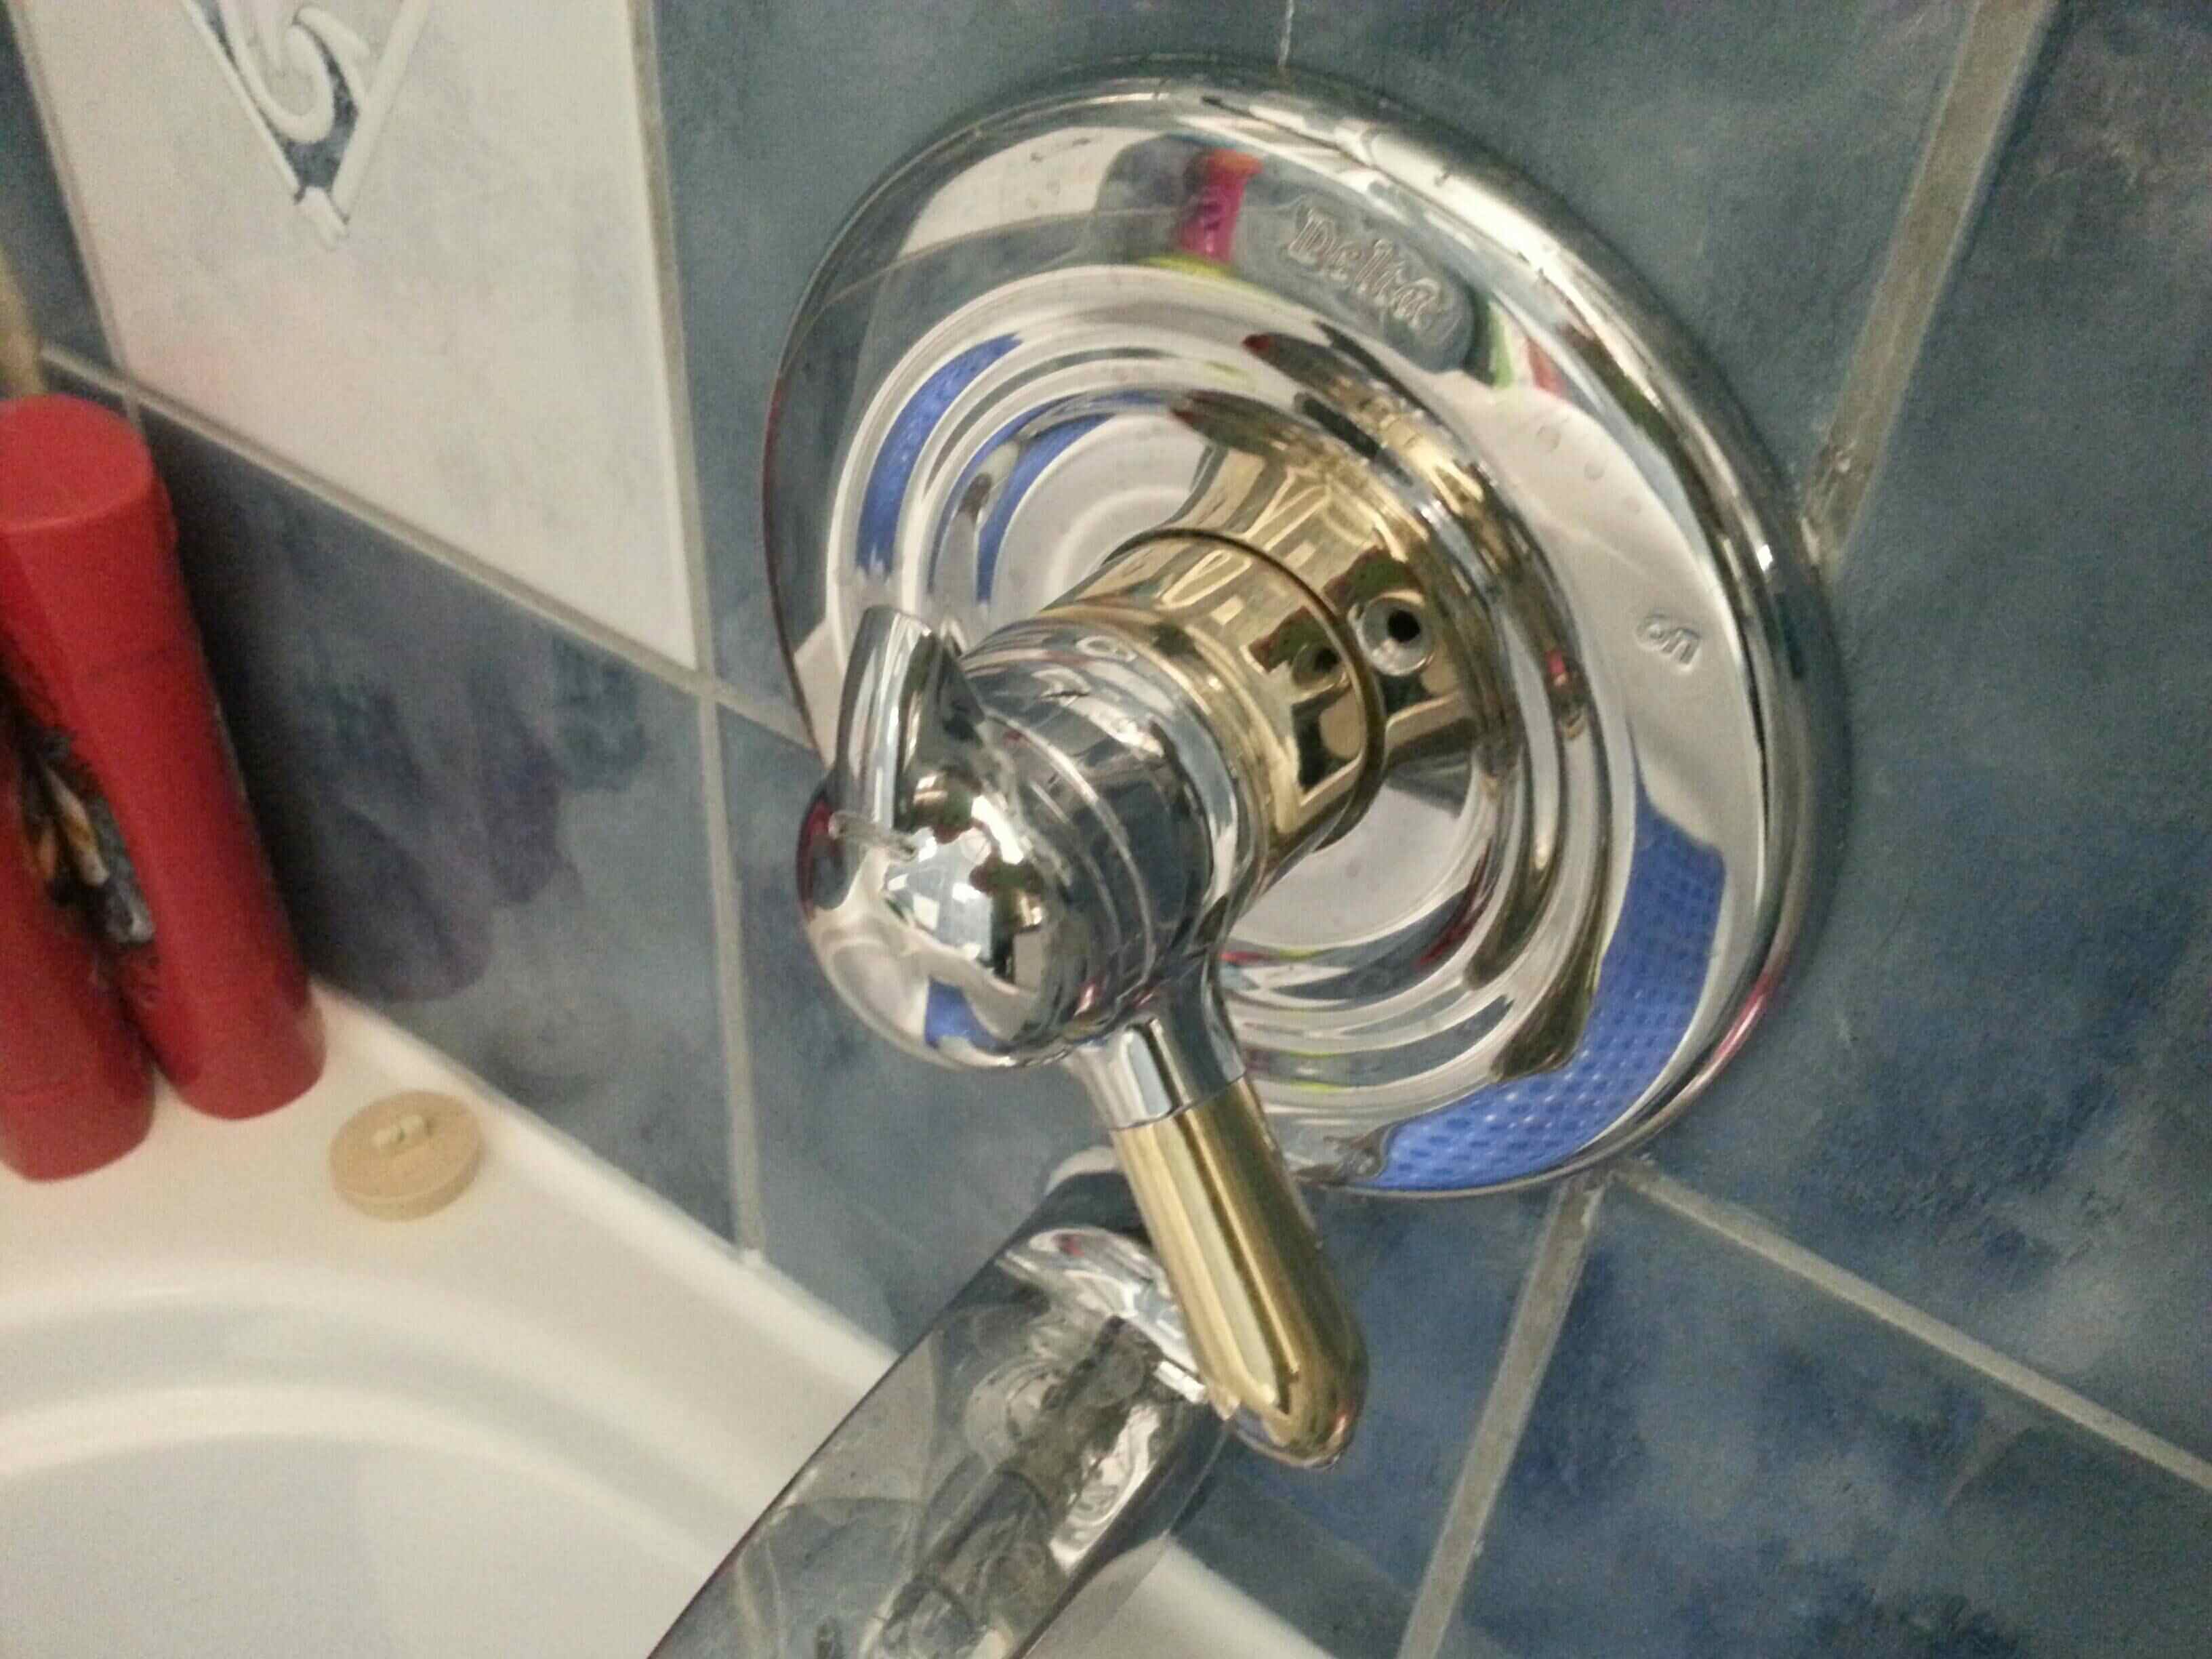
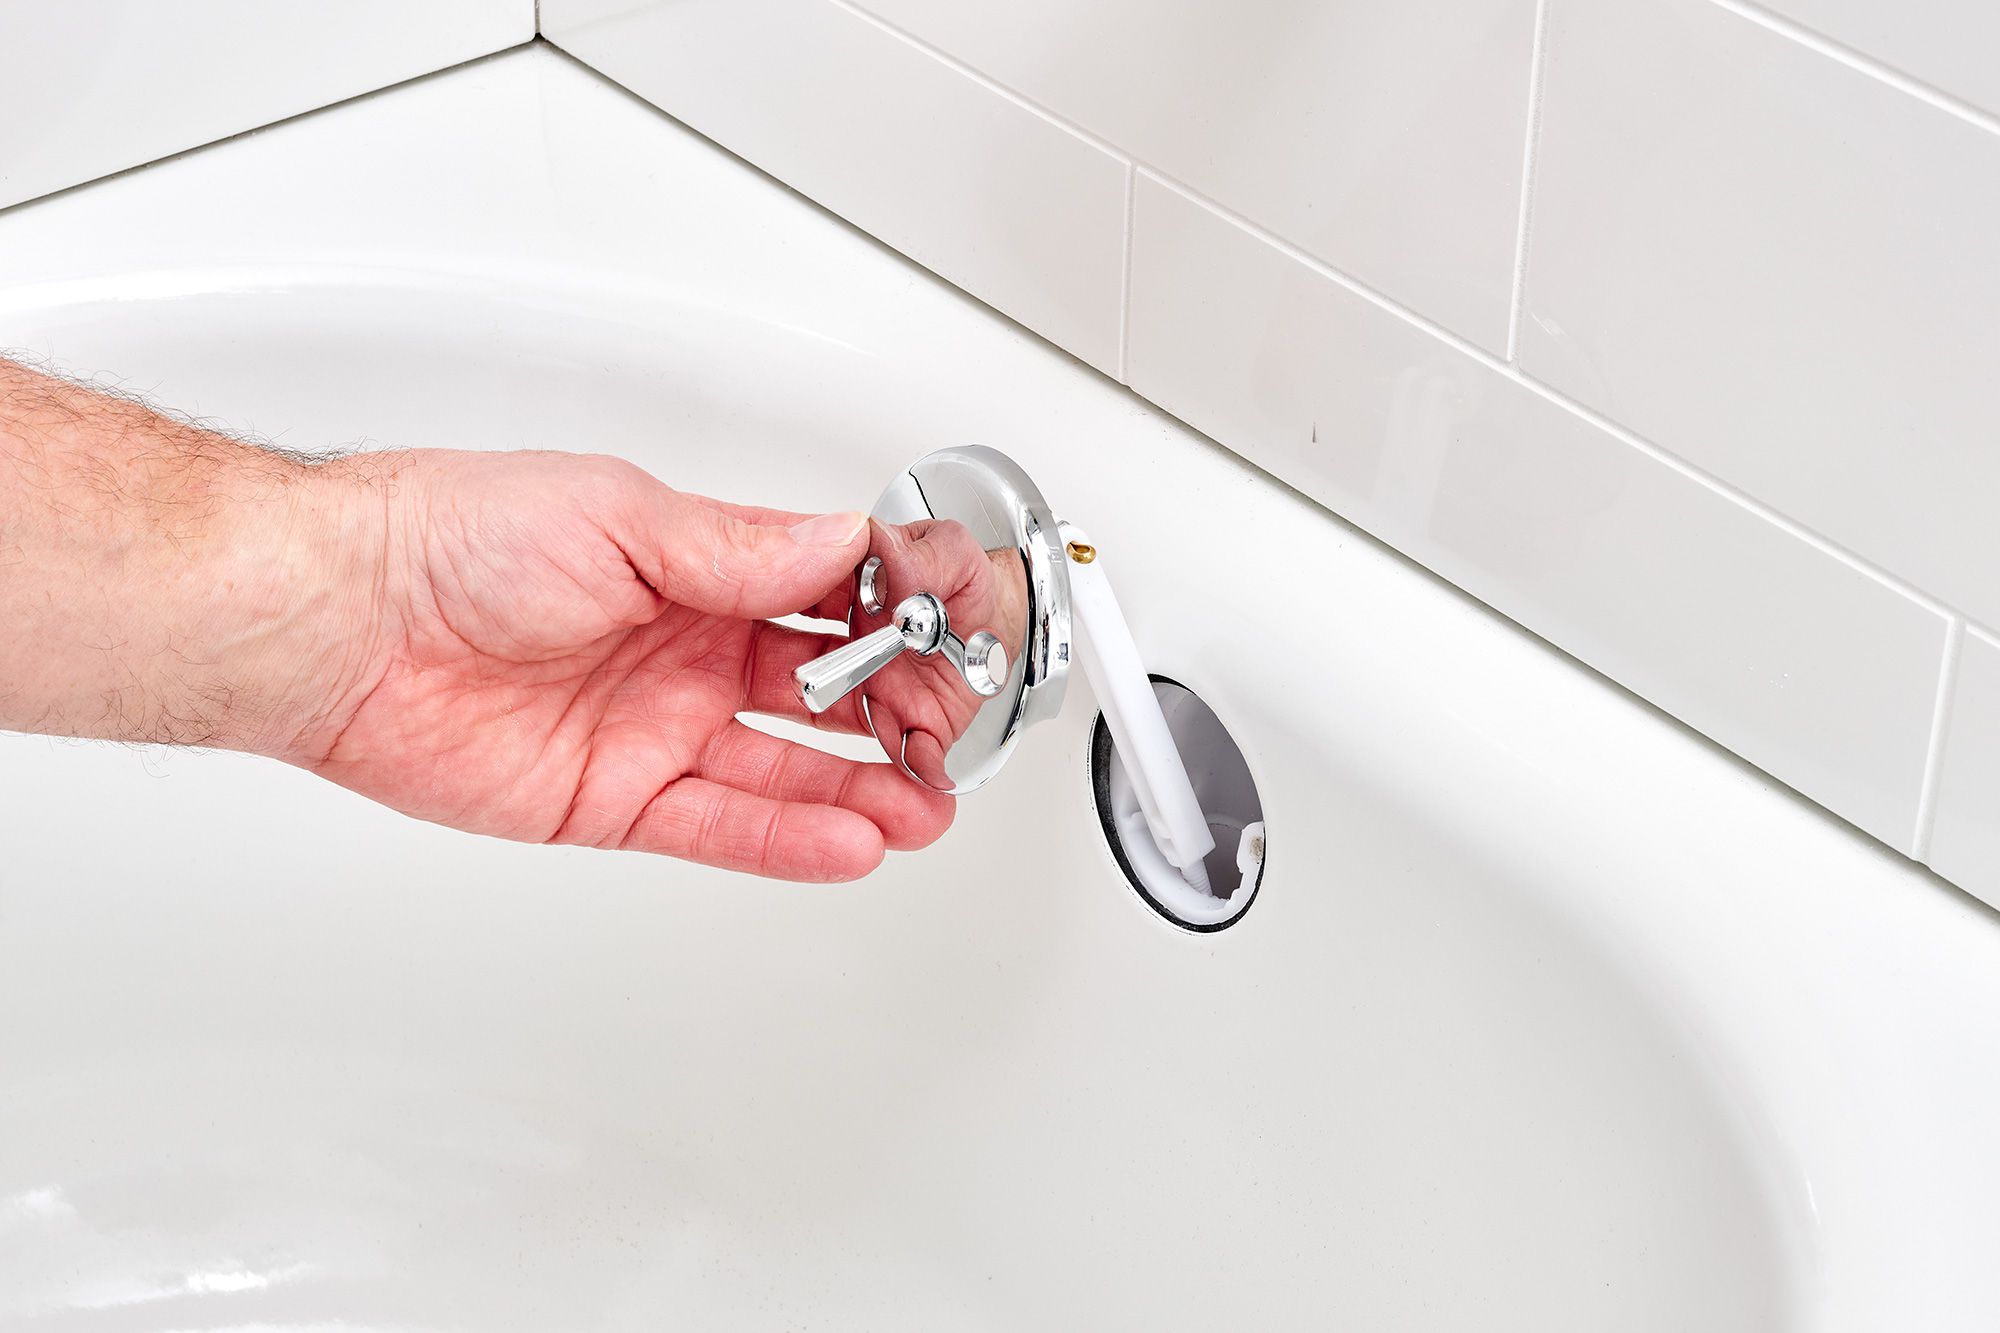
Step 1: Remove the Overflow Plate
The first step in removing a Delta bathtub drain plug involves accessing the overflow plate, which is typically located above the drain. This plate covers the opening that allows water to drain from the bathtub in the event of an overflow, and it also provides access to the drain assembly components. Here's a detailed guide on how to remove the overflow plate effectively:
-
Locate the Overflow Plate: The overflow plate is usually positioned on the wall of the bathtub, just below the faucet. It is secured in place by one or two screws, which may be visible or concealed behind a cover plate. Use a flathead or Phillips screwdriver to remove the screws and release the overflow plate.
-
Inspect the Screws and Plate: Once the screws are removed, carefully set them aside in a secure location to prevent misplacement. Then, gently pull the overflow plate away from the bathtub wall. Take note of any gaskets or seals attached to the plate, as these may need to be replaced if they are worn or damaged.
-
Clean the Overflow Opening: With the overflow plate removed, you'll have access to the overflow opening. Use a mild cleaning solution or vinegar and a rag to clean any accumulated debris or residue from this area. Ensuring that the overflow opening is free from obstructions will contribute to optimal drainage performance.
-
Inspect the Drain Components: While the overflow plate is off, take a moment to inspect the visible drain components, such as the linkage and overflow pipe. Look for any signs of corrosion, buildup, or damage that may require attention. This visual inspection can provide valuable insights into the overall condition of the bathtub's drainage system.
By successfully removing the overflow plate and attending to the components within this space, you've completed the first crucial step in the process of removing a Delta bathtub drain plug. With the overflow plate out of the way, you can proceed to the next step, which involves loosening the drain flange to access the drain plug and continue the removal process.
Read more: How To Plug Bathtub Drain Without Plug
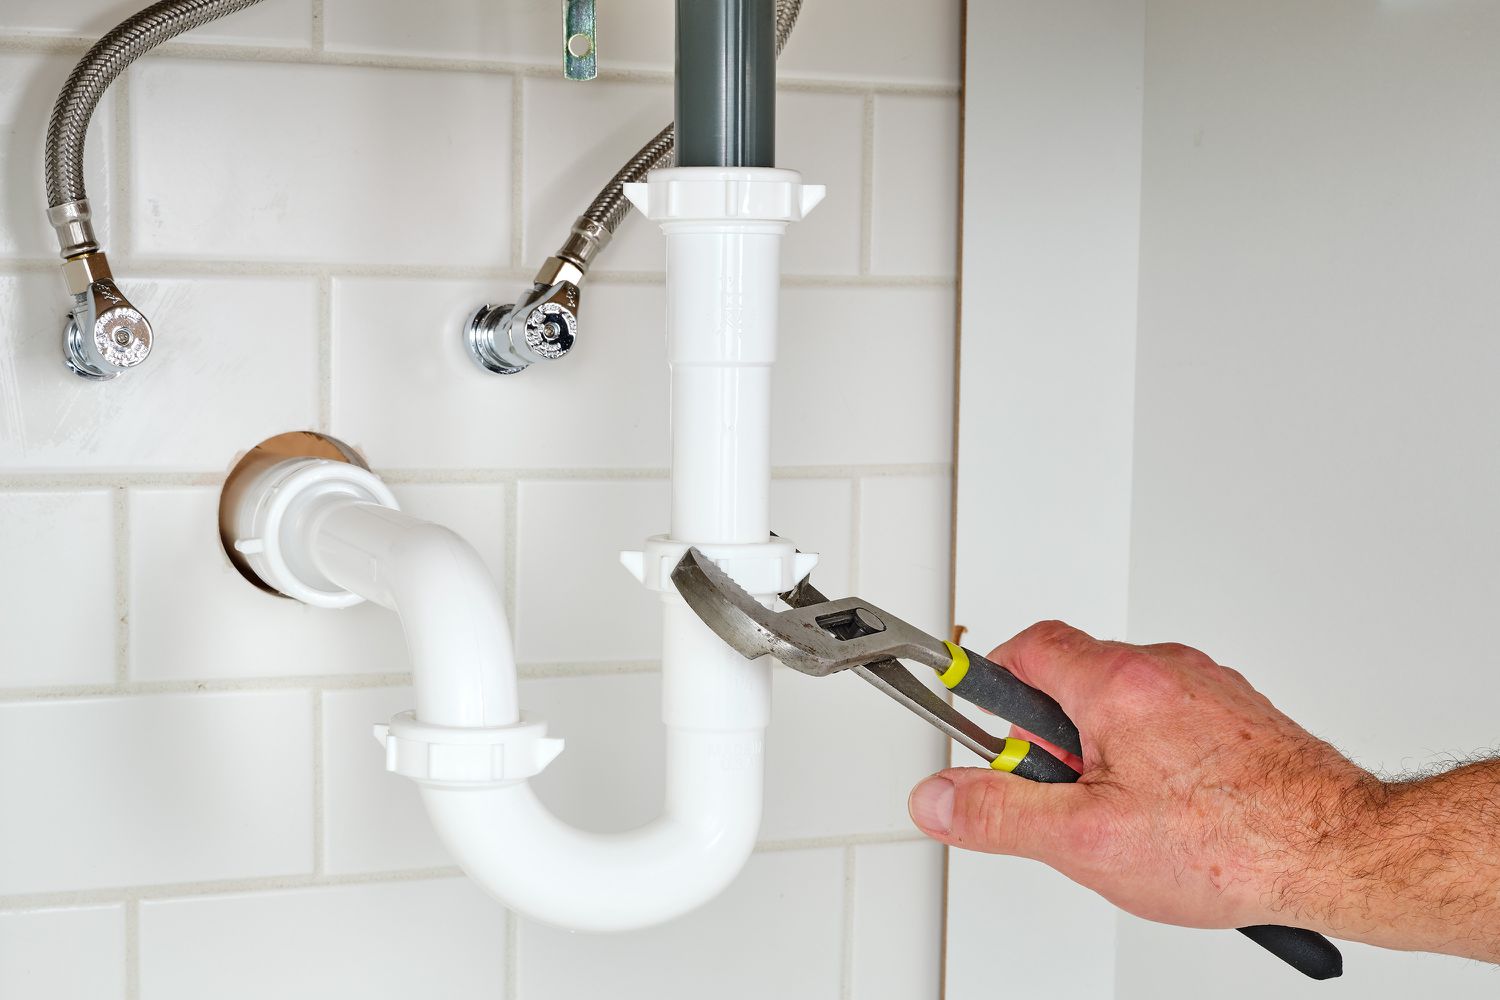
Step 2: Loosen the Drain Flange
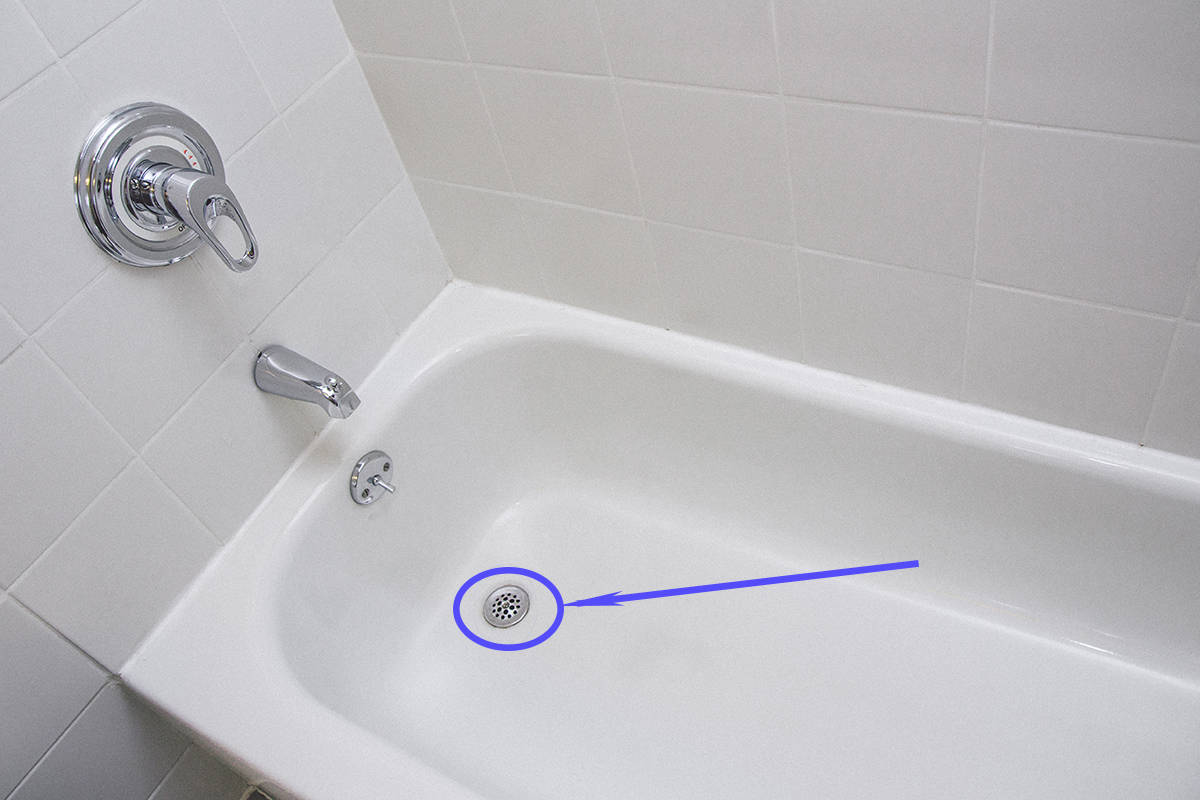
With the overflow plate successfully removed, the next step in removing a Delta bathtub drain plug involves loosening the drain flange. The drain flange is the visible portion of the drain assembly located at the bottom of the bathtub, and it is secured in place by threads that connect it to the drain pipe. Loosening the drain flange is essential to gain access to the drain plug and proceed with its removal. Here's a detailed guide on how to effectively loosen the drain flange:
-
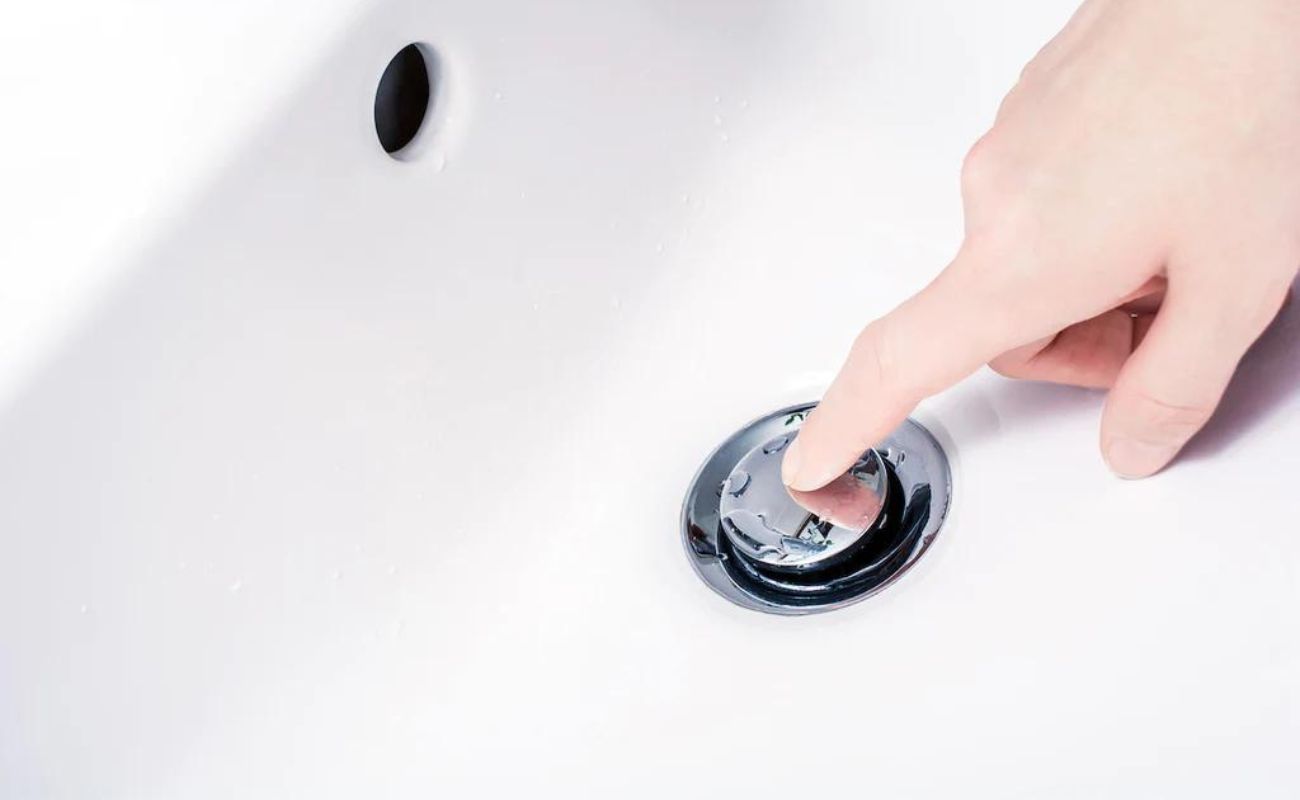
Identify the Drain Flange: The drain flange is the circular, visible component located at the bottom of the bathtub. It may be adorned with a cross-shaped or slot-shaped recess in the center, which is where the drain plug is situated. Use a flashlight if necessary to ensure proper visibility of the drain flange.
-
Apply Penetrating Oil (Optional): In some cases, the drain flange may be tightly secured due to corrosion or mineral deposits. If the drain flange appears to be stuck, applying a small amount of penetrating oil around the base of the flange can help loosen it. Allow the oil to penetrate for a few minutes to facilitate easier removal.
-
Use an Adjustable Wrench: Once any penetrating oil has been applied, position an adjustable wrench around the outer edge of the drain flange. Ensure a secure grip on the flange to prevent slippage, and then turn the wrench counterclockwise to begin loosening the flange from the drain pipe threads.
-
Apply Gentle Pressure: As you begin to turn the wrench, apply gentle and consistent pressure to gradually loosen the drain flange. Avoid using excessive force, as this can potentially damage the flange or the surrounding bathtub surface. If the flange proves to be stubborn, tapping the wrench handle with a rubber mallet can help dislodge it without causing harm.
-
Inspect for Movement: While loosening the drain flange, periodically inspect it for any signs of movement. If the flange begins to rotate or lift away from the bathtub surface, this indicates that it is successfully loosening from the drain pipe threads.
By effectively loosening the drain flange, you've completed a critical step in the process of removing a Delta bathtub drain plug. With the flange now in a loosened state, you're ready to proceed to the next step, which involves removing the drain flange entirely to access the drain plug for removal.
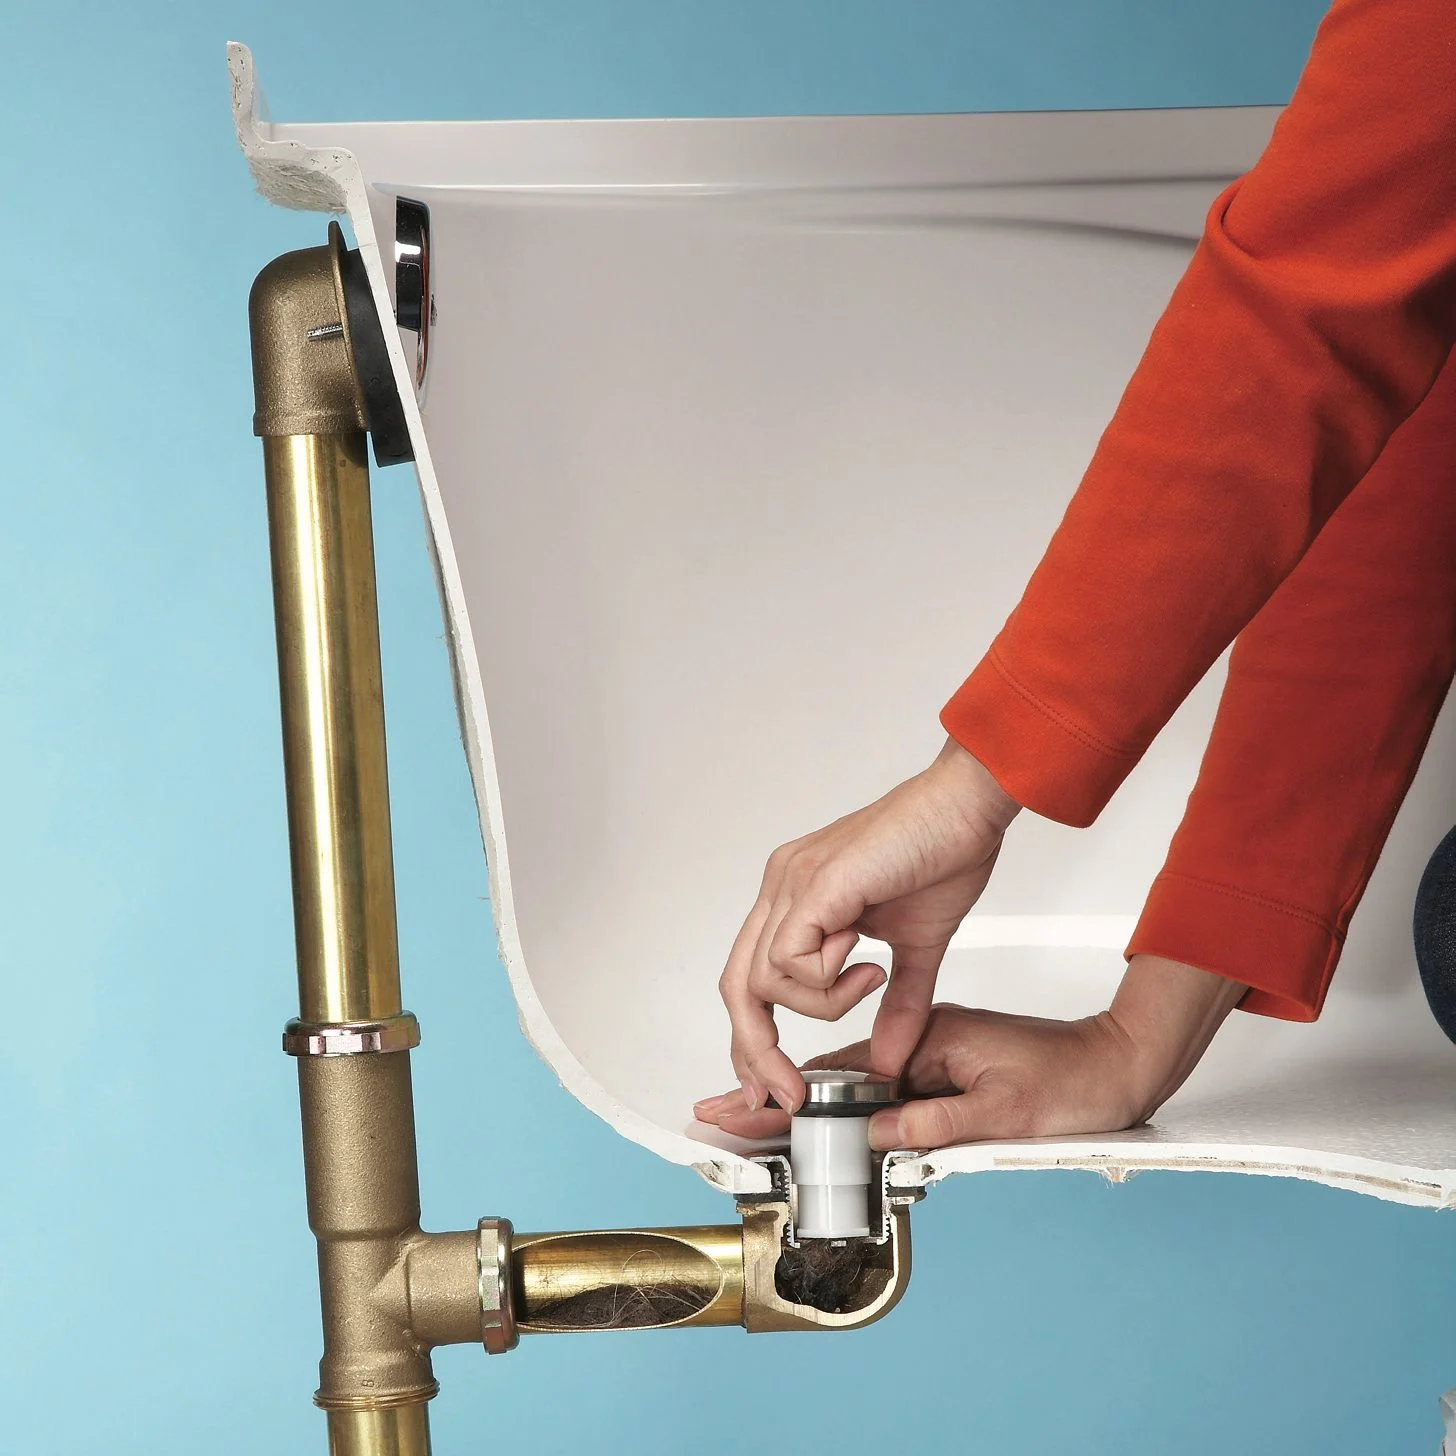
Step 3: Remove the Drain Flange
With the drain flange now loosened from the drain pipe threads, the next crucial step in removing a Delta bathtub drain plug is to proceed with the removal of the drain flange itself. This process involves carefully extracting the flange from its position at the bottom of the bathtub, ultimately providing access to the drain plug for further action. Here's a detailed guide on how to effectively remove the drain flange:
-
Inspect the Loosened Flange: Before proceeding with the removal, take a moment to inspect the loosened drain flange. Ensure that it exhibits noticeable movement and is no longer tightly secured to the drain pipe threads. This visual confirmation is essential before proceeding to avoid any potential damage during the removal process.
-
Prepare the Work Area: Lay down a towel or rag near the bathtub to serve as a cushioned surface for the removed drain flange. This precautionary measure helps prevent any accidental damage to the flange or the bathtub surface during the removal process.
-
Gently Lift the Drain Flange: With the drain flange now in a loosened state, gently lift it away from the bathtub surface. Exercise caution to avoid any abrupt or forceful movements that could potentially cause damage to the flange or the surrounding area. If the flange exhibits resistance, a gentle tap with a rubber mallet can help dislodge it without causing harm.
-
Inspect the Drain Opening: Once the drain flange has been removed, take a moment to inspect the exposed drain opening. Check for any accumulated debris, residue, or signs of wear that may require attention. Cleaning the drain opening at this stage can contribute to improved drainage performance and prepare the area for the subsequent removal of the drain plug.
-
Set Aside the Drain Flange: After successfully removing the drain flange, place it on the prepared towel or rag to ensure a safe and cushioned resting place. This precaution helps prevent any potential damage to the flange and allows for easy access when reassembling the drain components.
By effectively removing the drain flange, you've completed a pivotal step in the process of removing a Delta bathtub drain plug. With the flange now extracted, you're ready to proceed to the final step, which involves the removal of the drain plug itself to address any maintenance or cleaning needs.
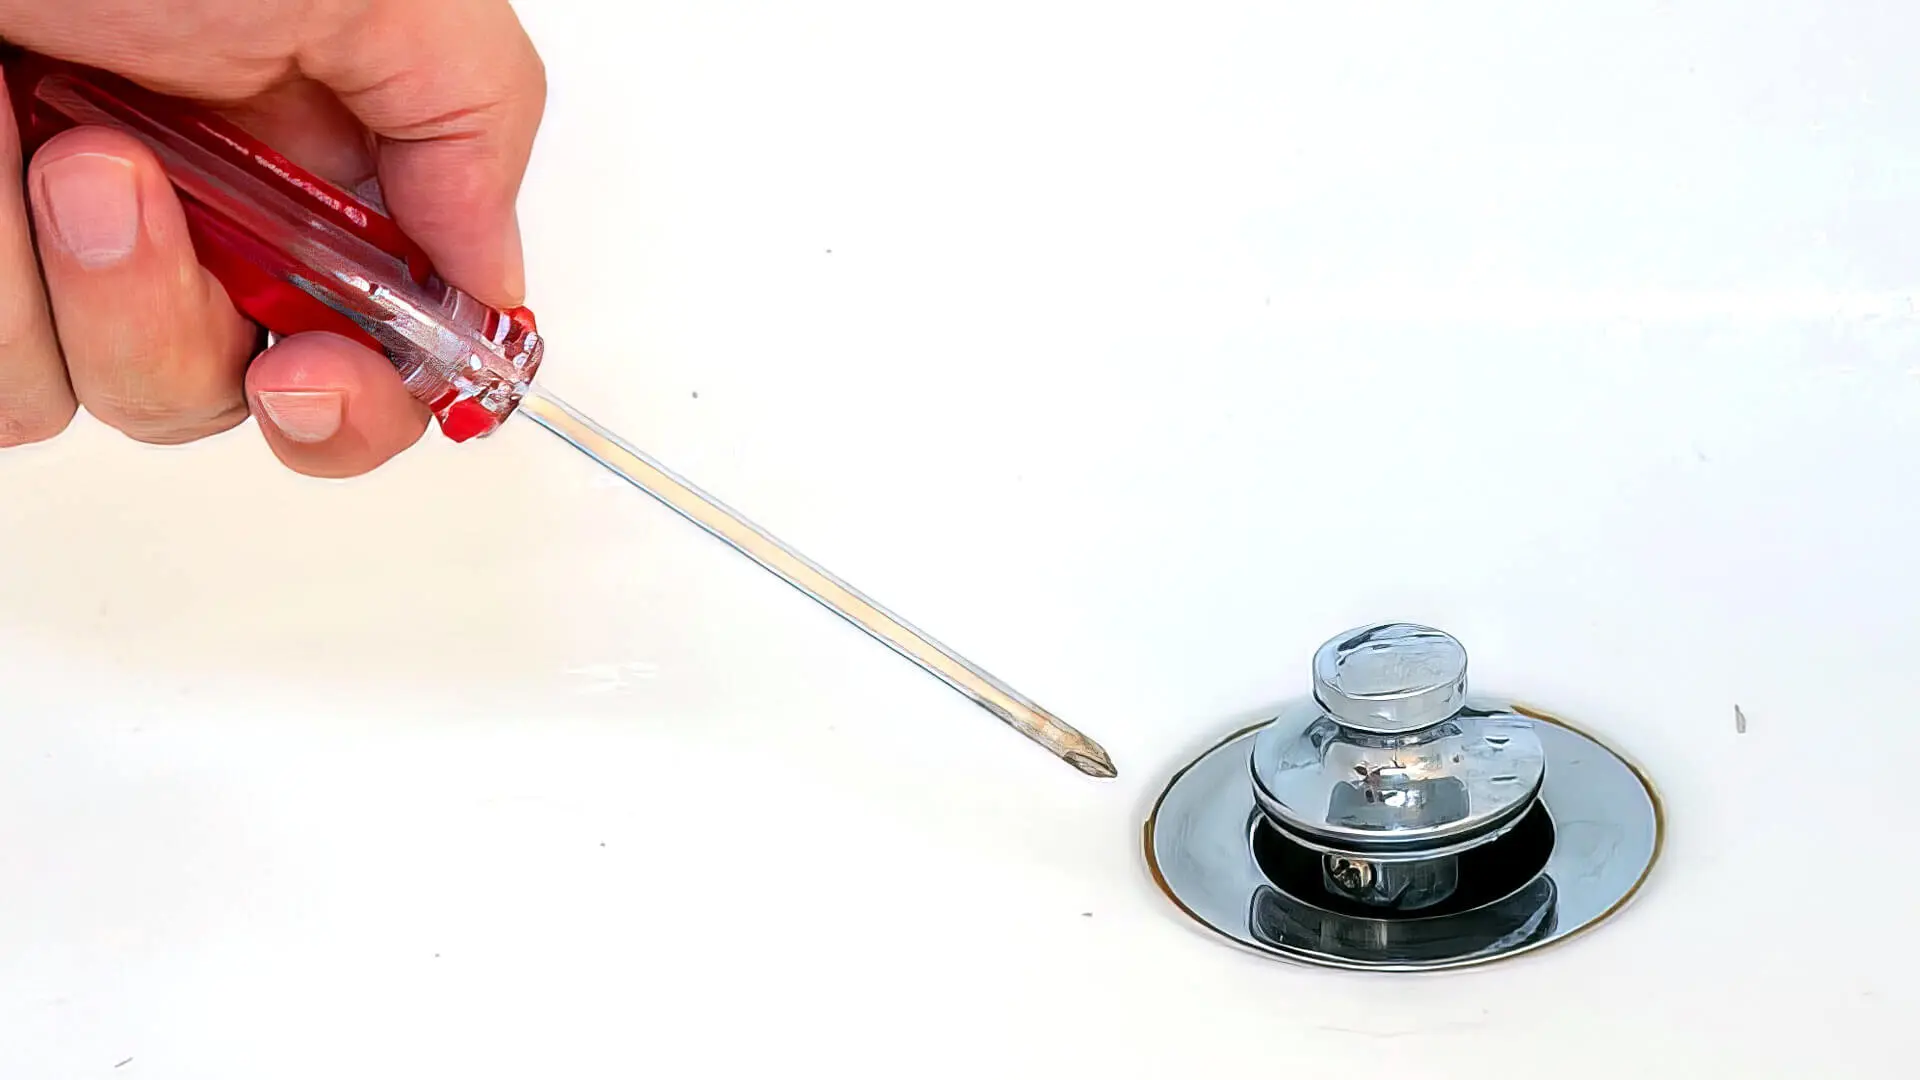
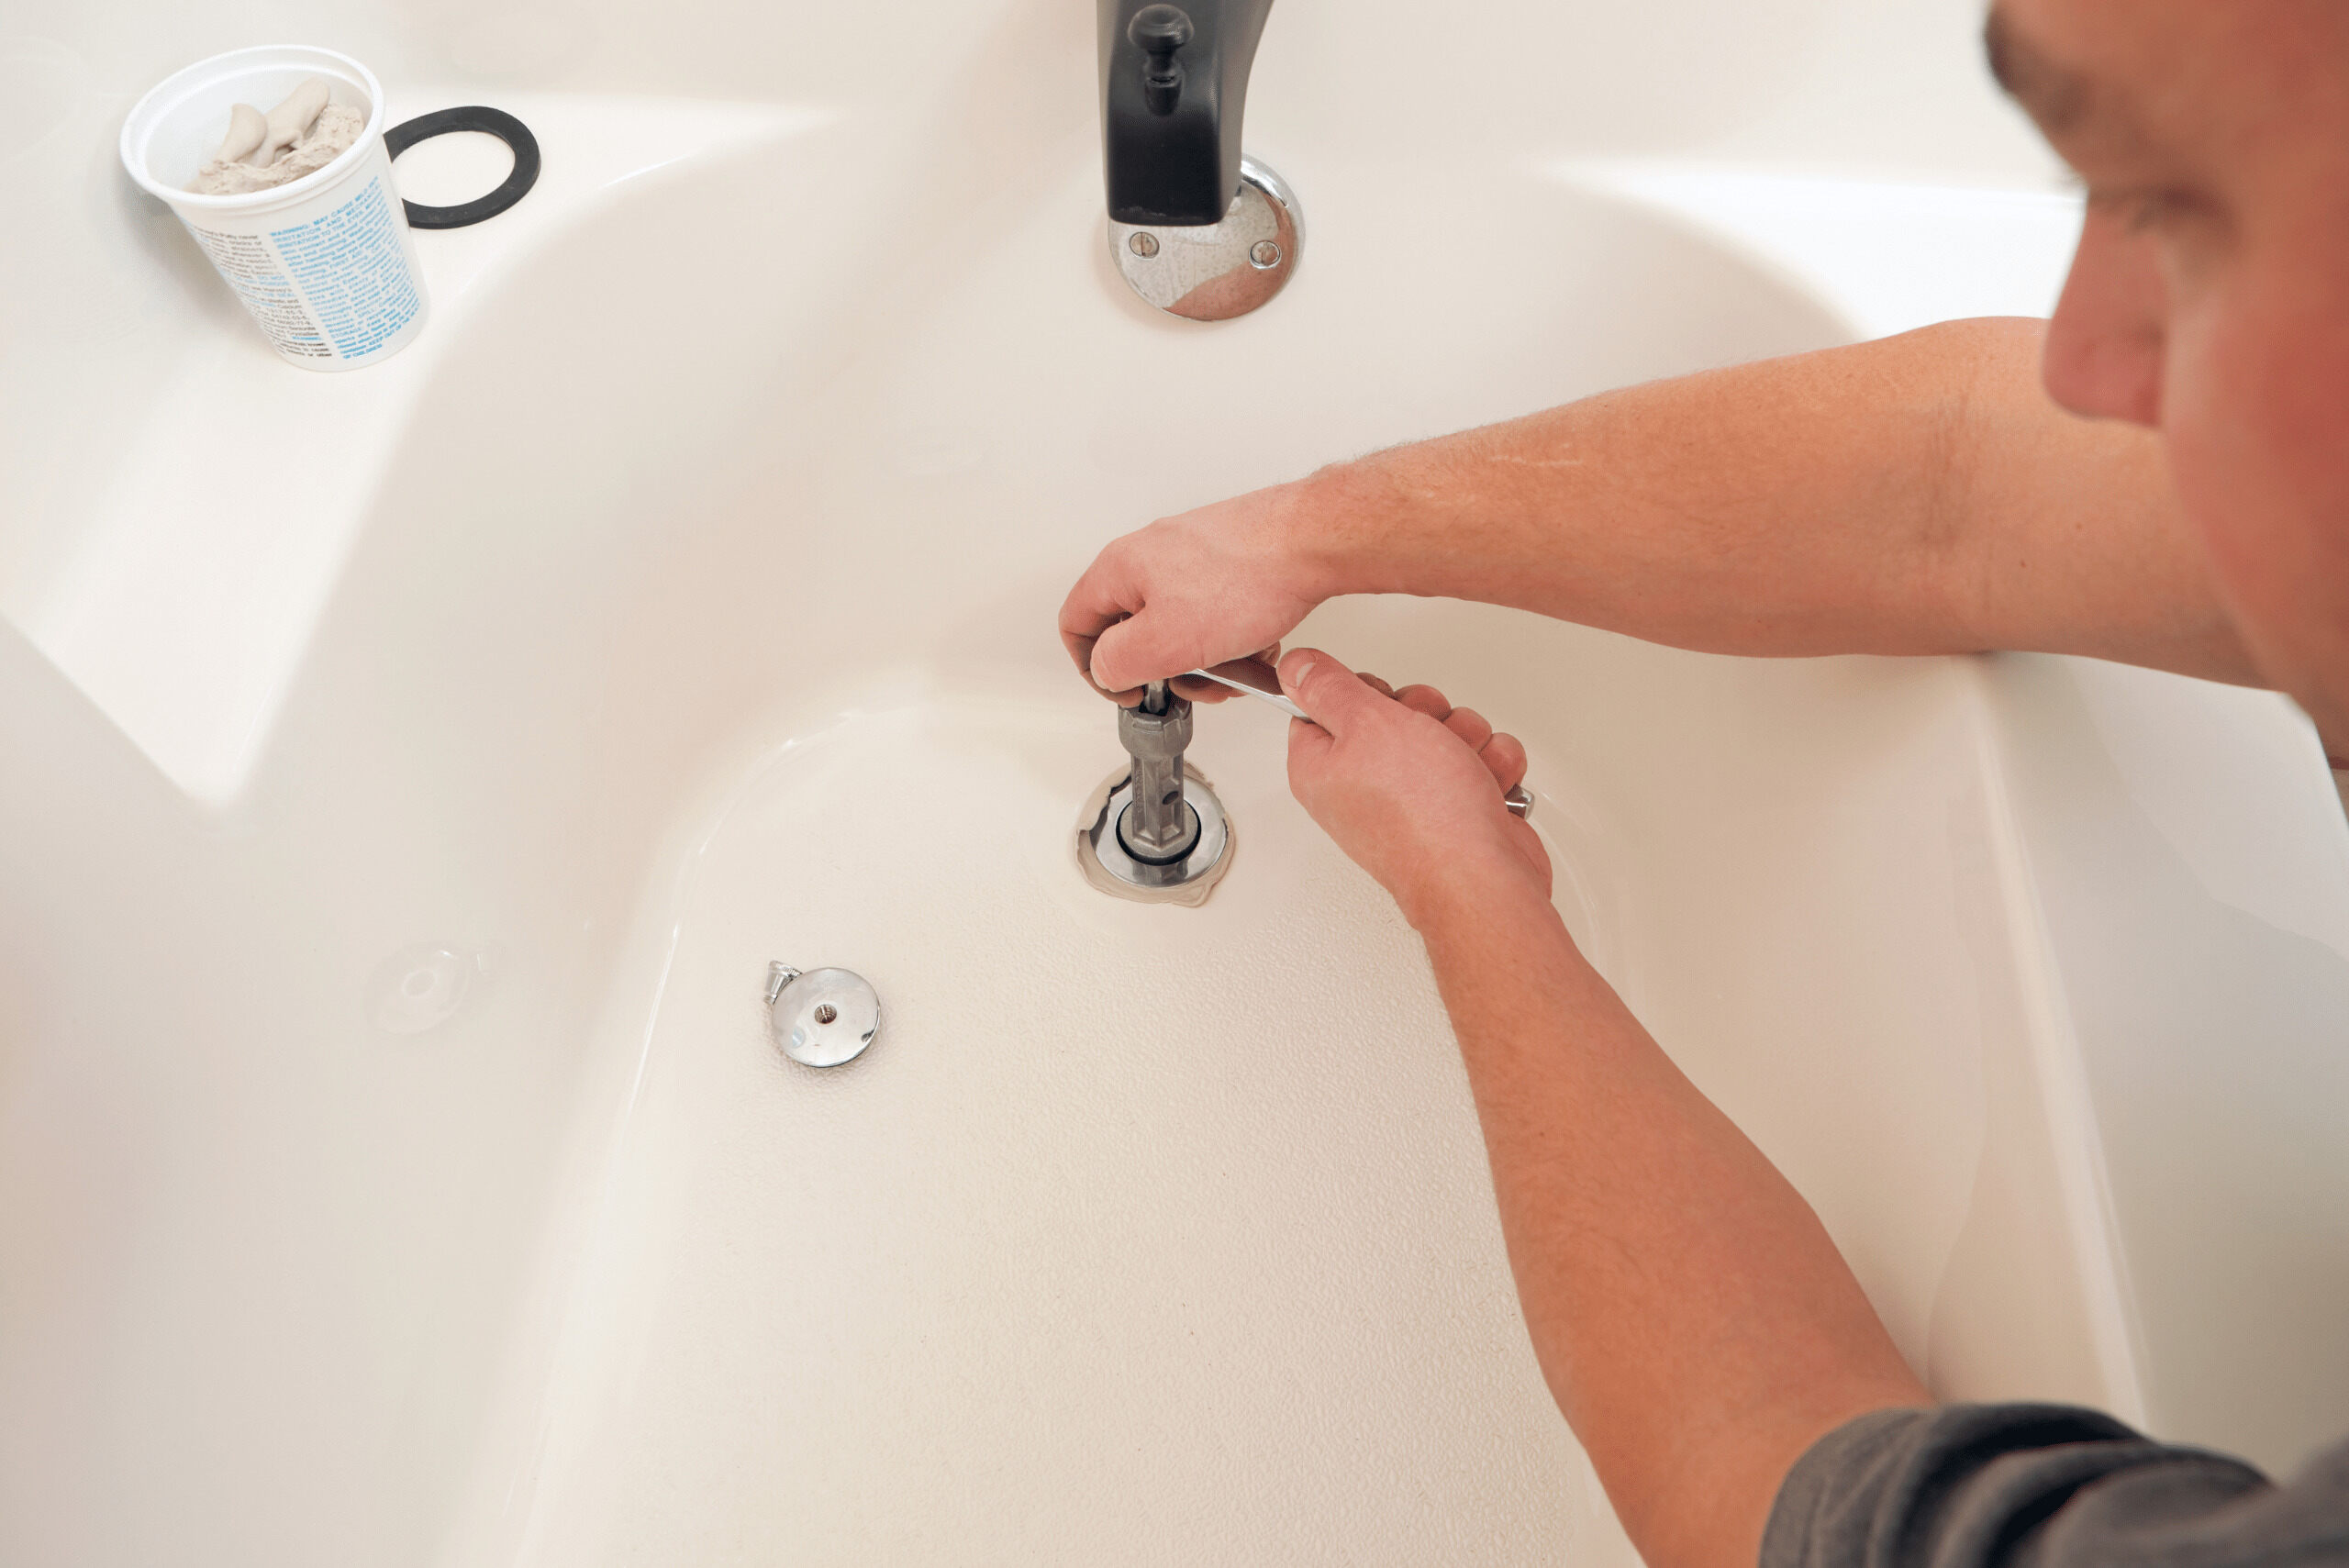
Use a flathead screwdriver to remove the screw in the center of the drain plug. Then, use a pair of pliers to grip the crossbars of the drain plug and twist it counterclockwise to unscrew and remove it from the drain.
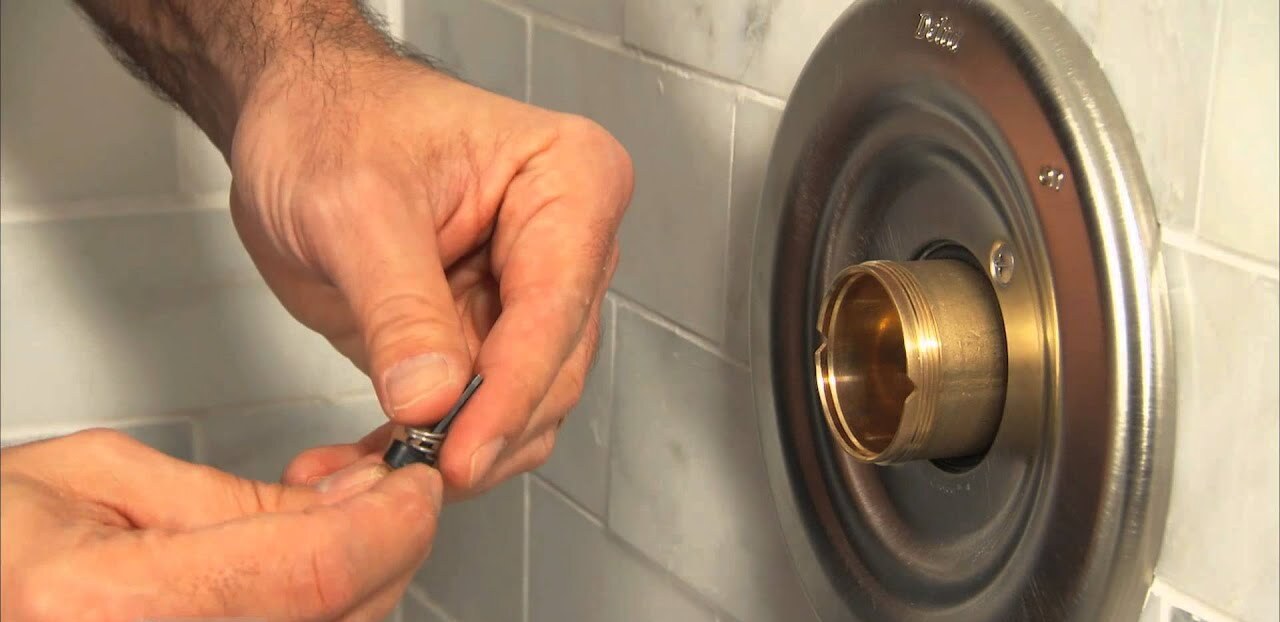
Step 4: Remove the Drain Plug
With the drain flange successfully removed, the final and crucial step in the process of removing a Delta bathtub drain plug is to proceed with the extraction of the drain plug itself. This step involves accessing and removing the drain plug from the drain flange, allowing for thorough cleaning, maintenance, or replacement as needed. Here's a detailed guide on how to effectively remove the drain plug:
-
Locate the Drain Plug: The drain plug is situated within the center of the drain flange, often identifiable by a cross-shaped or slot-shaped recess. This is where the drain plug assembly is positioned, and it may be secured in place by threads or a locking mechanism. Ensure proper visibility of the drain plug before proceeding with its removal.
-
Use Needle-Nose Pliers: If the drain plug is equipped with a visible cross-shaped recess, insert a pair of needle-nose pliers into the recess to grip and rotate the plug counterclockwise. Apply steady and controlled pressure to begin loosening the drain plug from its position within the drain flange. If the plug exhibits resistance, a gentle tap with a rubber mallet can help dislodge it without causing damage.
-
Unscrew the Drain Plug: As the drain plug begins to loosen, continue rotating it counterclockwise until it is fully unscrewed from the drain flange. Exercise caution to prevent any abrupt movements that could potentially damage the drain plug or the surrounding components. If the plug is equipped with a locking mechanism, follow the manufacturer's instructions for disengaging and removing it from the drain flange.
-
Inspect the Drain Plug: Once the drain plug is removed, take a moment to inspect it for any signs of corrosion, buildup, or damage. This visual inspection can provide valuable insights into the condition of the drain plug and whether it requires cleaning, maintenance, or replacement. Additionally, check the drain flange for any accumulated debris or residue that may impede drainage performance.
-
Clean and Maintain: If the drain plug exhibits signs of buildup or residue, clean it thoroughly using a mild cleaning solution or vinegar. Ensure that all surfaces are free from debris before reassembling the drain components. Additionally, inspect the drain flange and surrounding areas for any accumulated residue and clean as necessary to optimize drainage performance.
By successfully removing the drain plug, you've completed the final step in the process of removing a Delta bathtub drain plug. Whether you're addressing a clog, performing maintenance, or replacing the drain plug, this comprehensive guide has equipped you with the knowledge and confidence to effectively manage your bathtub's drainage system. With the drain plug removed, you can proceed to address any maintenance needs and reassemble the drain components with ease.
Conclusion
In conclusion, successfully removing a Delta bathtub drain plug is a task that requires careful attention to detail, the use of the right tools, and a methodical approach. By following the step-by-step guide outlined in this article, you've gained valuable insights into the process of removing the drain plug, from accessing the overflow plate to extracting the drain flange and removing the plug itself.
With the essential tools and materials at your disposal, you've been empowered to take control of your bathtub's maintenance and address any drainage concerns with confidence. The removal process not only allows for cleaning and maintenance but also provides the opportunity to inspect the drain components for signs of wear, corrosion, or buildup that may impact the bathtub's drainage performance.
Furthermore, the detailed steps outlined in this guide have equipped you with the knowledge to navigate each stage of the removal process effectively. From loosening the drain flange to carefully extracting the drain plug, you've gained a comprehensive understanding of the intricacies involved in maintaining a Delta bathtub's drainage system.
By taking the time to inspect and clean the drain components, you've contributed to the optimal functioning of your bathtub's drainage system, ensuring efficient water flow and preventing potential clogs or drainage issues in the future.
In essence, the successful removal of the Delta bathtub drain plug not only addresses immediate maintenance needs but also sets the stage for proactive care and attention to your bathtub's drainage system. With the knowledge and confidence gained from this guide, you're well-equipped to maintain a functional and efficient bathtub drainage system, promoting a seamless and enjoyable bathing experience for years to come.
Frequently Asked Questions about How To Remove Delta Bathtub Drain Plug
Was this page helpful?
At Storables.com, we guarantee accurate and reliable information. Our content, validated by Expert Board Contributors, is crafted following stringent Editorial Policies. We're committed to providing you with well-researched, expert-backed insights for all your informational needs.

0 thoughts on “How To Remove Delta Bathtub Drain Plug”