Home>Furniture & Design>Bathroom Accessories>How Do You Remove The Drain From A Bathtub?

Bathroom Accessories
How Do You Remove The Drain From A Bathtub?
Modified: August 25, 2024
Learn how to remove the drain from a bathtub and upgrade your bathroom accessories with our step-by-step guide. Keep your bathroom looking fresh and functional.
(Many of the links in this article redirect to a specific reviewed product. Your purchase of these products through affiliate links helps to generate commission for Storables.com, at no extra cost. Learn more)
Introduction
Removing the drain from a bathtub may seem like a daunting task, but with the right tools and a clear understanding of the process, it can be a manageable DIY project. Whether you're looking to replace an old, corroded drain or simply need to access the plumbing beneath the tub, knowing how to remove the drain is a valuable skill for any homeowner.
Over time, bathtub drains can become clogged with hair, soap scum, and other debris, leading to slow drainage and unpleasant odors. In some cases, the drain may need to be completely removed to address underlying plumbing issues or to install a new bathtub. By learning how to remove the drain from your bathtub, you can save time and money by tackling the task yourself.
In this comprehensive guide, we will walk you through the step-by-step process of removing the drain from a bathtub. From clearing the area to cleaning the drain, each step is crucial to ensuring a successful removal process. By following these instructions and tips, you can confidently take on this home maintenance project and achieve a smoothly functioning bathtub drain.
Understanding the anatomy of a bathtub drain and familiarizing yourself with the necessary tools will empower you to tackle this task with confidence. With a bit of patience and attention to detail, you can successfully remove the drain from your bathtub and address any underlying issues that may be affecting its performance. So, let's dive in and learn how to remove the drain from a bathtub, empowering you to take charge of your home maintenance needs.
Key Takeaways:
- Removing a bathtub drain is a manageable DIY project that involves clearing the area, removing the stopper, drain cover, and flange, and thoroughly cleaning the drain to maintain a smoothly functioning bathtub.
- By mastering the process of removing a bathtub drain, homeowners can save time and money, prevent clogs and odors, and take proactive steps to maintain a well-cared-for home.
Read more: How To Remove Sand From A Bathtub Drain
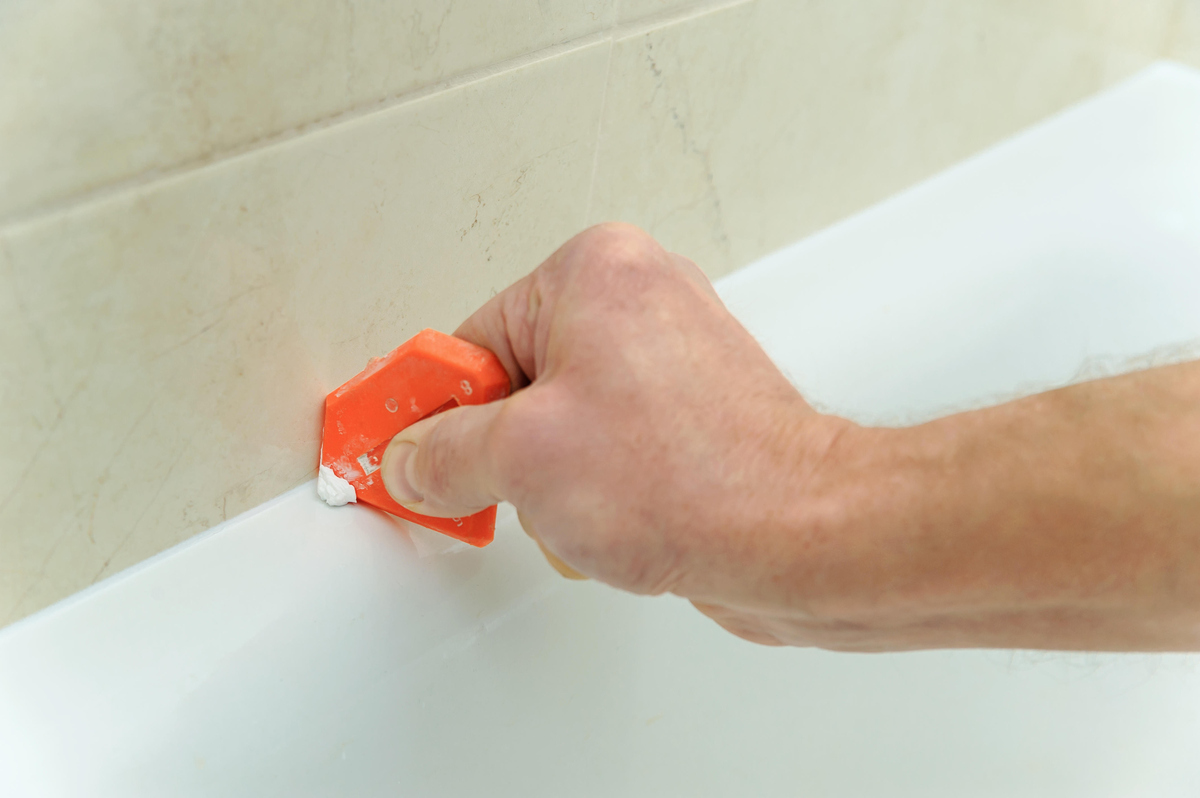
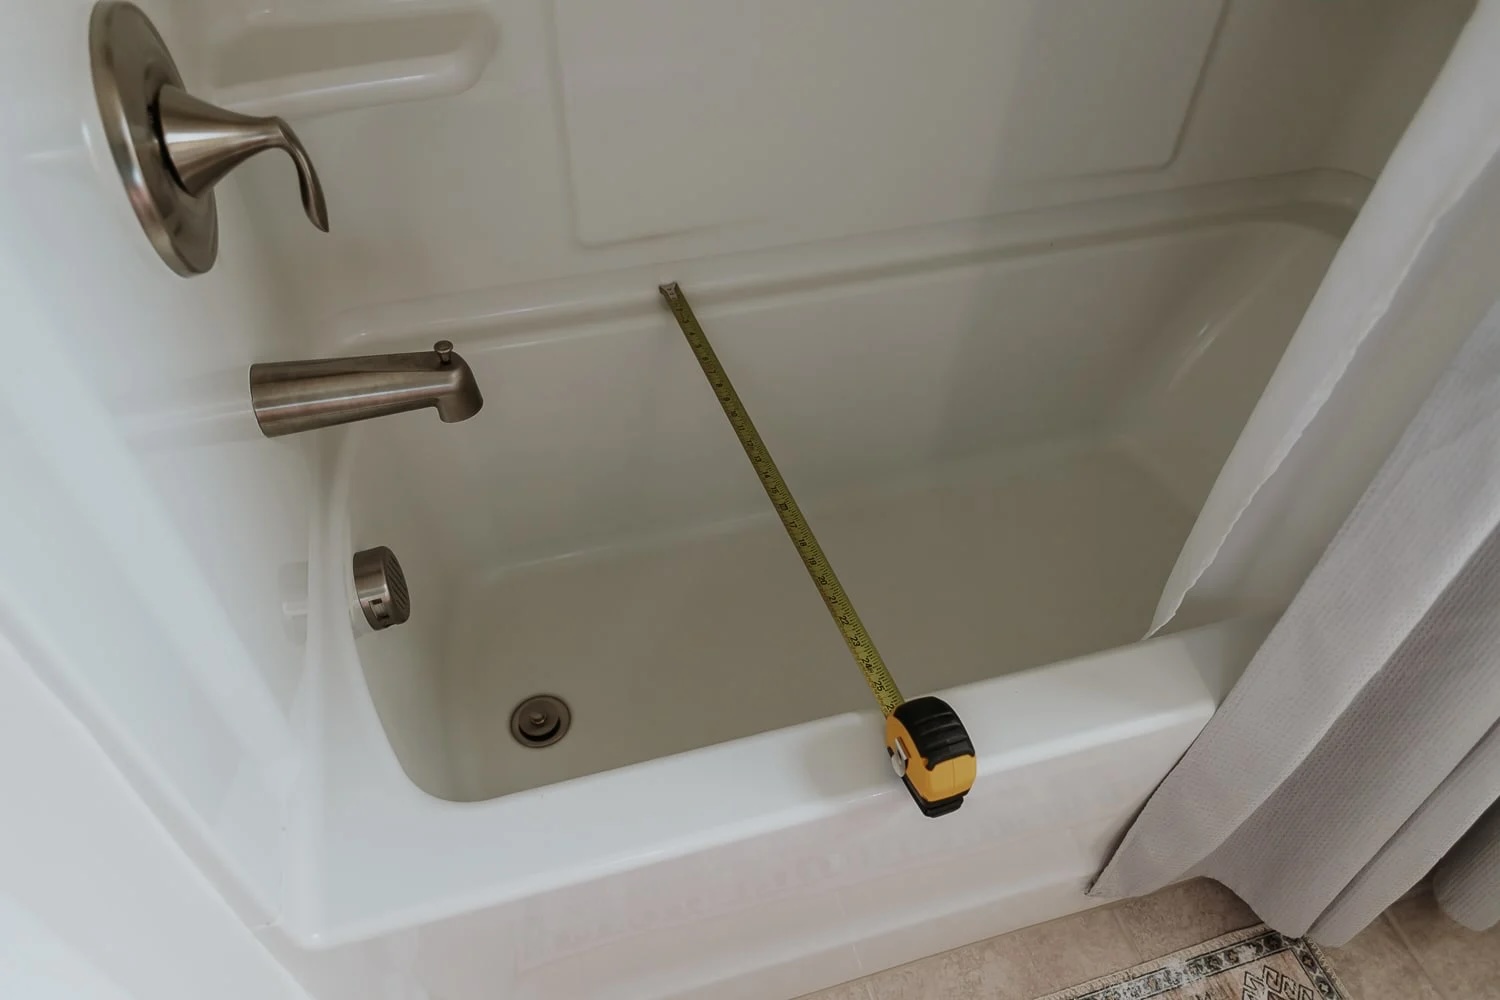
Step 1: Clearing the Area
Before embarking on the task of removing the drain from your bathtub, it's essential to clear the surrounding area to create a conducive working environment. This initial step sets the stage for a smooth and efficient removal process.
Start by removing any items or accessories from the bathtub and its immediate vicinity. This includes bath mats, shower caddies, and any personal care products that may obstruct your movement or access to the drain. Clearing the area not only provides you with ample space to maneuver but also minimizes the risk of accidentally knocking over or damaging items during the removal process.
Next, ensure that you have proper lighting in the bathroom. Adequate illumination is crucial for accurately assessing the condition of the drain and its components. If the bathroom's lighting is insufficient, consider using a portable LED light or positioning a floor lamp strategically to illuminate the area around the bathtub.
Additionally, it's advisable to lay down a protective covering, such as an old towel or a piece of cardboard, to shield the bathtub's surface from potential scratches or damage. This precautionary measure helps maintain the pristine condition of the tub while providing a comfortable surface to place tools and parts during the drain removal.
Furthermore, if your bathtub has an access panel that allows entry to the plumbing beneath the tub, ensure that it is easily accessible. If the access panel is obstructed by any items or furniture, clear the path to facilitate unobstructed entry. This step is particularly important if you anticipate needing to access the plumbing during the drain removal process.
By meticulously clearing the area and creating an organized workspace, you set the foundation for a successful drain removal endeavor. This thoughtful preparation not only streamlines the process but also minimizes the likelihood of accidents or damage to the bathtub and its surroundings. With the area cleared and prepped, you are now ready to proceed to the next step of removing the drain from your bathtub.
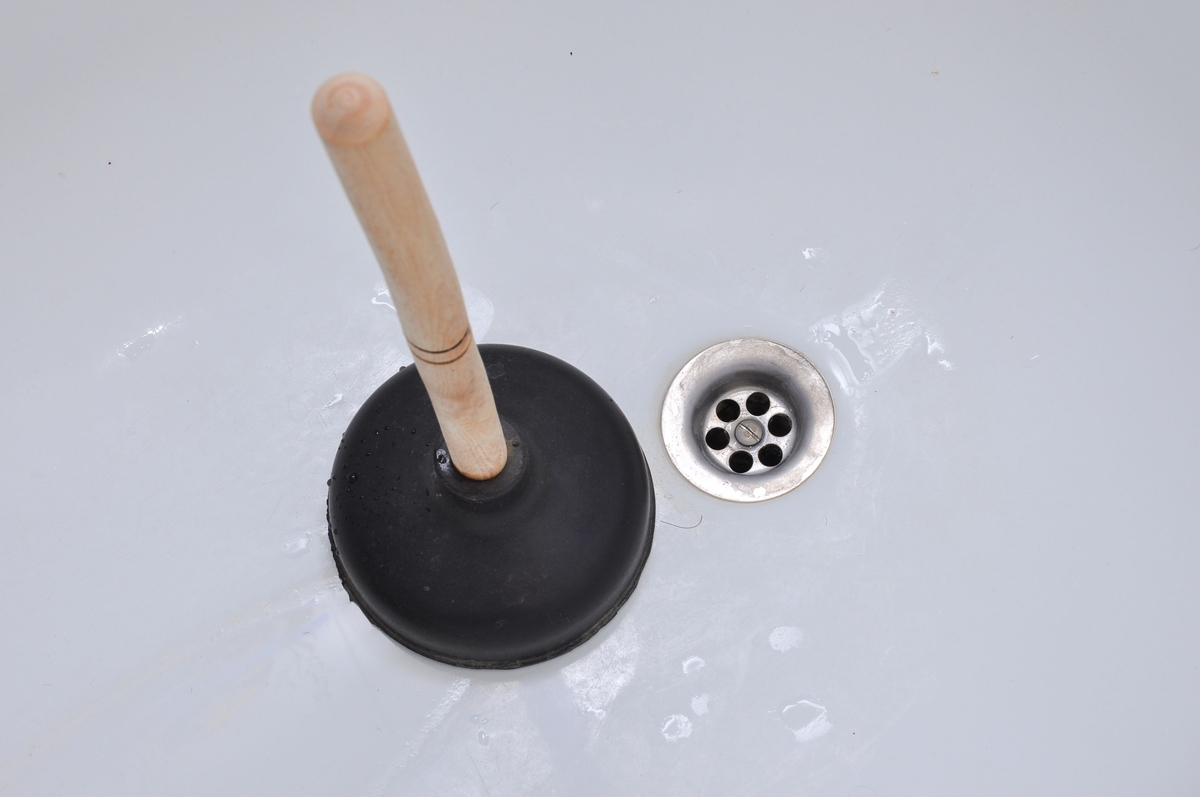
Step 2: Removing the Stopper
Removing the stopper is a crucial step in the process of removing the drain from a bathtub. The stopper, also known as the drain plug, is the component that controls the flow of water out of the bathtub. Whether your bathtub is equipped with a lift-and-turn, push-and-pull, toe-touch, or pop-up stopper, the removal process typically follows a similar set of steps.
-
Identify the Stopper Type: Begin by identifying the type of stopper in your bathtub. This can usually be determined by visual inspection or by referring to the bathtub's user manual. Different types of stoppers require specific removal techniques, so understanding the stopper's design is essential.
-
Access the Stopper Mechanism: Depending on the stopper type, you may need to access the mechanism beneath the bathtub to remove the stopper. This often involves locating and unscrewing the overflow cover plate to gain access to the linkage and stopper assembly. Once the mechanism is accessible, you can proceed with the removal process.
-
Unscrew or Unclip the Stopper: For some stopper types, such as lift-and-turn or push-and-pull stoppers, you may need to unscrew the stopper from the drain. This can typically be accomplished by turning the stopper counterclockwise to release it from the drain threads. In the case of toe-touch or pop-up stoppers, there may be a clip or retaining ring that needs to be disengaged to free the stopper from the drain.
-
Lift Out the Stopper: With the stopper mechanism disengaged, carefully lift the stopper out of the drain. It's important to handle the stopper with care to avoid causing any damage to the surrounding components or the bathtub surface. If the stopper appears to be stuck, applying gentle upward pressure while twisting it slightly can help release it from the drain.
-
Inspect and Clean the Stopper: Once the stopper is removed, take a moment to inspect it for any signs of damage, corrosion, or buildup. Cleaning the stopper with a mild detergent and a brush can help remove accumulated grime and ensure that it functions optimally when reinstalled.
By successfully removing the stopper, you have completed a significant phase of the drain removal process. This step sets the stage for accessing the drain cover and flange, which are integral to the subsequent stages of removing the drain from the bathtub. With the stopper out of the way, you are now prepared to advance to the next step and continue the process of removing the drain from your bathtub.
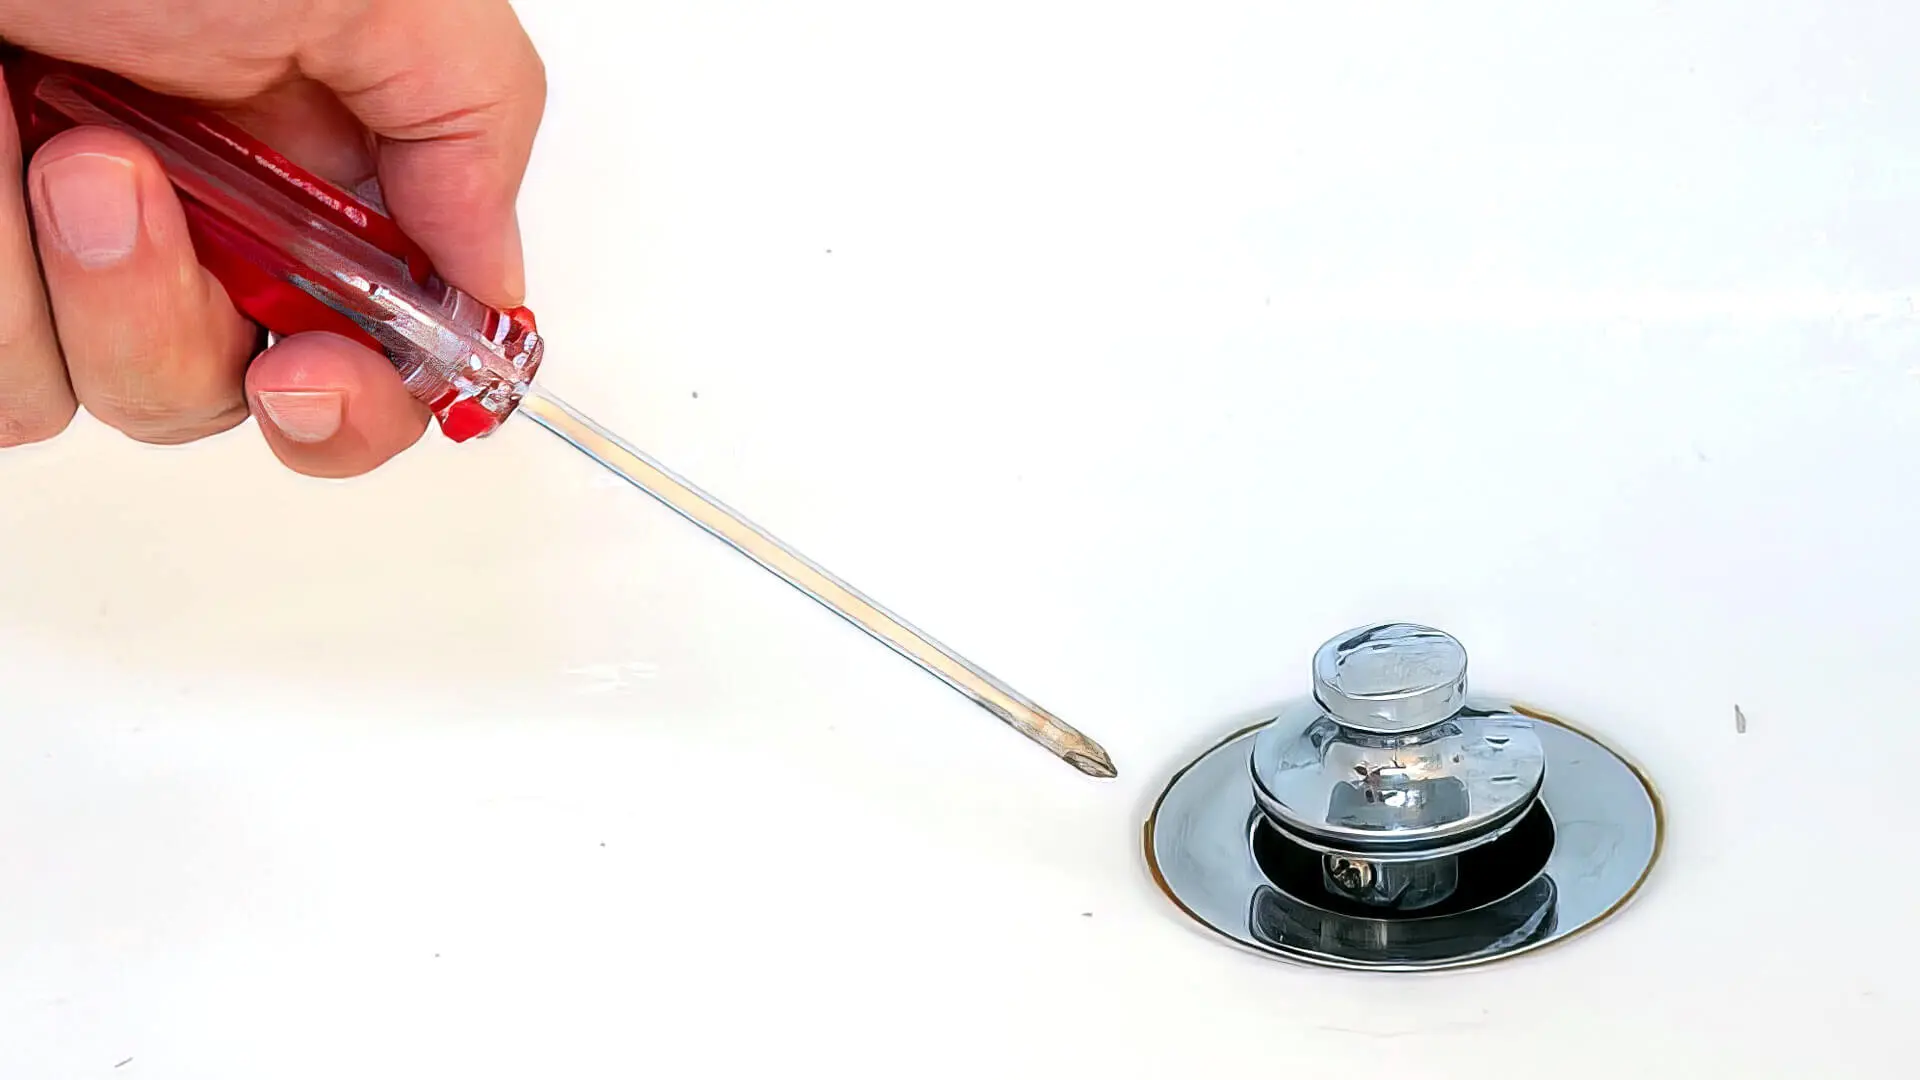
Step 3: Removing the Drain Cover
With the stopper successfully removed, the next pivotal step in the process of removing the drain from a bathtub is tackling the drain cover. The drain cover, also known as the strainer or grate, serves as a protective barrier over the drain opening, preventing larger debris from entering the plumbing system while allowing water to flow through. Removing the drain cover is essential for gaining access to the underlying components of the drain and advancing toward the complete removal of the drain assembly.
The process of removing the drain cover typically involves the following steps:
-
Inspect the Drain Cover: Begin by visually inspecting the drain cover to identify the type of fastening mechanism used to secure it in place. Drain covers may be held in position by screws, adhesive caulk, or a snap-in design. Understanding the specific fastening method employed will guide your approach to removing the cover.
-
Unscrew or Unclip the Cover: If the drain cover is secured with screws, use a suitable screwdriver to carefully loosen and remove the screws. It's important to keep track of the screws and place them in a secure location for safekeeping. In the case of a snap-in or adhesive caulk attachment, gently pry the edges of the drain cover using a flathead screwdriver or a putty knife to disengage it from the drain opening.
-
Lift Out the Drain Cover: Once the fastening mechanism is disengaged, lift the drain cover out of the drain opening. Exercise caution to avoid damaging the surrounding surfaces or the drain itself. If the cover seems stuck, applying gentle upward pressure while wiggling it slightly can help release it from any residual adhesion.
-
Inspect and Clean the Drain Cover: Take a moment to inspect the removed drain cover for any signs of damage, corrosion, or accumulated debris. Cleaning the drain cover with a mild detergent and a brush can help eliminate any trapped grime and maintain its functionality.
By successfully removing the drain cover, you have cleared the path to the next critical phase of the drain removal process. The removal of the drain cover paves the way for accessing the drain flange, a pivotal component that requires attention in the subsequent steps of removing the drain from the bathtub. With the drain cover removed, you are now ready to progress to the following step and continue the process of removing the drain from your bathtub.
Use a screwdriver to remove the screws holding the drain cover in place. Then, use pliers to unscrew the drain from the pipe underneath. Be sure to have a bucket handy to catch any water or debris.
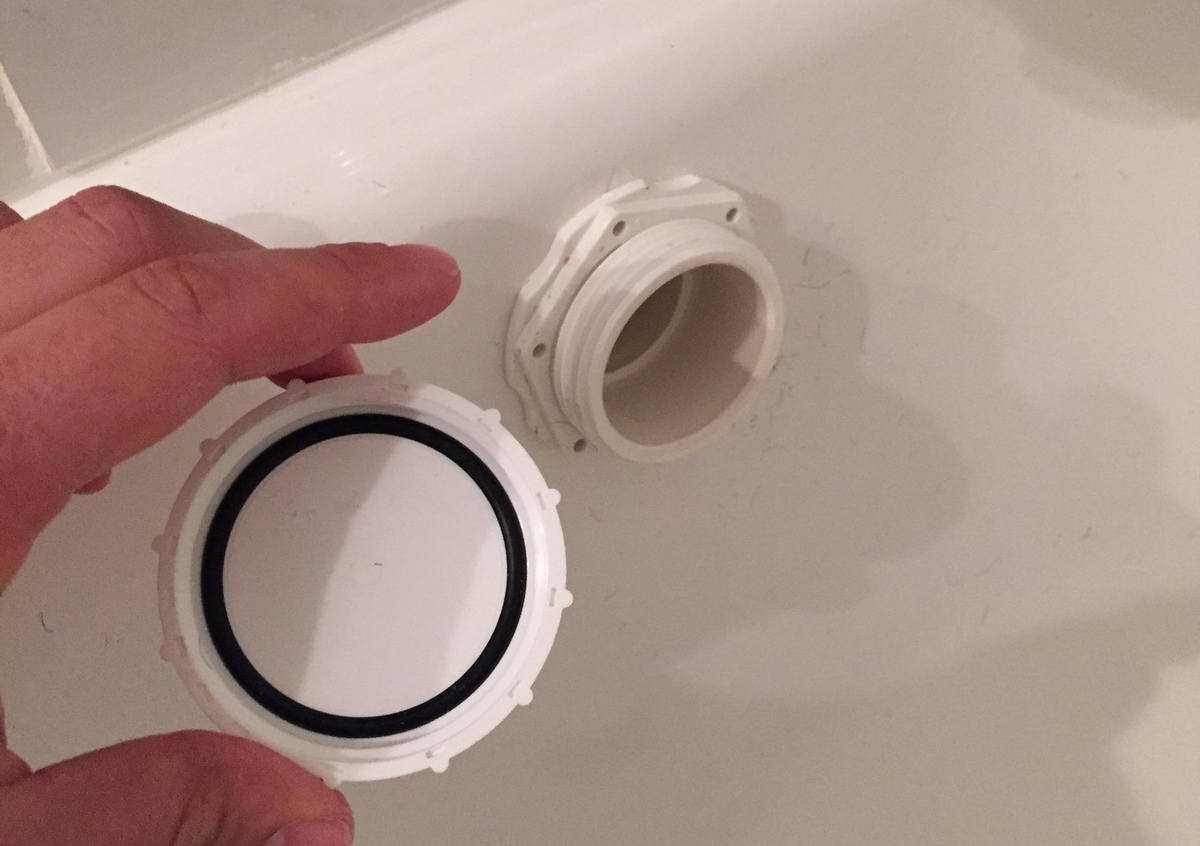
Step 4: Removing the Drain Flange
The drain flange, a crucial component of the bathtub drain assembly, plays a pivotal role in sealing the drain and connecting it to the underlying plumbing system. Removing the drain flange is a significant step in the process of accessing the drain body and ultimately detaching the drain from the bathtub. This intricate task requires attention to detail and the use of specialized tools to ensure a successful removal process.
The process of removing the drain flange typically involves the following steps:
-
Assess the Flange Fastening: Begin by visually inspecting the drain flange to determine the method used to secure it in place. Drain flanges are commonly fastened using a locking nut or a screw-on mechanism. Understanding the specific fastening method employed will guide your approach to removing the flange.
-
Loosen the Locking Nut or Screws: If the drain flange is secured with a locking nut, use a pair of adjustable pliers or a pipe wrench to carefully loosen and remove the nut. It's important to exercise caution to avoid damaging the flange or the surrounding surfaces. In the case of a screw-on flange, use an appropriate screwdriver to unscrew and detach the flange from the drain body.
-
Detach the Drain Flange: Once the locking nut or screws are disengaged, gently lift and twist the drain flange to detach it from the drain body. It's essential to apply gradual and even pressure to avoid causing any damage to the flange or the drain assembly. If the flange appears to be stuck, using a penetrating lubricant can help loosen any stubborn connections.
-
Inspect the Drain Flange and Drain Body: With the drain flange removed, take a moment to inspect both the flange and the exposed drain body for any signs of wear, corrosion, or buildup. Cleaning the flange and the drain body with a mild detergent and a brush can help remove accumulated grime and ensure that they are in optimal condition.
-
Prepare for Reinstallation: If the removal of the drain flange is part of a maintenance or replacement project, take this opportunity to prepare for the reinstallation of a new flange or any necessary repairs. Ensuring that the drain body is clean and free of debris sets the stage for a seamless reassembly process.
By successfully removing the drain flange, you have reached a pivotal milestone in the process of removing the drain from your bathtub. This step sets the stage for addressing any underlying plumbing issues, replacing components, or performing maintenance tasks as needed. With the drain flange removed, you are now prepared to advance to the subsequent steps and continue the process of removing the drain from your bathtub.
Read more: How Do You Drain A Portable Bathtub
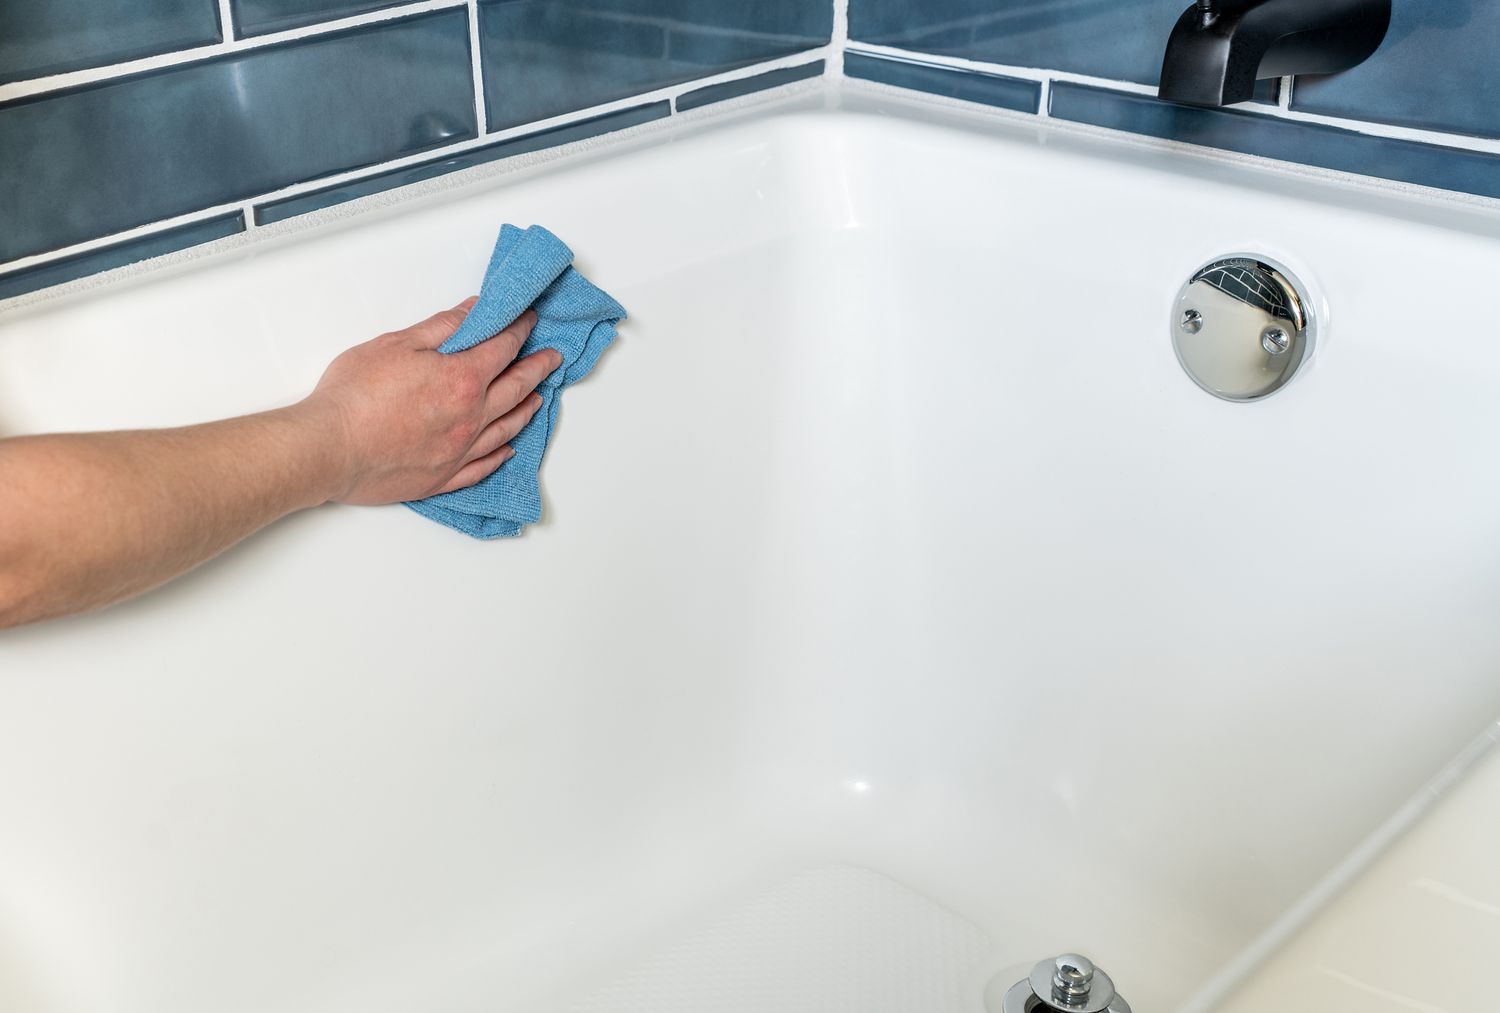
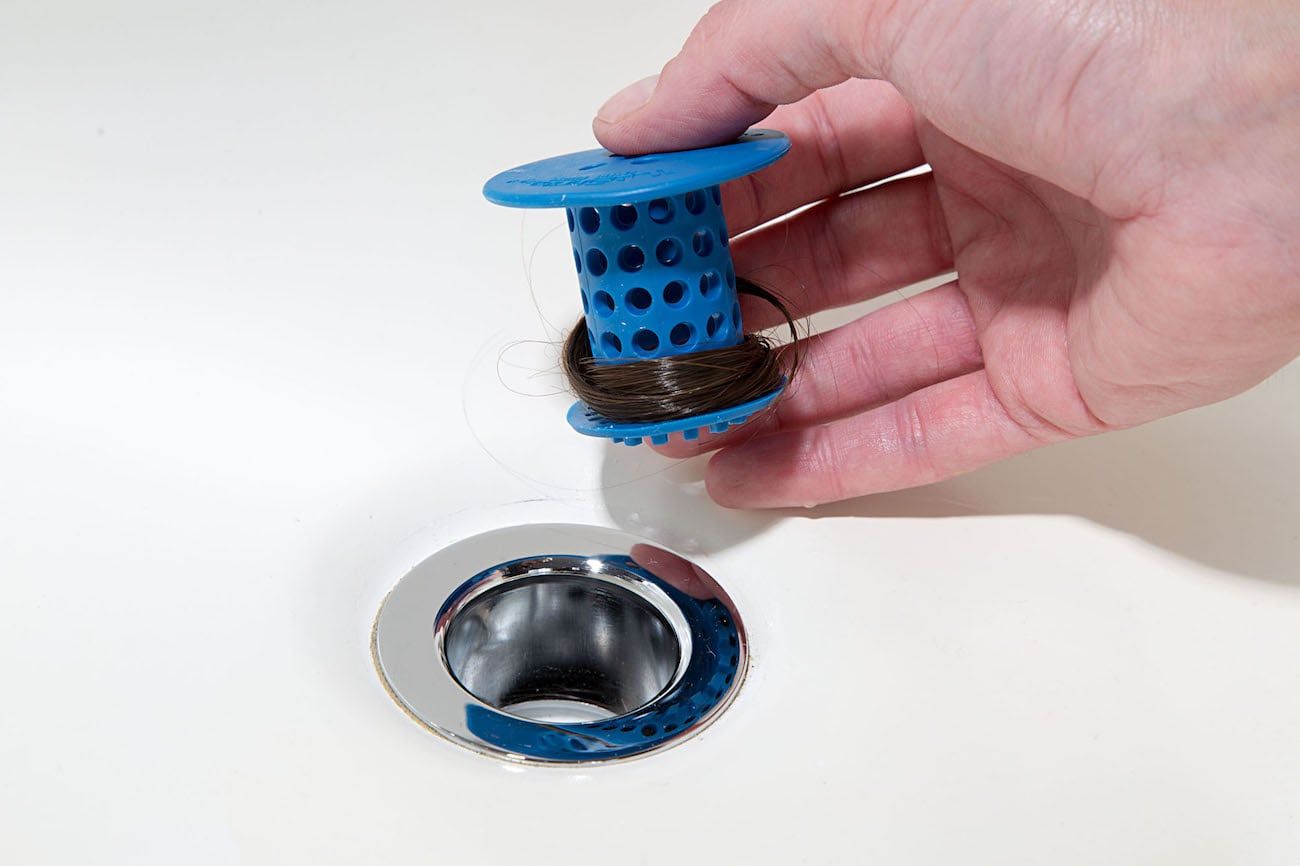
Step 5: Cleaning the Drain
After successfully removing the drain flange, the next crucial step in the process of removing the drain from a bathtub involves thorough cleaning of the drain itself. Over time, bathtub drains can accumulate a buildup of hair, soap scum, and debris, leading to slow drainage and unpleasant odors. Cleaning the drain is essential for restoring optimal functionality and ensuring a hygienic bathing environment.
The process of cleaning the drain typically involves the following steps:
-
Clearing Debris: Begin by using a pair of needle-nose pliers or a wire hanger to extract any visible debris, such as hair and soap residue, from the drain opening. Carefully pull out the accumulated debris and dispose of it in a trash receptacle. It's important to exercise caution to avoid pushing the debris further into the drain.
-
Using a Drain Snake: For more stubborn clogs and buildup within the drain, employing a drain snake or auger can be highly effective. Insert the end of the drain snake into the drain opening and rotate it clockwise while gently pushing it further into the drain. This action helps dislodge and retrieve trapped debris, restoring proper water flow.
-
Applying a Cleaning Solution: To address residual grime and odor-causing bacteria within the drain, prepare a cleaning solution by combining equal parts of white vinegar and baking soda. Pour the mixture down the drain and allow it to fizz and bubble for several minutes. This natural cleaning solution helps break down organic matter and eliminates foul odors.
-
Flushing with Hot Water: Following the application of the cleaning solution, flush the drain thoroughly with hot water. The hot water helps rinse away loosened debris and ensures that the drain is free from any remaining cleaning solution. This step also helps sanitize the drain and prevent the accumulation of future buildup.
-
Inspecting the Drain: After cleaning and flushing the drain, take a moment to visually inspect the drain opening and the exposed plumbing components for any signs of damage, corrosion, or leaks. Addressing any visible issues at this stage can prevent future complications and ensure the optimal performance of the bathtub drain.
By meticulously cleaning the drain and addressing any underlying issues, you have completed a critical phase in the process of removing the drain from your bathtub. This thorough cleaning not only restores the functionality of the drain but also contributes to a more hygienic and pleasant bathing experience. With the drain cleaned and inspected, you have successfully navigated through the essential steps of removing the drain from your bathtub, empowering you to address maintenance tasks and achieve a smoothly functioning bathtub drain.
Conclusion
Congratulations on successfully navigating the comprehensive process of removing the drain from your bathtub. By following the step-by-step guide outlined in this article, you have gained valuable insights into the intricacies of bathtub drain removal and maintenance. From clearing the area and removing the stopper to tackling the drain cover, flange, and thorough cleaning, each step has equipped you with the knowledge and confidence to address your bathtub's drainage needs.
As you conclude this DIY endeavor, it's essential to reflect on the significance of maintaining a functional bathtub drain. A smoothly operating drain not only enhances your bathing experience but also contributes to the overall hygiene and cleanliness of your bathroom. By proactively addressing drain issues and performing routine maintenance, you can prevent potential clogs, odors, and plumbing complications, ultimately prolonging the lifespan of your bathtub and its associated components.
Furthermore, the successful removal of the bathtub drain empowers you to address underlying plumbing issues, replace worn components, or install a new bathtub with ease. Whether you're embarking on a home improvement project or simply seeking to optimize your bathroom's functionality, the knowledge and skills acquired through this process position you as a capable and proactive homeowner.
As you wrap up this project, take a moment to appreciate the sense of accomplishment that comes with mastering a fundamental aspect of home maintenance. Your newfound expertise in bathtub drain removal not only saves you time and money but also fosters a deeper connection to your living space. Embracing a proactive approach to home maintenance allows you to take charge of your surroundings and create a comfortable, functional environment for yourself and your loved ones.
In conclusion, the journey of removing the drain from your bathtub is not just a practical task; it's a testament to your resourcefulness and commitment to maintaining a well-cared-for home. With the knowledge and skills acquired from this process, you are well-equipped to tackle future home maintenance endeavors with confidence and efficiency. So, take pride in your accomplishment, and may your newly acquired expertise serve you well in your ongoing journey as a proactive homeowner.
Frequently Asked Questions about How Do You Remove The Drain From A Bathtub?
Was this page helpful?
At Storables.com, we guarantee accurate and reliable information. Our content, validated by Expert Board Contributors, is crafted following stringent Editorial Policies. We're committed to providing you with well-researched, expert-backed insights for all your informational needs.


0 thoughts on “How Do You Remove The Drain From A Bathtub?”