Home>Furniture & Design>Bathroom Accessories>How To Take Off A Toilet Seat With Metal Hinges
Bathroom Accessories
How To Take Off A Toilet Seat With Metal Hinges
Modified: October 19, 2024
Learn how to easily remove a toilet seat with metal hinges to upgrade your bathroom accessories. Follow our step-by-step guide for a hassle-free process.
(Many of the links in this article redirect to a specific reviewed product. Your purchase of these products through affiliate links helps to generate commission for Storables.com, at no extra cost. Learn more)
Introduction
Removing a toilet seat with metal hinges may seem like a daunting task, but with the right tools and a clear understanding of the process, it can be a straightforward and manageable endeavor. Whether you're looking to replace a worn-out toilet seat or simply need to access the area for cleaning or maintenance, knowing how to safely remove the seat without damaging the hinges is essential.
In this comprehensive guide, we will walk you through the step-by-step process of taking off a toilet seat with metal hinges. By following these instructions, you can ensure that the task is completed efficiently and without any unnecessary complications. So, gather your tools and let's get started on this practical DIY project.
Key Takeaways:
- Removing a toilet seat with metal hinges is a manageable DIY task with the right tools and knowledge. Identifying hinge types and following specific removal steps ensures a successful and hassle-free process.
- Thoroughly cleaning the area beneath the toilet seat is essential for maintaining a hygienic bathroom environment. Disinfecting, addressing stains, and inspecting hinges contribute to a visually appealing and functional space.
Read more: How To Take Off Toto Toilet Seat
Step 1: Gather the necessary tools
Before embarking on the task of removing a toilet seat with metal hinges, it's essential to gather the necessary tools to ensure a smooth and efficient process. Here's a list of items you'll need:
-
Adjustable Wrench or Screwdriver: Depending on the type of screws used to secure the metal hinges, you'll need either an adjustable wrench or a screwdriver. For hex-head screws, an adjustable wrench will be necessary, while a screwdriver will be suitable for Phillips or flat-head screws.
-
Protective Gloves: It's advisable to wear protective gloves to shield your hands from any dirt, grime, or potential sharp edges during the removal process.
-
Cleaning Supplies: While not directly related to the removal process, having cleaning supplies such as disinfectant wipes or a mild cleaning solution and a cloth on hand will allow you to clean the area thoroughly once the toilet seat has been removed.
-
Flashlight: In some cases, the area beneath the toilet seat may be dimly lit, making it challenging to see the screws and hinges clearly. A flashlight can help illuminate the area and make the removal process more manageable.
-
Plastic Bags or Container: To dispose of the old toilet seat or store it temporarily if it's being replaced, having plastic bags or a container at hand will help keep the area tidy and organized.
By ensuring that you have these tools readily available before starting the removal process, you can streamline the task and minimize any potential interruptions. With the right tools at your disposal, you'll be well-prepared to proceed to the next steps of removing the toilet seat with metal hinges.
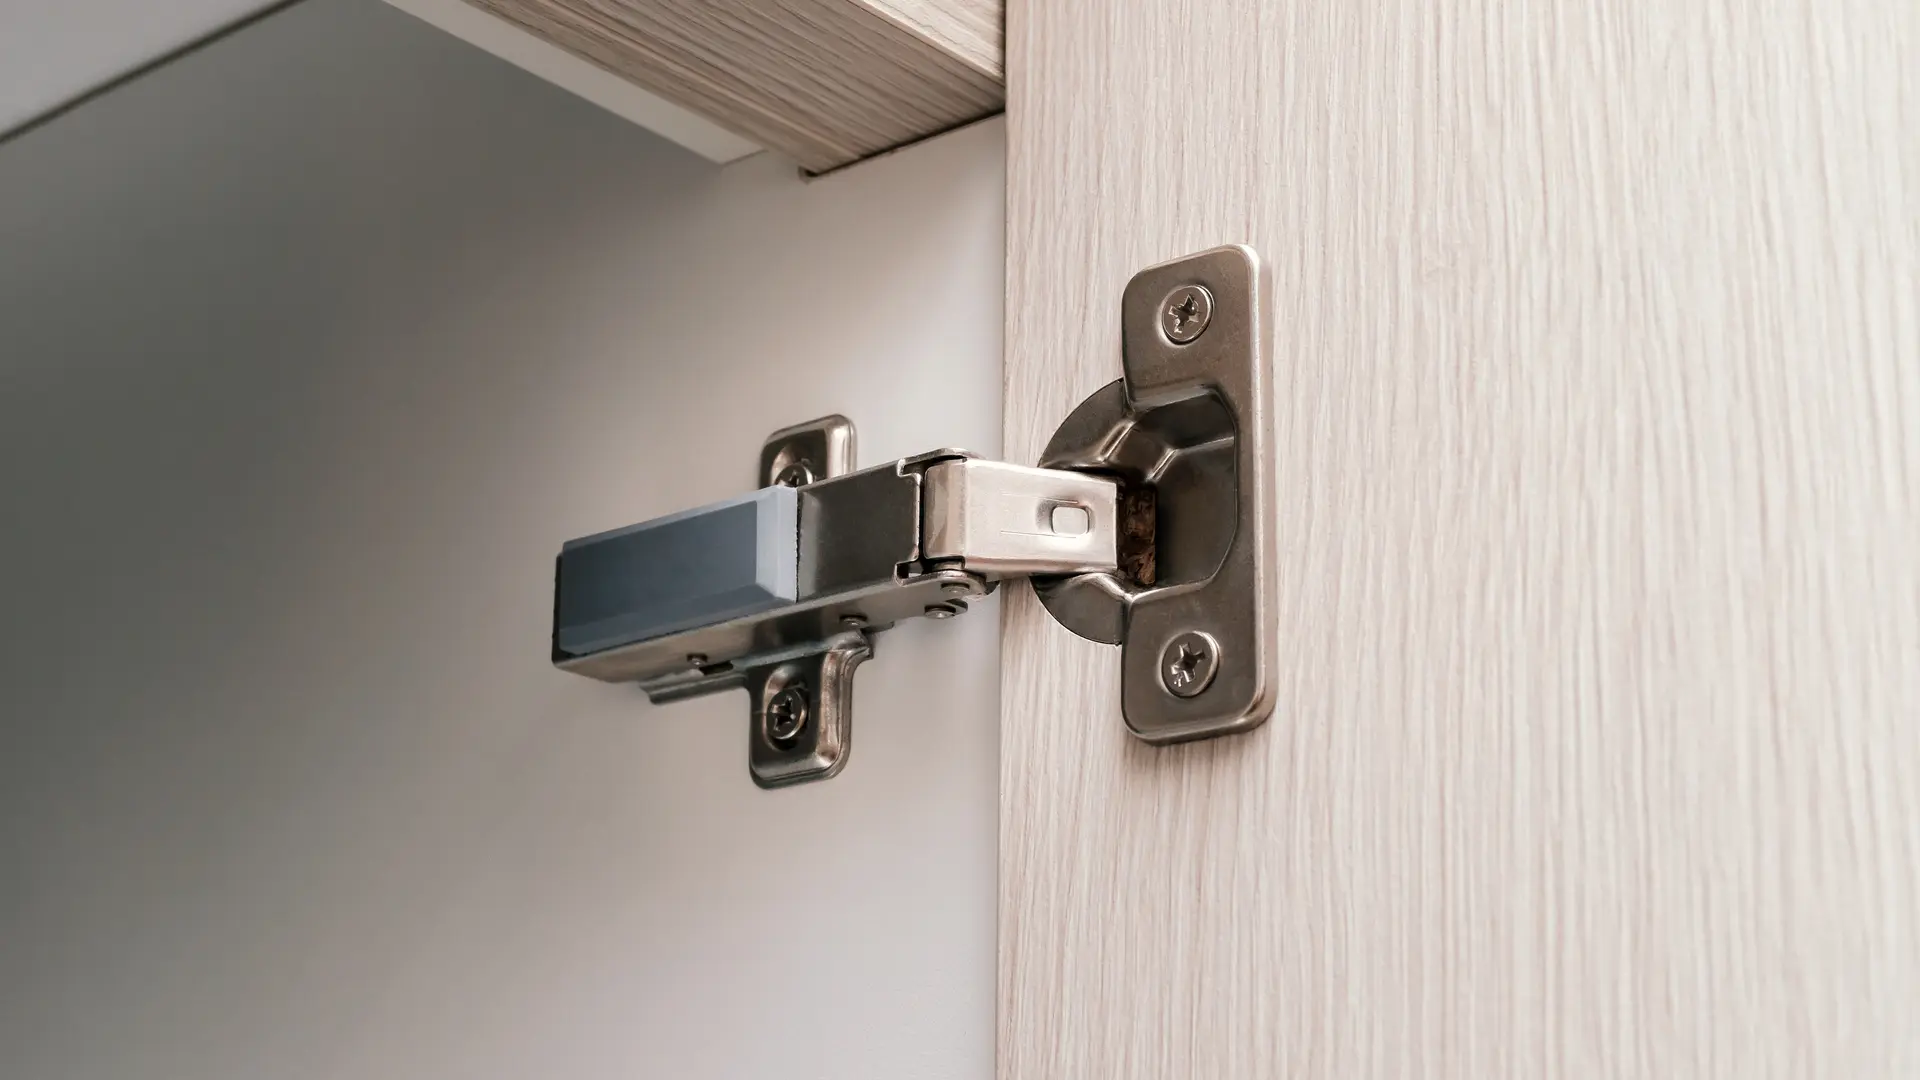
Step 2: Identify the type of metal hinges
Before proceeding with the removal of a toilet seat with metal hinges, it's crucial to identify the type of hinges used. This step is essential as it determines the specific approach required to loosen and remove the seat without causing any damage to the hinges or the toilet bowl. Here's how to identify the type of metal hinges and the corresponding steps for each:
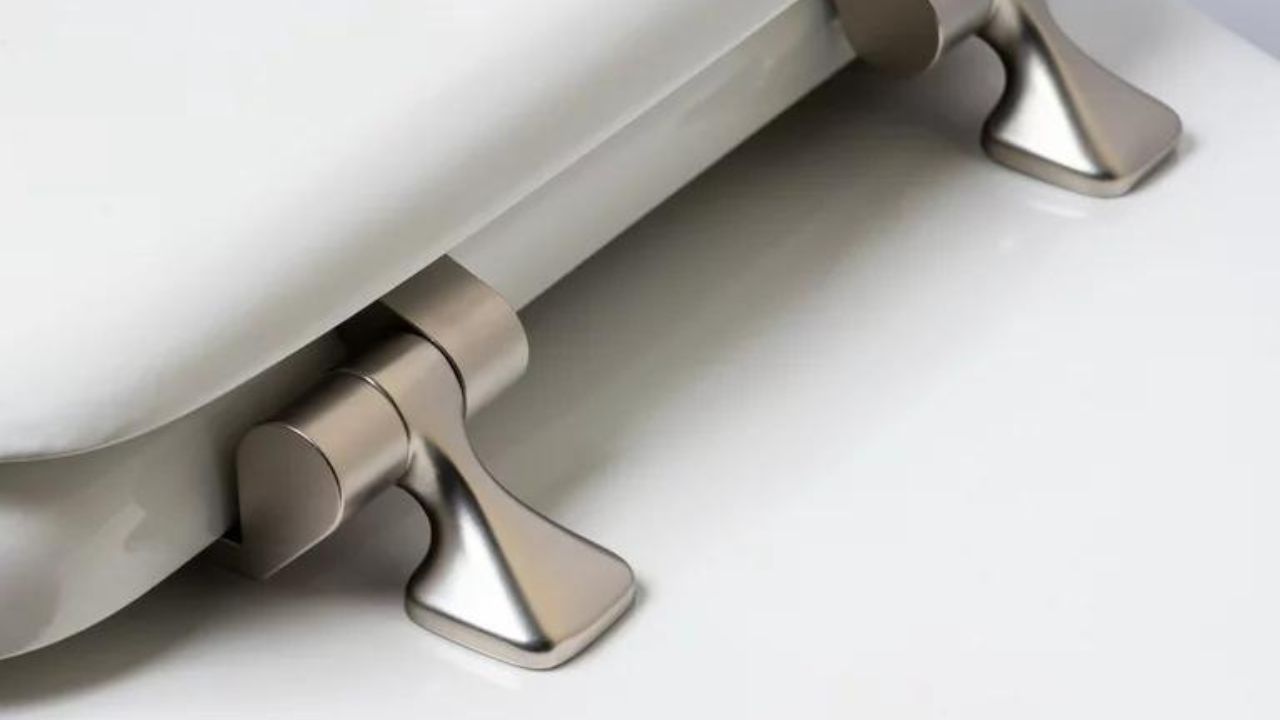
1. Standard Screws:
Standard metal hinges typically feature screws that are visible from the top of the toilet seat. These screws may be Phillips-head, flat-head, or hex-head, and they are usually located at the rear of the seat, securing it to the toilet bowl. To identify this type of hinge:
- Inspect the rear of the toilet seat to locate the screws holding the seat in place.
- Determine the type of screw head (Phillips, flat, or hex) to prepare the appropriate tool for loosening them.
2. Hidden or Quick-Release Hinges:
Some modern toilet seats are equipped with hidden or quick-release metal hinges, which allow for easy removal without the need for visible screws. These hinges often have a release button or mechanism located on the underside of the seat. Here's how to identify this type of hinge:
- Lift the toilet seat and inspect the area where the seat connects to the toilet bowl.
- Look for any buttons, levers, or mechanisms that indicate a quick-release feature.
- If present, familiarize yourself with the release mechanism to understand how to disengage the hinges effectively.
Read also: 12 Amazing Toilet Seat Hinge for 2025
3. Integrated Hinges:
In certain cases, toilet seats may have integrated metal hinges, where the hinges are part of the seat's design and are not detachable. These hinges are typically found in one-piece toilet seat and lid combinations. To identify integrated hinges:
- Examine the construction of the toilet seat to determine if the hinges are seamlessly integrated into the seat's structure.
- Confirm that there are no visible screws or release mechanisms, indicating that the hinges are not designed to be removed separately.
Once you have identified the type of metal hinges on your toilet seat, you can proceed with the appropriate steps for loosening and removing the seat in the subsequent section. Understanding the specific hinge design will ensure that you approach the removal process with precision and confidence, ultimately leading to a successful outcome without any complications.
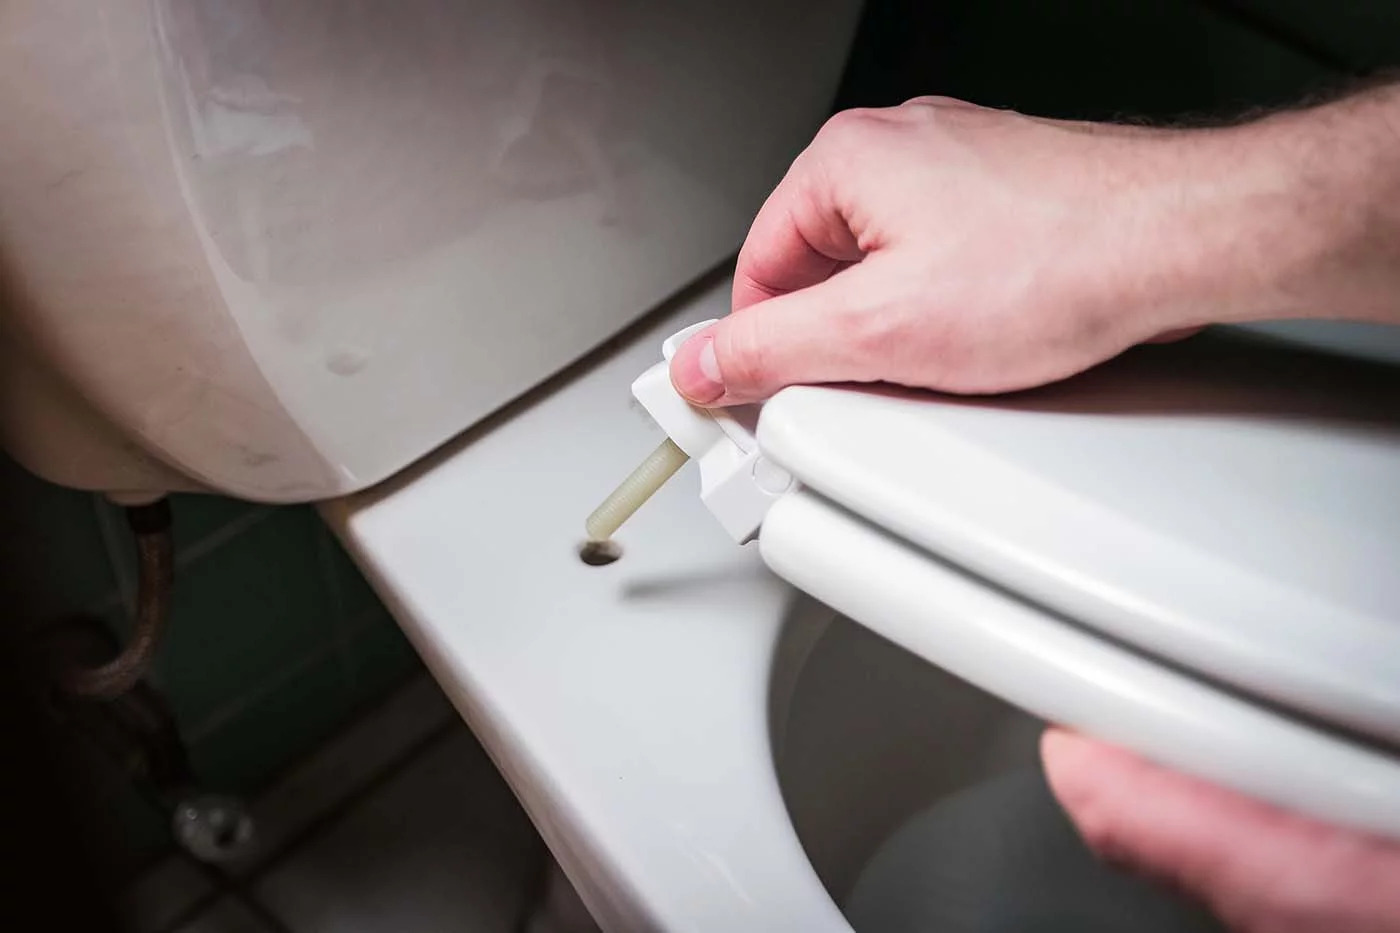
Step 3: Loosen the screws
Once you have identified the type of metal hinges securing the toilet seat, it's time to proceed with loosening the screws to facilitate the removal process. Depending on the hinge design, you'll need to use the appropriate tool and technique to effectively loosen the screws without causing any damage to the seat or the toilet bowl. Here's a detailed breakdown of the steps involved in loosening the screws for each type of metal hinge:
1. Standard Screws:
If your toilet seat is equipped with standard metal hinges featuring visible screws, you can follow these steps to loosen the screws:
-
Using the appropriate screwdriver or adjustable wrench, carefully begin to turn the screws counterclockwise. It's essential to apply steady and controlled pressure to avoid stripping the screw heads or causing damage to the surrounding area.
-
As you loosen the screws, hold the toilet seat firmly to prevent it from shifting or becoming unstable. This will help maintain stability and control throughout the loosening process.
-
Continue to unscrew the fasteners until they are fully detached from the toilet bowl. Once the screws are completely loosened, carefully lift the seat and remove it from the bowl, ensuring that the hinges are free from any remaining attachment points.
2. Hidden or Quick-Release Hinges:
For toilet seats with hidden or quick-release metal hinges, the process of loosening the screws may differ due to the unique design of these hinges:
-
If your toilet seat features a quick-release mechanism, locate the release button or lever positioned on the underside of the seat. Depress or activate the release mechanism according to the manufacturer's instructions to disengage the hinges from the toilet bowl.
-
Once the quick-release feature has been activated, gently lift the seat to separate it from the hinges. In some cases, the seat may detach entirely, while in others, you may need to unscrew any remaining fasteners that were concealed by the quick-release mechanism.
-
If the hinges are hidden and do not require traditional screw loosening, follow the specific instructions provided by the manufacturer to detach the seat effectively. This may involve pressing or sliding a release button or lever to disengage the hinges from the bowl.
Read also: 12 Amazing Toilet Seat Hinge for 2025
3. Integrated Hinges:
In the case of integrated metal hinges that are not designed to be removed separately, the process of loosening screws may not apply. Integrated hinges are typically part of the toilet seat's structure and do not feature detachable screws or fasteners.
By following these detailed steps tailored to the specific type of metal hinges on your toilet seat, you can effectively loosen the screws and prepare the seat for safe removal. With the screws successfully loosened, you are now ready to proceed to the next step of removing the toilet seat with metal hinges, ensuring a seamless and hassle-free process.
Step 4: Remove the toilet seat
With the screws successfully loosened and the hinges now detached from the toilet bowl, the next crucial step is to remove the toilet seat entirely. This process requires careful handling to ensure that the seat is lifted and separated from the bowl without causing any damage or unnecessary strain on the hinges. Here's a detailed guide on how to effectively remove the toilet seat with metal hinges:
-
Lift the Seat: Gently lift the toilet seat upward, ensuring that it is held securely to prevent any sudden movements or accidental slippage. It's important to maintain a stable grip on the seat to avoid any unexpected shifts that could potentially damage the hinges or the toilet bowl.
-
Inspect for Remaining Attachments: As you lift the seat, visually inspect the area beneath it to check for any remaining attachments or fasteners that may still be connected to the hinges. In some cases, residual screws or locking mechanisms may require attention to ensure a complete and smooth removal process.
-
Dispose or Store the Seat: Once the seat has been successfully lifted and detached from the hinges, carefully set it aside in a safe and designated area. If the seat is being replaced, consider placing it in a plastic bag or container for disposal. Alternatively, if the seat is in good condition and being temporarily removed for cleaning or maintenance, store it in a secure location to prevent any damage.
-
Clean the Area: With the toilet seat removed, take the opportunity to thoroughly clean the area beneath it. Use disinfectant wipes or a mild cleaning solution to sanitize the surface of the bowl and the hinges, ensuring that any accumulated dirt or grime is effectively removed. This step not only promotes hygiene but also prepares the area for the installation of a new seat or the reattachment of the existing one.
By following these detailed steps, you can successfully remove the toilet seat with metal hinges, completing this essential task with precision and care. With the seat removed and the area cleaned, you are now ready to proceed with any necessary maintenance, replacement, or reinstallation, knowing that the removal process was executed smoothly and without any complications.
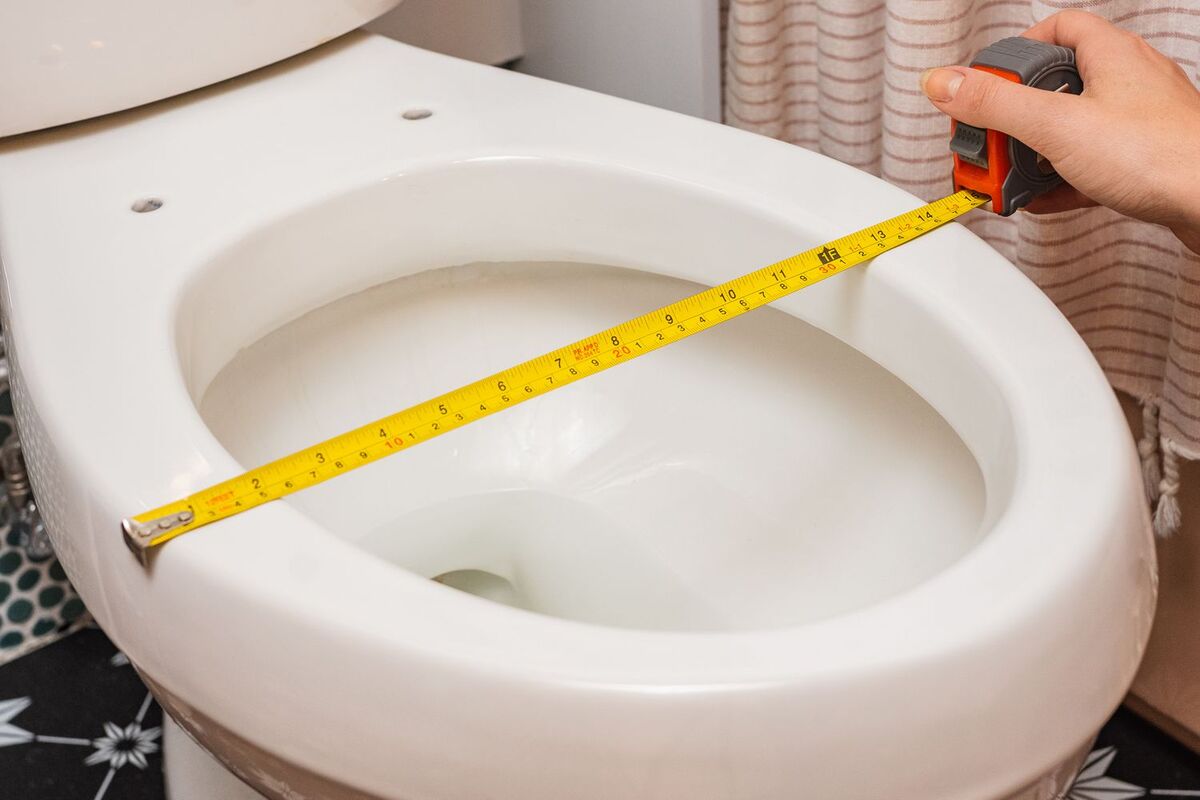
Step 5: Clean the area
After successfully removing the toilet seat with metal hinges, it's essential to dedicate attention to cleaning the area beneath the seat. This step not only contributes to maintaining a hygienic bathroom environment but also prepares the surface for the installation of a new seat or the reattachment of the existing one.
To begin the cleaning process, start by inspecting the area beneath the toilet seat to identify any accumulated dirt, grime, or residue. Using a flashlight can be beneficial, especially if the area is dimly lit, as it will help illuminate any hard-to-see spots. Once the inspection is complete, proceed with the following steps to ensure a thorough and effective cleaning:
-
Disinfect the Surface: Utilize disinfectant wipes or a mild cleaning solution to thoroughly disinfect the surface of the toilet bowl and the exposed hinges. Pay close attention to areas that may have been concealed by the seat, as these regions are prone to collecting bacteria and germs. By disinfecting the surface, you can eliminate any potential health hazards and create a clean foundation for the reinstallation of the toilet seat.
-
Remove Stubborn Stains: If you encounter stubborn stains or mineral deposits on the porcelain surface of the toilet bowl, consider using a specialized toilet bowl cleaner or a mixture of baking soda and vinegar to tackle these blemishes. Apply the cleaner or solution as directed, allowing it to sit for the recommended duration before scrubbing the stains with a toilet brush. This step will help restore the cleanliness and visual appeal of the toilet bowl, ensuring that it complements the newly installed or reattached seat.
-
Inspect the Hinges: While cleaning the area, take the opportunity to inspect the metal hinges for any signs of corrosion, rust, or damage. If the hinges exhibit any of these issues, consider addressing them before proceeding with the reinstallation of the toilet seat. Depending on the severity of the damage, you may need to replace the hinges to ensure the long-term stability and functionality of the seat.
-
Dry the Surface: Once the cleaning process is complete, use a clean cloth or paper towels to dry the surface of the toilet bowl and the hinges thoroughly. Ensuring that the area is completely dry will prevent any moisture-related issues and promote a secure and stable attachment when installing the new or reattached toilet seat.
By dedicating attention to cleaning the area beneath the toilet seat, you can create a sanitary and visually appealing environment within your bathroom. This proactive approach not only enhances hygiene but also sets the stage for a seamless and successful reinstallation of the toilet seat, ensuring that it is securely affixed to a clean and well-maintained surface.
Conclusion
In conclusion, the process of removing a toilet seat with metal hinges is a manageable task that can be accomplished with the right tools, knowledge of hinge types, and a systematic approach. By following the step-by-step guide outlined in this article, you can confidently take on this DIY project and ensure a successful outcome without encountering unnecessary complications.
Throughout the removal process, the importance of gathering the necessary tools cannot be overstated. Having an adjustable wrench or screwdriver, protective gloves, cleaning supplies, a flashlight, and plastic bags or a container at hand streamlines the task and minimizes potential interruptions. This proactive preparation sets the stage for a smooth and efficient removal process.
Identifying the type of metal hinges on your toilet seat is a crucial step that dictates the specific approach required for loosening and removing the seat. Whether your hinges feature standard screws, hidden or quick-release mechanisms, or integrated designs, understanding the unique characteristics of each hinge type ensures that you can proceed with precision and confidence.
Loosening the screws, disengaging quick-release mechanisms, or acknowledging integrated hinge designs are essential steps that pave the way for the successful removal of the toilet seat. By following the tailored instructions for each hinge type, you can effectively detach the seat from the toilet bowl without causing any damage to the hinges or the surrounding area.
Once the seat has been lifted and removed, dedicating attention to cleaning the area beneath it is paramount. Thoroughly disinfecting the surface, addressing stubborn stains, inspecting the hinges for damage, and ensuring that the area is completely dry sets the stage for a hygienic and visually appealing environment within your bathroom.
In essence, the process of removing a toilet seat with metal hinges encompasses careful preparation, precise execution, and a commitment to maintaining cleanliness and functionality. By adhering to the detailed steps outlined in this guide, you can approach this task with confidence, knowing that you have the knowledge and resources to complete it effectively. Whether you're replacing the seat, performing maintenance, or simply refreshing the area, the successful removal of the toilet seat with metal hinges sets the foundation for a clean, functional, and inviting bathroom space.
Frequently Asked Questions about How To Take Off A Toilet Seat With Metal Hinges
Was this page helpful?
At Storables.com, we guarantee accurate and reliable information. Our content, validated by Expert Board Contributors, is crafted following stringent Editorial Policies. We're committed to providing you with well-researched, expert-backed insights for all your informational needs.


0 thoughts on “How To Take Off A Toilet Seat With Metal Hinges”