Articles
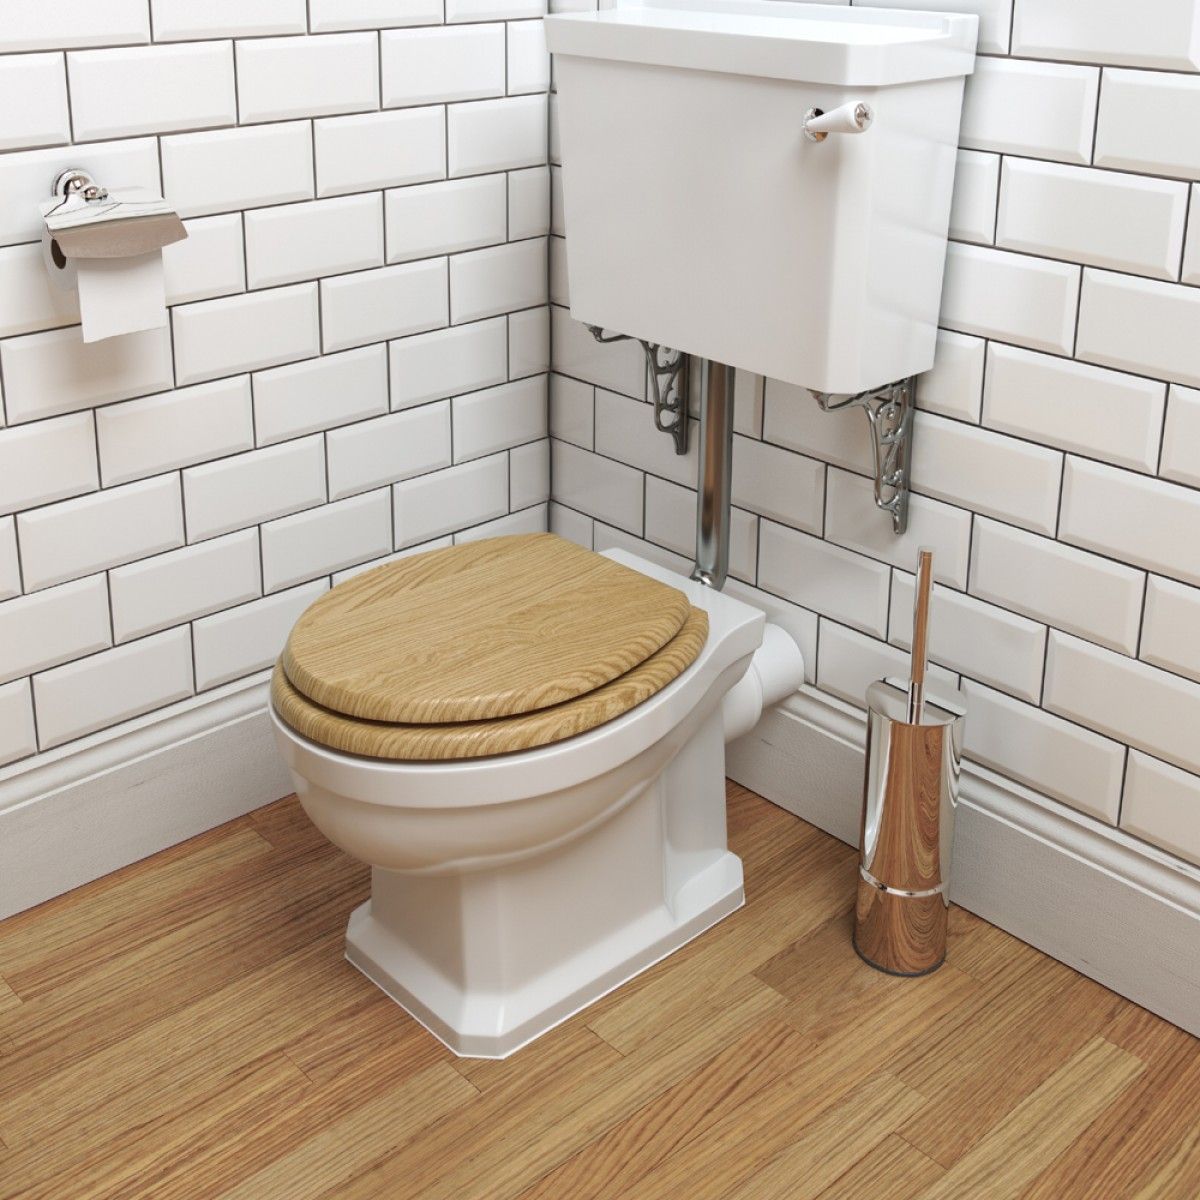
How To Level A Toilet
Modified: October 18, 2024
Learn how to level a toilet with these helpful articles. Follow step-by-step instructions for a quick and easy fix.
(Many of the links in this article redirect to a specific reviewed product. Your purchase of these products through affiliate links helps to generate commission for Storables.com, at no extra cost. Learn more)
Introduction
Having a level toilet is essential for both functionality and aesthetics in your bathroom. A toilet that is not properly leveled can lead to water leakage, uneven flushing, and an uncomfortable experience for users. Fortunately, leveling a toilet is a relatively simple process that can be done with a few tools and some patience. In this article, we will guide you through the steps to properly level a toilet, ensuring a stable and efficient fixture in your bathroom.
Before we begin, it’s important to note that this guide is intended for standard floor-mounted toilets. If you have a wall-mounted or a non-standard toilet, it is recommended to consult a professional plumber for assistance. Now, let’s dive into the steps to level your toilet and ensure a hassle-free bathroom experience.
Key Takeaways:
- Ensure a hassle-free bathroom experience by leveling your toilet with simple tools and materials. Proper preparation, inspection, and shimming will result in a stable and efficient fixture.
- Reinstalling the toilet securely after leveling is crucial. Test for stability, flush performance, and gaps to ensure a comfortable and functional bathroom fixture.
Read more: How To Level A Toilet On An Uneven Floor
Tools and Materials Needed
Before you begin leveling your toilet, gather the necessary tools and materials to complete the task efficiently. Here’s a list of what you will need:
- Adjustable wrench
- Screwdriver (flathead or Phillips, depending on the toilet)
- Putty knife
- Level
- Shims
- Plumber’s wax ring
- Rags or towels
- Bucket
- Waterproof caulk (optional)
Having these tools and materials readily available will make the leveling process smoother and more efficient. If you are missing any of these items, be sure to purchase or borrow them before you start.
Step 1: Preparation
Before you begin leveling your toilet, it’s important to take some preparatory steps to ensure a successful and efficient process. Follow the steps below to prepare for the leveling process:
- Turn off the water supply: Locate the water shut-off valve behind the toilet and turn it clockwise to shut off the water flow. Flush the toilet to remove any remaining water from the tank and bowl.
- Remove the tank lid: Place a towel or cloth on a flat surface and carefully remove the tank lid. Set it aside in a safe place to prevent any damage.
- Disconnect the water supply line: Use an adjustable wrench to loosen the nut connecting the water supply line to the bottom of the toilet tank. Once loose, carefully remove the supply line and set it aside.
- Remove the toilet seat: Depending on your toilet model, you may need to remove the toilet seat before proceeding. This can typically be done by unscrewing the bolts at the back of the seat or by releasing the clips that hold it in place. Once removed, set the seat aside.
- Clear the area around the toilet: Remove any rugs, mats, or other items around the toilet to provide ample working space. This will make it easier to access and maneuver the toilet during the leveling process.
Taking the time to prepare the area and gather the necessary tools will make the leveling process smoother and more efficient. Now that you’ve completed the preparation, you’re ready to move on to the next step: removing the toilet.
Step 2: Remove the Toilet
Now that you have prepared the area, it’s time to remove the toilet from its current position. This step is necessary to access the underlying floor and make any adjustments needed for leveling. Follow these steps to safely remove the toilet:
- Remove the caps covering the bolts: Locate the plastic caps at the base of the toilet, covering the bolts that secure it to the floor. Use a flathead screwdriver or putty knife to gently pry off these caps.
- Loosen the nuts: Using an adjustable wrench, loosen the nuts on each bolt, holding the toilet to the floor. Once loose, carefully lift the toilet bowl straight up to detach it from the wax ring.
- Set the toilet aside: Place the removed toilet on a towel or cloth in a safe area. Be cautious as toilets can be heavy and fragile. If needed, recruit a helper to assist you in moving and carrying the toilet to prevent any accidents or damage.
- Inspect the wax ring: Take a moment to inspect the wax ring that connects the toilet to the floor drain. If the wax ring shows signs of damage or wear, it’s recommended to replace it with a new one.
By following these steps, you have successfully removed the toilet from its current position. Set it aside safely and proceed to the next step to inspect the floor and assess any adjustments needed for leveling.
Step 3: Inspect the Floor
With the toilet removed, it’s time to inspect the floor for any issues that may affect the leveling process. Here’s what you need to do:
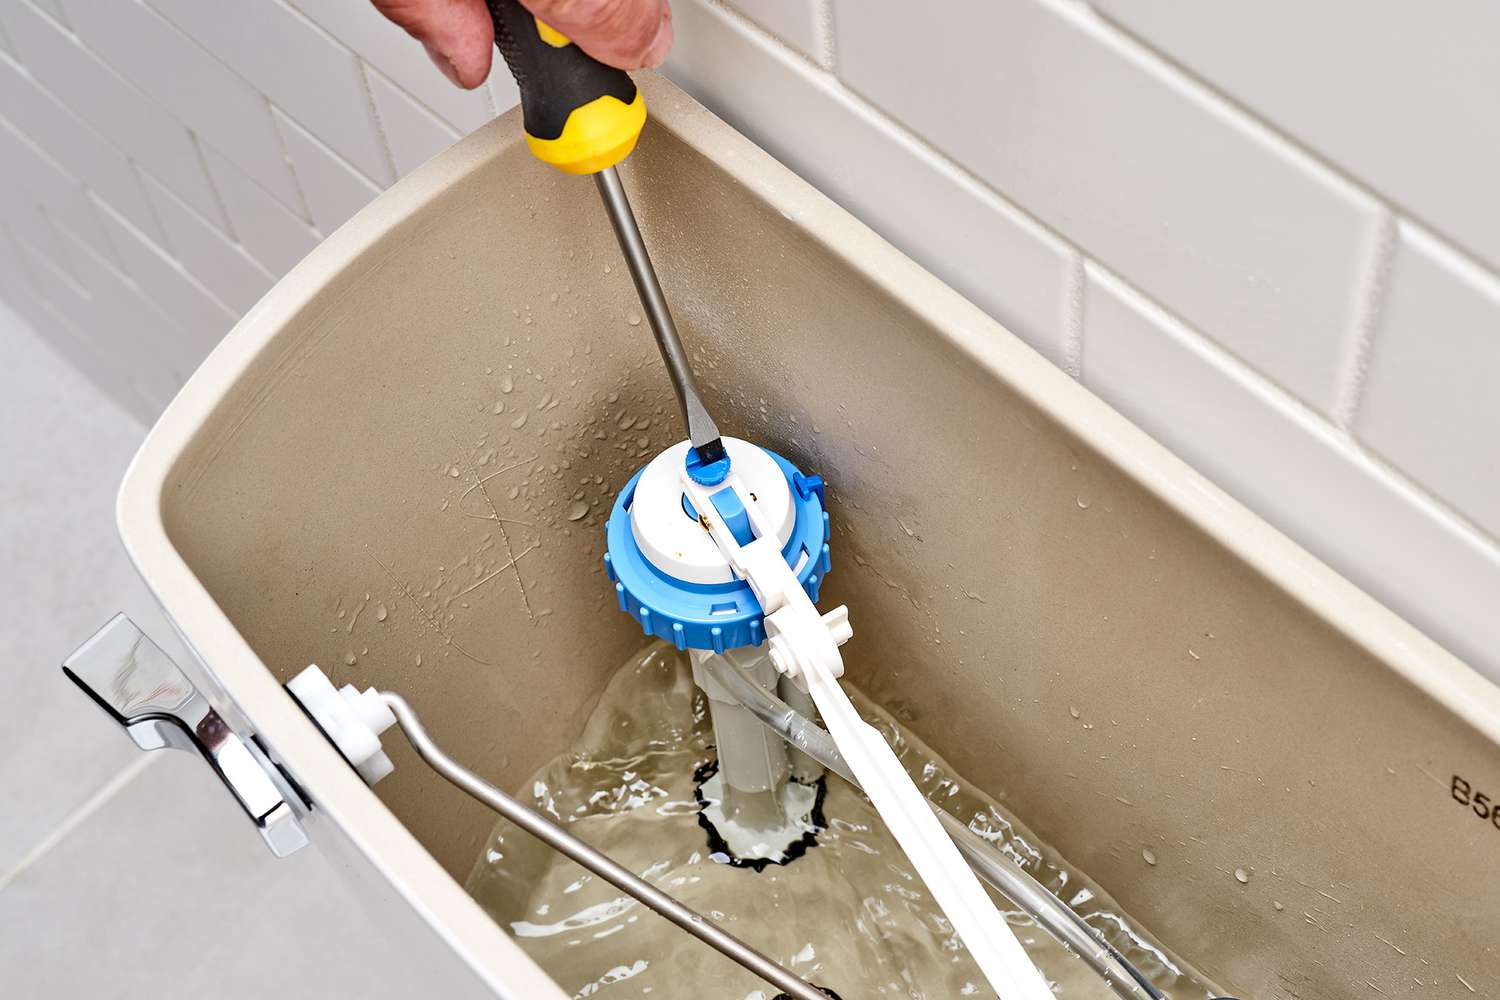
- Clean the flange: The flange is the pipe fitting on the floor that connects to the waste drain. Use a putty knife or scraper to remove any debris, old wax, or residue from the flange. Make sure it is clean and free of obstruction.
- Check for stability: Test the stability of the floor by stepping around the area where the toilet sits. Look for any signs of sagging, unevenness, or movement. If you notice any significant instability, it is recommended to address the underlying issue before proceeding with the leveling process.
- Inspect the floor for damage: Carefully examine the floor for any signs of water damage, rot, or decay. Look for soft spots, discoloration, or any other visible signs of deterioration. If you notice any extensive damage, it’s advised to consult a professional for repair before continuing with the leveling process.
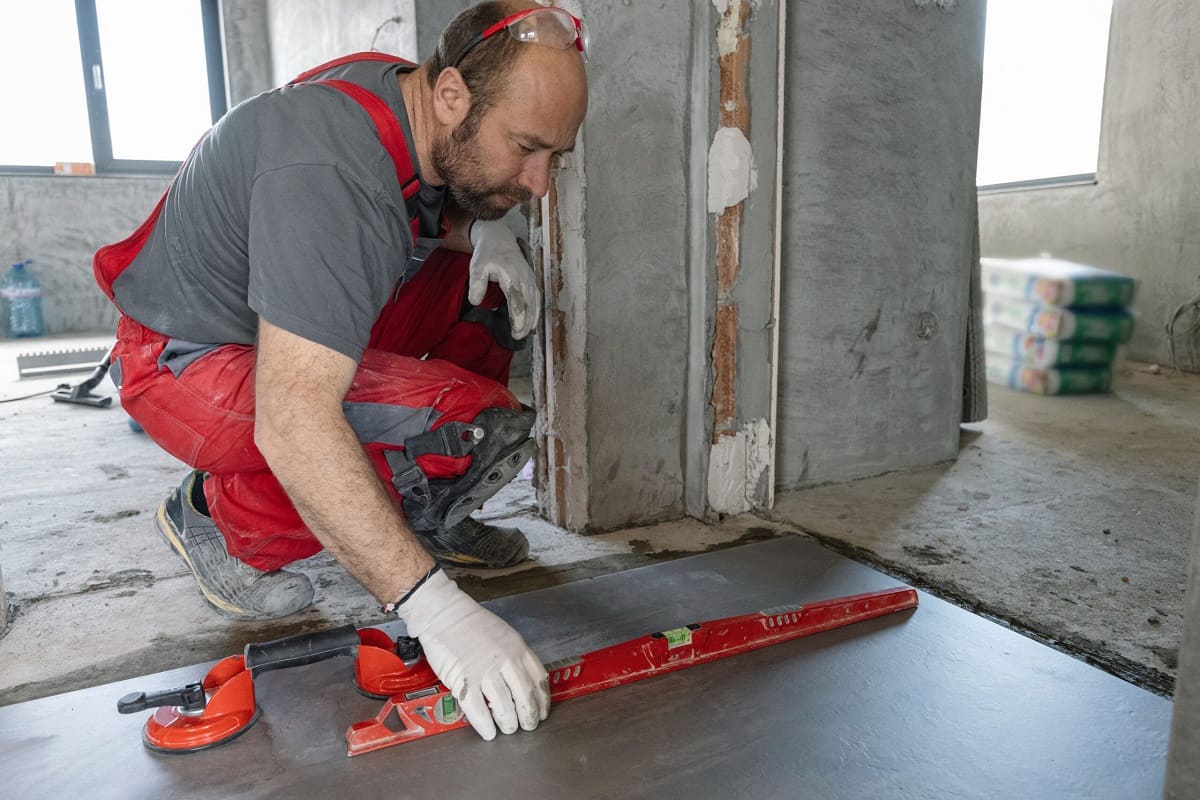
- Measure the floor slope: Use a level to determine if the floor has any significant slopes. Place the level in various positions around the toilet area and check for any noticeable tilting or unevenness. This will help you assess if additional leveling materials, such as shims or floor levelers, are required.
By thoroughly inspecting the floor, you can identify any potential issues that may affect the stability and leveling of the toilet. If you encounter any extensive damage or instability, it is recommended to seek professional assistance. Once you have assessed the floor, you can proceed to the next step of preparing the leveling material.
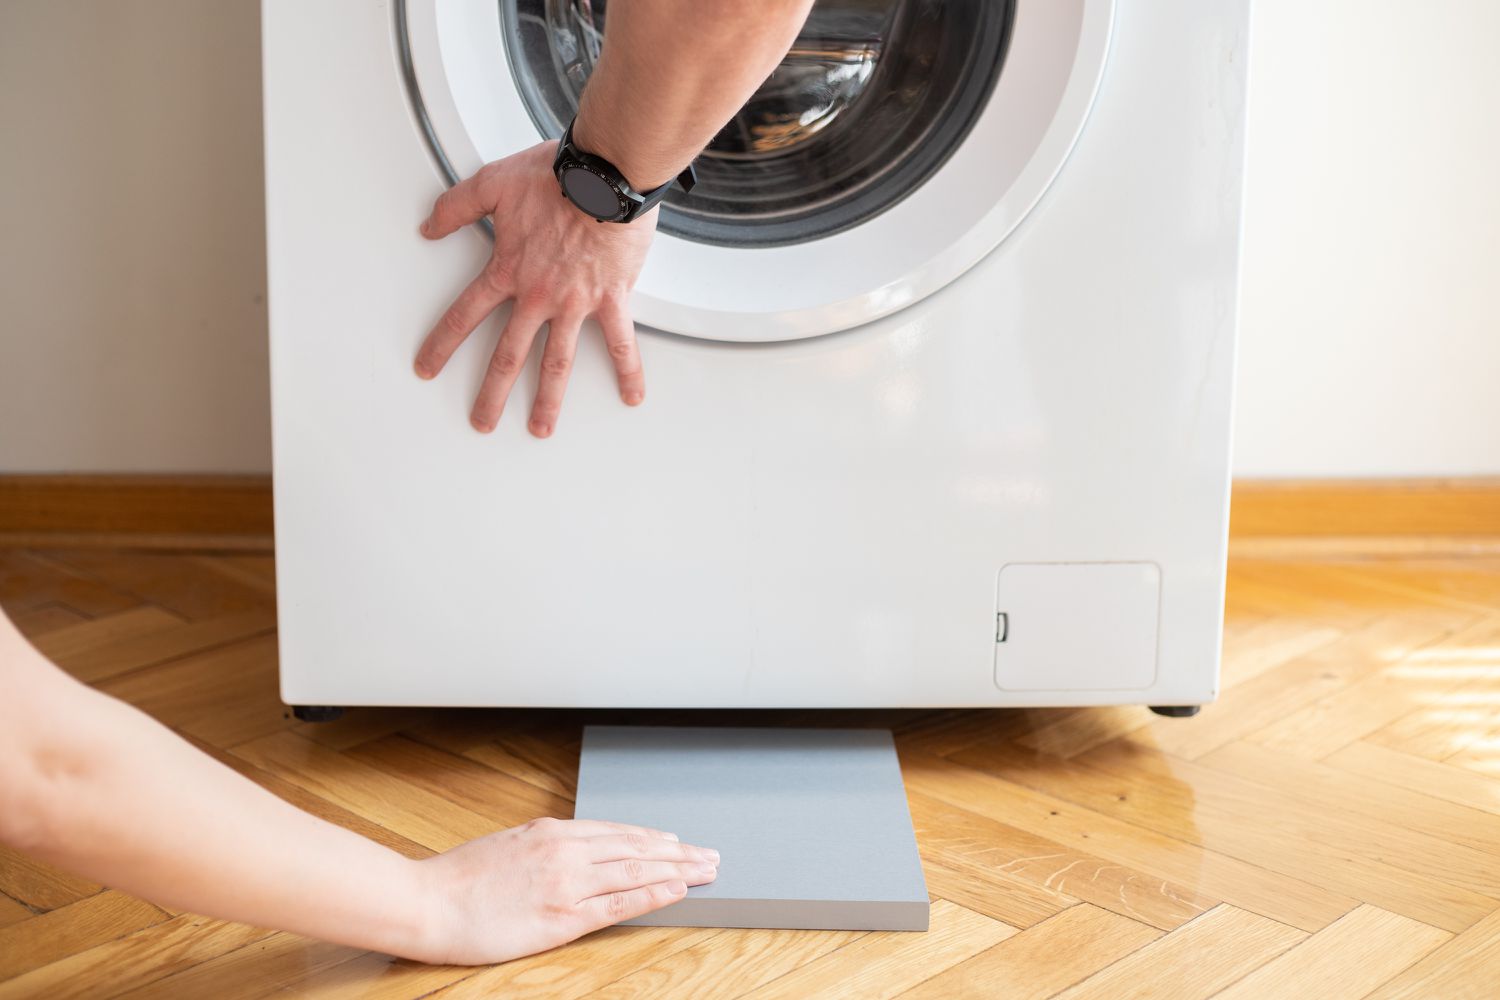
Use shims to level the toilet if the floor is uneven. Place the shims under the base of the toilet until it is level, then trim off the excess.
Step 4: Prepare Leveling Material
Now that you have inspected the floor and assessed any necessary repairs or adjustments, it’s time to prepare the leveling material. The leveling material, such as shims, will be used to ensure that the toilet sits evenly on the floor. Here’s what you need to do:
- Measure the gap: Use a tape measure or ruler to measure the gap between the floor and the toilet base. Take note of the maximum gap measurement, as this will determine the thickness of the shims needed for leveling.
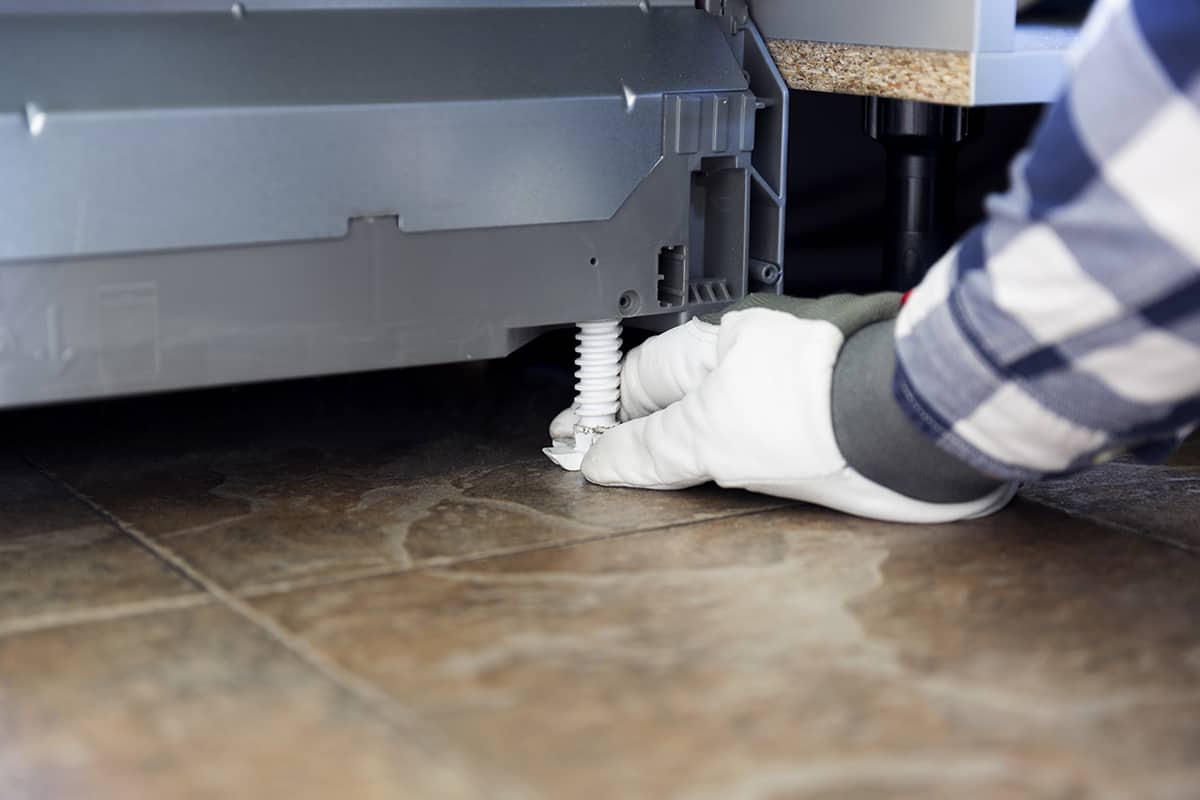
- Collect shims: Shims are wedged-shaped pieces made from plastic or wood that can be inserted beneath the toilet to level it. Based on your gap measurement, collect an appropriate number of shims to fill the gap evenly. It’s recommended to have a variety of shim sizes available to accommodate different leveling needs.
- Trim shims if needed: If the shims you have collected are too long or wide for the gap, use a utility knife or a pair of scissors to trim them down to the appropriate size. Keep in mind that the shims should fit snugly and evenly beneath the toilet without protruding beyond the base.
- Check for stability: Before proceeding, double-check the stability of the shims. Ensure they are in good condition and are not cracked or damaged. It’s important to use high-quality shims to provide adequate support for leveling the toilet.
Taking the time to prepare the leveling material ensures that you have the necessary tools to achieve a balanced and stable toilet. Once you have prepared the shims, you can proceed to the next step of placing the leveling material beneath the toilet.
Step 5: Place Leveling Material
With the leveling material prepared, it’s time to place the shims beneath the toilet to achieve a level position. Follow these steps to properly place the leveling material:
- Start with a clean surface: Ensure the flange and the area around it are clean and free of debris. This will provide a smooth and stable surface for placing the shims.
- Insert the shims: Carefully insert the shims under the toilet base, positioning them in the areas that need leveling. Start with a single shim and gradually add more as needed to achieve a balanced position. The shims should be evenly distributed around the toilet’s base to provide stability.
- Check for levelness: After placing the shims, use a level to check the toilet’s levelness. Place the level on top of the toilet bowl or tank and adjust the shims as necessary. Continue adjusting until the toilet is completely level in all directions.
- Trim excess shims: Once the toilet is leveled, use a utility knife or a pair of scissors to trim off any excess shims that may protrude from underneath the base. This will ensure a neat and tidy appearance.
By carefully placing the leveling material beneath the toilet base, you can achieve a stable and level position. Remember to check for levelness using a level to ensure the toilet is perfectly balanced. Once you have successfully placed the shims, you can proceed to the next step of reinstalling the toilet.
Step 6: Reinstall the Toilet
Now that you have successfully leveled the toilet, it’s time to reinstall it in its proper position. Follow these steps to ensure a secure and proper installation:
- Prepare the wax ring: Take a new wax ring and warm it up slightly by kneading it with your hands. This will make it more pliable and easier to work with. Place the wax ring on top of the flange, ensuring that it is centered and positioned correctly.
- Align the toilet: Carefully lower the toilet bowl onto the wax ring, making sure that the bolts on the flange align with the corresponding holes on the toilet base. Gently press down on the toilet to compress the wax ring and create a watertight seal.
- Tighten the nuts: Place the washers and nuts onto the bolts and tighten them to secure the toilet to the floor. Be careful not to overtighten, as this can crack the toilet base. Alternate tightening the nuts on each side to ensure even pressure.
- Reconnect the water supply line: Attach the water supply line to the bottom of the toilet tank and tighten the nut using an adjustable wrench. Be careful not to overtighten, as this can cause damage to the connection.
- Install the tank lid: Carefully place the tank lid back onto the toilet tank, ensuring it is properly aligned and securely seated. Avoid putting excessive weight or pressure on the lid to prevent breakage.
- Test for leaks: Turn on the water supply and allow the toilet tank to fill. Check for any leaks around the base of the toilet or from the water supply line. If you notice any leaks, tighten the connections or consult a professional plumber for assistance.
By following these steps, you can reinstall the toilet in its leveled position and ensure a secure and watertight connection. Once you have completed the reinstallation, it’s time to move on to the final step: checking for stability.
Step 7: Check for Stability
After reinstalling the toilet, it’s crucial to check for stability to ensure a secure and balanced fixture. Follow these steps to properly test the stability of the toilet:
- Sit on the toilet: Gently sit on the toilet seat and rock back and forth slightly. Pay attention to any wobbling or movement. A stable toilet should not rock or shift, indicating that it is properly leveled and securely installed.
- Flush the toilet: Flush the toilet multiple times and observe its performance. It should flush smoothly and evenly without any signs of water leakage or unusual noises.
- Inspect for gaps: Carefully examine the area around the base of the toilet. Check for any gaps or spaces between the toilet and the floor. A properly leveled toilet should be in close contact with the floor, without any visible gaps.
- Check stability on all sides: Test the stability of the toilet by applying pressure from different angles. Gently push on the front, back, and sides of the toilet to ensure it remains stable and firmly in place.
If you notice any instability, rocking, or gaps, it may indicate that the toilet still requires further adjustments. Repeat the leveling process by adding or removing shims as needed until the toilet sits securely and does not move. It’s essential to achieve a stable and balanced position to avoid any future issues or discomfort while using the toilet.
By carefully following these steps and checking for stability, you can ensure a properly leveled and secure toilet in your bathroom. Congratulations, you have successfully leveled and installed your toilet, providing a comfortable and efficient fixture for your bathroom needs!
Conclusion
Leveling a toilet is a simple yet important task that ensures functionality, stability, and comfort in your bathroom. By following the steps outlined in this article, you can easily level your toilet and avoid potential issues such as water leakage, uneven flushing, and an uncomfortable user experience.
To begin the leveling process, start by gathering the necessary tools and materials, including an adjustable wrench, screwdriver, level, shims, plumber’s wax ring, and rags. Proper preparation is key to a successful project. Take the time to turn off the water supply, remove the toilet tank lid, disconnect the water supply line, and clear the area around the toilet for easy access.
Next, remove the toilet by loosening the nuts, lifting the toilet bowl, and inspecting the wax ring for any damage. Take this opportunity to thoroughly inspect the floor for stability and any signs of damage or decay. Measure the floor slope using a level and determine if additional leveling materials, such as shims, are needed.
With the floor prepared, proceed to prepare the leveling material by measuring the gap and collecting the appropriate shims. Trim the shims if necessary and ensure their stability before moving on to the next step.
Place the leveling material beneath the toilet base, ensuring it is evenly distributed and provides a stable foundation. Use a level to check for levelness and adjust the shims as needed. Trim any excess shims that protrude from under the base for a neat and tidy appearance.
Reinstall the toilet by placing a new wax ring on the flange and carefully aligning the toilet base with the bolts. Tighten the nuts, reconnect the water supply line, and install the tank lid. Finally, test for stability by sitting on the toilet, flushing it repeatedly, and checking for any gaps or movement.
By diligently following these steps, you can successfully level your toilet and enjoy a stable and efficient fixture. Remember, if you encounter any significant issues or feel unsure about the process, it is always advisable to seek the assistance of a professional plumber.
Now that you have completed the leveling process, you can confidently enjoy a properly leveled toilet, free from leaks, wobbling, and other potential problems. Your bathroom will not only look better, but it will also function optimally, providing you with a comfortable and convenient space to take care of your daily needs.
Frequently Asked Questions about How To Level A Toilet
Was this page helpful?
At Storables.com, we guarantee accurate and reliable information. Our content, validated by Expert Board Contributors, is crafted following stringent Editorial Policies. We're committed to providing you with well-researched, expert-backed insights for all your informational needs.


0 thoughts on “How To Level A Toilet”