Home>Furniture & Design>Interior Design Trends>How To Bake Painted Glass
Interior Design Trends
How To Bake Painted Glass
Modified: September 1, 2024
Learn how to bake painted glass for a trendy interior design look. Discover the latest interior design trends for creating stunning painted glass decor.
(Many of the links in this article redirect to a specific reviewed product. Your purchase of these products through affiliate links helps to generate commission for Storables.com, at no extra cost. Learn more)
Introduction
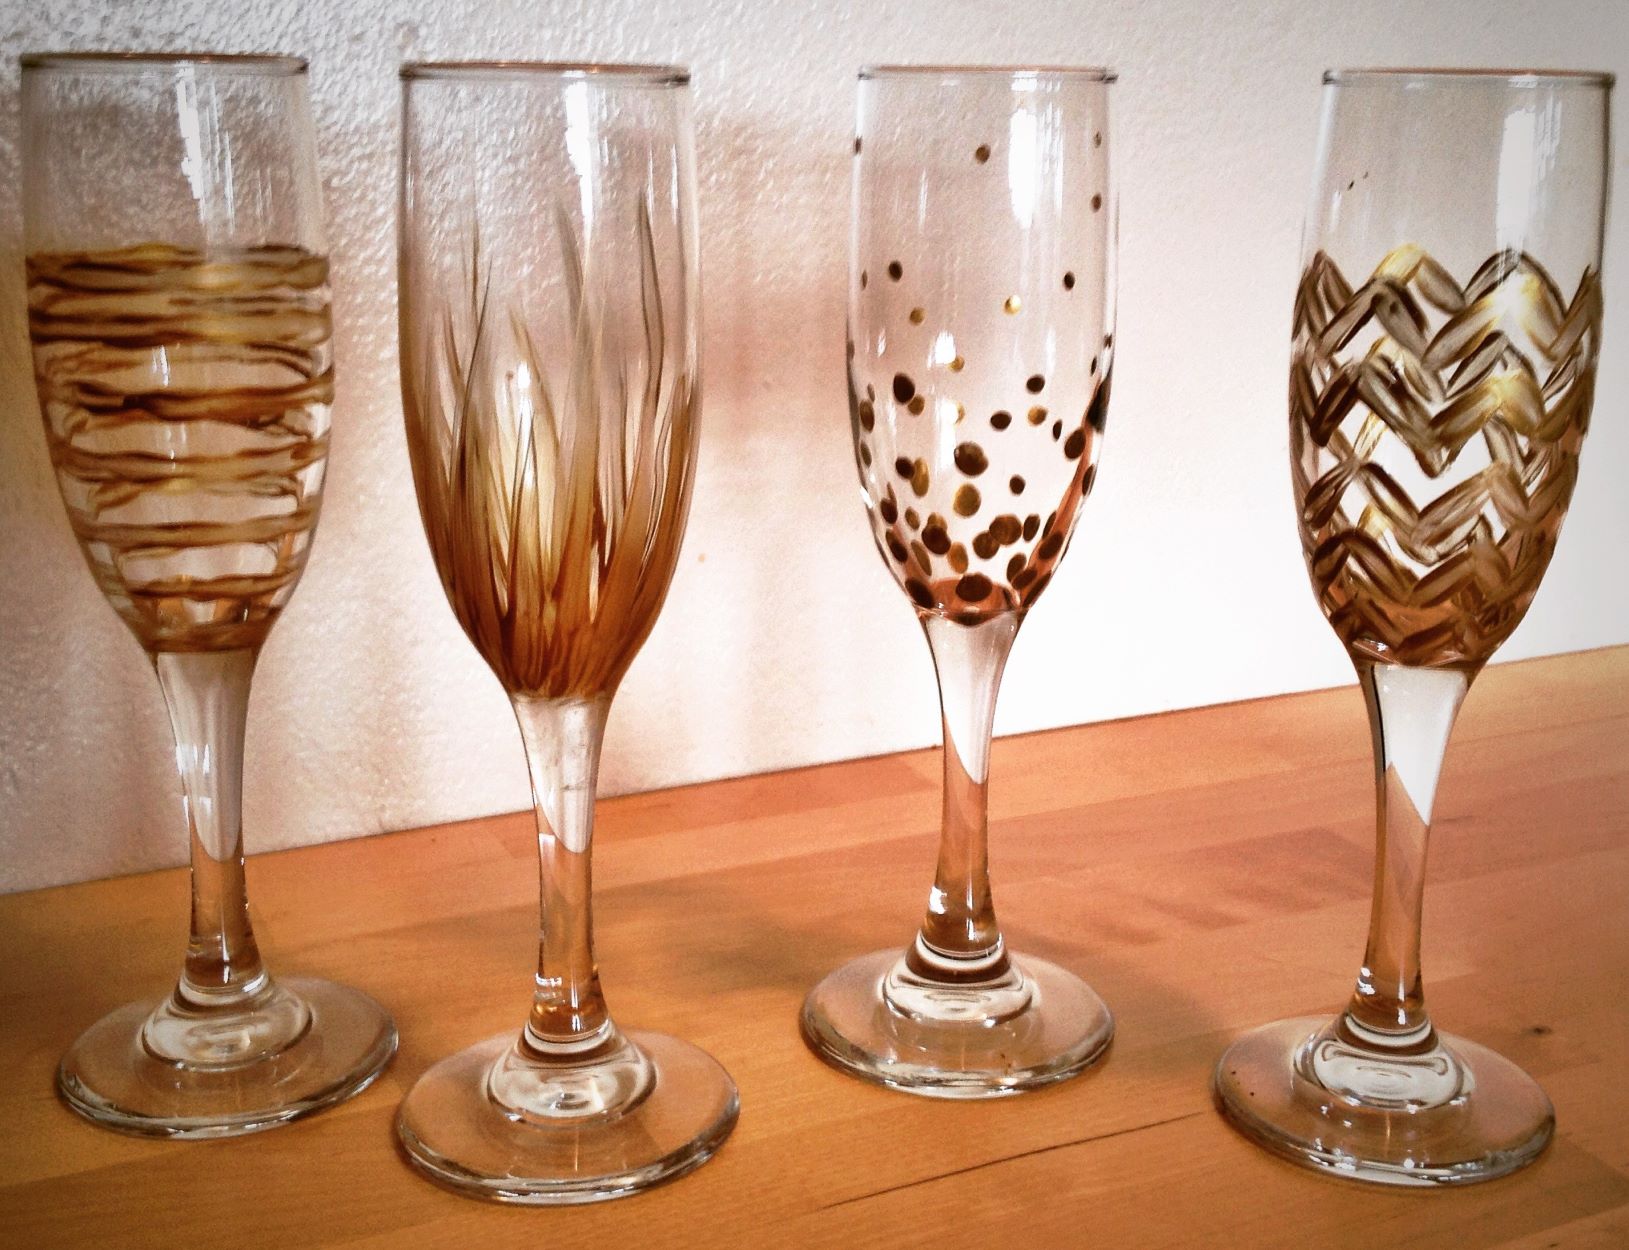
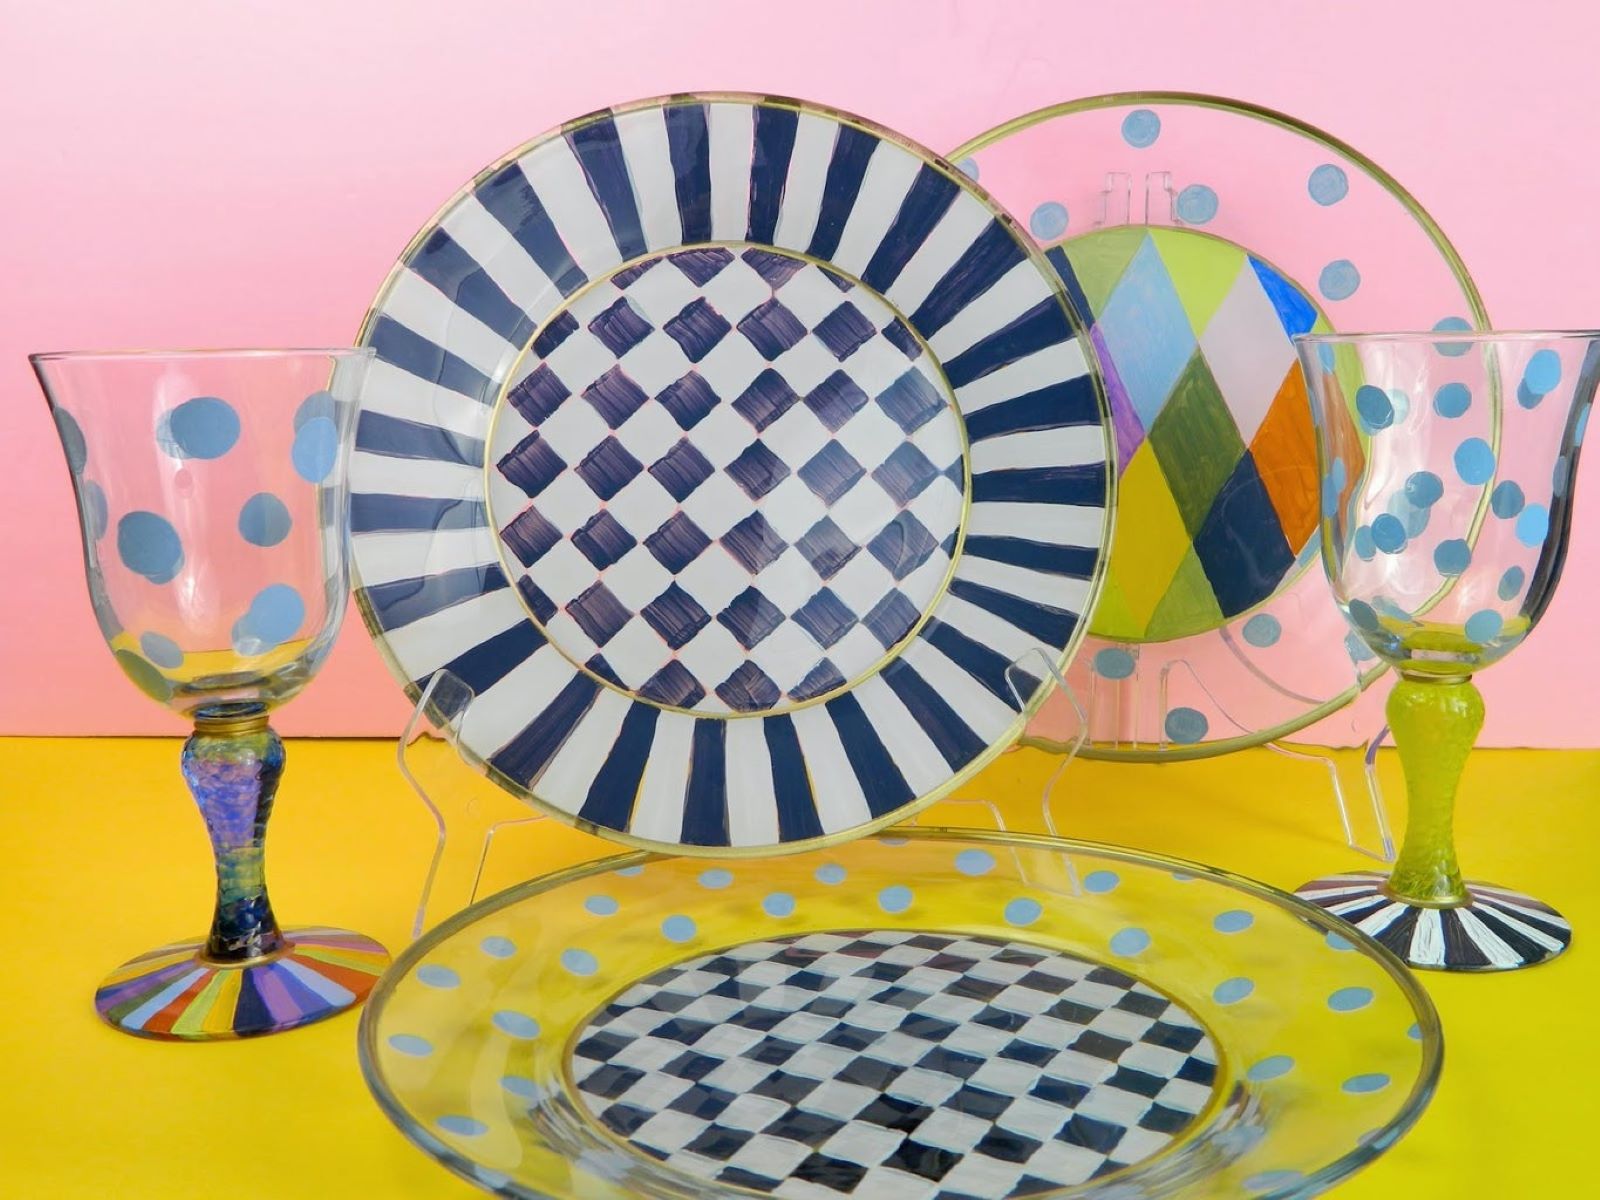
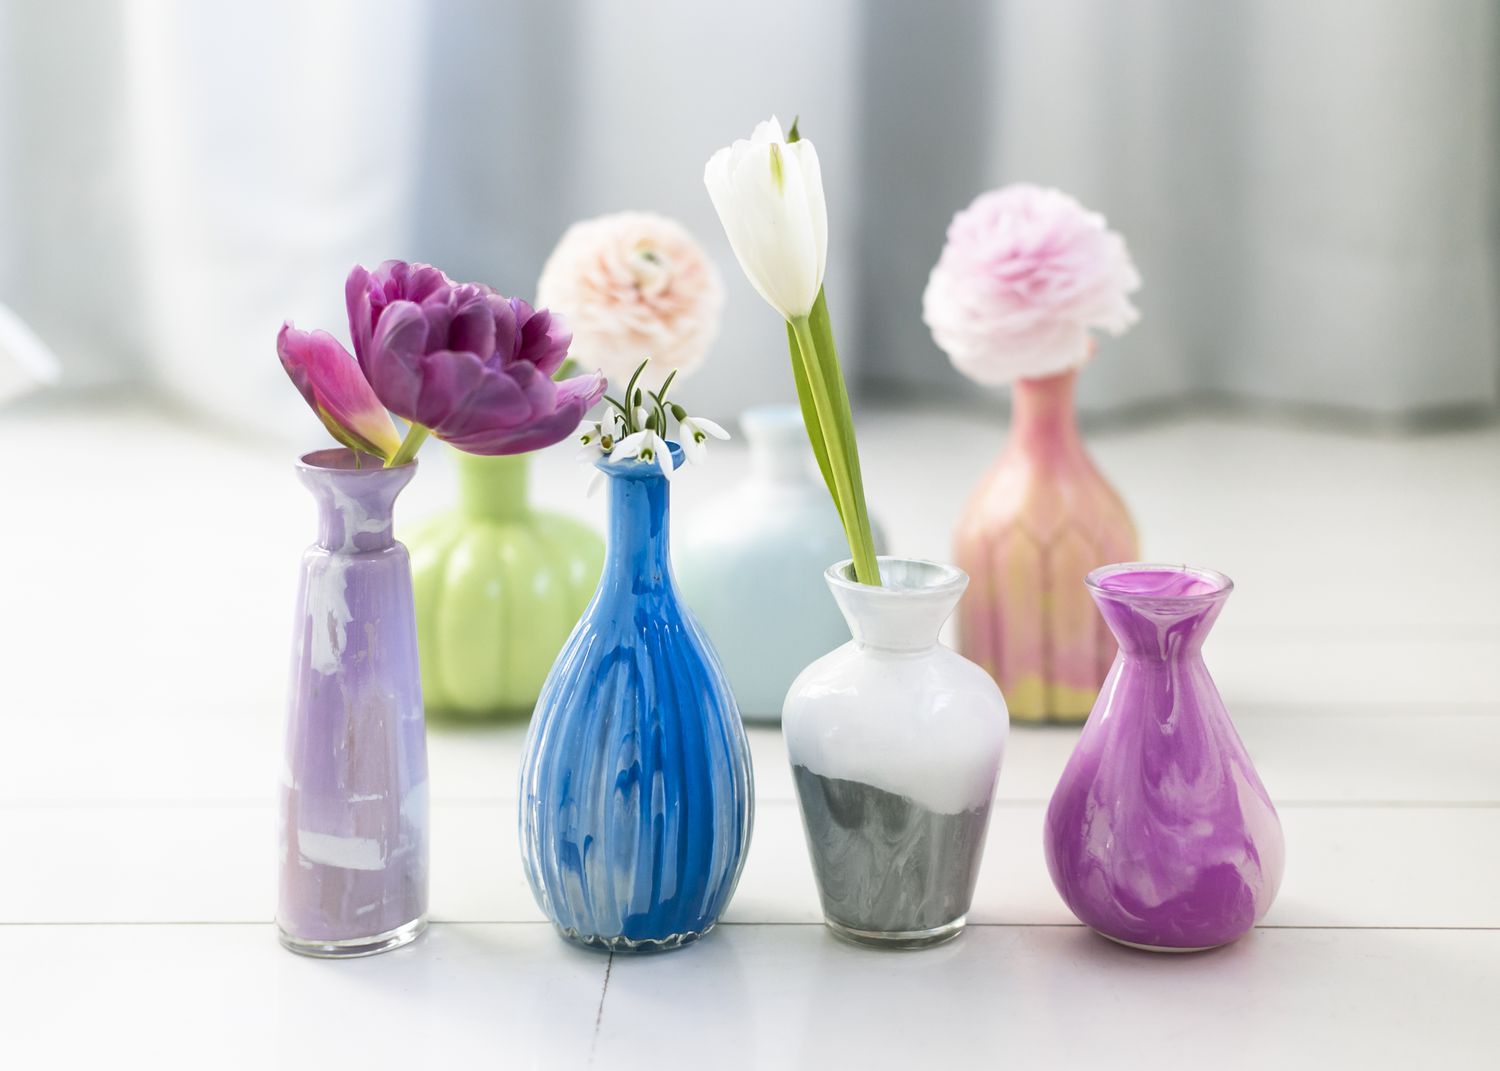
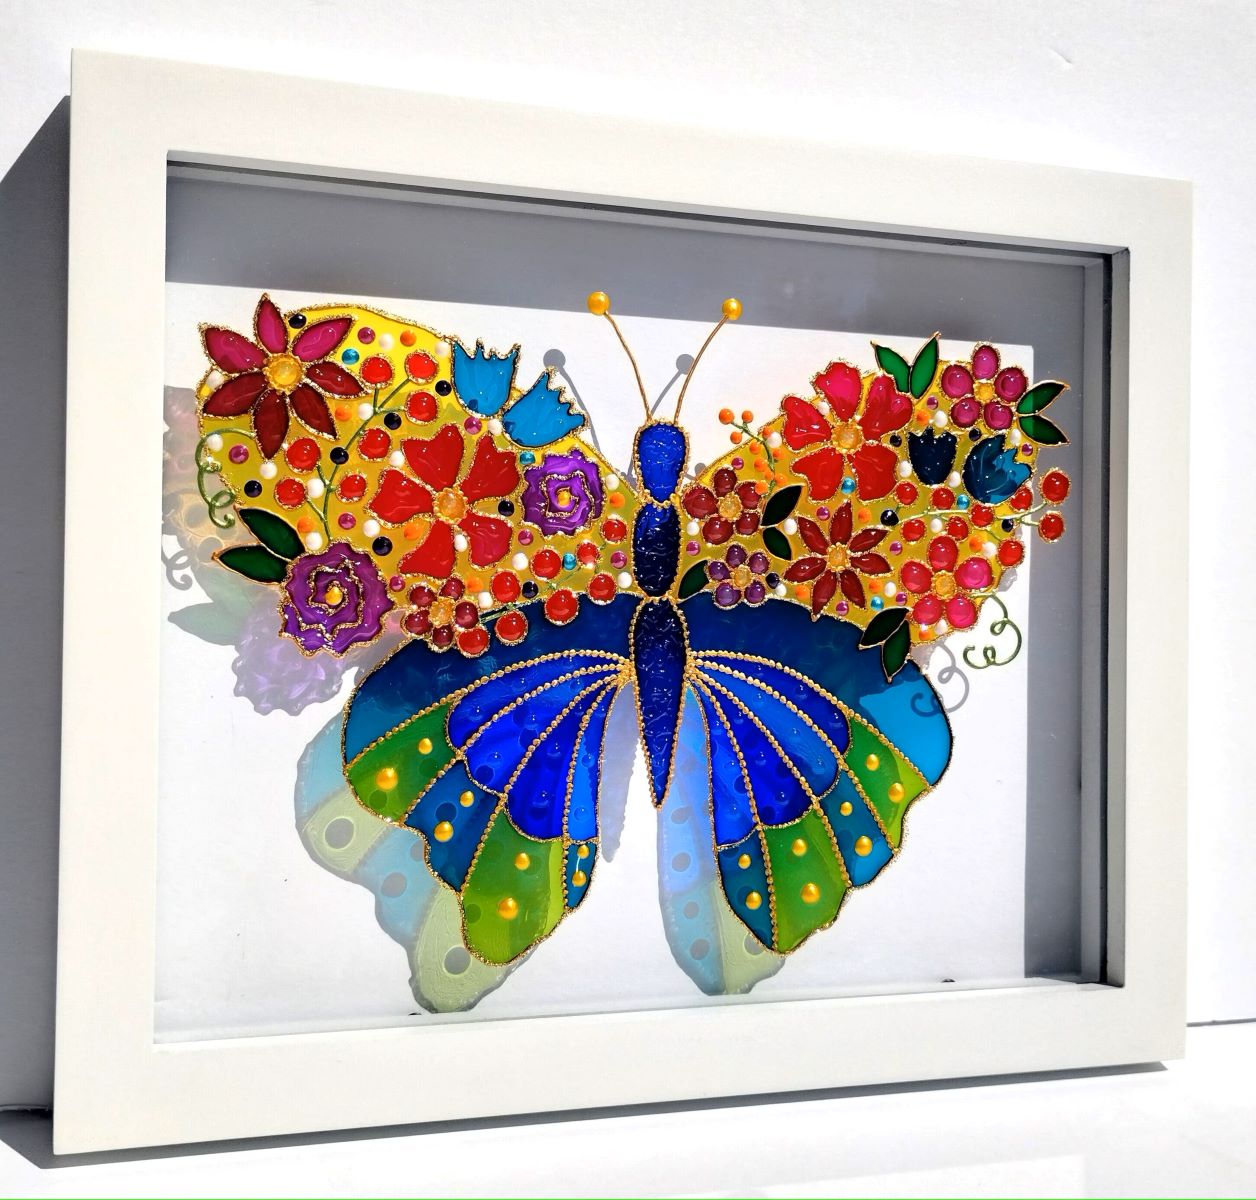
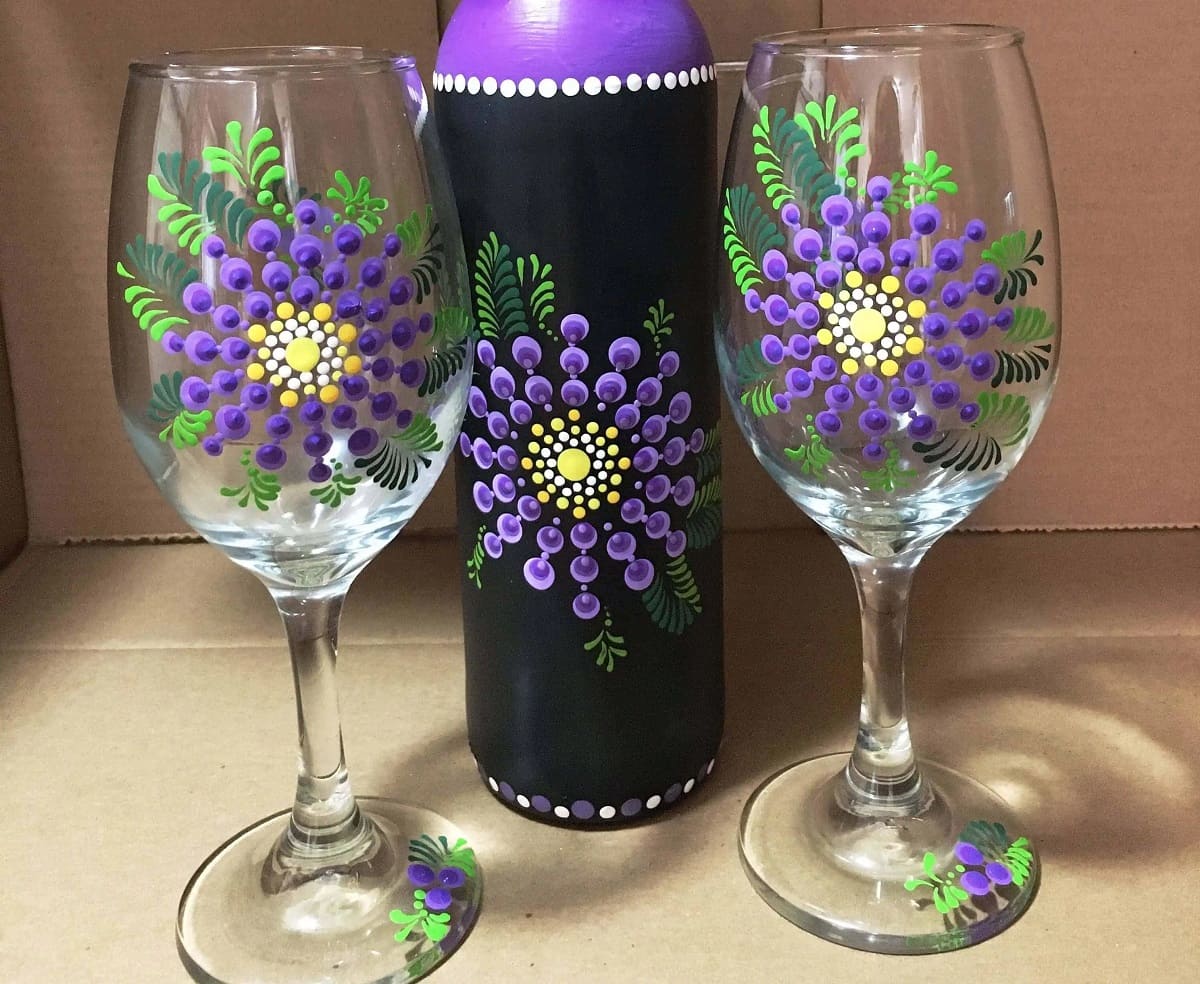
Baking painted glass is a fascinating and creative process that allows you to transform ordinary glassware into stunning, personalized pieces. Whether you're a seasoned crafter or a novice DIY enthusiast, this technique offers a unique way to add a personal touch to your home decor or create thoughtful handmade gifts for loved ones.
By baking painted glass, you can achieve a durable and long-lasting finish that withstands regular use and washing. This method is particularly popular for creating custom glassware, such as mugs, vases, and decorative plates, as it provides a professional-looking result without the need for specialized equipment.
In this comprehensive guide, we will walk you through the step-by-step process of baking painted glass, from preparing the glass surface to adding the finishing touches. You'll discover the essential materials needed for this project, as well as valuable tips and techniques to ensure a successful outcome.
Whether you're looking to unleash your artistic flair or simply want to revamp plain glass items into eye-catching pieces, baking painted glass offers endless possibilities for unleashing your creativity. So, gather your supplies, roll up your sleeves, and get ready to embark on an exciting journey of transforming ordinary glassware into extraordinary works of art.
Key Takeaways:
- Unleash your creativity by baking painted glass to transform ordinary items into personalized works of art. Follow the step-by-step process to achieve durable and stunning designs for home decor or thoughtful handmade gifts.
- Prepare, paint, and bake your way to extraordinary glassware. Meticulously clean and prime the glass, unleash your artistic vision with vibrant paints, and bake to set and ensure durability. Add finishing touches for a polished presentation.
Read more: How To Clean Glass Baking Dish
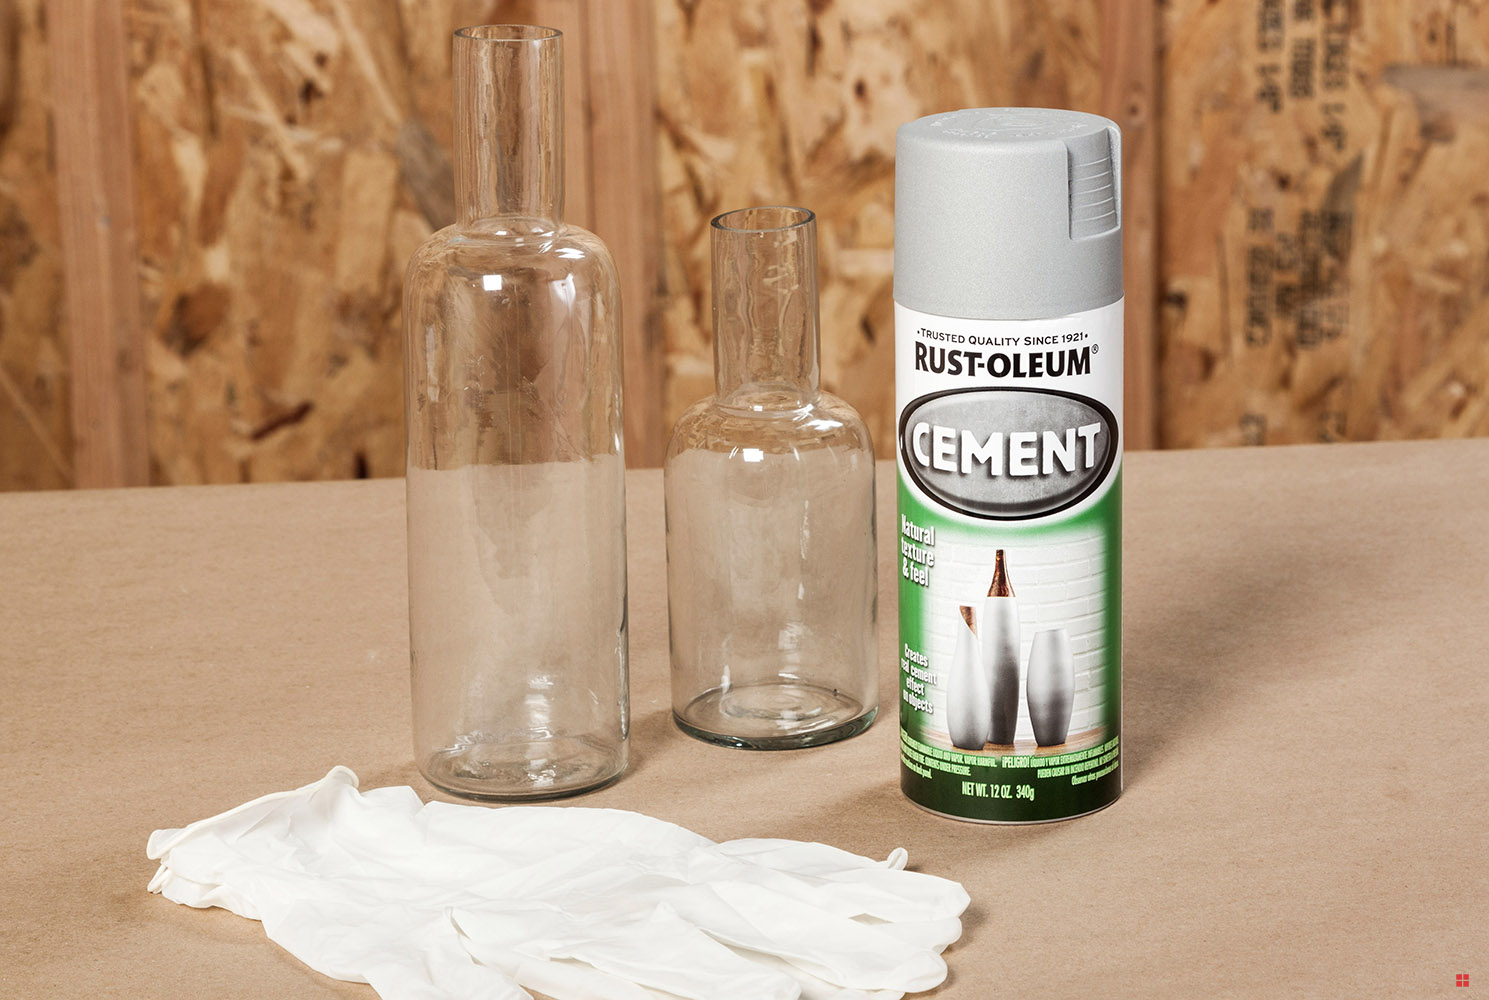
Materials Needed
To embark on the captivating process of baking painted glass, you'll need a selection of essential materials to ensure a successful and enjoyable crafting experience. Here's a comprehensive list of the items you'll need to gather before diving into this creative endeavor:
-
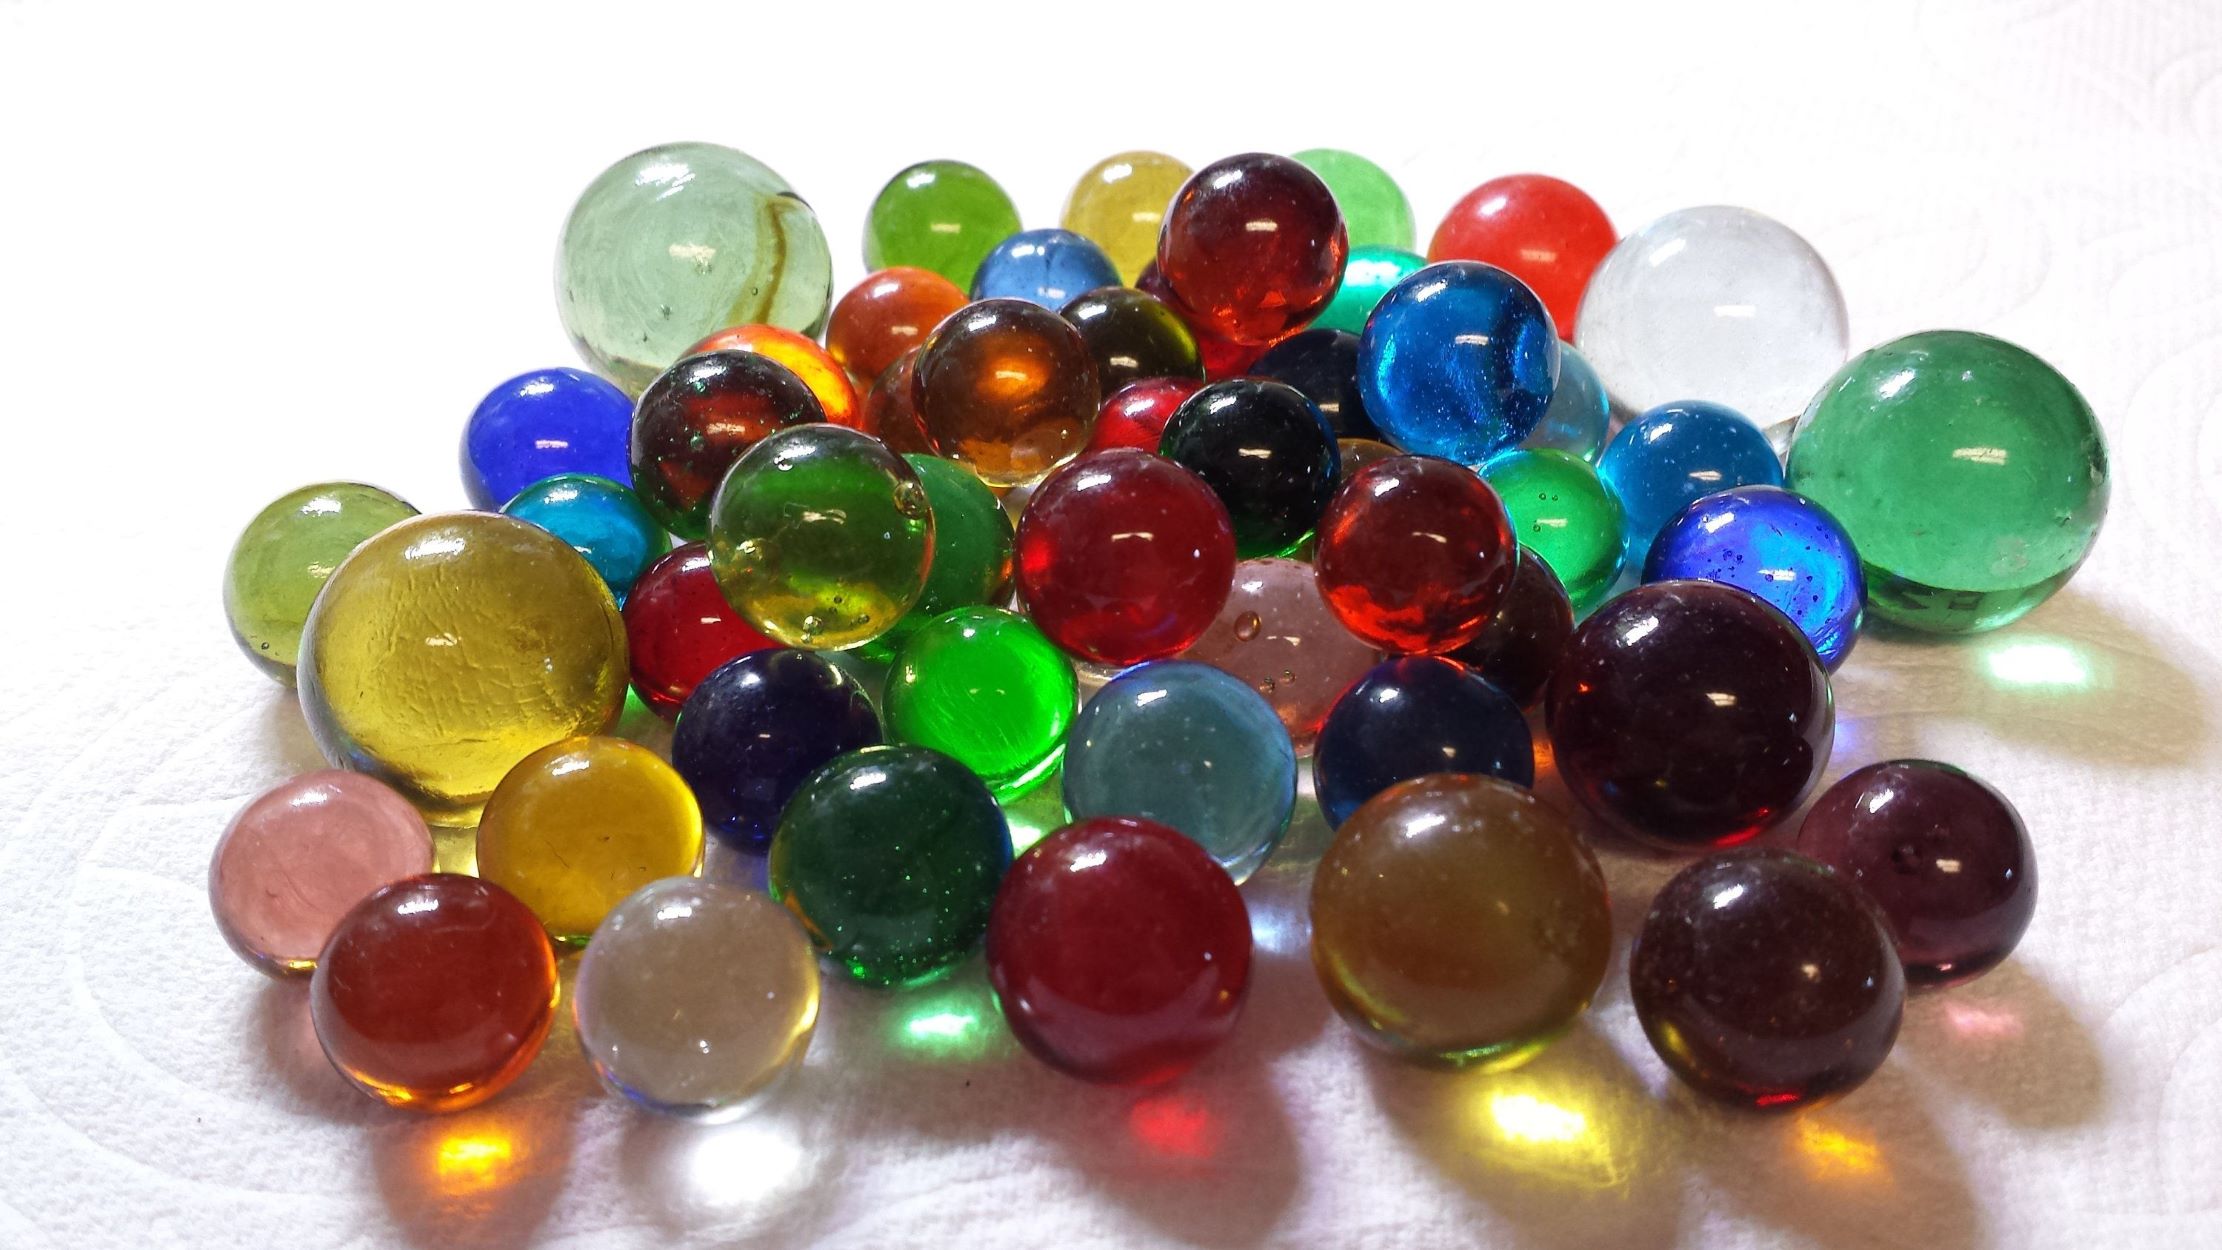
Glassware: Select the glass items you wish to paint and bake. This can include mugs, vases, plates, or any other glass surface you want to transform. Ensure that the glass is clean and free from any dust or residue before starting the project.
-
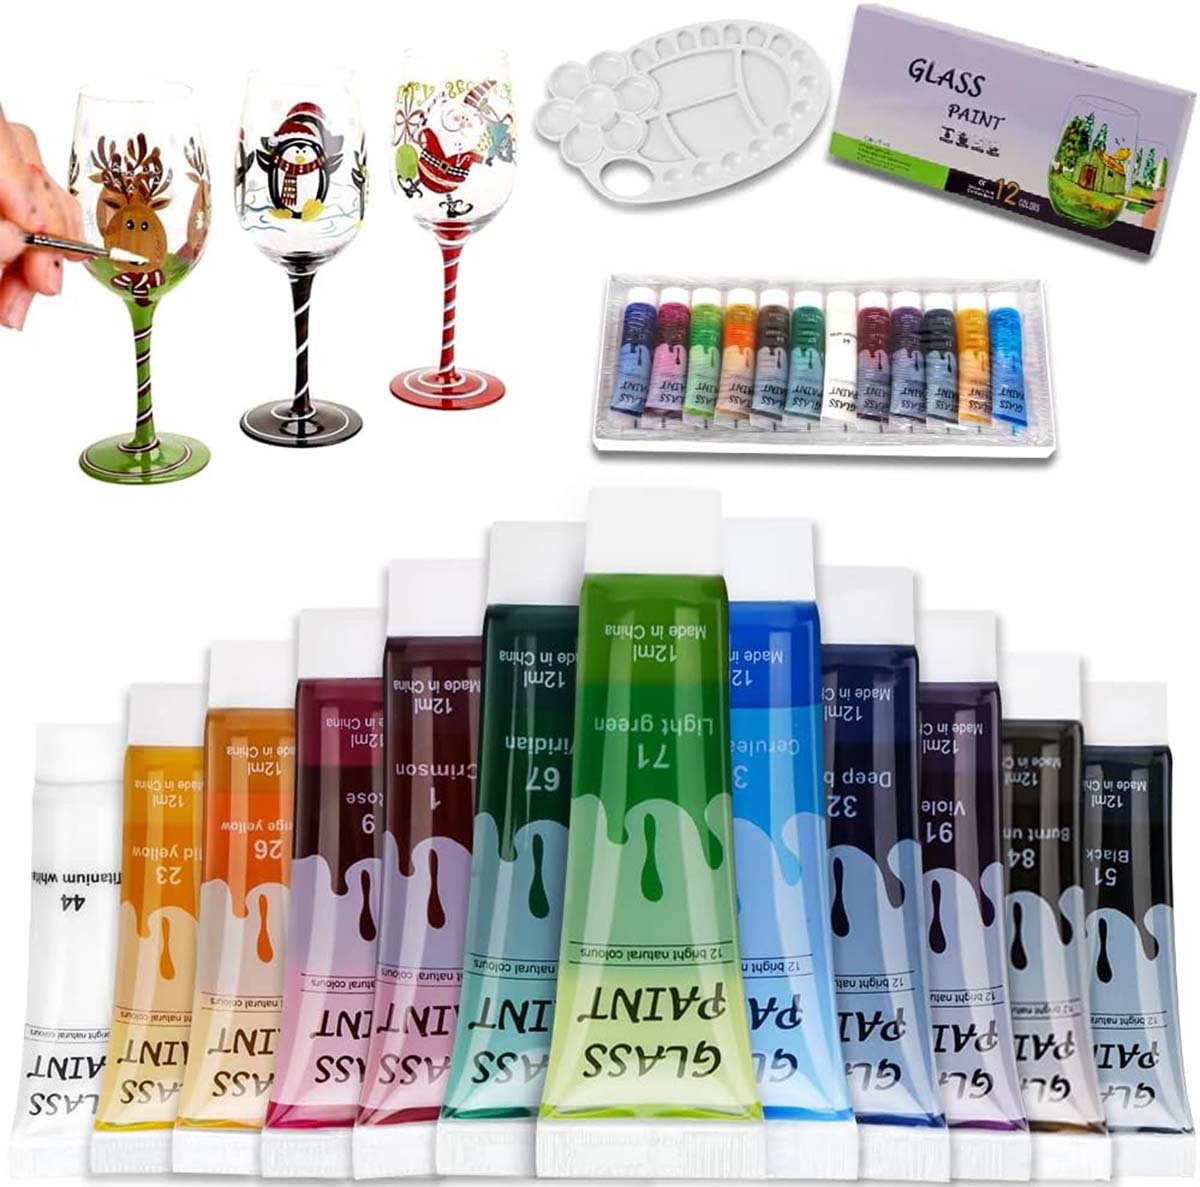
Glass Paints: Acquire high-quality glass paints specifically designed for use on glass surfaces. These paints are formulated to adhere to glass and withstand the baking process, ensuring a durable and long-lasting finish. Choose a variety of colors to unleash your creativity and bring your designs to life.
-
Paintbrushes: Invest in a set of fine-tipped paintbrushes suitable for detailed work. Different brush sizes will allow you to create intricate designs and precise lines on the glass surface.
-
Painter's Tape: This versatile tool will help create clean and defined edges on your glassware. Use painter's tape to mask off areas that you want to keep paint-free, ensuring a professional and polished look to your designs.
-
Rubbing Alcohol: Prepare the glass surface for painting by cleaning it with rubbing alcohol. This will remove any residual oils or dirt, allowing the paint to adhere smoothly and evenly to the glass.
-
Palette: A palette or mixing tray will be essential for blending and diluting the glass paints to achieve the desired colors and consistencies for your designs.
-
Oven: Ensure access to a standard kitchen oven for the baking process. It's important to note that the glassware will need to fit comfortably inside the oven without overcrowding to ensure even heat distribution.
-
Oven Thermometer: For accuracy, consider using an oven thermometer to verify and maintain the correct baking temperature. This will help achieve optimal results and prevent any damage to the glassware.
-
Oven-safe Tray or Rack: Place the painted glass items on an oven-safe tray or rack to ensure they are evenly exposed to the heat during the baking process.
-
Protective Gloves: Invest in a pair of heat-resistant gloves to safely handle the hot glassware when removing it from the oven after baking.
By gathering these essential materials, you'll be well-prepared to embark on the exciting journey of baking painted glass and unleash your creativity on a variety of glass surfaces. With the right tools at your disposal, you can look forward to creating personalized and visually stunning glassware that adds a unique touch to your home decor or makes for thoughtful handmade gifts.
Preparing the Glass
Before diving into the captivating process of painting and baking glassware, it is crucial to ensure that the glass surfaces are meticulously prepared to achieve optimal results. Proper preparation not only facilitates better paint adhesion but also contributes to the longevity of the finished designs. Here's a detailed overview of the essential steps involved in preparing the glass for painting:
-
Cleaning the Glass: Begin by thoroughly cleaning the glass surfaces with a solution of warm water and mild dish soap. Use a soft cloth or sponge to gently remove any dust, dirt, or residues from the glass. Rinse the glassware thoroughly and allow it to air dry completely before proceeding to the next step.
-
Degreasing with Rubbing Alcohol: Once the glass is dry, use rubbing alcohol to degrease the surface. Apply a small amount of rubbing alcohol to a lint-free cloth and wipe it across the entire glass surface. This step is crucial for removing any lingering oils, fingerprints, or other contaminants that could hinder paint adhesion.
-
Masking Off Areas: If your design requires specific areas of the glass to remain unpainted, use painter's tape to mask off those sections. Ensure that the tape is firmly pressed along the edges to create clean and defined boundaries for your designs. This step is particularly useful for creating crisp lines and preventing paint from spreading to unwanted areas.
-
Surface Primer (Optional): Depending on the type of glass paint being used, you may consider applying a surface primer designed for glass surfaces. This step can enhance paint adhesion and durability, especially for glass items that will undergo frequent handling or washing. Follow the manufacturer's instructions for the application and drying of the primer.
-
Final Inspection: Before proceeding to the painting stage, carefully inspect the glass surfaces to ensure they are free from any remaining debris, smudges, or imperfections. Any overlooked blemishes at this stage could affect the final appearance of the painted designs.
By meticulously preparing the glass surfaces through these essential steps, you can create an ideal foundation for the subsequent painting and baking processes. Proper preparation not only ensures the longevity of the painted designs but also sets the stage for a seamless and enjoyable crafting experience. With the glassware meticulously prepped, you are now ready to unleash your creativity and bring your artistic visions to life through the vibrant medium of painted glass.
After painting glass, let it dry completely before baking. Place the painted glass in a cool oven, then heat to 350°F and bake for 30 minutes. Allow it to cool in the oven before removing.
Painting the Glass
With the meticulously prepared glass surfaces awaiting your artistic touch, it's time to delve into the captivating process of painting the glass. This stage allows you to unleash your creativity and bring your designs to life, transforming ordinary glassware into personalized works of art. Here's a detailed overview of the essential steps involved in painting the glass:
-
Selecting the Design: Before applying the paint, envision the design you wish to create on the glass surface. Whether it's intricate patterns, vibrant motifs, or personalized messages, having a clear vision of your design will guide your painting process.
-
Choosing the Right Paint: Utilize high-quality glass paints specifically formulated for use on glass surfaces. These paints offer excellent adhesion and durability, ensuring that your designs withstand the test of time. Select a variety of colors to bring vibrancy and depth to your creations.
-
Applying the Paint: Using fine-tipped paintbrushes, carefully apply the glass paint to the prepared surface. Whether you're creating delicate details or bold strokes, the precision of your brushwork will bring your designs to life. Take your time and enjoy the process of adding color and personality to the glassware.
-
Layering and Blending: For multi-colored designs, consider layering and blending different hues to achieve captivating effects. Experiment with blending techniques to create gradients, shading, and depth within your designs, adding visual interest and dimension to the painted glass.
-
Allowing for Drying Time: Once the paint is applied, allow sufficient drying time as per the manufacturer's recommendations. Proper drying ensures that the colors set firmly and maintain their vibrancy throughout the baking process.
-
Adding Fine Details: If your design calls for intricate details or embellishments, use smaller brushes or specialized tools to add those finishing touches. These details can elevate the overall aesthetic of your painted glass, adding a touch of finesse to your creations.
By following these essential steps, you can infuse the glassware with your artistic vision, creating visually stunning designs that reflect your personal style and creativity. The painting stage serves as a transformative process, allowing you to breathe life and character into the glass surfaces, setting the stage for the final and crucial step: baking the painted glass.
Baking the Painted Glass
After the meticulous process of painting the glassware, the next crucial step in the journey of transforming ordinary glass into personalized works of art is the baking process. Baking the painted glass serves as the pivotal stage that not only sets the vibrant designs but also ensures their durability and longevity. Here's a detailed overview of the essential steps involved in baking the painted glass:
-
Setting the Baking Temperature: Preheat your standard kitchen oven to the temperature specified by the glass paint manufacturer. It's crucial to adhere to the recommended baking temperature to achieve optimal adhesion and durability of the painted designs. If necessary, use an oven thermometer to verify the accuracy of the oven's temperature.
-
Placing the Glassware in the Oven: Carefully position the painted glassware on an oven-safe tray or rack, ensuring that there is ample space between each item. Avoid overcrowding the oven, as this can hinder the circulation of heat and lead to uneven baking results.
-
Baking Duration: Once the oven reaches the specified temperature, carefully place the glassware inside and set the timer according to the manufacturer's instructions. The baking duration may vary depending on the type of glass paint used, so it's essential to refer to the paint's guidelines for the recommended baking time.
-
Monitoring the Baking Process: While the glassware is baking, it's advisable to keep a watchful eye on the process through the oven door. This allows you to ensure that the painted designs are setting and curing evenly without any signs of overheating or discoloration.
-
Allowing for Cooling Time: Once the baking duration is complete, turn off the oven and allow the glassware to cool gradually inside the oven. Avoid exposing the hot glassware to rapid temperature changes, as this can lead to thermal shock and potential damage to the painted designs.
-
Removing the Glassware: After the glassware has cooled to a safe temperature, carefully remove it from the oven using heat-resistant gloves. Place the baked glassware on a heat-resistant surface and allow it to cool completely before handling or using it.
By following these essential steps, you can ensure that the painted designs on the glassware are not only beautifully set but also durable and resilient. The baking process plays a pivotal role in securing the longevity of the painted designs, making them resistant to regular handling and washing. With the glassware now baked to perfection, it's time to add the finishing touches and marvel at the captivating transformation of ordinary glass into extraordinary works of art.
Read more: How To Paint Wine Glasses
Finishing Touches
With the painted glassware now beautifully baked and the vibrant designs firmly set, the final stage involves adding exquisite finishing touches to elevate the visual appeal and ensure a polished presentation. This crucial phase allows you to inspect the glassware, make any necessary adjustments, and prepare it for display or everyday use.
Upon removing the glassware from the oven and allowing it to cool completely, carefully examine the painted designs to ensure that they have retained their vibrancy and integrity throughout the baking process. Any minor imperfections or irregularities can be addressed at this stage using fine-tipped paintbrushes and touch-up paint, allowing you to refine the designs and achieve a flawless finish.
Once you are satisfied with the overall appearance of the painted glassware, consider embellishing it with additional decorative elements, such as metallic accents, glitter, or sealants, to enhance its visual impact. Metallic paints can be used to add shimmering highlights or intricate details, while glitter accents can infuse the designs with a touch of sparkle and glamour. Furthermore, applying a sealant designed for painted glass surfaces can provide an extra layer of protection, ensuring the longevity of the designs and making the glassware more resistant to wear and tear.
After applying any desired embellishments, allow the glassware to dry and cure according to the manufacturer's recommendations. This step is essential for ensuring that the finishing touches adhere securely to the painted designs, enhancing their durability and visual allure.
Finally, once the finishing touches have been applied and allowed to dry, take a moment to admire the captivating transformation of the glassware. Whether it's a set of personalized mugs, a decorative vase, or intricately painted plates, the addition of these exquisite finishing touches serves as the crowning glory, elevating the painted glassware from ordinary to extraordinary.
With the glassware now adorned with impeccable finishing touches, it is ready to take center stage in your home decor or serve as cherished handmade gifts for friends and family. The meticulous attention to detail and the infusion of personalized creativity have resulted in stunning works of art that are not only visually captivating but also durable and resilient, thanks to the transformative process of baking painted glass.
Frequently Asked Questions about How To Bake Painted Glass
Was this page helpful?
At Storables.com, we guarantee accurate and reliable information. Our content, validated by Expert Board Contributors, is crafted following stringent Editorial Policies. We're committed to providing you with well-researched, expert-backed insights for all your informational needs.


0 thoughts on “How To Bake Painted Glass”