Furniture
How To Paint A Glass Lamp
Modified: August 16, 2024
Learn how to paint a glass lamp and transform it into a stunning piece of furniture. Our step-by-step guide will help you achieve professional-looking results.
(Many of the links in this article redirect to a specific reviewed product. Your purchase of these products through affiliate links helps to generate commission for Storables.com, at no extra cost. Learn more)
Introduction
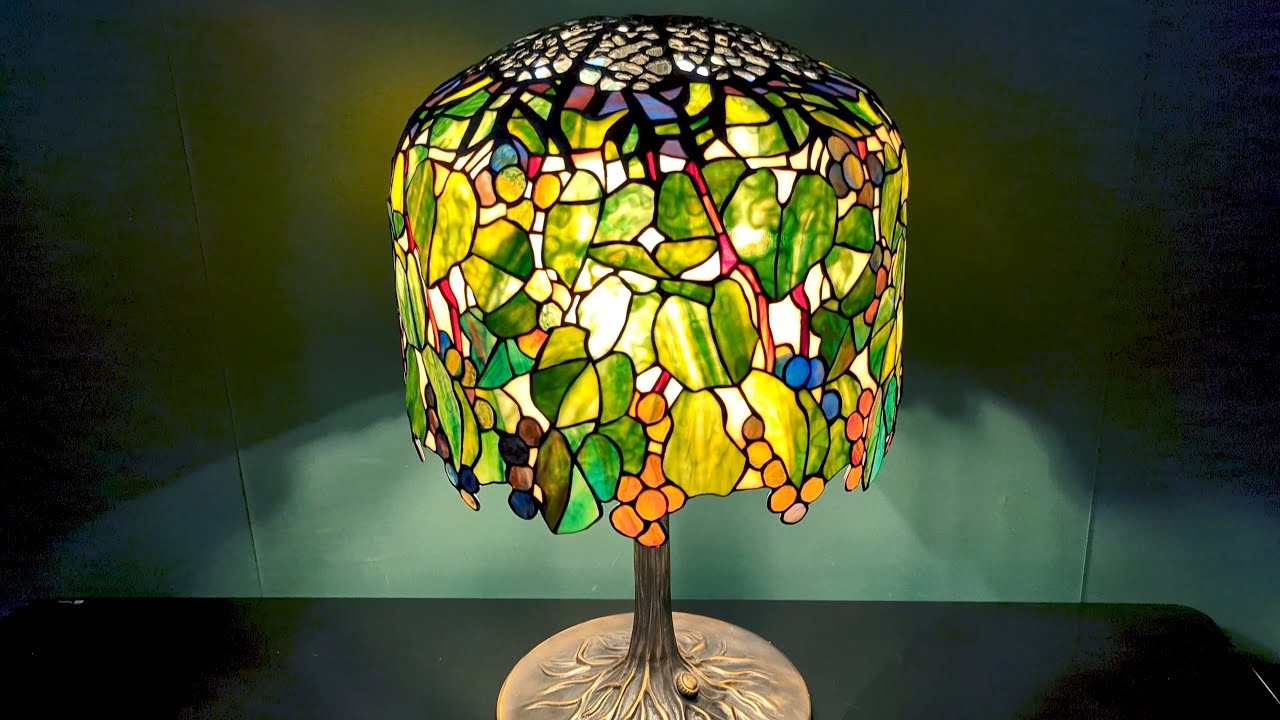
Welcome to our comprehensive guide on how to paint a glass lamp! If you’re looking to give a new look to an old lamp or add a personalized touch to a plain glass lamp, painting it is a fantastic way to achieve that. Not only is it a fun project, but it also allows you to unleash your creativity and create a unique piece of decor that perfectly suits your style and space.
In this article, we will walk you through the step-by-step process of painting a glass lamp, from preparing the lamp to applying the final coat. Whether you’re a seasoned DIY enthusiast or a complete beginner, we’ve got you covered. So, gather your materials and let’s dive in!
Before we get started, it’s important to note that there are different techniques and methods you can use to paint a glass lamp. In this guide, we will focus on using spray paint, as it provides an even and smooth finish. However, you can adapt the steps and materials depending on your preferred painting style.
Now, let’s go over the materials you’ll need for this project.
Key Takeaways:
- Unleash your creativity and transform an ordinary glass lamp into a personalized masterpiece by following the step-by-step process of cleaning, priming, painting, and adding unique designs.
- Elevate your space with a stunning and durable painted glass lamp that reflects your personal style, complements your decor, and brings joy to any room.
Read more: How To Paint A Metal Lamp
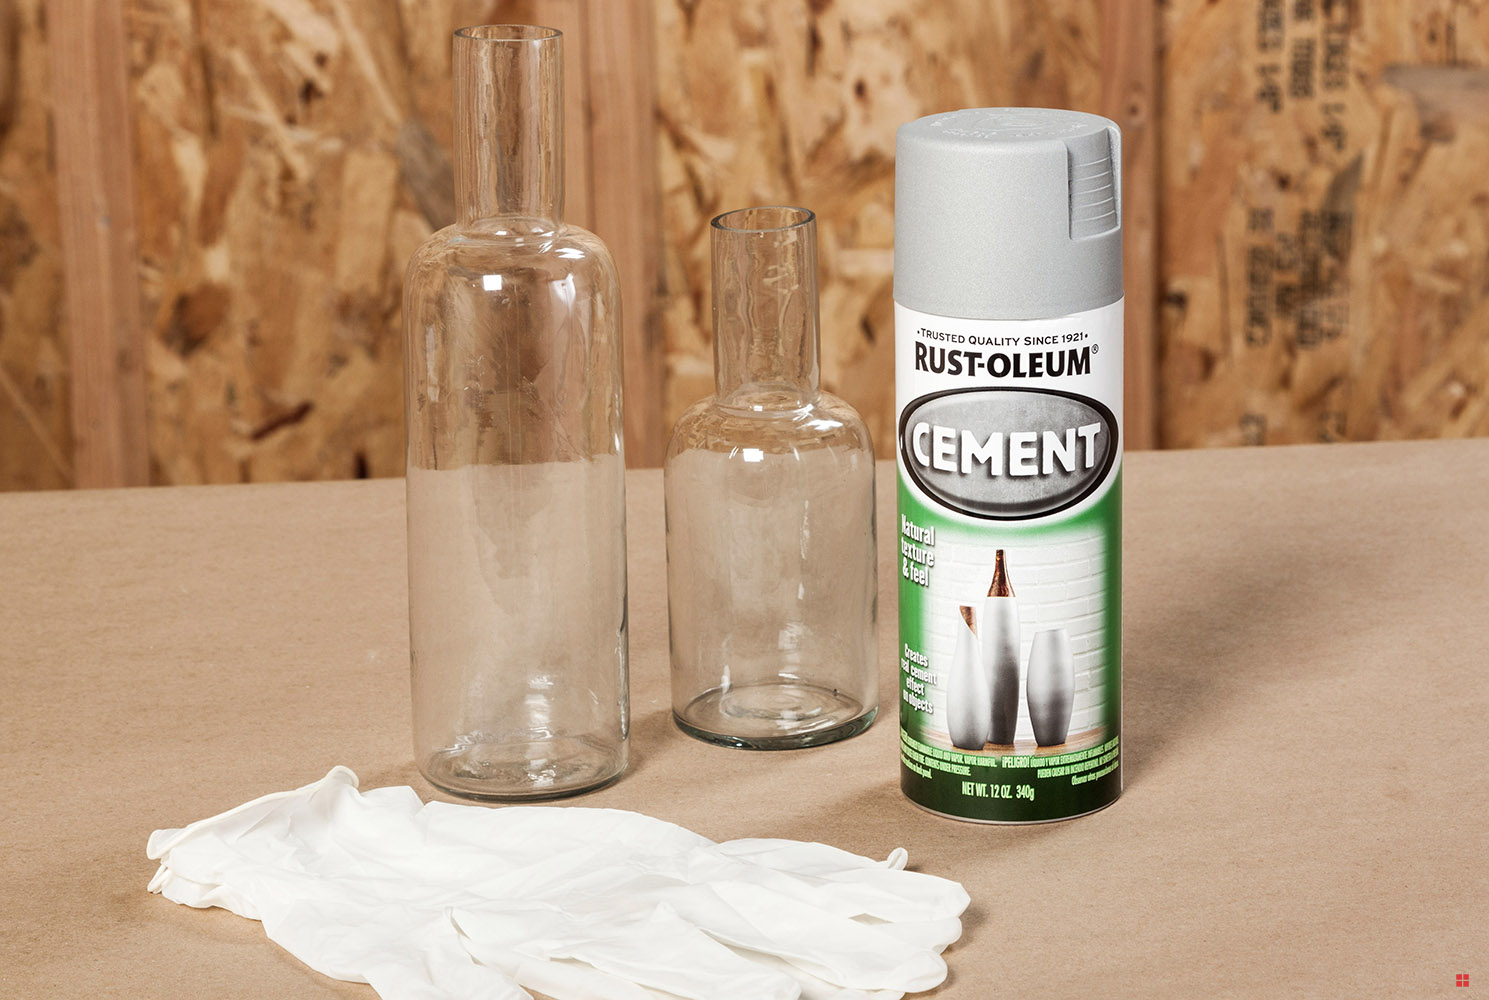
Materials Needed
Before you begin painting your glass lamp, make sure you have the following materials:
- Glass lamp – Choose a lamp with a smooth and clean surface for better paint adhesion.
- Spray paint – Select a high-quality spray paint suitable for glass surfaces. Look for a paint specifically formulated for indoor use, as it will be more durable and long-lasting.
- Primer – A glass-specific primer will help the paint adhere better to the lamp’s surface and provide a smooth finish.
- Painter’s tape – Use painter’s tape to cover any areas you don’t want to paint, such as the lamp base or electrical components.
- Newspaper or drop cloth – To protect your work surface from overspray, lay down newspaper or a drop cloth.
- Gloves – Wearing gloves will protect your hands from paint and chemicals.
- Respirator mask – It’s essential to wear a mask to avoid inhaling paint fumes.
- Clean cloth or paper towels – Use these to clean the lamp and wipe away any excess paint.
- Rubbing alcohol – This will help remove any oils or residue from the lamp’s surface.
- Sandpaper or steel wool – Use fine-grit sandpaper or steel wool to lightly sand the lamp for better paint adhesion.
- Optional: Stencils or painter’s tape – If you want to create a pattern or design on your lamp, gather stencils or painter’s tape to create clean lines.
- Optional: Clear coat – A clear coat sealer can be applied as a final protective layer to enhance the durability and longevity of the painted lamp.
Now that you have all the necessary materials, let’s move on to the preparation stage.
Preparation
Proper preparation is key to achieving a successful and long-lasting painted glass lamp. Follow these steps to ensure your lamp is ready for painting:
- Choose a well-ventilated area – Find a space with good airflow, such as a garage or outdoor area. This will help prevent inhalation of fumes and ensure proper drying of the paint.
- Lay down protective coverings – Place newspaper or a drop cloth on your work surface to protect it from paint overspray or spills.
- Remove lampshade and other detachable parts – Take off the lampshade, light bulb, and any other components that can be easily separated from the lamp base.
- Clean the lamp – Use a clean cloth or paper towels and rubbing alcohol to thoroughly clean the lamp’s surface. This will eliminate any oils, dirt, or residue that could interfere with paint adhesion.
- Sand the lamp (optional) – If your lamp has a glossy or shiny surface, lightly sand it with fine-grit sandpaper or steel wool. This step helps the primer and paint adhere better to the glass.
- Mask off areas – Cover any parts of the lamp that you don’t want to paint using painter’s tape. This can include the lamp base, electrical components, or any decorative elements you want to keep untouched.
Once you’ve completed the preparation stage, you’re ready to start painting your glass lamp. In the next step, we’ll guide you through the process of cleaning the lamp before applying the primer.
Step 1: Clean the Lamp
The first step in painting a glass lamp is to ensure it is clean and free from any dirt, dust, or residue. Follow these simple steps to clean your lamp:
- Start by removing any lampshade or other detachable parts of the lamp.
- Take a clean cloth or paper towels and dampen them with rubbing alcohol.
- Gently wipe the entire surface of the lamp, including the base, stem, and any decorative elements.
- Make sure to remove any fingerprints, smudges, or dirt that may have accumulated.
- If there are any stubborn stains or grime, you can use a mild soap and water solution to clean the lamp. Just be sure to rinse and dry it thoroughly afterwards.
By cleaning the lamp before painting, you ensure that the paint will adhere properly and provide a smooth and even finish. Removing any oils or residue will prevent the paint from peeling or cracking over time.
Once you have cleaned the lamp, you’re ready to move on to the next step: applying the primer. Make sure to follow the subsequent steps carefully, as they will help you achieve a professional-looking painted glass lamp.
Step 2: Apply Primer
Priming the glass lamp is an essential step in the painting process. The primer creates a smooth and durable surface for the paint to adhere to, resulting in a professional-looking finish. Follow these steps to apply the primer:
- Make sure the lamp is thoroughly clean and dry from the previous step.
- Take your glass-specific primer and shake it well to ensure proper mixing of the ingredients.
- Hold the can of primer approximately 6-8 inches away from the lamp’s surface.
- Begin spraying the primer in a consistent and even motion, moving from left to right or up and down.
- Apply a thin and even coat of primer, making sure not to spray too heavily in one area. Multiple thin coats are better than one thick coat.
- Allow the primer to dry completely according to the manufacturer’s instructions. This usually takes about 1-2 hours, but may vary depending on the brand.
Priming the lamp helps the paint adhere better and prevents it from chipping or peeling over time. It also promotes an even and smooth finish. If desired, you can apply a second coat of primer to ensure full coverage and better durability.
Once the primer is dry, you’re ready to move on to the next step: choosing the base color for your painted glass lamp.
Read more: How To Paint A Lamp Shade
Step 3: Choose the Base Color
Choosing the base color for your painted glass lamp is an exciting step that allows you to set the overall tone and style of your lamp. Consider the existing color scheme of your room and your personal taste when selecting the base color. Here are some tips to help you choose:
- Consider the room’s overall color scheme: Look at the colors of the walls, furniture, and decor in the room where the lamp will be placed. Choose a base color that complements or contrasts with the existing elements to create a cohesive and visually appealing look.
- Think about the lamp’s purpose: If the lamp is meant to be a focal point in the room, you might opt for a bold and vibrant color. If it’s meant to blend in or provide subtle accent lighting, a softer and more neutral color may be suitable.
- Take inspiration from your personal style: Consider your own preferences and the overall aesthetic you want to achieve. Do you lean towards a modern, minimalistic look or a bohemian, eclectic vibe? Let your style guide your choice of base color.
- Consider the lamp’s shape and design: Some lamps have intricate details or unique shapes that can be accentuated with the right base color. Think about how the color will highlight or complement the lamp’s features.
Once you have chosen the base color, you’re ready to proceed to the next step: applying the base coat of paint to your glass lamp. This is where the transformation begins, so get ready to see your lamp come to life with color!
Step 4: Apply the Base Coat
Now comes the fun part – applying the base coat of paint to your glass lamp! The base coat will provide the main color and foundation for your painted lamp. Follow these steps to apply the base coat:
- Ensure that the primer is completely dry before starting this step. Refer to the manufacturer’s instructions for drying time.
- Shake the can of spray paint thoroughly to mix the contents.
- Hold the spray paint can approximately 6-8 inches away from the lamp’s surface.
- Begin spraying the base coat in a steady, sweeping motion, starting from one side and moving across the lamp. Aim for even coverage, but avoid applying too much paint at once to prevent drips and runs.
- Continue spraying until the entire lamp is covered with the base color. Remember, multiple thin coats are better than one thick coat, so if needed, repeat this step after allowing each coat to dry.
- Ensure that the paint is applied evenly and covers all areas of the lamp. Pay special attention to hard-to-reach spots and corners.
- Allow the base coat to dry completely according to the manufacturer’s instructions. This usually takes a few hours, but drying times may vary depending on the brand and environmental conditions.
Applying the base coat will bring your glass lamp one step closer to its new look. Once the base coat is dry, you can assess the color and coverage. If necessary, you can apply additional coats of the base color to achieve your desired look before moving on to the next steps.
With the base coat applied, the transformation of your glass lamp is well underway. The next steps will further enhance its appearance, so let’s continue with the painting process by exploring additional layers (if desired).
When painting a glass lamp, make sure to clean the surface thoroughly with rubbing alcohol to remove any dirt or oils. This will help the paint adhere better and result in a smoother finish.
Step 5: Apply Additional Layers (if desired)
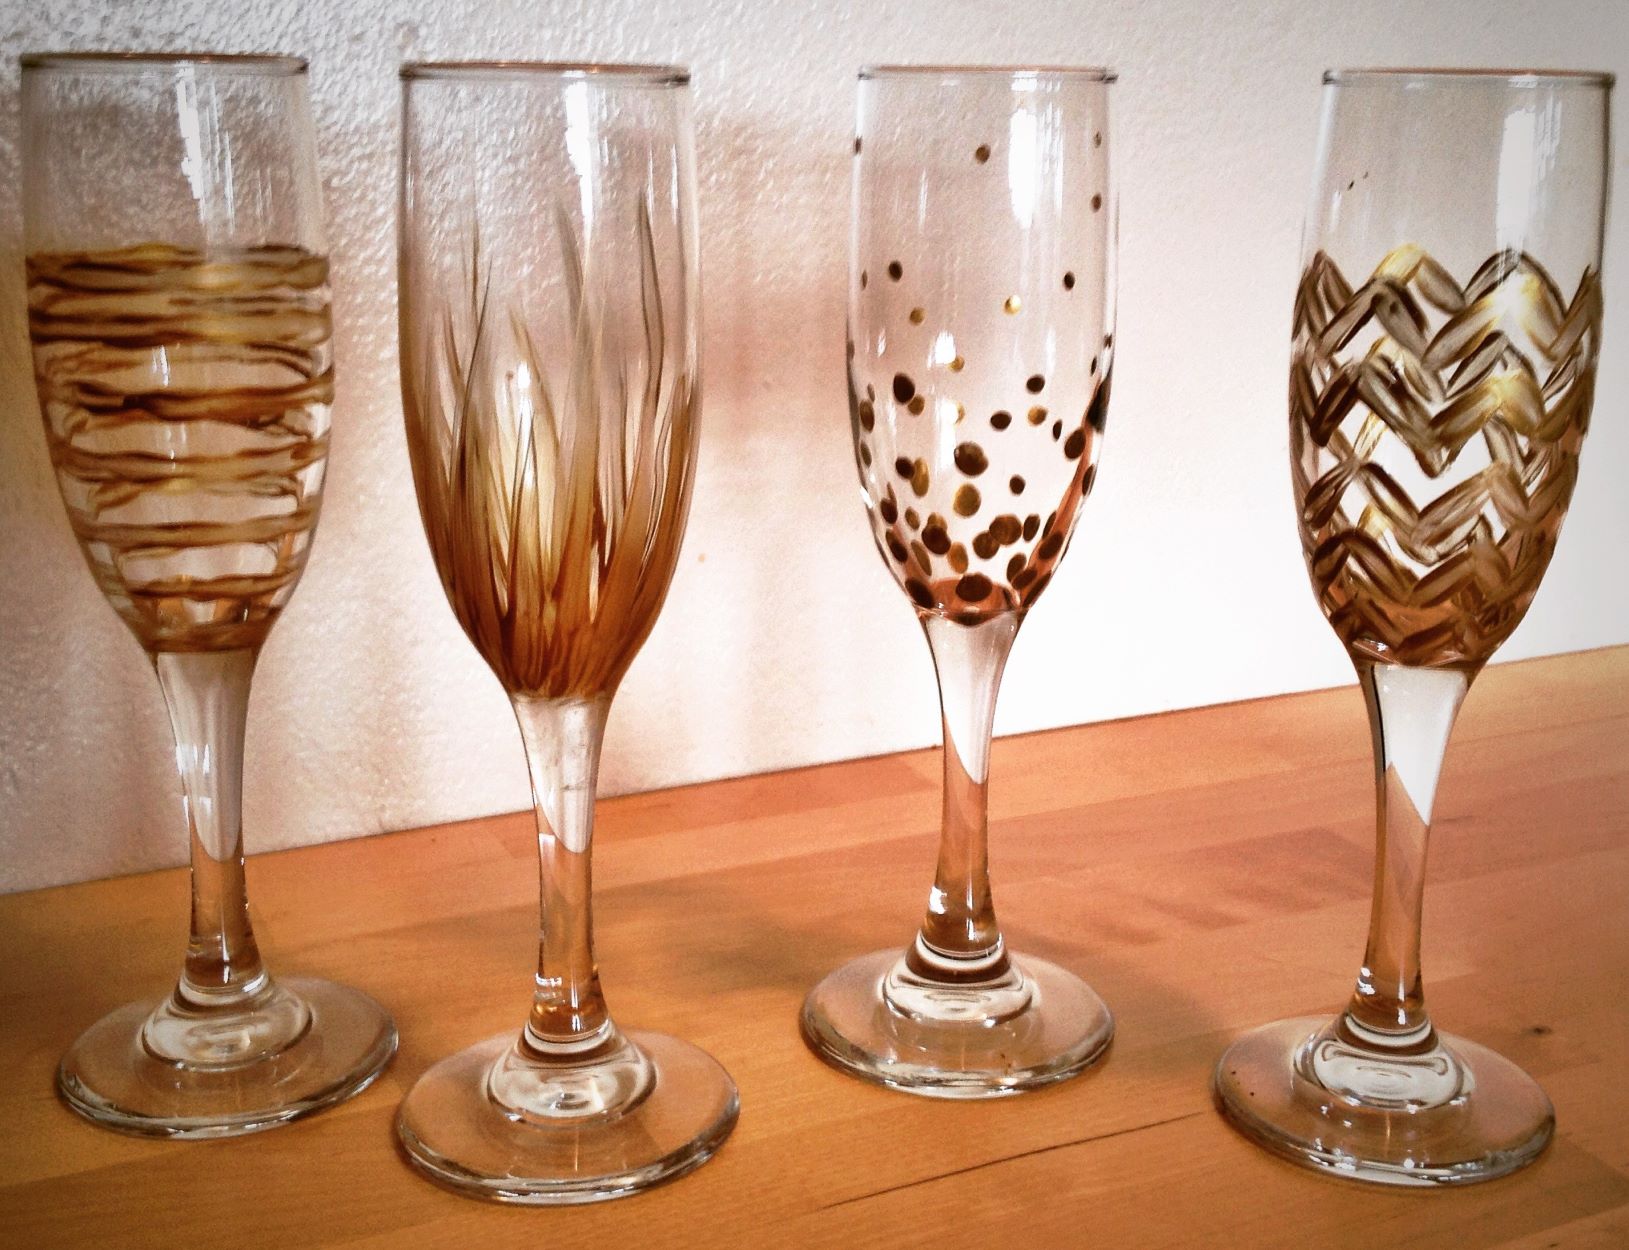
Once you have applied the base coat to your glass lamp, you have the option to add additional layers of paint to create depth, texture, or decorative effects. This step is completely optional and depends on your desired outcome and personal style. Here are a few ideas for applying additional layers:
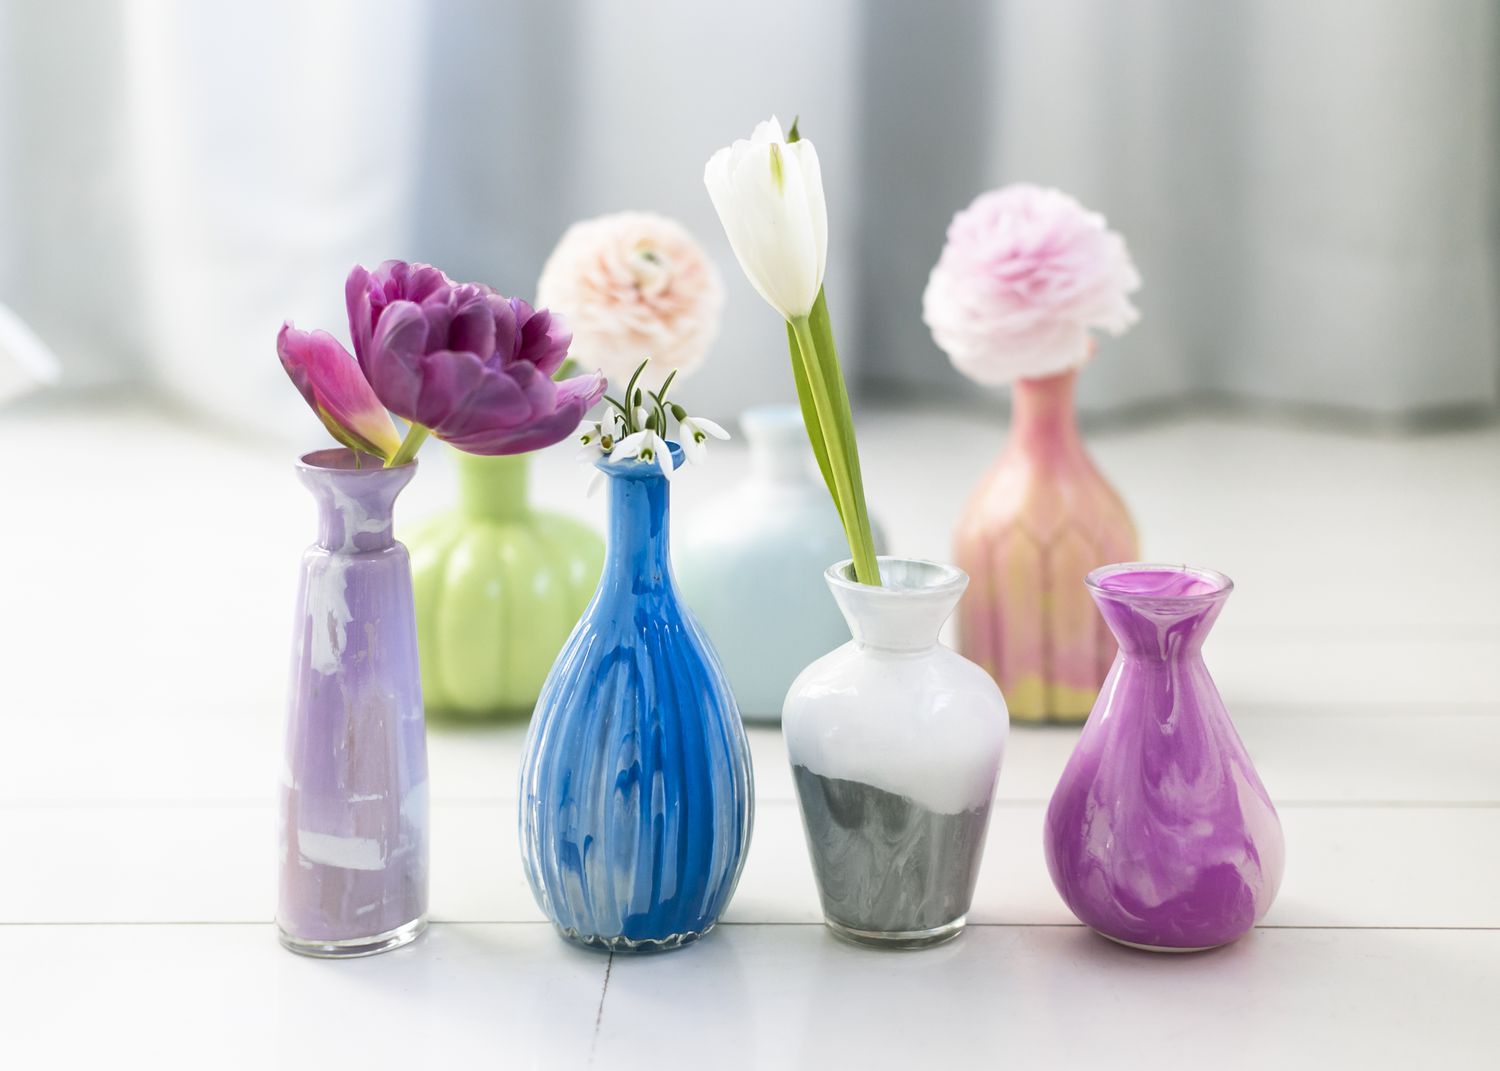
- Create an ombre effect: If you want a gradient look on your lamp, you can apply a lighter or darker shade of the base color to specific areas. Start by spraying the second color at the bottom of the lamp and gradually fade it into the base color as you move upwards.
- Add a metallic touch: To achieve a glamorous or modern look, consider adding a metallic layer. Choose a metallic spray paint in silver, gold, or bronze and apply it lightly over the base color. The metallic layer will add shine and visual interest to your lamp.
- Experiment with textures: You can use various techniques to create texture on your lamp. For example, you can spray paint over a stencil or a mesh material to create a patterned effect. Alternatively, you can dab a sponge or crumpled plastic wrap lightly on the lamp’s surface for a textured appearance.
- Apply a translucent layer: If you want to preserve the transparency of the glass while adding a tint, you can use a translucent spray paint. This will give a subtle hint of color without completely covering the lamp.
Remember to apply additional layers with caution, as each layer will increase the drying time. Allow each layer to dry completely before adding another to avoid smudging or uneven application.
After applying additional layers, assess the overall appearance of your painted glass lamp. If you are satisfied with the result, you can proceed to the next steps. However, if you want to add more intricate designs or patterns to your lamp, you can move on to the next step: creating a design (if desired).
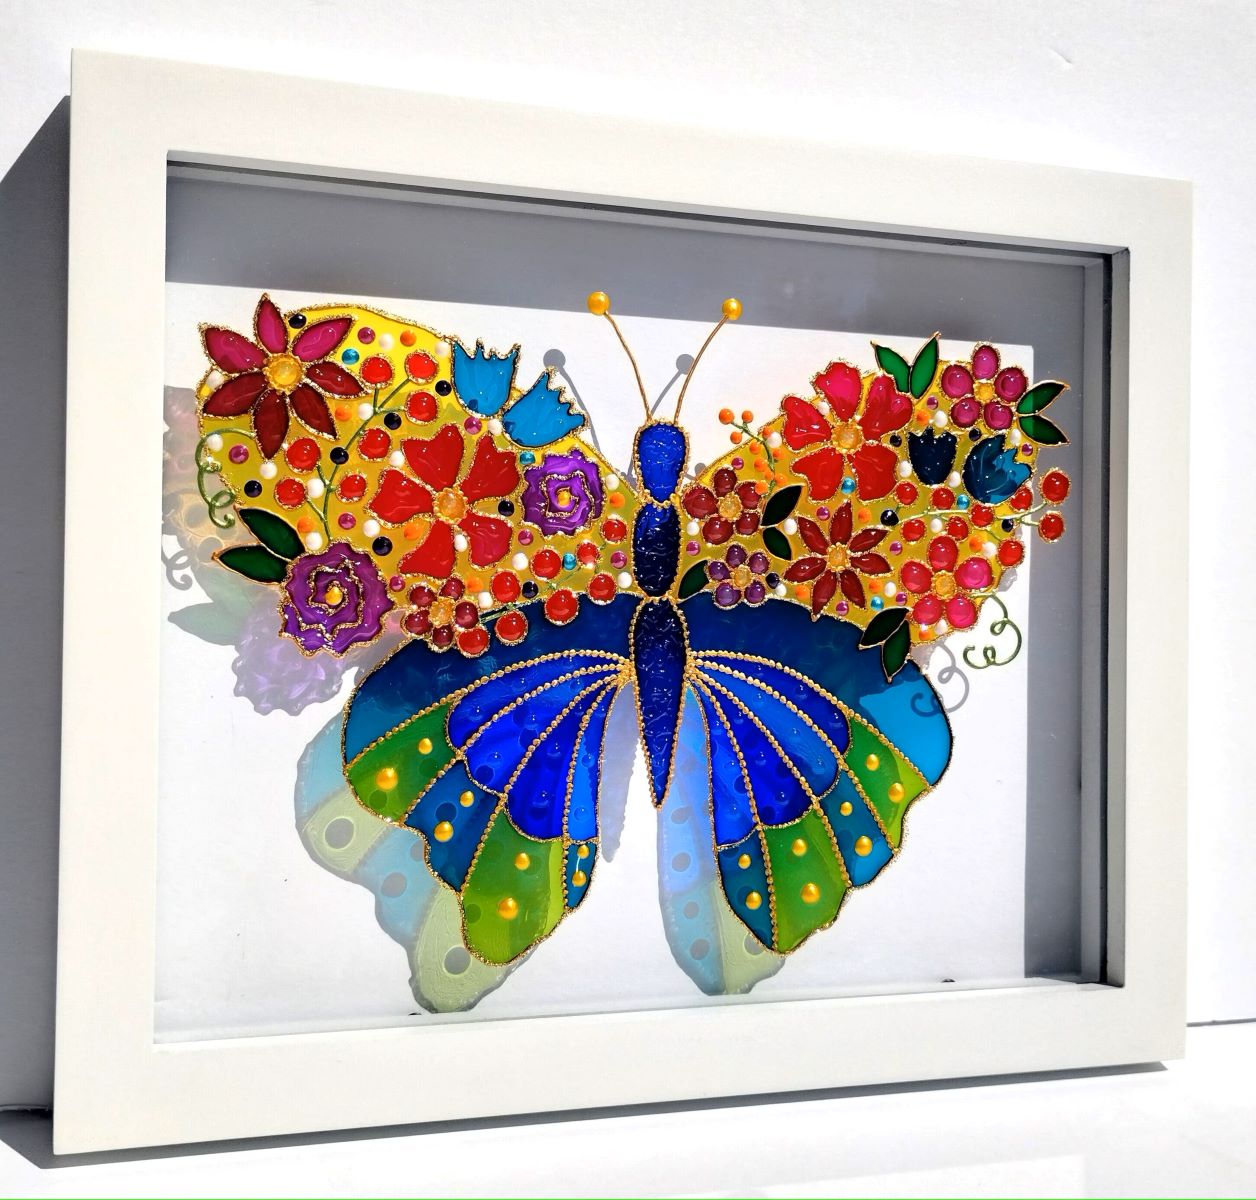
Step 6: Create Design (if desired)
If you want to take your painted glass lamp to the next level, you can incorporate a design or pattern to make it truly unique and personalized. This step allows you to unleash your creativity and add a special touch to your lamp. Here are some ideas for creating a design:
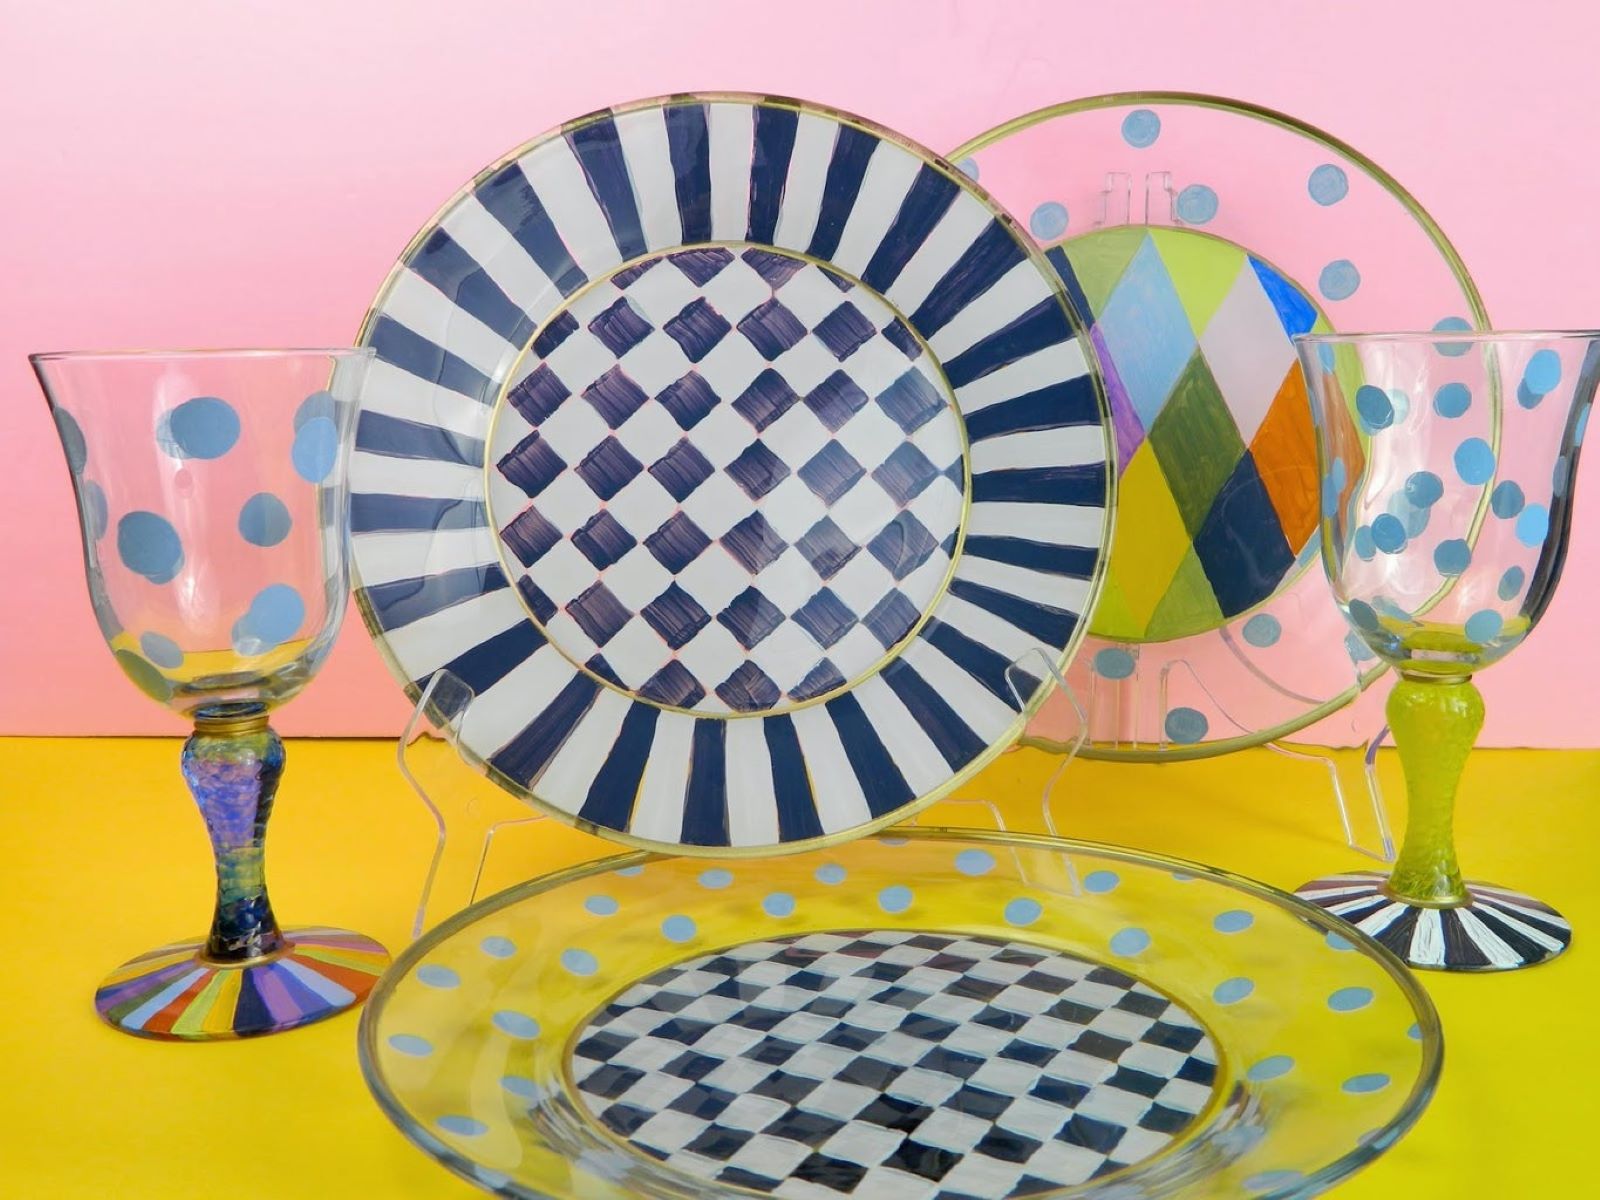
- Use stencils: Stencils are a great tool for creating clean and precise designs. Choose stencils with patterns or shapes that resonate with your style and carefully position them on the lamp’s surface. Secure the stencils in place with painter’s tape, and then spray paint over them using a contrasting or complementary color. Once the paint is dry, carefully remove the stencils to reveal your design.
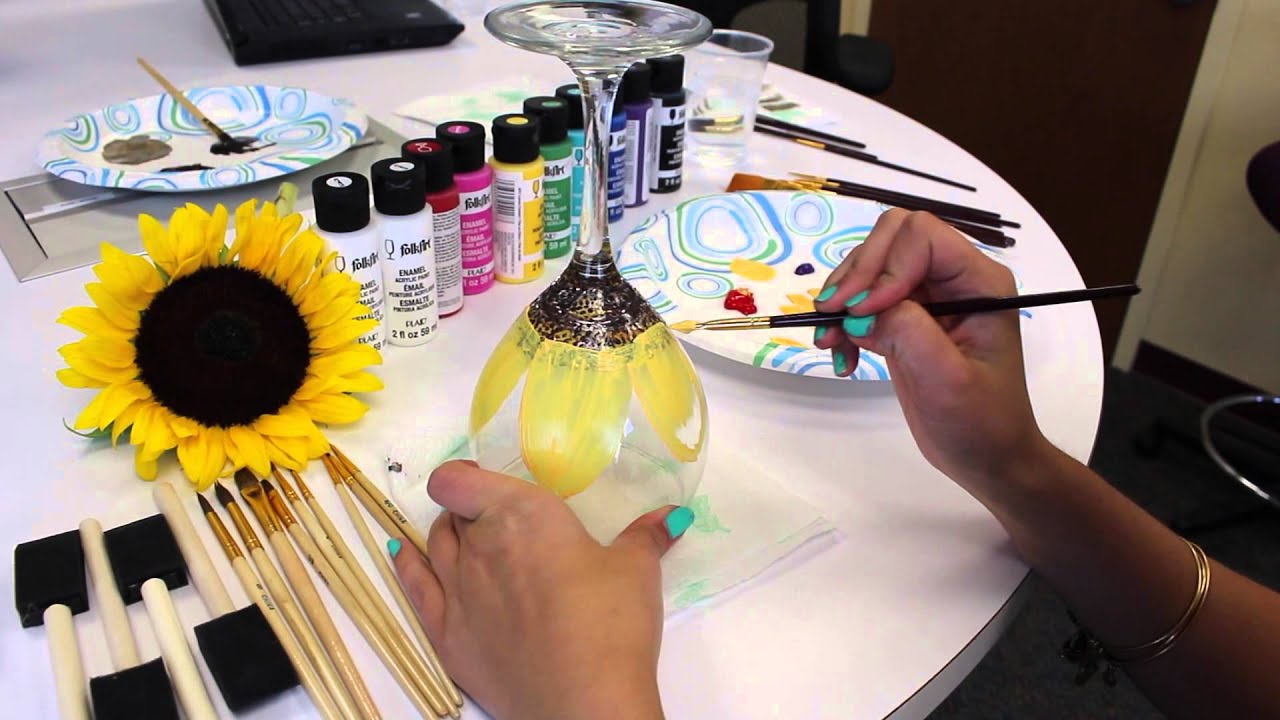
- Freehand painting: If you are confident in your painting skills, you can create a design freehand using small paintbrushes or paint markers. Whether it’s floral motifs, geometric patterns, or abstract shapes, let your imagination guide you as you paint directly onto the lamp’s surface.
- Apply painter’s tape: Painter’s tape can create clean lines and crisp edges in your design. Cut the tape into desired shapes or patterns and stick them onto the lamp. Then, spray paint over the tape, making sure to cover the surrounding areas. Once the paint is dry, carefully remove the tape to reveal the design underneath.
- Combine multiple techniques: Don’t be afraid to mix and match different techniques to achieve a unique and layered design. For example, you can start with a base coat, apply a stencil design, and then add hand-painted details on top. Experiment and see what combination works best for your vision.
Remember to plan out your design before applying any paint to the lamp. Sketch it out on paper or use digital tools to visualize how it will look. Take your time and work patiently to ensure a precise and well-executed design.
Once you are satisfied with the design on your painted glass lamp, it’s time to protect the paint and give it a long-lasting finish. Move on to the next step: finishing with a top coat.
Read more: How To Paint A Ceramic Lamp Base
Step 7: Finish with a Top Coat
Finishing your painted glass lamp with a top coat is essential to protect the paint and ensure its durability over time. The top coat will provide an added layer of protection against scratches, fading, and other daily wear and tear. Follow these steps to apply a top coat to your lamp:
- Check that the design and base coat of your lamp are completely dry before proceeding.
- Choose a clear coat spray paint specifically designed for glass surfaces. This will provide the best protection and ensure compatibility with your painted lamp.
- Hold the can of clear coat approximately 6-8 inches away from the lamp’s surface.
- Apply a thin, even layer of the clear coat, starting at the top and moving downward.
- Continue spraying until the entire lamp is covered with the clear coat. Take care not to oversaturate or apply too much at once to avoid drips or uneven finish.
- Allow the clear coat to dry completely according to the manufacturer’s instructions. This usually takes a few hours.
The top coat will provide a protective barrier, preserving the color and design of your painted glass lamp. It will also make the surface easier to clean and maintain in the long run. If desired, you can apply a second coat of the clear coat for added protection and shine.
Once the top coat is dry, your painted glass lamp is almost ready to shine! The last step is to allow the lamp to fully dry and cure before reassembling it.
Continue to the next step for instructions on how to properly dry and reassemble your newly painted glass lamp.
Step 8: Let the Lamp Dry
After completing the painting process, it is crucial to allow your painted glass lamp to dry thoroughly before handling or reassembling it. Proper drying ensures that the paint adheres well and sets properly, preventing any smudging or damage. Follow these steps to ensure your lamp dries effectively:
- Find a well-ventilated area where you can leave the lamp undisturbed throughout the drying process.
- Avoid touching or moving the lamp until it is completely dry to prevent smudging or smearing the paint.
- Refer to the paint manufacturer’s instructions for the recommended drying time. Typically, it can take anywhere from 24 to 48 hours for the paint to fully cure.
- Take into account the environmental conditions, such as humidity and temperature, as they can affect the drying time. Warmer and drier conditions tend to expedite the drying process.
- During the drying period, resist the temptation to handle or place any objects on the lamp.
- Keep the lamp in a safe place away from dust, pets, and children while it dries.
Allowing sufficient drying time ensures that the paint on your glass lamp sets properly, providing a durable and long-lasting finish. Patience is key during this stage, as rushing through the drying process can compromise the quality of your painted lamp.
Once the lamp has completely dried and the paint has cured, you can move on to the final step: reassembling your newly painted glass lamp.
Step 9: Reassemble the Lamp
Congratulations! Your painted glass lamp is now fully dried and ready to be reassembled. Follow these steps to successfully put your lamp back together:
- Gather all the components of the lamp, including the base, stem, light bulb, and lampshade.
- Inspect each component to ensure they are clean and free from any dust or debris.
- If necessary, wipe down the parts with a clean cloth to remove any lingering dust or residue.
- Ensure the paint on the lamp’s base and stem is completely dry and cured. Check carefully for any smudges or areas that may need touch-ups before reassembling.
- Carefully screw the stem back into the lamp’s base. Be cautious not to apply too much force to avoid damaging the paint.
- Attach the lampshade securely to the stem by following the manufacturer’s instructions for your specific lamp model.
- Insert the appropriate light bulb into the socket, taking care not to overtighten it.
- Plug the lamp into a power source and test to ensure it’s working properly.
Once you have successfully reassembled your lamp, take a step back and admire your handiwork. Your painted glass lamp is now ready to be showcased and add a beautiful touch to your space.
Remember to handle your lamp with care to avoid scratching or damaging the painted surface. Clean it gently with a soft, damp cloth when needed, and avoid using harsh cleaning chemicals that may strip or damage the paint.
By following these steps, you’ve transformed an ordinary glass lamp into a stunning and personalized piece of decor. Enjoy the sense of accomplishment that comes from creating something unique and expressing your own style.
Thank you for joining us on this painting journey. We hope you found this guide helpful and inspiring. Happy painting!
Conclusion
Congratulations on completing the process of painting a glass lamp! You have taken a plain and ordinary lamp and turned it into a captivating and personalized piece of decor. By following the steps outlined in this guide, you have learned how to properly clean, prime, and paint a glass lamp, as well as how to apply additional layers and create unique designs. It’s truly amazing how a little bit of paint can bring new life to an old or plain lamp.
Throughout this journey, you have unleashed your creativity and made design choices that reflect your personal style. From choosing the base color to adding intricate designs or patterns, you have transformed your glass lamp into a unique masterpiece. The top coat application ensures the longevity of your painted lamp, protecting it from daily wear and tear.
Remember, as with any DIY project, it’s essential to work in a well-ventilated space and take safety precautions such as wearing gloves and a mask. Proper preparation, patience during the drying process, and careful reassembly are key to achieving the best results.
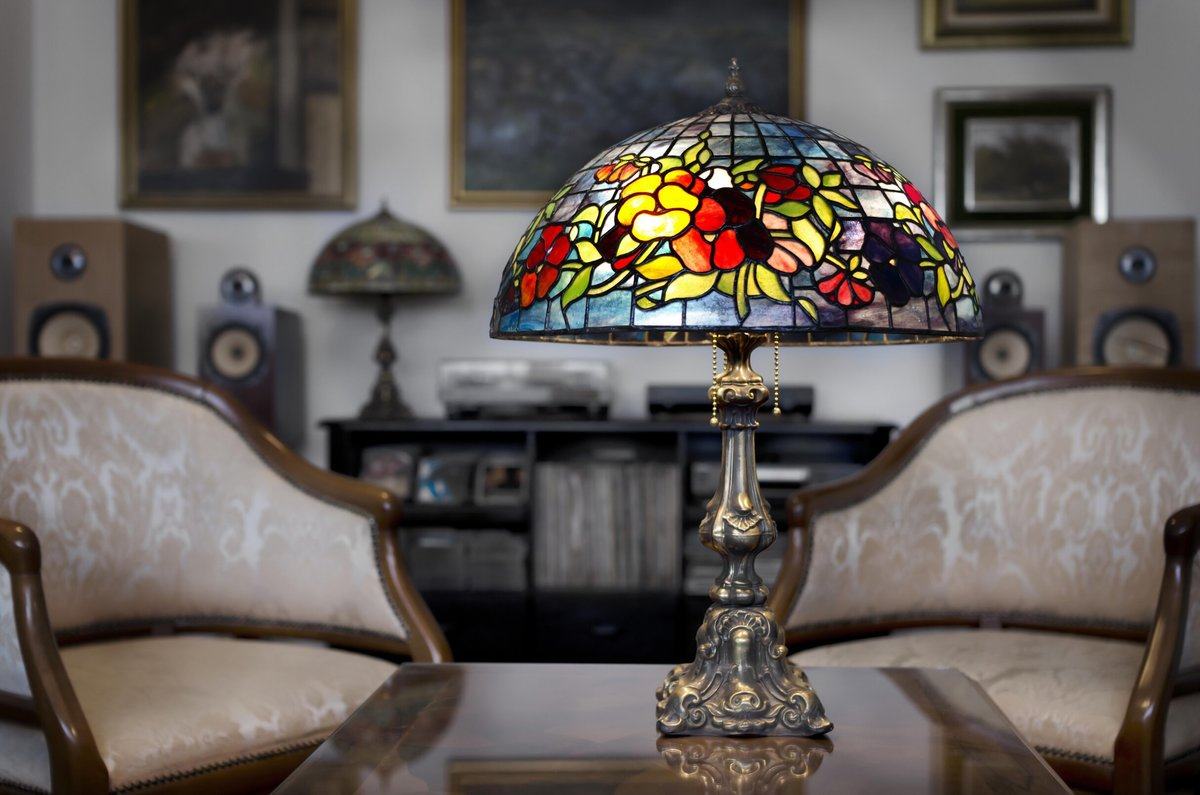
Now that your painted glass lamp is complete, it’s time to showcase it in your space. Whether it becomes a focal point in your living room, adds a pop of color to your bedroom, or enhances your office ambiance, your creation will bring joy and a personal touch to any room. Remember to regularly clean and maintain your lamp to preserve its beauty for years to come.
We hope this comprehensive guide has inspired you to explore your creativity and embark on more DIY projects. Painting a glass lamp is just the beginning of what you can achieve through hands-on creativity. So go ahead, experiment with colors, patterns, and different painting techniques to transform your home or office decor.
Thank you for joining us on this journey of painting a glass lamp. We hope you enjoyed the process and are proud of the finished product. Now, it’s time to bask in the warm glow and admire the beauty of your painted glass lamp!
Frequently Asked Questions about How To Paint A Glass Lamp
Was this page helpful?
At Storables.com, we guarantee accurate and reliable information. Our content, validated by Expert Board Contributors, is crafted following stringent Editorial Policies. We're committed to providing you with well-researched, expert-backed insights for all your informational needs.