Tableware
How To Seal Paint On Wine Glasses
Modified: January 9, 2024
Learn how to seal paint on wine glasses and create durable, long-lasting tableware. Transform your glassware into unique and personalized pieces with this simple step-by-step guide.
(Many of the links in this article redirect to a specific reviewed product. Your purchase of these products through affiliate links helps to generate commission for Storables.com, at no extra cost. Learn more)
Introduction
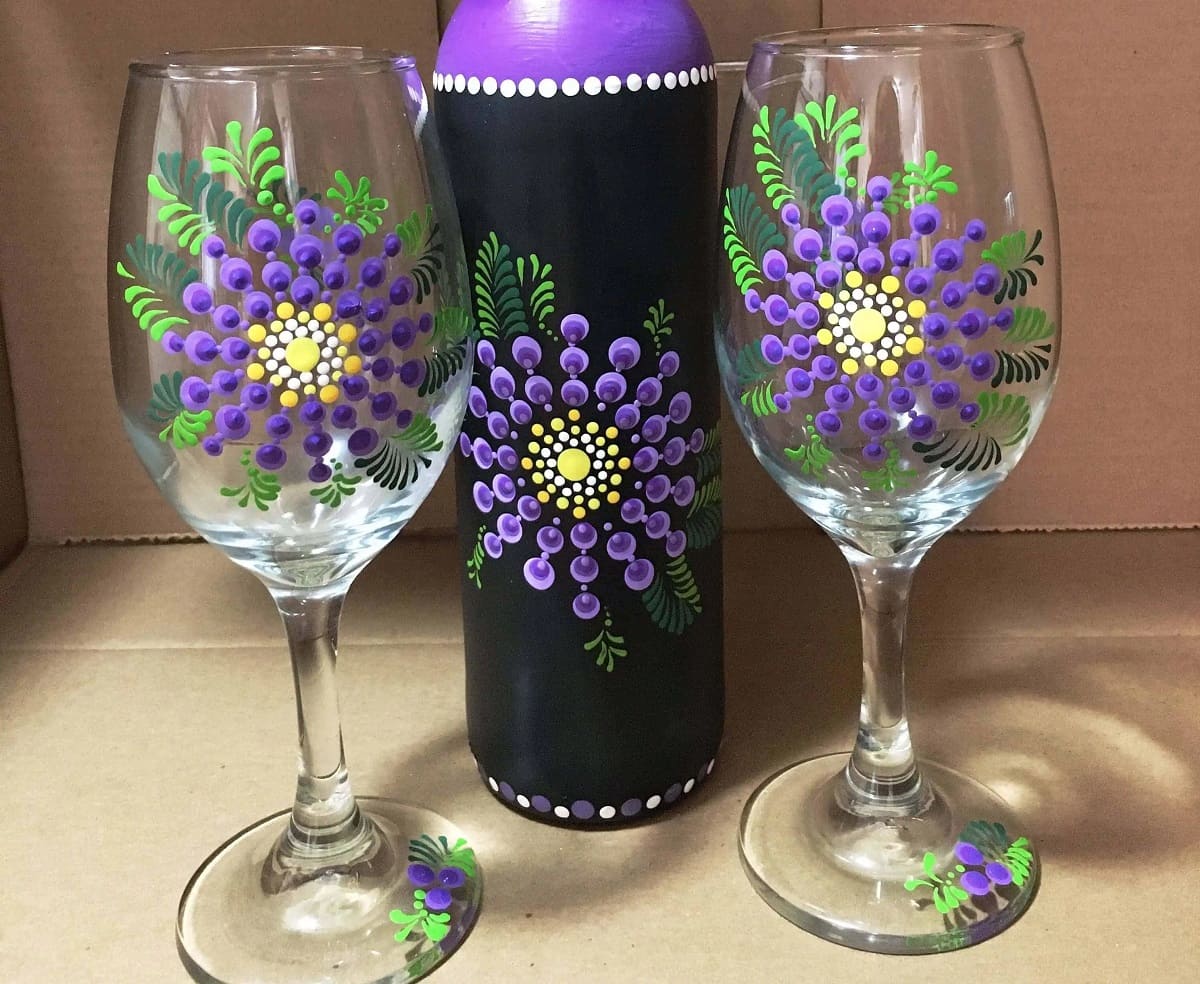
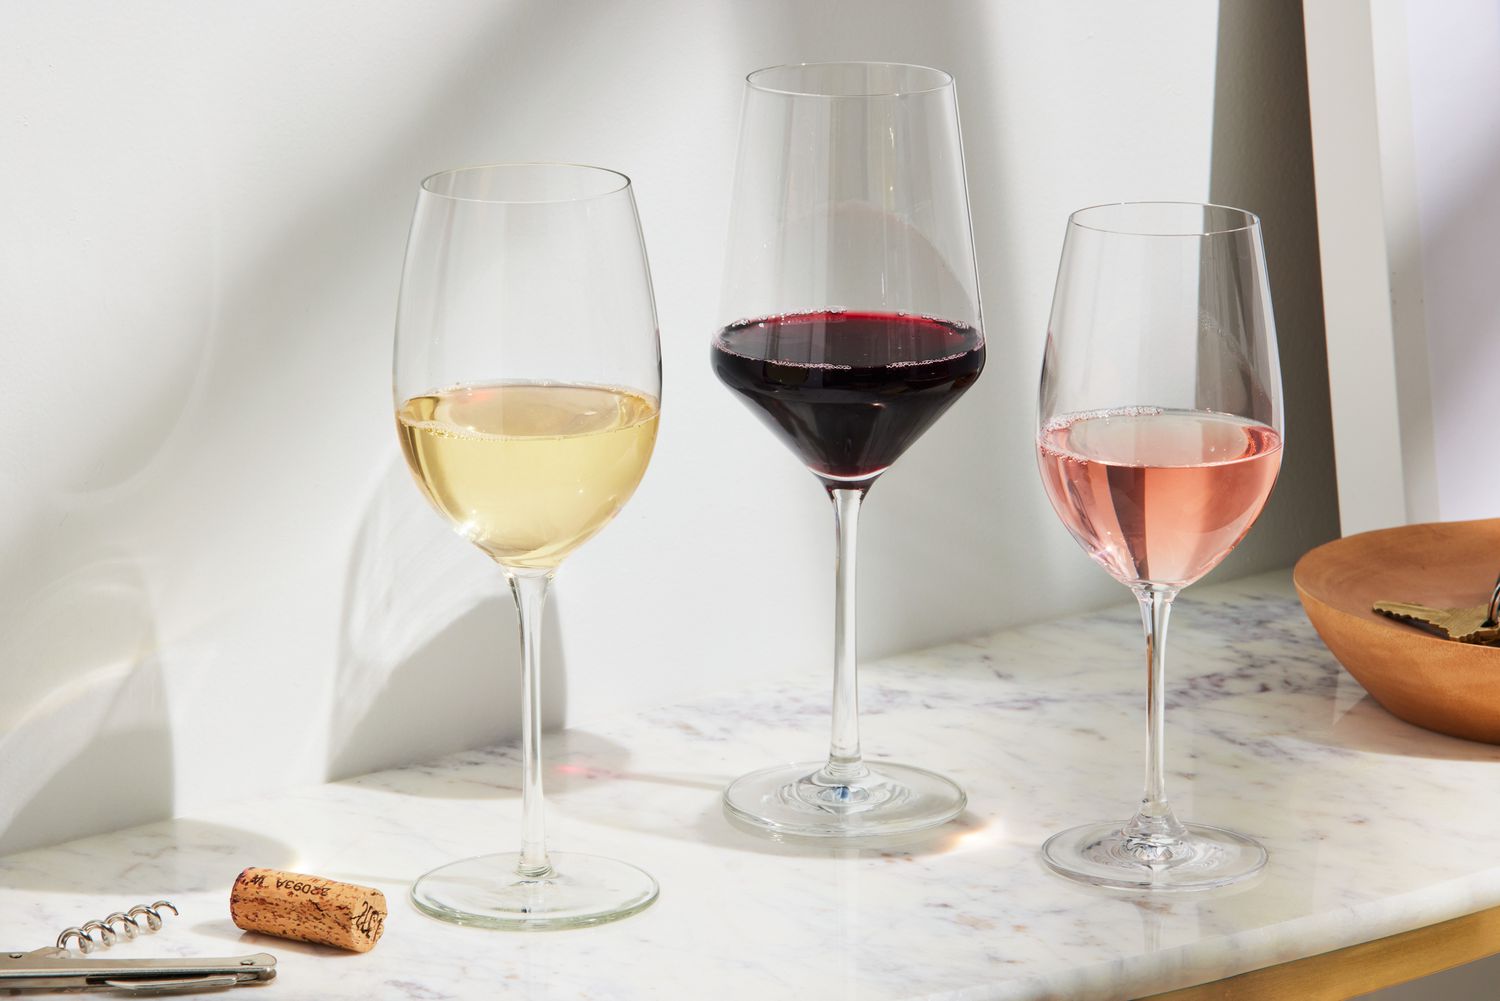
Are you a fan of hand-painted wine glasses? They add a personal touch to your drinkware collection and make for a great conversation starter at parties. However, one common issue with painted wine glasses is that the paint can easily chip or fade over time. To ensure that your painted designs stay vibrant and intact, it’s essential to seal the paint. In this article, we will guide you through the process of sealing paint on wine glasses, ensuring that your beautiful designs last for a long time.
Sealing the paint not only protects the design from wear and tear but also adds a glossy finish and enhances the overall appearance of the wine glasses. By following the simple steps outlined in this article, you can easily seal the paint on your wine glasses, giving them a professional look and long-lasting durability. Let’s gather the necessary materials and get started!
Key Takeaways:
- Protect your hand-painted wine glasses by sealing the paint with a glass-specific sealant, ensuring long-lasting vibrancy and durability for your artistic designs.
- Clean, prepare, seal, and optionally cure your painted wine glasses to create personalized, professional-looking drinkware that stands the test of time.
Read more: How To Paint Wine Glasses
Materials Needed
Before we begin, make sure you have the following materials on hand:
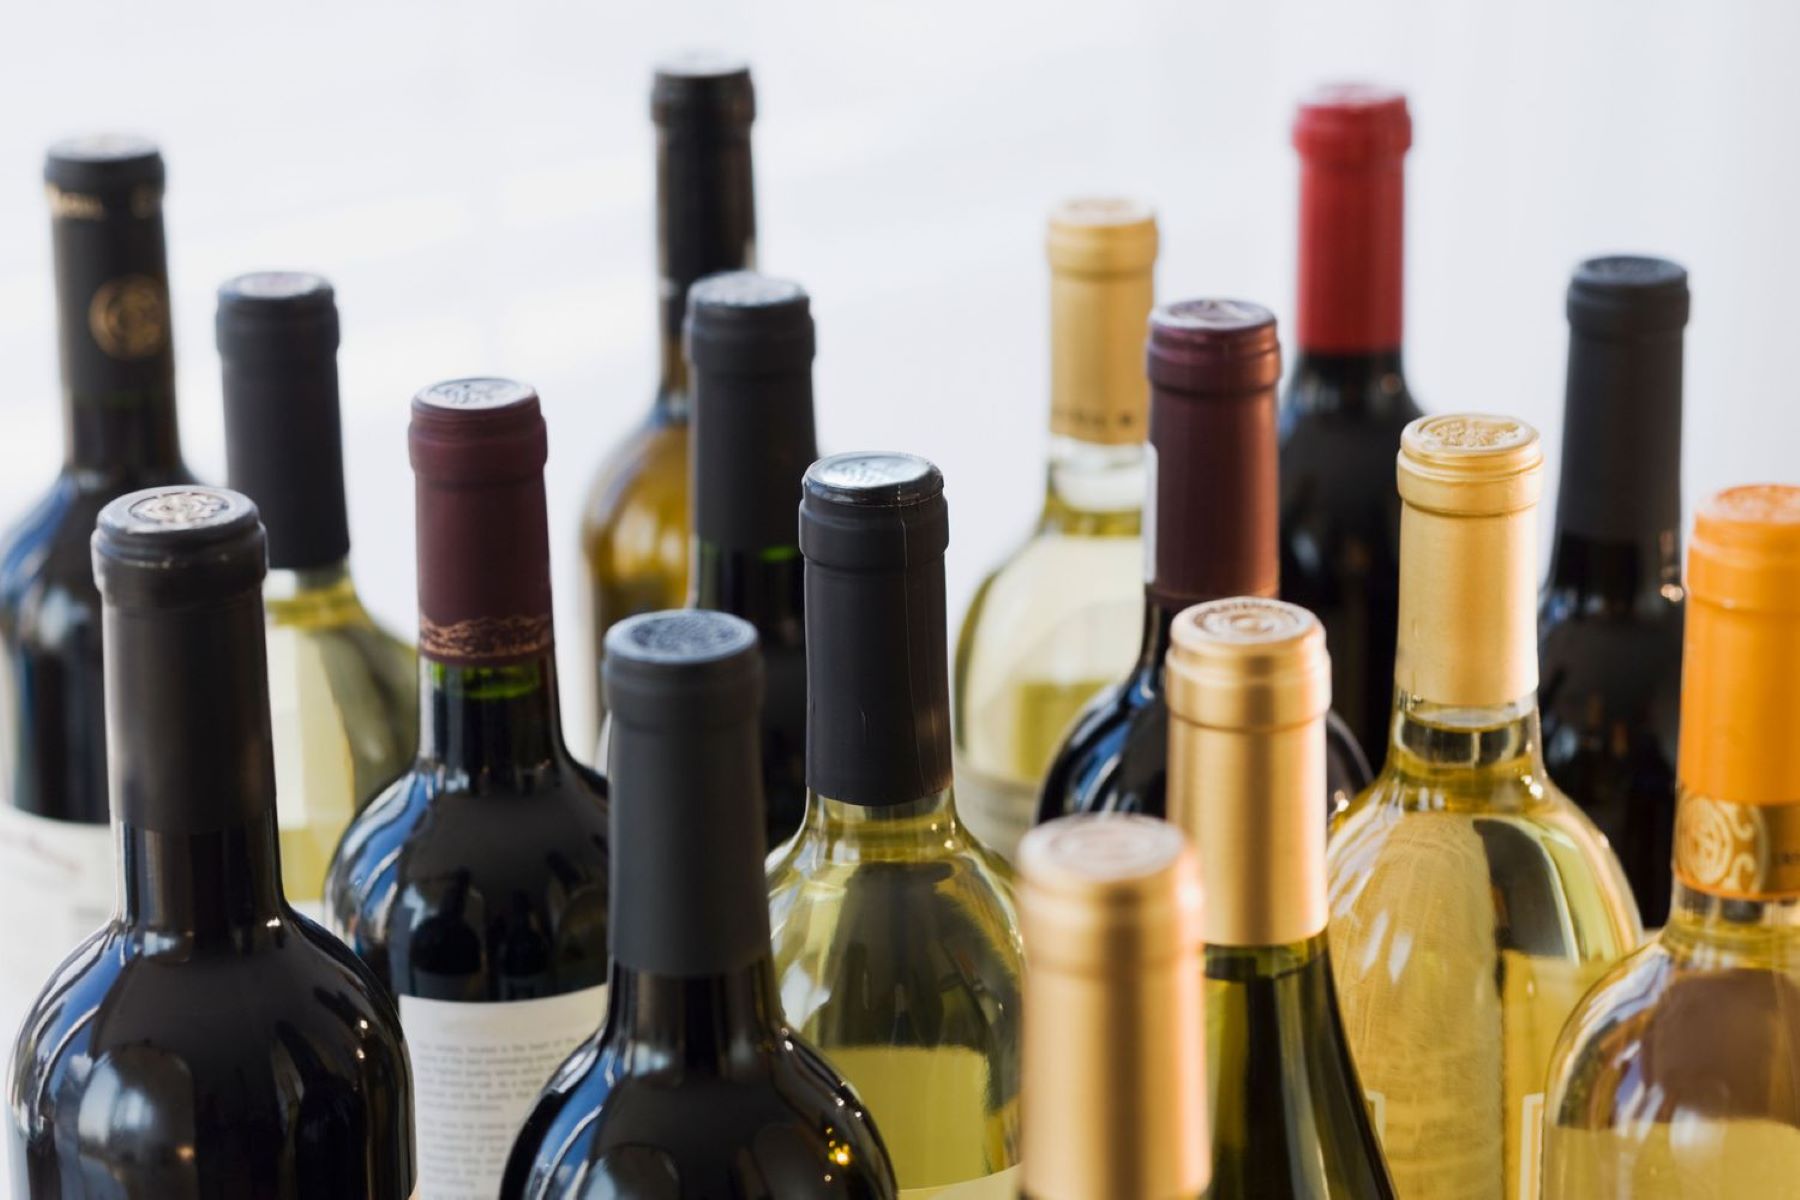
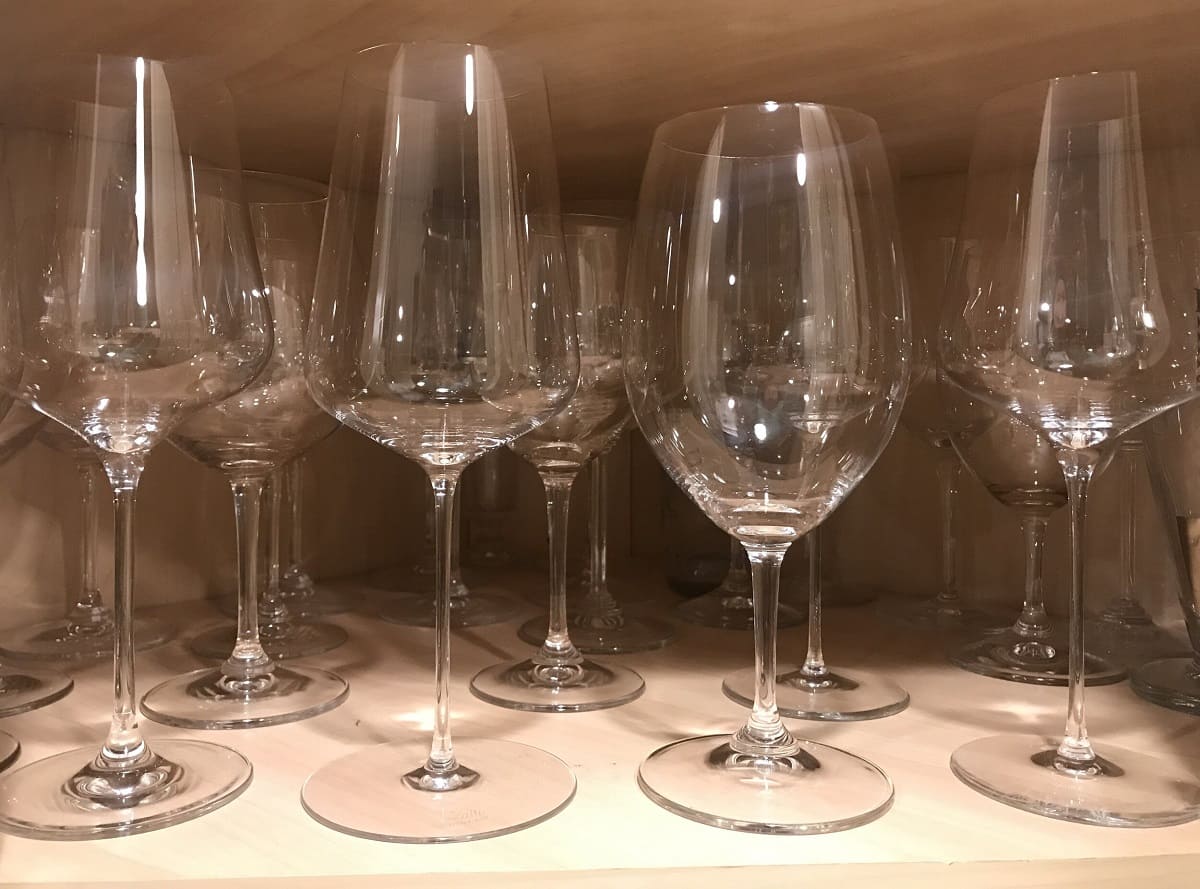
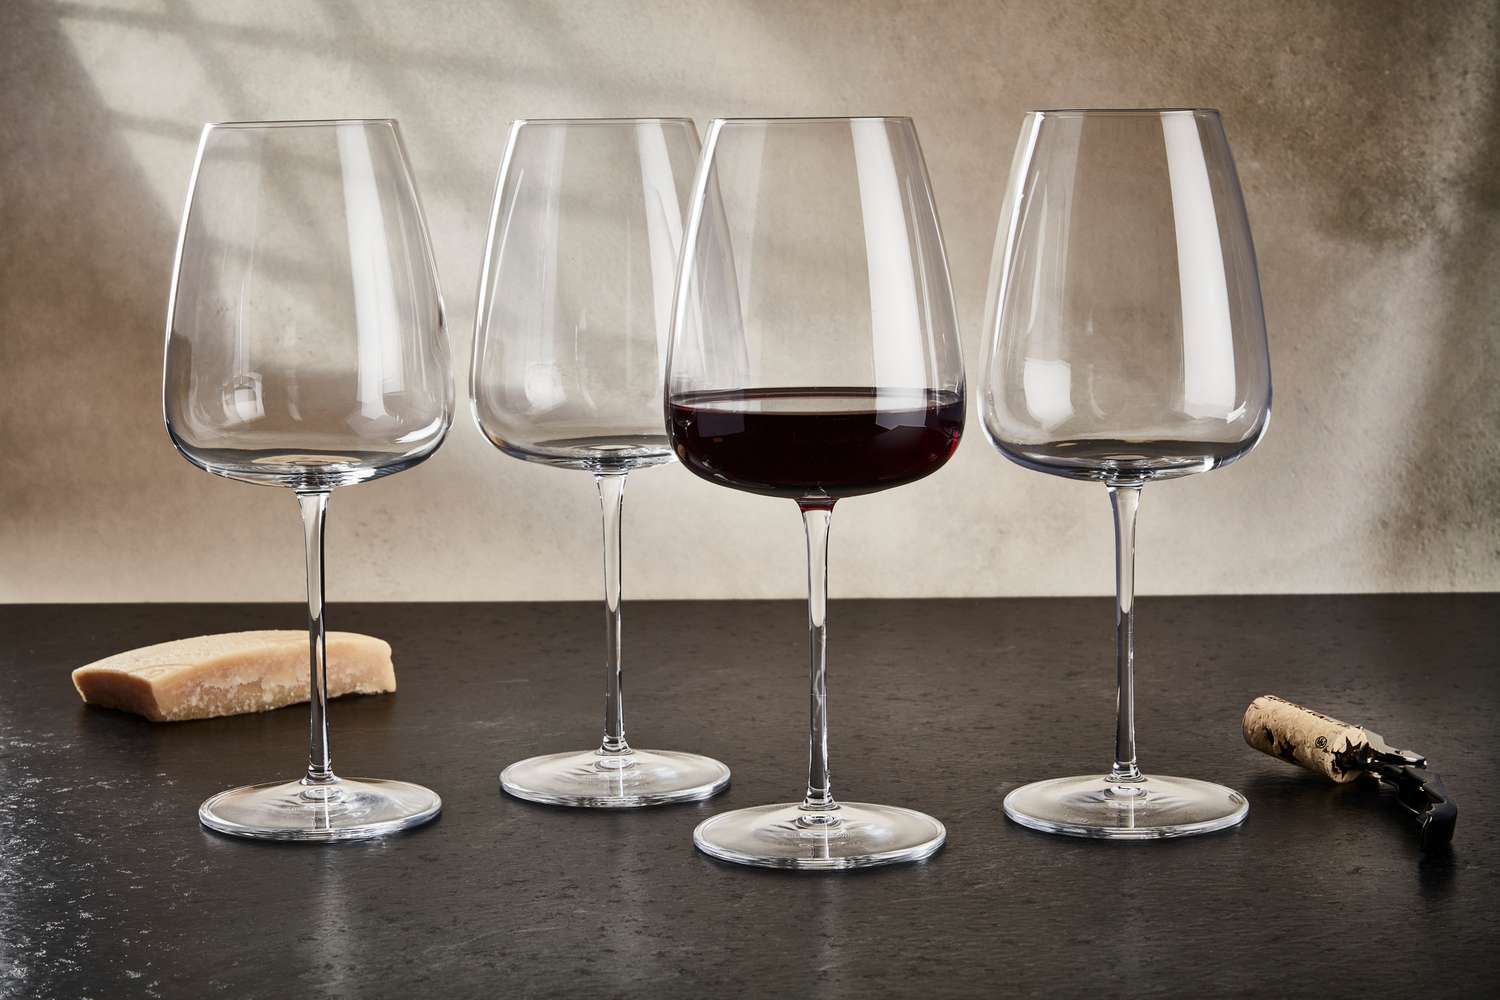
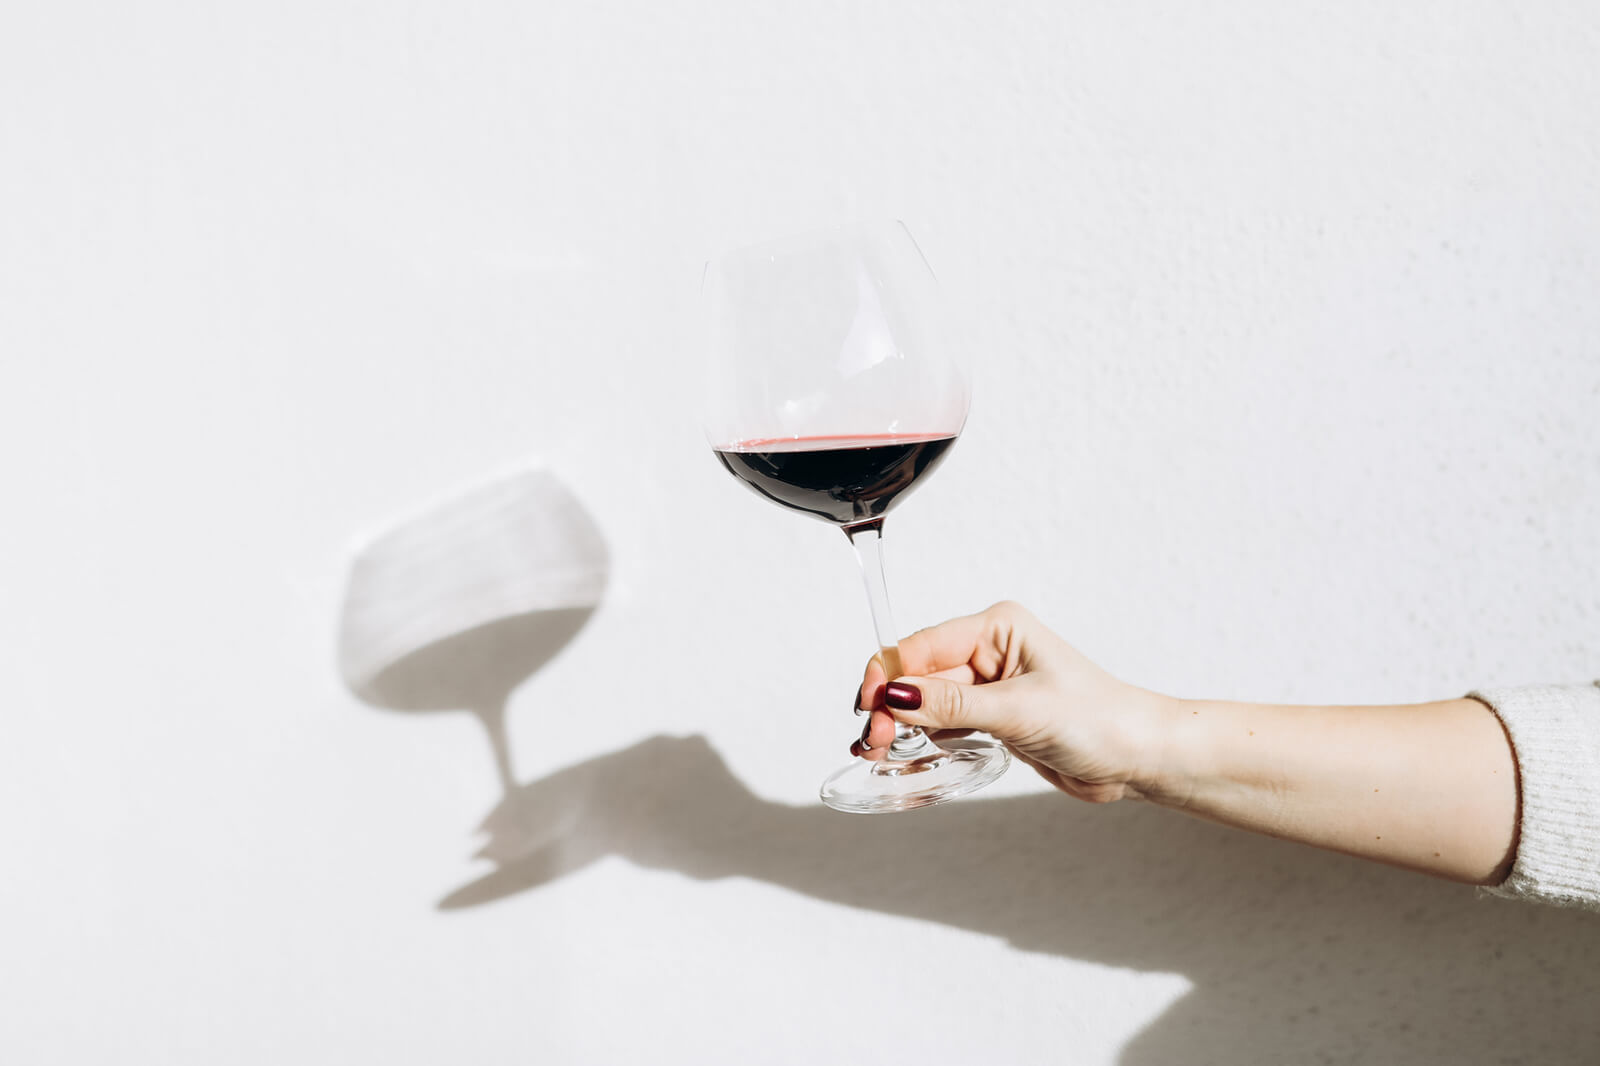
- Wine glasses: Choose glasses with a smooth surface for best results.
- Paint: Acrylic enamel paint works well on glass surfaces. Select colors of your choice.
- Paintbrushes: Different sizes of brushes are recommended for various design details.
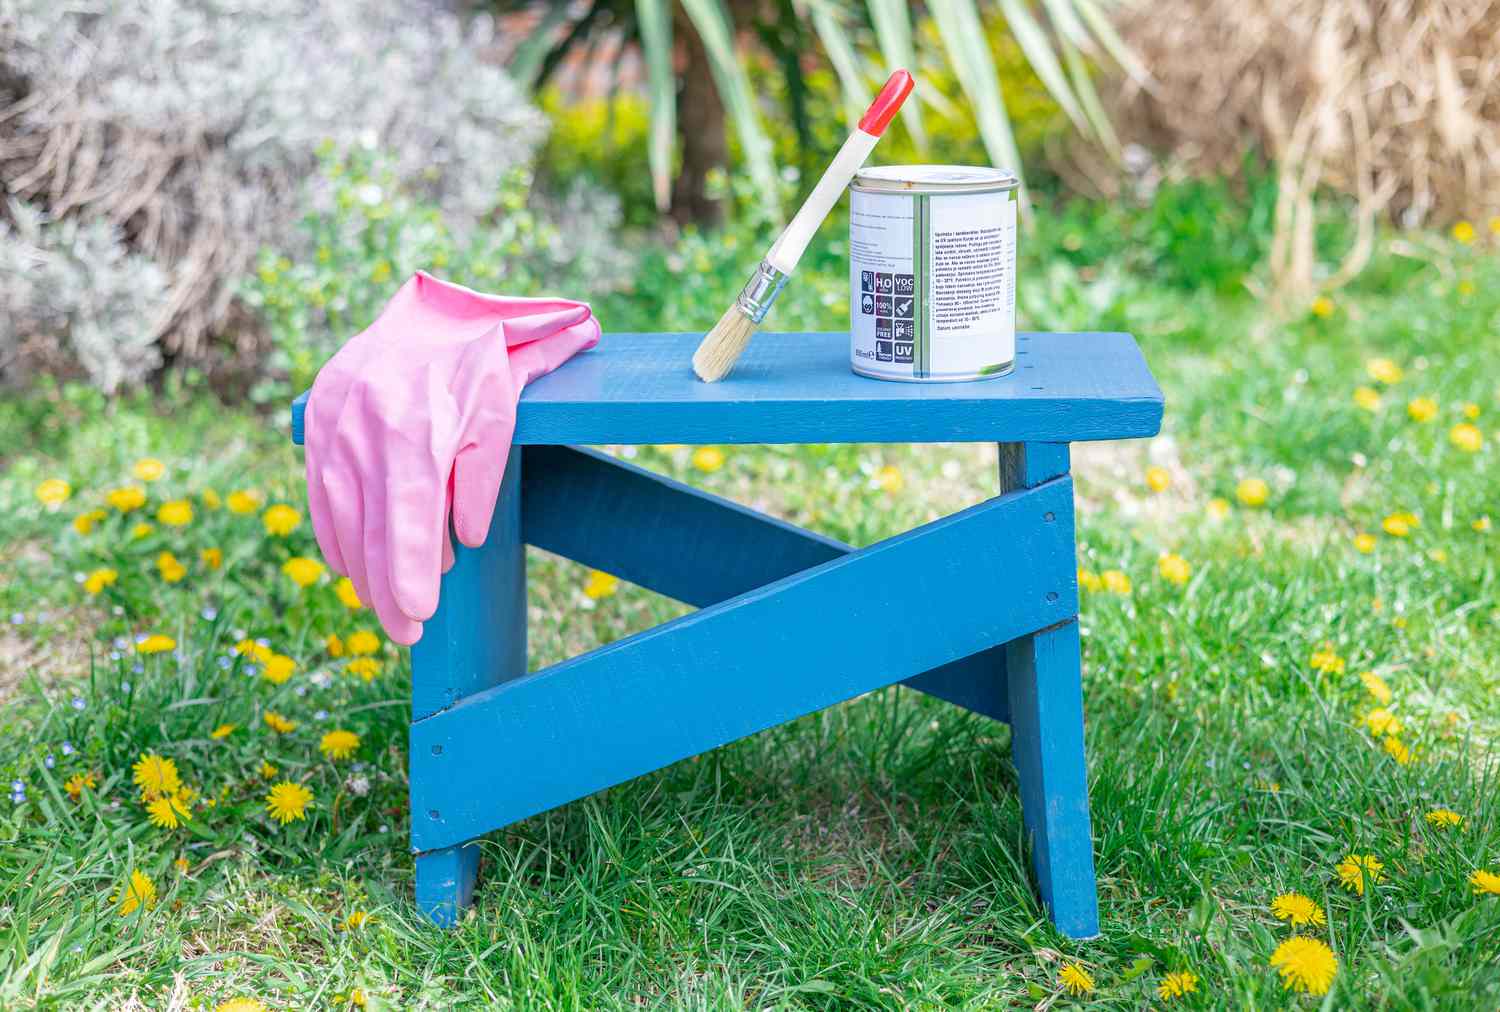
- Sealant: Look for a sealant specifically made for glass or multi-surface use.
- Protective gear: Disposable gloves and a smock or apron to protect your clothing.
- Drop cloth or newspaper: To protect your work surface from any paint spills or drips.
- Masking tape or stencils: Optional, for creating clean lines or patterns on the glasses.
- Lint-free cloth: To clean the glasses before sealing and remove any dust or fingerprints.
Once you have gathered all these materials, you’re ready to proceed with sealing the paint on your wine glasses. Let’s move on to the step-by-step process.
Step 1: Clean the Wine Glasses
Before sealing the paint on your wine glasses, it’s crucial to ensure that the glass surface is clean and free from any dust, oil, or fingerprints. Follow these simple steps to clean your wine glasses:
- Fill a sink or basin with warm water and add a few drops of mild dish soap.
- Gently place the wine glasses into the soapy water and let them soak for a few minutes.
- Take a soft sponge or cloth and carefully scrub all the surfaces of the glasses, including the inside and outside.
- Rinse the glasses thoroughly under warm running water to remove any soap residue.
- Pat dry the glasses using a lint-free cloth or let them air dry completely.
By cleaning the wine glasses beforehand, you ensure that the sealant adheres properly to the glass surface and provides long-lasting protection to the painted design.
Once the glasses are clean and dry, you’re ready to move on to the next step: preparing the painted design.
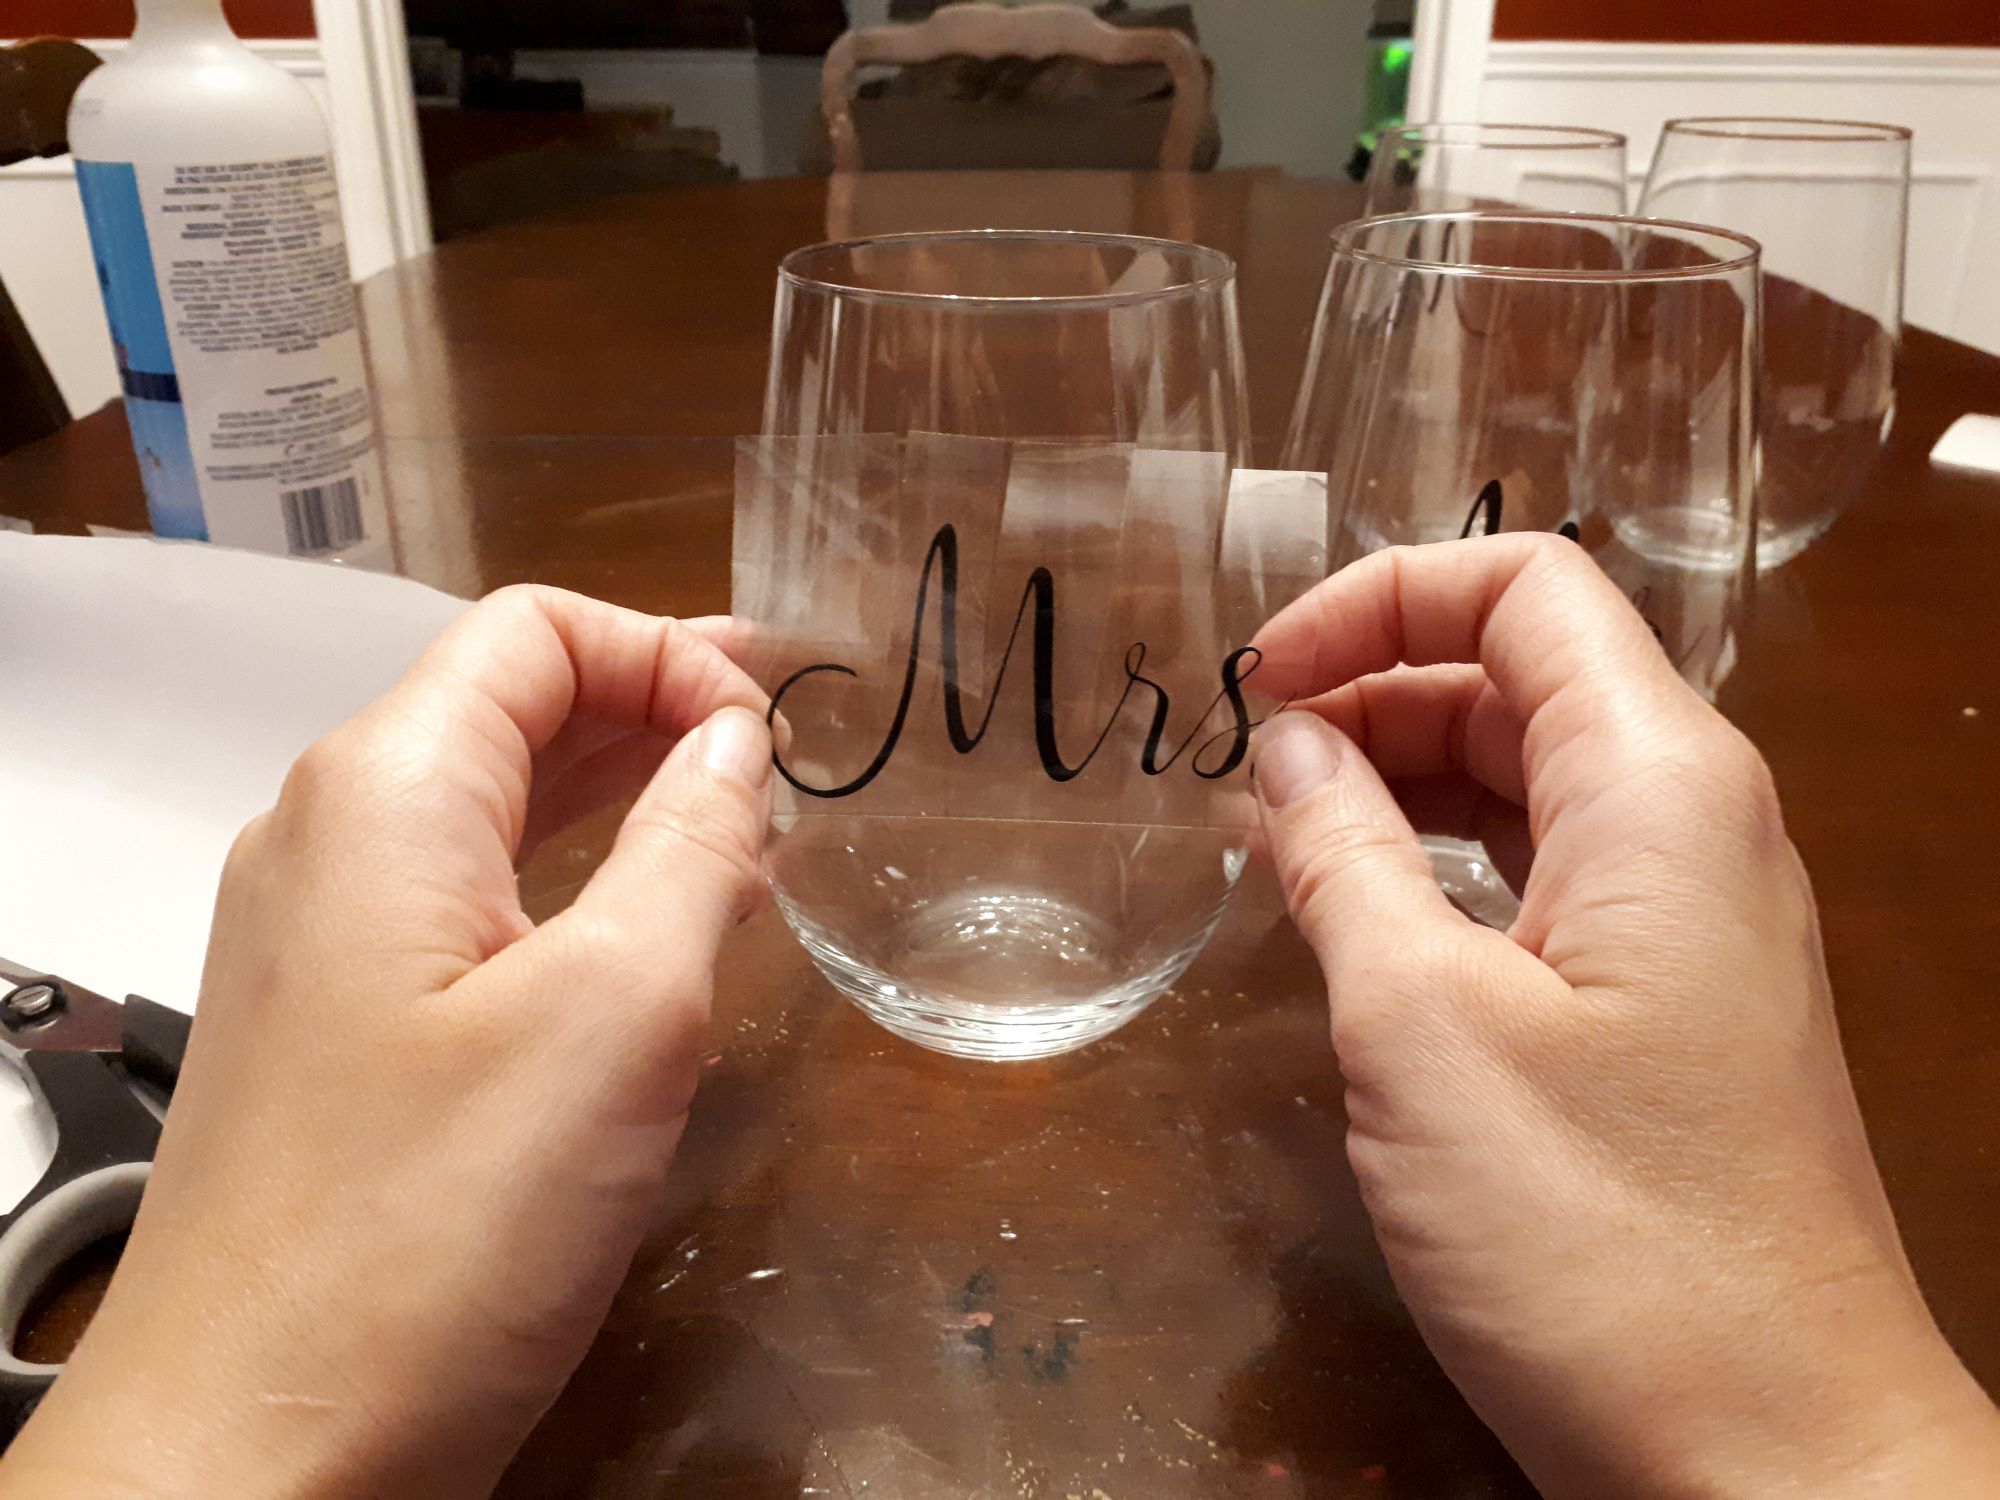
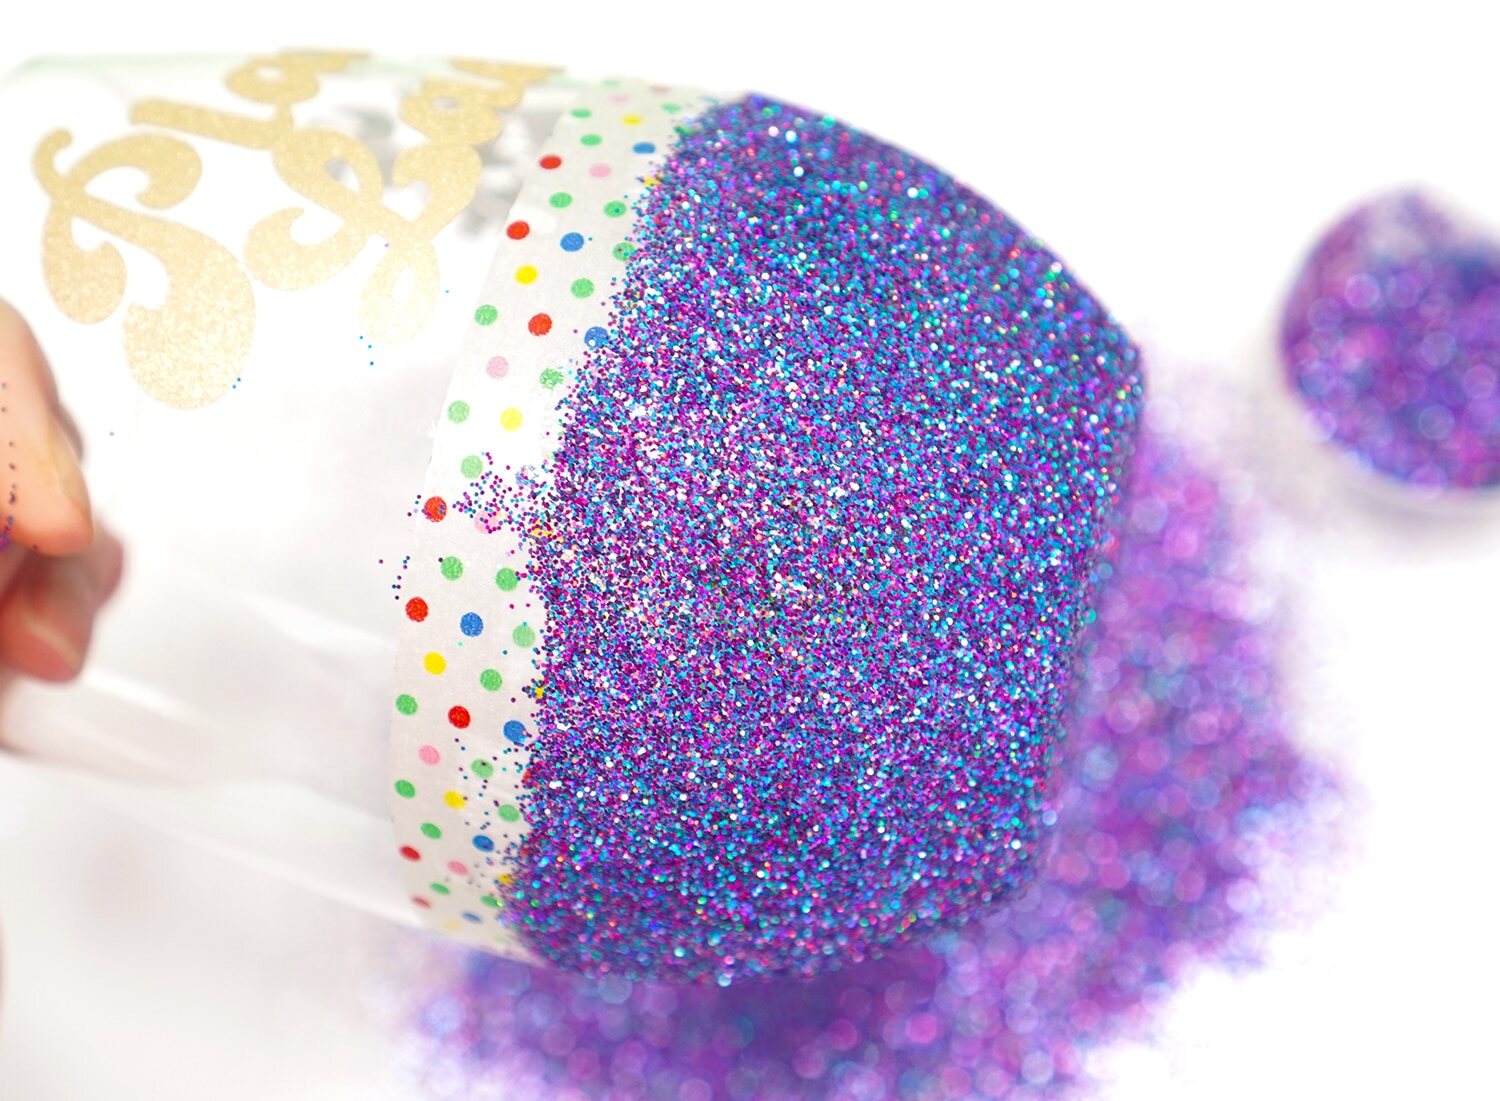
Step 2: Prepare the Painted Design
Now that your wine glasses are clean and dry, it’s time to prepare the painted design that you want to seal. If you haven’t already painted the glasses, now is the perfect opportunity to unleash your creativity. Follow these steps to prepare the painted design:
- Decide on the design: Whether you want to create a simple pattern, a personalized message, or a intricate artwork, envision the design you want to paint on the glasses.
- Gather your paint colors: Choose acrylic enamel paints in the colors that match your design and preferences.
- Prepare your workspace: Lay down a drop cloth or newspaper to protect your work surface from any accidental spills or drips.
- Practice your design: If you’re unsure about your painting skills, it’s a good idea to practice your design on a spare glass or piece of glass before painting on the final glasses.
- Paint the glasses: Using the appropriate paintbrushes, carefully apply the paint to the wine glasses. Take your time and let each layer dry before applying the next one. You can use multiple coats to achieve the desired color intensity.
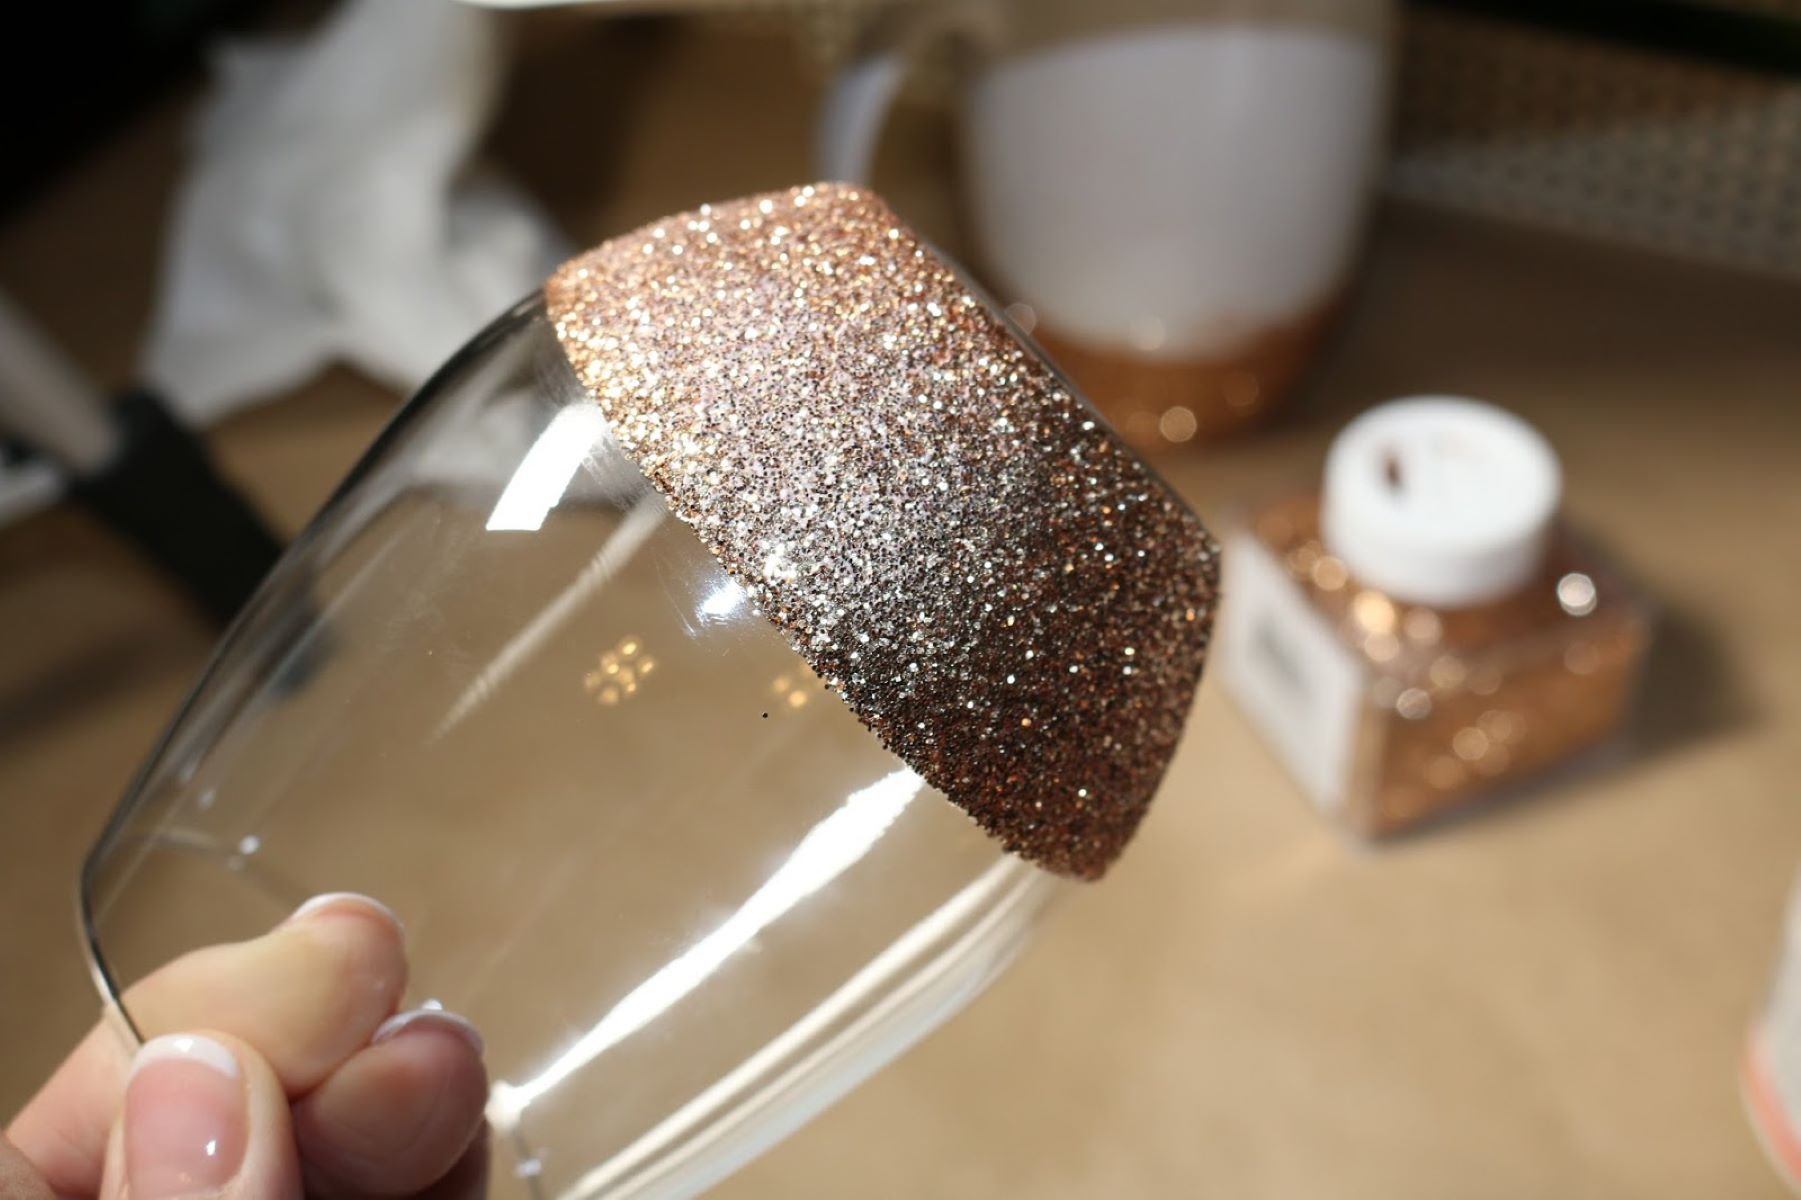
- Add details or embellishments: If desired, use masking tape or stencils to create clean lines or add extra decorative elements to your design.
Once you’ve finished painting the glasses and are satisfied with the design, it’s time to move on to the next step: applying the sealant.
After painting wine glasses, allow the paint to dry completely before applying a sealant. Use a dishwasher-safe sealant to ensure the paint stays in place during washing.
Step 3: Apply a Sealant
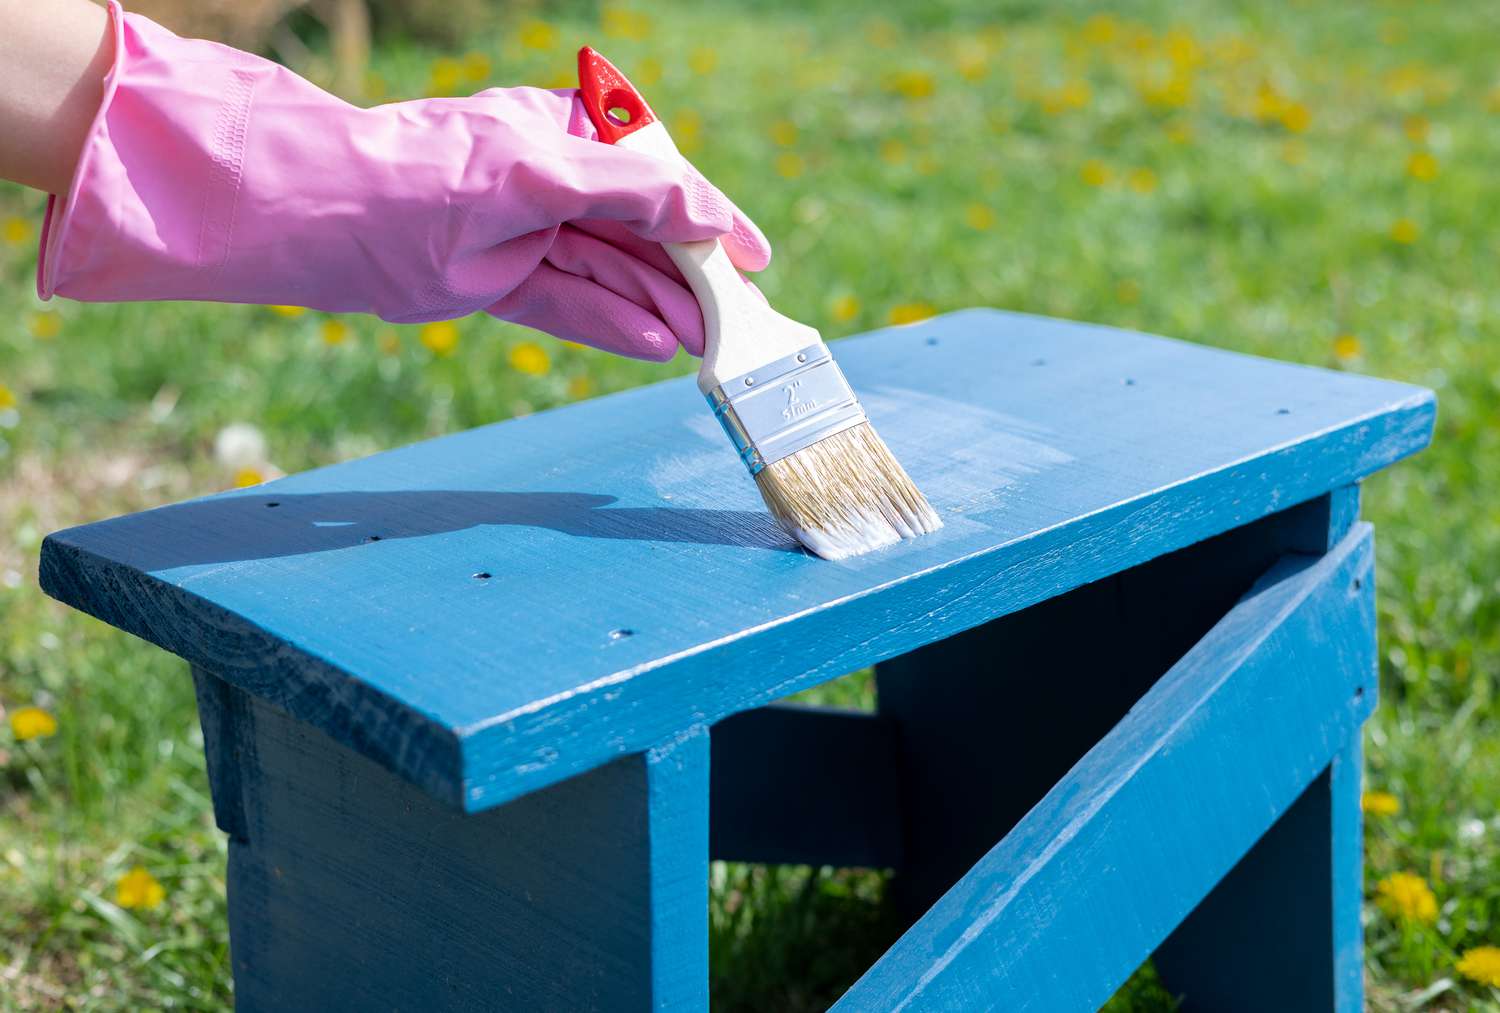
Now that you have completed the painted design on your wine glasses, it’s important to apply a sealant to protect the paint and ensure its longevity. Follow these steps to apply a sealant:
- Choose the right sealant: Look for a sealant specifically designed for glass or multi-surface use. Make sure it is compatible with the type of paint you used.
- Read and follow the instructions: Before applying the sealant, carefully read the manufacturer’s instructions to ensure proper application and drying time.
- Prepare your workspace: Lay down a clean surface or use a fresh drop cloth to avoid any contamination during the sealing process.
- Apply the sealant: Using a clean, soft brush, apply a thin and even layer of sealant over the painted design. Be sure to cover all areas of the design.
- Avoid excessive brushing: Minimize brush strokes to prevent any streaks or uneven coverage on the glasses.
- Let the sealant dry: Follow the recommended drying time provided by the manufacturer. It is typically around 24 hours.
By applying a sealant, you create a protective barrier that helps prevent chipping, fading, or scratching of the painted design on your wine glasses. It also adds a glossy finish and enhances the overall appearance.
With the sealant applied, it’s time to move on to the next step: letting the glasses dry completely.
Read more: How To Seal Paint On Furniture
Step 4: Let the Glasses Dry
After applying the sealant, it’s crucial to give the wine glasses enough time to dry properly. This step ensures that the sealant sets and bonds effectively with the painted design. Follow these guidelines to let the glasses dry:
- Place the glasses on a clean, dry surface where they can remain undisturbed for the drying period.
- Avoid stacking the glasses or placing them in a crowded space to prevent any accidental damage or interference with the drying process.
- Allow the glasses to dry for the recommended time mentioned on the sealant packaging. The drying time can vary depending on the brand and type of sealant used.
- Avoid touching or moving the glasses while they are drying to prevent smudging or disturbing the sealant.
- Make sure the surrounding environment is clean and free from dust or any other particles that could potentially stick to the wet sealant.
By allowing the glasses to dry completely, you ensure that the sealant has enough time to cure and create a strong protective barrier over the painted design. This will help prolong the life and durability of the design on your wine glasses.
Once the glasses are fully dry, you can choose to move onto the optional step of curing the sealant, which we will discuss in the next step.
Step 5: Cure the Sealant (Optional)
Curing the sealant is an optional step that can further enhance the durability and longevity of the sealant. It involves exposing the glasses to heat to help the sealant set and harden more effectively. Follow these steps to cure the sealant:
- Preheat the oven: Preheat your oven to a low temperature, typically around 300°F (150°C). Make sure there are no flammable or plastic materials near the oven.
- Place the glasses in the oven: Carefully place the wine glasses on a baking sheet or in a shallow baking dish, ensuring they are not touching each other.
- Bake the glasses: Put the baking sheet with the glasses in the preheated oven and allow them to bake for approximately 30 minutes.
- Monitor the glasses: Keep a close eye on the glasses while they are in the oven to prevent overheating or any potential damage. If you notice any discoloration or bubbling, remove them from the oven immediately.
- Allow the glasses to cool: Once the baking time is complete, remove the glasses from the oven using oven mitts or heat-resistant gloves. Place them on a heat-resistant surface to cool down.
Curing the sealant helps it bond even more firmly to the glass surface and improves its resistance to everyday wear and tear. However, keep in mind that not all sealants require curing, so always refer to the manufacturer’s instructions for specific guidelines.
With the sealant applied and optionally cured, your wine glasses are now ready to be used and enjoyed. The sealed paint will stay vibrant and protected, even with regular use and washing.
Conclusion
Sealing the paint on wine glasses is a simple yet crucial step to ensure the longevity and durability of your painted designs. By following the steps outlined in this article, you can effectively protect your artistic creations and enjoy them for years to come.
Remember to properly clean the wine glasses before starting the painting process, as this ensures a clean and smooth surface for the paint and sealant to adhere to. Taking the time to prepare your desired design and applying the paint carefully will result in a beautiful and personalized finished product.
Applying a sealant not only adds a layer of protection but also enhances the overall appearance of the wine glasses. It creates a glossy finish and provides a shield against chipping, fading, and scratching. Optional curing of the sealant can further increase its durability.
Be sure to read and follow the instructions provided by the sealant manufacturer for best results. Different sealants may have specific application and drying recommendations, so it’s important to adhere to them for optimal performance.
Now that you have learned the steps to seal paint on wine glasses, it’s time to unleash your creativity and transform your glassware into unique pieces of art. Whether you’re creating a set of personalized wine glasses as a gift or adding a personal touch to your own collection, the sealed paint will ensure that your designs stand the test of time.
So, gather your materials, let your imagination run wild, and seal the paint on your wine glasses to make them truly special and unforgettable.
Frequently Asked Questions about How To Seal Paint On Wine Glasses
Was this page helpful?
At Storables.com, we guarantee accurate and reliable information. Our content, validated by Expert Board Contributors, is crafted following stringent Editorial Policies. We're committed to providing you with well-researched, expert-backed insights for all your informational needs.


0 thoughts on “How To Seal Paint On Wine Glasses”