Home>Furniture & Design>Interior Design Trends>How To Install Glass Mosaic Tiles With Mesh Backing
Interior Design Trends
How To Install Glass Mosaic Tiles With Mesh Backing
Modified: August 17, 2024
Learn how to easily install glass mosaic tiles with mesh backing to stay on top of the latest interior design trends. Step-by-step guide for a seamless installation.
(Many of the links in this article redirect to a specific reviewed product. Your purchase of these products through affiliate links helps to generate commission for Storables.com, at no extra cost. Learn more)
Introduction
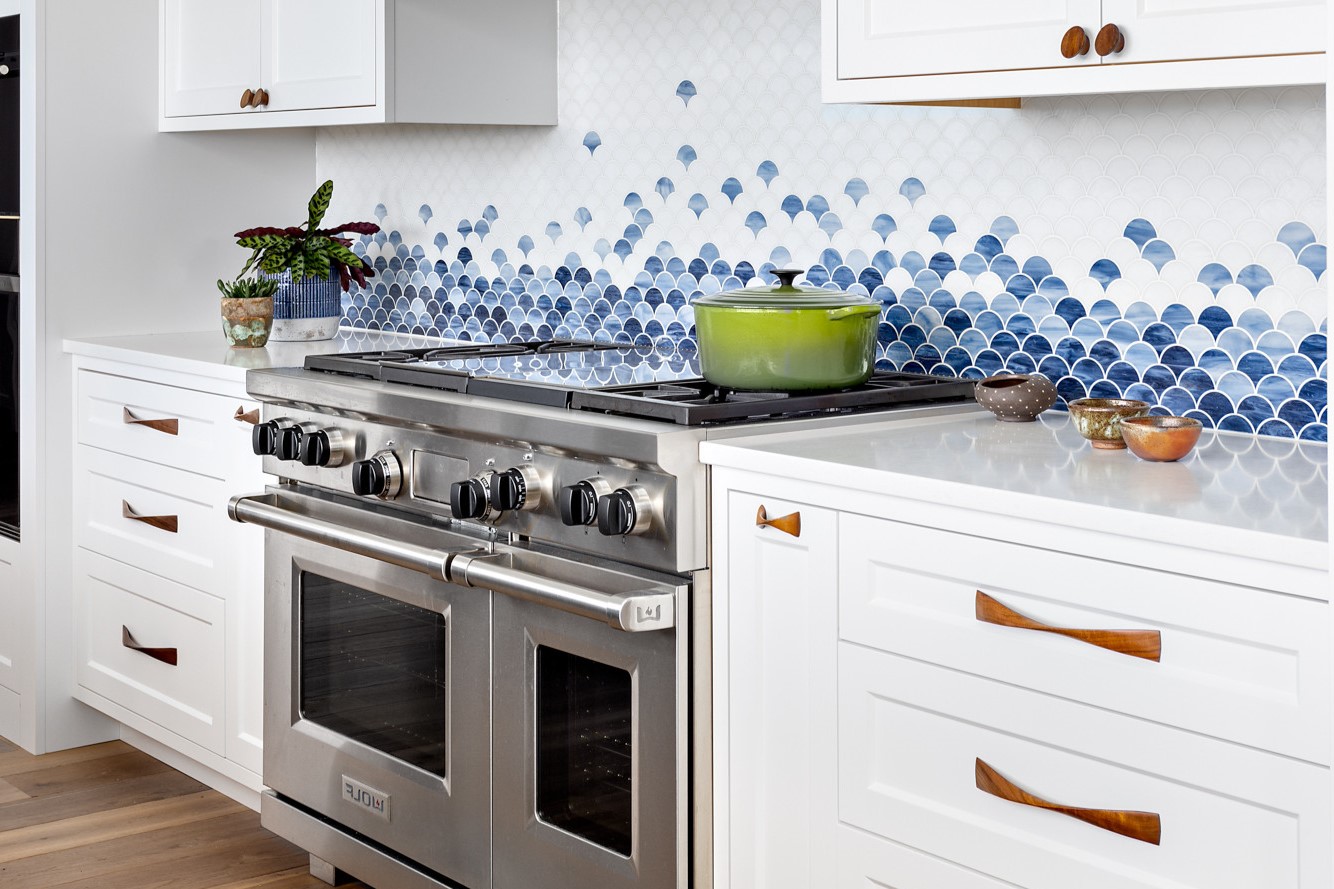
Installing glass mosaic tiles with mesh backing can transform the look and feel of any space, adding a touch of elegance and sophistication. Whether you're revamping a kitchen backsplash, creating a stunning accent wall, or adding a decorative element to a bathroom, glass mosaic tiles offer versatility and visual appeal. The process of installing these tiles may seem daunting at first, but with the right tools, materials, and a step-by-step approach, it can be a rewarding and achievable project.
In this comprehensive guide, we will walk you through the process of installing glass mosaic tiles with mesh backing, providing detailed instructions and tips to ensure a successful outcome. From preparing the surface for installation to grouting and sealing the tiles, each step is crucial in achieving a professional-looking result. By following these instructions and taking the time to execute each step with precision, you can create a stunning mosaic tile installation that enhances the aesthetic appeal of your space.
Whether you're a seasoned DIY enthusiast or a first-time tiler, this guide is designed to equip you with the knowledge and confidence to tackle this project with ease. As we delve into the step-by-step process, you'll gain insights into the tools and materials required, the importance of proper surface preparation, and the techniques for applying adhesive, setting the tiles, and finishing the installation with grout and sealant. With attention to detail and a focus on quality craftsmanship, you can achieve a professional-looking glass mosaic tile installation that elevates the visual impact of your space.
So, roll up your sleeves, gather your tools, and let's embark on this exciting journey of transforming your space with the timeless beauty of glass mosaic tiles. Whether you're aiming for a sleek, modern aesthetic or a classic, timeless appeal, the installation of glass mosaic tiles with mesh backing offers endless possibilities for enhancing the ambiance and style of your home. Let's dive into the step-by-step process and unleash your creativity as you bring your vision to life through the artful installation of glass mosaic tiles.
Key Takeaways:
- Transform your space with elegance and style by installing glass mosaic tiles with mesh backing. Follow the step-by-step guide for a rewarding and visually captivating outcome.
- Unleash your creativity and express your unique vision through the artful arrangement of glass mosaic tiles. Elevate the ambiance of any environment with timeless beauty and sophistication.
Step 1: Gather the necessary tools and materials
Before embarking on the installation of glass mosaic tiles with mesh backing, it's essential to gather the required tools and materials to ensure a smooth and efficient process. Having the right equipment at your disposal will not only streamline the installation but also contribute to the overall quality of the finished project. Here's a comprehensive list of the tools and materials you'll need:
Tools:
- Notched Trowel: Select a trowel with the appropriate notch size to ensure proper adhesive application.
- Grout Float: This tool is essential for applying grout evenly and pressing it into the spaces between the tiles.
- Tile Nippers: Used for cutting and shaping tiles to fit around obstacles or into tight spaces.
- Rubber Mallet: Ideal for gently tapping tiles into place without causing damage.
- Tile Spacers: These small, plastic crosses ensure consistent spacing between tiles for a professional finish.
- Tile Saw or Cutter: Depending on the complexity of your project, a tile saw or cutter will be necessary for making precise cuts.
- Sponge and Bucket: For cleaning excess grout and adhesive during and after the installation process.
- Level: Ensures that the tiles are installed evenly and in alignment.
- Gloves and Safety Glasses: Essential for personal protection during the cutting and installation process.
Materials:
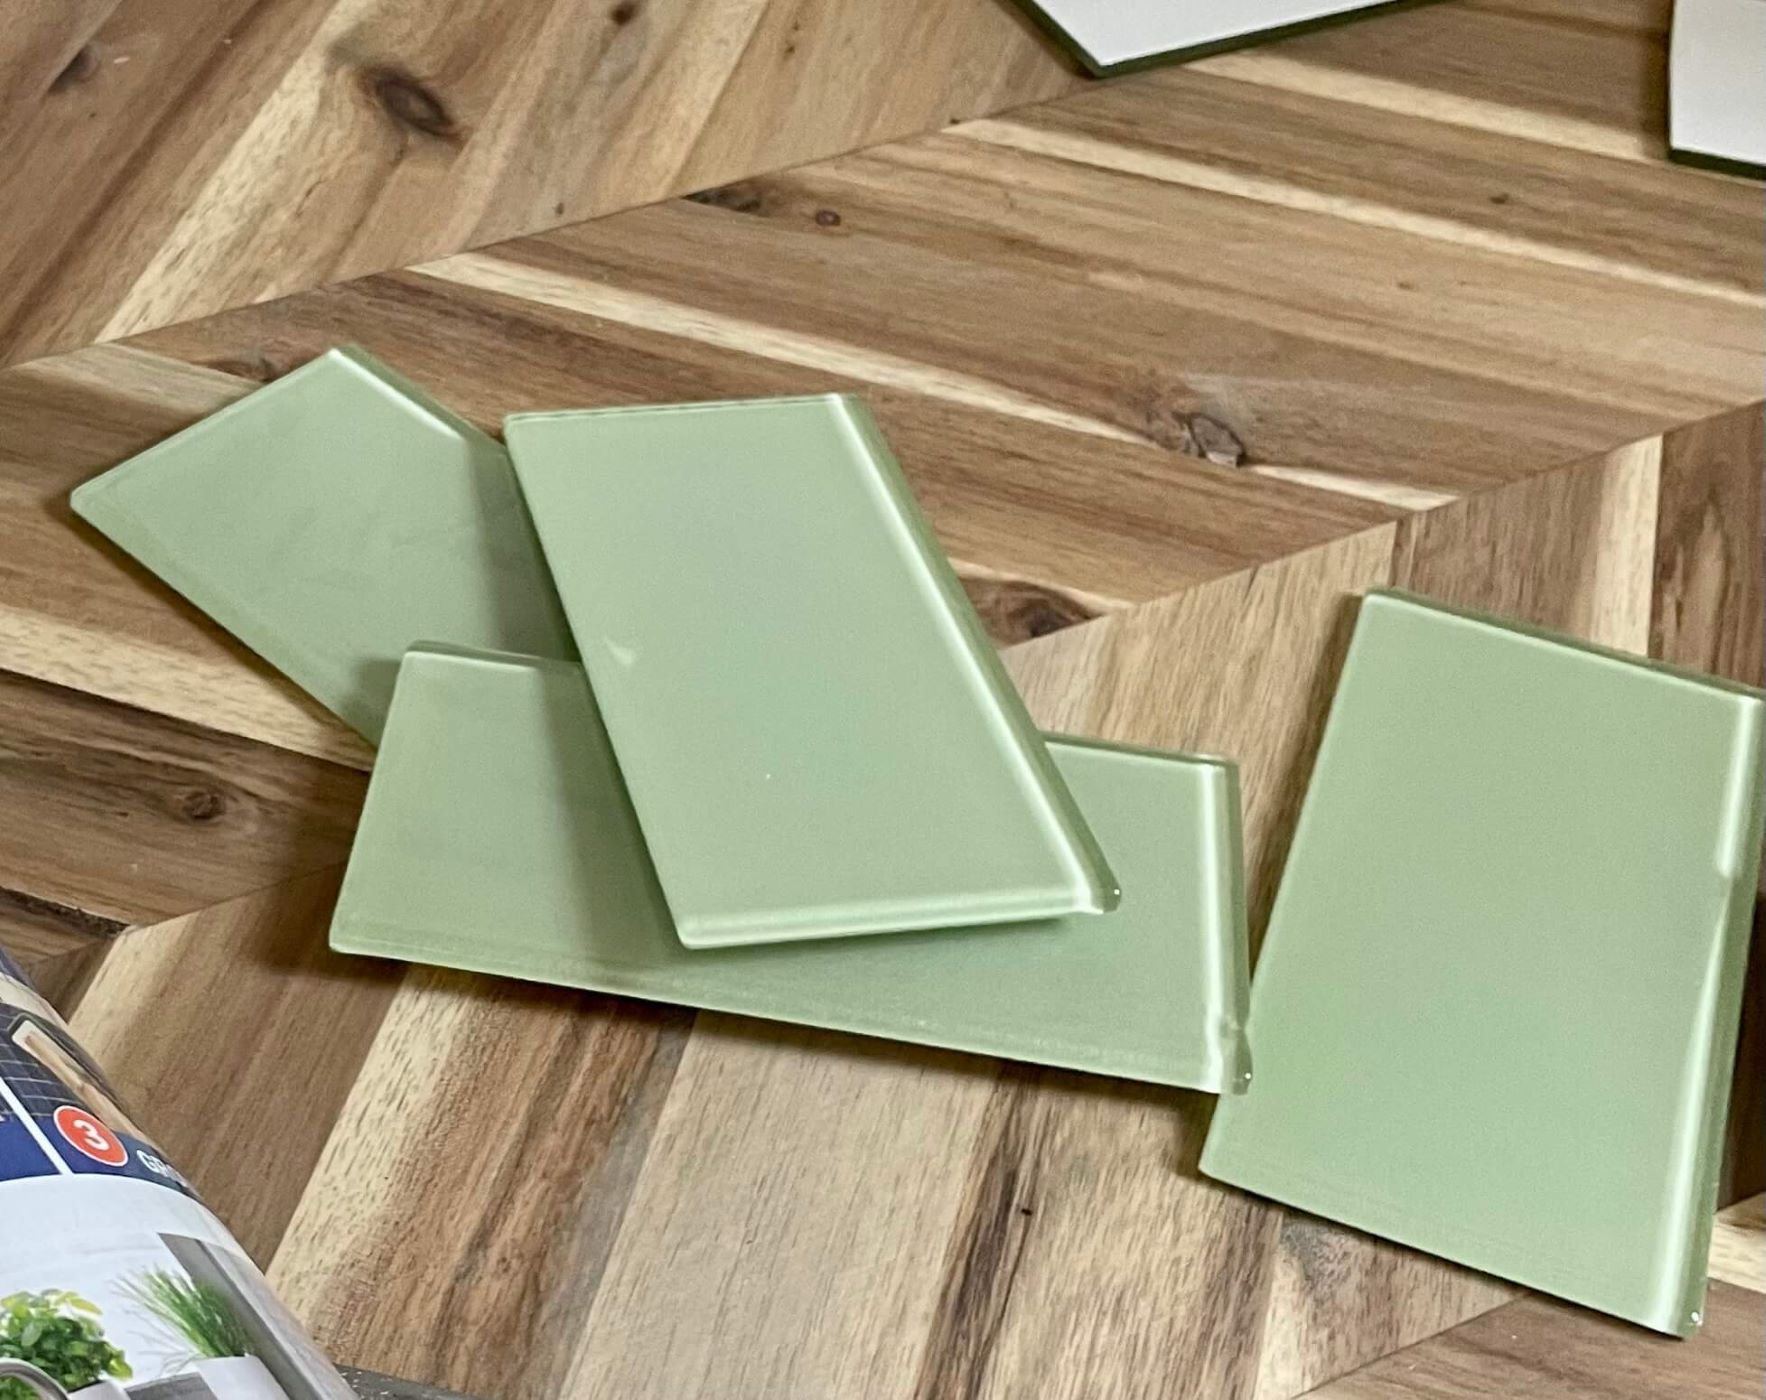
- Glass Mosaic Tiles with Mesh Backing: Choose high-quality tiles in the color and design of your preference, ensuring that they are mounted on mesh backing for easier installation.
- Tile Adhesive: Opt for a suitable adhesive recommended for glass tiles to ensure strong adhesion and longevity.
- Grout: Select a grout color that complements your tiles and enhances the overall aesthetic of the installation.
- Sealer: Depending on the type of glass tiles, a suitable sealer may be required to protect the tiles and grout from moisture and stains.
- Primer (if necessary): Some surfaces may require a primer to ensure proper adhesion of the tile adhesive.
- Clean Water: Essential for mixing the grout and cleaning the tiles during and after installation.
- Drop Cloth or Tarp: To protect the surrounding area from dust, debris, and potential spills during the installation process.
By ensuring that you have all the necessary tools and materials on hand, you can approach the installation process with confidence and efficiency, setting the stage for a successful and visually stunning glass mosaic tile installation.
Step 2: Prepare the surface for installation
Proper surface preparation is a critical step in ensuring the long-term success and durability of your glass mosaic tile installation. Before applying the adhesive and setting the tiles, it's essential to thoroughly prepare the surface to promote strong adhesion and a flawless finish. Here's a detailed guide on how to prepare the surface for the installation of glass mosaic tiles with mesh backing.
Assess the Surface Condition
Begin by assessing the condition of the surface where the tiles will be installed. Whether it's a wall, backsplash, or another area, ensure that the surface is clean, dry, and free from any debris, dust, or grease. Use a mild detergent and water to clean the surface, and allow it to dry completely before proceeding.
Repair Any Imperfections
Inspect the surface for any imperfections, such as cracks, uneven areas, or protrusions. If necessary, use a suitable filler or patching compound to repair any flaws and create a smooth, level surface for the tile installation. Allow the filler to dry and sand it down if needed to achieve a uniform and even substrate.
Apply a Primer (if necessary)
In some cases, particularly when working with porous or uneven surfaces, applying a primer may be necessary to enhance the adhesion of the tile adhesive. Follow the manufacturer's instructions to apply the primer evenly, allowing it to dry thoroughly before proceeding with the installation.
Plan the Layout
Before applying the adhesive, plan the layout of the mosaic tiles to ensure a visually appealing and balanced installation. Use a level and straight edge to establish guidelines for the placement of the tiles, taking into account any design considerations or focal points within the space.
Read more: How To Lay Mosaic Floor Tile
Protect Surrounding Surfaces
To prevent any accidental damage or spills during the installation process, use a drop cloth or tarp to protect the surrounding surfaces and flooring. This precaution will help maintain a clean and organized work area while safeguarding adjacent areas from potential adhesive or grout splatter.
By meticulously preparing the surface for the installation of glass mosaic tiles, you set the stage for a seamless and professional-looking outcome. Taking the time to assess, repair, and prime the surface, along with careful planning and protection measures, lays a solid foundation for the subsequent steps in the installation process. With the surface meticulously prepared, you are now ready to proceed with applying the adhesive and setting the glass mosaic tiles with confidence and precision.
Step 3: Apply the adhesive
Applying the adhesive is a crucial step in the installation of glass mosaic tiles with mesh backing, as it directly impacts the strength of the bond and the overall stability of the tiles. The adhesive serves as the foundation that secures the tiles to the surface, ensuring a durable and long-lasting installation. Here's a detailed guide on how to apply the adhesive effectively for a professional and seamless glass mosaic tile installation.
Selecting the Right Adhesive
Before applying the adhesive, it's essential to select a high-quality, polymer-modified thinset mortar specifically designed for glass tiles. The thinset mortar should be suitable for both interior and exterior applications, providing excellent adhesion and flexibility to accommodate the unique characteristics of glass mosaic tiles. Ensure that the thinset mortar is compatible with the substrate and meets the requirements for the intended installation area.
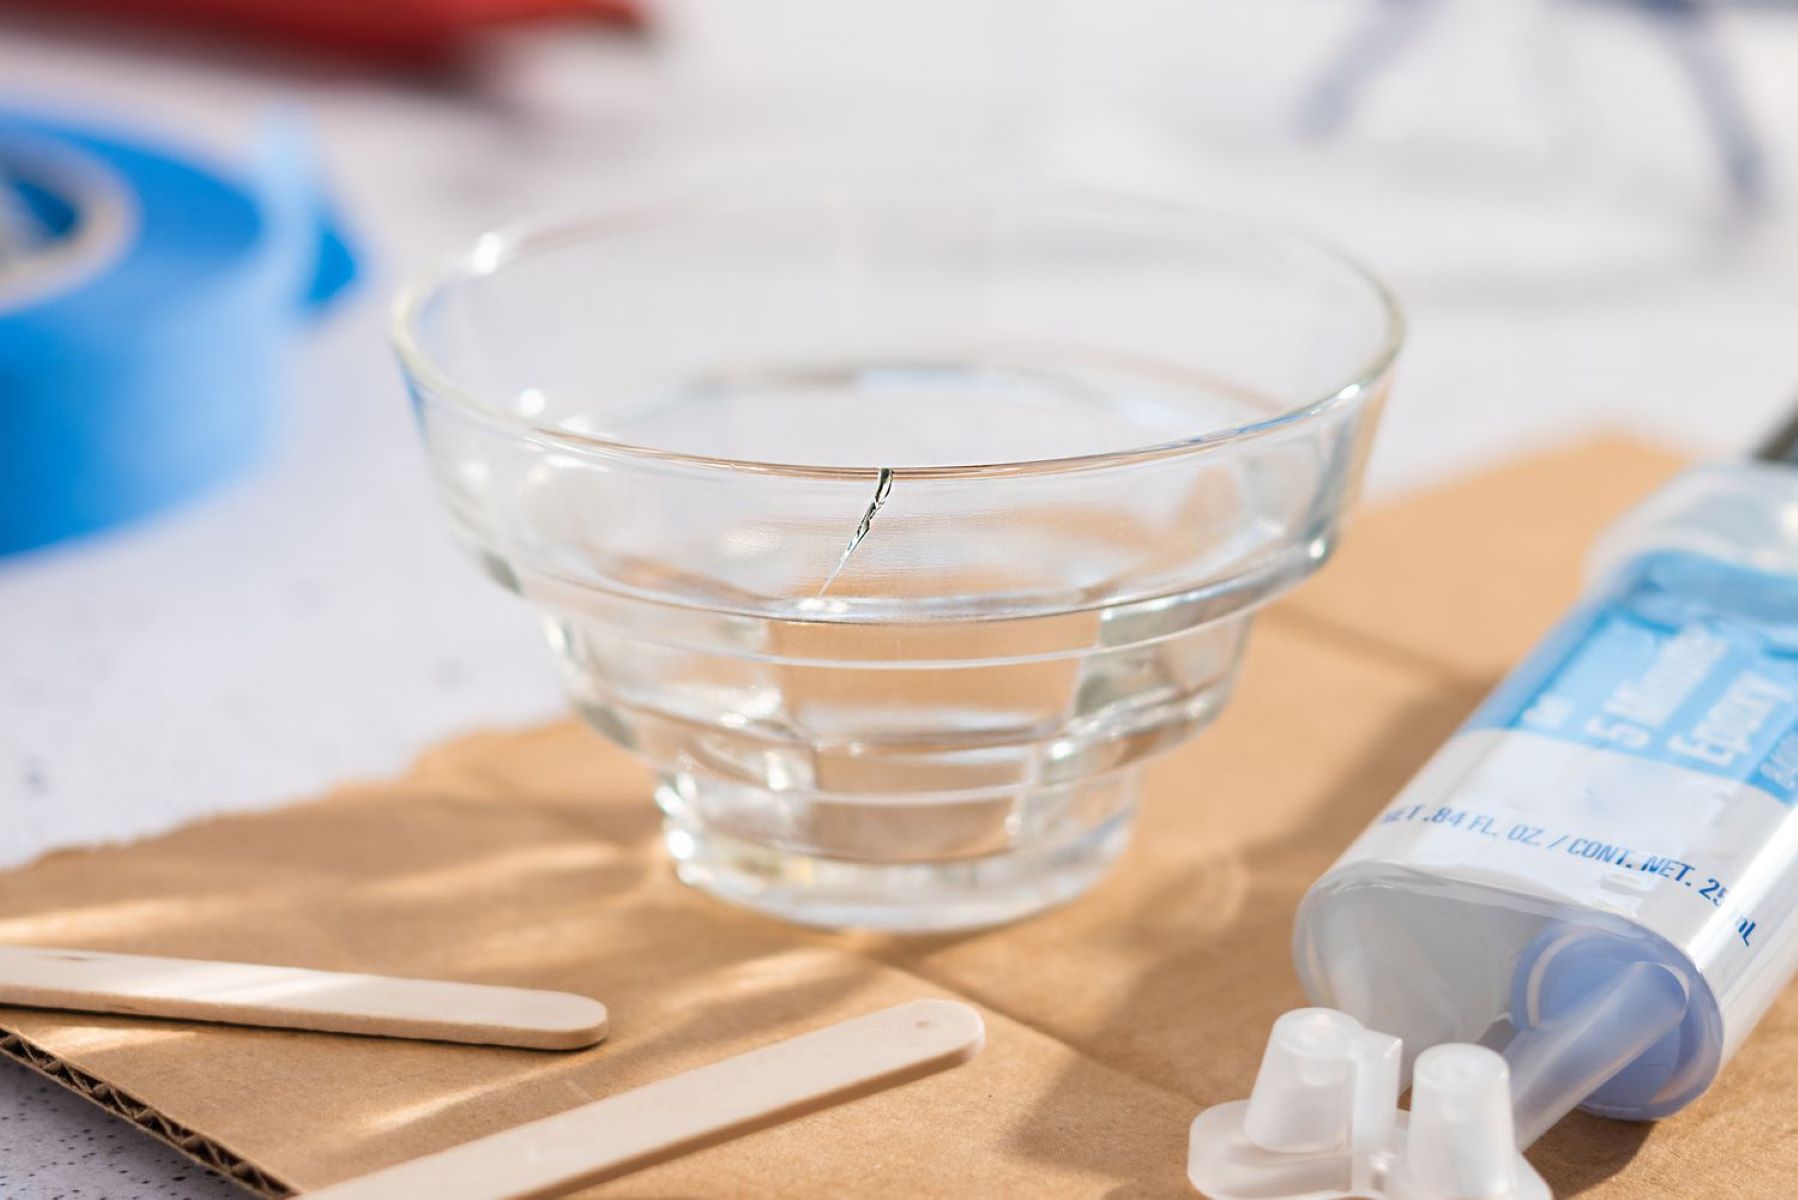
Mixing the Adhesive
Follow the manufacturer's instructions to mix the thinset mortar to the appropriate consistency. Use a clean bucket and a drill with a mixing paddle attachment to achieve a smooth and lump-free consistency. It's important to mix the adhesive to the proper ratio of water and thinset mortar, ensuring that it reaches the ideal texture for easy application and strong adhesion.
Read more: How To Install Glass Tile Backsplash
Applying the Adhesive
Using a notched trowel, apply the thinset mortar to the prepared surface in small, manageable sections. Hold the trowel at a 45-degree angle and spread the adhesive evenly, creating ridges with the notched edge to promote proper tile adhesion. Work in small areas to prevent the adhesive from drying out before the tiles are set.
Back-Buttering the Tiles
To enhance the bond between the tiles and the adhesive, consider back-buttering the glass mosaic tiles by applying a thin layer of adhesive to the back of each tile before setting it in place. This technique ensures full coverage and strong adhesion, particularly on mesh-backed tiles where the adhesive must penetrate through the mesh to secure the tiles effectively.
Setting the Tiles
Once the adhesive is applied, carefully press the glass mosaic tiles into place, aligning them with the predetermined layout. Use gentle pressure to ensure that the tiles adhere firmly to the surface and the adhesive, creating a level and uniform installation. Work methodically to maintain the planned layout and spacing, adjusting the tiles as needed to achieve a cohesive and visually appealing arrangement.
By following these steps and techniques for applying the adhesive, you can establish a solid foundation for the successful installation of glass mosaic tiles with mesh backing. The meticulous application of the adhesive sets the stage for the next phase of the installation process, allowing you to proceed with confidence and precision as you bring your vision to life through the artful arrangement of glass mosaic tiles.
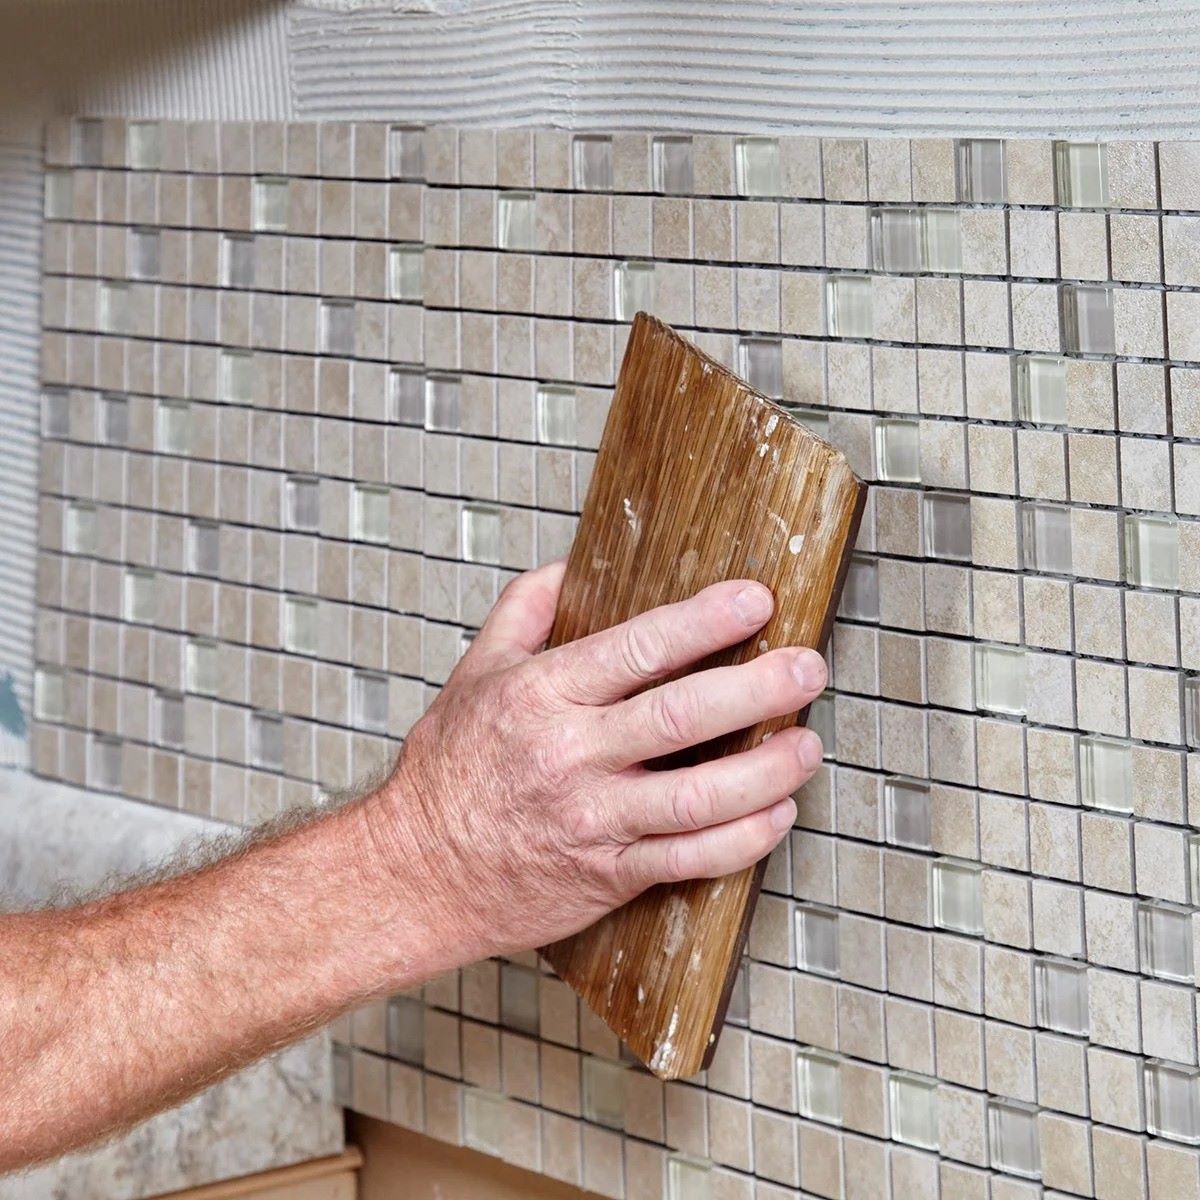
Step 4: Install the mosaic tiles
With the adhesive applied and the surface meticulously prepared, it's time to embark on the exciting phase of installing the glass mosaic tiles with mesh backing. This step requires precision, attention to detail, and a keen eye for achieving a visually stunning arrangement that enhances the aesthetic appeal of the space. Here's a comprehensive guide on how to install the mosaic tiles with finesse and expertise.
Setting the Tiles
Begin by carefully placing the glass mosaic tiles onto the adhesive, following the predetermined layout and spacing guidelines. As you set each tile into place, ensure that it aligns seamlessly with the surrounding tiles, creating a cohesive and visually pleasing pattern. The mesh backing facilitates the positioning of the tiles, allowing for a smooth and controlled installation process.
Adjusting and Aligning
As you progress with the installation, take the time to adjust and align the tiles as needed to maintain a consistent pattern and spacing. Use tile spacers to ensure uniformity between the tiles, creating clean and straight grout lines. Pay close attention to the alignment of the tiles, making subtle adjustments to achieve a balanced and harmonious arrangement.
Nipping and Trimming
In cases where tiles need to fit around obstacles or into tight spaces, utilize tile nippers to make precise cuts and adjustments. Carefully trim the tiles to achieve the desired shape and size, ensuring a seamless integration within the overall design. This meticulous approach allows for a tailored and professional-looking installation, even in challenging areas.
Ensuring Proper Adhesion
As you set each tile into place, press it firmly into the adhesive to ensure proper adhesion and eliminate any air pockets. The goal is to create a secure bond between the tiles and the substrate, promoting stability and longevity. Pay attention to the pressure applied, ensuring that the tiles are set evenly and securely.
Checking for Level and Alignment
Periodically use a level to check the alignment and levelness of the installed tiles. This step is crucial for maintaining a uniform and visually appealing installation. Making adjustments as needed will result in a polished and professional outcome, elevating the overall aesthetic impact of the glass mosaic tile installation.
By following these detailed steps and techniques for installing the glass mosaic tiles with mesh backing, you can achieve a flawless and visually captivating result. The meticulous attention to detail and precision in setting the tiles lays the foundation for the final phase of the installation process, bringing you one step closer to enjoying the timeless beauty of your glass mosaic tile installation.
Step 5: Grout the tiles
Grouting the glass mosaic tiles is a pivotal step that not only enhances the visual appeal of the installation but also ensures the long-term durability and stability of the tiled surface. The grout serves to fill the spaces between the tiles, providing structural support, preventing moisture penetration, and adding a cohesive finish to the overall design. Here's a detailed guide on how to expertly grout the glass mosaic tiles, elevating the aesthetic impact of the installation.
Selecting the Grout
Choose a high-quality grout that complements the color and style of the glass mosaic tiles while meeting the functional requirements of the installation. Opt for a non-sanded grout for glass tiles with narrow grout lines, as it prevents potential scratching on the delicate tile surface. Alternatively, for wider grout lines, a sanded grout may be suitable, offering enhanced strength and stability.
Mixing the Grout
Follow the manufacturer's instructions to mix the grout to the appropriate consistency, ensuring a smooth and lump-free blend. Use a clean bucket and a grout mixing paddle to achieve an even texture, allowing the grout to hydrate properly before application. It's essential to mix the grout to the recommended ratio of water and grout powder, achieving a workable consistency for seamless application.
Applying the Grout
Using a grout float, apply the mixed grout to the tiled surface, working at a 45-degree angle to ensure that the grout fills the spaces between the tiles evenly. Press the grout into the joints, moving the float diagonally across the tiles to pack the grout firmly. Work in manageable sections to prevent the grout from drying out before it can be properly smoothed and cleaned.
Cleaning the Excess Grout
After applying the grout, use a damp sponge to gently clean the excess grout from the tile surfaces, ensuring that the grout lines are filled uniformly and free from any residue. Rinse the sponge frequently and avoid applying excessive pressure to prevent dislodging the grout from the joints. This meticulous cleaning process contributes to a polished and professional finish.
Finishing the Grout Lines
Once the initial cleaning is complete, use a grout finishing tool or a rounded stick to shape and smooth the grout lines, creating a seamless and refined appearance. This step is essential for achieving uniform grout lines and ensuring that the grout is level with the tile surfaces, contributing to a visually appealing and cohesive finish.
By following these detailed steps and techniques for grouting the glass mosaic tiles, you can elevate the overall aesthetic impact of the installation while ensuring the structural integrity and longevity of the tiled surface. The meticulous application and finishing of the grout contribute to a professional and visually captivating result, bringing your glass mosaic tile installation to its full potential.
Step 6: Clean and seal the tiles
After the grout has been applied and allowed to set, the final step in the installation of glass mosaic tiles with mesh backing involves cleaning the tiles and applying a suitable sealer to enhance their longevity and visual appeal. This critical phase ensures that the tiles are free from grout residue and any potential stains while providing a protective barrier to maintain their pristine appearance over time.
Cleaning the Tiles
Begin by using a clean, damp sponge to gently wipe the tiled surface, removing any remaining grout haze or residue. It's essential to rinse the sponge frequently and avoid applying excessive pressure to prevent disturbing the freshly applied grout. This meticulous cleaning process contributes to a polished and professional finish, revealing the true beauty of the glass mosaic tiles.
Once the initial cleaning is complete, inspect the tiled surface to ensure that all grout residue has been effectively removed. Any stubborn grout haze can be addressed using a specialized grout haze remover, following the manufacturer's instructions to achieve a pristine and blemish-free surface. Taking the time to thoroughly clean the tiles contributes to a flawless and visually captivating installation.
Sealing the Tiles
To protect the glass mosaic tiles and grout from moisture, stains, and discoloration, it's advisable to apply a high-quality sealer specifically designed for glass tiles. Select a sealer that offers both protection and enhancement, enriching the natural beauty of the tiles while providing a durable shield against potential damage.
Follow the manufacturer's guidelines to apply the sealer evenly to the tiled surface, ensuring complete coverage and absorption. Depending on the type of sealer used, a single coat may be sufficient, or multiple coats may be recommended for optimal protection. Allow the sealer to dry thoroughly according to the specified curing time, creating a resilient barrier that safeguards the tiles and grout from environmental factors.
By cleaning the tiles with precision and applying a suitable sealer, you not only preserve the pristine appearance of the glass mosaic tiles but also fortify their resilience and longevity. The combination of meticulous cleaning and strategic sealing ensures that your glass mosaic tile installation maintains its allure and durability, allowing you to enjoy its timeless elegance for years to come.
Conclusion
In conclusion, the installation of glass mosaic tiles with mesh backing is a transformative and rewarding endeavor that allows you to infuse your space with elegance, style, and visual allure. By following the comprehensive step-by-step guide outlined in this article, you have gained valuable insights into the meticulous process of preparing, applying, and finishing the installation with precision and expertise.
From the initial stage of gathering the necessary tools and materials to the final steps of cleaning and sealing the tiles, each phase of the installation process plays a crucial role in achieving a professional and visually captivating outcome. The attention to detail, the selection of high-quality materials, and the adherence to best practices ensure that your glass mosaic tile installation stands as a testament to craftsmanship and artistry.
As you reflect on the journey of transforming your space through the installation of glass mosaic tiles, it's important to recognize the enduring impact of this timeless design element. Whether adorning a kitchen backsplash, embellishing a bathroom, or creating a striking accent wall, glass mosaic tiles with mesh backing offer versatility, durability, and a touch of sophistication that elevates the ambiance of any environment.
Furthermore, the installation process serves as an opportunity to unleash your creativity and express your unique vision through the artful arrangement of glass mosaic tiles. The interplay of colors, textures, and patterns allows you to craft a personalized space that resonates with your aesthetic preferences and design aspirations.
By embracing the craftsmanship and attention to detail required for the installation of glass mosaic tiles, you have not only enhanced the visual appeal of your space but also embarked on a journey of self-expression and creativity. The enduring beauty and resilience of glass mosaic tiles, coupled with the expertise and care invested in their installation, ensure that your space exudes a timeless charm and sophistication.
As you admire the finished installation, take pride in the craftsmanship and dedication that have brought your vision to life. The installation of glass mosaic tiles with mesh backing stands as a testament to your commitment to quality, aesthetics, and the enduring allure of timeless design elements. Embrace the transformative power of glass mosaic tiles and revel in the beauty and sophistication they bring to your living spaces.
Frequently Asked Questions about How To Install Glass Mosaic Tiles With Mesh Backing
Was this page helpful?
At Storables.com, we guarantee accurate and reliable information. Our content, validated by Expert Board Contributors, is crafted following stringent Editorial Policies. We're committed to providing you with well-researched, expert-backed insights for all your informational needs.


0 thoughts on “How To Install Glass Mosaic Tiles With Mesh Backing”