Home>Furniture & Design>Interior Design Trends>How To Cover A Glass Front Door
Interior Design Trends
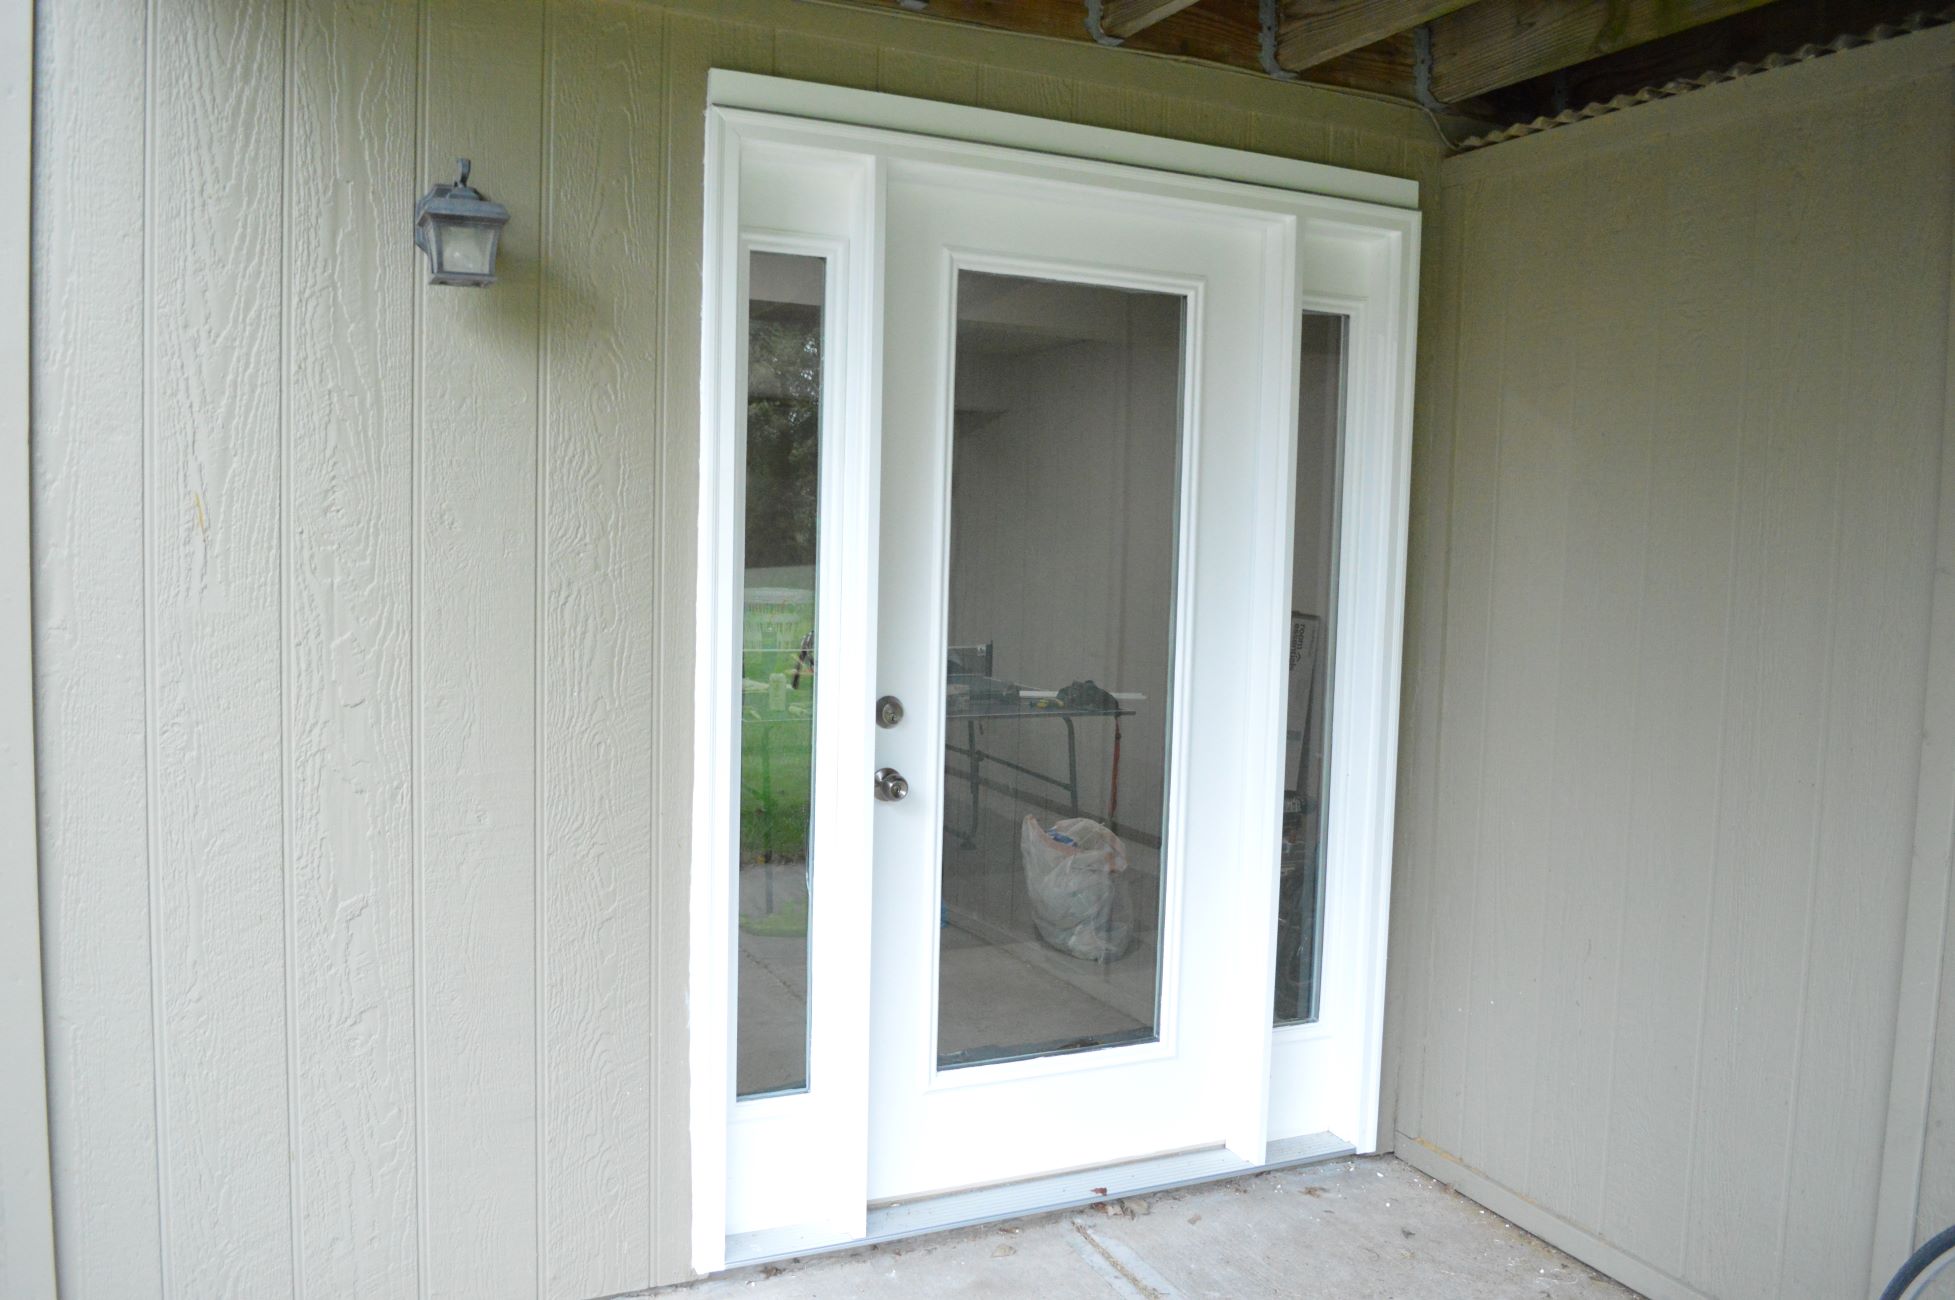
How To Cover A Glass Front Door
Published: February 3, 2024
Learn how to enhance your home's interior design with our tips on covering a glass front door. Stay updated on the latest interior design trends.
(Many of the links in this article redirect to a specific reviewed product. Your purchase of these products through affiliate links helps to generate commission for Storables.com, at no extra cost. Learn more)
Introduction
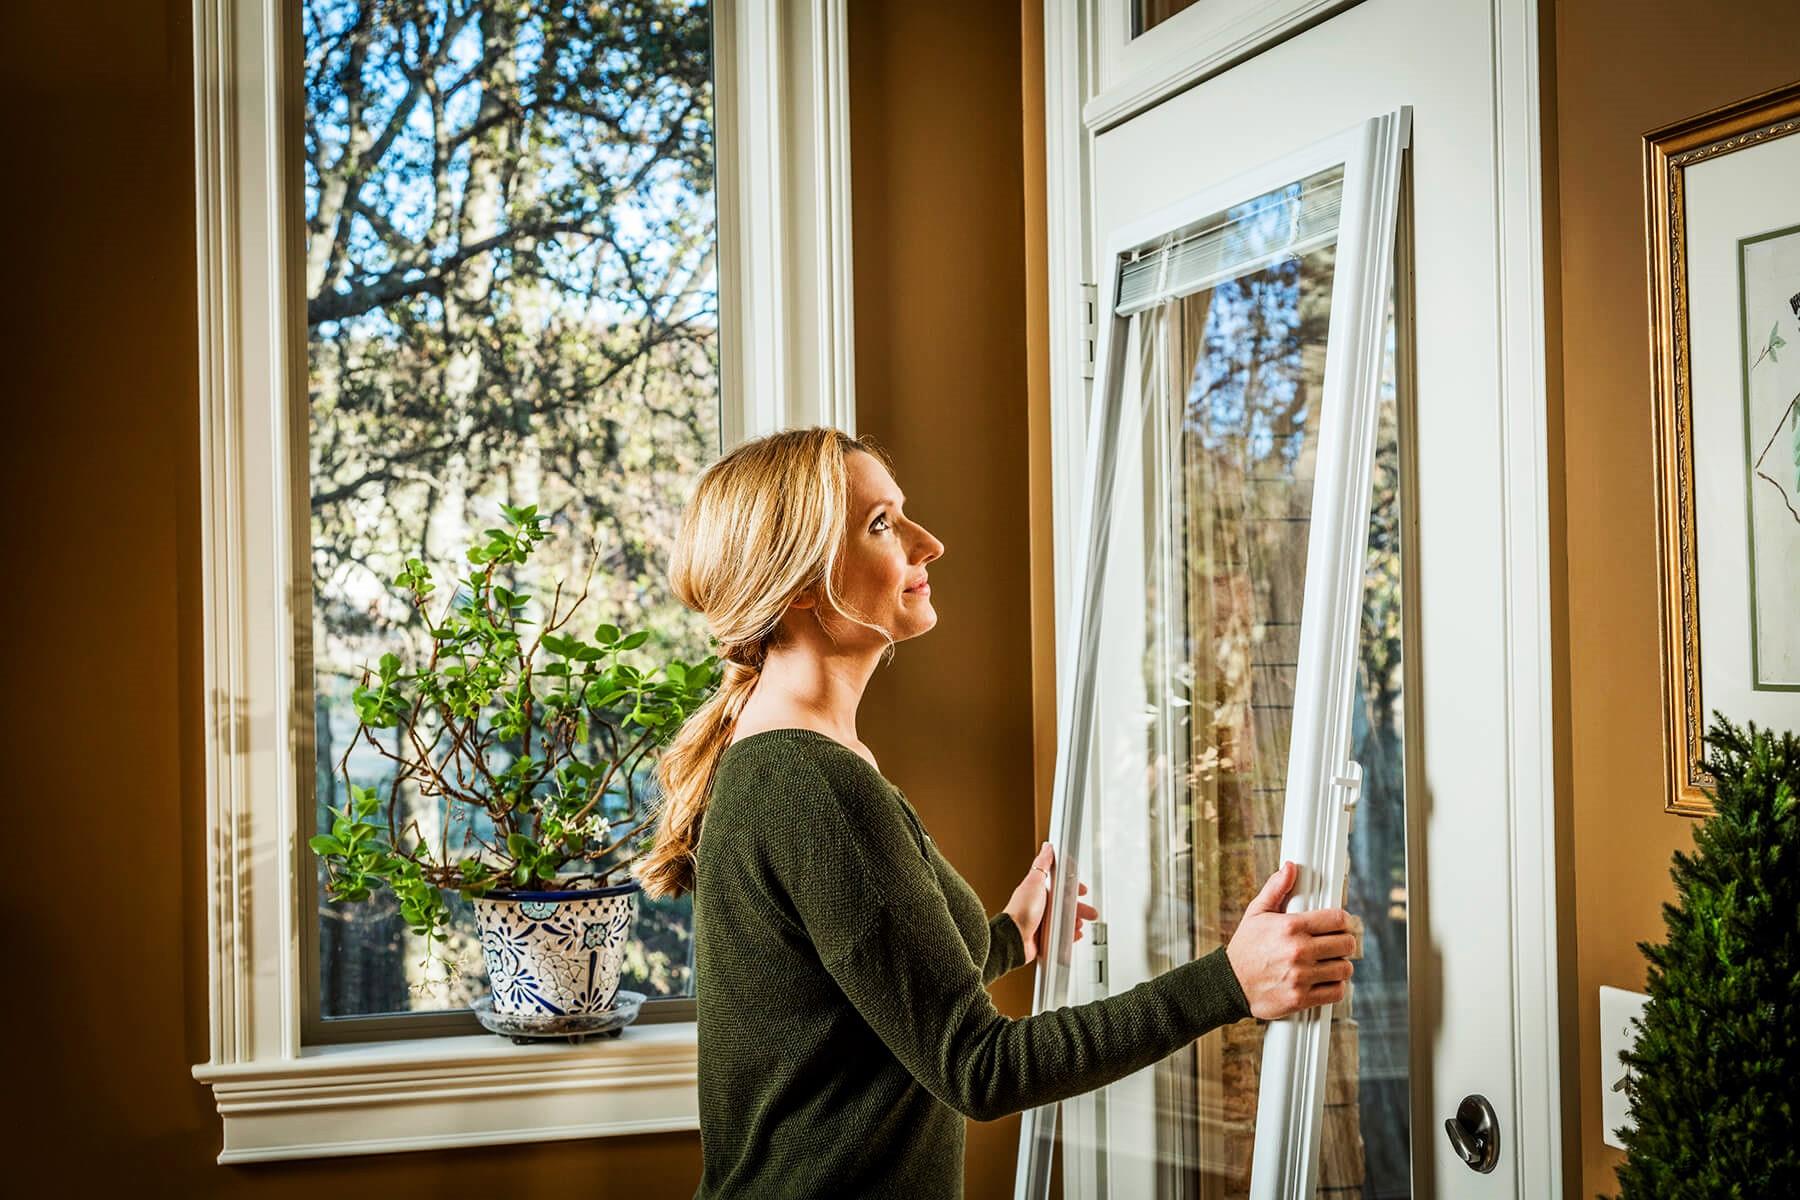
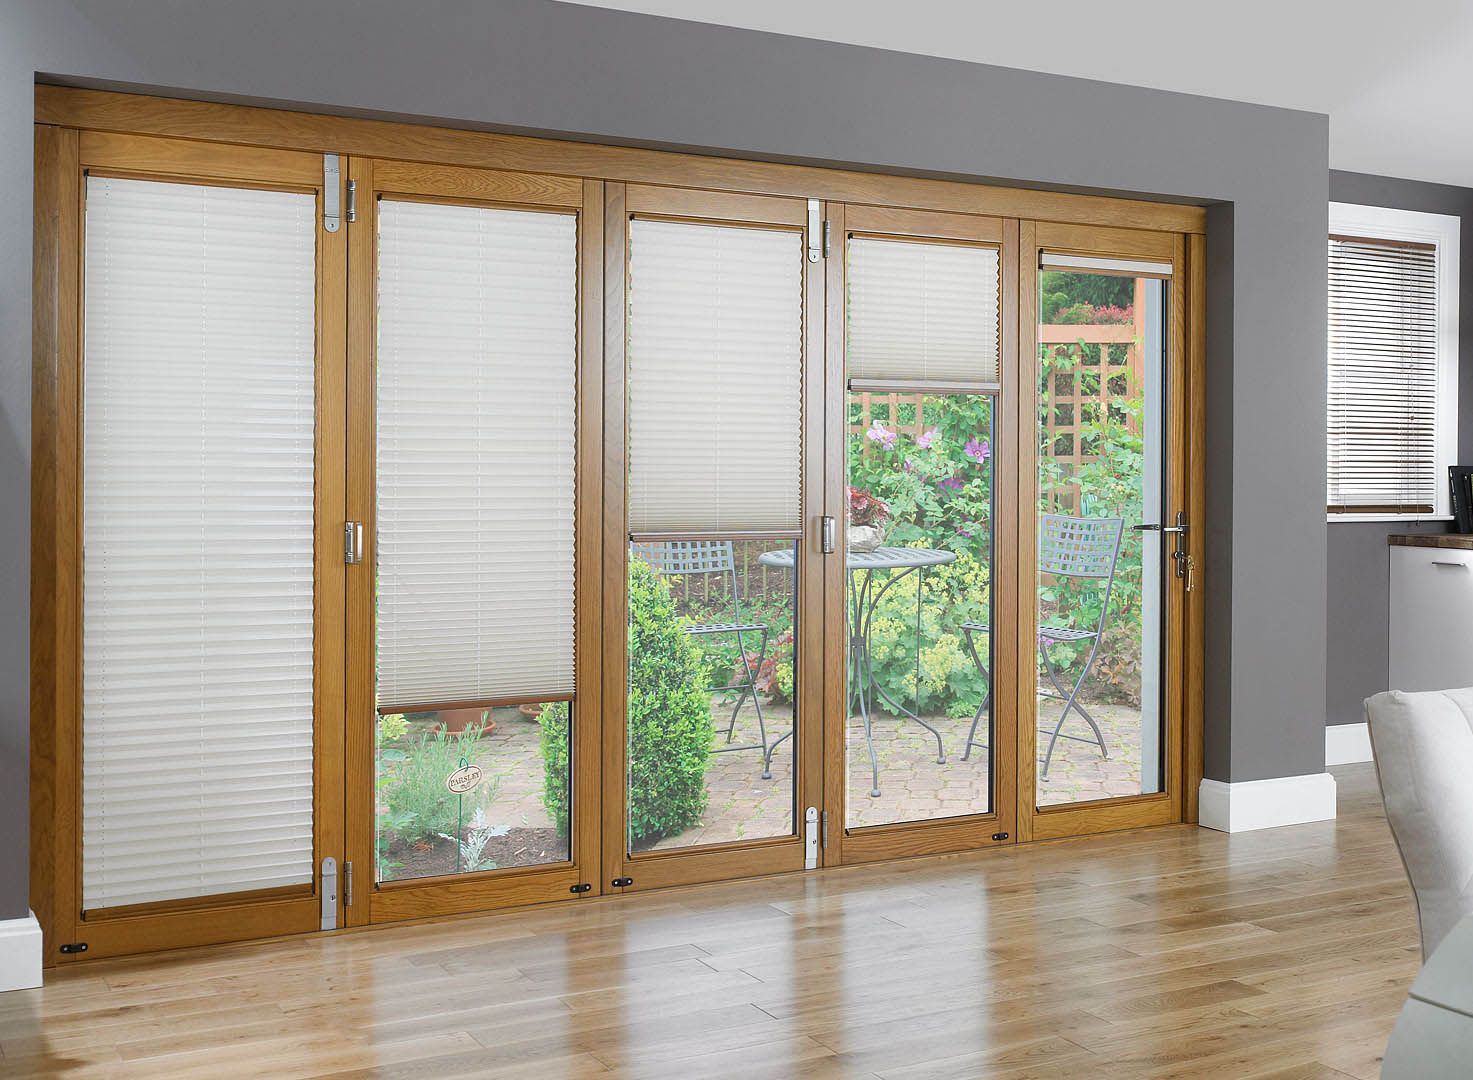
Covering a glass front door with a decorative film is an excellent way to enhance privacy, add a touch of elegance, and protect the interior from harsh sunlight. Whether you're seeking to create a more intimate atmosphere in your entryway or simply looking to update the aesthetic appeal of your home, this DIY project offers a practical and stylish solution.
By following a few simple steps, you can transform your glass front door into a stunning focal point that complements your interior design. This process allows for creativity and personalization, as there are various film designs and patterns available to suit different tastes and home styles.
In this comprehensive guide, we will walk you through the step-by-step process of covering a glass front door with a decorative film. From gathering the necessary materials to applying the film with precision, you'll gain valuable insights and practical tips to achieve professional-looking results. Whether you're a seasoned DIY enthusiast or a novice looking to embark on your first home improvement project, this guide is designed to equip you with the knowledge and confidence to tackle this endeavor with ease.
So, roll up your sleeves, gather your materials, and let's embark on this creative journey to transform your glass front door into a stunning and functional element of your home. With a little effort and attention to detail, you'll soon be enjoying the enhanced privacy, aesthetic appeal, and practical benefits that come with a beautifully covered glass front door.
Key Takeaways:
- Transform your glass front door with a decorative film to enhance privacy, add elegance, and protect from sunlight. Follow the step-by-step guide for a DIY project that elevates your home’s aesthetic appeal.
- Achieve a flawless and professional finish by meticulously measuring, cutting, cleaning, and applying the decorative film. The final touches ensure a stunning and functional upgrade to your glass front door.
Read more: How To Cover Glass Cabinet Doors
Step 1: Gather Materials
Before embarking on the process of covering your glass front door with a decorative film, it's essential to gather all the necessary materials. Having the right tools and supplies at hand will streamline the project and ensure a smooth and efficient application of the film. Here's a comprehensive list of materials you'll need:
Materials:
-
Decorative Film: Choose a high-quality decorative film in a design and opacity level that suits your preferences and privacy needs. Whether you opt for a frosted, stained glass, or patterned film, ensure that it's specifically designed for window applications and provides UV protection if sunlight control is a priority.
-
Measuring Tape: A reliable measuring tape is essential for accurately determining the dimensions of your glass front door. This will enable you to cut the decorative film to the precise size required for a seamless application.
-
Spray Bottle with Soapy Water: Creating a solution of water and a small amount of mild soap in a spray bottle will serve as a crucial tool for applying the decorative film. The soapy water allows for repositioning of the film during the application process, ensuring a bubble-free and smooth finish.
-
Utility Knife or Scissors: Depending on the type of decorative film you choose, a sharp utility knife or a pair of scissors will be necessary for cutting the film to the exact dimensions of your glass door.
-
Squeegee or Credit Card: A squeegee or a credit card wrapped in a soft cloth is indispensable for smoothing out the film and eliminating any air bubbles during the application process.
-
Lint-Free Cloth: To achieve a flawless finish, have a lint-free cloth on hand for wiping the glass door clean before applying the film. This will ensure that the surface is free of dust, dirt, and any other particles that could affect the adhesion of the film.
-
Painter's Tape: Using painter's tape to secure the film in place before application can help prevent shifting and ensure precise positioning.
By gathering these materials, you'll be well-prepared to commence the process of transforming your glass front door with a decorative film. With everything at your fingertips, you can proceed confidently to the next step of measuring the door and preparing for the application of the film.
Step 2: Measure the Door
Accurate measurements are crucial for ensuring a precise and seamless application of the decorative film on your glass front door. Before cutting the film to size, it's essential to measure the door's dimensions carefully. Here's a detailed guide on how to measure the door effectively:
-
Prepare the Area: Begin by clearing the space around the door to ensure unobstructed access. Remove any obstacles that may hinder the measuring process, allowing you to move freely around the door.
-
Use a Measuring Tape: Take a reliable measuring tape and measure the width and height of the glass area on the door. Start by measuring the width from one edge of the glass to the other, ensuring that the tape is taut and straight for an accurate measurement. Next, measure the height of the glass area from top to bottom, again ensuring that the tape is held straight and taut.
-
Record the Measurements: Once you have obtained the width and height measurements, record them accurately. It's advisable to double-check the measurements to eliminate any room for error. Note down the measurements in a clear and organized manner, as these dimensions will serve as the basis for cutting the decorative film to the correct size.
-
Consider Clearances and Overlaps: If your door features any hardware, such as handles or locks, take these into account when measuring. Additionally, factor in any clearances or overlaps required for the film to fit precisely within the glass area. These allowances will ensure that the film covers the entire glass surface without obstructing the door's functionality.
-
Account for Tolerances: When recording the measurements, consider adding a small tolerance to accommodate any variations in the glass's dimensions. This slight buffer will account for potential discrepancies and ensure that the film fits snugly without leaving gaps.
By meticulously measuring the door and taking into account all relevant factors, you'll be well-equipped to proceed to the next step of cutting the decorative film to the precise size required for your glass front door. Accurate measurements lay the foundation for a professional and visually appealing application of the film, enhancing both the aesthetics and functionality of your door.
Step 3: Cut the Film to Size
With precise measurements in hand, it's time to cut the decorative film to the exact dimensions required for your glass front door. This step demands careful attention to detail and a steady hand to ensure that the film fits seamlessly within the glass area. Here's a detailed guide on how to cut the film to size effectively:
-
Prepare the Work Surface: Find a clean and spacious area to lay the decorative film flat. A large table or any smooth surface will suffice, providing ample space to maneuver the film during the cutting process. Ensure that the work surface is free of dust and debris to prevent any particles from adhering to the film.
-
Lay Out the Film: Unroll the decorative film on the work surface, taking care to avoid creases or wrinkles. Smooth out the film gently with your hands to create an even and flat surface for accurate cutting.
-
Transfer the Measurements: Using the measurements recorded earlier, mark the dimensions onto the film using a pencil or a washable marker. Begin by marking the width and height of the glass area onto the film, ensuring that the lines are straight and clearly visible.
-
Double-Check the Measurements: Before cutting the film, double-check the marked dimensions to verify their accuracy. It's essential to ensure that the measurements align precisely with the size of the glass area, minimizing the margin for error.
-
Cutting the Film: Armed with the marked measurements, carefully cut the decorative film along the lines using a sharp utility knife or a pair of scissors. Exercise caution to maintain straight and clean cuts, as these will determine the seamless fit of the film on the glass door.
-
Trimming for Precision: If the film features any excess material beyond the marked dimensions, trim it carefully to achieve a perfect match with the measurements. Pay close attention to the corners and edges, ensuring that the film aligns precisely with the contours of the glass area.
By following these steps with precision and care, you'll successfully cut the decorative film to the exact size required for your glass front door. This meticulous approach sets the stage for a smooth and professional application of the film, allowing you to proceed confidently to the next steps of cleaning the glass and applying the film with precision.
Read more: How To Cover Glass Doors For Privacy
Step 4: Clean the Glass
Before applying the decorative film to your glass front door, it's crucial to ensure that the glass surface is impeccably clean. This preparatory step is essential for achieving a flawless and long-lasting application of the film. Here's a detailed guide on how to clean the glass effectively:
-
Gather Cleaning Supplies: Begin by assembling the necessary cleaning supplies, including a lint-free cloth and a gentle glass cleaner. Opt for a cleaner specifically formulated for glass surfaces to ensure effective removal of dirt, dust, and any residual substances.
-
Clear the Area: Clear the surrounding area to create a conducive space for cleaning the glass door. Remove any obstacles or decorative items near the door to allow unrestricted access to the entire glass surface.
-
Dust Removal: Start by using a dry lint-free cloth to gently remove any dust or loose particles from the glass. Wipe the entire surface methodically, paying attention to corners and edges where dust tends to accumulate.
-
Apply Glass Cleaner: Spray a small amount of the glass cleaner onto the lint-free cloth rather than directly onto the glass. This approach prevents excess moisture from seeping into the door's hardware or frame. Ensure that the cloth is damp but not saturated with the cleaner.
-
Wipe the Glass: With the damp cloth, begin wiping the glass surface in smooth, overlapping motions. Work from one edge to the other, systematically covering the entire area. Pay particular attention to any stubborn spots or smudges, applying gentle pressure to remove them effectively.
-
Dry and Inspect: After cleaning the glass, use a dry lint-free cloth to thoroughly dry the surface. Inspect the glass closely to ensure that it's free of streaks, smudges, or any remaining debris. A clean, dry surface is essential for promoting optimal adhesion of the decorative film.
By meticulously cleaning the glass door, you'll create an ideal foundation for the application of the decorative film. This step sets the stage for a professional and visually appealing transformation, ensuring that the film adheres seamlessly and showcases its design with clarity and vibrancy. With the glass surface immaculately clean, you're now ready to proceed to the next step of applying the film with precision and finesse.
Step 5: Apply the Film
With the glass surface meticulously cleaned and the decorative film cut to the precise dimensions of your glass front door, it's time to embark on the pivotal step of applying the film. This process demands precision, patience, and attention to detail to ensure a flawless and professional finish. Here's a comprehensive guide on how to apply the film with finesse and achieve stunning results:
-
Prepare the Work Area: Clear a spacious and uncluttered area around the door, providing ample room to maneuver during the application process. Ensure that the work surface is clean and free of any debris that could interfere with the film.
-
Create a Soapy Solution: Fill a spray bottle with a solution of water and a small amount of mild soap. The soapy water will serve as a crucial tool for facilitating the application of the film, allowing for repositioning and minimizing the formation of air bubbles.
-
Position the Film: Carefully position the cut decorative film over the glass door, ensuring that it aligns precisely with the edges and corners. Use painter's tape to secure the film in place at the top edge, allowing it to hang freely for the time being.
-
Spray the Glass: Liberally spray the entire glass surface with the soapy water solution. This step creates a conducive environment for repositioning the film and prevents it from adhering prematurely, allowing for adjustments during the application process.
-
Peel and Align: Starting from the top, gently peel the backing off the film, exposing the adhesive side. As you peel, use the soapy water solution to wet the adhesive side of the film, preventing it from sticking prematurely. Align the top edge of the film with the top of the glass door, ensuring a precise fit.
-
Smooth Out the Film: Using a squeegee or a credit card wrapped in a soft cloth, begin smoothing out the film from the center towards the edges. This process eliminates air bubbles and ensures that the film adheres evenly to the glass surface. Work methodically to achieve a smooth and uniform application.
-
Reposition as Needed: If the film requires repositioning during the smoothing process, gently lift it and apply more of the soapy water solution to facilitate adjustments. Smooth out any air bubbles or wrinkles, ensuring a seamless and professional finish.
-
Trim Excess Film: Once the film is smoothly applied and free of air bubbles, use a sharp utility knife or scissors to trim any excess film along the edges. Exercise caution to achieve clean and precise cuts, ensuring that the film fits perfectly within the glass area.
By following these steps with care and precision, you'll successfully apply the decorative film to your glass front door, transforming it into a stunning and functional element of your home. The meticulous application process sets the stage for enhanced privacy, aesthetic appeal, and practical benefits, allowing you to enjoy the beauty and functionality of your newly adorned glass door.
Step 6: Smooth Out Bubbles
Achieving a smooth and bubble-free application of the decorative film is essential for a professional and visually appealing finish. The presence of air bubbles can detract from the overall aesthetic and compromise the film's adherence to the glass surface. Therefore, the process of smoothing out bubbles is a critical step in ensuring that the film adheres seamlessly and showcases its design with clarity and vibrancy.
Once the film is positioned on the glass door, the next step involves the meticulous removal of any air bubbles to achieve a flawless finish. Here's a detailed guide on how to effectively smooth out bubbles during the application of the decorative film:
-
Identify Air Bubbles: Begin by closely inspecting the film for any trapped air bubbles. These may appear as small pockets of air between the film and the glass surface, affecting the overall smoothness and clarity of the application.
-
Use a Squeegee or Credit Card: Employ a squeegee or a credit card wrapped in a soft cloth to gently press on the film, starting from the center and working towards the edges. Apply even and consistent pressure to gradually push the air bubbles towards the edges of the film.
-
Work Methodically: Approach the smoothing process methodically, ensuring that each section of the film is systematically addressed to eliminate air bubbles. Work in overlapping strokes, gradually moving across the entire surface to achieve a uniform and bubble-free application.
-
Reposition and Release Bubbles: If air bubbles persist, gently lift the affected area of the film and reapply the soapy water solution to facilitate the release of trapped air. Use the squeegee or credit card to smooth out the repositioned film, gradually working out any remaining bubbles.
-
Apply Gentle Pressure: While smoothing out the bubbles, apply gentle but firm pressure to ensure that the film adheres securely to the glass surface. Avoid excessive force, as this may cause damage to the film or the glass.
-
Inspect for Clarity: Periodically step back and inspect the film for clarity and smoothness. Address any remaining air bubbles promptly, ensuring that the entire surface is free of imperfections.
By following these steps with patience and attention to detail, you'll effectively smooth out any air bubbles, resulting in a flawless and professional application of the decorative film. This meticulous approach ensures that the film adheres seamlessly to the glass surface, allowing its design to shine through with clarity and vibrancy.
Step 7: Trim Excess Film
Trimming the excess film is the final step in achieving a polished and professional look for your glass front door. This crucial stage ensures that the decorative film fits precisely within the glass area, creating a seamless and visually appealing finish. Here's a detailed guide on how to trim the excess film effectively:
-
Assess the Edges: Begin by carefully examining the edges of the decorative film to identify any overhanging or protruding sections. It's essential to ensure that the film aligns seamlessly with the contours of the glass door, without any excess material extending beyond the edges.
-
Use Sharp Tools: Equip yourself with a sharp utility knife or a pair of scissors specifically designed for precision cutting. The sharpness of the tools is crucial for achieving clean and accurate cuts, allowing you to trim the excess film with ease and finesse.
-
Trimming Technique: With a steady hand, carefully trim the excess film along the edges of the glass door. Exercise caution to maintain a straight and uniform line, following the natural contours of the door's glass area. This meticulous approach ensures that the film fits snugly and seamlessly within the designated space.
-
Focus on Corners: Pay particular attention to the corners of the glass door, as these areas require precision and attention to detail. Use the tip of the utility knife or scissors to achieve clean and precise cuts, ensuring that the film aligns seamlessly with the corners without any overlapping or protruding sections.
-
Smooth Transition: Aim for a smooth transition between the film and the glass door, ensuring that the trimmed edges blend seamlessly with the surface. This seamless integration creates a professional and visually appealing finish, enhancing the overall aesthetic of the glass front door.
-
Inspect for Uniformity: After trimming the excess film, step back and inspect the door from various angles to ensure uniformity and precision in the application. Address any uneven edges or protruding sections promptly, refining the trim to achieve a flawless and seamless fit.
By following these steps with precision and attention to detail, you'll successfully trim the excess film, achieving a seamless and professional application of the decorative film on your glass front door. This meticulous approach ensures that the film fits snugly and seamlessly within the glass area, elevating the aesthetic appeal and functionality of your door.
Consider using a decorative film or window tint to cover a glass front door for added privacy and to reduce glare. These options are easy to apply and can be customized to fit your style.
Read more: How To Cover Sliding Glass Doors
Step 8: Final Touches
With the decorative film expertly applied and the excess trimmed away, the final touches are essential to ensure a flawless and polished outcome for your glass front door. These finishing steps not only enhance the visual appeal of the door but also contribute to the longevity and durability of the decorative film. Here's a detailed guide on the crucial final touches to complete the transformation of your glass front door:
1. Inspect for Imperfections
Take a moment to inspect the entire surface of the decorative film for any imperfections or irregularities. Look for any remaining air bubbles, wrinkles, or uneven areas that may detract from the overall finish. Address these promptly to achieve a smooth and flawless appearance.
2. Smooth Out Any Remaining Imperfections
If you spot any lingering imperfections, such as small air bubbles or wrinkles, use the edge of a credit card or the flat side of a squeegee to gently smooth them out. Apply gentle pressure to encourage the film to adhere seamlessly to the glass surface, ensuring a uniform and polished finish.
3. Ensure Secure Adhesion
Check the edges and corners of the decorative film to ensure that it adheres securely to the glass door. Press along the edges with your fingertips or the soft cloth to reinforce the adhesion, minimizing the risk of peeling or lifting over time. A secure bond between the film and the glass surface is crucial for long-term durability.
Read more: How To Cover Glass Front Door For Privacy
4. Clean and Polish the Surface
Using a clean lint-free cloth, gently wipe the entire surface of the decorative film to remove any residual moisture or fingerprints. This final cleaning step enhances the clarity and vibrancy of the film's design, ensuring that it presents a pristine and inviting appearance to all who approach your front door.
5. Step Back and Admire Your Work
After completing the final touches, take a step back and admire the transformation of your glass front door. Appreciate the enhanced privacy, the aesthetic appeal, and the personalized touch that the decorative film brings to your home. Your attention to detail and meticulous approach have resulted in a stunning and functional upgrade to your entryway.
By following these final touches with care and precision, you'll achieve a flawless and professional outcome for your glass front door. The combination of meticulous application, precise trimming, and attention to detail in the final touches ensures that the decorative film enhances the beauty and functionality of your home for years to come.
Conclusion
In conclusion, the process of covering a glass front door with a decorative film offers a rewarding opportunity to enhance privacy, elevate the aesthetic appeal, and introduce a personalized touch to your home. By following the step-by-step guide outlined in this comprehensive tutorial, you've gained valuable insights and practical tips to embark on this DIY project with confidence and precision.
Through meticulous measurements, careful cutting of the film, and the methodical application process, you've transformed your glass front door into a stunning focal point that complements your interior design. The selection of a high-quality decorative film, tailored to your preferences and privacy needs, has allowed you to achieve a seamless and professional finish that enhances both the functionality and visual allure of your entryway.
The final touches, including the meticulous smoothing out of air bubbles and the precise trimming of excess film, have contributed to a flawless and polished outcome. The attention to detail in ensuring secure adhesion and the final cleaning and polishing steps have further elevated the overall appearance of the decorative film, creating a welcoming and stylish entrance to your home.
As you step back and admire your work, take pride in the transformation you've accomplished. The enhanced privacy, the personalized design elements, and the seamless integration of the decorative film with your glass front door reflect your dedication to creating a home that is both inviting and aesthetically pleasing.
Moving forward, the covered glass front door will continue to serve as a focal point that welcomes guests with elegance and style while providing the privacy and protection your home deserves. The durability and longevity of the decorative film, ensured through your meticulous application and attention to detail, will allow you to enjoy the benefits of this DIY project for years to come.
In embracing this creative journey, you've not only enhanced the visual appeal of your home but also honed your skills in DIY home improvement. The knowledge and experience gained from this endeavor will undoubtedly inspire future projects and further elevate the beauty and functionality of your living space.
Congratulations on successfully covering your glass front door with a decorative film, and may the transformed entryway serve as a testament to your creativity and dedication to enhancing your home.
Frequently Asked Questions about How To Cover A Glass Front Door
Was this page helpful?
At Storables.com, we guarantee accurate and reliable information. Our content, validated by Expert Board Contributors, is crafted following stringent Editorial Policies. We're committed to providing you with well-researched, expert-backed insights for all your informational needs.


0 thoughts on “How To Cover A Glass Front Door”