
Articles
How To Build Covered Porch
Modified: February 17, 2024
Discover expert articles on how to build a covered porch. Get step-by-step instructions and tips to create your dream outdoor space.
(Many of the links in this article redirect to a specific reviewed product. Your purchase of these products through affiliate links helps to generate commission for Storables.com, at no extra cost. Learn more)
Introduction
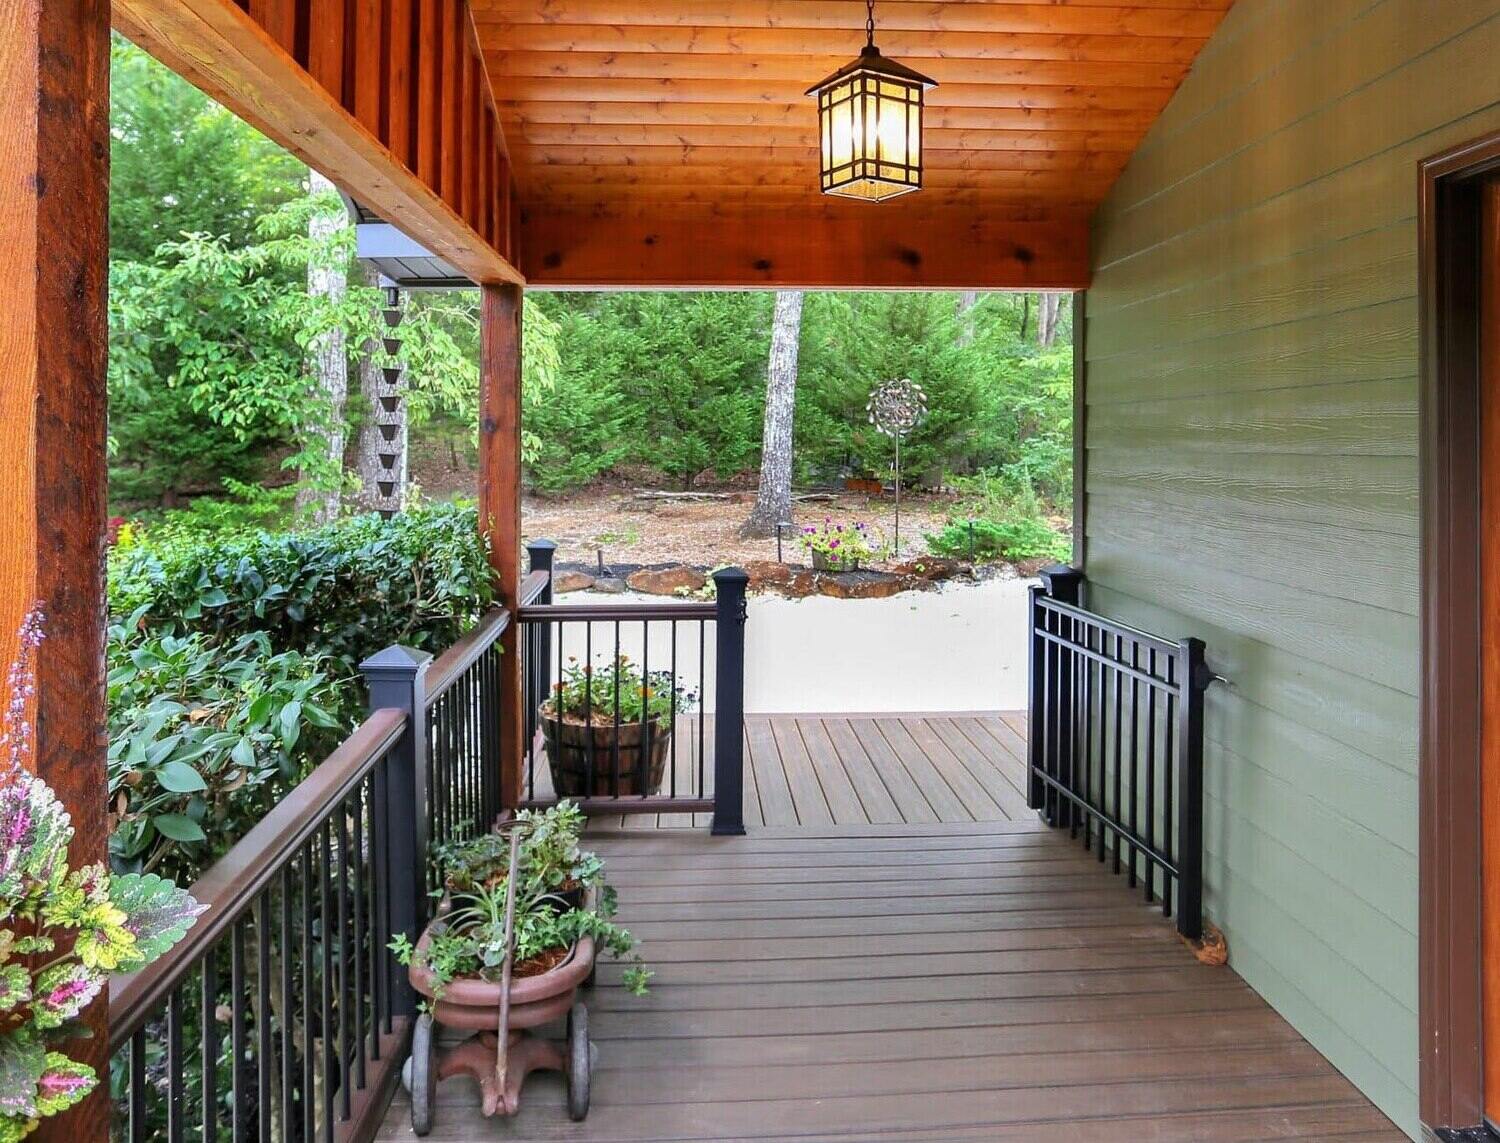
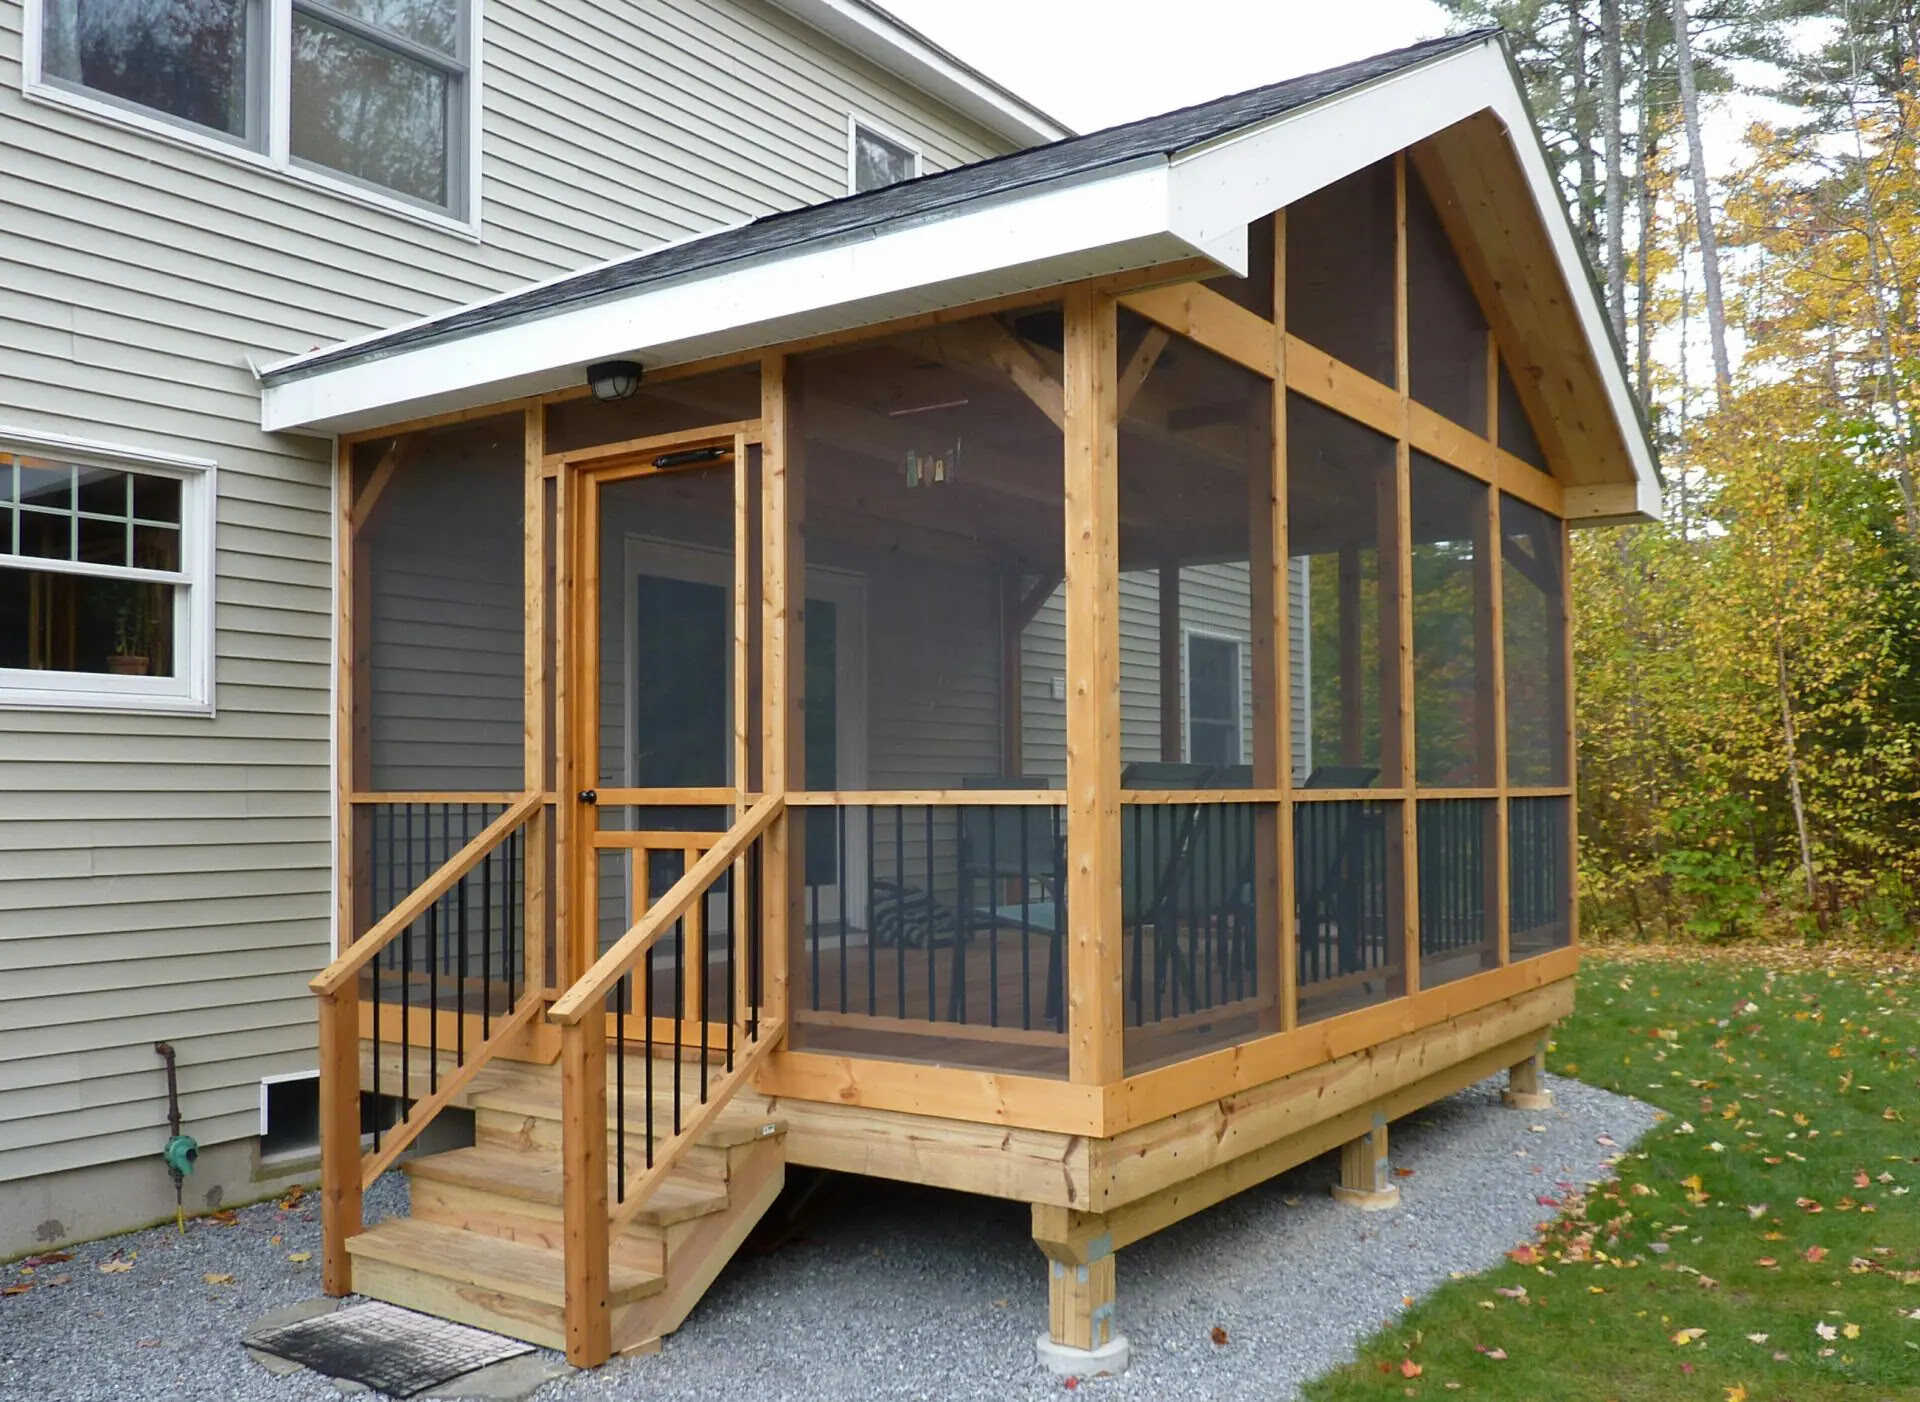
Welcome to the ultimate guide on how to build a covered porch! Whether you want to create a cozy outdoor space to relax in, extend your living area, or enhance the curb appeal of your home, a covered porch is a fantastic addition. Not only does it provide shade and protection from the elements, but it also adds value to your property.
Building a covered porch may seem like a challenging task, but with proper planning, preparation, and the right tools, it can be a rewarding project for both experienced DIY enthusiasts and beginners alike. This comprehensive guide will walk you through the step-by-step process of planning, obtaining permits, gathering materials, and constructing a covered porch that will elevate your home’s aesthetics and functionality.
From the initial design considerations to the final finishing touches, we’ll provide you with expert tips and advice to ensure your covered porch is structurally sound, visually appealing, and built to withstand the test of time.
So, let’s dive right in and explore the exciting journey of creating your very own covered porch!
Key Takeaways:
- Proper planning, obtaining permits, and gathering high-quality materials and tools are essential for building a covered porch that aligns with your design goals and meets local regulations. Expert advice and attention to detail ensure a successful project.
- From constructing a sturdy frame to adding the finishing touches, building a covered porch requires patience, precision, and creativity. The final result is a functional and visually appealing outdoor space that adds value to your home.
Read more: How To Cover Porch
Step 1: Planning and Designing
Before diving into the construction process, it’s crucial to spend adequate time on planning and designing your covered porch. This step sets the foundation for a successful and functional outdoor space that aligns with your needs and complements your home’s architecture. Here are some key considerations:
- Define your goals: Clearly outline your reasons for building a covered porch. Do you want a space for entertaining guests, a quiet retreat, or a combination of both? Understanding your goals will help you make informed decisions during the planning process.
- Assess your space: Evaluate your available outdoor area and determine the best location for your porch. Consider factors such as accessibility, sunlight exposure, and the existing layout of your property.
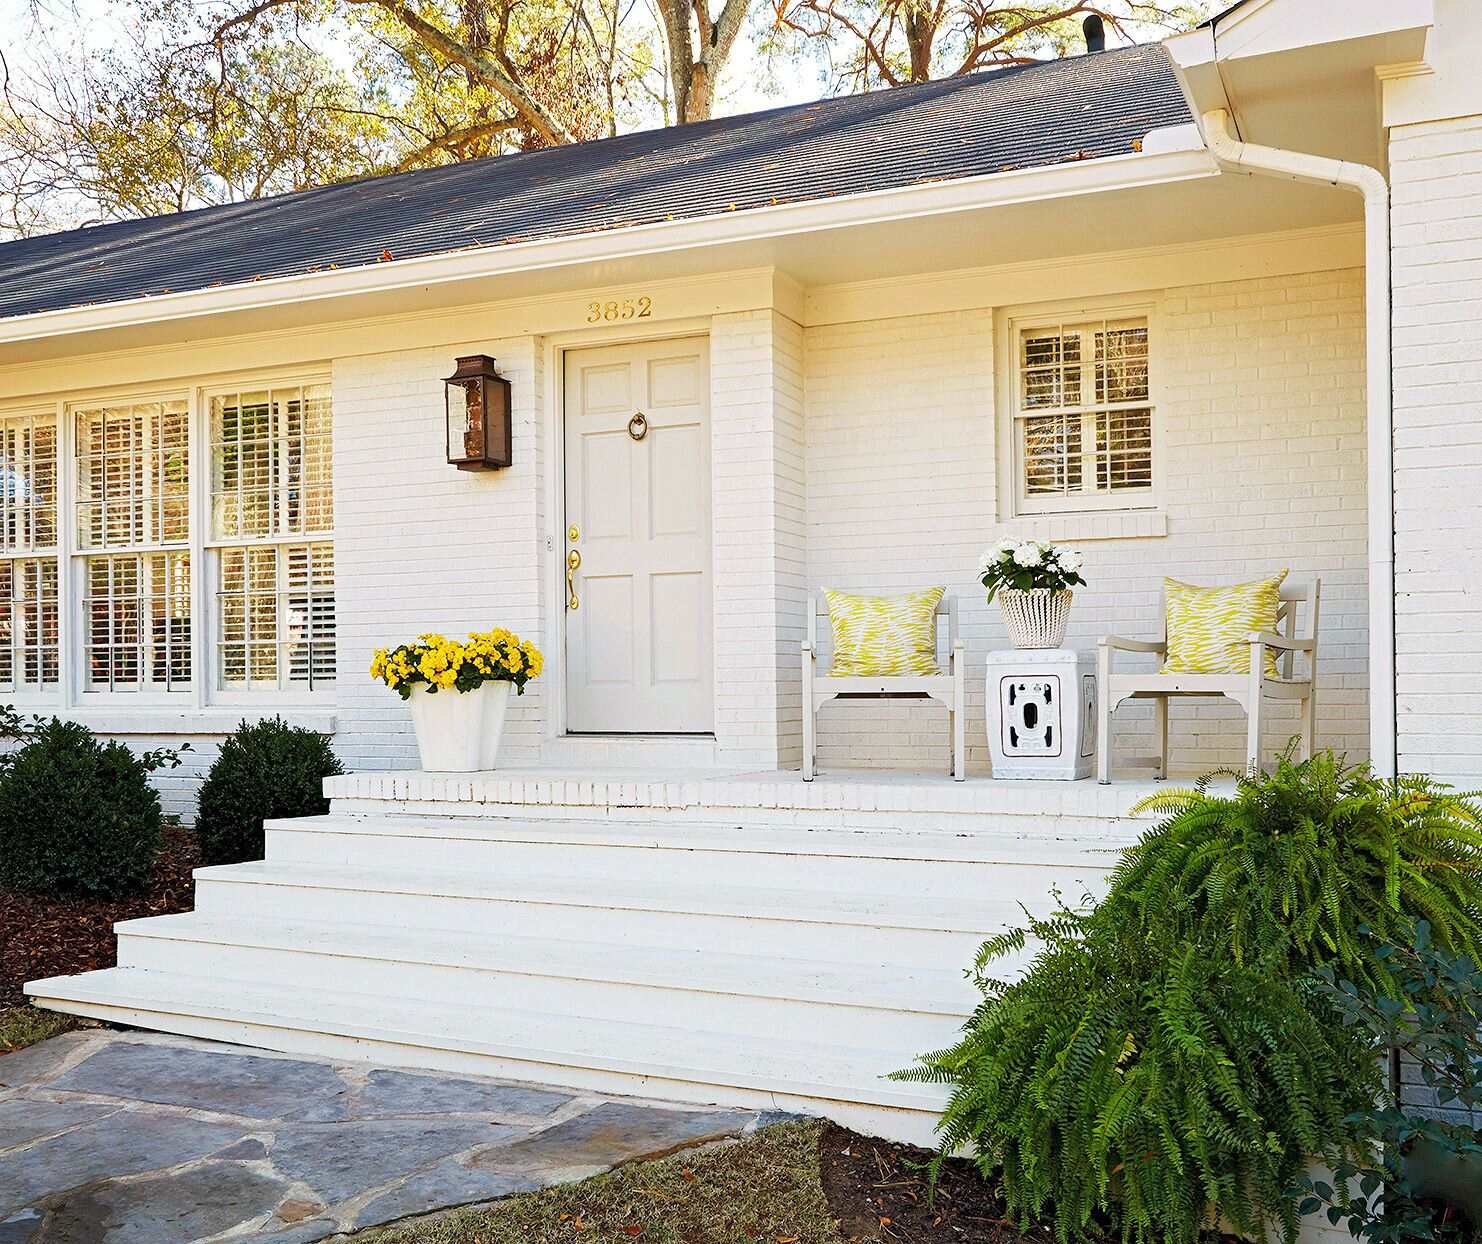
- Choose a porch style: Research different porch styles that align with your personal taste and the architectural style of your home. Options range from traditional farmhouse-style porches to sleek modern designs. Take inspiration from existing porches and adapt them to suit your needs.
- Consider the size: Determine the ideal size for your covered porch based on your intended use and available space. Think about seating arrangements, furniture placement, and any additional features you may want to incorporate, such as a grill or outdoor fireplace.
- Think about materials and finishes: Select materials that are durable, weather-resistant, and harmonize with your home’s exterior. Common choices include wood, composite decking, stone, or concrete. Explore different finishes, such as paint or stain colors, to achieve the desired aesthetic.
- Ensure compliance with local regulations: Research and familiarize yourself with local building codes, restrictions, and permit requirements for constructing a covered porch. Compliance with these regulations is essential to avoid any potential legal issues in the future.
Investing time in the planning and design phase will save you headaches later on and ensure that your covered porch meets your expectations. Consider consulting with professionals, such as architects or contractors, for expert advice and assistance in creating the perfect porch for your home.
Step 2: Obtaining Permits and Permissions
Once you have a solid plan and design in place for your covered porch, the next crucial step is obtaining the necessary permits and permissions before you begin construction. This step ensures that your project complies with local building codes and regulations. Here’s what you need to do:
- Research local requirements: Contact your local building department or visit their website to understand the specific permits and permissions required for constructing a covered porch. Different areas have different regulations, so it’s important to be well-informed.
- Submit permit application: Prepare all the necessary documents, including your porch design, construction plans, and any other required paperwork. Fill out the permit application accurately and submit it to the appropriate department along with any required fees.
- Address any concerns: The building department may review your application and plans to ensure compliance with safety standards and zoning regulations. They may request modifications or provide feedback that you need to address before proceeding.
- Obtain approvals: Once your application has been approved, you will receive the necessary permits and permissions to proceed with your covered porch construction. Keep these documents on-site and accessible for inspections.
- Schedule inspections: Throughout the construction process, you will likely need to schedule inspections at specific stages to ensure compliance with building codes and regulations. Coordinate with the building department to arrange these inspections.
- Work with professionals, if required: Depending on the complexity of your project and local regulations, you may need to work with licensed professionals such as architects, engineers, or contractors who can ensure your plans meet the necessary standards.
It’s important not to skip or overlook the permit and permissions process. Failure to obtain the required approvals can result in fines, delays, or even having to dismantle non-compliant portions of your covered porch. Following the proper procedures will provide peace of mind and ensure your porch is built safely and legally.
Step 3: Gathering Materials and Tools
Once you have the necessary permits and permissions in hand, it’s time to gather the materials and tools you’ll need for constructing your covered porch. Having everything prepared in advance will make the construction process smoother and more efficient. Here’s what you’ll need:
- Building materials: Depending on your porch design, you’ll need materials such as pressure-treated lumber, decking boards, roofing materials, fasteners, concrete footings, and hardware. Make a detailed list of the required materials and ensure you source high-quality products that are suitable for outdoor use.
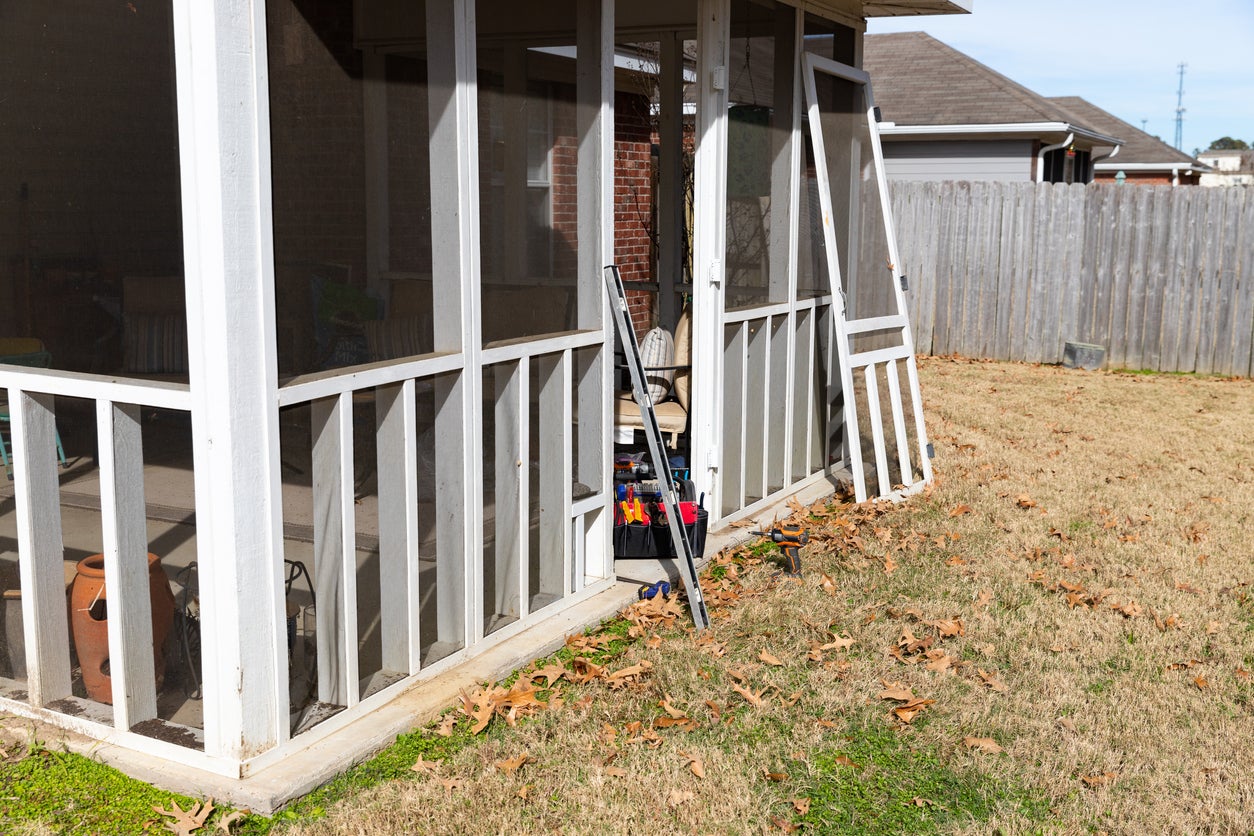
- Tools: Gather a comprehensive set of tools, including a circular saw, power drill, hammer, level, tape measure, framing square, chisels, wrenches, and various hand tools. Having the right tools on hand will make the construction process much easier and more efficient.
- Safety equipment: Safety should be a top priority during construction. Ensure you have safety goggles, gloves, hearing protection, a dust mask, and any other necessary safety equipment. Consider having a first aid kit on-site as well.
- Additional equipment: Depending on your porch design and construction method, you may need additional equipment such as scaffolding, ladders, or a cement mixer. Assess your specific requirements and acquire any necessary equipment to facilitate the construction process.
- Supplier research: Research local suppliers or home improvement stores to find the best deals on materials and tools. Compare prices, read reviews, and ensure that the suppliers have a good reputation for providing quality products.
- Estimate quantities: Use your porch design plans to estimate the quantities of materials needed. This will help you accurately determine how much to purchase and avoid running out of supplies during the construction process.
Before starting construction, double-check your material and tool list to ensure you have everything you need. It’s always a good idea to have a few extra supplies on hand in case of any unexpected situations or mistakes. By being well-prepared, you’ll have a smoother and more efficient construction process for your covered porch.
Step 4: Preparing the Construction Site
With your materials and tools ready, it’s time to prepare the construction site for building your covered porch. Proper site preparation is crucial for the stability and longevity of your porch. Follow these steps to ensure a solid foundation and a smooth construction process:
- Clear the area: Remove any obstacles, debris, or vegetation from the site where your porch will be built. Clearing the area will provide a clean slate and prevent any potential hazards during construction.
- Level the ground: Use a shovel, rake, or other leveling tools to create a flat and even surface for your porch. This step is essential for ensuring a stable foundation. Remove any high spots and fill in any low spots with compacted soil or gravel.
- Mark the boundaries: Using stakes and string, mark the exact boundaries of your covered porch. This will help you visualize the area and ensure accurate measurements during the construction process.
- Check for proper drainage: Ensure that the site has proper drainage to prevent water accumulation around your porch. This can be achieved by sloping the ground away from your home or installing drainage systems if necessary.
- Install footings: Dig holes for the porch footings according to the specifications outlined in your design plans. The size and depth of the footings will depend on factors such as the size of your porch and local building codes. Install concrete footings and let them cure as per the manufacturer’s instructions.
- Set up temporary supports: Temporarily install supports such as stakes, posts, or braces to provide stability during the construction process. These temporary supports will help ensure that your porch structure remains secure while work is being done.
- Double-check measurements: Before proceeding to the next step, double-check all measurements and ensure that the site preparation aligns with your planned porch design. Accurate measurements and precise site preparation are essential for a successful construction project.
Taking the time to properly prepare the construction site will lay the groundwork for a strong and stable covered porch. It’s crucial not to rush this step and ensure that all necessary preparations are in place before moving on to the actual construction phase.
When building a covered porch, make sure to use durable and weather-resistant materials for the roof and flooring to ensure longevity and minimal maintenance.
Read more: How To Build Porch
Step 5: Building the Porch Frame
With the site prepared, it’s time to move on to constructing the frame of your covered porch. The frame serves as the skeletal structure that supports the entire porch. Follow these steps to build a sturdy and secure porch frame:
- Start with the ledger board: Attach a ledger board directly to your home’s exterior wall using lag screws or bolts. Ensure that it is level and securely fastened. The ledger board will provide support for the porch joists.
- Install the porch joists: Place pressure-treated lumber or engineered joists on top of the ledger board, perpendicular to the house. Space them according to your porch design plans and secure them in place, ensuring they are level and properly aligned.
- Secure the joists: Use joist hangers or structural connectors to attach the porch joists to the ledger board and any support beams or posts. Make sure each joist is securely fastened and properly supported.
- Add additional support: Depending on the size and design of your porch, additional support beams or posts may be necessary. Install these supports according to your design plans, ensuring they are securely in place and properly aligned with the porch joists.
- Double-check for levelness and squareness: Throughout the construction of the porch frame, regularly check for levelness and squareness to ensure a sturdy and even structure. Use a spirit level and a framing square to verify that all components are properly aligned.
- Consider additional structural elements: Depending on your porch design and local building codes, you may need to incorporate additional structural elements such as bracing for support or hurricane ties for increased stability. Consult your design plans and local regulations to determine if these are necessary.
Building the porch frame is a critical step that forms the basis for the rest of the construction process. Take your time to ensure that each component is properly aligned, securely fastened, and meets the necessary structural requirements. With a sturdy frame in place, you’re ready to move on to the next step of constructing your covered porch.
Step 6: Installing the Roofing
After completing the porch frame, it’s time to move on to installing the roofing for your covered porch. The roofing not only provides protection from the elements but also adds visual appeal to your outdoor space. Follow these steps to effectively install the roofing:
- Select the roofing material: Choose a roofing material that suits your design preferences and matches the style of your home. Popular options for porch roofing include asphalt shingles, metal roofing, or polycarbonate panels.
- Prepare the underlayment: Install a layer of roofing underlayment onto the porch deck, starting at the bottom and working your way up. This will provide an additional layer of protection against moisture and ensure a watertight seal.
- Measure and cut the roofing material: Measure and cut the roofing material according to the dimensions of your porch. Follow the manufacturer’s instructions for the specific material you are using to ensure accurate cutting.
- Secure the roofing material: Install the roofing material onto the porch frame, starting from one end and working your way across. Use appropriate fasteners and make sure to follow the recommended spacing and pattern provided by the manufacturer.
- Apply any necessary sealant: Depending on the type of roofing material used, you may need to apply sealant or adhesive to create a weatherproof barrier. Follow the manufacturer’s instructions for proper application techniques.
- Add flashing and trim: Install flashing around any openings or transitions in the roofing, such as where the porch meets the house or around chimneys. This will help prevent water intrusion and ensure a tight seal. Additionally, add trim pieces for a finished look.
- Regular maintenance: After the roofing is installed, it’s important to regularly inspect and maintain it to ensure its longevity. Keep the roof clean, remove debris, and check for any signs of damage or wear.
Proper installation of the porch roofing is essential to protect your covered porch and maintain its durability. Following these steps and utilizing appropriate materials and techniques will ensure that your porch is well-protected from the elements and adds aesthetic value to your outdoor space.
Step 7: Adding Flooring and Finishing Touches
With the porch frame and roofing complete, it’s time to focus on the flooring and putting the finishing touches on your covered porch. This step will add comfort, functionality, and visual appeal to your outdoor space. Follow these steps to complete this phase of the construction:
- Select the flooring material: Choose a flooring material that suits your design style, durability requirements, and budget. Popular options for porch flooring include wood decking, composite decking, stone, or concrete.
- Prepare the surface: Ensure that the porch framing is clean, level, and free of any debris or obstructions. If necessary, address any unevenness or imperfections on the surface before proceeding with the installation of the flooring material.
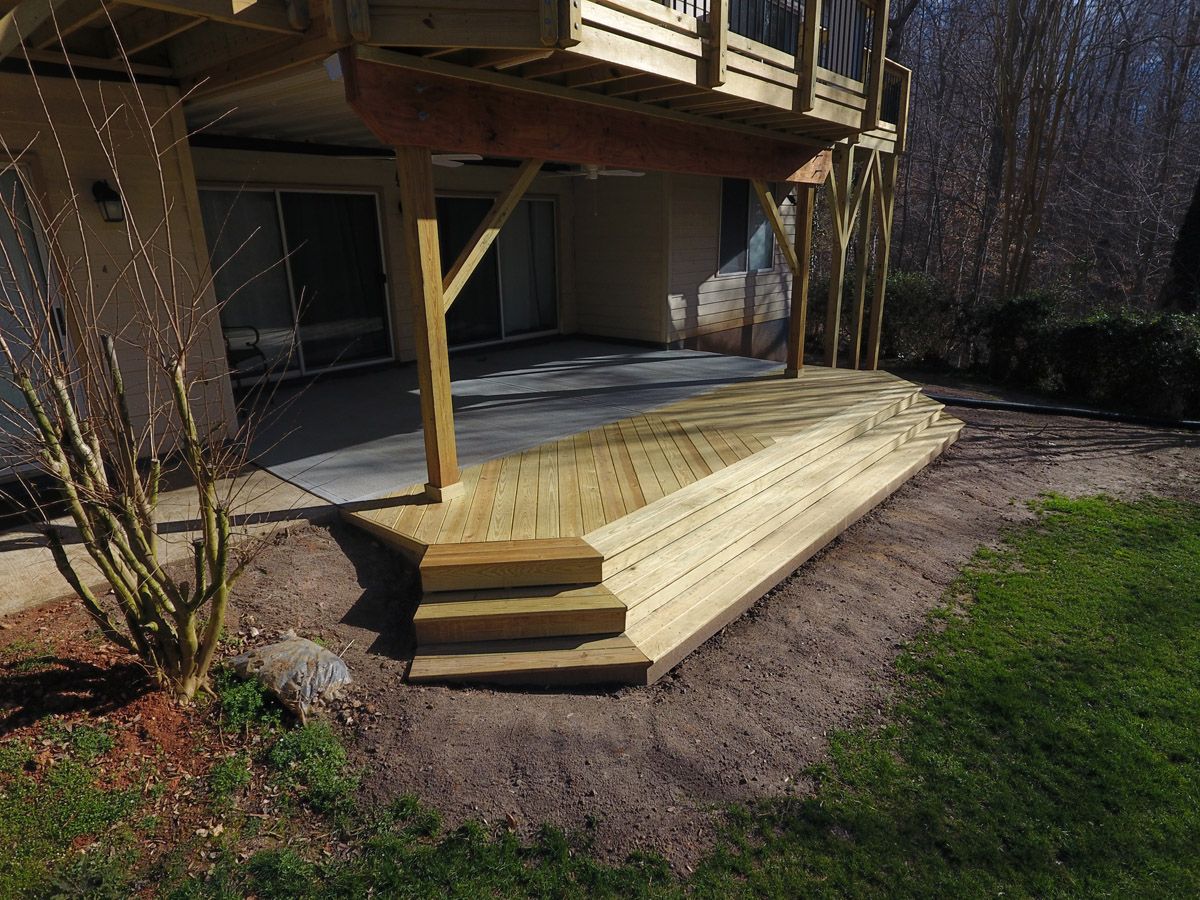
- Install the flooring material: Follow the manufacturer’s instructions to install the chosen flooring material onto the porch frame. Pay attention to proper spacing, fastening methods, and any specific requirements for your selected flooring type.
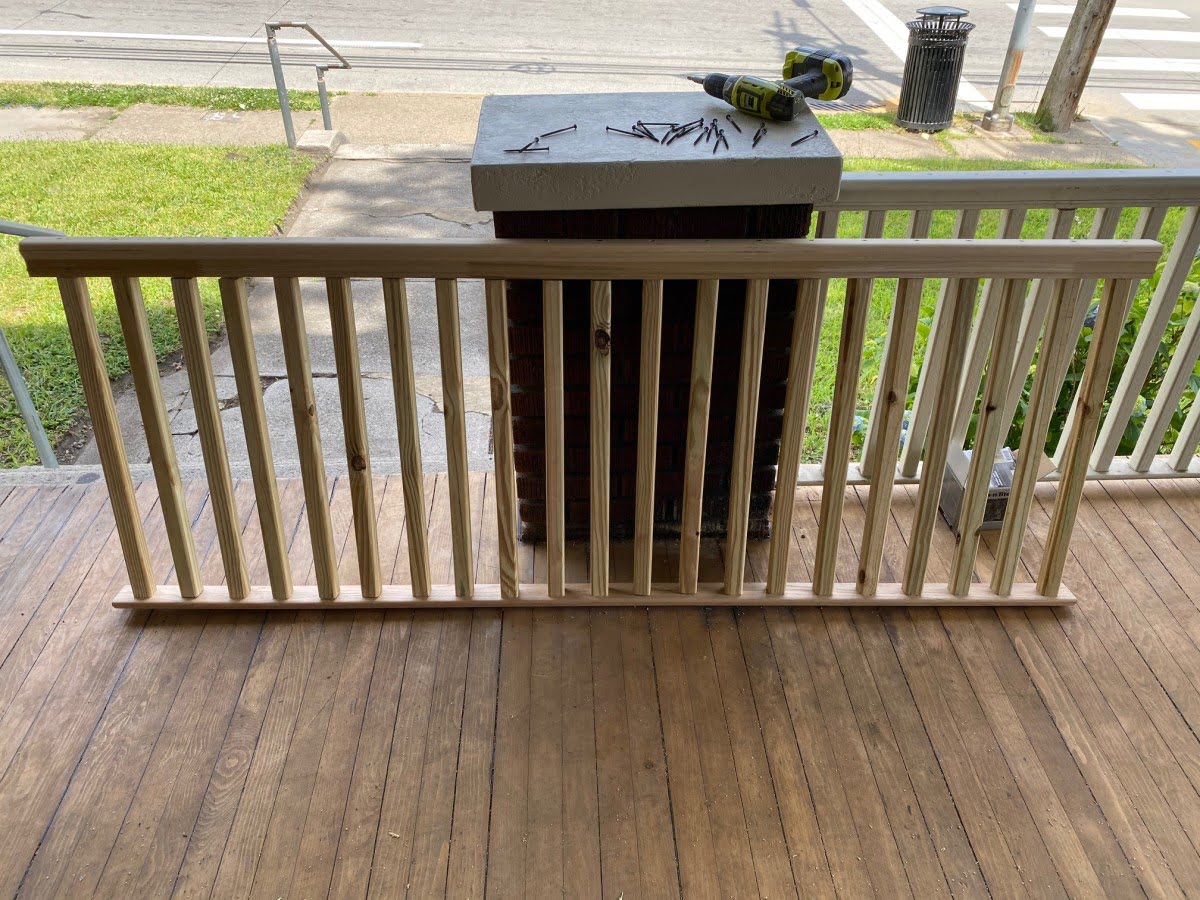
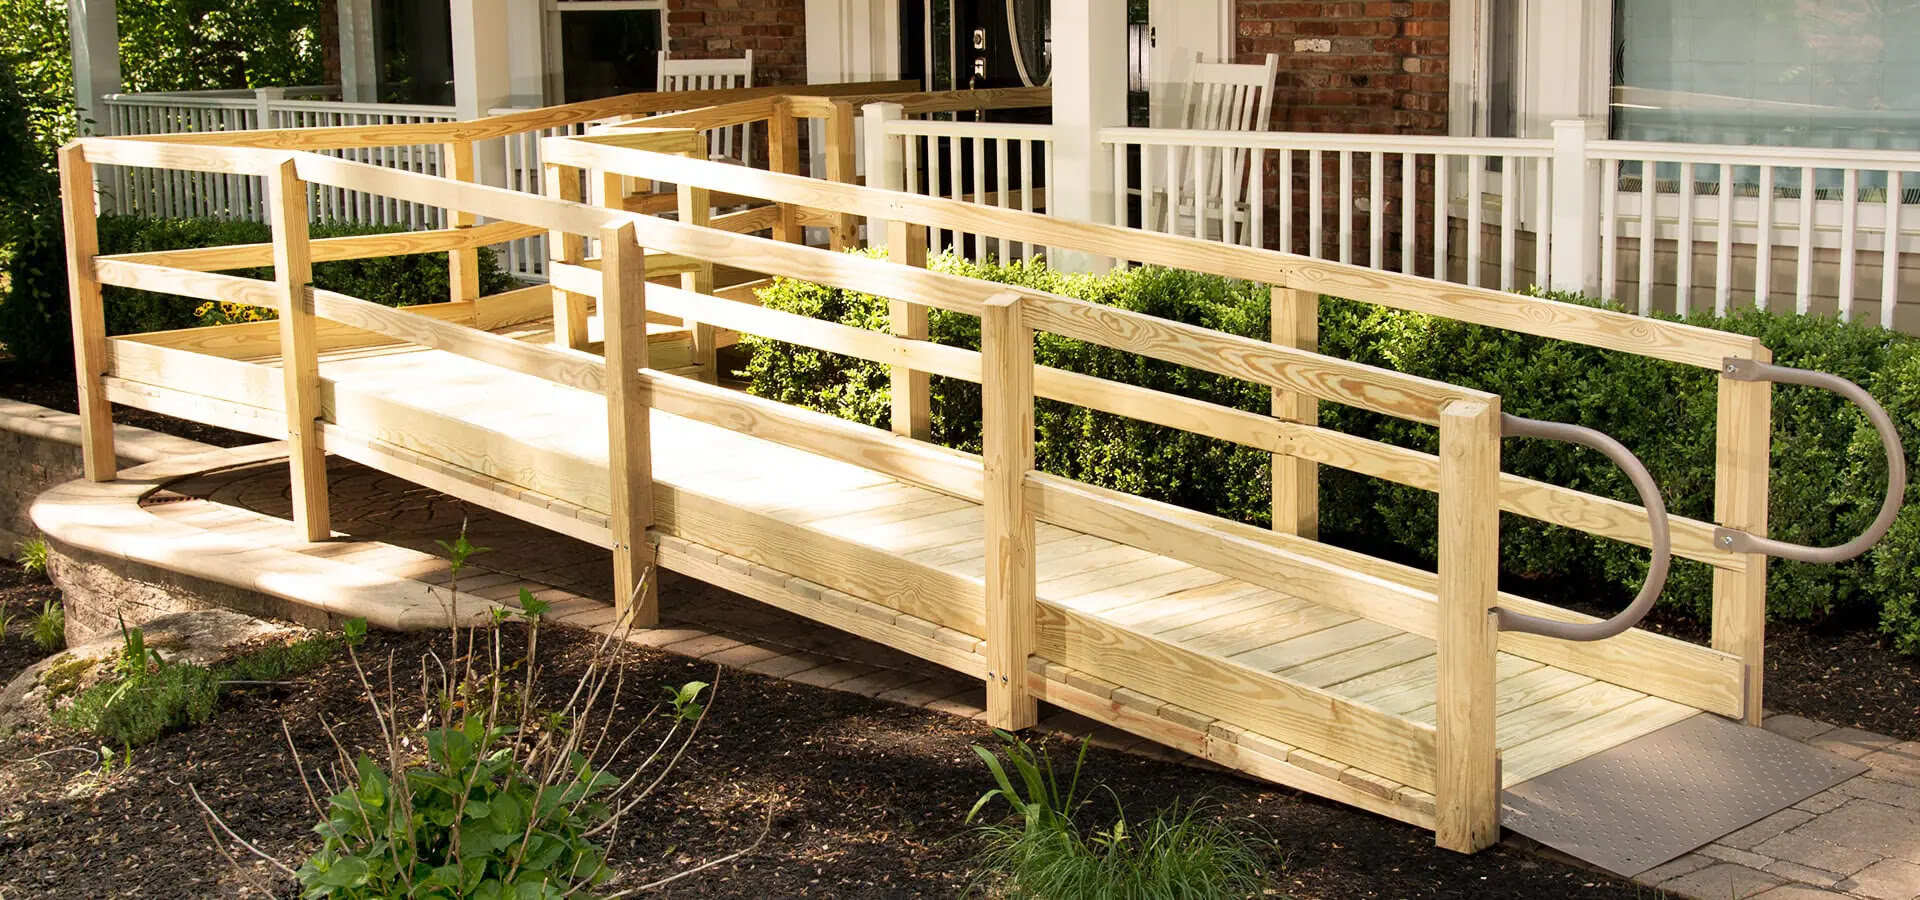
- Add railing and balusters: Install railing and balusters around the perimeter of your covered porch, if desired or required by local building codes. This will add safety and visual appeal to the space. Ensure that the railing is securely fastened and meets the necessary height requirements.
- Apply exterior finishes: If you’re using a wood-based material for your porch flooring or railing, apply an appropriate exterior finish to protect it from moisture, UV rays, and other elements. This step will help prolong the lifespan of the material and maintain its appearance.
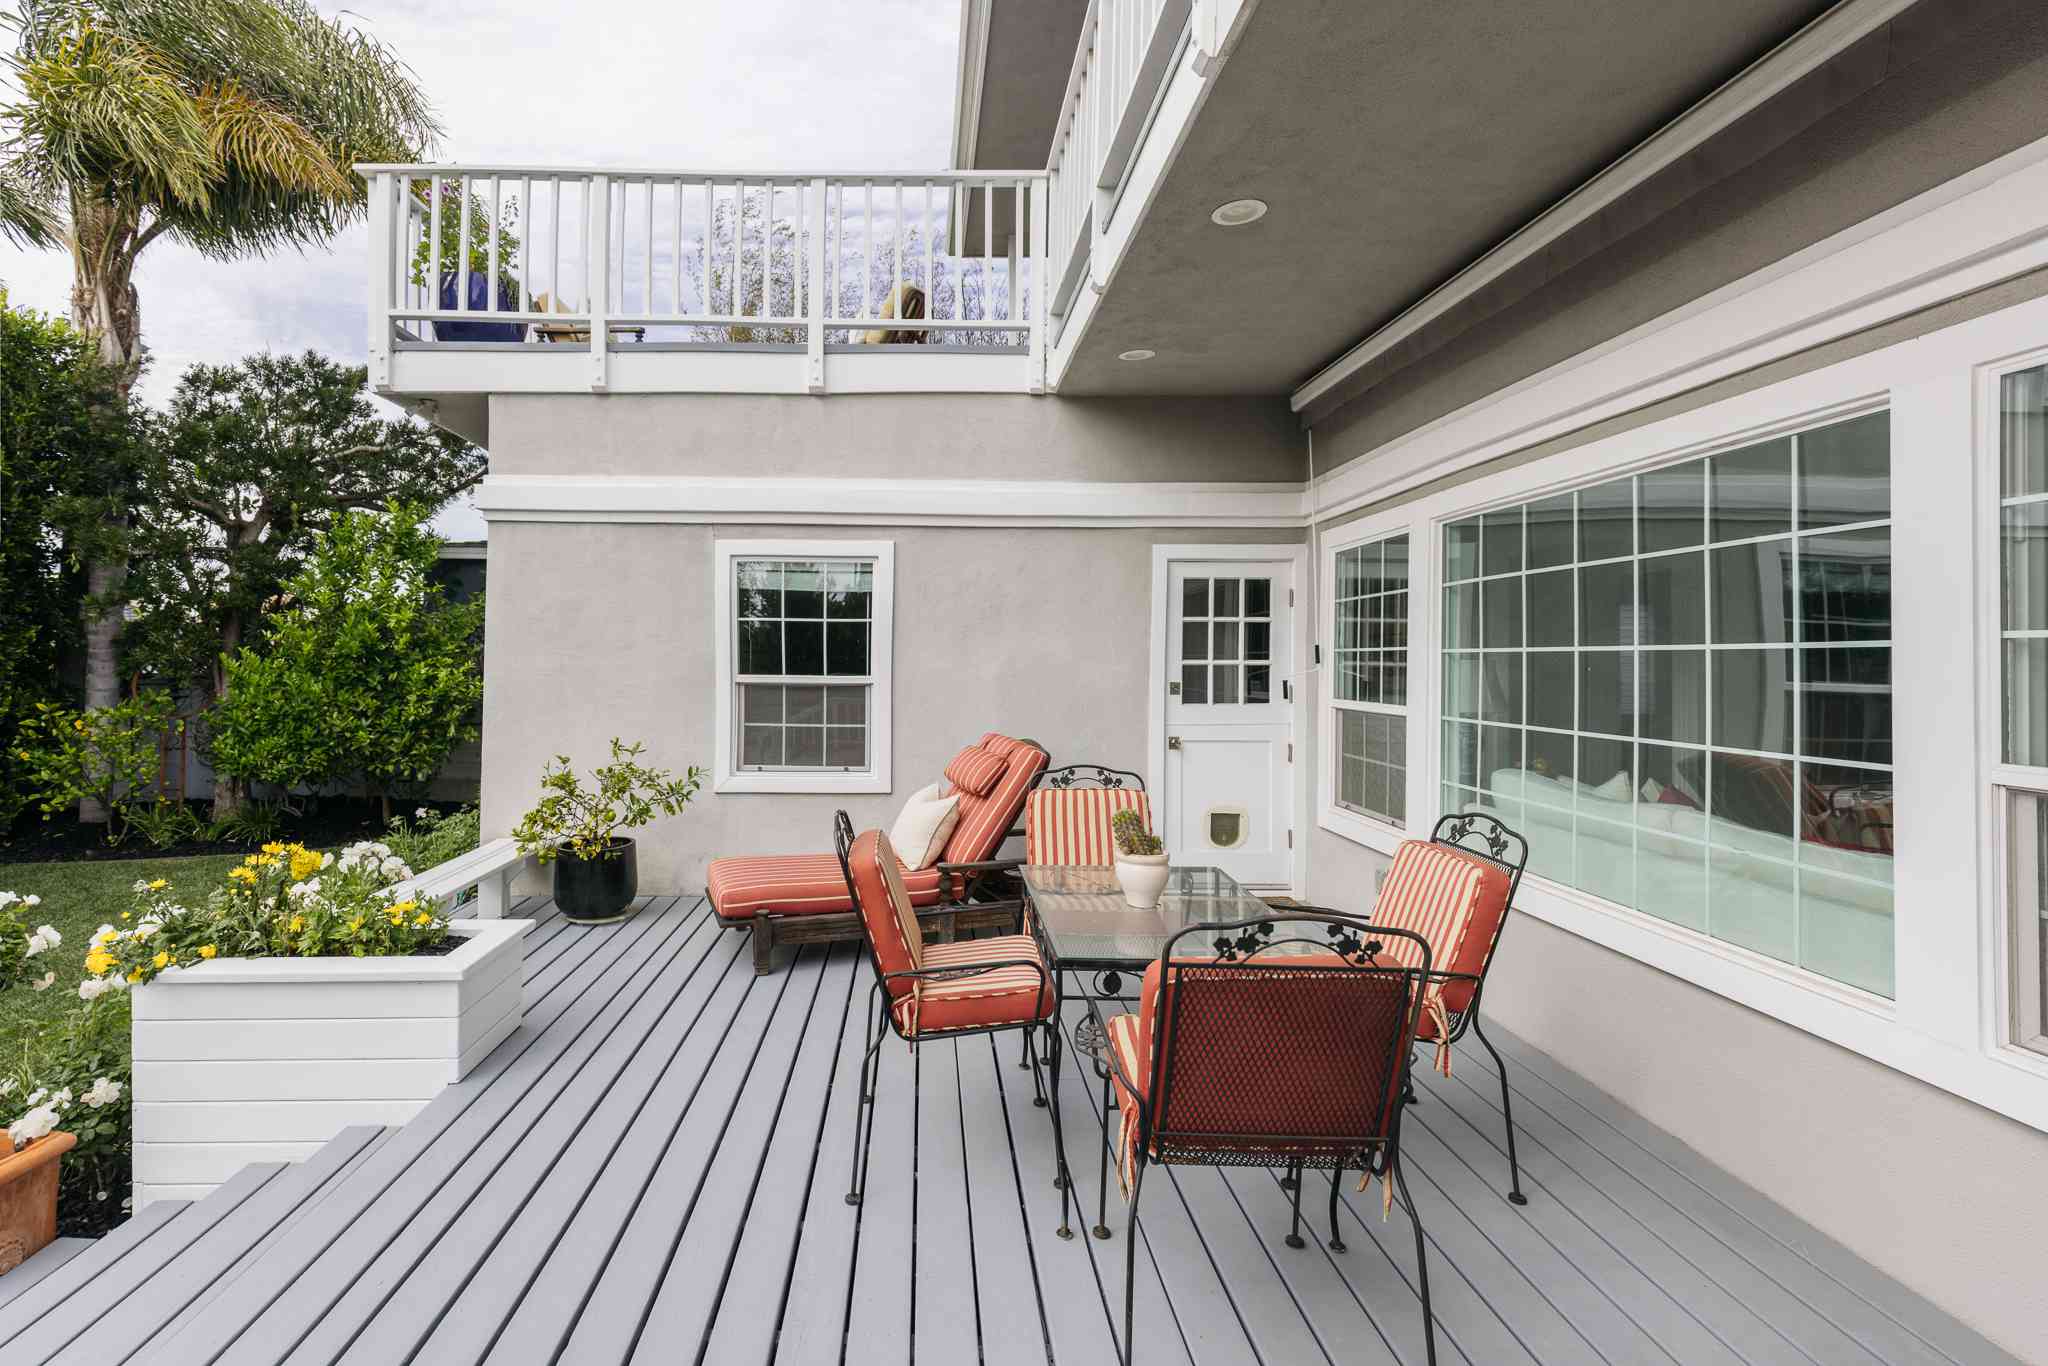
- Consider additional features: Enhance your covered porch by incorporating additional features such as built-in seating, lighting fixtures, ceiling fans, or an outdoor fireplace. These elements can further elevate the functionality and ambiance of your porch.
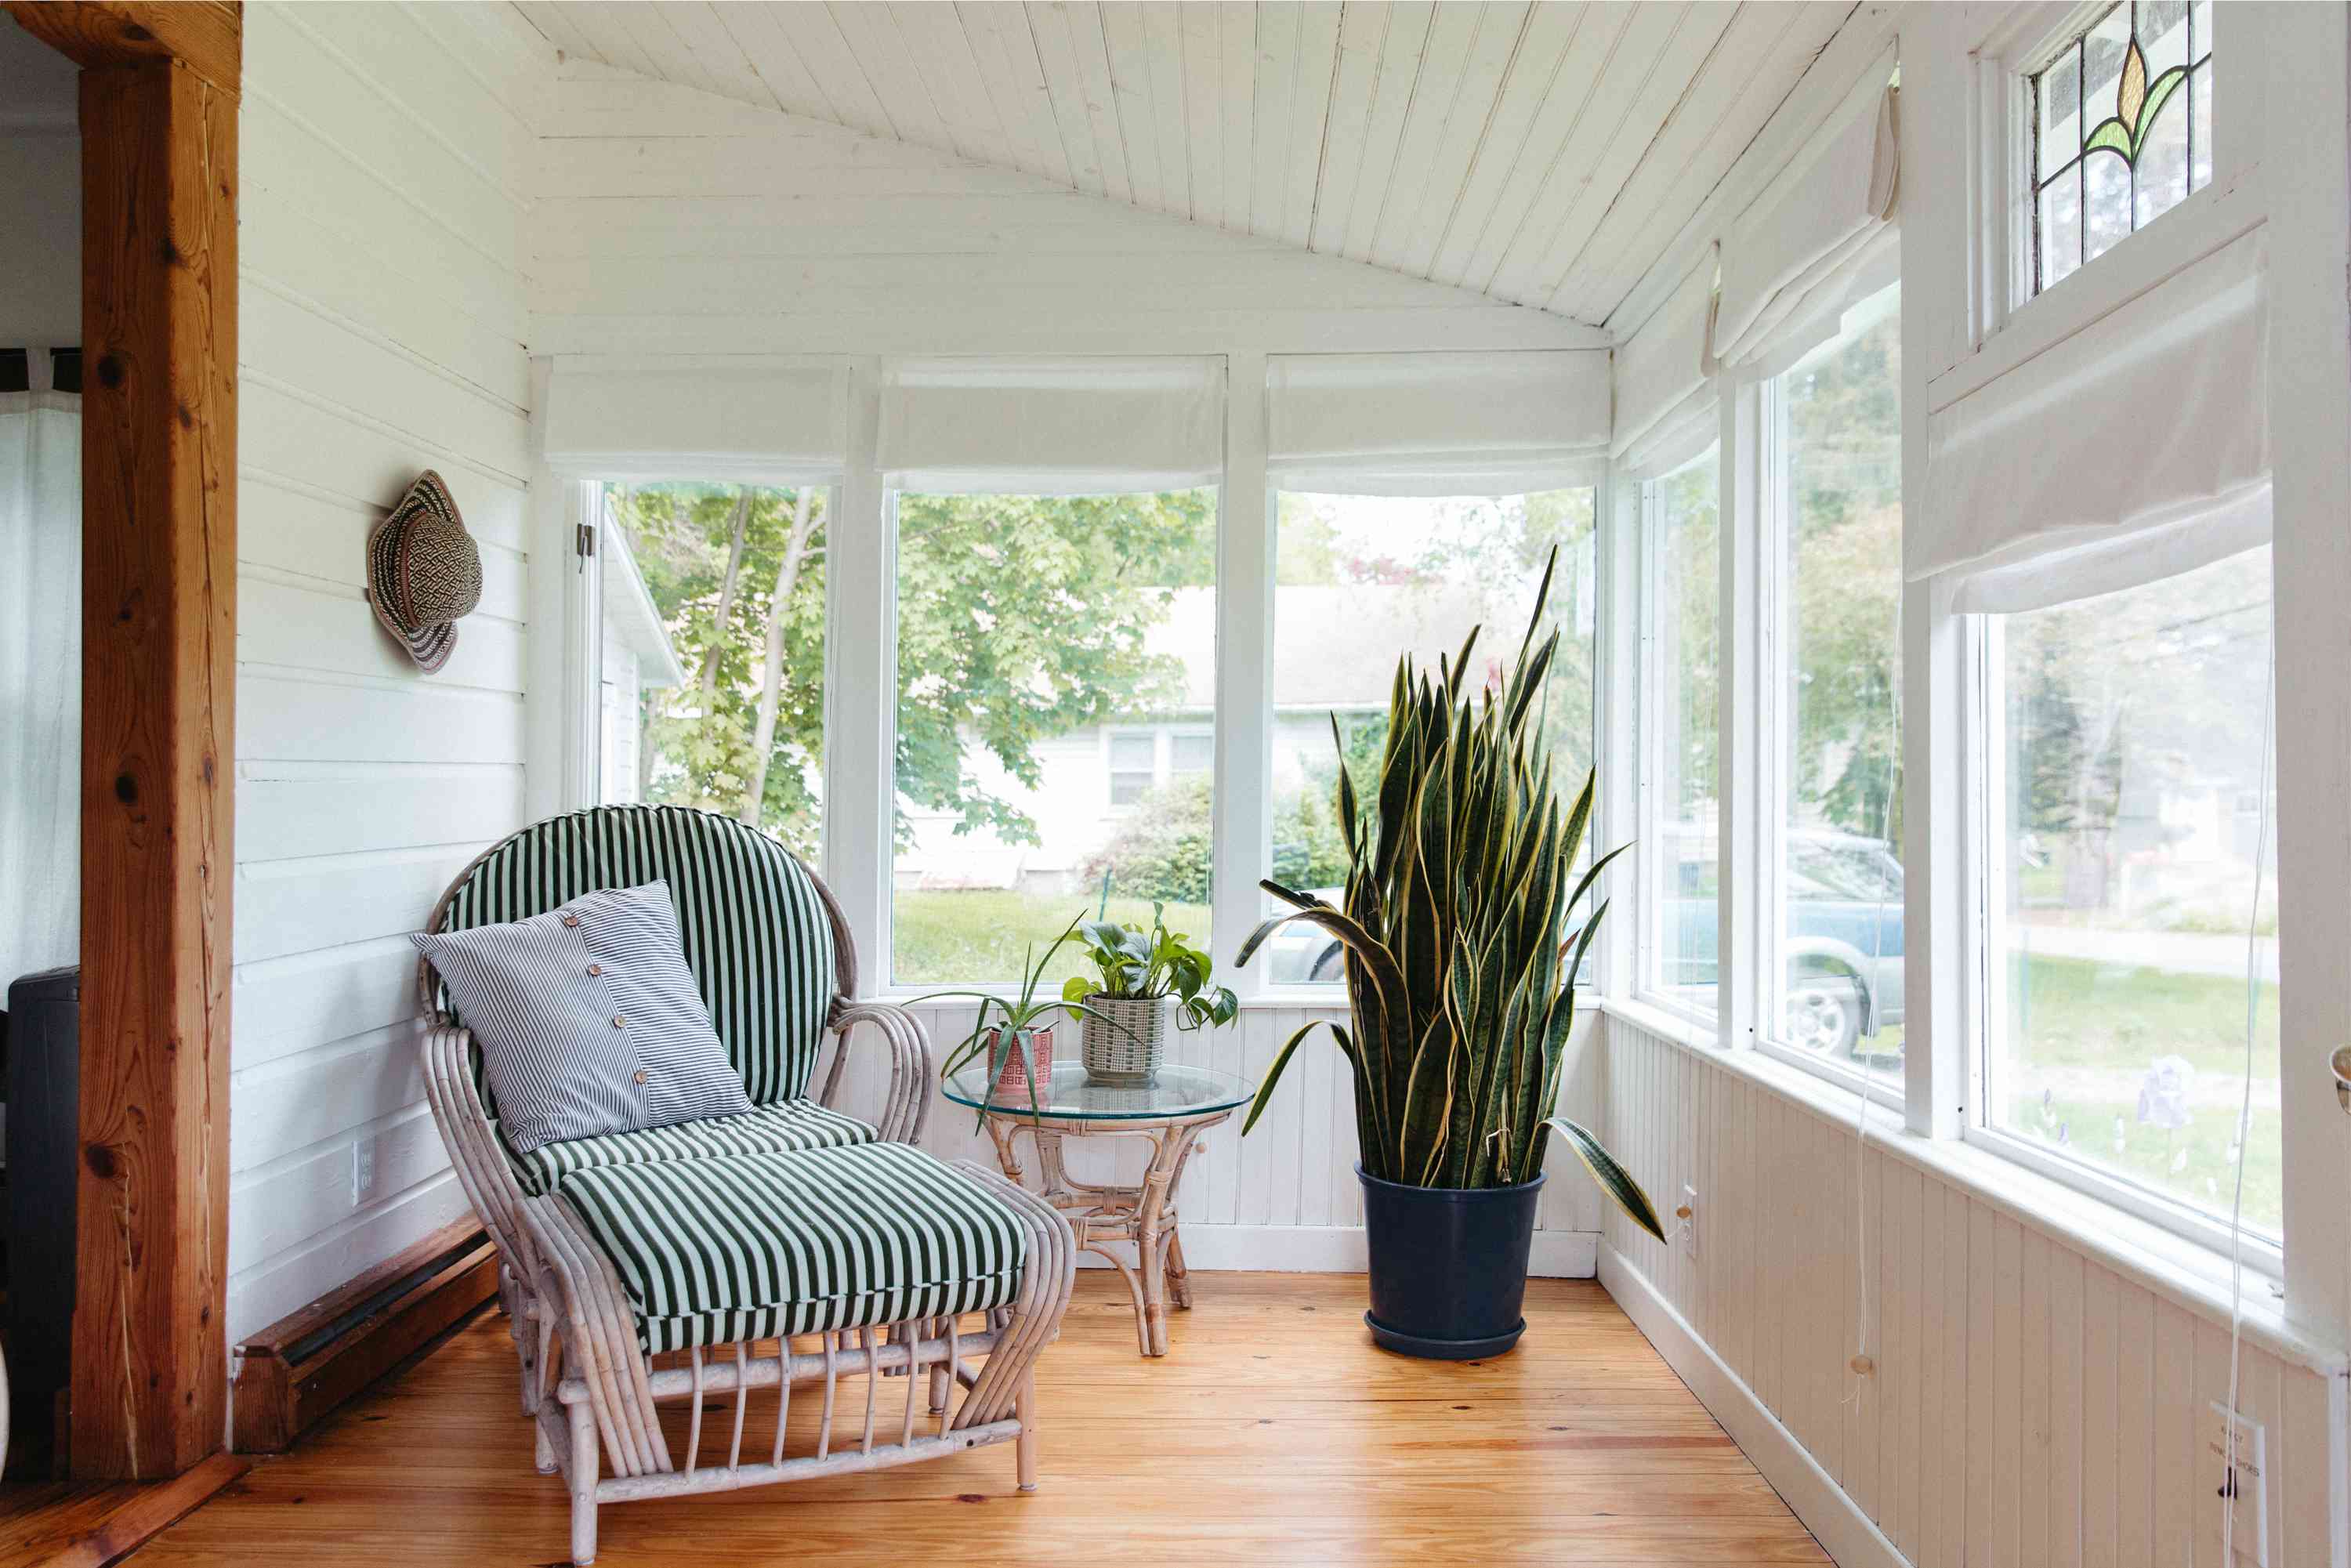
- Add furniture and decor: Finally, furnish your covered porch with outdoor furniture, cushions, rugs, and decor that align with your design style and personal preferences. Create a cozy and inviting space that suits your needs for relaxation, entertaining, or dining.
Adding flooring and the finishing touches will transform your covered porch into a complete and inviting outdoor living space. Take your time to select the appropriate materials and pay attention to detail during installation. By following these steps, you’ll create a stunning porch that you can enjoy for years to come.
Step 8: Finalizing the Porch Construction
Congratulations! You’re in the final step of constructing your covered porch. This phase involves a few essential tasks to ensure the porch is structurally sound, visually appealing, and ready for use. Follow these steps to finalize your porch construction:
- Inspect the porch: Carefully inspect your porch for any areas that may require adjustments, repairs, or touch-ups. Check for loose nails or screws, uneven surfaces, or any other potential issues that need to be addressed before the final completion.
- Make necessary adjustments: If you identify any issues during the inspection, make the necessary adjustments or repairs to ensure the porch is in optimal condition. This may involve tightening fasteners, leveling the surface, or replacing any damaged materials.
- Clean the porch: Give your porch a thorough cleaning to remove any construction debris, sawdust, or dirt that may have accumulated during the construction process. Use appropriate cleaning methods and products for your specific porch materials.
- Test functionality: Test the functionality of any added features or components, such as lighting fixtures, ceiling fans, or electrical outlets. Ensure that everything is working properly and that all safety measures are in place.
- Review safety measures: Double-check that safety measures, such as railings and balusters, meet local building codes and provide adequate protection. Make any necessary adjustments to ensure the safety of yourself and others using the porch.
- Complete any remaining touches: Take the time to add any remaining finishing touches, such as outdoor plants, decorative accents, or personal touches that will enhance the overall aesthetics of your porch.
- Enjoy your new covered porch: Finally, take a moment to sit back, relax, and enjoy your newly constructed covered porch. Invite family and friends over to experience the unique outdoor space you’ve created.
By following these final steps, you’ll ensure that your porch construction is complete and ready for you to enjoy. Remember to maintain regular upkeep, perform routine inspections, and address any necessary repairs to keep your porch looking and functioning at its best for years to come.
Read more: How To Cover A Concrete Porch
Conclusion
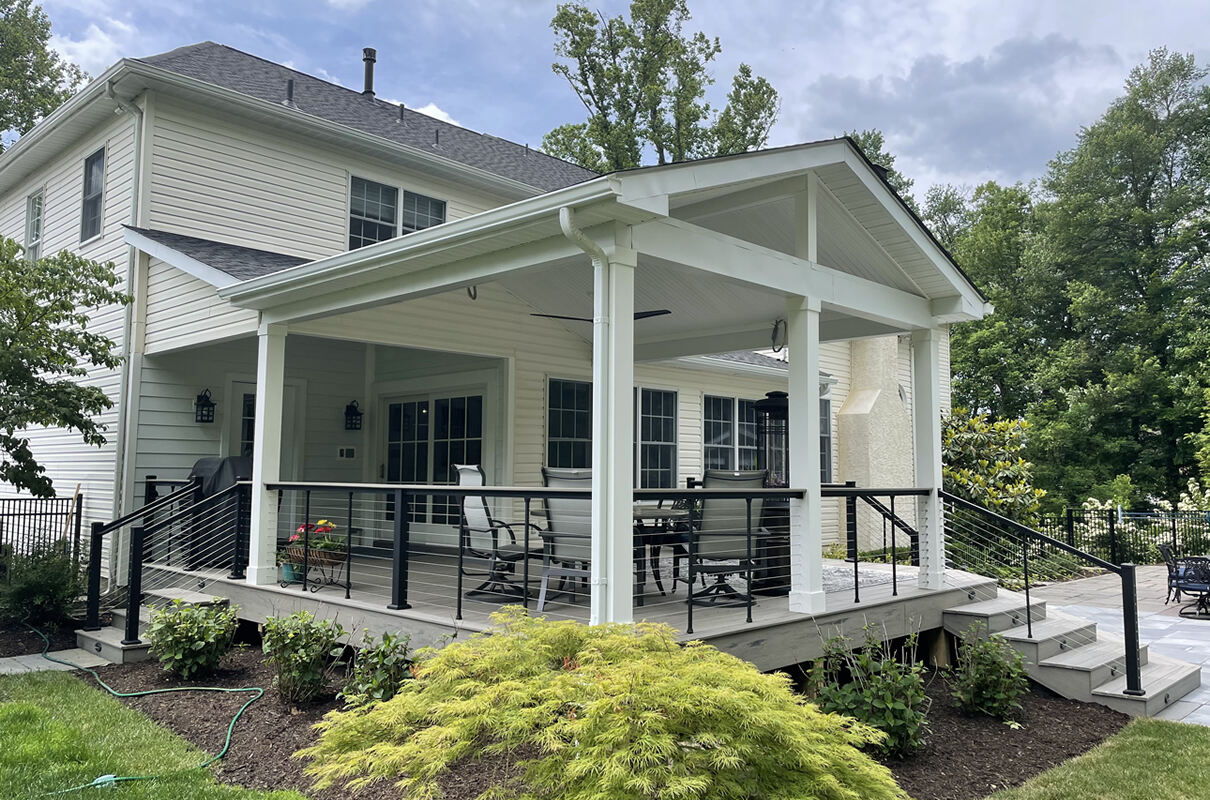
Congratulations on completing the construction of your covered porch! You have successfully transformed your outdoor space into a functional and inviting area that adds value and enjoyment to your home. By following the step-by-step process outlined in this guide, you have created a porch that aligns with your design preferences while ensuring structural integrity and compliance with local regulations.
Throughout the journey of planning, obtaining permits, gathering materials, and constructing your porch, you have gained valuable knowledge and skills that can be applied to future projects. Building a covered porch may have seemed like a daunting task, but with proper preparation and the right tools and materials, you have proven that it is achievable for both experienced DIY enthusiasts and beginners alike.
Remember to regularly maintain and inspect your porch to ensure its longevity and functionality. Regular cleaning, upkeep, and addressing any necessary repairs will help keep your porch in top condition, ready to be enjoyed for years to come.
Whether you plan to use your covered porch for relaxing, entertaining, or simply enjoying the beauty of the outdoors, it will undoubtedly become a cherished space in your home. Make it your own by adding furniture, decor, and personal touches that reflect your style and preferences.
We hope that this comprehensive guide has provided you with the knowledge and confidence to create the perfect covered porch. Enjoy your new outdoor oasis and the countless memorable moments it will provide!
Frequently Asked Questions about How To Build Covered Porch
Was this page helpful?
At Storables.com, we guarantee accurate and reliable information. Our content, validated by Expert Board Contributors, is crafted following stringent Editorial Policies. We're committed to providing you with well-researched, expert-backed insights for all your informational needs.

0 thoughts on “How To Build Covered Porch”