Home>Furniture & Design>Interior Design Trends>How To Install A Dog Door In A Glass Door
Interior Design Trends
How To Install A Dog Door In A Glass Door
Modified: October 19, 2024
Learn how to install a dog door in a glass door with our expert interior design trends guide. Create a pet-friendly home with ease.
(Many of the links in this article redirect to a specific reviewed product. Your purchase of these products through affiliate links helps to generate commission for Storables.com, at no extra cost. Learn more)
Introduction
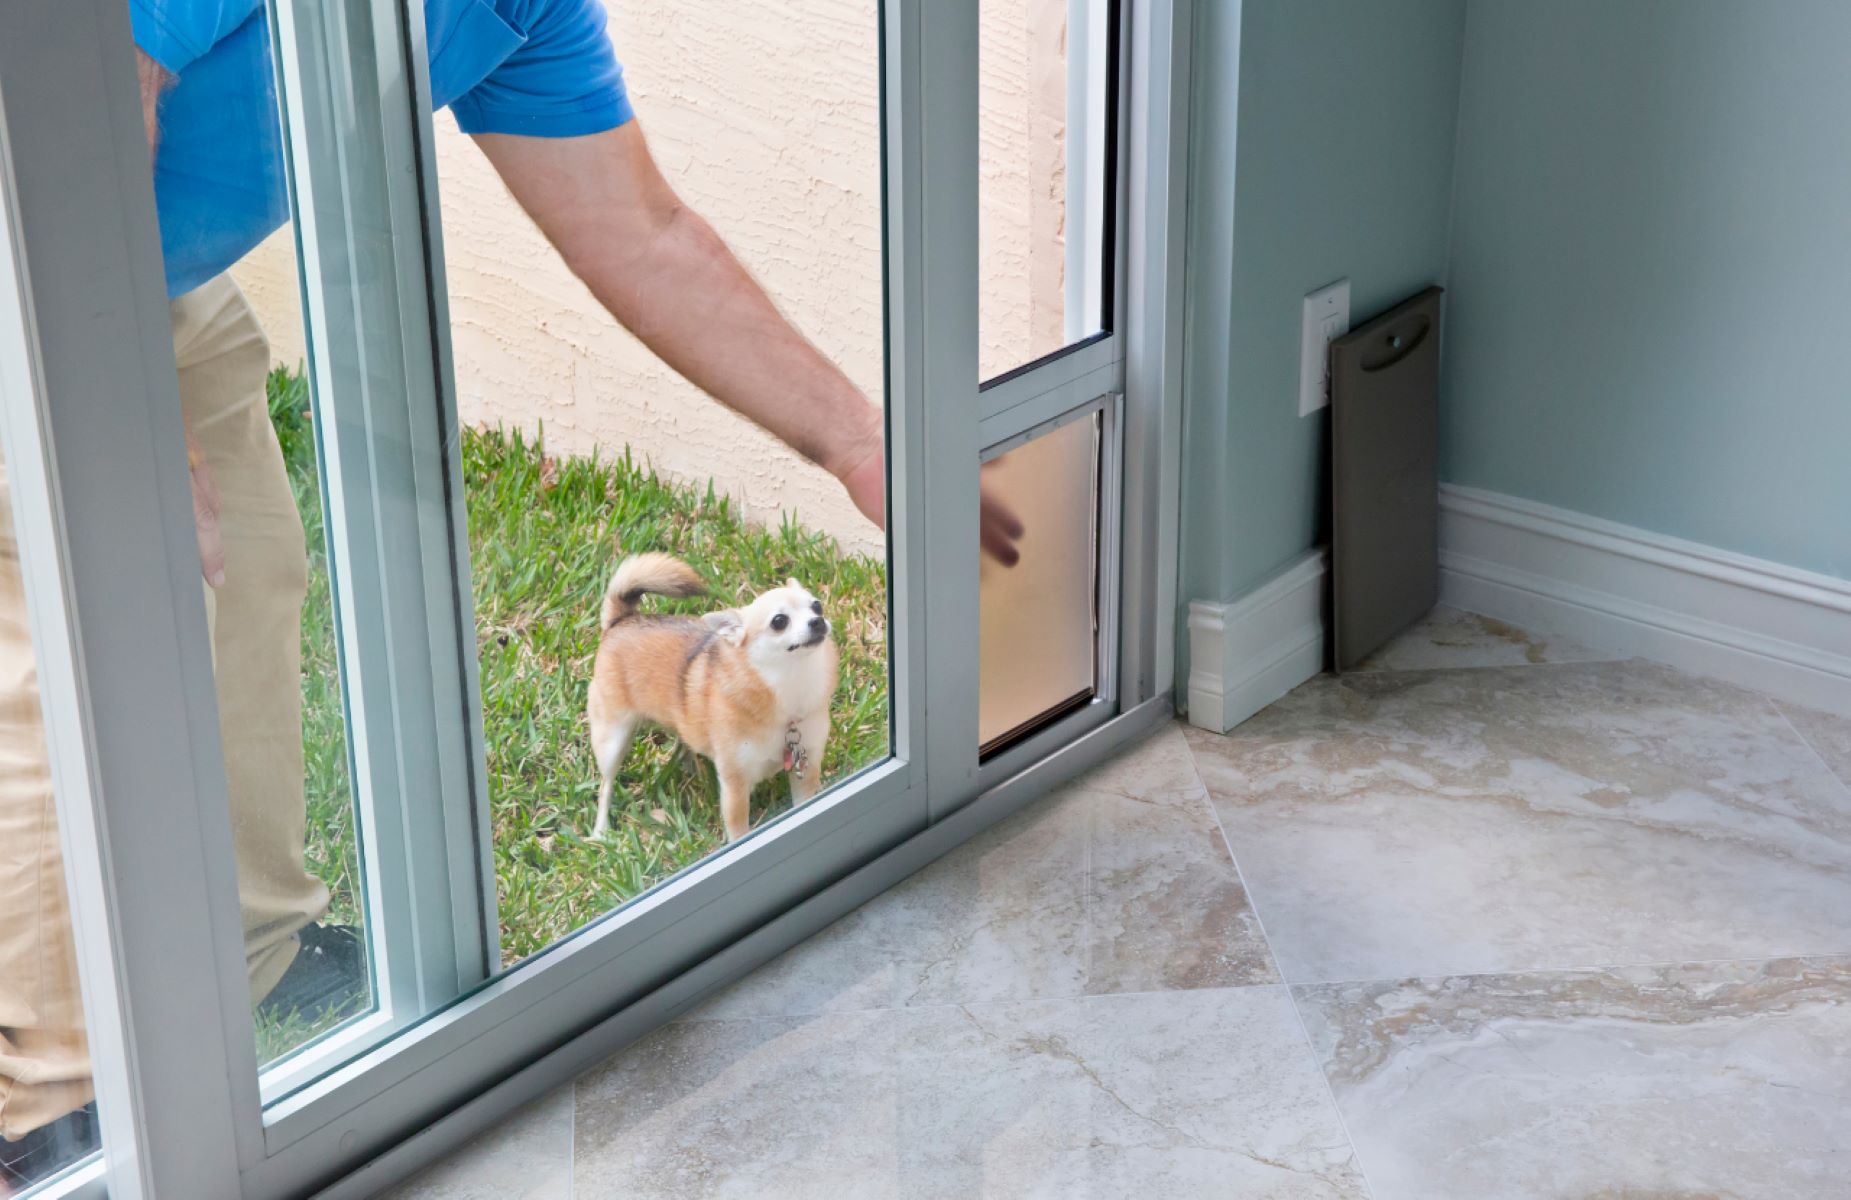
Installing a dog door in a glass door can greatly enhance the convenience and freedom of movement for both your furry friend and yourself. This simple yet impactful home improvement project allows your dog to come and go as they please, providing them with the freedom to enjoy the outdoors while giving you peace of mind. Whether you have a playful pup who loves to explore or an older dog who needs easy access to the yard, a dog door in a glass door can be a game-changer for your household.
By following the step-by-step guide outlined in this article, you can successfully install a dog door in a glass door without the need for professional assistance. Not only does this save you time and money, but it also gives you the satisfaction of completing a practical and rewarding DIY project.
With the right tools, materials, and a clear understanding of the process, you can seamlessly integrate a dog door into your glass door, providing your canine companion with the freedom they crave. This installation not only benefits your dog but also adds value to your home by increasing its functionality and appeal.
In the following sections, we will walk you through the necessary steps to complete this project, from gathering the essential tools and materials to testing the dog door and making any required adjustments. By the end of this guide, you will have the knowledge and confidence to install a dog door in a glass door, creating a more pet-friendly and accessible environment for your beloved canine companion.
Key Takeaways:
- Give your furry friend the freedom they crave by installing a dog door in your glass door. With the right tools and careful measurements, you can create a seamless and secure access point for your pet.
- After installing the dog door, test its functionality and make any necessary adjustments to ensure smooth operation. Your furry friend will enjoy easy access to the outdoors, and you’ll have peace of mind knowing they’re safe and secure.
Read more: How To Install A Dog Door In A Storm Door
Step 1: Gather the necessary tools and materials
Before embarking on the installation of a dog door in a glass door, it's crucial to gather all the essential tools and materials. By ensuring that you have everything you need at the outset, you can streamline the installation process and minimize interruptions. Here's a comprehensive list of the necessary items:
Tools:
- Safety goggles and gloves: Protect your eyes and hands during the glass-cutting process.
- Measuring tape and marker: Accurate measurements are vital for creating the opening in the glass door.
- Glass cutter or glass drill bit: Depending on the type of glass, you'll need a suitable tool to cut or drill the opening.
- Masking tape: Use this to create a guide for cutting the glass.
- Caulk gun: Essential for applying sealant to secure the dog door in place.
- Screwdriver: For attaching the dog door frame to the glass door.
- Level: Ensures that the dog door is installed straight and aligned.
Materials:
- Dog door kit: Choose a high-quality dog door kit suitable for installation in a glass door. Consider the size of your dog and the design of your glass door when selecting the appropriate kit.
- Sealant: Opt for a durable, weather-resistant sealant to secure the dog door in the glass door and prevent air or water leaks.
- Supporting frame: Depending on the dog door kit, you may need a supporting frame to reinforce the installation.
- Screws and anchors: Ensure you have the correct hardware to securely attach the dog door frame to the glass door.
- Cleaning supplies: Keep glass cleaner and a cloth on hand to clean the glass door before and after installation.
By gathering these tools and materials, you'll be well-prepared to commence the installation process with confidence. Having everything within reach will enable you to proceed smoothly through each step, ensuring a successful and efficient installation of the dog door in your glass door.
Step 2: Measure and mark the location for the dog door
Accurate measurements and precise marking are crucial for creating the opening in the glass door to accommodate the dog door. Before making any cuts or modifications, it's essential to carefully measure and mark the location to ensure a seamless and secure fit for the dog door.
Start by determining the ideal height for the dog door. Consider the size and breed of your dog, ensuring that the placement allows for comfortable access. Typically, the bottom of the dog door should be slightly above the height of your dog's shoulders to facilitate easy entry and exit.
Using a measuring tape and a marker, mark the desired height on the glass door. Next, measure the width of the dog door frame and mark the corresponding width on the glass. Ensure that the marked area provides sufficient space for the dog door without compromising the structural integrity of the glass door.
Once the height and width markings are in place, use a level to confirm that the markings are straight and aligned. This step is crucial for ensuring that the dog door will be installed evenly and securely.
After confirming the accuracy of the markings, use masking tape to outline the area where the glass will be cut. This not only provides a clear guide for the cutting process but also helps prevent the glass from splintering or cracking during the cutting phase.
Take the time to double-check the measurements and markings before proceeding to the next step. Accuracy at this stage is essential to avoid errors during the glass cutting process, ultimately leading to a successful installation of the dog door.
By meticulously measuring and marking the location for the dog door, you set the foundation for a precise and well-fitted installation. This attention to detail ensures that the subsequent steps in the installation process proceed smoothly, leading to a secure and functional dog door in your glass door.
Read more: How To Lock Sliding Glass Door With Dog Door
Step 3: Cut the glass to create the opening
With the location for the dog door marked and the measurements confirmed, the next critical step is to cut the glass to create the opening. This step requires precision, patience, and the use of appropriate tools to ensure a clean and accurate cut without compromising the integrity of the glass door.
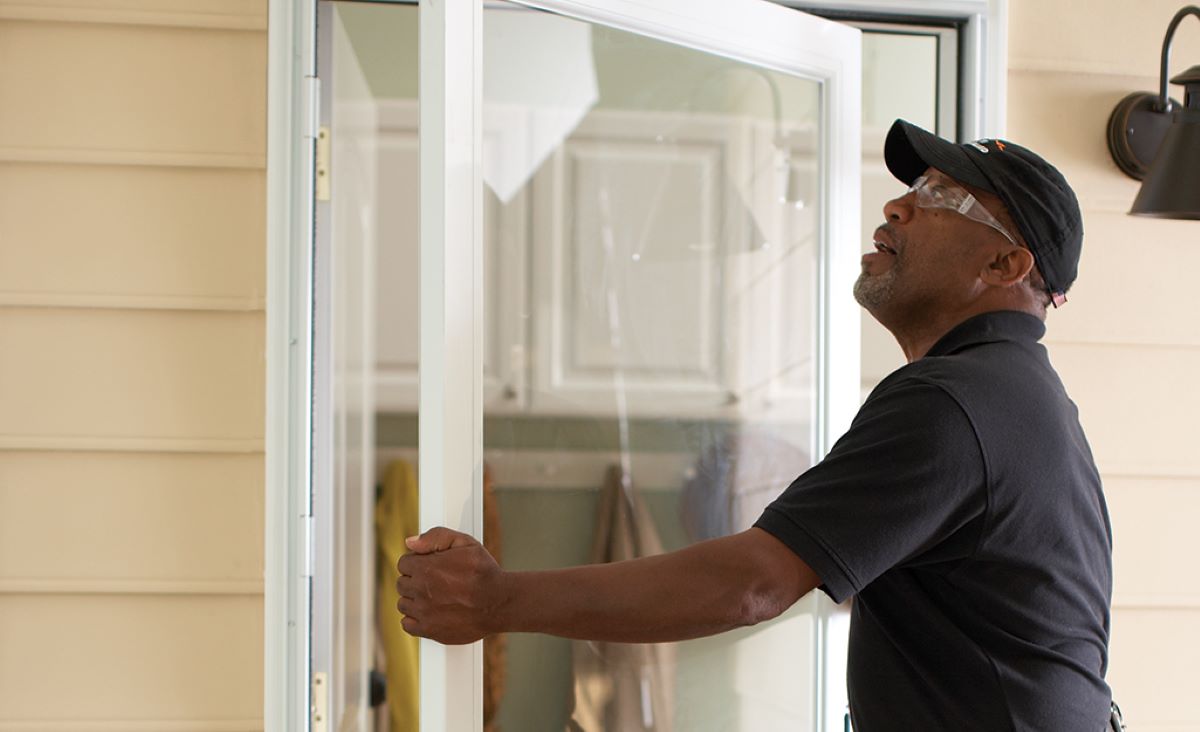
Before proceeding with the glass cutting process, it's essential to prioritize safety. Put on protective gloves and safety goggles to shield your hands and eyes from any glass fragments or debris. Additionally, ensure that the work area is clear of any obstructions and that you have a stable surface to support the glass door during the cutting process.
Depending on the thickness and type of glass, you'll need to use a suitable tool for cutting. For thinner glass, a glass cutter is typically used to score the surface along the marked lines. Apply firm and consistent pressure while scoring the glass to create a clean and precise line. If the glass is thicker or tempered, a glass drill bit designed for cutting through glass may be required. Exercise caution and patience when using a drill bit to avoid exerting excessive pressure on the glass, which can lead to cracks or shattering.
As you carefully cut along the marked lines, maintain a steady hand and ensure that the cutting tool follows the intended path. Take your time and avoid rushing the process, as a smooth and accurate cut is essential for the successful installation of the dog door.
Once the glass is cut along the marked outline, gently remove the excess glass to create the opening for the dog door. Use caution and avoid applying excessive force to prevent any sudden breakage or splintering. After the excess glass is removed, carefully inspect the edges of the opening to ensure that they are smooth and free of any sharp or jagged edges.
Throughout the glass cutting process, it's important to remain patient and attentive, prioritizing precision and safety. By taking the time to execute the cutting with care and accuracy, you can create a clean and well-defined opening that is ready to accommodate the installation of the dog door.
With the glass successfully cut to create the opening, you have completed a crucial phase in the installation process, bringing you one step closer to providing your canine companion with the freedom and accessibility of a dog door in your glass door.
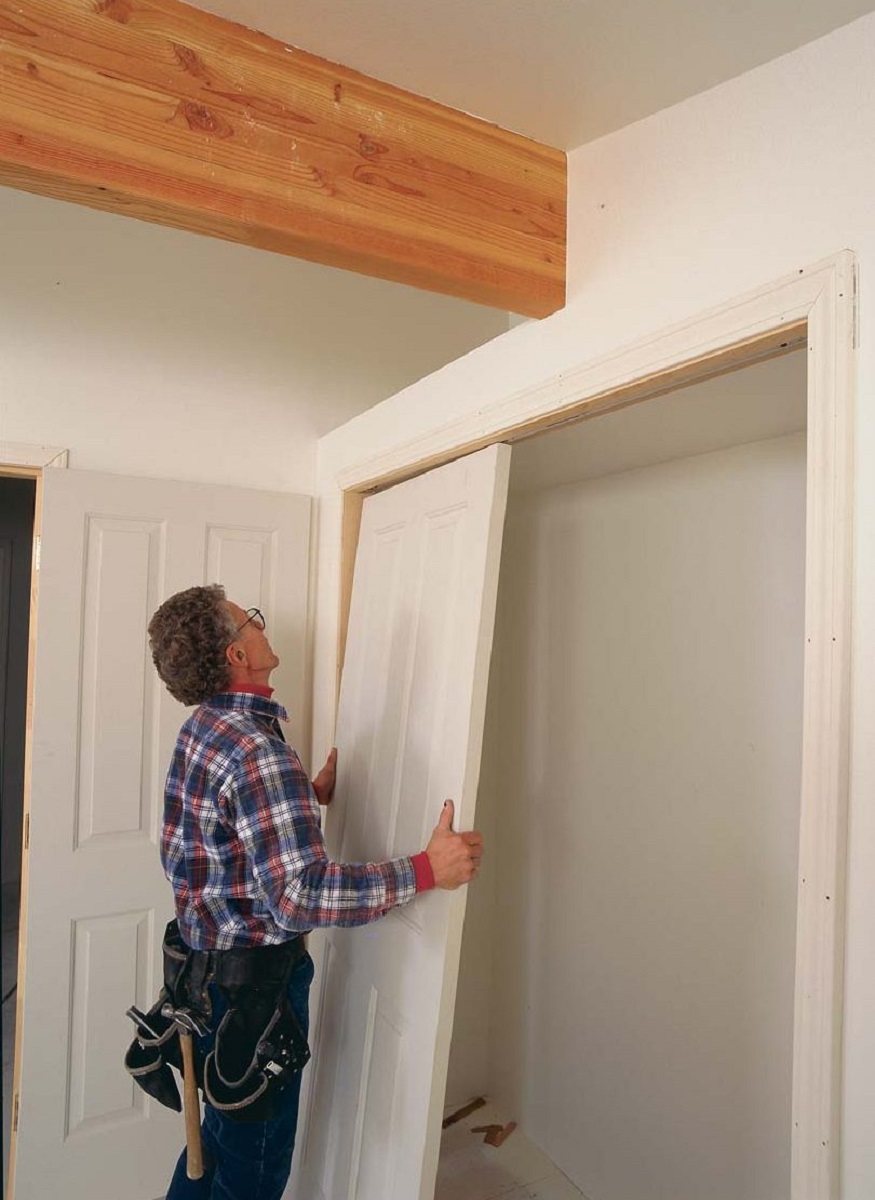
Step 4: Install the dog door into the glass door
With the glass door now prepared with a carefully cut opening, it's time to proceed with the installation of the dog door. This step involves securing the dog door into the glass door, ensuring a snug fit and proper alignment for seamless functionality.
Begin by carefully placing the dog door frame into the opening on the glass door. Ensure that the frame sits flush against the glass, allowing for a secure and stable installation. Depending on the design of the dog door kit, you may need to attach a supporting frame or brackets to reinforce the installation and provide additional stability.
Once the dog door frame is positioned correctly, use a caulking gun to apply a generous bead of sealant around the edges of the frame. The sealant serves a dual purpose, providing a watertight and airtight seal while also securing the dog door in place. Ensure that the sealant is applied evenly and covers the entire perimeter of the frame to prevent any potential leaks or gaps.
With the sealant in place, carefully press the dog door frame against the glass, allowing the sealant to create a strong bond between the frame and the glass door. Use a level to confirm that the frame is installed evenly and aligned properly, making any necessary adjustments to ensure a straight and balanced fit.
Next, use screws and anchors provided with the dog door kit to secure the frame firmly to the glass door. Place the screws at regular intervals along the frame, ensuring that they penetrate the glass door sufficiently to hold the dog door securely in place. Exercise caution and use the appropriate tools to avoid over-tightening the screws, which can potentially damage the glass.
After the frame is securely attached, wipe away any excess sealant and clean the glass door to ensure a polished and professional finish. Take the time to inspect the installation, confirming that the dog door is stable, level, and free of any gaps or loose areas.
By following these steps, you can successfully install the dog door into the glass door, providing your canine companion with a convenient and accessible entry point to the outdoors. This installation not only enhances your dog's freedom but also adds value and functionality to your home, creating a more pet-friendly environment for both you and your beloved furry friend.
When installing a dog door in a glass door, make sure to measure the size of your dog and the door opening accurately. Use a glass cutter to create the opening, and then carefully install the dog door according to the manufacturer’s instructions.
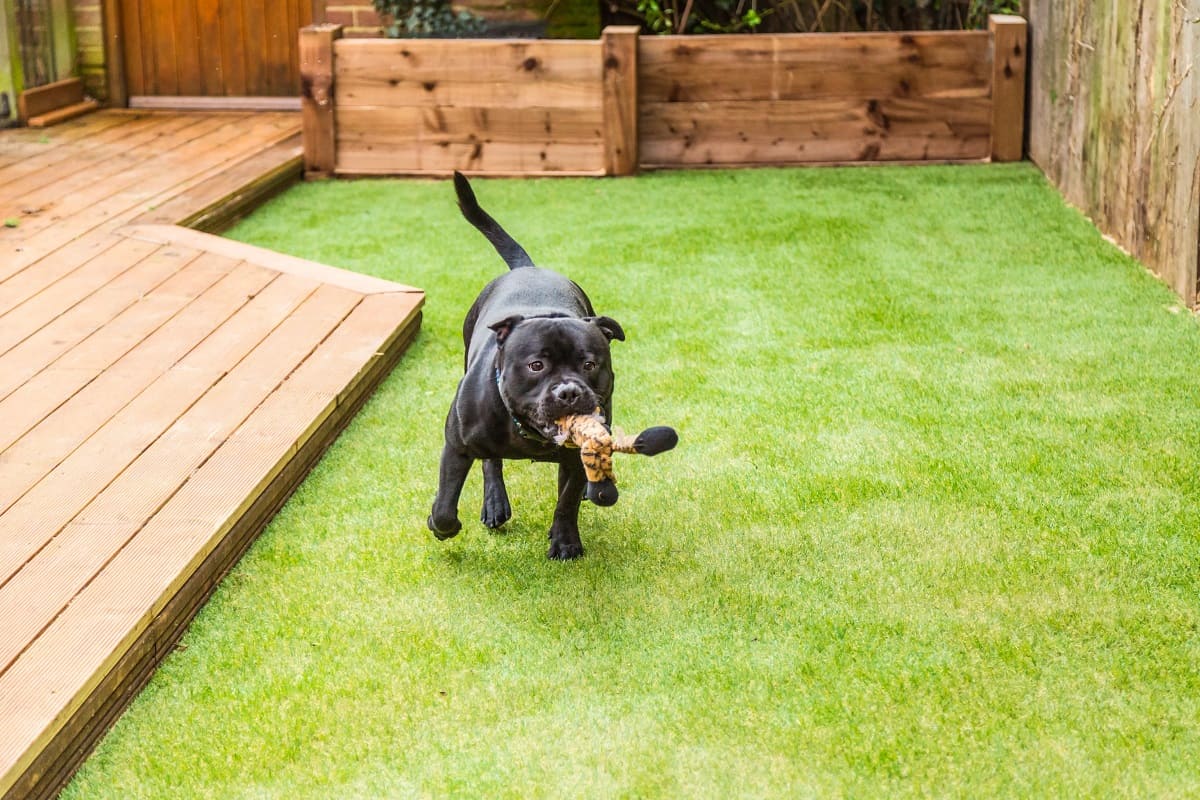
Step 5: Test the dog door and make any necessary adjustments
After completing the installation of the dog door into the glass door, it's crucial to thoroughly test the functionality and security of the newly installed access point for your canine companion. This step involves conducting a series of tests to ensure that the dog door operates smoothly and securely, followed by making any necessary adjustments to optimize its performance.
To begin, encourage your dog to approach the newly installed dog door and observe their interaction with it. Encourage and guide your dog to use the door, providing reassurance and positive reinforcement to familiarize them with the new access point. Observe how your dog approaches and passes through the door, ensuring that they can do so comfortably and without hesitation.
Next, conduct a series of tests to assess the functionality of the dog door. Open and close the door multiple times to confirm that it operates smoothly and without any obstructions. Pay close attention to the movement of the door, ensuring that it swings freely and securely without sticking or misaligning.
Simulate various weather conditions by exposing the dog door to gentle water spray or wind to evaluate its resistance to external elements. This test ensures that the sealant and installation provide adequate protection against water infiltration and drafts, maintaining the integrity of the glass door and the surrounding area.
Observe the dog door from both the interior and exterior of your home to confirm that it blends seamlessly with the glass door and does not compromise its aesthetic appeal. Additionally, check for any signs of air leaks or gaps around the frame, addressing any issues promptly to maintain energy efficiency and security.
If any adjustments are necessary, such as fine-tuning the alignment of the door or reinforcing the sealant, take the time to make these modifications. Ensure that the dog door is level, secure, and free of any potential hazards or vulnerabilities.
Finally, retest the dog door after making adjustments to confirm that it functions optimally and provides a safe and convenient access point for your dog. Encourage your furry friend to use the door once again, observing their comfort and confidence as they pass through.
By thoroughly testing the dog door and making any necessary adjustments, you can ensure that the installation is a success, providing your dog with a reliable and accessible entry point to the outdoors. This meticulous approach guarantees the long-term functionality and security of the dog door, offering both you and your canine companion peace of mind and convenience.
Conclusion
In conclusion, the installation of a dog door in a glass door represents a significant enhancement to both your home and the quality of life for your canine companion. By following the comprehensive steps outlined in this guide, you have successfully embarked on a rewarding DIY project that offers numerous benefits for you and your furry friend.
The process began with the meticulous gathering of essential tools and materials, ensuring that you were well-prepared to undertake the installation with confidence. By prioritizing safety and precision, you meticulously measured, marked, and cut the glass to create a perfectly tailored opening for the dog door. The careful installation of the dog door frame, supported by a secure sealant and precise attachment, ensured a seamless integration into the glass door.
After completing the installation, thorough testing and adjustments were conducted to guarantee the functionality, security, and weather resistance of the dog door. By observing your dog's interaction with the door and simulating various conditions, you confirmed that the installation met the highest standards of performance and reliability.
The successful installation of a dog door in your glass door not only provides your canine companion with the freedom to move in and out of your home but also offers you the convenience of a pet-friendly living space. This enhancement to your home's accessibility and functionality adds value to your property while enriching the daily lives of both you and your beloved pet.
As you witness your dog confidently using the newly installed door to access the outdoors, you can take pride in the accomplishment of completing a practical and impactful home improvement project. The seamless integration of the dog door into your glass door reflects your dedication to providing a comfortable and accommodating environment for your furry family member.
With the installation process now complete, you can enjoy the peace of mind that comes with knowing your dog has easy access to the outdoors while maintaining the security and integrity of your home. The successful installation of a dog door in your glass door serves as a testament to your commitment to creating a pet-friendly and harmonious living space for all members of your household.
In conclusion, the installation of a dog door in a glass door is a testament to your dedication to providing a comfortable and accommodating environment for your furry family member.
Frequently Asked Questions about How To Install A Dog Door In A Glass Door
Was this page helpful?
At Storables.com, we guarantee accurate and reliable information. Our content, validated by Expert Board Contributors, is crafted following stringent Editorial Policies. We're committed to providing you with well-researched, expert-backed insights for all your informational needs.


0 thoughts on “How To Install A Dog Door In A Glass Door”