Home>Furniture & Design>Interior Design Trends>How To Decoupage On Glass
Interior Design Trends
How To Decoupage On Glass
Modified: August 17, 2024
Learn how to decoupage on glass to create stunning interior design trends. Discover step-by-step instructions and tips for a beautiful DIY project. Elevate your home decor with decoupage techniques.
(Many of the links in this article redirect to a specific reviewed product. Your purchase of these products through affiliate links helps to generate commission for Storables.com, at no extra cost. Learn more)
Introduction
Decoupage is a delightful and versatile craft that allows you to transform ordinary glass surfaces into stunning works of art. Whether you're looking to add a personal touch to your home decor or create unique gifts for loved ones, decoupaging on glass offers endless creative possibilities. This technique involves decorating glass with layers of paper and sealing them with a protective finish, resulting in a beautiful and durable design.
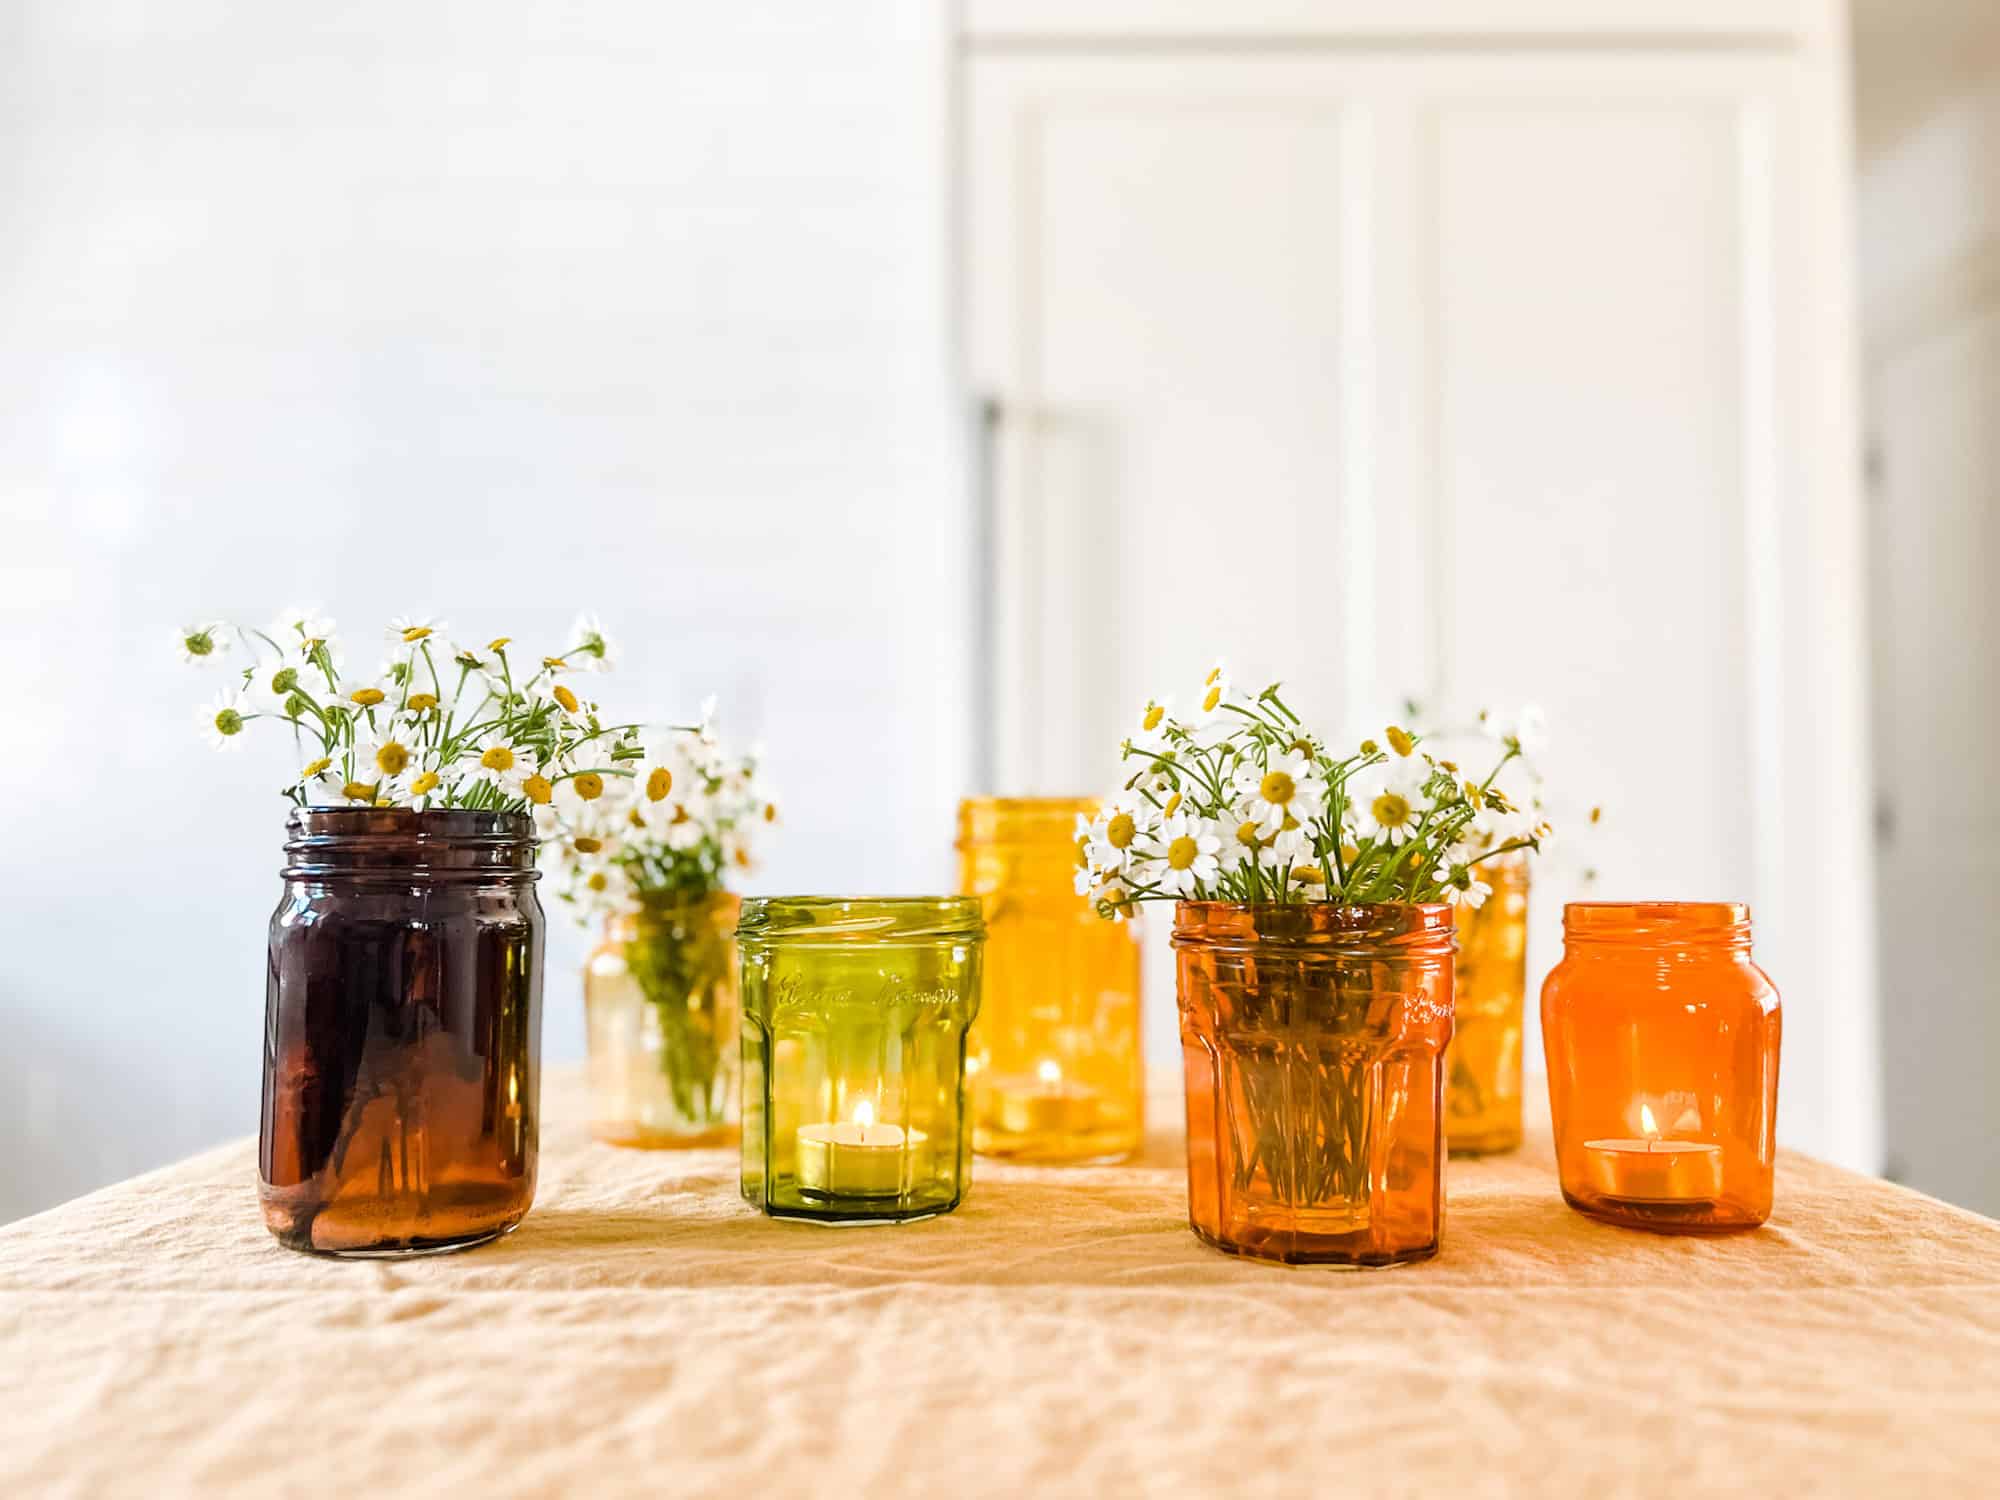
By combining your favorite images, patterns, and colors, you can customize glassware, vases, picture frames, and other glass items to suit your style and preferences. The process of decoupaging on glass is not only enjoyable but also a fantastic way to breathe new life into old or plain glass pieces, giving them a fresh and captivating look.
In this comprehensive guide, we will explore the step-by-step process of decoupaging on glass, from preparing the surface to selecting the right decoupage paper and applying the finishing touches. With the right materials, a dash of creativity, and a little patience, you can master the art of decoupage and create stunning glass decor pieces that are sure to impress.
So, gather your supplies, unleash your creativity, and let's embark on a captivating journey into the world of glass decoupage. Whether you're a seasoned crafter or a beginner eager to explore a new hobby, this guide will equip you with the knowledge and inspiration to bring your decoupage visions to life on glass surfaces. Let's dive in and discover the art of transforming plain glass into exquisite, personalized treasures through the enchanting craft of decoupage.
Key Takeaways:
- Transform plain glass into personalized treasures by decoupaging with favorite images and patterns, creating visually enchanting and enduring decor pieces that reflect individual style and artistic flair.
- Prepare, select, apply, and seal with precision and patience to master the art of glass decoupage, infusing everyday items with a touch of magic and creating captivating works of art.
Read more: What Is A Decoupage Napkin
Materials Needed
To embark on your glass decoupage journey, you'll need a selection of essential materials to ensure a smooth and successful crafting experience. Here's a comprehensive list of the items you'll require:
-
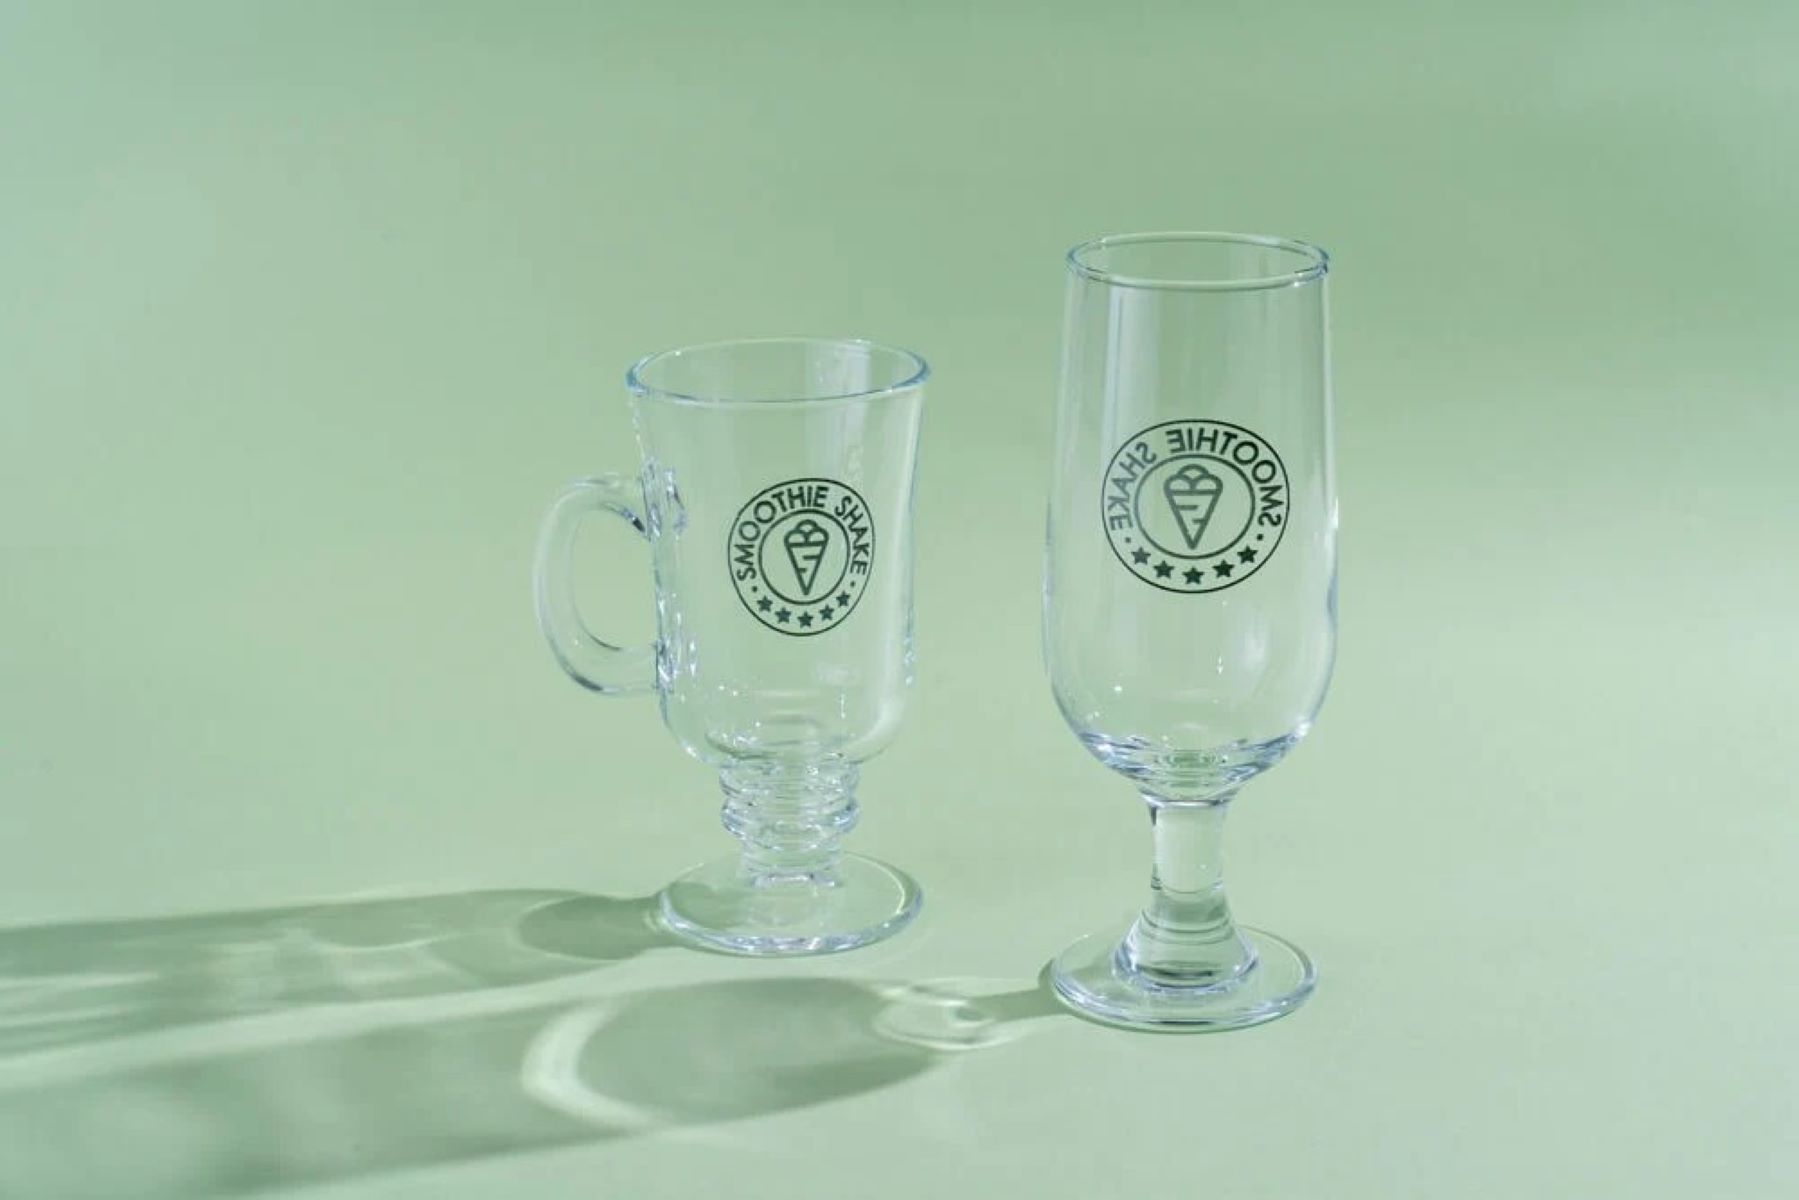
Glass Surface: Select the glass item you wish to decoupage, such as a vase, jar, plate, or any other glassware. Ensure that the surface is clean and free from dust and debris before starting the decoupage process.
-
Decoupage Paper: Choose decorative paper or napkins with captivating designs, patterns, or images that resonate with your personal style and the theme of your project. Decoupage paper is available in various designs, including floral motifs, vintage prints, abstract patterns, and more.
-
Decoupage Medium: Acquire a high-quality decoupage medium, such as Mod Podge or specialized glass decoupage glue, to adhere the paper to the glass surface. The decoupage medium serves as both an adhesive and a sealant, ensuring that the paper adheres smoothly and securely to the glass.
-
Paintbrushes: Invest in a set of soft-bristled paintbrushes in different sizes to facilitate the application of the decoupage medium and ensure precise and even coverage. A flat brush is ideal for applying the medium, while smaller brushes can be used for intricate areas and detailed work.
-
Scissors or Craft Knife: Have a pair of sharp scissors or a craft knife on hand to cut the decoupage paper to the desired size and shape, allowing you to create custom designs that fit the dimensions of your glass surface.
-
Protective Finish: Consider using a clear, waterproof sealant or varnish to protect the decoupage design from moisture, dust, and scratches, ensuring the longevity and durability of your finished piece.
-
Clean Cloth: Keep a clean, lint-free cloth nearby to gently smooth out the decoupage paper and remove any air bubbles or wrinkles during the application process.
-
Optional Embellishments: If desired, gather additional embellishments such as ribbons, beads, or glitter to enhance the visual appeal of your decoupage project and add a touch of individuality.
By assembling these essential materials, you'll be well-prepared to embark on your glass decoupage adventure and bring your creative visions to life on glass surfaces. With the right tools at your disposal, you can unleash your artistic flair and embark on a captivating crafting journey that culminates in stunning, personalized glass decor pieces.
Preparing the Glass Surface
Before delving into the enchanting process of decoupaging on glass, it is crucial to prepare the glass surface to ensure optimal adhesion and a flawless end result. Proper preparation sets the stage for a successful decoupage project and contributes to the longevity of the finished piece. Here's a detailed guide on how to prepare the glass surface for decoupage:
-
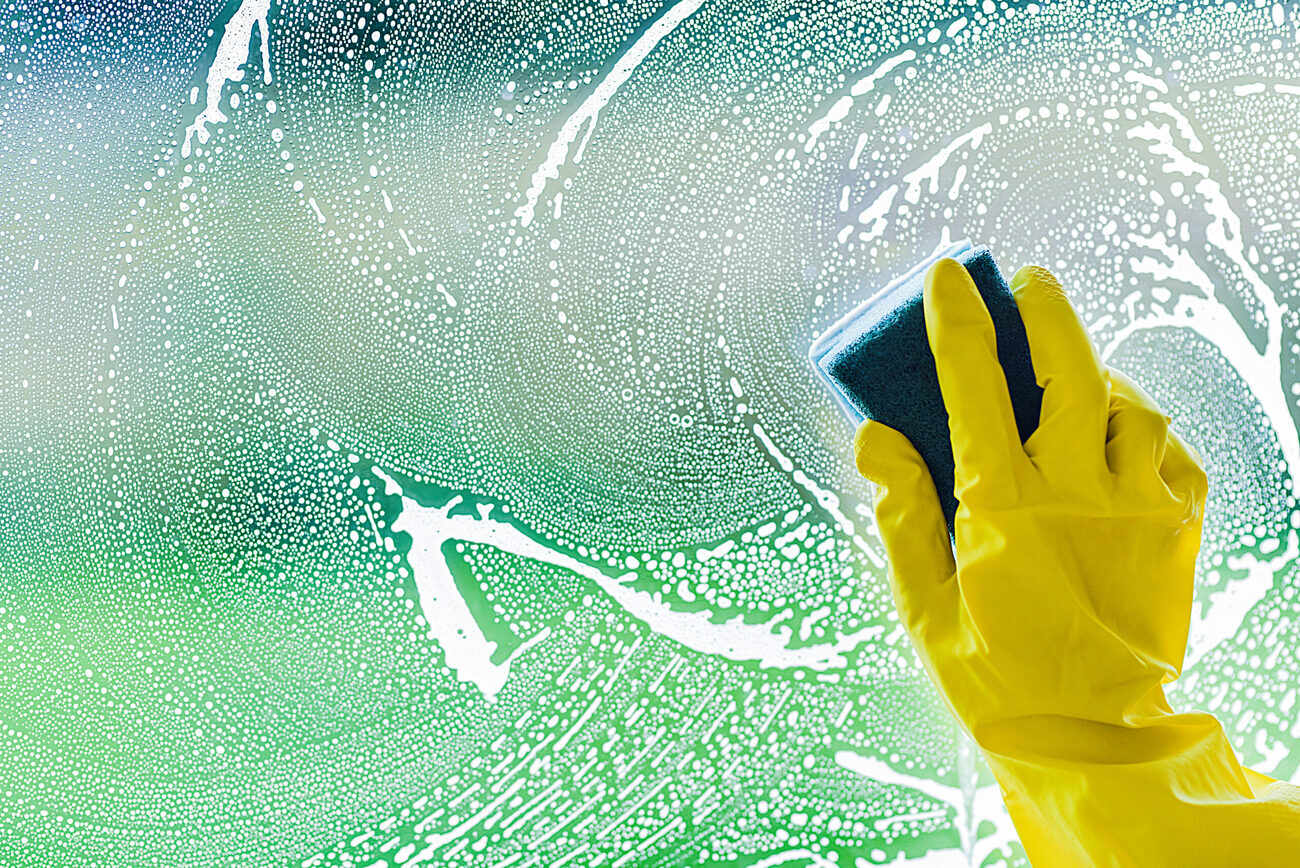
Clean the Glass: Begin by thoroughly cleaning the glass surface with a gentle glass cleaner or a solution of mild dish soap and water. Ensure that the glass is free from fingerprints, dust, and any other residues that may hinder the adhesion of the decoupage paper.
-
Dry the Surface: After cleaning, allow the glass surface to dry completely. A lint-free cloth can be used to gently pat the surface dry, ensuring that no moisture or cleaning residue remains.
-
Remove Stickers or Labels: If the glass item has any stickers, labels, or adhesive residues, carefully peel them off. Any sticky residue can be removed using a mild adhesive remover or rubbing alcohol. It is essential to eliminate any obstructions that may interfere with the smooth application of the decoupage paper.
-
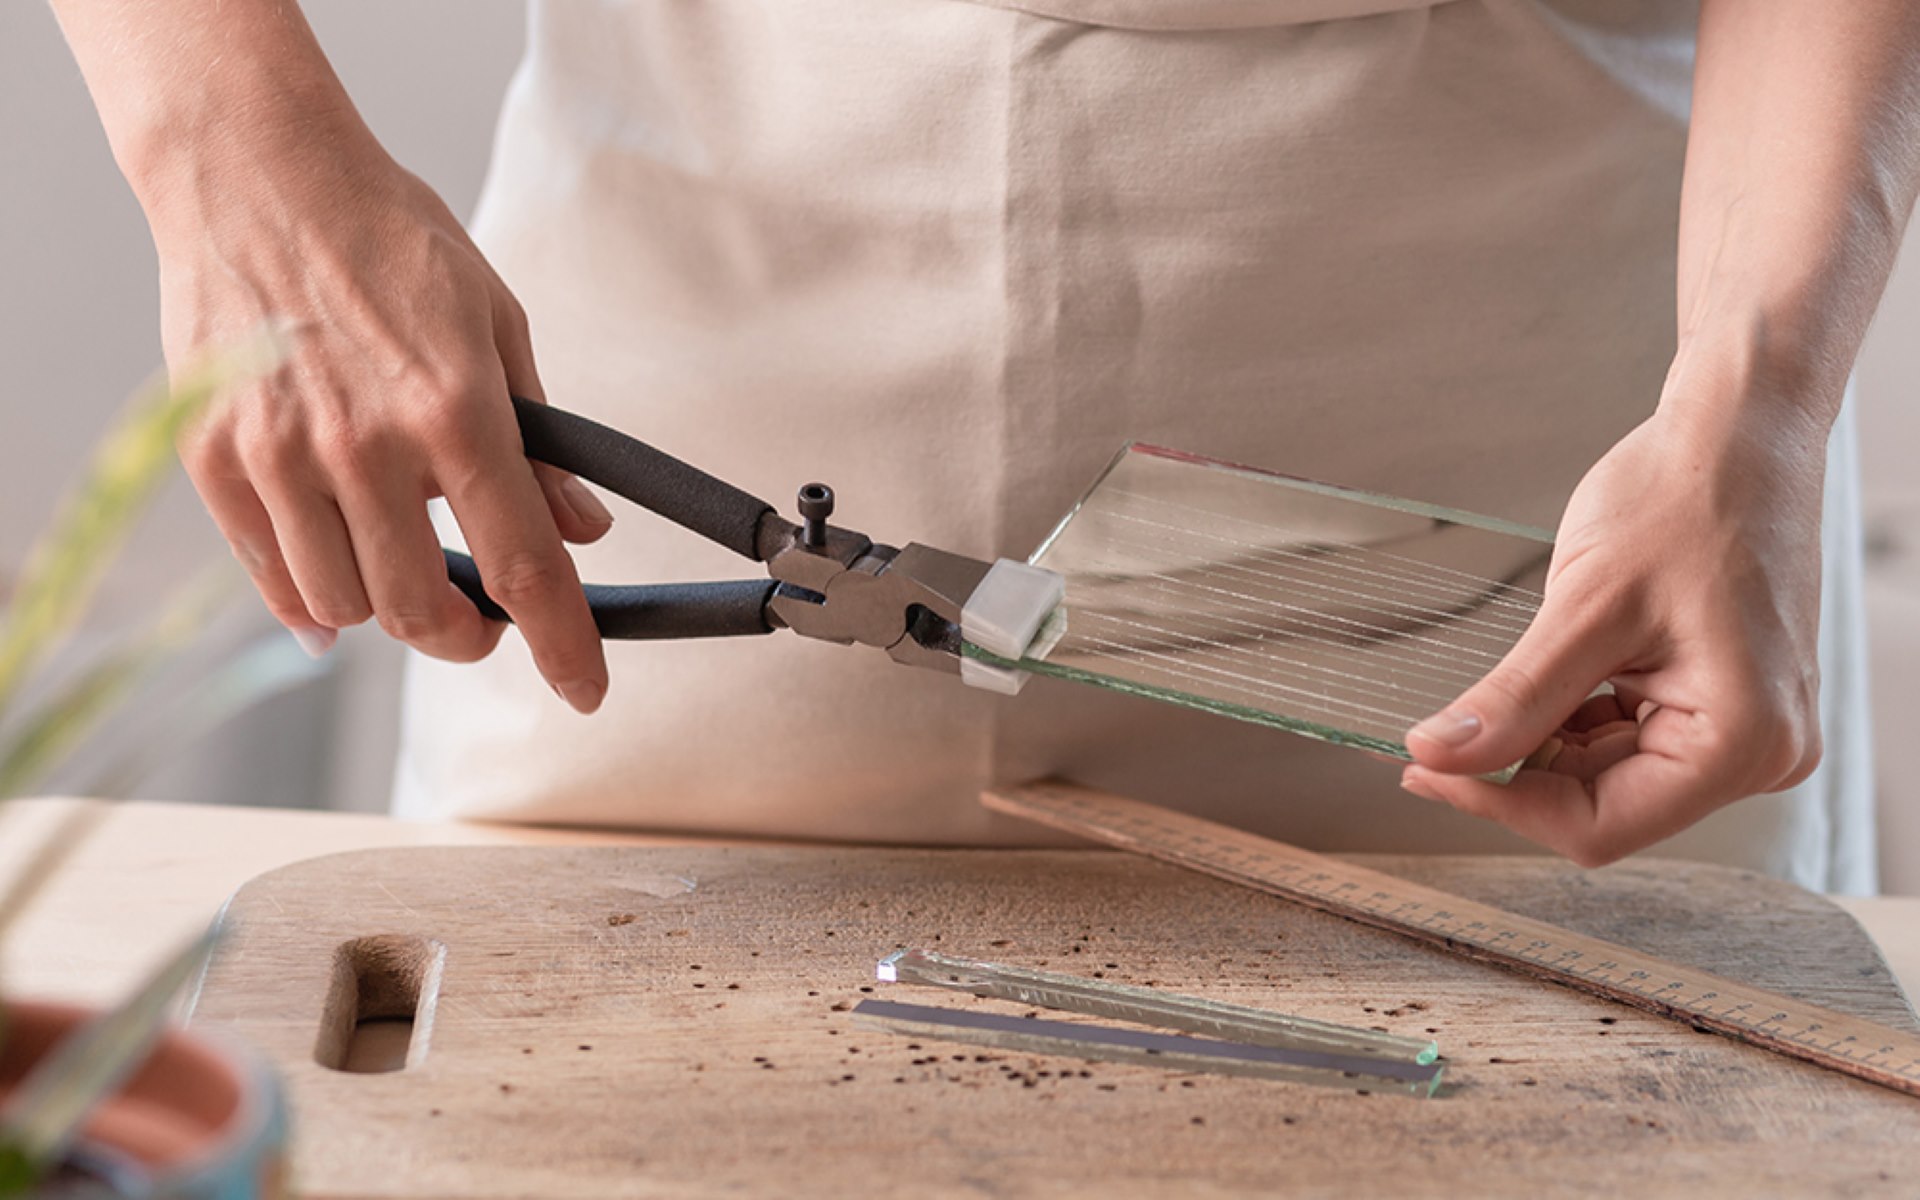
Sand the Edges (Optional): For glass items with sharp or rough edges, consider lightly sanding the edges to create a smooth and safe surface. This step is particularly important if the glass item will be frequently handled, ensuring that the edges are comfortable to touch.
-
Protect Surrounding Areas: If you are working with a glass item that has delicate or non-decoupage areas, such as metal hardware or decorative accents, consider masking off these areas with painter's tape to prevent accidental application of the decoupage medium.
By meticulously preparing the glass surface, you establish a clean and receptive canvas for the decoupage process. This foundational step sets the stage for seamless paper adhesion and ensures that your decoupage design adheres flawlessly to the glass, resulting in a professional-looking and enduring finished piece. With the glass surface primed and ready, you are now poised to embark on the captivating journey of transforming plain glass into a personalized work of art through the captivating art of decoupage.
Choosing and Cutting the Decoupage Paper
The process of selecting and cutting the decoupage paper is a pivotal stage in the art of glass decoupage, as it sets the visual tone and defines the aesthetic appeal of the finished piece. When choosing decoupage paper for your glass project, consider the theme, color scheme, and overall design vision you aim to achieve. Whether you prefer vibrant florals, vintage motifs, abstract patterns, or whimsical illustrations, the decoupage paper serves as the artistic foundation of your glass decor creation.
When perusing decoupage paper options, explore a diverse array of designs and styles to find the perfect match for your project. Consider the intended use of the glass item and the ambiance you wish to evoke. For instance, if you are decoupaging a vase for a nature-inspired centerpiece, you might opt for botanical prints or serene landscapes. Conversely, if you are embellishing a picture frame for a playful and eclectic display, you could explore bold geometric patterns or charming illustrations.
Once you have selected the ideal decoupage paper, it's time to cut it to fit the dimensions of your glass surface. Carefully measure the area you intend to cover and use sharp scissors or a craft knife to precisely cut the paper to the desired size and shape. For curved or irregularly shaped glass items, such as bottles or rounded vases, consider cutting the paper into smaller sections to facilitate smooth application and minimize wrinkles.
Precision is key when cutting the decoupage paper, as accurately sized pieces ensure a seamless and professional-looking result. Take your time to trim the paper with care, paying attention to details and ensuring that the cut pieces align harmoniously with the contours of the glass surface. By approaching the cutting process with patience and precision, you set the stage for a successful and visually captivating decoupage application.
With the decoupage paper meticulously chosen and expertly cut to fit the glass surface, you are now poised to embark on the enchanting process of applying the paper to the glass, infusing your chosen glass item with personalized charm and artistic flair.
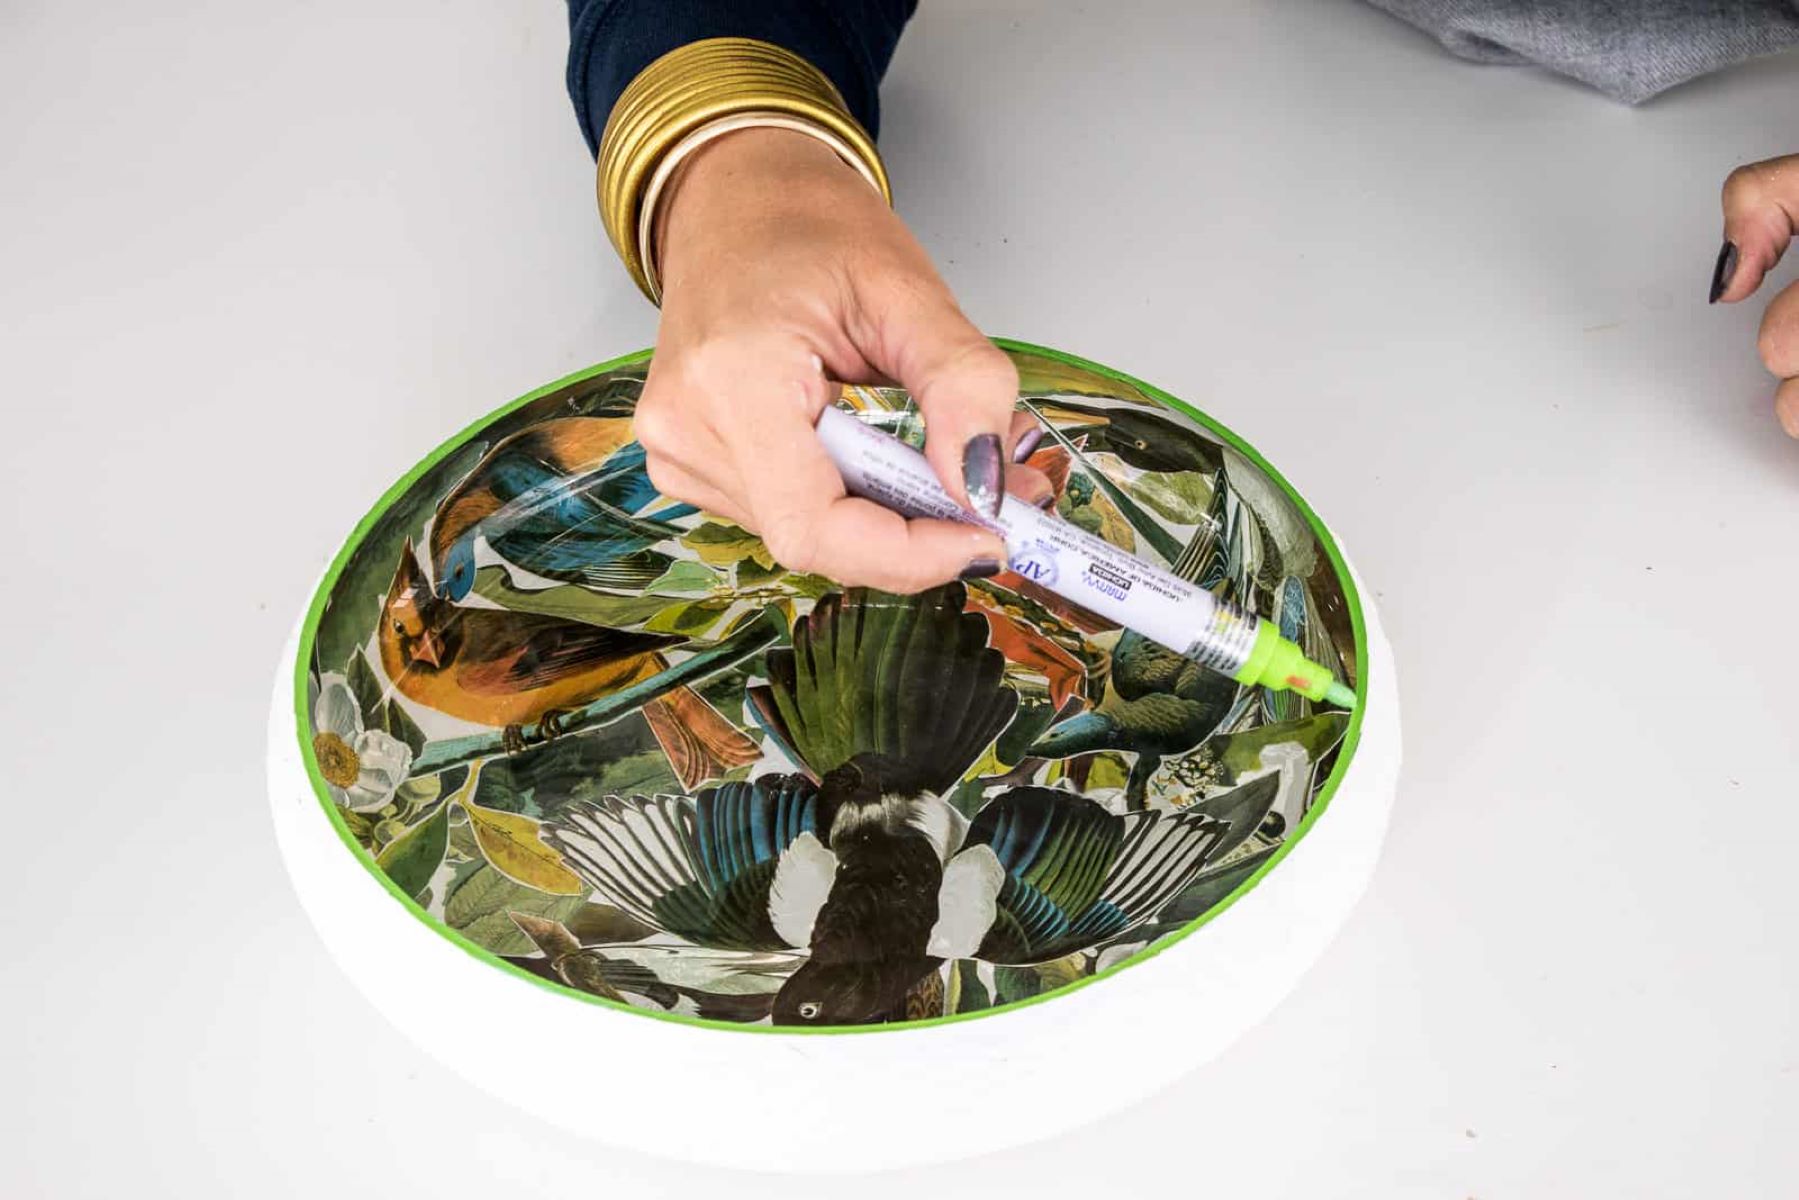
Applying the Decoupage Medium
The application of the decoupage medium is a crucial step in the glass decoupage process, as it serves as both an adhesive and a sealant, facilitating the smooth and secure attachment of the decoupage paper to the glass surface. This transformative stage brings your artistic vision to life, as the chosen decoupage paper becomes an integral part of the glass item, adding a personalized touch and visual allure.
To begin, ensure that the glass surface is clean and dry, free from any dust or residues that may hinder the adhesion of the decoupage medium. Using a soft-bristled paintbrush, apply a generous and even layer of the decoupage medium to the area of the glass where the decoupage paper will be placed. The medium should be spread smoothly and consistently, ensuring complete coverage of the designated area.
As you apply the decoupage medium, work methodically and avoid over-saturating the glass surface, as excessive moisture can cause the paper to wrinkle or become translucent. Aim for a moderate application that provides ample adhesive support without creating a soggy or uneven base for the decoupage paper.
Once the decoupage medium is applied, carefully position the cut decoupage paper onto the glass surface, gently smoothing it out with a clean, dry cloth to remove any air bubbles or wrinkles. Take your time to ensure that the paper adheres seamlessly to the glass, aligning with the contours of the surface and creating a visually pleasing bond.
After the decoupage paper is in place, apply an additional layer of the decoupage medium over the paper, effectively sealing it to the glass surface. This protective layer not only secures the paper in position but also shields it from moisture, dust, and wear, enhancing the durability and longevity of the decoupage design.
Throughout the application process, maintain a steady hand and a patient approach, allowing each layer of the decoupage medium to dry thoroughly before proceeding to the next step. This ensures that the decoupage paper adheres securely and that the finished piece boasts a professional and polished appearance.
By skillfully applying the decoupage medium, you infuse the glass item with the captivating essence of your chosen decoupage paper, creating a harmonious fusion of artistry and functionality. This transformative stage marks a significant milestone in the glass decoupage journey, bringing you one step closer to unveiling a personalized and visually enchanting glass decor piece that reflects your unique style and creative expression.
When decoupaging on glass, make sure to clean the surface thoroughly and use a clear-drying adhesive. Apply the paper or fabric carefully to avoid air bubbles, and seal with a waterproof sealant for long-lasting results.
Read more: How To Glue Glass To Glass Permanently
Placing the Decoupage Paper on the Glass
With the decoupage medium expertly applied to the glass surface, it's time to embark on the captivating process of placing the meticulously cut decoupage paper onto the awaiting canvas of glass. This pivotal step marks the seamless integration of art and functionality, as the chosen paper design becomes an integral part of the glass item, infusing it with personalized charm and visual allure.
Carefully lift the cut decoupage paper, ensuring that it aligns harmoniously with the contours of the glass surface. Gently position the paper onto the designated area, taking care to avoid wrinkles or air bubbles. As the paper makes contact with the decoupage medium, use a clean, dry cloth to smooth it out, ensuring a secure and wrinkle-free adhesion.
For curved or irregularly shaped glass items, such as bottles or rounded vases, consider working in smaller sections, gradually applying and smoothing the paper to accommodate the unique contours of the surface. This approach facilitates a seamless and professional-looking application, allowing the decoupage design to gracefully conform to the shape of the glass item.
As the decoupage paper adheres to the glass, take a moment to admire the visual transformation taking place before your eyes. The chosen design, whether it be a captivating floral motif, a vintage-inspired pattern, or a whimsical illustration, now breathes new life into the glass item, elevating it from plain to personalized with a touch of artistic flair.
Once the decoupage paper is securely in place, allow it to dry thoroughly, ensuring that the adhesive bond between the paper and the glass surface is strong and resilient. This drying period sets the stage for the final sealing step, where a protective finish will be applied to safeguard the decoupage design and enhance its longevity.
By skillfully placing the decoupage paper onto the glass, you bring your artistic vision to fruition, creating a captivating fusion of design and functionality. This transformative stage marks a significant milestone in the glass decoupage journey, as the glass item evolves into a personalized and visually enchanting decor piece that reflects your unique style and creative expression.
Sealing the Decoupage
Sealing the decoupage design on glass is a pivotal step that not only enhances the visual appeal of the finished piece but also ensures its durability and longevity. This protective sealing process safeguards the decoupage paper from moisture, dust, and wear, preserving the intricate design and maintaining its pristine appearance over time.
To seal the decoupage on glass, begin by ensuring that the applied decoupage medium and paper are completely dry. This is essential to prevent any smudging or disruption of the design during the sealing process. Once the decoupage components are thoroughly dry, it's time to apply a protective finish over the entire surface of the glass item.
Select a high-quality clear sealant or varnish specifically designed for use on glass surfaces. This sealant not only provides a protective barrier but also enhances the visual impact of the decoupage design, imparting a subtle sheen that accentuates the colors and details of the paper.
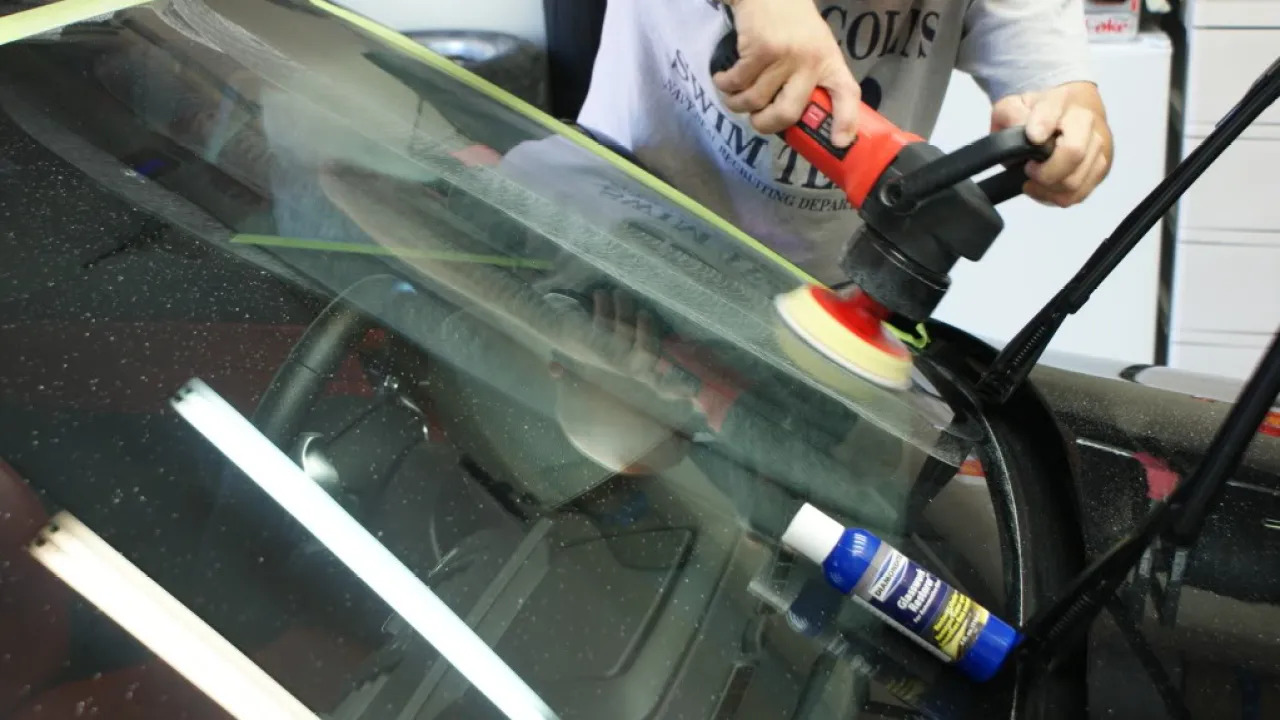
Using a clean, soft-bristled paintbrush, carefully apply a smooth and even layer of the sealant over the entire decoupaged area. Work methodically to ensure complete coverage, paying attention to any intricate details or edges. The sealant serves as a shield, encapsulating the decoupage design and fortifying it against environmental elements.
Allow the first layer of sealant to dry according to the manufacturer's instructions. Depending on the specific product, this may involve a designated drying time or multiple coats for optimal protection. Once the initial layer is dry, consider applying a second or even third coat of sealant to reinforce the protective barrier and enhance the luster of the decoupage design.
As the final layer of sealant dries, take a moment to admire the captivating transformation of the glass item. The sealant not only safeguards the decoupage design but also imparts a professional and polished finish, elevating the piece to a new level of visual allure and sophistication.
Upon completion of the sealing process, allow the glass item to cure fully as per the sealant manufacturer's recommendations. This curing period ensures that the sealant forms a resilient and enduring shield, fortifying the decoupage design and preparing the glass item for display or practical use.
By meticulously sealing the decoupage on glass, you elevate your creation to a state of enduring beauty and functionality. The protective sealant not only preserves the intricate design but also bestows a captivating luster, transforming the glass item into a personalized and visually enchanting decor piece that reflects your unique style and creative expression.
Tips and Tricks
-
Paper Selection: When choosing decoupage paper for glass projects, consider using thin, lightweight paper or napkins, as they adhere more smoothly to curved glass surfaces, minimizing wrinkles and air bubbles.
-
Smooth Application: To achieve a seamless and wrinkle-free application, gently press the decoupage paper onto the glass surface using a clean, dry cloth, starting from the center and working outwards to expel any trapped air.
-
Layering Technique: Experiment with layering multiple pieces of decoupage paper to create intricate and dimensional designs on glass items, adding depth and visual interest to your decoupage projects.
-
Custom Cutouts: Embrace creativity by cutting out specific elements from decoupage paper, such as individual motifs or patterns, to create custom designs that perfectly complement the shape and style of the glass item.
-
Edge Finishing: To achieve a polished look, consider painting the edges of the decoupage paper with a coordinating color or metallic paint, adding a refined touch to the finished glass decor piece.
-
Embellishment Integration: Explore the incorporation of additional embellishments, such as ribbons, beads, or decorative trims, to enhance the visual impact of your decoupage design and infuse the glass item with personalized charm.
-
Protective Maintenance: After completing the decoupage process, ensure the longevity of your glass decor piece by gently hand-washing it when necessary and avoiding prolonged exposure to direct sunlight to prevent fading.
-
Creative Experimentation: Don't be afraid to experiment with various decoupage techniques, such as distressing or layering, to achieve unique and captivating effects that elevate your glass decoupage projects to new artistic heights.
-
Precision and Patience: Approach each step of the decoupage process with precision and patience, taking the time to ensure meticulous paper placement and smooth application of the decoupage medium for professional-looking results.
-
Inspiration and Personalization: Draw inspiration from diverse sources, such as nature, art, and personal experiences, to infuse your glass decoupage projects with a touch of individuality and heartfelt creativity, resulting in truly unique and meaningful decor pieces.
By incorporating these tips and tricks into your glass decoupage endeavors, you can elevate your crafting experience and unleash your creativity, resulting in stunning and personalized glass decor pieces that captivate the eye and reflect your artistic vision.
Conclusion
In conclusion, the art of decoupaging on glass offers a captivating avenue for self-expression, creativity, and personalized decor creation. Through the meticulous application of decoupage paper, the expert use of decoupage medium, and the protective sealing process, plain glass items are transformed into visually enchanting and enduring pieces that reflect individual style and artistic flair.
The journey of glass decoupage begins with careful preparation, ensuring that the glass surface is clean, smooth, and receptive to the transformative process that lies ahead. The selection and cutting of decoupage paper play a pivotal role, setting the visual tone and defining the aesthetic appeal of the finished piece. Whether embracing vibrant florals, vintage motifs, or whimsical illustrations, the chosen decoupage paper becomes an integral part of the glass item, infusing it with personalized charm and visual allure.
The application of the decoupage medium marks a significant milestone, as the chosen paper design seamlessly integrates with the glass surface, creating a harmonious fusion of artistry and functionality. The careful placement of the decoupage paper onto the glass, followed by the sealing process, ensures the durability and longevity of the finished piece, safeguarding the intricate design and bestowing a captivating luster.
As crafters and enthusiasts embark on their glass decoupage endeavors, the incorporation of tips and tricks, such as paper selection, smooth application techniques, and creative experimentation, elevates the crafting experience and unleashes boundless creativity. Each step of the process, from paper selection to protective maintenance, is infused with precision, patience, and a touch of individuality, resulting in truly unique and meaningful decor pieces that captivate the eye and reflect heartfelt creativity.
In essence, the art of decoupaging on glass transcends mere crafting; it is a journey of self-expression, artistic exploration, and the creation of personalized treasures that adorn living spaces with beauty and individuality. Whether adorning vases, jars, picture frames, or other glassware, the art of glass decoupage invites crafters to infuse everyday items with a touch of magic, transforming them into captivating works of art that resonate with personal style and creative vision.
Frequently Asked Questions about How To Decoupage On Glass
Was this page helpful?
At Storables.com, we guarantee accurate and reliable information. Our content, validated by Expert Board Contributors, is crafted following stringent Editorial Policies. We're committed to providing you with well-researched, expert-backed insights for all your informational needs.


0 thoughts on “How To Decoupage On Glass”