Home>Furniture & Design>Interior Design Trends>How To Remove Glass Shower Doors
Interior Design Trends
How To Remove Glass Shower Doors
Modified: August 27, 2024
Learn the latest interior design trends for removing glass shower doors and creating a modern, spacious bathroom. Upgrade your space with these expert tips!
(Many of the links in this article redirect to a specific reviewed product. Your purchase of these products through affiliate links helps to generate commission for Storables.com, at no extra cost. Learn more)
Introduction
Removing glass shower doors can be a daunting task, but with the right tools and a systematic approach, it can be accomplished efficiently and safely. Whether you're looking to replace your shower doors with a curtain for a fresh new look or need to remove them for maintenance or renovation purposes, this guide will walk you through the step-by-step process.
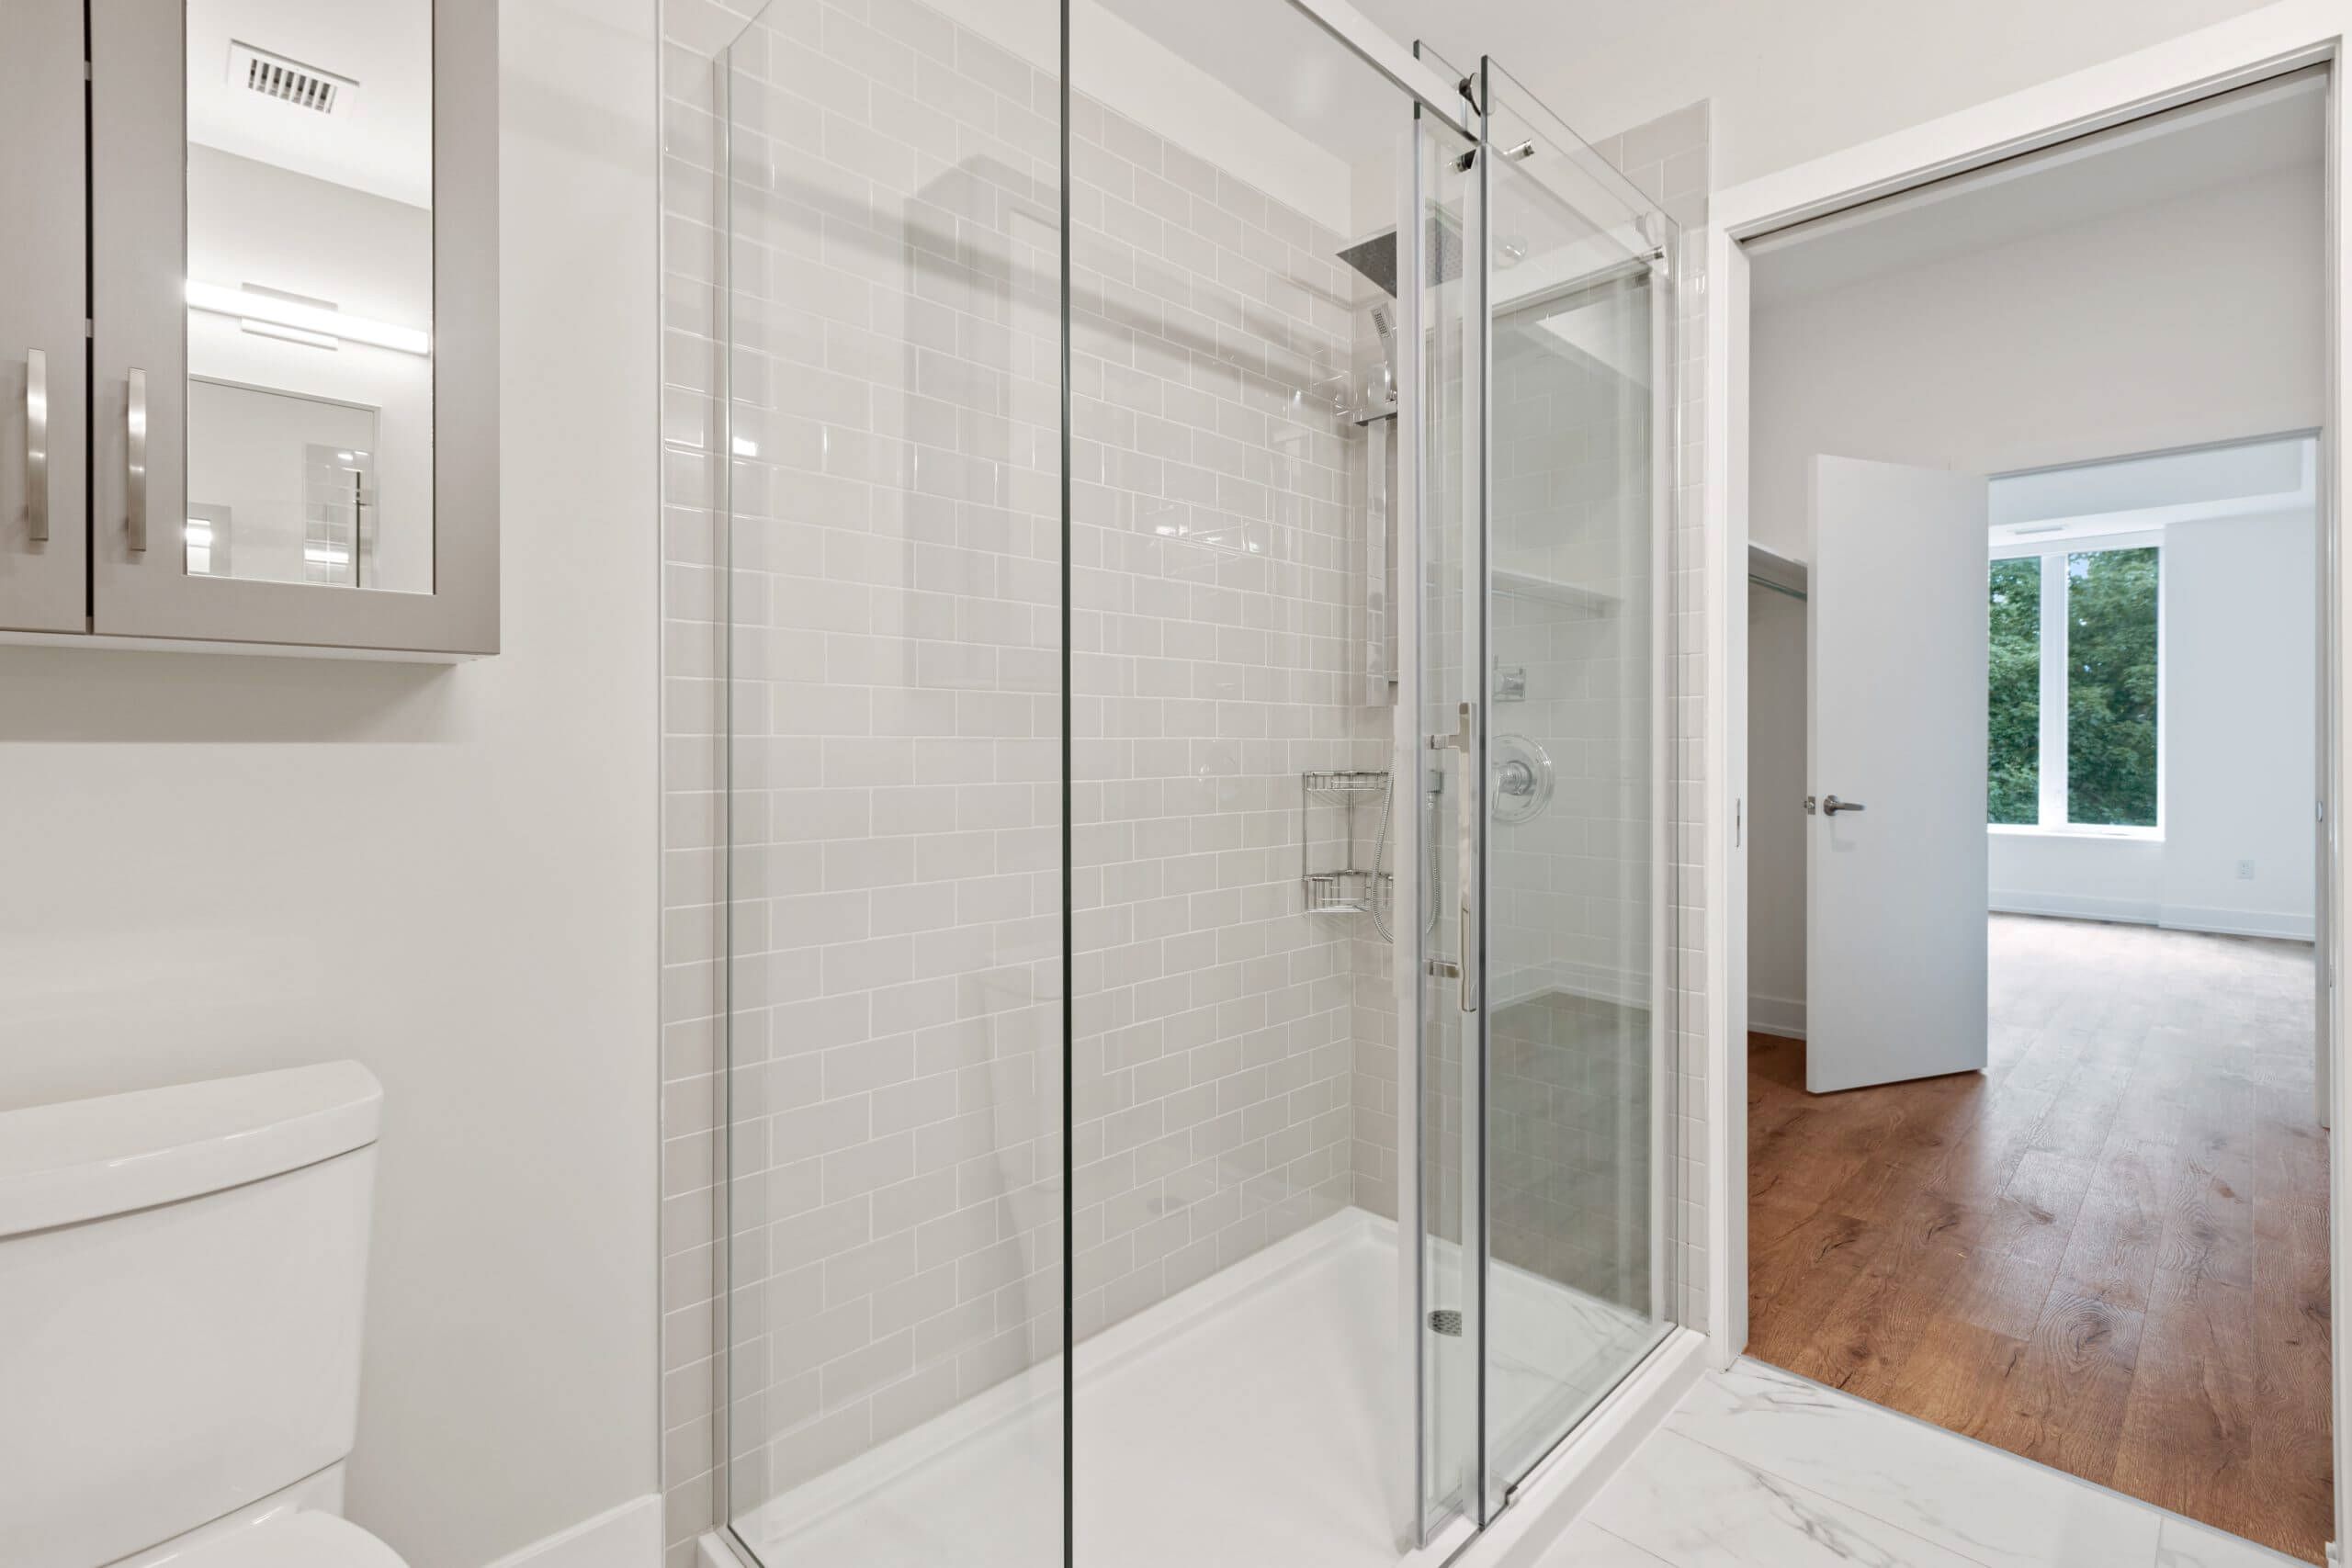
Glass shower doors are a popular choice for modern bathrooms, offering a sleek and elegant aesthetic while providing a barrier to contain water within the shower enclosure. However, over time, these doors may accumulate soap scum, hard water stains, or develop wear and tear, prompting the need for removal and replacement.
By following this comprehensive guide, you'll gain the knowledge and confidence to tackle this project with ease. From gathering the necessary tools and materials to safely lifting and removing the glass doors, each step is outlined to ensure a smooth and successful removal process. Additionally, we'll cover the essential steps for cleaning the shower door frame and provide guidance on installing a new shower curtain or door to complete the transformation of your bathroom space.
Whether you're a seasoned DIY enthusiast or a first-time homeowner embarking on home improvement projects, this guide is designed to equip you with the essential know-how to remove glass shower doors effectively. So, roll up your sleeves, gather your tools, and let's dive into the step-by-step process of removing glass shower doors to revitalize your bathroom space.
Key Takeaways:
- Say goodbye to your old glass shower doors and give your bathroom a fresh new look with a curtain or new door. Follow our easy guide to remove, clean, and replace for a revitalized space!
- Removing glass shower doors is a DIY project that can refresh your bathroom and showcase your personal style. From gathering tools to installing a new curtain or door, it’s a creative and rewarding endeavor.
Step 1: Gather the necessary tools and materials
Before embarking on the task of removing glass shower doors, it's essential to gather the necessary tools and materials to ensure a smooth and efficient process. Here's a comprehensive list of items you'll need:
Tools:
- Screwdriver: A Phillips head screwdriver will be essential for removing the screws that secure the hinges and door frame.
- Utility Knife: This tool will come in handy for cutting through any caulking or sealant around the door frame.
- Putty Knife: Use a putty knife to gently pry and loosen the edges of the door frame and any remaining sealant.
- Rubber Mallet: In some cases, the glass doors may be snugly fit into the frame. A rubber mallet can help gently tap and loosen the doors for removal.
- Safety Gloves and Goggles: It's crucial to prioritize safety when working with glass. Wear protective gloves and goggles to shield your hands and eyes from potential debris or shards.
Materials:
- Replacement Shower Curtain or Door: If you're planning to replace the glass doors with a shower curtain or new door, ensure that you have the replacement ready for installation.
- Caulk or Sealant: Depending on your future plans for the shower enclosure, you may need caulk or sealant to reseal the frame after the doors are removed.
- Cleaning Solution: Prepare a mild cleaning solution or glass cleaner to tidy up the door frame and surrounding areas after the doors are removed.
- Old Towels or Rags: Keep old towels or rags handy to wipe away any excess water, cleaning solution, or debris during the removal process.
By gathering these tools and materials beforehand, you'll be well-prepared to tackle the task of removing the glass shower doors. Having everything at your disposal will streamline the process and minimize interruptions, allowing you to proceed seamlessly to the next steps of the removal process.
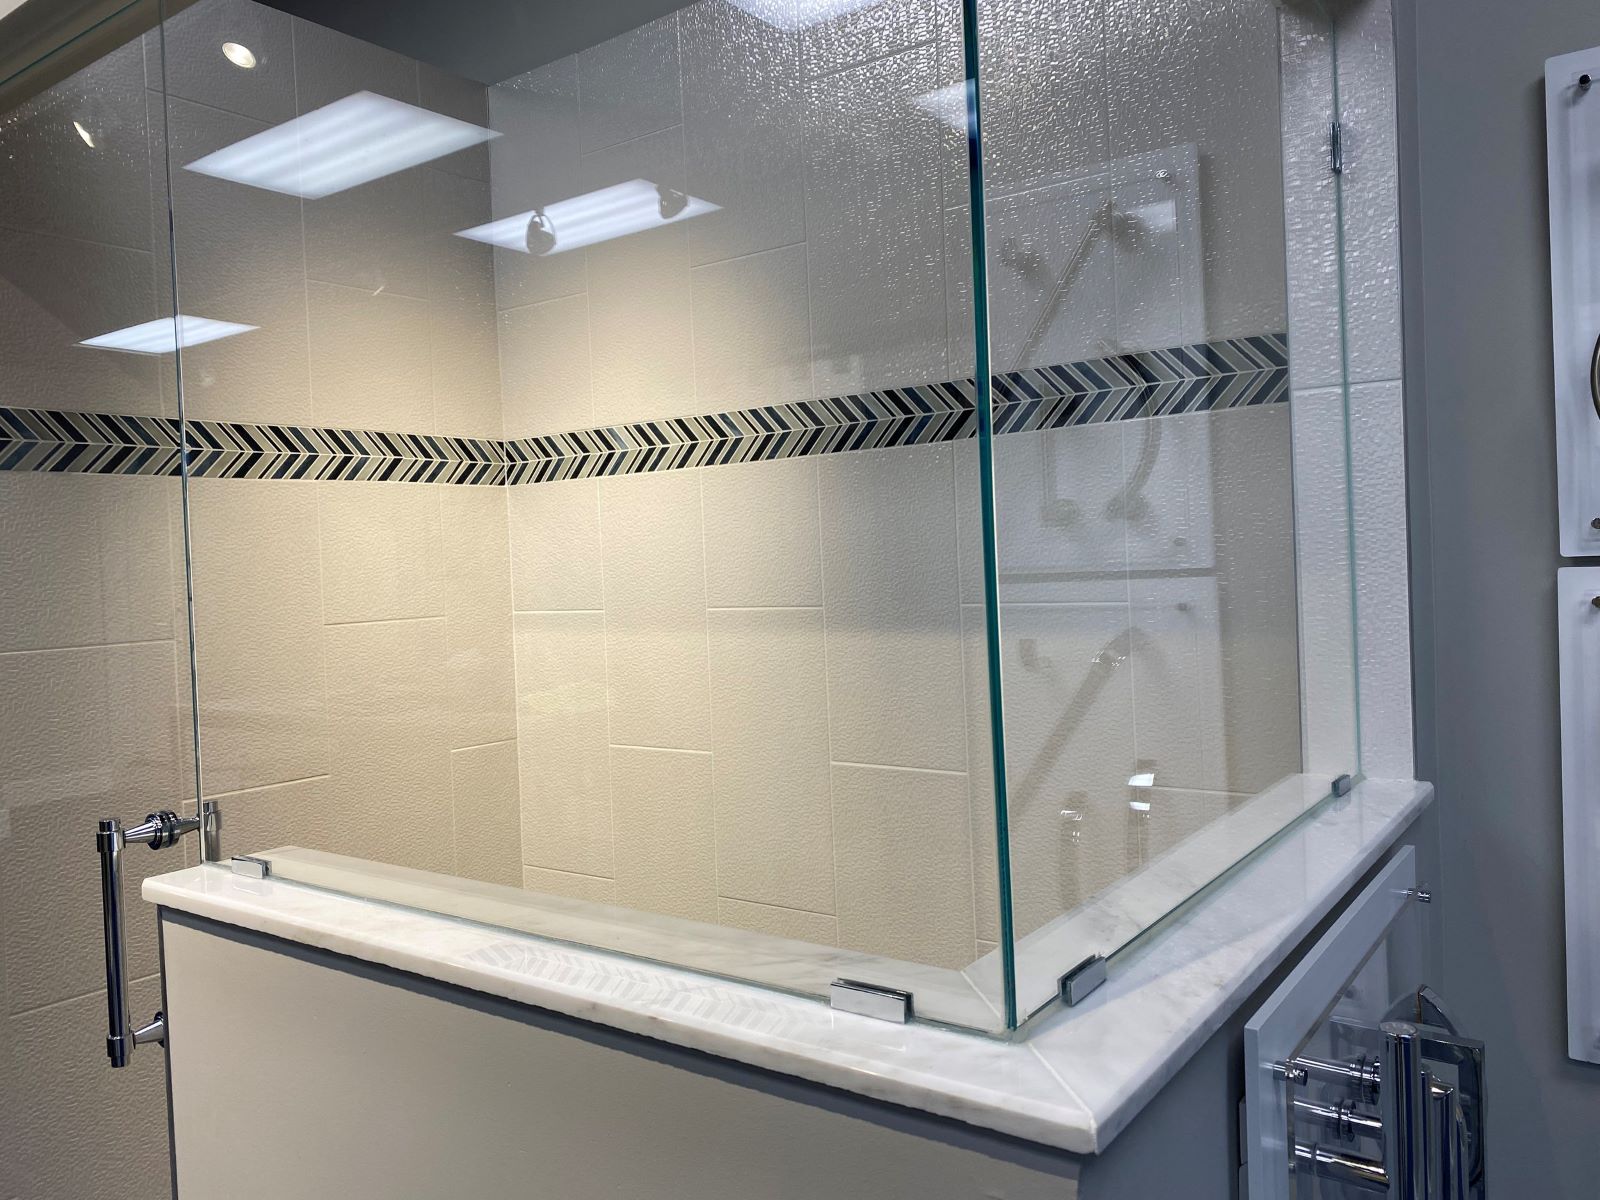
Step 2: Remove the screws and hinges
Once you have gathered the necessary tools and materials, the next step in removing glass shower doors is to focus on the screws and hinges securing the doors in place. This step requires precision and care to ensure the safe removal of the doors without causing damage to the surrounding areas.
-
Identify the Screws: Begin by locating the screws that hold the hinges in place. These screws are typically situated on the interior side of the shower, attaching the hinges to the wall and the door frame. Use a Phillips head screwdriver to carefully remove the screws, ensuring that they are set aside in a secure location to prevent misplacement.
-
Support the Doors: As you remove the screws, it's important to provide support for the glass doors to prevent them from unexpectedly falling or shifting. Enlist the assistance of a partner if needed to hold the doors steady while the screws are being removed. This extra support minimizes the risk of accidental damage to the doors or surrounding surfaces.
-
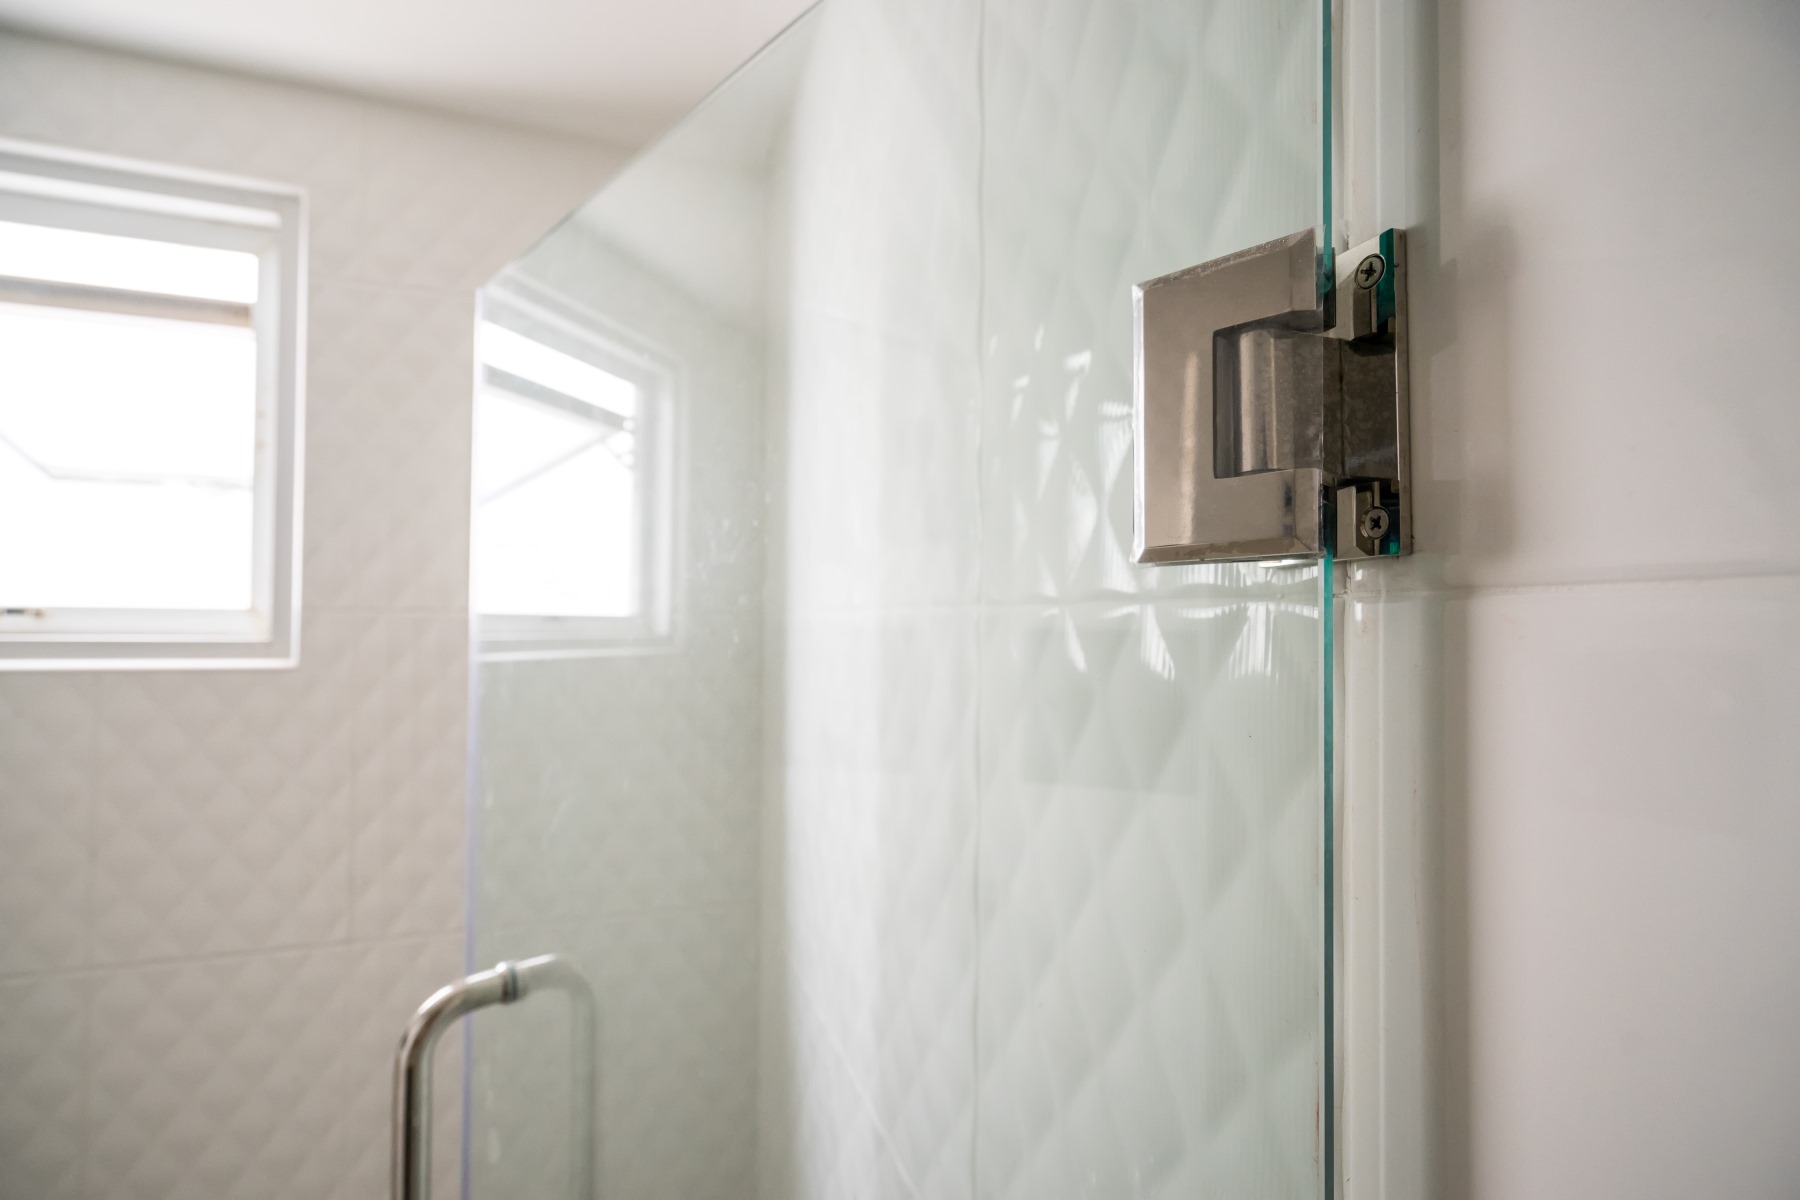
Handle the Hinges: With the screws removed, gently detach the hinges from the wall and door frame. Take note of any additional screws or fasteners securing the hinges in place and ensure that they are fully disengaged. Depending on the design of the shower doors, there may be multiple hinges to address, so proceed systematically to address each one.
-
Inspect for Sealant or Caulk: In some instances, there may be residual caulk or sealant around the hinges and door frame. Use a utility knife or putty knife to carefully cut through and remove any sealant, allowing for easier detachment of the hinges. Exercise caution during this process to avoid scratching or damaging the surrounding surfaces.
-
Secure the Hardware: As the hinges are removed, keep the associated hardware, such as screws and fasteners, organized and stored in a labeled container. This practice ensures that the hardware is readily available when it's time for reinstallation or serves as a reference when acquiring replacement parts if necessary.
By methodically addressing the screws and hinges, you'll effectively dismantle the primary fixtures holding the glass shower doors in place. This meticulous approach sets the stage for the subsequent steps in the removal process, allowing for a seamless transition to the next phase of lifting and removing the glass doors from the shower enclosure.
Read more: How To Install Shower Glass Doors
Step 3: Lift and remove the glass doors
With the screws and hinges successfully removed, the next pivotal phase in the process of removing glass shower doors involves lifting and safely extracting the doors from the shower enclosure. This step demands careful maneuvering and coordination to prevent any accidental damage to the doors or surrounding areas.
-
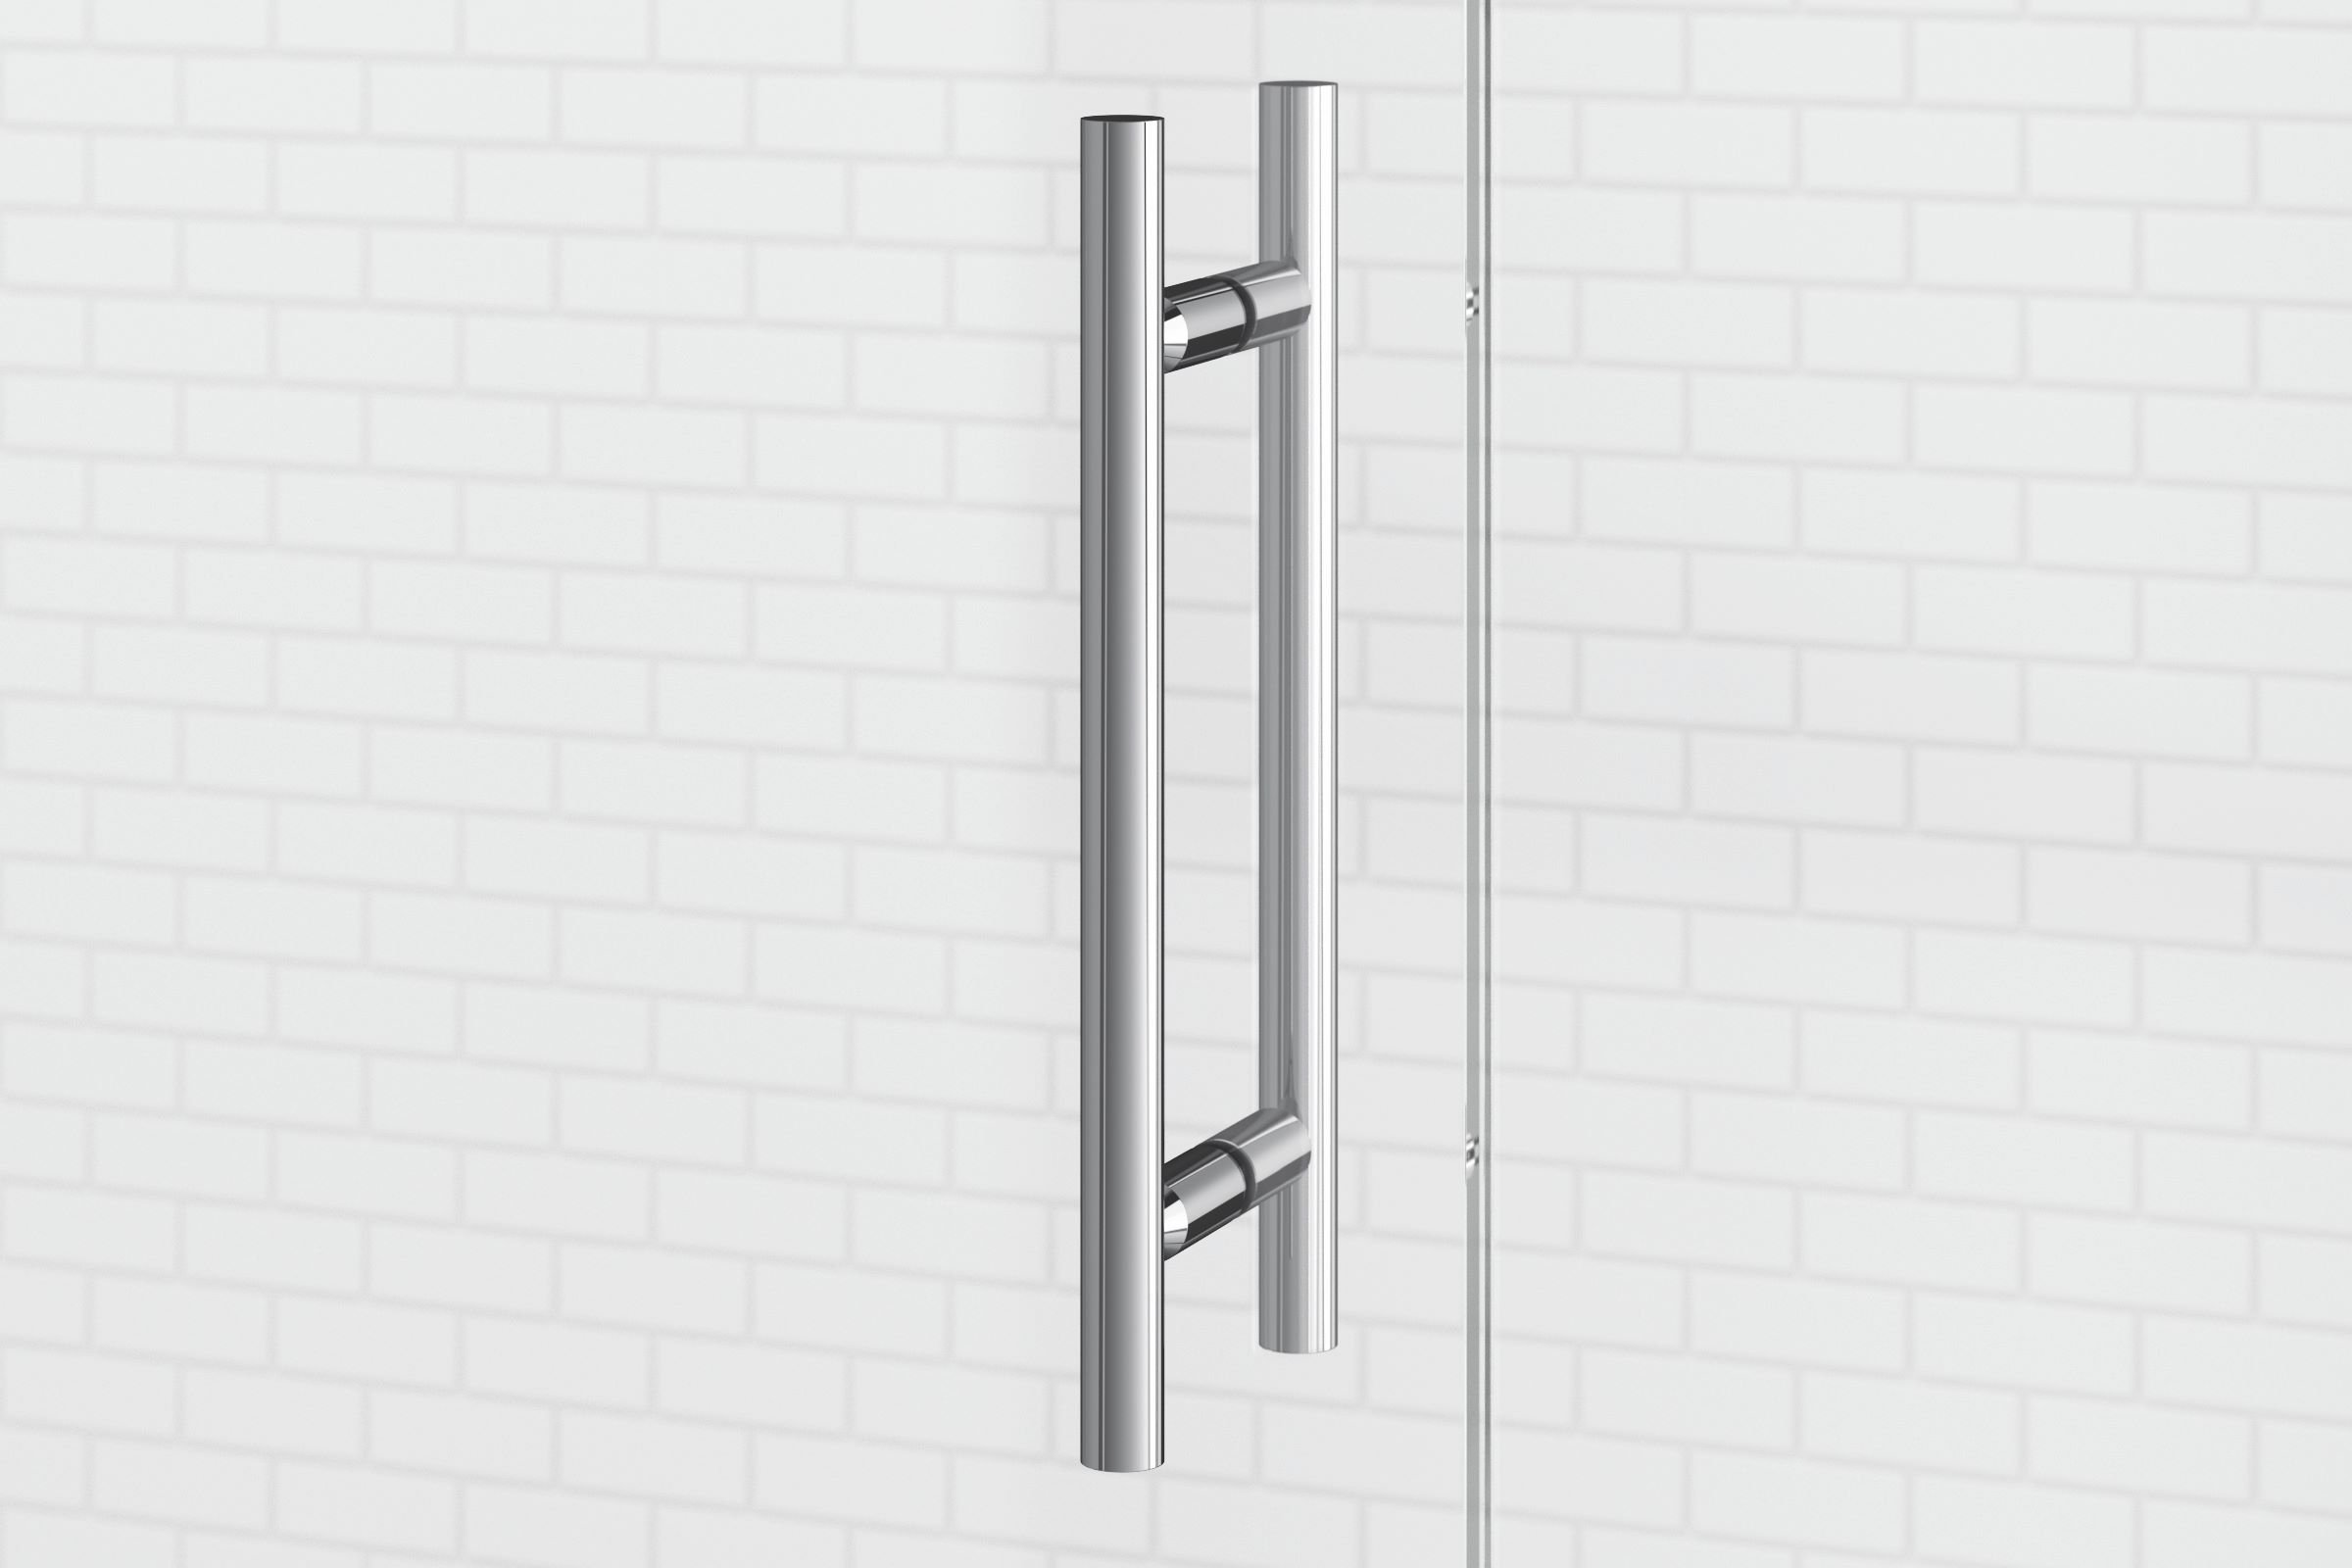
Assess the Weight: Before attempting to lift the glass doors, evaluate their weight and dimensions. Depending on the design and thickness of the glass, the doors may be substantial and require additional assistance for safe handling. Enlist the support of a partner to ensure a secure grip and minimize the risk of mishaps during the removal process.
-
Lift with Caution: Position yourself on one side of the glass door while your partner stands on the opposite side. Coordinate your movements and communicate effectively to synchronize the lifting process. Place your hands securely on the edges of the door, ensuring a firm grip without exerting excessive pressure that could lead to slippage or instability.
-
Clear the Frame: As the doors are lifted, carefully navigate them away from the frame, ensuring that they are angled and maneuvered to avoid contact with the surrounding walls or fixtures. Exercise patience and precision to prevent any sudden jolts or impacts that could result in damage to the doors or the shower enclosure.
-
Set Down Safely: Once the doors are successfully lifted and cleared from the frame, carefully set them down in a designated area away from the work zone. Choose a flat and stable surface to place the doors, ensuring that they are positioned securely to prevent any accidental tipping or shifting.
-
Prepare for Disposal or Storage: If the glass doors are intended for disposal, take precautions to handle them with care and avoid breakage. Utilize protective padding or blankets to cushion the doors during transportation to the designated disposal area. Alternatively, if the doors are to be stored for future use, ensure that they are placed in a secure and upright position to prevent any potential damage.
By methodically executing the process of lifting and removing the glass doors, you'll successfully navigate this critical phase of the removal process. With the doors safely extracted, the subsequent steps of cleaning the shower door frame and preparing for the installation of a new shower curtain or door can be seamlessly initiated, marking significant progress in revitalizing your bathroom space.
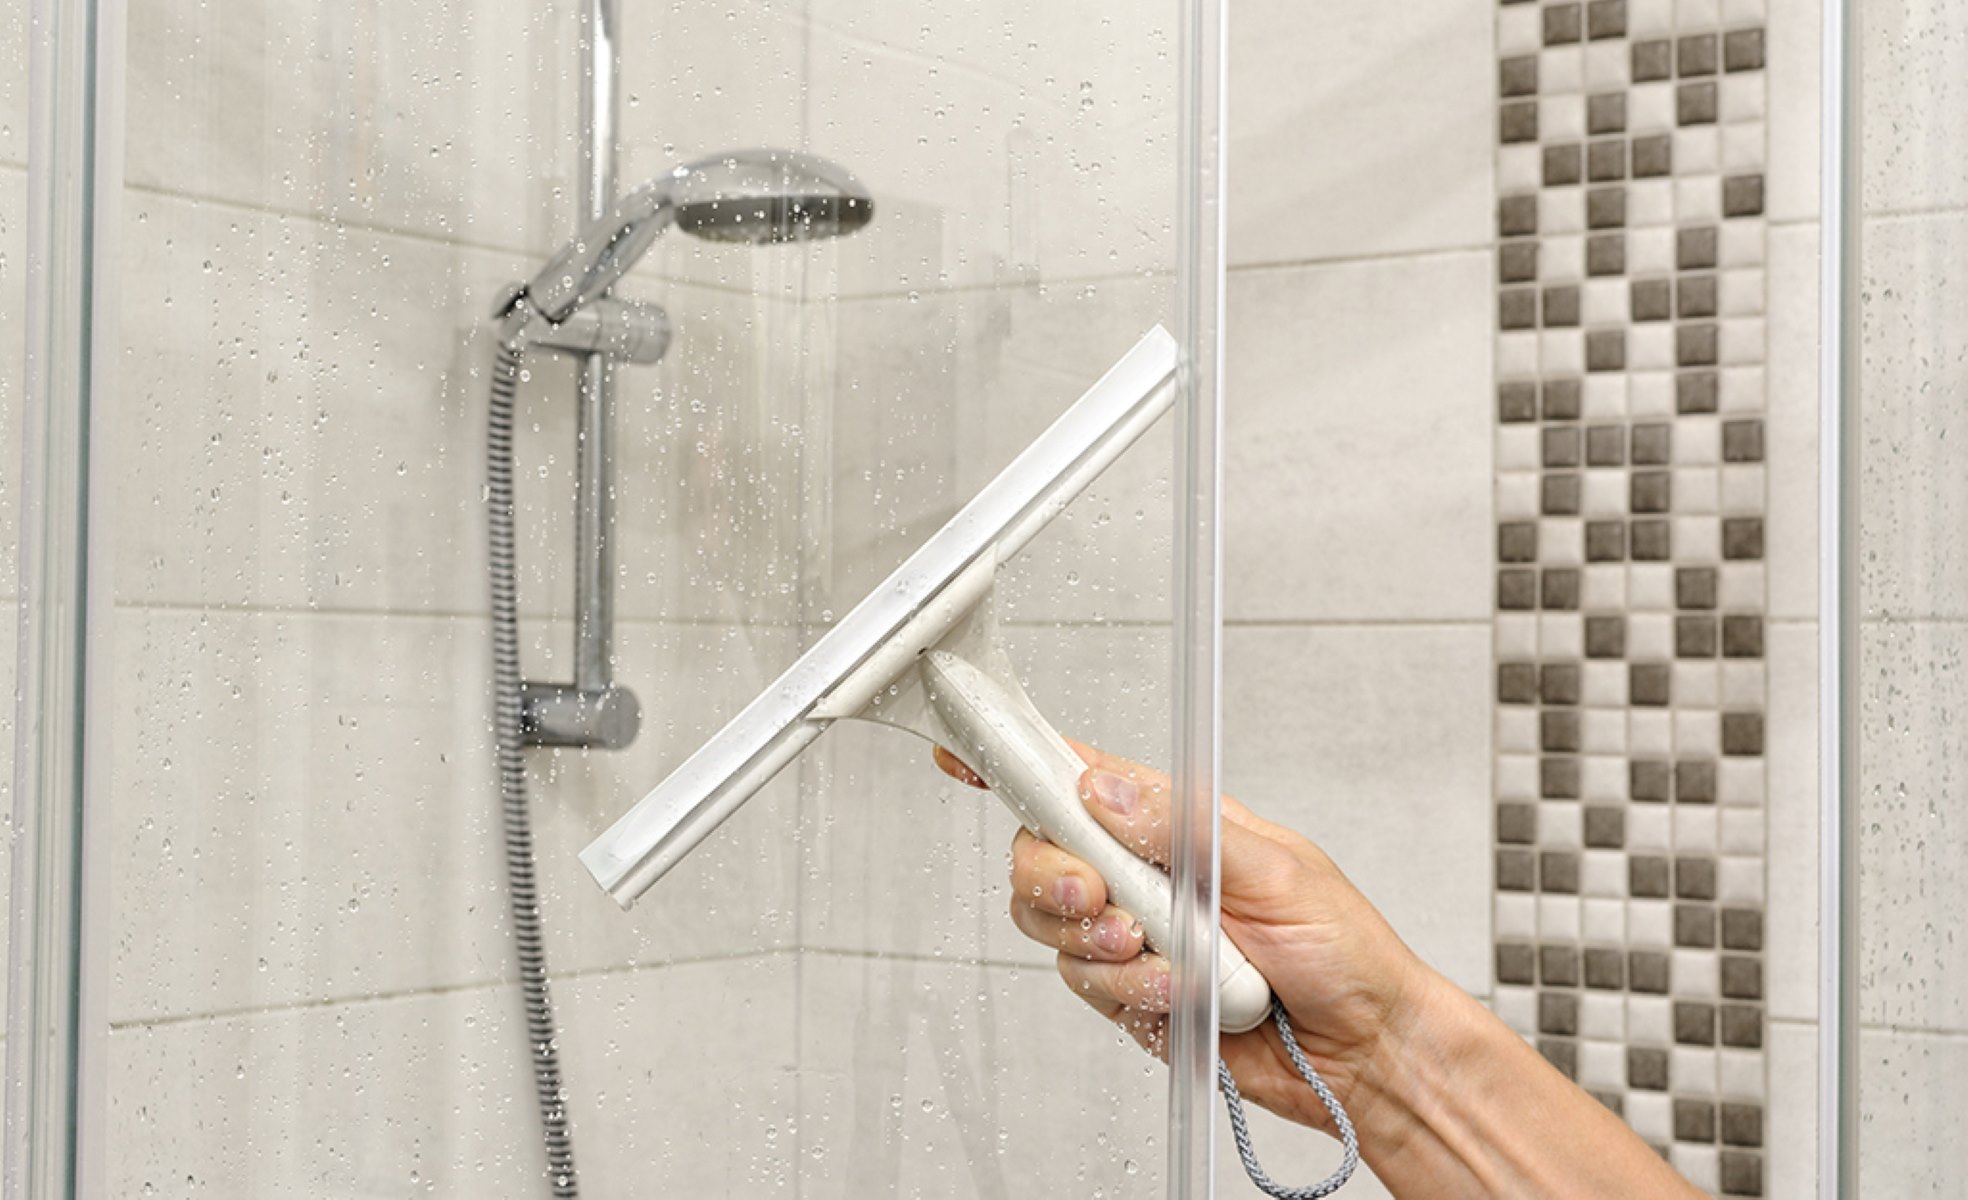
Step 4: Clean the shower door frame
After the successful removal of the glass shower doors, the focus shifts to the essential task of cleaning the shower door frame. This step is crucial for preparing the frame to accommodate a new shower curtain or door, as well as revitalizing the overall appearance of the shower enclosure.
Cleaning Process:
-
Remove Residual Debris: Begin by inspecting the door frame for any residual debris, such as dust, dirt, or remnants of sealant or caulk. Use a soft-bristled brush or a vacuum cleaner with a brush attachment to gently remove loose particles from the frame and surrounding areas.
-
Apply Cleaning Solution: Prepare a mild cleaning solution by mixing warm water with a gentle liquid soap or a designated glass cleaner. Dampen a soft cloth or sponge with the cleaning solution and carefully wipe down the entire surface of the door frame. Pay close attention to any areas where sealant or caulk residue may be present, ensuring thorough coverage.
-
Address Stubborn Stains: For persistent stains or mineral deposits, consider using a non-abrasive cleaning agent specifically formulated for glass surfaces. Apply the cleaning agent to the affected areas and allow it to sit for a few minutes to effectively loosen and dissolve the stubborn stains. Then, gently scrub the stained areas with a soft brush or sponge to lift the residue.
-
Rinse and Dry: Once the cleaning solution has been applied and any stains addressed, use a separate clean cloth dampened with fresh water to rinse the door frame thoroughly. Ensure that all traces of the cleaning solution and residue are removed. Following the rinsing process, use a dry cloth to carefully dry the frame, eliminating any lingering moisture to prevent water spots or streaks.
-
Inspect and Touch-Up: After the cleaning and drying process, take a moment to inspect the door frame for any overlooked spots or remaining residue. Address any areas that may require additional cleaning or touch-up, ensuring that the frame is pristine and ready for the next phase of installation.
By meticulously cleaning the shower door frame, you'll not only prepare it for the installation of a new shower curtain or door but also enhance the overall cleanliness and aesthetic appeal of the shower enclosure. This thorough cleaning process sets the stage for the final step of installing the new shower curtain or door, marking the successful culmination of the glass shower door removal project.
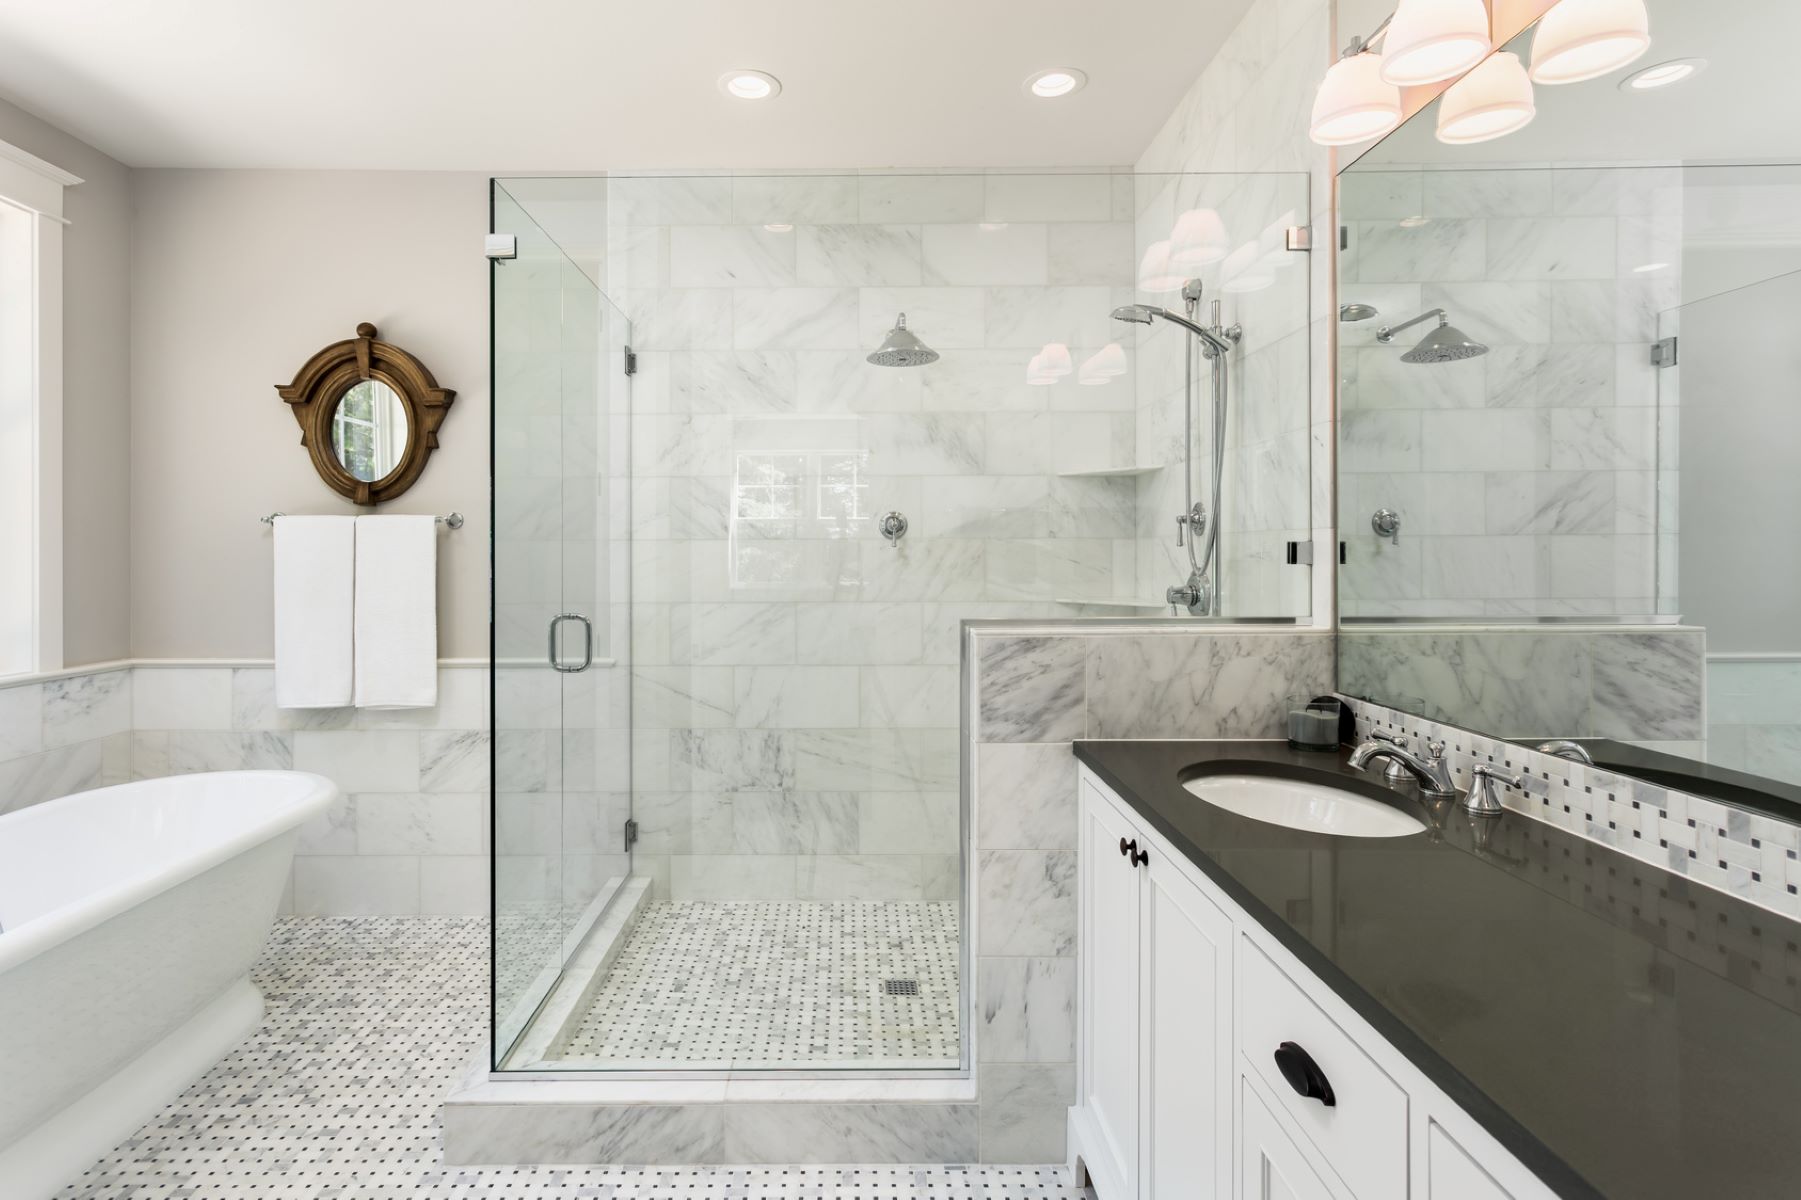
Step 5: Install the new shower curtain or door
With the glass shower doors successfully removed and the shower door frame meticulously cleaned, the final step involves the installation of a new shower curtain or door to complete the transformation of the bathroom space. Whether you opt for the versatility of a shower curtain or the sleek functionality of a new door, this phase marks the culmination of the removal process and sets the stage for a refreshed and revitalized shower enclosure.
Installing a Shower Curtain:
If you choose to embrace the flexibility and decorative potential of a shower curtain, the installation process is straightforward and offers a wide array of design options to complement your bathroom decor. Follow these steps to seamlessly install a new shower curtain:
-
Select the Curtain: Choose a shower curtain that aligns with your aesthetic preferences and the overall theme of your bathroom. Consider factors such as color, pattern, and material to achieve the desired look.
-
Install the Curtain Rod: Ensure that the existing or newly acquired curtain rod is securely mounted at the appropriate height and width to accommodate the dimensions of the shower enclosure. Use a level to verify that the rod is perfectly aligned.
-
Attach the Curtain: With the curtain rod in place, affix the shower curtain to the rod, ensuring that it is evenly distributed and hangs smoothly within the shower enclosure. Verify that the curtain provides adequate coverage to contain water during showering.
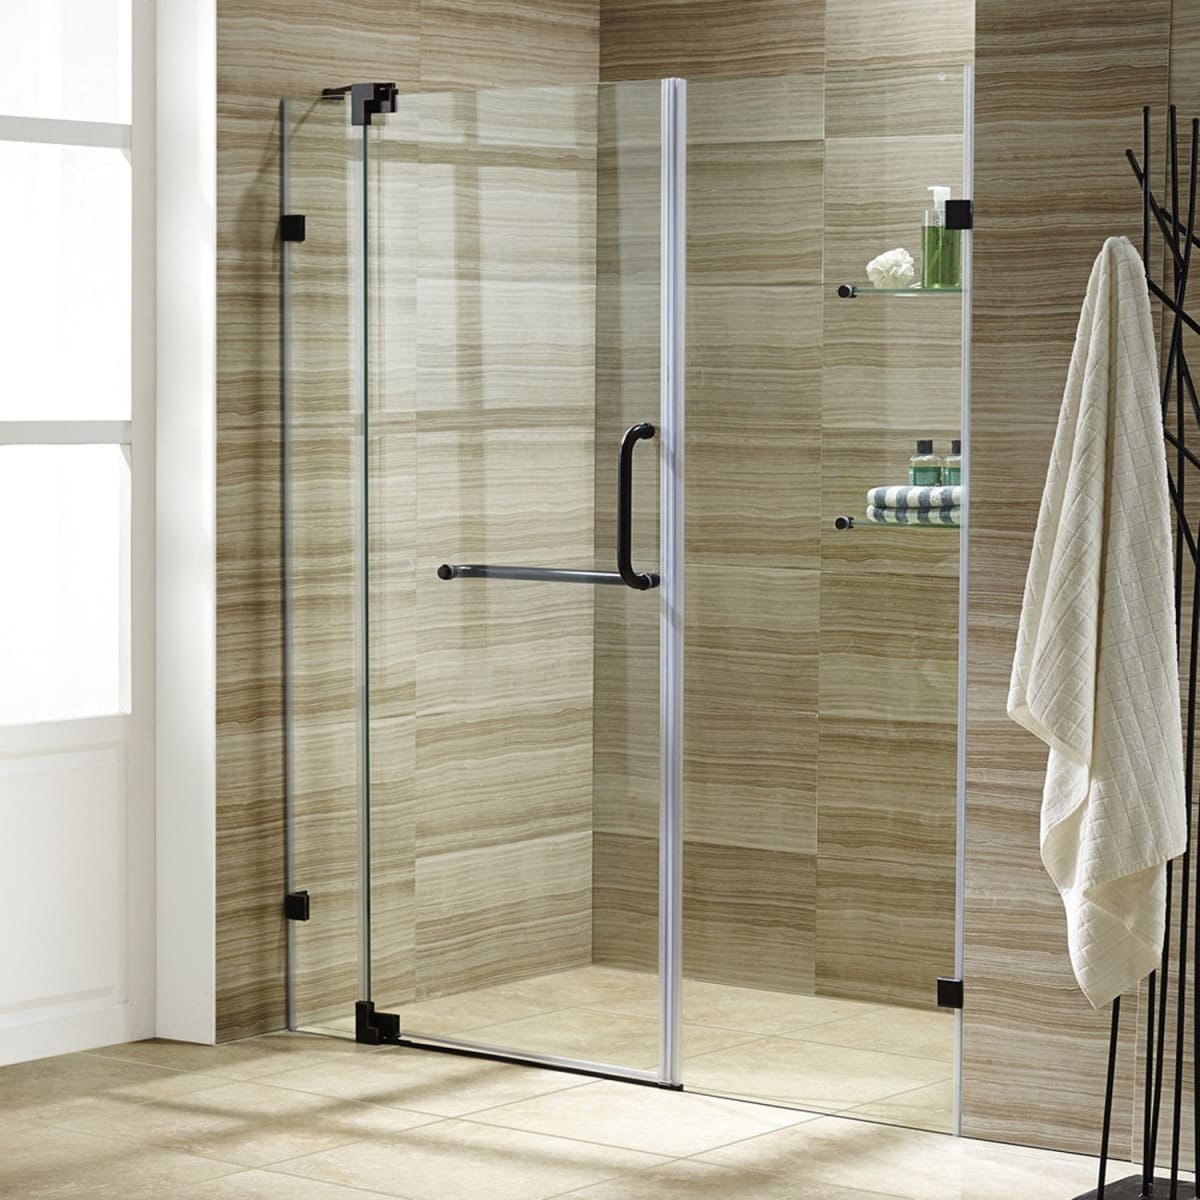
Installing a New Shower Door:
Opting for a new shower door presents an opportunity to enhance the functionality and visual appeal of the shower enclosure. Follow these steps to effectively install a new shower door:
-
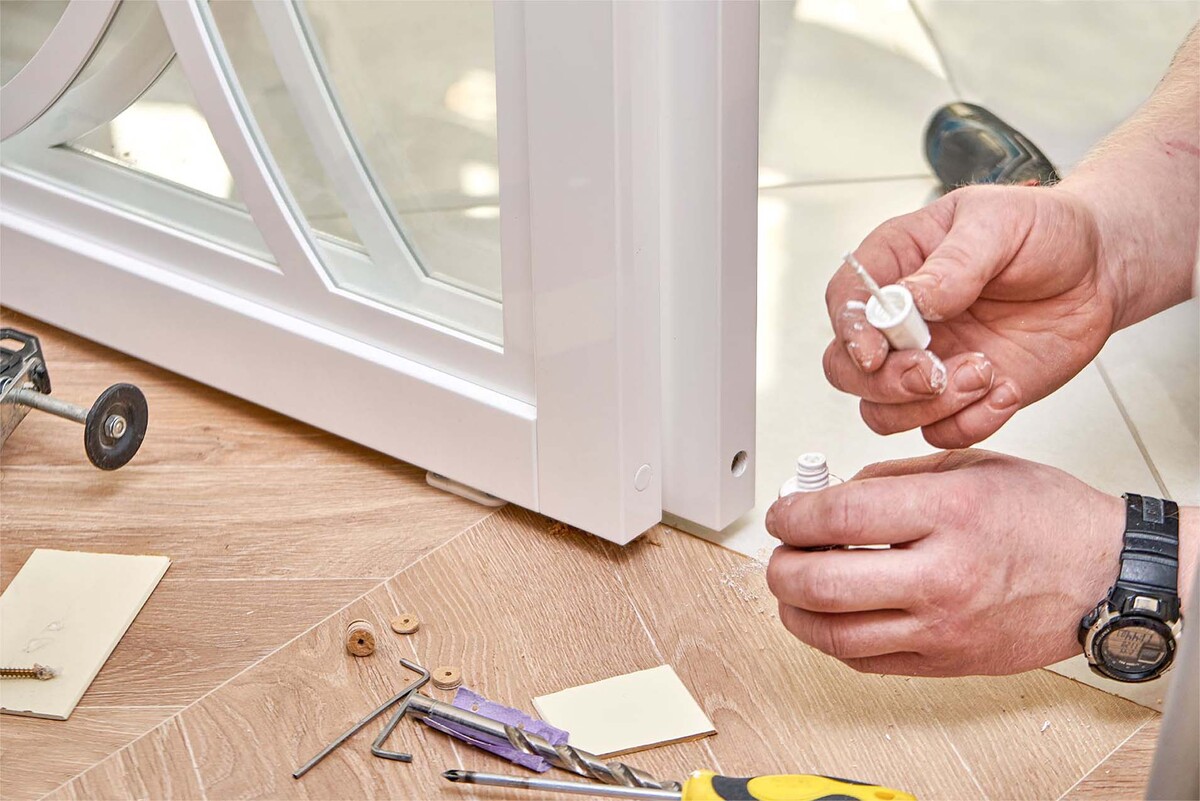
Select the Door Type: Choose a shower door that suits the layout and dimensions of your shower enclosure. Options include pivot doors, sliding doors, or frameless glass doors, each offering distinct benefits in terms of space utilization and aesthetic impact.
-
Measure and Prepare: Accurately measure the dimensions of the shower opening to ensure that the new door aligns perfectly. Prepare the door and associated hardware for installation, verifying that all components are intact and undamaged.
-
Secure Installation: Follow the manufacturer's instructions to securely install the new shower door, ensuring that it is aligned, level, and operates smoothly. Pay attention to the sealing mechanisms to prevent water leakage and maintain a watertight enclosure.
By meticulously following the installation guidelines for a new shower curtain or door, you'll effectively conclude the glass shower door removal project with a revitalized and personalized shower enclosure. Whether you opt for the versatility of a curtain or the functionality of a new door, this final step marks the successful transition to a refreshed and rejuvenated bathroom space.
Use a razor blade to carefully scrape off any silicone or caulk around the edges of the shower door. This will make it easier to remove the doors without damaging the surrounding area.
Conclusion
In conclusion, the process of removing glass shower doors encompasses a series of systematic steps that culminate in the revitalization of the bathroom space. From gathering the necessary tools and materials to meticulously cleaning the shower door frame and installing a new shower curtain or door, each phase contributes to the overall transformation of the shower enclosure.
The removal of glass shower doors presents an opportunity to refresh the aesthetic appeal of the bathroom while addressing maintenance or renovation needs. By following the step-by-step guide outlined in this comprehensive resource, individuals can confidently embark on this project, whether as a DIY enthusiast or a homeowner seeking to revamp their living space.
Furthermore, the removal of glass shower doors not only serves practical purposes but also allows for creative expression and customization. The installation of a new shower curtain or door presents an opportunity to infuse personal style and functionality into the bathroom, reflecting individual preferences and enhancing the overall ambiance of the space.
Moreover, the meticulous cleaning of the shower door frame not only prepares it for the installation of a new shower enclosure but also contributes to the maintenance and upkeep of the bathroom. By addressing residual debris, stains, and sealant remnants, the cleaning process ensures that the shower enclosure maintains a pristine and inviting appearance.
Ultimately, the removal of glass shower doors marks a significant milestone in the journey of home improvement and personalization. Whether opting for the versatility of a shower curtain or the sleek functionality of a new door, this project empowers individuals to transform their bathroom space according to their unique vision and preferences.
In essence, the process of removing glass shower doors transcends mere maintenance or renovation; it embodies the spirit of creativity, revitalization, and personalization within the home environment. By embracing this endeavor, individuals can embark on a fulfilling and rewarding journey of enhancing their living space while enjoying the practical and aesthetic benefits that come with a refreshed shower enclosure.
Frequently Asked Questions about How To Remove Glass Shower Doors
Was this page helpful?
At Storables.com, we guarantee accurate and reliable information. Our content, validated by Expert Board Contributors, is crafted following stringent Editorial Policies. We're committed to providing you with well-researched, expert-backed insights for all your informational needs.


0 thoughts on “How To Remove Glass Shower Doors”