Articles
How To Drill Holes In A Car With Hand Tools
Modified: August 27, 2024
Learn how to easily drill holes in your car using hand tools with our informative articles. Get expert tips, step-by-step guides, and more.
(Many of the links in this article redirect to a specific reviewed product. Your purchase of these products through affiliate links helps to generate commission for Storables.com, at no extra cost. Learn more)
Introduction
Drilling holes in a car may be necessary for various reasons, such as installing accessories, mounting brackets, or performing repairs. While power tools are commonly used for drilling, there may be situations where you don’t have access to them or prefer to use hand tools for more controlled and precise drilling. In this article, we will guide you through the process of drilling holes in a car using hand tools.
It is important to note that drilling holes in a car requires caution and precision to avoid damaging the vehicle’s structure. Before you begin, make sure to take safety precautions, gather the necessary tools and materials, and follow the recommended steps.
By following this step-by-step guide, you will learn how to drill holes in a car using hand tools effectively and safely.
Key Takeaways:
- Prioritize safety by wearing protective gear, choosing the right drill bit, and preparing the surface before drilling holes in your car. Take your time, work steadily, and clean and finish the holes for a professional result.
- Whether you’re installing accessories or performing repairs, drilling holes in a car with hand tools is achievable with the right approach. Follow the step-by-step guide, repeat the process if necessary, and remember to seek professional assistance if needed.
Safety Precautions
Before drilling holes in a car, it’s crucial to prioritize safety to prevent accidents and damage. Here are some essential safety precautions to follow:
- Wear protective gear: Always wear safety goggles to protect your eyes from flying debris, and use gloves to protect your hands from sharp edges or metal shavings.
- Work in a well-ventilated area: Ensure that you have proper ventilation in the area where you will be drilling to avoid inhaling any fumes or dust.
- Turn off the car: If you’re drilling near the engine or any electrical components, make sure to turn off the car’s ignition and disconnect the battery to prevent electrical shocks.
- Secure the car: Park the car on a level surface and engage the parking brake to prevent any unexpected movement during the drilling process.
- Choose the right location: Carefully consider the location where you intend to drill. Ensure that it won’t affect the car’s structural integrity, interfere with any existing components, or disrupt wiring or piping.
- Check for hidden wires and pipes: Before drilling, use a stud finder or consult your car’s manual to identify any hidden wires or pipes behind the surface. Take extra caution to avoid damaging them.
- Start with small pilot holes: Begin by drilling a small pilot hole to confirm the location and determine if any obstructions are present before proceeding with a larger hole.
- Work slowly and steadily: Apply consistent pressure and avoid excessive force while drilling. Working patiently and steadily will help you maintain control and accuracy.
- Keep fire safety in mind: If you’re drilling near flammable materials or fuel lines, take necessary precautions to prevent sparks and potential fires.
Remember, drilling into a car requires precision and careful consideration of the surrounding components. By following these safety precautions, you can minimize the risks and ensure a safe drilling experience.
Tools and Materials Required
Before you start drilling holes in your car, it’s important to gather the necessary tools and materials. The following list will guide you on what you’ll need:
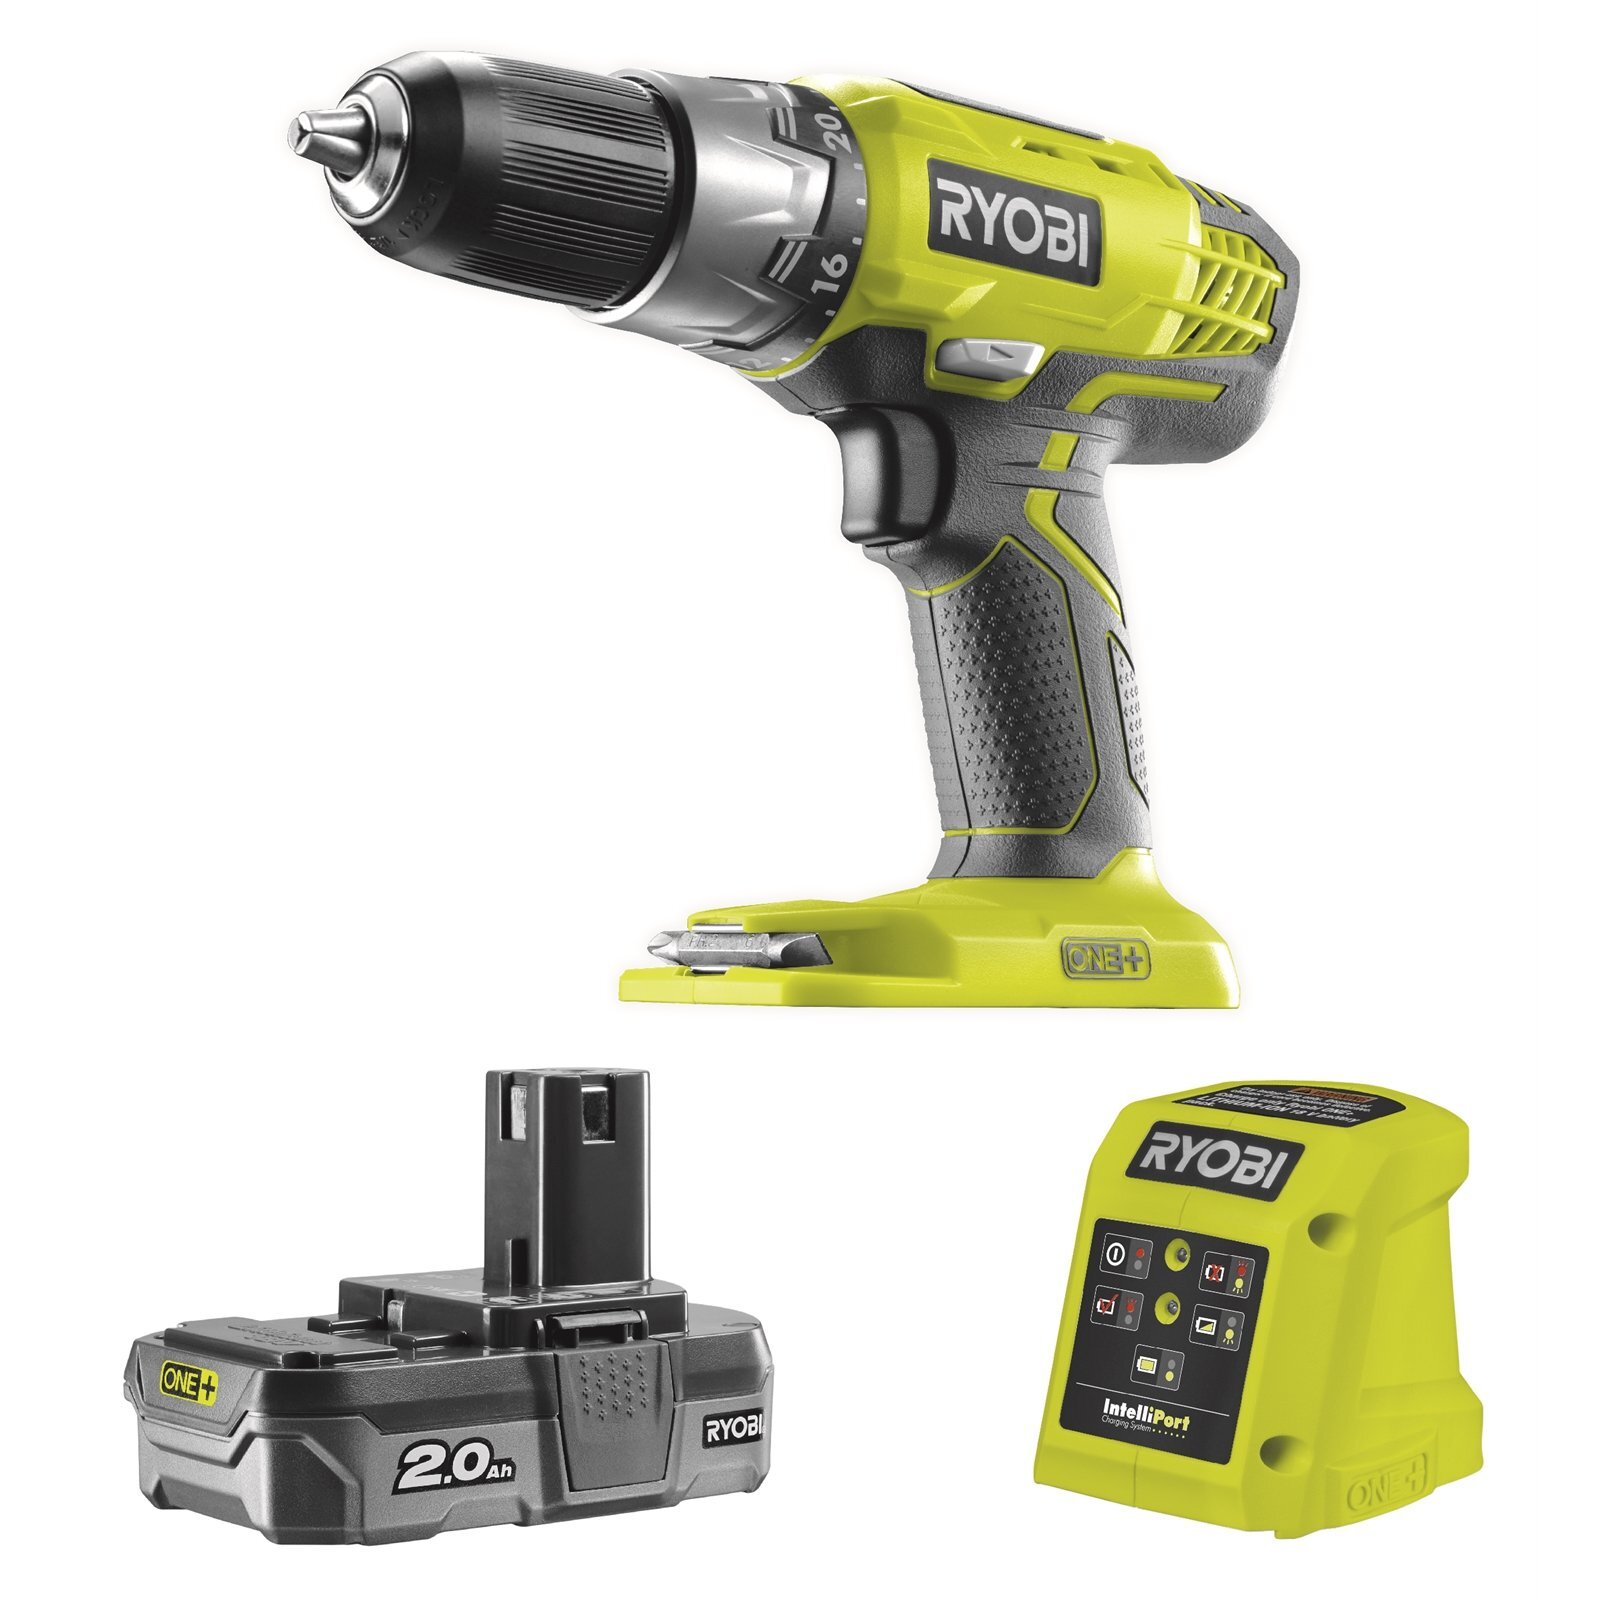
- Hand drill: Choose a quality hand drill that is appropriate for the size of the holes you need to drill. Make sure it is in good working condition.
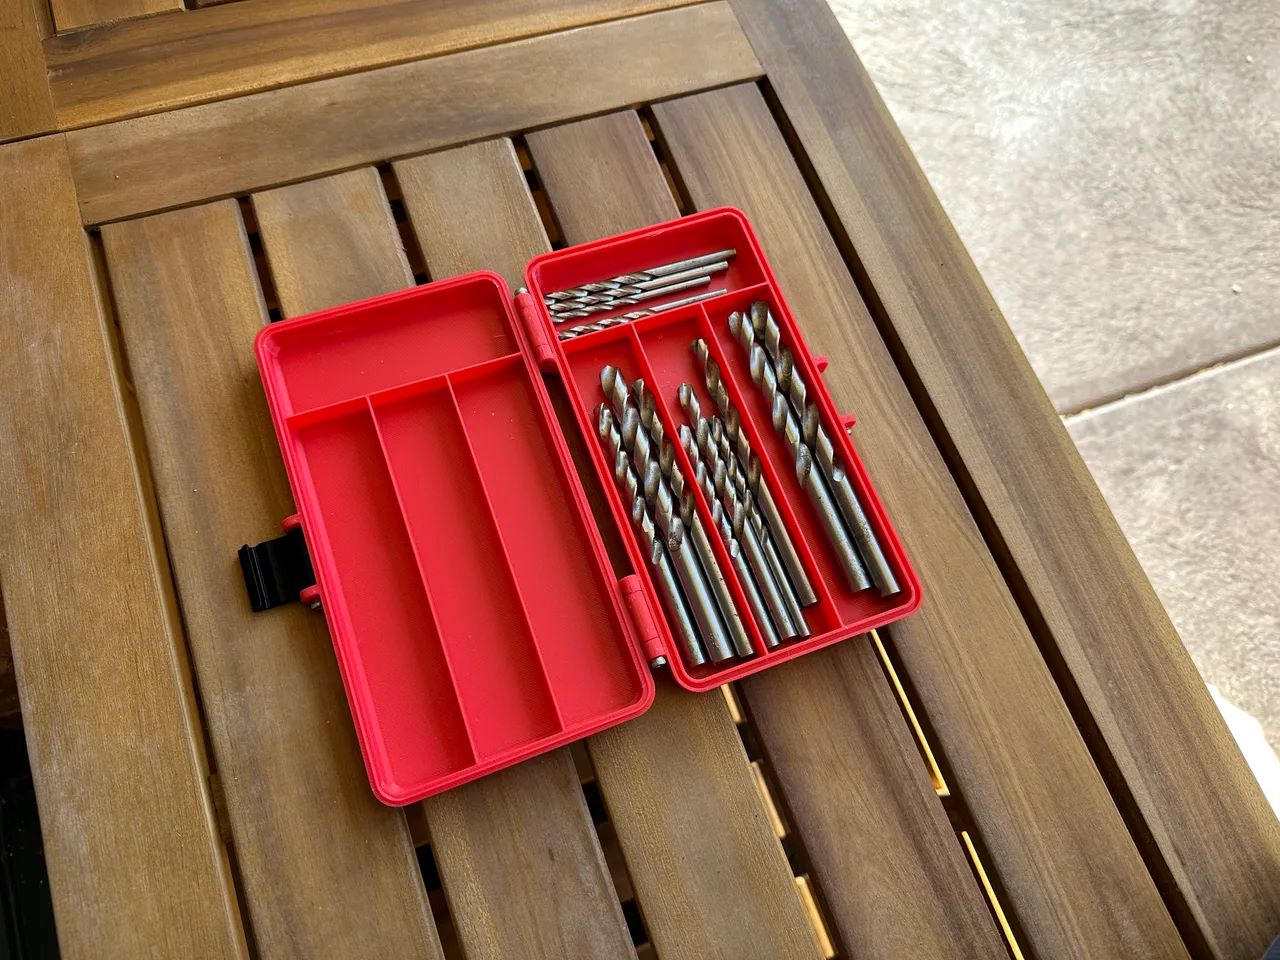
- Drill bits: Select drill bits of the appropriate size for the holes you want to create. It’s recommended to have a variety of sizes on hand to accommodate different needs.
- Center punch: This tool helps you create an indentation at the exact spot where you want to drill the hole, providing more accuracy.
- Tape measure or ruler: Use a tape measure or ruler to ensure precise measurements and marking of hole locations.
- Masking tape: This can be used to mark the spot where you want to drill and protect the surrounding area from scratches.
- Sanding block or sandpaper: If you need to smooth out rough edges after drilling, having a sanding block or sandpaper will come in handy.
- Protective gear: Ensure you have safety goggles to protect your eyes from debris, and gloves to protect your hands during the drilling process.
- Vacuum cleaner or brush: To clean up any leftover debris or metal shavings after drilling, have a vacuum cleaner or brush at hand for easy cleanup.
- Protective sheet or tarp: Consider using a protective sheet or tarp to cover and protect the car’s surface during the drilling process.
By gathering these tools and materials before you start, you’ll have everything you need for a smooth drilling process without any interruptions.
Step 1: Choose the Appropriate Drill Bit
Choosing the right drill bit is crucial for successful and precise hole drilling in a car. Here’s how to select the appropriate drill bit:
- Consider the material: Determine the material you’ll be drilling through. Different materials require different drill bits. For example, if you’re drilling through metal, a high-speed steel (HSS) or cobalt drill bit is recommended.
- Measure the hole size: Measure the diameter of the hole you want to create. This will help you choose a drill bit with the corresponding size.
- Choose the right type of bit: Depending on your needs, you may opt for a standard twist bit, a step bit, or a hole saw. Twist bits are versatile and suitable for most general-purpose drilling tasks. Step bits are ideal for enlarging existing holes or creating holes of different sizes. Hole saws are specialized for larger diameter holes.
- Check the drill’s chuck size: Ensure that the drill bit you choose matches the chuck size of your hand drill. Most hand drills have a 3/8-inch or 1/2-inch chuck.
- Consider the length of the drill bit: Take into account the depth of the hole you need to drill. Choose a drill bit with an appropriate length to reach the desired depth without being too long or too short.
- Quality matters: Invest in good quality drill bits that are known for their durability and sharpness. This will ensure clean and precise drilling without causing damage to the car.
By selecting the right drill bit based on the material, size, type, chuck size, length, and quality, you will set yourself up for a successful drilling experience and achieve accurate and clean holes in your car.
Step 2: Mark the Exact Location for Drilling
Before drilling into your car, it’s essential to mark the exact location where you want to create the hole. Accurate marking ensures precision and helps avoid any mistakes. Follow these steps to mark the spot:
- Gather your tools: Prepare a measuring tape or a ruler, a center punch, and masking tape.
- Measure and mark: Use a measuring tape or ruler to measure and mark the precise location where you want the hole. Double-check your measurements to ensure accuracy.
- Apply masking tape: To protect the surrounding area from scratches, place a piece of masking tape over the marked spot. This will act as a buffer and prevent any damage to the car’s surface.
- Indentation with a center punch: Using a center punch, create a small indentation at the center of the marked spot. This indentation will serve as a guide for the drill bit and help keep it in place while drilling.
Properly marking the location for drilling is crucial for drilling holes accurately and minimizing the risk of errors. Taking the time to mark the spot correctly will ensure that your holes are precisely where you want them to be.
Read more: How To Drill A Hole In Glass
Step 3: Prepare the Surface
Before you start drilling, it’s important to prepare the surface of the car to ensure smooth and clean drilling. Follow these steps to properly prepare the surface:
- Clean the area: Use a clean cloth or towel to wipe away any dust, debris, or dirt from the surface where you will be drilling. This will help the drill bit make clean contact and prevent any potential damage.
- Secure the masking tape: Make sure the masking tape is securely stuck to the surface, covering the marked spot. This will help protect the surrounding area from scratches and provide a clear visual guide for drilling.
- Consider a pilot hole: If you are drilling into a thick or hard material, such as metal, you may want to start with a small pilot hole. This will provide a guide for the larger drill bit and prevent unnecessary slipping or wandering during drilling.
Taking the time to properly prepare the surface will ensure that you have a clean and stable area for drilling. This will result in more precise and accurate holes without causing any damage to the car’s surface.
When drilling holes in a car with hand tools, make sure to use a center punch to create a starting point for the drill bit. This will prevent the bit from slipping and ensure a clean, accurate hole.
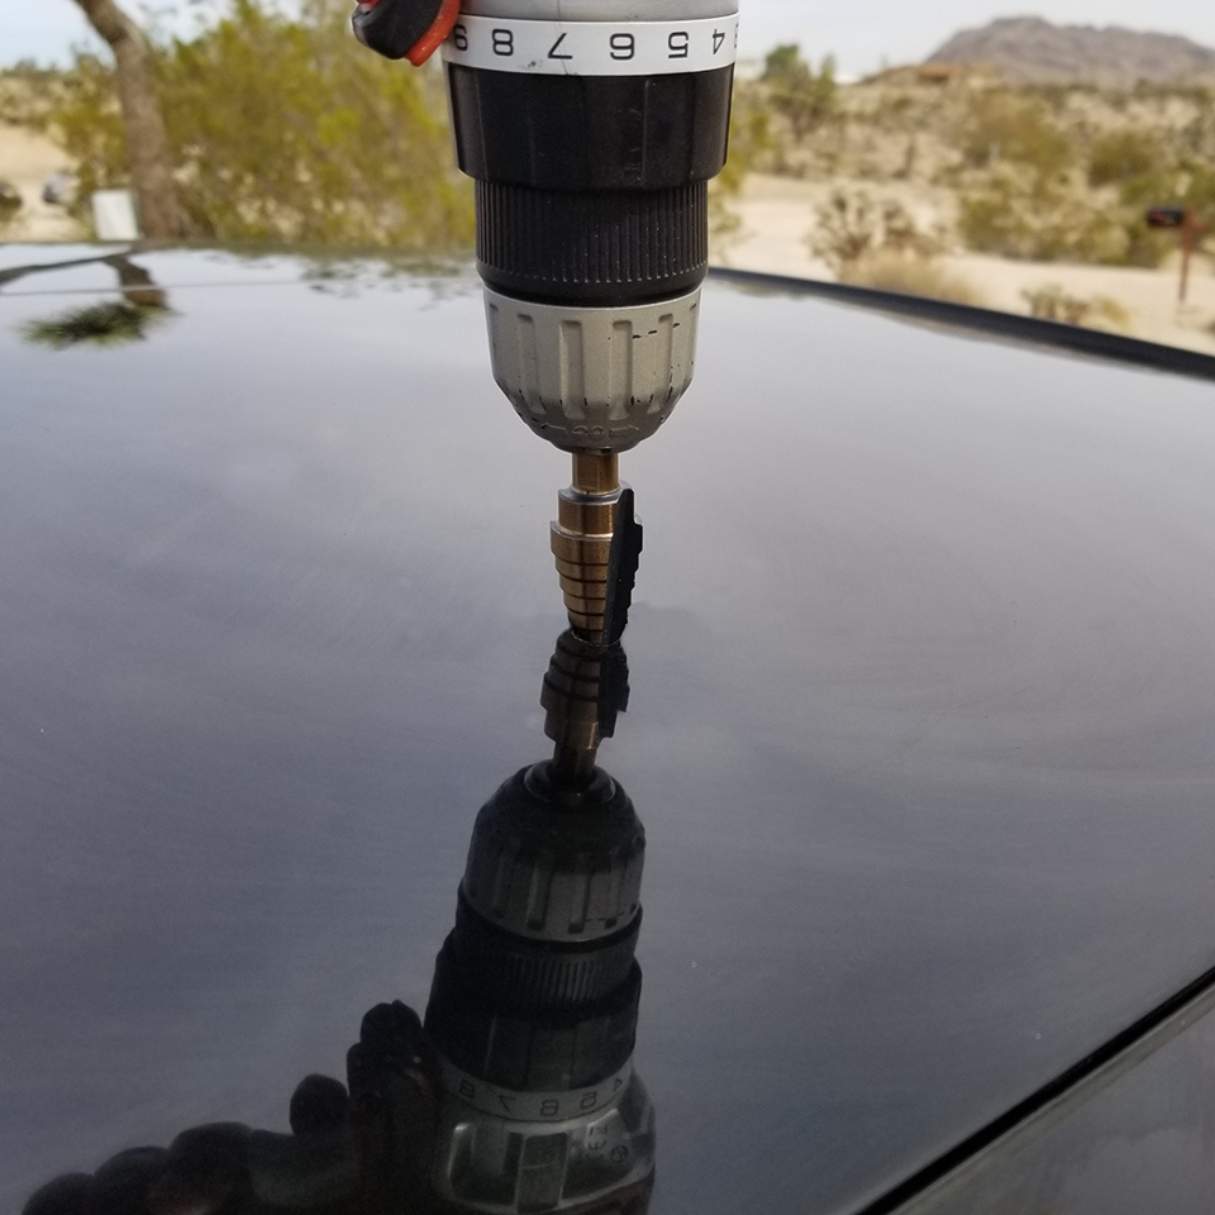
Step 4: Start Drilling
Now that you have prepared the surface, it’s time to start drilling. Follow these steps to begin the drilling process:
- Secure the drill: Hold the drill firmly with one hand, ensuring a secure grip on the handle. Place your other hand on the top of the drill to provide additional stability.
- Align the drill bit: Position the tip of the drill bit precisely at the center of the marked spot. Align it with the indentation created by the center punch.
- Apply steady pressure: Press the drill bit onto the surface with a moderate amount of pressure. Be careful not to apply excessive force, as this can damage the material or cause the drill bit to slip.
- Start drilling: Turn on the drill and begin drilling at a slow speed. Take it slow and steady, allowing the drill bit to cut through the material gradually. Do not rush the process.
- Keep the drill perpendicular: Maintain a perpendicular angle between the drill and the surface while drilling. This will help ensure that the hole remains straight and accurate.
- Check depth and progress: Periodically stop drilling and check the depth of the hole. Use a depth gauge or a measuring tool to determine if you have reached the desired depth. Assess your progress and make any necessary adjustments.
Continue drilling, maintaining a steady pace and applying consistent pressure, until you have achieved the desired depth and size of the hole. Remember to take breaks if needed to let the drill bit cool down and prevent overheating.
By following these steps, you will successfully initiate the drilling process and create a precise hole in your car.
Step 5: Use Proper Technique and Pressure
Using the correct technique and applying the right amount of pressure while drilling is crucial to ensure clean and accurate holes in your car. Follow these guidelines for proper technique and pressure:
- Maintain a steady grip: Hold the drill firmly with both hands to maintain control and stability. This will prevent the drill from slipping or jerking during the drilling process.
- Control the speed: Start drilling at a slower speed to allow the drill bit to bite into the material gradually. As you progress, you can increase the speed, but maintain a constant and controlled speed throughout.
- Avoid excessive pressure: Apply steady and even pressure on the drill while drilling. Avoid using excessive force, as it can cause the drill bit to overheat or become dull. Let the drill bit do the work, and allow it to cut through the material at its own pace.
- Be patient: Take your time while drilling. Rushing the process can lead to mistakes or misaligned holes. Work methodically and patiently, ensuring that you maintain control and precision.
- Clear debris: As you drill, periodically lift the drill bit out of the hole to clear away any debris or shavings. This will prevent the buildup of material that could hinder the drilling process or affect the accuracy of the hole.
- Monitor the drill bit temperature: Pay attention to the temperature of the drill bit while drilling. If it becomes too hot, take a break and allow it to cool down to avoid any damage to the bit or the material.
By applying proper technique and pressure, you will achieve clean and precise holes without causing any damage to your car. Consistency and patience are key to successful drilling.
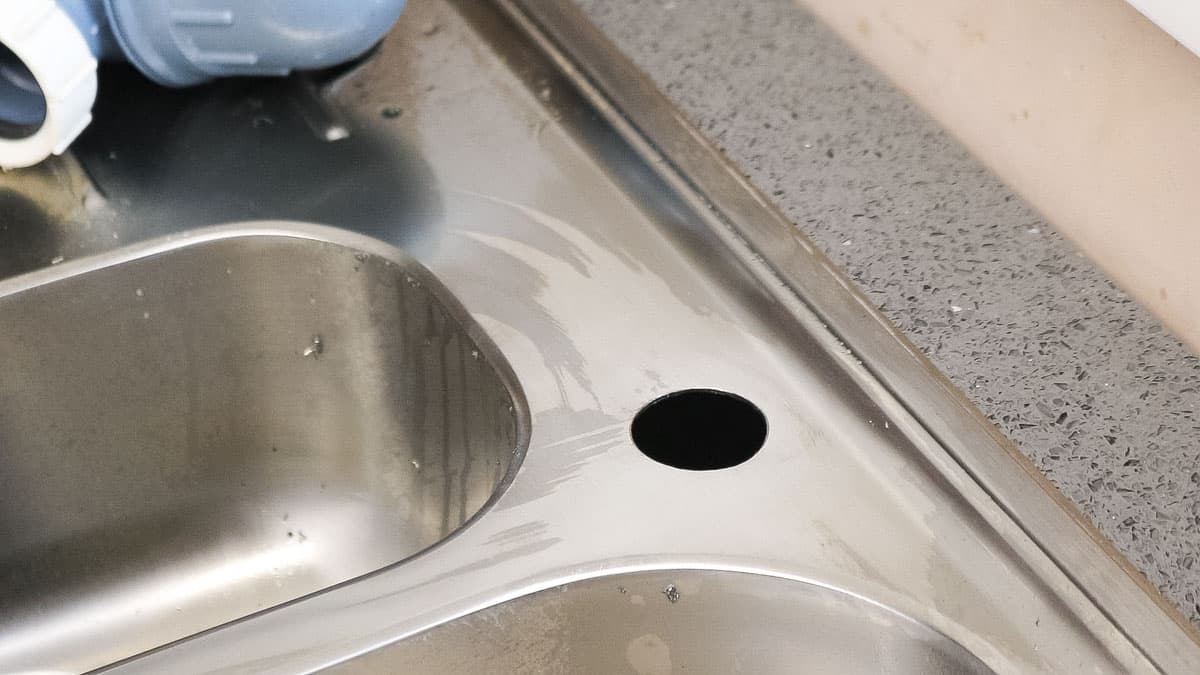
Step 6: Clean and Finish the Hole
After drilling the hole in your car, it’s important to clean and finish the hole to ensure a professional and polished result. Follow these steps to clean and finish the hole:
- Remove debris: Use a vacuum cleaner or a brush to remove any debris or shavings from the hole and its surrounding area. It’s crucial to clean the hole thoroughly to ensure that it is free from any leftover material.
- Smooth rough edges: If there are any rough edges around the hole, use a sanding block or sandpaper to smooth them out. Gently sand the edges in a circular motion until they are smooth and no longer pose a risk of causing injury or damaging wires or other components.
- Inspect the hole: Once you have cleaned and smoothed the hole, take a close look at it to ensure that it meets your desired specifications. Check for any burrs or irregularities that may need further attention.
- Touch up the paint: If the hole is in a visible area of your car’s exterior, you may want to touch up the paint to blend the hole with the rest of the surface. Use automotive touch-up paint that matches the color of your car. Apply the paint carefully and allow it to dry completely before further use.
By taking the time to clean and finish the hole properly, you can achieve a professional and seamless look. This step ensures that your drilled hole blends in seamlessly with the surrounding area of your car.
Read more: How To Drill A Hole In A Brick Wall
Step 7: Repeat the Process if Necessary
Depending on your project or needs, you may need to repeat the drilling process to create additional holes in your car. Follow these considerations when repeating the drilling process:
- Measure and mark: Just like in the initial steps, measure and mark the precise locations for the additional holes you need to create. Ensure accuracy and double-check your measurements before proceeding.
- Apply the same technique: Use the same drilling technique and pressure as described in previous steps. Maintain a steady grip, control the speed, and apply even pressure throughout the drilling process.
- Clean and finish each hole: As you drill each new hole, remember to clean and finish it individually. Follow the steps outlined in Step 6 to ensure that each hole is properly cleaned, any rough edges are smoothed out, and the finished result is satisfactory.
- Monitor the process: Pay attention to the progress and quality of each hole as you repeat the drilling process. Take breaks if needed to allow the drill bit to cool down and prevent any damage or overheating.
- Adjust the process if necessary: If you encounter any challenges or complications while drilling the additional holes, make any necessary adjustments to the process. This may include changing the drill bit size or type, altering the drilling technique, or seeking professional assistance if needed.
By repeating the drilling process with precision and care, you can create multiple holes in your car to suit your specific project or requirements.
Conclusion
Drilling holes in a car with hand tools can be a precise and achievable task when done with the right approach. By following the steps outlined in this guide, you can create clean and accurate holes for various purposes, such as installing accessories, mounting brackets, or performing repairs.
Remember to prioritize safety by wearing the necessary protective gear, working in a well-ventilated area, and taking precautions to prevent any accidents or damage. Additionally, selecting the appropriate drill bit, accurately marking the drilling location, and preparing the surface are essential steps to ensure a successful drilling process.
During drilling, maintain proper technique, steady pressure, and a controlled speed. Take breaks if needed, clear debris, and monitor the temperature of the drill bit to prevent any overheating or damage.
After drilling, clean the hole and its surroundings, smooth any rough edges, and consider touching up the paint if necessary to achieve a professional finish.
If you have multiple holes to drill, repeat the process, ensuring accuracy and thoroughness for each hole created.
While drilling holes in a car may seem intimidating, with the right tools, techniques, and attention to detail, you can achieve the desired results safely and effectively.
Remember, if you’re unsure or uncomfortable with drilling holes in your car, it’s always advisable to seek professional assistance to ensure the best outcome.
Happy drilling!
Frequently Asked Questions about How To Drill Holes In A Car With Hand Tools
Was this page helpful?
At Storables.com, we guarantee accurate and reliable information. Our content, validated by Expert Board Contributors, is crafted following stringent Editorial Policies. We're committed to providing you with well-researched, expert-backed insights for all your informational needs.


0 thoughts on “How To Drill Holes In A Car With Hand Tools”