Home>Furniture & Design>Interior Design Trends>How To Drill Hole In Glass Bottle

Interior Design Trends
How To Drill Hole In Glass Bottle
Modified: March 2, 2024
Learn how to drill a hole in a glass bottle with our expert interior design tips. Discover the latest interior design trends and create stunning DIY projects. Unlock your creativity today!
(Many of the links in this article redirect to a specific reviewed product. Your purchase of these products through affiliate links helps to generate commission for Storables.com, at no extra cost. Learn more)
Introduction
Drilling a hole in a glass bottle can open up a world of creative possibilities. Whether you're crafting a unique centerpiece, designing a custom lamp, or repurposing bottles for DIY projects, mastering the art of drilling through glass can elevate your creative endeavors. However, it's essential to approach this task with caution and precision to achieve the desired results without compromising safety.
By following the proper techniques and using the right tools, you can transform ordinary glass bottles into functional and aesthetically pleasing objects. This process requires attention to detail, patience, and a willingness to learn. With the right guidance, you can confidently embark on this journey and unlock the potential of glass as a versatile medium for your artistic expressions.
In the following sections, we will delve into the step-by-step process of drilling a hole in a glass bottle, from marking the spot to applying the finishing touches. Along the way, we will highlight essential safety precautions and the materials needed to ensure a smooth and successful experience. By the end of this guide, you will have the knowledge and confidence to embark on your glass-drilling endeavors, empowering you to bring your creative visions to life.
Key Takeaways:
- Transform glass bottles into functional art by drilling with caution, precision, and the right tools. Prioritize safety, mark the spot, prepare the drill, and attend to finishing touches for a polished result.
- Embrace patience and meticulousness to drill a hole in a glass bottle. Prioritize safety, prepare the drill, maintain control while drilling, and refine the finished hole for creative possibilities.
Read more: How To Drill A Hole In Glass
Safety Precautions
When working with glass and power tools, prioritizing safety is paramount. Before embarking on the process of drilling a hole in a glass bottle, it's crucial to adhere to a set of safety precautions to minimize the risk of accidents and ensure a secure working environment.
-
Protective Gear: Prior to commencing the drilling process, it's essential to equip yourself with appropriate protective gear. Safety goggles will shield your eyes from glass shards and debris, reducing the risk of eye injuries. Additionally, wearing gloves can provide a layer of protection against potential cuts from handling the glass bottle.
-
Stable Work Surface: Ensure that you have a stable and level work surface to support the glass bottle during the drilling process. A sturdy workbench or table can prevent accidental slips or wobbling, reducing the likelihood of the bottle shattering during drilling.
-
Clamping the Bottle: Securing the glass bottle in place using a specialized bottle-clamping tool or a reliable clamp can enhance stability and minimize movement while drilling. This precautionary measure is crucial for maintaining control and reducing the risk of the bottle shifting unexpectedly.
-
Proper Ventilation: Drilling through glass can generate fine particles and dust. It's advisable to work in a well-ventilated area or use a dust extraction system to prevent the inhalation of glass particles. This precaution contributes to a healthier and safer working environment.
-
Careful Handling of Tools: Exercise caution when handling the drill and other tools. Ensure that the drill bit is securely attached and that the power tool is in good working condition. Additionally, familiarize yourself with the drill's operation and safety features to minimize the risk of accidents.
-
Mindful Technique: Approach the drilling process with patience and precision. Applying excessive force or rushing through the task can increase the likelihood of the glass bottle cracking or shattering. Maintain a steady hand and a controlled drilling speed to achieve the desired results safely.
By conscientiously adhering to these safety precautions, you can mitigate potential hazards and create a secure environment for drilling through glass bottles. Prioritizing safety not only safeguards against accidents but also fosters a confident and focused approach, allowing you to execute the drilling process with precision and peace of mind.
Materials Needed
To embark on the journey of drilling a hole in a glass bottle, it's essential to gather the necessary materials and tools to facilitate a smooth and successful process. Each item plays a crucial role in ensuring precision, safety, and efficiency throughout the drilling endeavor. By assembling the following materials, you can equip yourself with the essentials for transforming glass bottles into versatile and functional creations.
-
Glass Bottle: The focal point of the project, the glass bottle serves as the canvas for your drilling efforts. Select a bottle with the desired shape and thickness, keeping in mind the intended purpose of the finished product. Whether repurposing a wine bottle for a DIY lamp or crafting a decorative centerpiece from a unique glass vessel, the choice of bottle sets the stage for your creative vision.
-
Safety Goggles: Prioritize eye protection by wearing safety goggles designed to shield your eyes from glass shards and debris. Opt for goggles with a snug fit and adequate coverage to ensure comprehensive protection throughout the drilling process.
-
Gloves: Invest in a pair of durable gloves to safeguard your hands from potential cuts and abrasions while handling the glass bottle. Choose gloves that offer a balance of dexterity and protection, allowing you to maintain a secure grip without compromising safety.
-
Drill with Diamond Drill Bit: A crucial tool for drilling through glass, a handheld drill equipped with a diamond drill bit is essential for achieving precise and clean holes. Ensure that the drill bit is specifically designed for glass and possesses the durability and sharpness required to penetrate the material effectively.
-
Masking Tape or Painter's Tape: Utilize masking tape or painter's tape to mark the spot where you intend to drill the hole. This not only serves as a guide for precision but also helps prevent the drill bit from slipping during the initial stages of drilling.
-
Bottle-Cutting Jig or Clamp: Enhance stability and control by utilizing a specialized bottle-cutting jig or a reliable clamp to secure the glass bottle in place during the drilling process. This precautionary measure minimizes movement and reduces the risk of the bottle shifting unpredictably.
-
Coolant or Lubricant: Employ a suitable coolant or lubricant, such as water or a specialized glass-cutting oil, to facilitate the drilling process. Applying a consistent stream of coolant or lubricant helps dissipate heat and reduce friction, contributing to smoother and more controlled drilling.
-
Clean Cloth: Keep a clean cloth or rag on hand to wipe away excess coolant and debris during the drilling process. Maintaining a clear work surface and ensuring the bottle remains free of obstructions can enhance visibility and precision.
By assembling these essential materials, you can establish a well-equipped workspace and set the stage for a successful glass-drilling endeavor. Each item serves a distinct purpose in safeguarding against potential hazards, promoting precision, and facilitating a seamless drilling experience. With the right materials at your disposal, you can approach the subsequent steps of marking, preparing, and drilling with confidence and readiness.
Step 1: Marking the Spot
Before initiating the drilling process, precision and accuracy are paramount. Marking the spot where you intend to drill the hole is a crucial initial step that sets the foundation for the entire endeavor. This meticulous approach not only ensures that the hole is positioned exactly as desired but also minimizes the risk of the drill bit slipping or wandering during the initial stages of drilling.
To mark the spot on the glass bottle, begin by selecting the specific location where you envision the hole. Whether it's the base of the bottle for a decorative light fixture or the body of the bottle for a unique centerpiece, carefully identify the precise placement for the hole. Once the spot is determined, secure the bottle in a stable position using a bottle-cutting jig or a reliable clamp to prevent movement during the marking process.
Next, take a piece of masking tape or painter's tape and gently wrap it around the area where the hole will be drilled. The tape serves as a visual guide, allowing you to clearly mark the exact center of the intended hole. Using a marker or a sharp pencil, make a small dot on the tape to indicate the precise spot for drilling. Ensure that the dot is positioned accurately and aligns with your intended placement.
After marking the spot, take a moment to review the positioning and confirm that it aligns with your creative vision. Double-check the accuracy of the mark to guarantee that it reflects the desired location for the hole. This meticulous approach sets the stage for the subsequent steps of preparing the drill and commencing the drilling process with confidence and precision.
By methodically marking the spot with attention to detail, you establish a clear and reliable guide for the drilling endeavor. This deliberate approach not only enhances accuracy but also instills a sense of assurance as you progress to the next phase of preparing the drill. With the spot accurately marked, you are poised to embark on the subsequent steps of the glass-drilling process, equipped with a solid foundation for achieving your creative objectives.
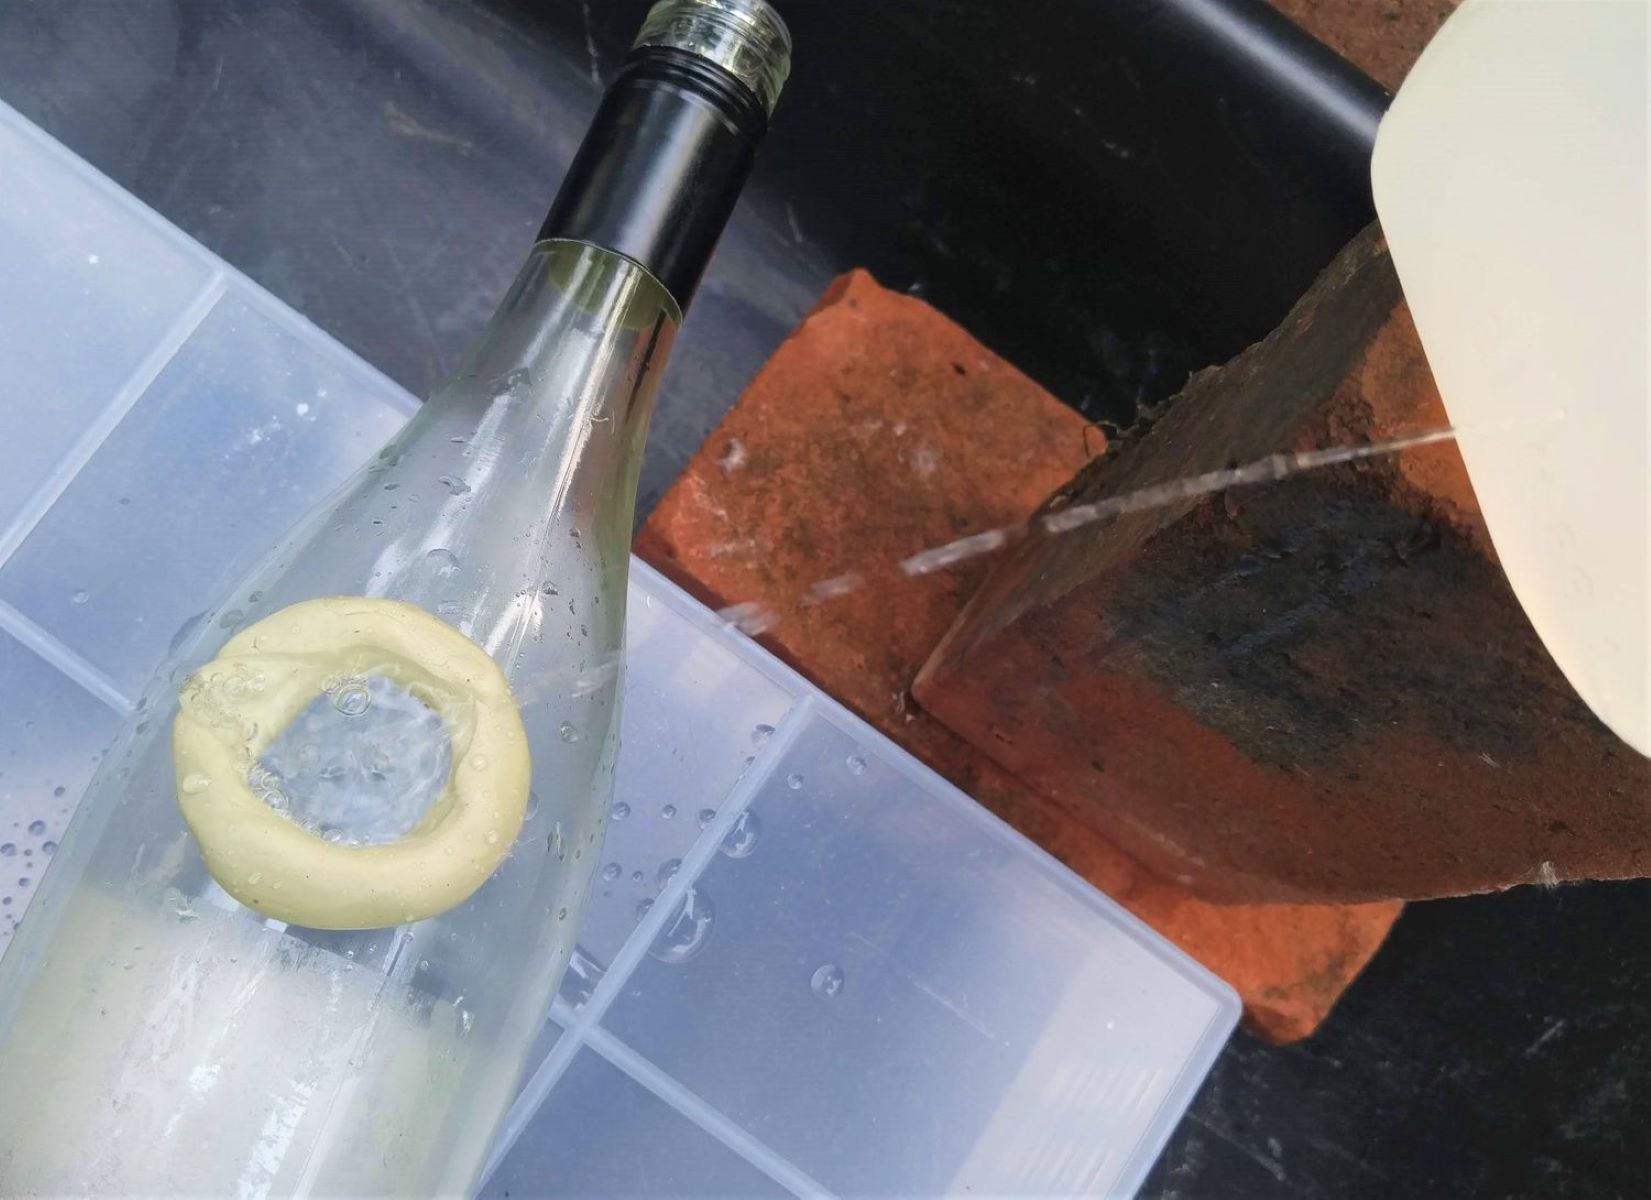
Use a diamond-tipped drill bit and keep the glass and bit lubricated with water to prevent overheating. Go slow and steady to avoid cracking the glass.
Step 2: Preparing the Drill
With the spot accurately marked on the glass bottle, the next pivotal step involves preparing the drill for the intricate task of penetrating the glass. This phase demands meticulous attention to detail and a methodical approach to ensure that the drilling process unfolds smoothly and effectively.
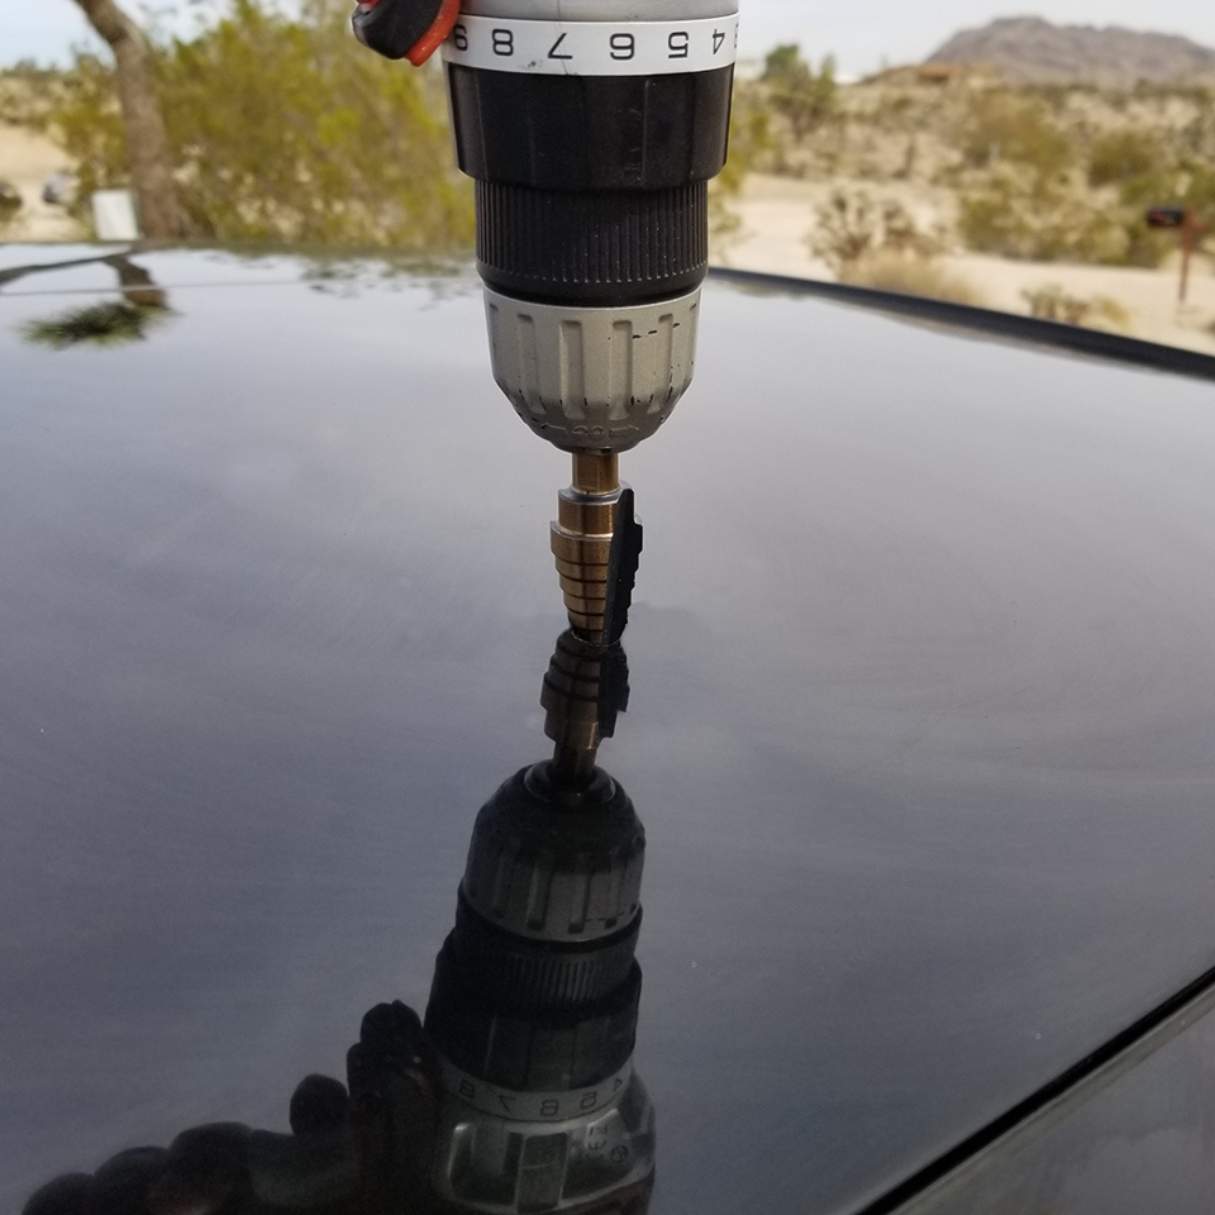
Begin by selecting a handheld drill equipped with a diamond drill bit specifically designed for glass. The choice of a diamond drill bit is crucial, as it possesses the sharpness and durability required to penetrate the hard and brittle nature of glass without causing damage or shattering. Ensure that the drill bit's diameter aligns with the size of the hole you intend to create, allowing for a precise and tailored drilling experience.
Before attaching the diamond drill bit to the handheld drill, it's essential to secure the glass bottle in a stable position using a bottle-cutting jig or a reliable clamp. This precautionary measure minimizes movement and enhances control, laying the groundwork for a steady and controlled drilling process. Once the bottle is securely positioned, carefully attach the diamond drill bit to the handheld drill, ensuring a secure and snug fit to prevent any wobbling or instability during operation.
Incorporate a suitable coolant or lubricant, such as water or a specialized glass-cutting oil, to facilitate the drilling process. Applying a consistent stream of coolant or lubricant serves multiple purposes, including dissipating heat generated during drilling and reducing friction between the drill bit and the glass surface. This proactive measure not only contributes to a smoother drilling experience but also helps prevent the glass from overheating and potentially cracking due to thermal stress.
As you prepare the drill and assemble the necessary components, take a moment to review the setup and confirm that each element is in place and functioning as intended. Prioritize a deliberate and thorough approach to ensure that every aspect of the drill preparation aligns with the precision and care required for drilling through glass.
By meticulously preparing the drill and establishing a controlled and well-equipped setup, you lay the groundwork for a successful and precise drilling experience. This methodical approach sets the stage for the subsequent phase of commencing the drilling process, empowering you to navigate the intricacies of drilling through glass with confidence and readiness.
Read more: How To Drill Glass Bottles
Step 3: Drilling the Hole
With the drill prepared and the glass bottle securely positioned, the pivotal moment arrives to commence the intricate process of drilling the hole. This phase demands a steady hand, focused precision, and a methodical approach to ensure that the glass is penetrated smoothly and without compromise. As you embark on this crucial step, it's essential to maintain a composed and deliberate demeanor, prioritizing control and accuracy throughout the drilling endeavor.
Initiate the drilling process by aligning the diamond drill bit with the marked spot on the glass bottle. Position the drill at a perpendicular angle to the surface of the glass, ensuring that it remains steady and centered over the designated spot. Exercise patience and refrain from applying excessive force, as the key to successful drilling lies in maintaining a controlled and consistent drilling speed.
Engage the drill at a slow and steady pace, allowing the diamond drill bit to make initial contact with the glass surface. As the drilling progresses, maintain a gentle and even pressure, guiding the drill bit through the glass with a fluid and controlled motion. Avoid hurried movements or abrupt adjustments, as these can compromise the stability and precision of the drilling process.
Throughout the drilling endeavor, periodically apply a continuous stream of coolant or lubricant to the point of contact between the drill bit and the glass surface. This proactive measure serves to dissipate heat and reduce friction, contributing to a smoother and more controlled drilling experience. Additionally, it helps prevent the glass from overheating and minimizes the risk of thermal stress-induced cracks.
As the drill bit penetrates the glass, maintain a vigilant focus on the progress and adjust the drilling speed as needed to accommodate the thickness and density of the glass. Exercise patience and attentiveness, allowing the drill bit to gradually and steadily create the desired hole without rushing or exerting undue force.
Upon reaching the desired depth and completing the hole, gently withdraw the drill from the glass bottle, ensuring a smooth and controlled disengagement. Take a moment to inspect the newly created hole, confirming its alignment and dimensions to meet your creative objectives. Wipe away any excess coolant or debris using a clean cloth, unveiling the pristine and precise result of your drilling efforts.
By navigating the process of drilling the hole with meticulous attention to detail and a deliberate approach, you achieve a successful and controlled penetration of the glass. This phase represents a pivotal milestone in your glass-drilling endeavor, marking the transformation of the glass bottle into a versatile and functional canvas for your creative aspirations.
Step 4: Finishing Touches
Upon successfully drilling the hole in the glass bottle, the final phase involves attending to the finishing touches to refine the newly created opening and ensure its readiness for your intended purpose. This stage encompasses a series of meticulous steps aimed at smoothing the edges of the hole, removing any residual debris, and preparing the glass bottle for its envisioned role in your creative endeavors.
Begin by inspecting the edges of the drilled hole to assess the smoothness and uniformity. Utilize a fine-grit sandpaper or a specialized glass file to gently sand the edges of the hole, smoothing any rough or uneven areas. Exercise caution and maintain a gentle touch to avoid inadvertently damaging the surrounding glass surface. The objective is to achieve a polished and even edge that enhances the aesthetic appeal and functionality of the drilled hole.
Following the sanding process, carefully remove any remaining debris or glass particles from both the interior and exterior of the bottle. Employ a clean cloth or a soft brush to delicately clear away any residual dust or fragments, ensuring that the interior of the bottle is free from obstructions. This meticulous cleaning step contributes to the overall refinement of the glass bottle, preparing it for its intended purpose without any impediments.
As a final touch, consider applying a small amount of glass cleaner to the exterior of the bottle, gently polishing the surface to restore its luster and clarity. This additional step enhances the visual appeal of the glass bottle, accentuating its inherent beauty and craftsmanship. By attending to the exterior cleanliness and appearance, you elevate the overall presentation of the bottle, setting the stage for its integration into your creative projects or decorative arrangements.
Upon completing the finishing touches, take a moment to admire the transformed glass bottle, now adorned with a precisely drilled hole and refined edges. The meticulous attention to detail and the careful refinement of the hole culminate in a polished and professional result, ready to fulfill its intended purpose in your creative endeavors.
With the finishing touches complete, the glass bottle stands as a testament to your precision and craftsmanship, poised to serve as a versatile and functional element in your artistic pursuits. Whether it becomes a part of a custom lamp, a decorative centerpiece, or a unique DIY project, the meticulously drilled hole represents a gateway to endless creative possibilities, empowered by your dedication and skill.
Conclusion
In conclusion, mastering the art of drilling a hole in a glass bottle opens up a realm of creative possibilities, allowing individuals to repurpose and transform ordinary glass vessels into functional and aesthetically pleasing objects. Throughout the meticulous process of marking the spot, preparing the drill, drilling the hole, and attending to the finishing touches, a deliberate and methodical approach is essential to achieve precise and controlled results.
By prioritizing safety precautions, including the use of protective gear, stable work surfaces, and careful handling of tools, individuals can create a secure environment for the intricate task of drilling through glass. Equipping oneself with the necessary materials, such as safety goggles, gloves, a diamond drill bit, and coolant, sets the stage for a well-prepared and efficient drilling experience.
The deliberate act of marking the spot on the glass bottle with precision and attention to detail serves as the foundation for the subsequent phases, ensuring that the hole is positioned exactly as intended. This meticulous approach minimizes the risk of the drill bit slipping or wandering during the initial stages of drilling, setting the stage for a controlled and accurate process.
Preparing the drill with a diamond drill bit, securing the glass bottle in a stable position, and incorporating a suitable coolant or lubricant are pivotal steps that contribute to a successful and precise drilling experience. By meticulously attending to these preparatory measures, individuals establish a well-equipped setup and lay the groundwork for navigating the intricacies of drilling through glass with confidence and readiness.
As the drilling process unfolds, maintaining a steady hand, focused precision, and a methodical approach are crucial for achieving a smooth and controlled penetration of the glass. The application of a continuous stream of coolant or lubricant serves to dissipate heat, reduce friction, and prevent the glass from overheating, contributing to a smoother and more controlled drilling experience.
Upon successfully drilling the hole, attending to the finishing touches, including smoothing the edges of the hole, removing residual debris, and polishing the exterior of the bottle, refines the newly created opening and prepares the glass vessel for its intended purpose. This meticulous attention to detail culminates in a polished and professional result, ready to fulfill its role in various creative projects or decorative arrangements.
In essence, the process of drilling a hole in a glass bottle demands patience, precision, and a commitment to safety. By embracing these principles and following the step-by-step guide, individuals can confidently embark on their glass-drilling endeavors, unlocking the potential of glass as a versatile medium for artistic expressions and innovative creations.
Frequently Asked Questions about How To Drill Hole In Glass Bottle
Was this page helpful?
At Storables.com, we guarantee accurate and reliable information. Our content, validated by Expert Board Contributors, is crafted following stringent Editorial Policies. We're committed to providing you with well-researched, expert-backed insights for all your informational needs.


0 thoughts on “How To Drill Hole In Glass Bottle”