Home>Furniture & Design>Interior Design Trends>How To Drill Into Glass
Interior Design Trends
How To Drill Into Glass
Modified: October 19, 2024
Learn how to safely drill into glass for your interior design projects. Discover the latest interior design trends and techniques for successful glass drilling. Unlock the secrets to drilling into glass with confidence.
(Many of the links in this article redirect to a specific reviewed product. Your purchase of these products through affiliate links helps to generate commission for Storables.com, at no extra cost. Learn more)
Introduction
Drilling into glass can seem like a daunting task, but with the right tools, techniques, and precautions, it can be accomplished successfully. Whether you're a seasoned DIY enthusiast or a novice looking to tackle a new project, understanding the intricacies of drilling into glass is essential for achieving professional results.
Glass is a delicate material that requires precision and care when drilling to avoid breakage or damage. From creating custom glass decorations to installing shelves or mirrors, knowing how to drill into glass opens up a world of creative possibilities for home improvement and crafting projects.
In this comprehensive guide, we will delve into the essential steps and considerations for drilling into glass. From the tools and materials needed to the proper drilling technique and safety precautions, you'll gain valuable insights that will empower you to take on glass drilling projects with confidence.
By the end of this guide, you'll be equipped with the knowledge and expertise to approach drilling into glass as a manageable and rewarding endeavor. So, let's embark on this journey to master the art of drilling into glass and unlock the potential for creating stunning and functional glass-based projects.
Key Takeaways:
- Mastering the art of drilling into glass requires the right tools, careful preparation, and a steady hand. By following safety precautions and techniques, you can create flawless holes for stunning DIY glass projects.
- Prioritize safety, precision, and patience when drilling into glass. From selecting the right drill bit to mastering the drilling technique, this guide empowers you to embark on creative and rewarding glass-based projects with confidence.
Read more: How To Drill Through Glass
Tools and Materials Needed
When embarking on a glass drilling project, having the right tools and materials at your disposal is crucial for achieving precise and safe results. Here's a comprehensive list of the essential items you'll need:
Tools:
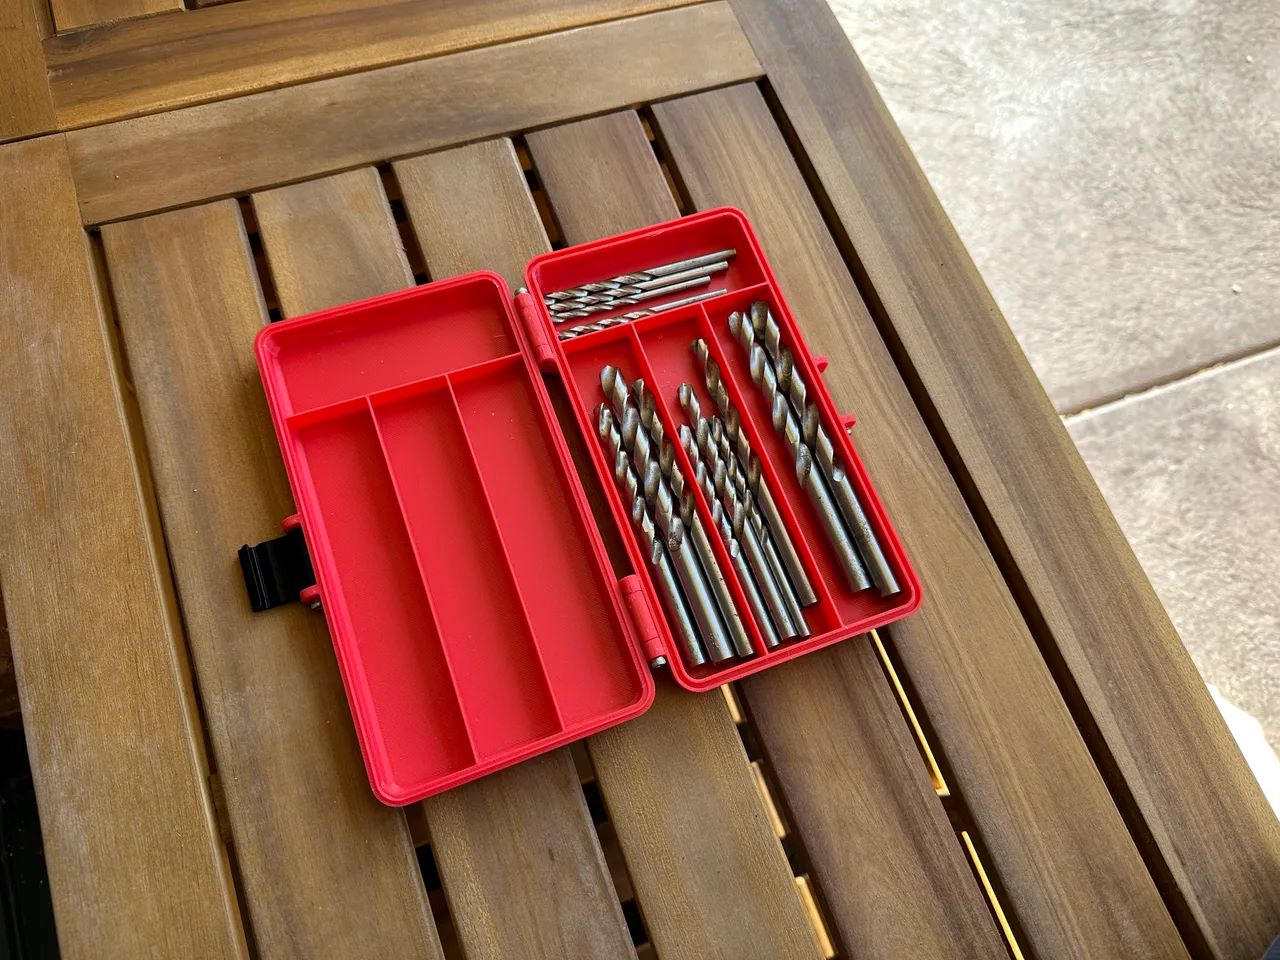
- Glass Drill Bit: Invest in a high-quality carbide-tipped or diamond-coated glass drill bit specifically designed for drilling through glass and tile. These specialized drill bits feature a spear-shaped carbide tip that aids in creating clean and precise holes in glass without causing cracks or shattering.
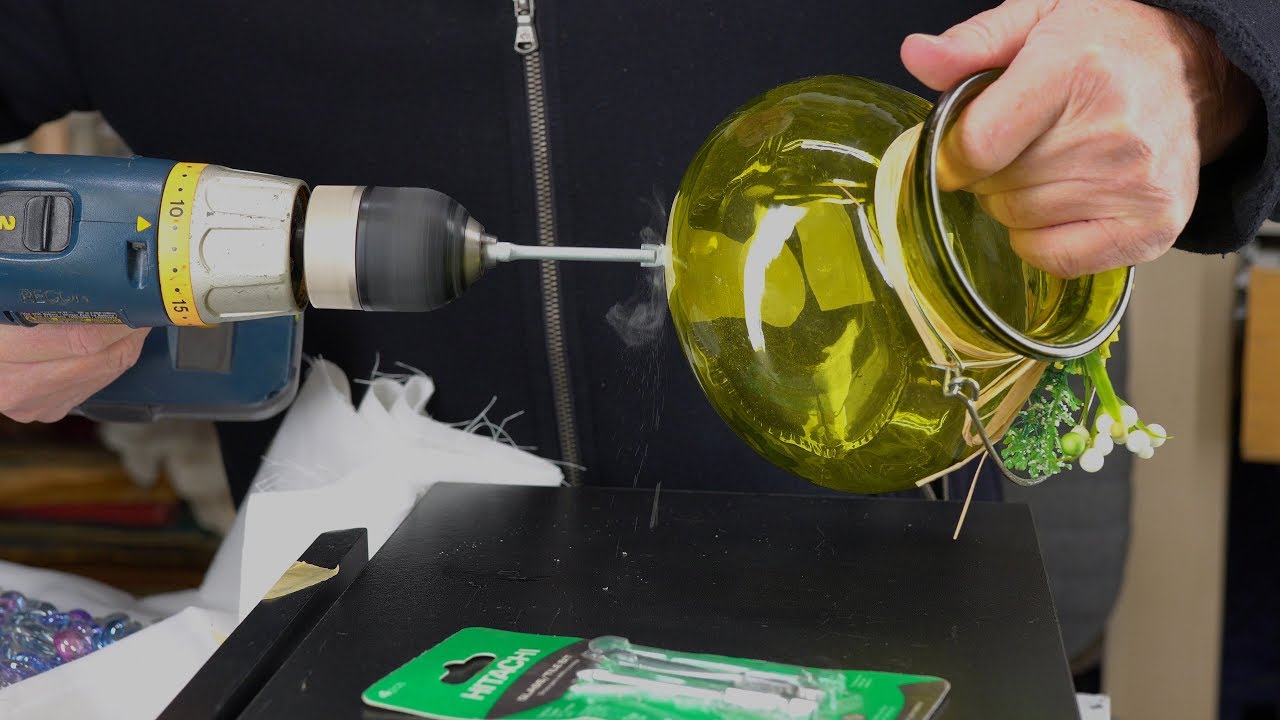
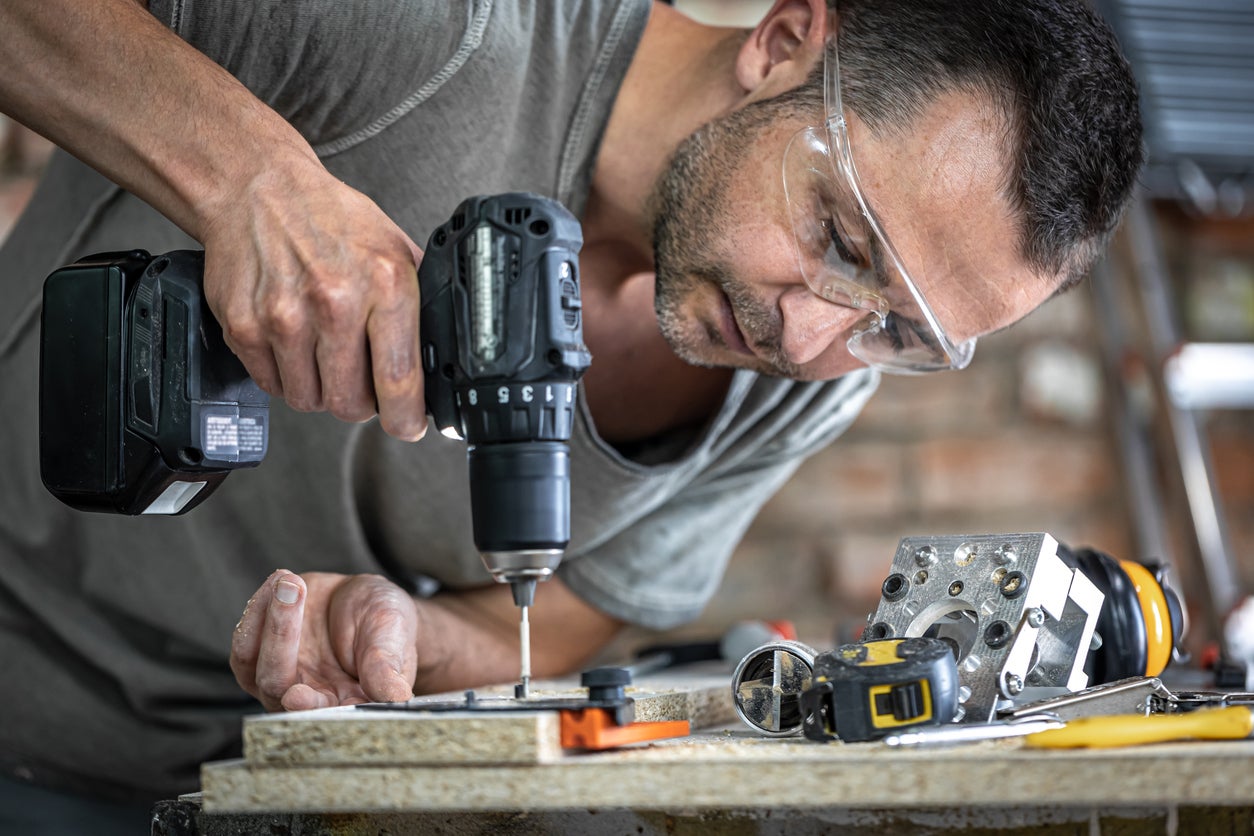
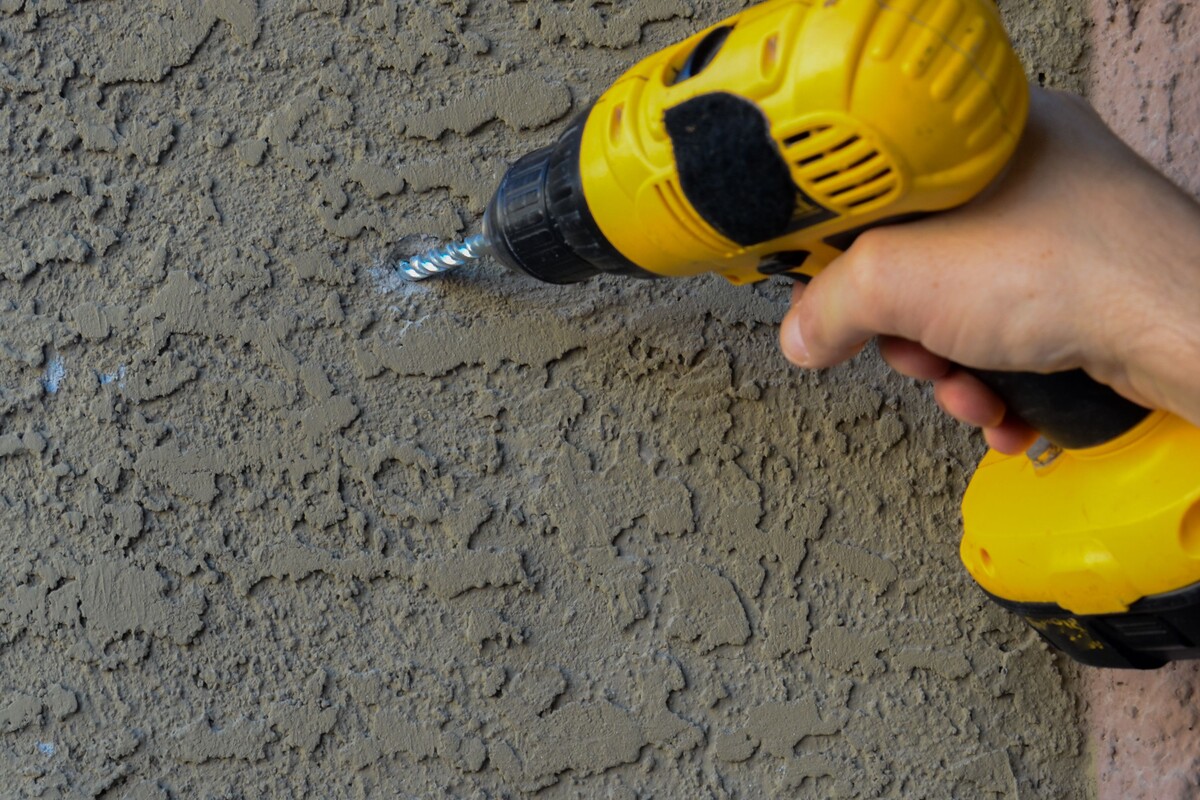
- Power Drill: Use a variable-speed power drill with a reliable grip and adjustable speed settings. Opting for a corded drill provides consistent power, while a cordless drill offers greater maneuverability for intricate drilling tasks.
- Masking Tape: High-quality masking tape helps create a guide for the drill bit, preventing it from slipping and minimizing the risk of chipping or cracking the glass surface during drilling.
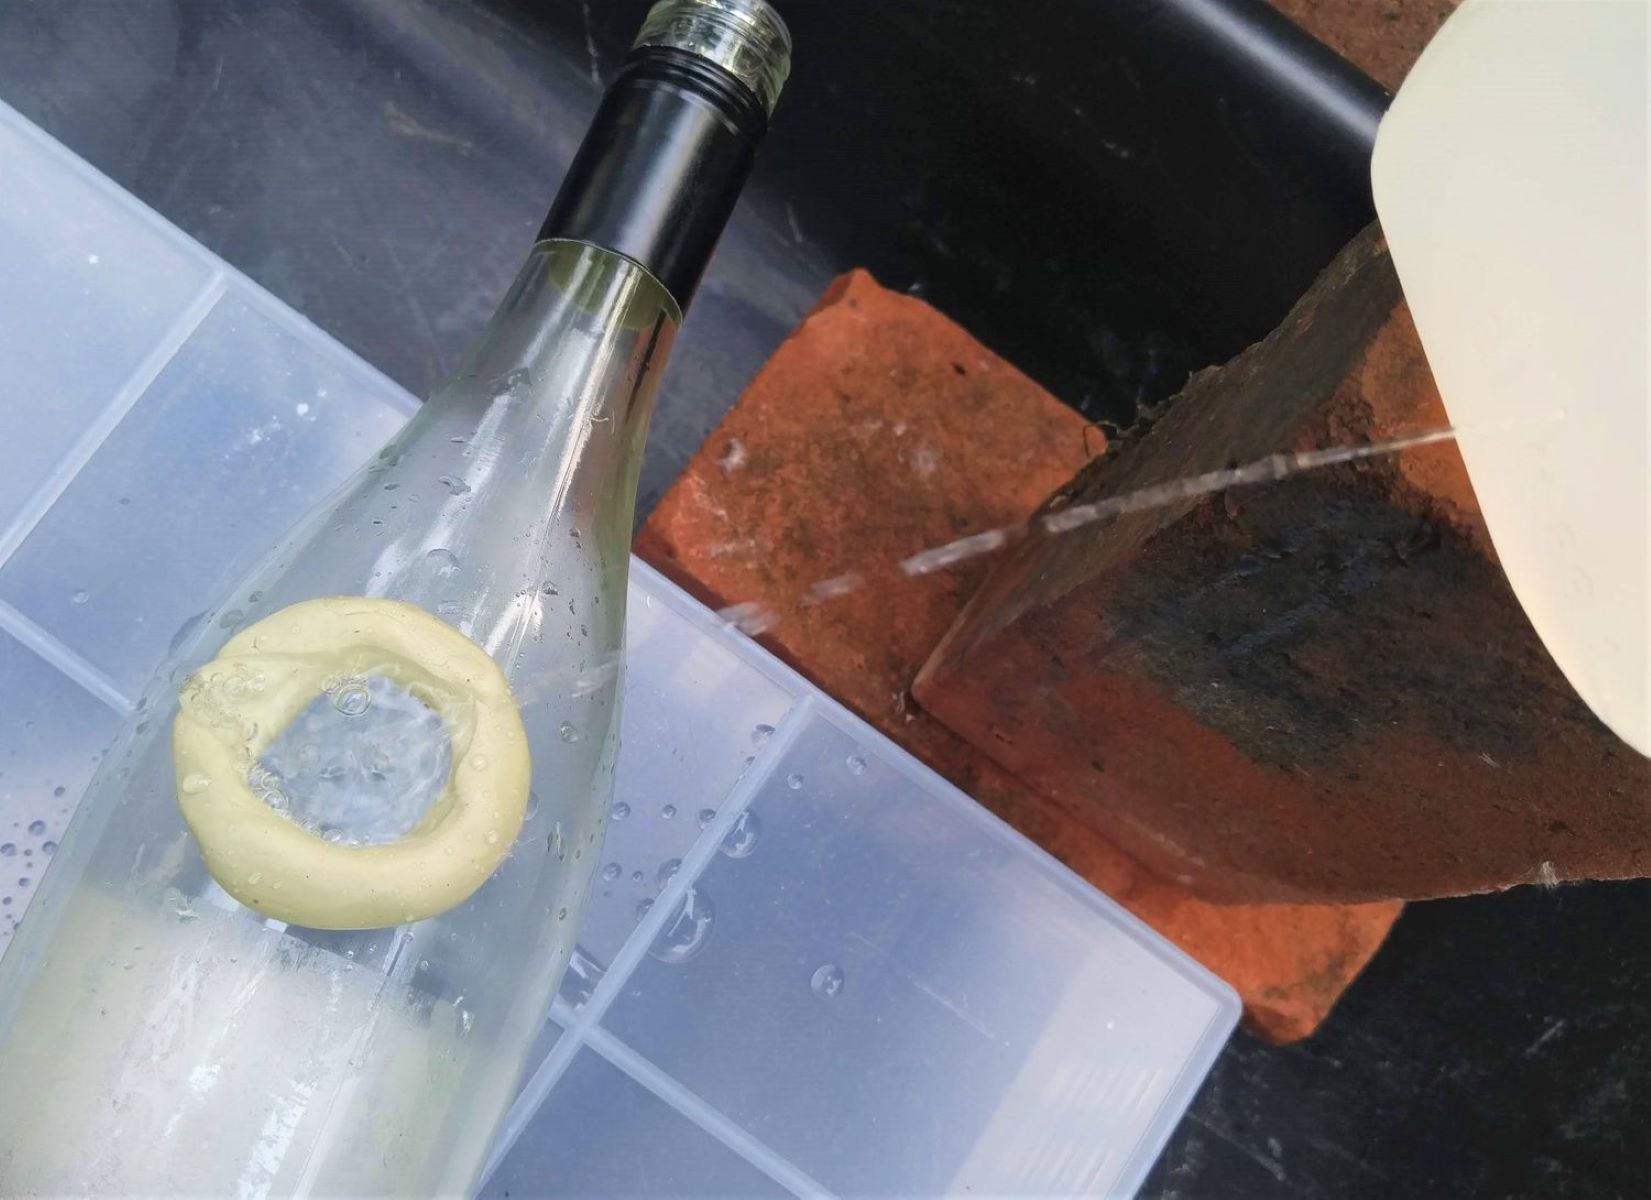
- Spray Bottle with Water: Keeping the glass surface and drill bit lubricated with water during the drilling process helps dissipate heat and prevents the glass from overheating or fracturing.
- Safety Glasses and Gloves: Prioritize safety by wearing protective eyewear and gloves to shield yourself from potential glass shards and debris.
Materials:
- Glass Surface: Whether it's a glass panel, mirror, or decorative glass object, ensure the surface is clean and free of any obstructions before commencing the drilling process.
- Marker or Pencil: Use a marker or pencil to mark the precise location on the glass where you intend to drill. This marking serves as a visual guide for positioning the drill bit accurately.
- Ruler or Measuring Tape: For projects requiring precise hole placement, a ruler or measuring tape aids in determining the exact distance from the edges or other reference points on the glass surface.
- Protective Surface: Place a soft cloth or a piece of cardboard beneath the glass to provide cushioning and prevent scratches or damage to the underside during drilling.
By ensuring you have these essential tools and materials on hand, you'll be well-prepared to tackle your glass drilling project with confidence and precision. With the foundation laid for the necessary equipment, the next step is to prepare the glass surface for drilling.
Preparing the Glass
Before initiating the drilling process, it's imperative to prepare the glass surface adequately to minimize the risk of breakage and ensure a smooth drilling experience. Here's a detailed breakdown of the essential steps involved in preparing the glass for drilling:
-
Cleaning the Surface: Begin by thoroughly cleaning the glass surface using a mild glass cleaner and a lint-free cloth. Removing any dirt, dust, or residues from the surface is crucial, as it allows for better visibility when marking the drilling spot and helps the drill bit make clean contact with the glass.
-
Marking the Drilling Spot: Use a marker or pencil to make a precise mark on the glass where you intend to drill. If accuracy is paramount, consider using a ruler or measuring tape to ensure the mark is positioned exactly where you need the hole to be. This initial marking serves as a visual guide for aligning the drill bit and helps prevent any potential slippage during drilling.
-
Securing with Masking Tape: Once the drilling spot is marked, apply a piece of high-quality masking tape over the area. The tape not only helps to prevent the drill bit from slipping but also acts as a protective barrier, reducing the likelihood of chipping or cracking the glass during the drilling process.
-
Supporting the Glass: To provide additional stability and prevent the glass from flexing or vibrating during drilling, place the glass on a soft, supportive surface. A piece of cardboard or a folded cloth beneath the glass helps absorb vibrations and minimizes the risk of the glass cracking under pressure.
By meticulously following these preparatory steps, you'll create an optimal environment for drilling into the glass. Taking the time to clean the surface, mark the drilling spot accurately, and secure the glass with masking tape sets the stage for a successful drilling experience. With the glass surface primed and ready, the next crucial aspect to consider is selecting the right drill bit for the job.
Read more: How To Drill Glass Bottles
Choosing the Right Drill Bit
Selecting the appropriate drill bit is a critical determinant of the success and precision of your glass drilling endeavor. When it comes to drilling into glass, using the right type of drill bit can make all the difference in achieving clean, accurate holes without compromising the integrity of the glass surface. Here's a comprehensive exploration of the key factors to consider when choosing the right drill bit for your glass drilling project:
Consider the Material
Glass is a delicate and brittle material that requires specialized tools for drilling. When selecting a drill bit for glass, opt for a carbide-tipped or diamond-coated glass drill bit. These drill bits are specifically designed to handle the hardness and fragility of glass, ensuring clean and precise hole formation without causing cracks or fractures.
Size and Shape
The size and shape of the drill bit play a crucial role in determining the outcome of the drilling process. For standard glass drilling tasks, such as creating holes for hardware installation or crafting projects, a spear-pointed or spear-shaped drill bit is ideal. These drill bits feature a sharp, angular tip that facilitates the gradual penetration of the glass, minimizing the risk of chipping or shattering.
Compatibility with Power Drill
Ensure that the selected drill bit is compatible with your power drill. Most glass drill bits are designed to be used with standard power drills, both corded and cordless. Additionally, verify that the drill bit's shank size matches the chuck of your power drill to guarantee a secure and stable fit during the drilling process.
Read more: How To Drill A Hole In Glass
Quality and Durability
Invest in high-quality carbide-tipped or diamond-coated drill bits known for their durability and longevity. While these specialized drill bits may come at a higher initial cost, their superior construction and longevity make them a worthwhile investment for achieving professional-grade results and minimizing the risk of damaging the glass surface.
Specialized Features
Some drill bits come with specialized features, such as a reduced shank or a stepped design, which can enhance their performance when drilling into glass. These features aid in maintaining stability, reducing heat buildup, and facilitating smoother hole formation, especially when working with thicker glass surfaces or intricate drilling patterns.
By carefully considering these factors and selecting a drill bit tailored to the unique properties of glass, you'll set the stage for a successful and rewarding glass drilling experience. With the right drill bit in hand, you'll be well-equipped to execute precise and flawless drilling tasks, unlocking the potential for creating stunning glass-based projects with confidence and ease.
Drilling Technique
Mastering the drilling technique is pivotal in achieving precise and flawless results when drilling into glass. The process demands patience, precision, and a keen understanding of the intricacies involved in working with this delicate material. Here's a comprehensive breakdown of the essential drilling technique for successfully drilling into glass:
-
Steady Hand and Controlled Pressure: Begin by firmly gripping the power drill with both hands, ensuring a stable and controlled grip. Apply gentle, consistent pressure on the drill, allowing the drill bit to make initial contact with the marked spot on the glass surface. Avoid exerting excessive force, as this can lead to the glass fracturing or chipping.
-
Low Speed and Lubrication: Set the power drill to a low speed setting to initiate the drilling process. It's crucial to keep the drill bit and the glass surface lubricated throughout the drilling operation. Use a spray bottle filled with water to continuously moisten the drilling area, reducing friction and dissipating heat. This lubrication prevents the glass from overheating and minimizes the risk of cracks or breakage.
-
Gradual Penetration: With the drill bit in position, begin the drilling process by applying gentle and consistent pressure. Allow the drill bit to penetrate the glass gradually, maintaining a steady hand and a controlled drilling speed. Avoid rushing the process, as gradual penetration minimizes the likelihood of the glass shattering or splintering.
-
Intermittent Rest Periods: Periodically pause the drilling process to allow the drill bit and the glass surface to cool down. This intermittent rest period is crucial for dissipating heat and preventing the glass from becoming too hot, which can compromise its structural integrity. Continue to moisten the drilling area with water during these rest periods to maintain a cool and lubricated environment.
-
Monitor Progress and Adjust Pressure: As the drill bit penetrates the glass, monitor the progress closely. Adjust the pressure and speed as needed to ensure a smooth and controlled drilling operation. Maintaining a keen eye on the drilling process allows for real-time adjustments, preventing potential mishaps and ensuring the creation of a clean and precise hole.
-
Clean and Inspect: Once the drilling process is complete, carefully remove the drill bit from the glass surface. Wipe away any residual water and inspect the drilled hole for any irregularities or rough edges. If necessary, use fine-grit sandpaper or a deburring tool to smooth the edges of the hole, creating a clean and polished finish.
By adhering to these meticulous drilling techniques, you'll be well-equipped to tackle glass drilling projects with confidence and precision. The combination of controlled pressure, low-speed drilling, lubrication, and attentive monitoring culminates in the creation of flawless holes in glass surfaces, unlocking a world of creative possibilities for your home improvement and crafting endeavors.
Safety Precautions
When undertaking any glass drilling project, prioritizing safety is paramount to safeguard yourself and others from potential hazards. Glass, being a fragile and unforgiving material, demands a heightened level of caution and adherence to safety protocols. Here's an in-depth exploration of the crucial safety precautions to observe when drilling into glass:
-
Protective Gear: Before commencing the drilling process, ensure you are equipped with the necessary protective gear. Wear safety glasses to shield your eyes from glass shards and debris, reducing the risk of eye injuries. Additionally, don a pair of sturdy gloves to safeguard your hands from potential cuts or abrasions caused by handling glass and drilling equipment.
-
Stable Work Surface: Position the glass on a stable and level work surface to prevent accidental slips or movements during drilling. A secure work surface minimizes the risk of the glass shifting or falling, reducing the likelihood of breakage or injuries.
-
Secure Grip and Posture: Maintain a firm and stable grip on the power drill, ensuring both hands are positioned securely on the drill to maintain control and stability. Adopt a comfortable and balanced posture to minimize strain and fatigue during the drilling process, promoting better control and precision.
-
Caution with Power Tools: Exercise caution when operating power tools, especially when drilling into delicate materials like glass. Familiarize yourself with the power drill's operation and safety features, and adhere to the manufacturer's guidelines for safe usage. Avoid distractions and maintain focus on the drilling task at hand to prevent accidents.
-
Proper Ventilation: When drilling into glass, ensure the work area is well-ventilated to disperse any potential fumes or dust particles generated during the drilling process. Adequate ventilation minimizes the inhalation of airborne particles and promotes a healthier and safer working environment.
-
Emergency Response Plan: Familiarize yourself with the appropriate emergency response procedures in case of accidents or mishaps during the drilling process. Have a first-aid kit readily available and acquaint yourself with basic first-aid practices to address minor injuries promptly.
-
Discard Glass Debris Safely: Dispose of glass debris and waste materials in a secure and responsible manner. Use designated containers or disposal methods to prevent accidental injuries from sharp glass fragments and to maintain a clean and organized work environment.
By diligently adhering to these safety precautions, you create a secure and controlled environment for undertaking glass drilling projects. Prioritizing safety not only safeguards against potential accidents and injuries but also fosters a sense of confidence and assurance as you embark on your glass drilling endeavors.
Read more: How To Drill Glass Tile
Conclusion
In conclusion, mastering the art of drilling into glass opens up a realm of creative possibilities for home improvement, crafting, and DIY projects. By equipping yourself with the essential tools, understanding the preparatory steps, selecting the right drill bit, mastering the drilling technique, and prioritizing safety, you can embark on glass drilling endeavors with confidence and precision.
The journey of drilling into glass begins with meticulous preparation, including cleaning the glass surface, marking the drilling spot accurately, and securing the glass with masking tape. These preparatory steps lay the foundation for a successful drilling experience, minimizing the risk of breakage and ensuring a smooth drilling operation.
Selecting the right drill bit tailored to the unique properties of glass is a pivotal decision. Opting for high-quality carbide-tipped or diamond-coated glass drill bits, compatible with your power drill, sets the stage for achieving clean and precise holes without compromising the integrity of the glass surface.
Mastering the drilling technique demands patience, controlled pressure, and attentive monitoring. By maintaining a steady hand, utilizing low-speed drilling, and ensuring continuous lubrication, you can achieve flawless results while drilling into glass. The careful execution of the drilling process culminates in the creation of clean, polished holes, unlocking the potential for a myriad of glass-based projects.
Throughout the entire process, prioritizing safety is non-negotiable. Wearing protective gear, securing the work surface, exercising caution with power tools, and adhering to safety protocols create a secure environment for undertaking glass drilling projects, safeguarding against potential hazards and injuries.
By embracing the knowledge and insights shared in this comprehensive guide, you are empowered to approach glass drilling projects with confidence, creativity, and a deep understanding of the intricacies involved. Whether you're installing shelves, creating custom glass decorations, or embarking on intricate crafting endeavors, the mastery of drilling into glass elevates your capabilities and opens the door to a world of innovative and visually stunning possibilities.
With the right tools, techniques, and safety measures at your disposal, you are poised to embark on a fulfilling journey of transforming glass surfaces into functional and aesthetically captivating elements within your living space. Embrace the art of drilling into glass, and let your creativity flourish in the realm of glass-based projects.
Frequently Asked Questions about How To Drill Into Glass
Was this page helpful?
At Storables.com, we guarantee accurate and reliable information. Our content, validated by Expert Board Contributors, is crafted following stringent Editorial Policies. We're committed to providing you with well-researched, expert-backed insights for all your informational needs.


0 thoughts on “How To Drill Into Glass”