Home>Furniture & Design>Interior Design Trends>How To Make A Glass Bowl
Interior Design Trends
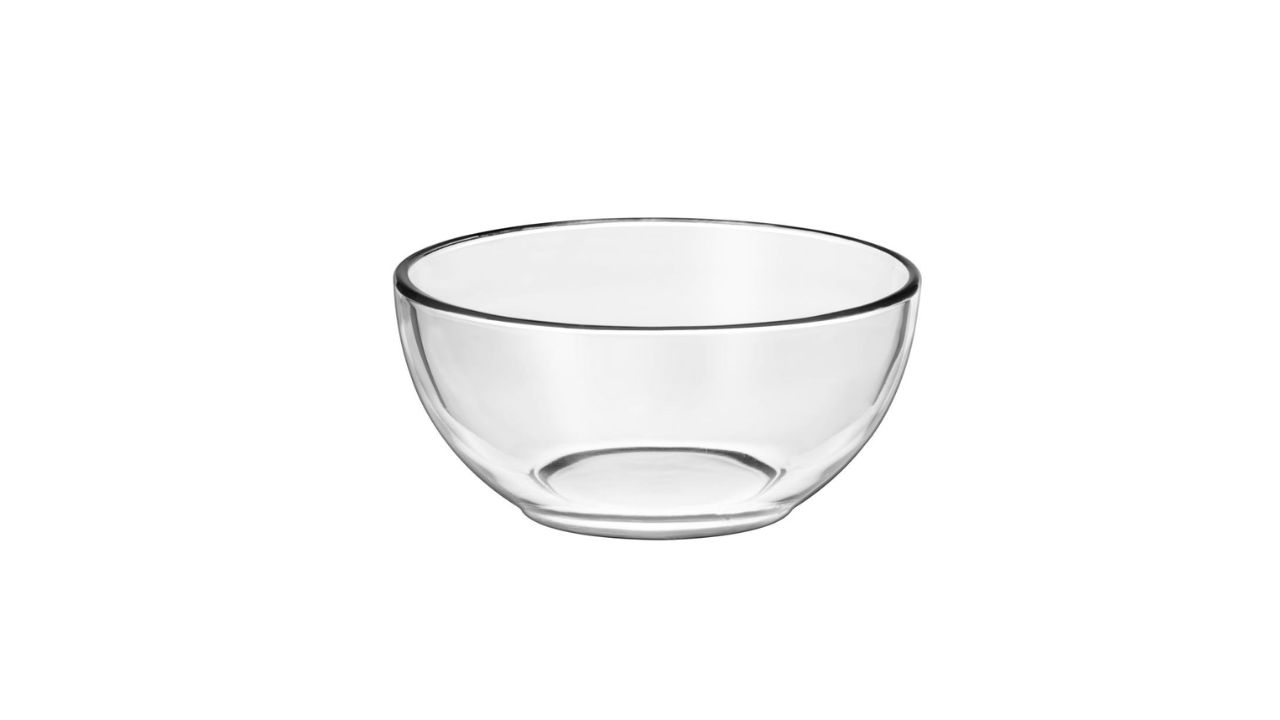
How To Make A Glass Bowl
Modified: October 20, 2024
Learn how to make a stunning glass bowl to elevate your interior design with the latest trends. Discover the art of glassblowing and create a unique centerpiece for your space.
(Many of the links in this article redirect to a specific reviewed product. Your purchase of these products through affiliate links helps to generate commission for Storables.com, at no extra cost. Learn more)
Introduction
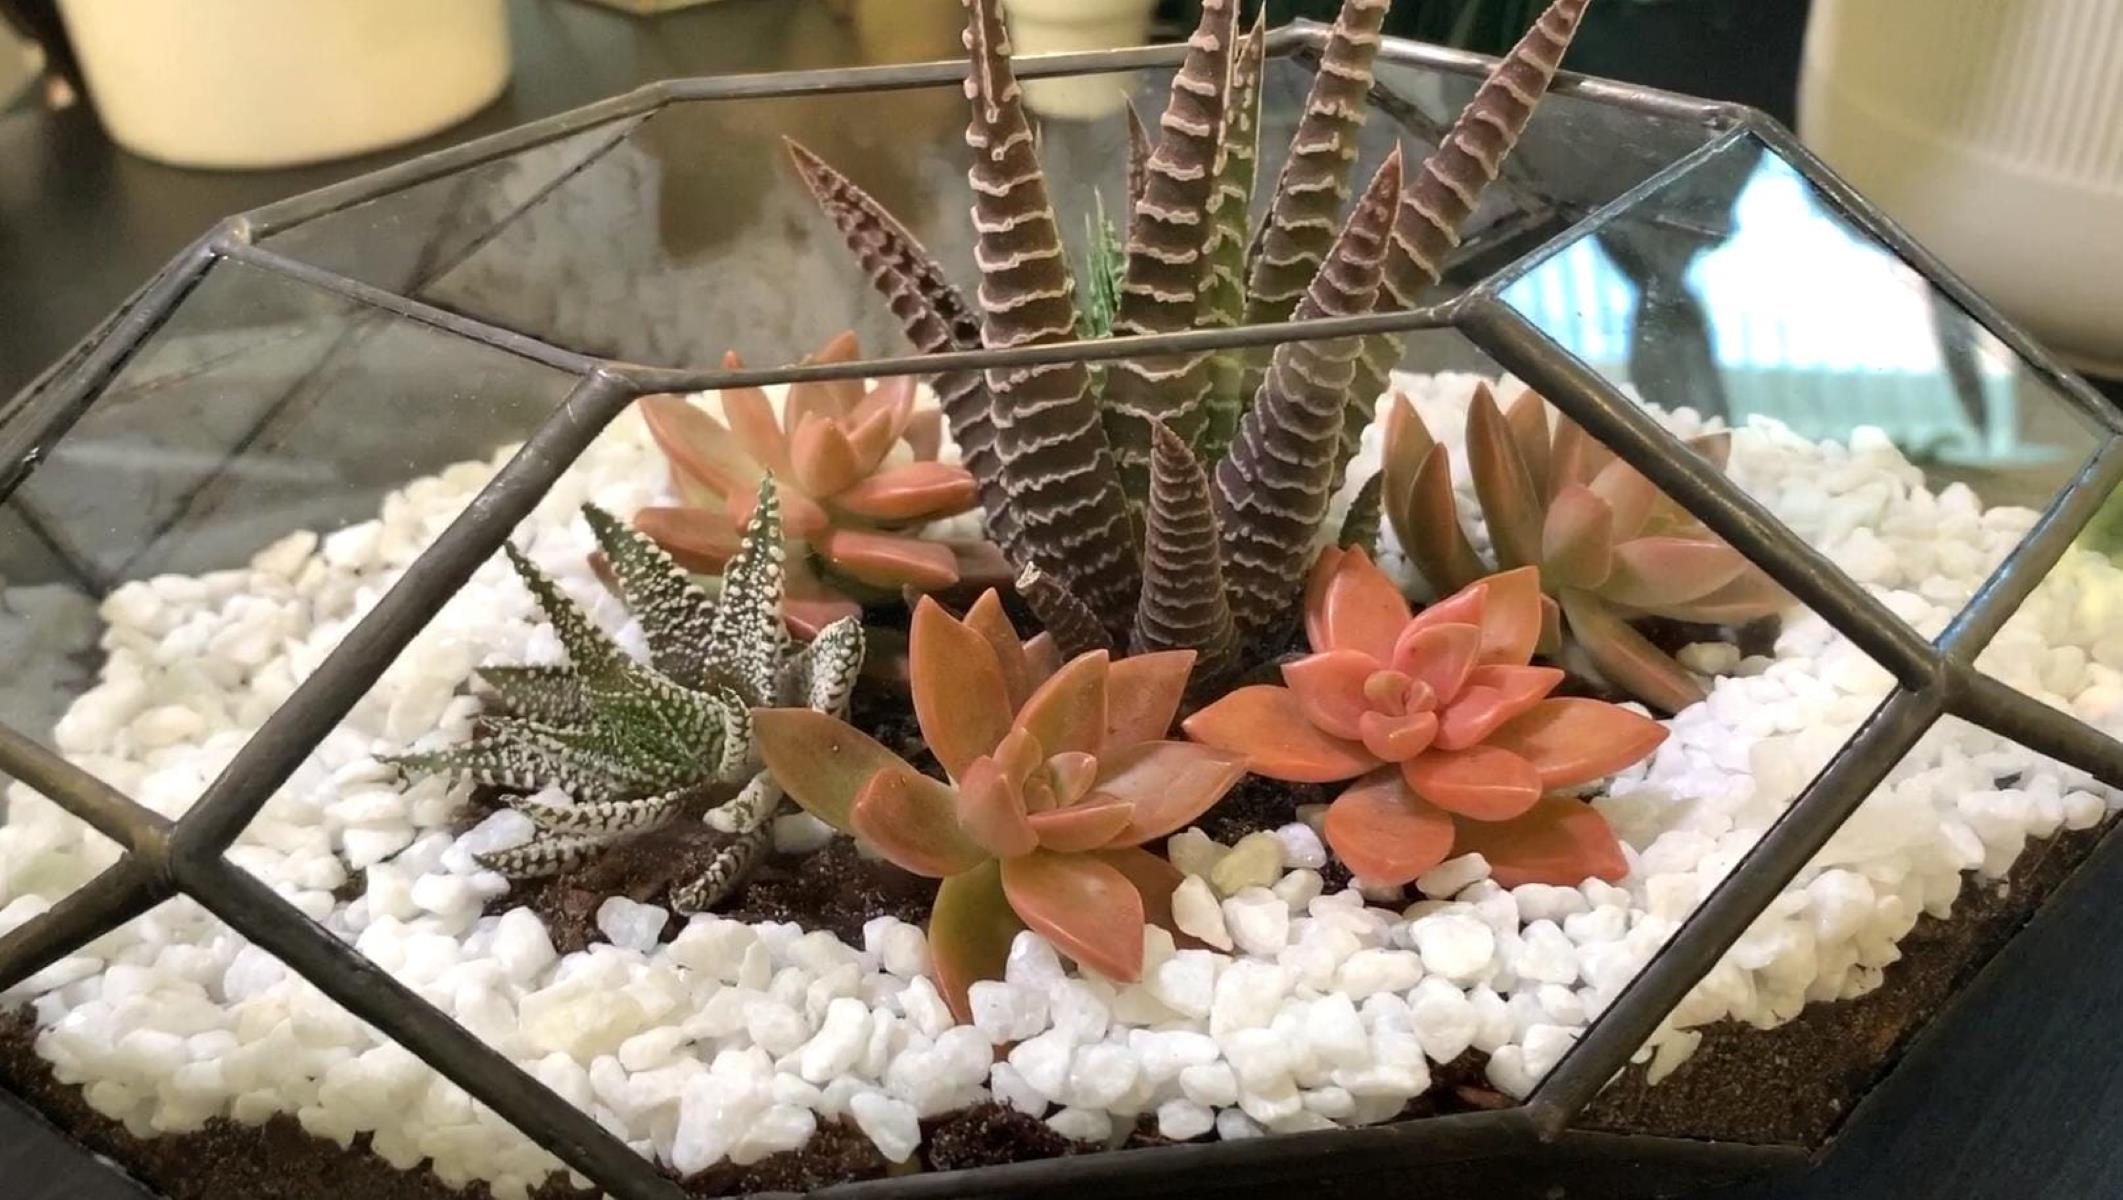
Glass bowls are versatile and elegant additions to any home decor. They can serve as functional pieces for serving food or as decorative accents to enhance the aesthetic appeal of a space. Creating a glass bowl from scratch is a rewarding and creative endeavor that allows you to personalize your decor with a unique, handcrafted piece. Whether you are a seasoned glass artist or a novice enthusiast, making a glass bowl can be an enjoyable and fulfilling experience.
The process of making a glass bowl involves working with molten glass, shaping it into the desired form, and carefully annealing it to ensure its durability. Each step in the process requires precision, creativity, and attention to detail. From gathering the necessary materials to adding the finishing touches, every stage contributes to the creation of a beautiful and functional glass bowl.
In this comprehensive guide, we will explore the step-by-step process of making a glass bowl, providing detailed instructions and valuable tips to help you achieve stunning results. By following these instructions and unleashing your creativity, you can craft a one-of-a-kind glass bowl that reflects your personal style and artistic vision. Let's embark on this exciting journey of glass craftsmanship and bring your vision to life through the art of glassblowing.
Key Takeaways:
- Crafting a glass bowl involves meticulous preparation, shaping molten glass, and annealing for durability. It’s a creative journey that transforms raw materials into a captivating work of art.
- The art of glassblowing infuses personalized details and refined visual allure, culminating in a captivating and enduring handcrafted masterpiece. It’s a testament to the transformative power of artistry and craftsmanship.
Read more: How To Clean A Glass Bowl
Materials Needed
To embark on the creative journey of making a glass bowl, you will need a set of essential materials and tools to facilitate the glassblowing process. Each item plays a crucial role in shaping and crafting the glass into a stunning bowl. Here's a comprehensive list of the materials needed to get started:
-
Glass Rods or Tubes: The primary material for creating a glass bowl is the glass itself. Glass rods or tubes provide the raw material for shaping and forming the bowl. It's essential to select high-quality glass rods or tubes that are compatible with the glassblowing process.
-
Blowpipe: A blowpipe, also known as a blow tube, is a hollow metal tube used to gather molten glass from the furnace. It allows the glass artist to control and shape the molten glass as it is being worked on.
-
Marver: A marver is a flat, smooth surface, typically made of steel or graphite, used for shaping and rolling the molten glass. It helps in creating an even and uniform shape for the glass bowl.
-
Punty Rod: A punty rod, also referred to as a punty or pontil, is a solid metal rod used to hold the partially formed glass piece while the other end is being worked on. It provides stability and support during the glassblowing process.
-
Glass Cutter: A glass cutter is a tool designed to score and cut glass accurately. It is essential for shaping and cutting the glass rods or tubes to the desired size and dimensions for creating the bowl.
-
Furnace and Glory Hole: A furnace is used to melt the glass rods or tubes, creating molten glass that can be shaped and manipulated. The glory hole, a separate heating chamber, is used to reheat the glass during the shaping process.
-
Annealing Oven: An annealing oven, also known as a kiln, is used to slowly cool the glass bowl to room temperature, reducing internal stresses and increasing its durability.
-
Safety Gear: Safety goggles, heat-resistant gloves, and aprons are essential for protecting the glass artist from the intense heat and potential hazards associated with working with molten glass.
-
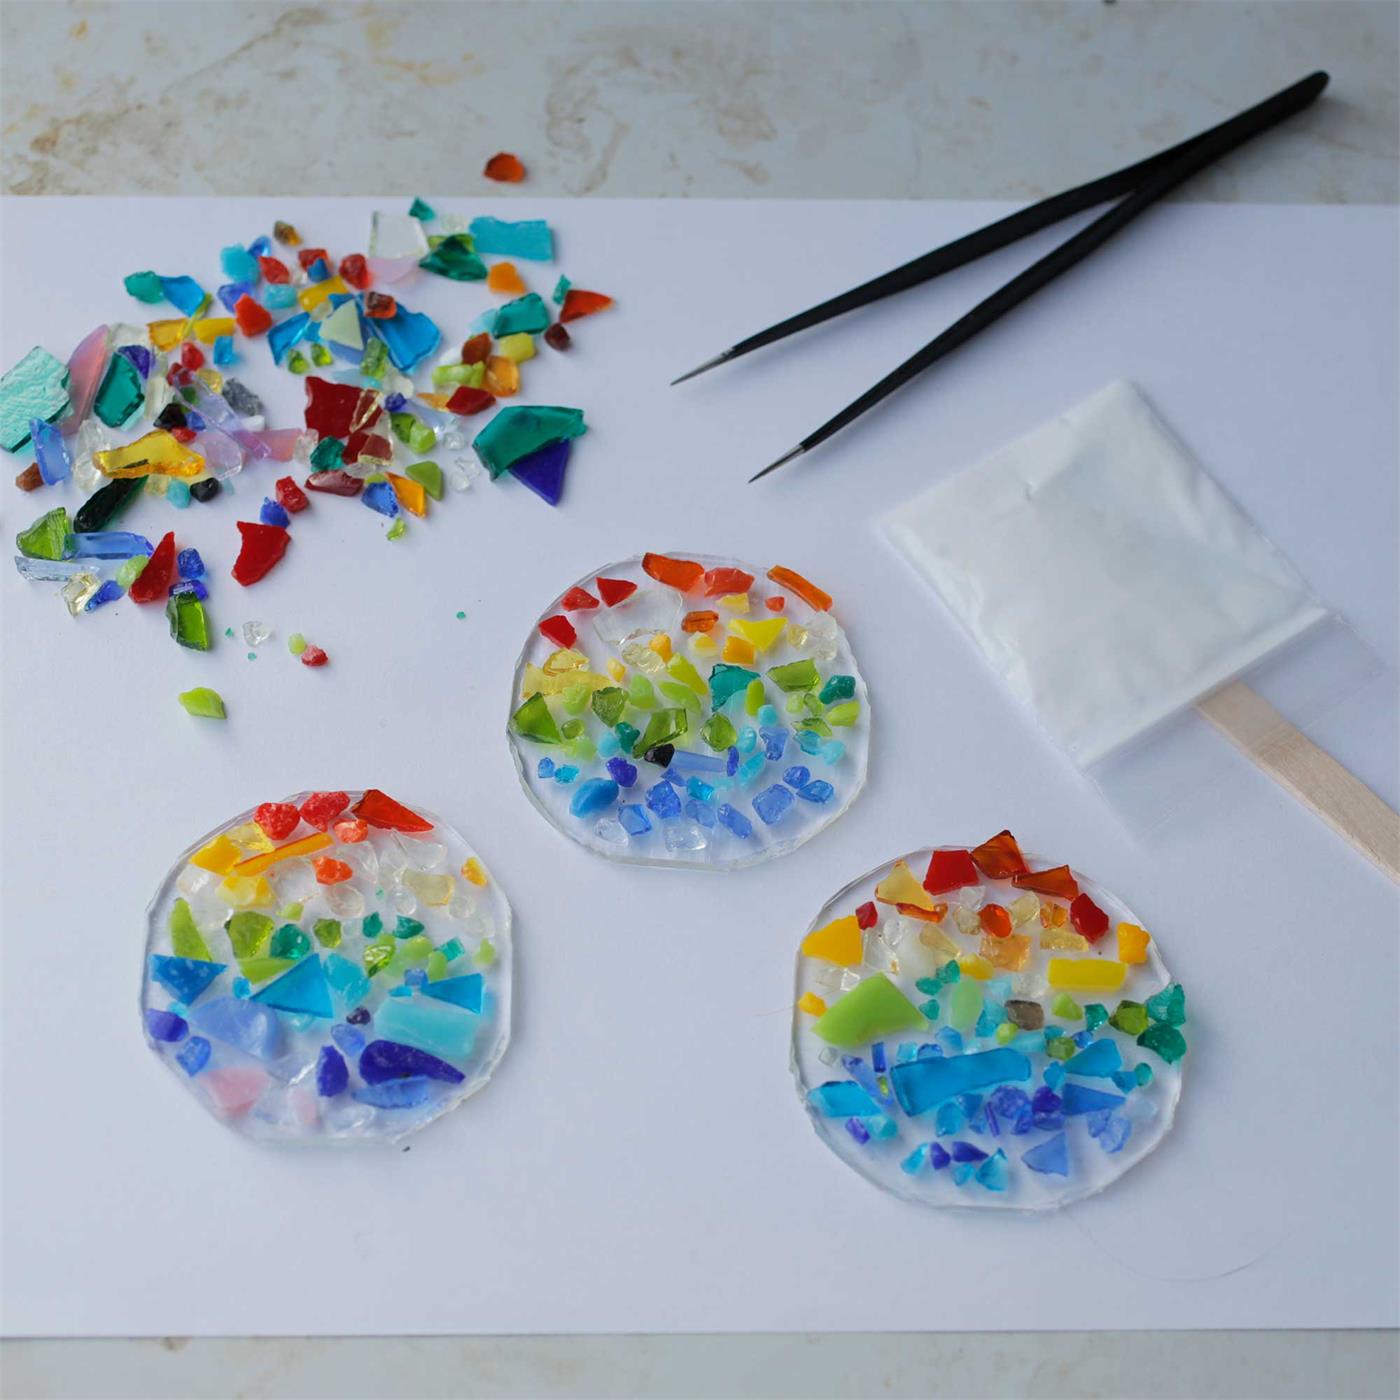
Colorants and Additives (Optional): If desired, colorants and additives can be used to introduce unique colors and textures to the glass bowl, adding a creative touch to the final piece.
By gathering these materials and ensuring a safe and well-equipped workspace, you can set the stage for a successful glassblowing experience. With the right tools at your disposal, you can proceed to the next steps of preparing the glass and shaping it into a stunning bowl.
Step 1: Gathering the Supplies
Before diving into the intricate art of glassblowing, it's crucial to gather all the necessary supplies and create a well-equipped workspace. The first step in this creative journey involves meticulous preparation to ensure a smooth and efficient glassblowing process.
Begin by organizing the essential materials, including high-quality glass rods or tubes, a blowpipe, marver, punty rod, glass cutter, furnace, glory hole, and annealing oven. Each item plays a pivotal role in shaping and crafting the glass into a stunning bowl. It's imperative to select top-notch materials and tools to facilitate the glassblowing process and achieve exceptional results.
Create a safe and conducive workspace by setting up the furnace, glory hole, and annealing oven in a well-ventilated area. Safety gear, such as safety goggles, heat-resistant gloves, and aprons, should be readily available to protect against the intense heat and potential hazards associated with working with molten glass.
If you plan to incorporate unique colors and textures into the glass bowl, gather colorants and additives to add a creative touch to the final piece. These optional materials provide an opportunity to infuse your artistic vision into the glassblowing process, allowing for the creation of truly distinctive and personalized glass bowls.
Once all the supplies are meticulously gathered and the workspace is properly set up, you are ready to embark on the next steps of preparing the glass and shaping it into a magnificent bowl. The careful preparation and organization of supplies lay the foundation for a successful and fulfilling glassblowing experience, setting the stage for the creation of exquisite handcrafted glass bowls.
With the materials in place and the workspace primed for creativity, the journey of transforming raw materials into a stunning glass bowl is ready to unfold. Each step in the process brings you closer to the realization of your artistic vision, culminating in the creation of a unique and captivating glass masterpiece.
Step 2: Preparing the Glass
Preparing the glass is a crucial step in the process of creating a glass bowl through the art of glassblowing. This stage involves transforming the raw glass material into a workable form that can be shaped and molded to bring the envisioned design to life. The preparation of the glass requires precision, attention to detail, and an understanding of the unique properties of molten glass.
To begin the preparation process, the glass rods or tubes are carefully selected based on the desired color, transparency, and overall aesthetic of the final glass bowl. It is essential to choose high-quality glass material that is compatible with the glassblowing technique and can withstand the intense heat of the furnace.
Once the glass material is selected, it is meticulously cut into manageable sections using a glass cutter. The precise cutting of the glass rods or tubes ensures that the material is ready for the subsequent stages of the glassblowing process. The dimensions and quantity of the glass pieces are determined based on the intended size and shape of the glass bowl, allowing for flexibility and creative expression in the design.
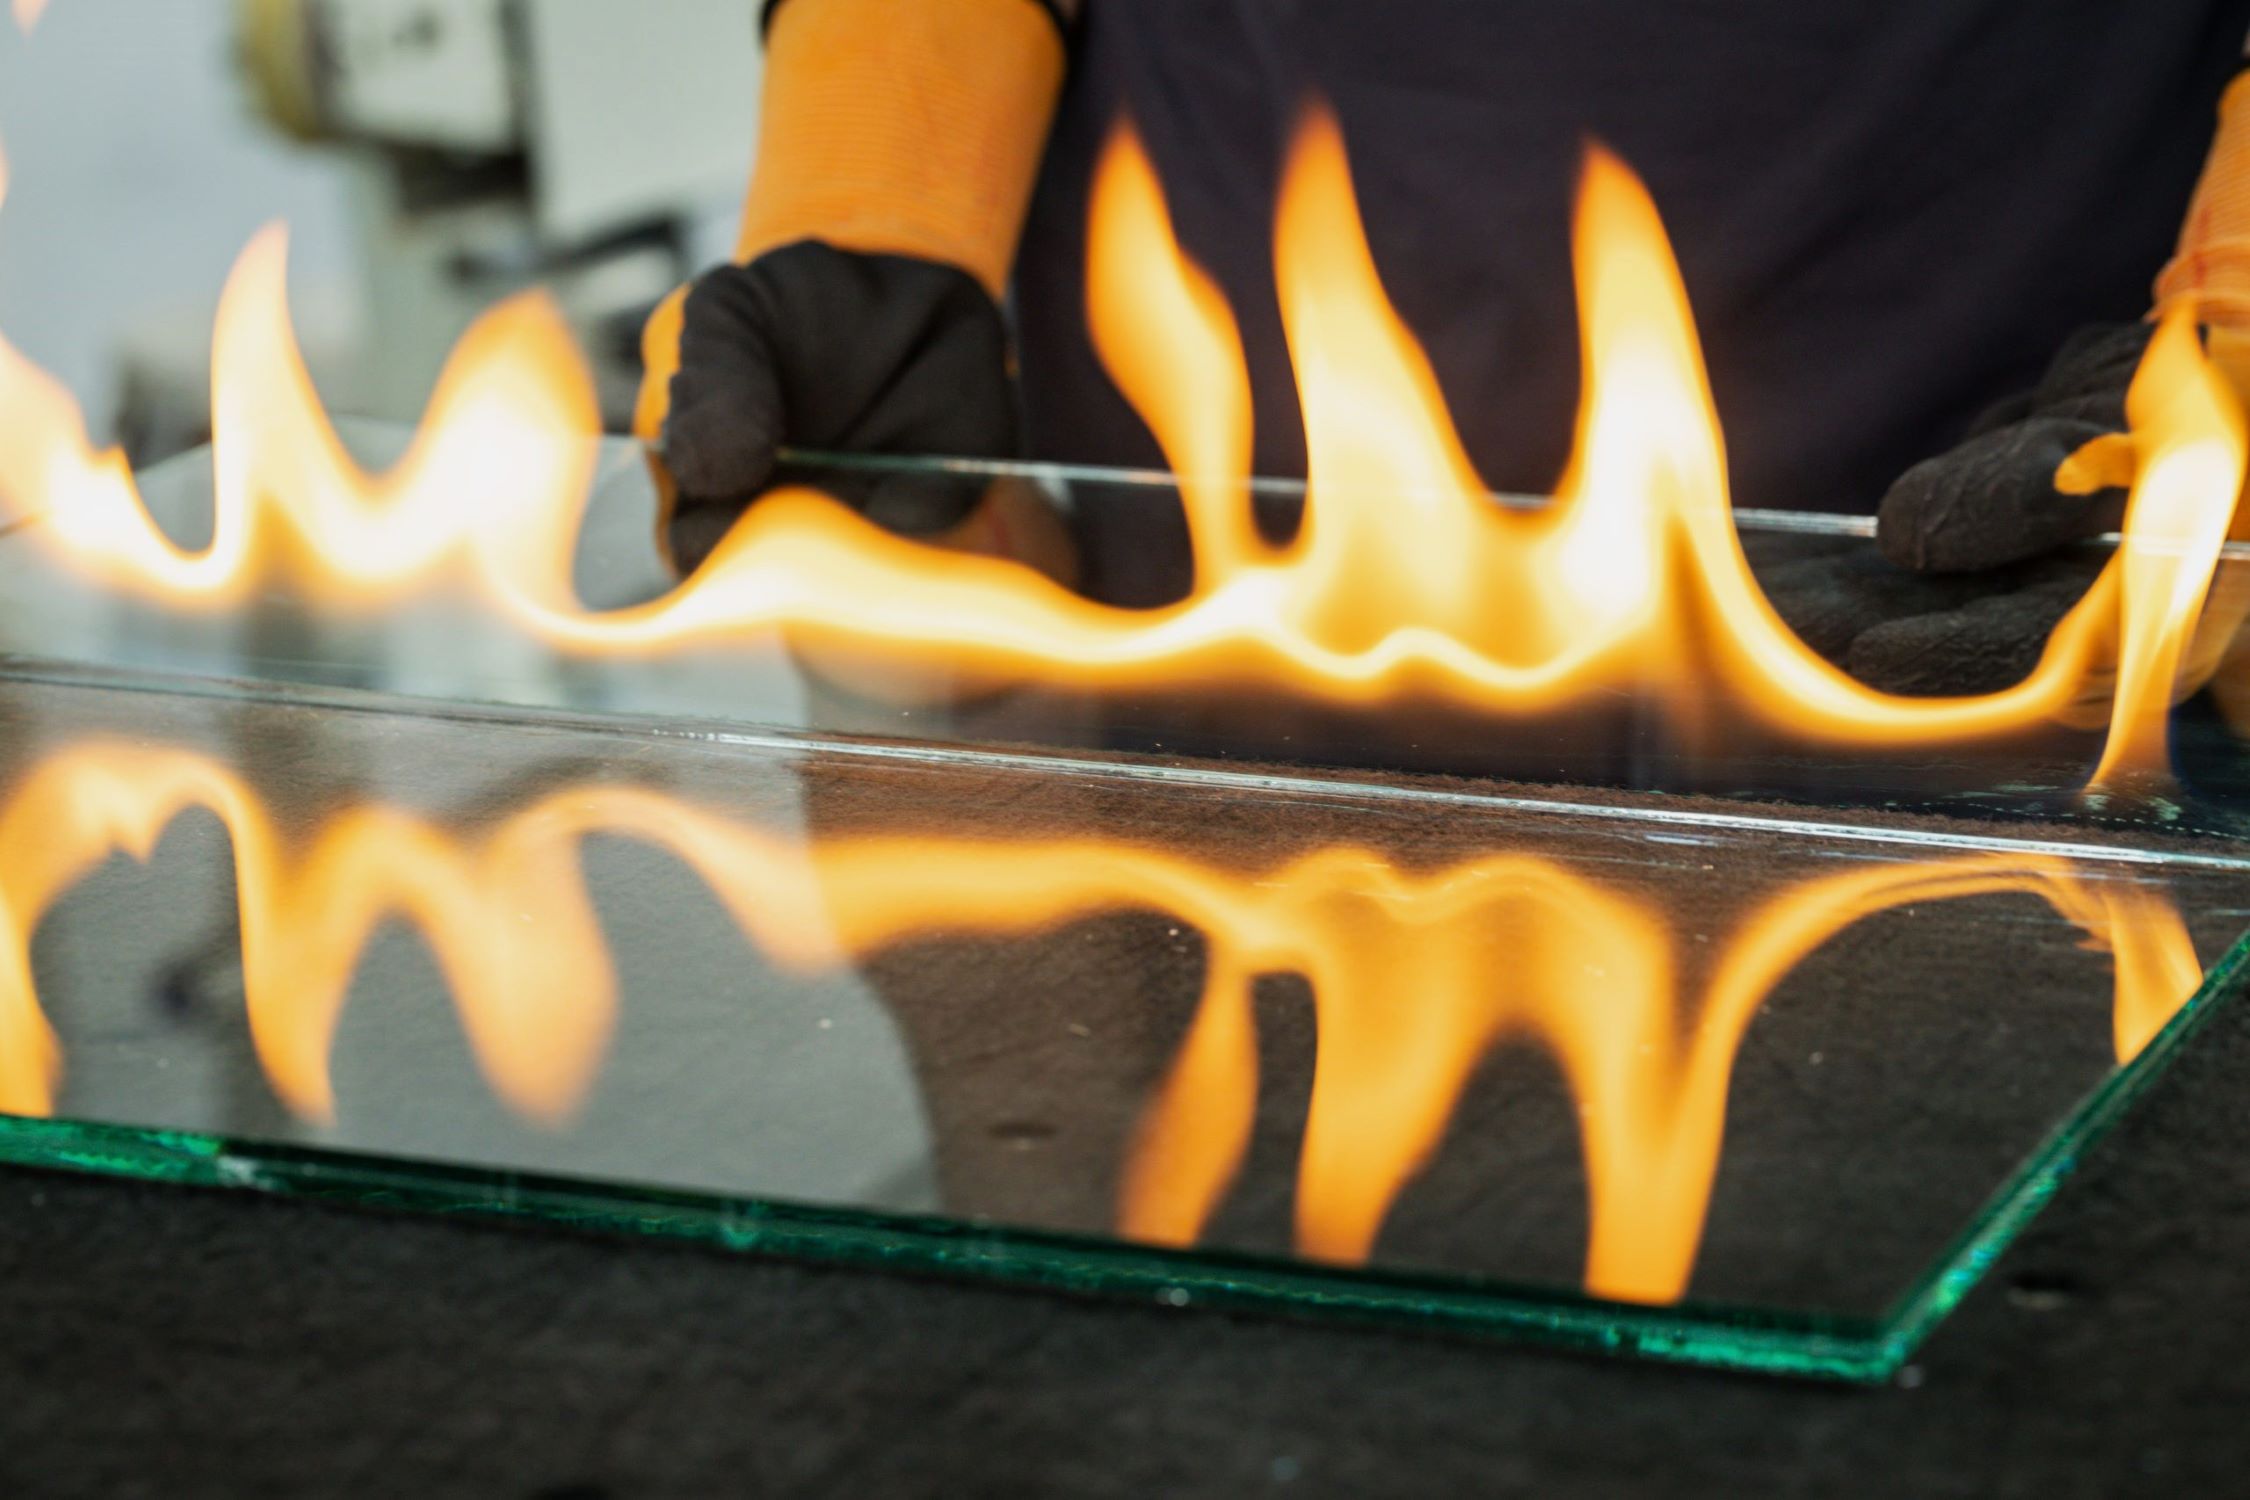
With the glass material prepared and cut to the desired specifications, it is then heated in the furnace to transform it into molten glass. The intense heat of the furnace melts the glass, turning it into a malleable and fluid substance that can be shaped and manipulated. The molten glass is carefully gathered onto the blowpipe, allowing the glass artist to control and work with the material as it begins to take form.
During this stage, the glass artist must maintain a delicate balance of heat and control, ensuring that the molten glass remains at the optimal temperature for shaping and forming. The viscosity and fluidity of the molten glass play a critical role in the subsequent steps of shaping the glass into a bowl, requiring skill and expertise to achieve the desired results.
As the molten glass reaches the ideal state for shaping, it is ready to undergo the transformative process of being crafted into a stunning glass bowl. The preparation of the glass sets the stage for the artistic expression and creativity that will unfold in the subsequent steps of shaping and annealing, ultimately leading to the realization of a handcrafted masterpiece that embodies the beauty and allure of glass artistry.
When making a glass bowl, always wear protective gear like gloves and goggles to prevent injuries from hot glass or sharp edges.
Step 3: Shaping the Bowl
Shaping the glass into a beautiful and functional bowl is the pivotal stage in the glassblowing process, where creativity and precision converge to bring the envisioned design to life. This transformative step requires skill, dexterity, and a keen understanding of the properties of molten glass, as the glass artist meticulously shapes and molds the material into the desired form.
Using the blowpipe as a tool for control, the glass artist begins the process of shaping the molten glass into the distinctive silhouette of a bowl. The marver, a flat and smooth surface, is utilized to roll and shape the glass, ensuring an even and uniform distribution of the material. The glass artist skillfully manipulates the molten glass, employing a combination of blowing, shaping, and turning to craft the bowl's elegant curves and contours.
As the molten glass takes on the defined shape of a bowl, the punty rod comes into play, providing stability and support as the final touches are added. The delicate dance of heat and manipulation continues as the glass artist refines the form, paying meticulous attention to detail to achieve the desired aesthetic and functional characteristics of the bowl.
The shaping process is a harmonious blend of artistry and technique, as the glass artist navigates the fluid nature of the molten glass to create a seamless and visually captivating bowl. Each movement and adjustment contribute to the refinement of the bowl's design, culminating in a handcrafted piece that embodies the beauty and allure of glass artistry.
Throughout the shaping stage, the glass artist's expertise and creative vision shine through, as the molten glass is transformed into a stunning and distinctive bowl. The interplay of heat, skill, and artistic expression results in a work of art that captures the essence of the glassblowing process, showcasing the beauty and versatility of glass as a medium for creative expression.
As the shaping of the bowl reaches its culmination, the stage is set for the final transformative step of annealing, where the glass bowl undergoes a controlled cooling process to ensure its strength and durability. The shaping process represents a pivotal moment in the journey of creating a handcrafted glass bowl, marking the transition from raw materials to a refined and captivating work of art.
Read more: How To Unstick Two Glass Bowls
Step 4: Annealing the Glass
Annealing is a critical stage in the glassblowing process, essential for ensuring the strength, durability, and internal stability of the glass bowl. This transformative step involves carefully controlling the cooling process to relieve internal stresses within the glass, ultimately enhancing its structural integrity and resistance to breakage.
Once the glass bowl has been shaped to perfection, it is carefully transferred to an annealing oven, also known as a kiln, where it undergoes a gradual cooling process. The controlled cooling cycle allows the glass to slowly return to room temperature, mitigating the risk of thermal shock and preventing the formation of internal tensions that could compromise its strength.
The annealing process typically consists of several stages, each characterized by a gradual reduction in temperature. The glass bowl is subjected to specific temperature profiles tailored to its size, thickness, and overall design. This meticulous approach ensures that the entire piece cools uniformly, minimizing the potential for thermal differentials that could lead to structural weaknesses.
As the glass bowl undergoes the annealing process, internal strains and stresses are gradually relieved, resulting in a more resilient and durable final product. The controlled cooling cycle allows the glass molecules to arrange themselves in a stable and orderly fashion, reducing the likelihood of spontaneous breakage or fracture.
The duration of the annealing process is determined by the size and complexity of the glass bowl, with larger and more intricate pieces requiring extended periods of gradual cooling. This attention to detail and precision in the annealing phase is crucial for achieving optimal strength and longevity in the finished glass bowl.
Upon completion of the annealing process, the glass bowl emerges from the kiln with enhanced durability and structural integrity. The meticulous control of the cooling cycle ensures that the bowl is resilient and capable of withstanding everyday use, making it a functional and enduring piece of art.
The annealing stage represents the culmination of the glassblowing process, marking the transformation of raw materials into a refined and resilient glass bowl. The careful orchestration of temperature and time during annealing is instrumental in elevating the craftsmanship of the glass bowl, resulting in a masterpiece that embodies the beauty and durability of handcrafted glass artistry.
Step 5: Finishing Touches
With the glass bowl successfully annealed and possessing the strength and durability essential for everyday use, the final step involves adding exquisite finishing touches to elevate its aesthetic appeal. This stage allows the glass artist to infuse the bowl with personalized details and refine its visual allure, culminating in a captivating and distinctive piece of art.
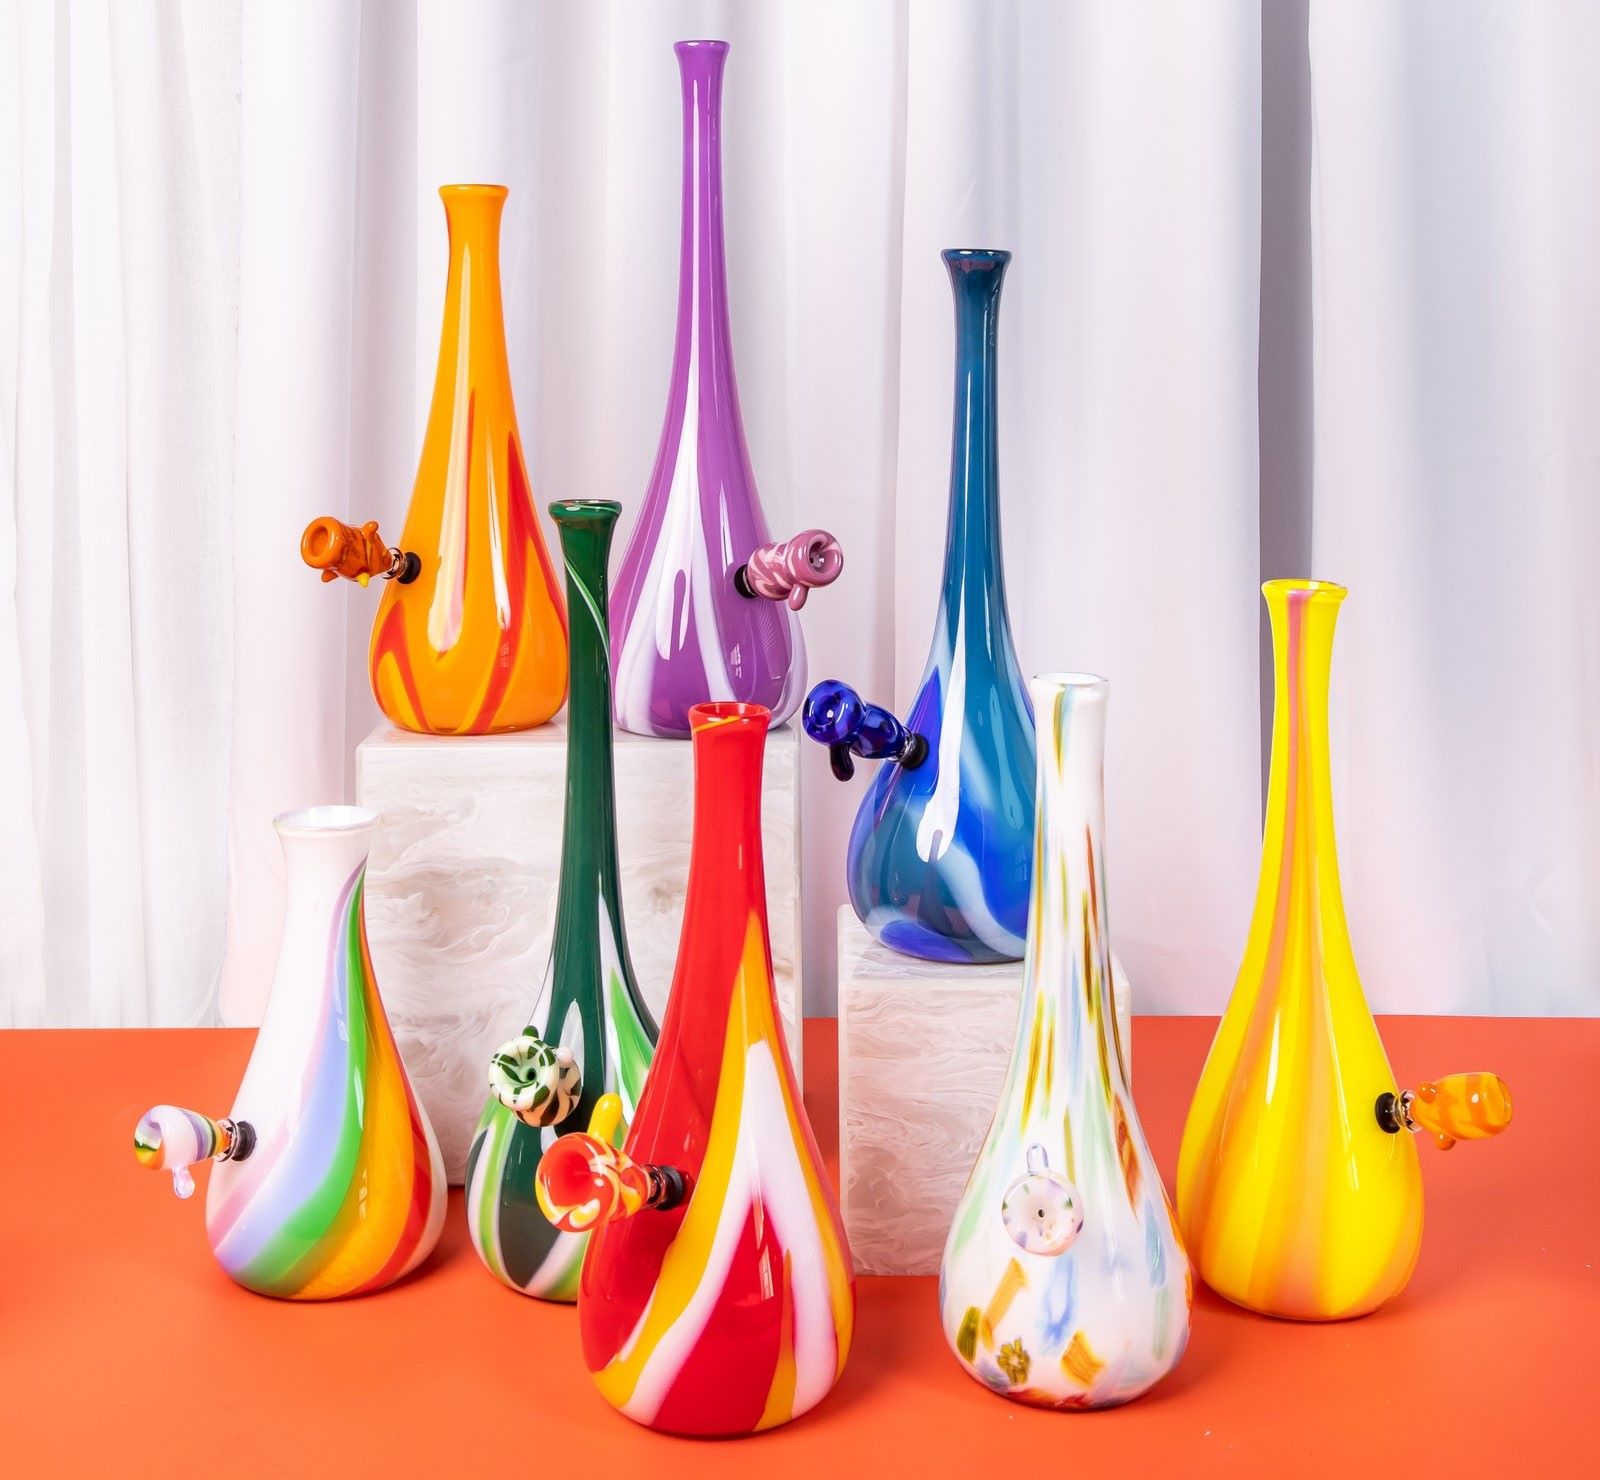
The finishing touches may encompass a range of artistic embellishments, such as intricate patterns, delicate textures, or captivating color accents. Utilizing specialized glassblowing techniques, the artist can create mesmerizing designs that enhance the bowl's visual impact and reflect their creative vision. Whether incorporating subtle swirls, mesmerizing spirals, or captivating abstract motifs, each embellishment adds a layer of artistry and individuality to the glass bowl.
Furthermore, the rim of the bowl can be meticulously shaped and polished to achieve a smooth and refined edge, enhancing both its visual appeal and functional usability. The careful attention to detail in refining the rim ensures a seamless and elegant finish, elevating the overall aesthetic of the bowl.
In addition to visual enhancements, the finishing touches may also involve the application of a protective coating or polish to further enhance the glass's luster and clarity. This final treatment adds a radiant sheen to the surface, accentuating the inherent beauty of the glass and imbuing the bowl with a captivating brilliance.
The incorporation of personalized engravings or signatures by the glass artist adds a meaningful and distinctive touch to the finished piece, signifying its artisanal origin and celebrating the creative journey that brought it to life. These subtle yet significant details contribute to the bowl's unique identity and serve as a testament to the artistry and craftsmanship invested in its creation.
As the finishing touches are meticulously applied, the glass bowl undergoes a remarkable transformation, evolving from a functional vessel to a captivating work of art. Each embellishment and refinement reflects the dedication and creativity of the glass artist, resulting in a handcrafted masterpiece that exudes elegance and allure.
In essence, the finishing touches represent the culmination of the glassblowing process, infusing the bowl with a sense of individuality and artistry. The meticulous attention to detail and the infusion of personalized elements elevate the glass bowl into a captivating and distinctive piece that embodies the beauty and creativity of handcrafted glass artistry.
Conclusion
In conclusion, the art of creating a glass bowl through the intricate process of glassblowing is a testament to the fusion of creativity, skill, and craftsmanship. From the initial gathering of materials to the final embellishments, each step in the journey contributes to the transformation of raw materials into a captivating and enduring work of art.
The process begins with meticulous preparation, where the selection of high-quality glass rods or tubes sets the stage for the subsequent stages of shaping and annealing. The careful preparation of the glass material and the creation of a well-equipped workspace lay the foundation for a successful and fulfilling glassblowing experience.
As the glass material is meticulously prepared and heated to a malleable state, the shaping stage unfolds as a harmonious blend of artistry and technique. The glass artist skillfully manipulates the molten glass, crafting it into the distinctive silhouette of a bowl with elegant curves and refined contours. This transformative stage represents the convergence of creativity and precision, resulting in a handcrafted piece that captures the allure of glass artistry.
The pivotal process of annealing ensures the strength and durability of the glass bowl, as controlled cooling relieves internal stresses and enhances its structural integrity. The meticulous orchestration of temperature and time during annealing elevates the craftsmanship of the glass bowl, resulting in a resilient and enduring piece of art that is both functional and visually captivating.
Finally, the addition of exquisite finishing touches infuses the glass bowl with personalized details and refined visual allure, culminating in a captivating and distinctive work of art. Each embellishment and refinement reflects the dedication and creativity of the glass artist, resulting in a handcrafted masterpiece that exudes elegance and individuality.
In essence, the journey of creating a glass bowl through glassblowing is a testament to the transformative power of artistry and craftsmanship. It represents the convergence of creativity, skill, and dedication, resulting in a captivating and enduring piece that embodies the beauty and allure of handcrafted glass artistry.
Frequently Asked Questions about How To Make A Glass Bowl
Was this page helpful?
At Storables.com, we guarantee accurate and reliable information. Our content, validated by Expert Board Contributors, is crafted following stringent Editorial Policies. We're committed to providing you with well-researched, expert-backed insights for all your informational needs.


0 thoughts on “How To Make A Glass Bowl”