Home>Gardening & Outdoor>Outdoor Entertaining>How To Make A Concrete Bowl Fire Pit
Outdoor Entertaining
How To Make A Concrete Bowl Fire Pit
Modified: May 6, 2024
Learn how to create a stunning concrete bowl fire pit for your outdoor entertaining space. Elevate your outdoor gatherings with this DIY project.
(Many of the links in this article redirect to a specific reviewed product. Your purchase of these products through affiliate links helps to generate commission for Storables.com, at no extra cost. Learn more)
Introduction
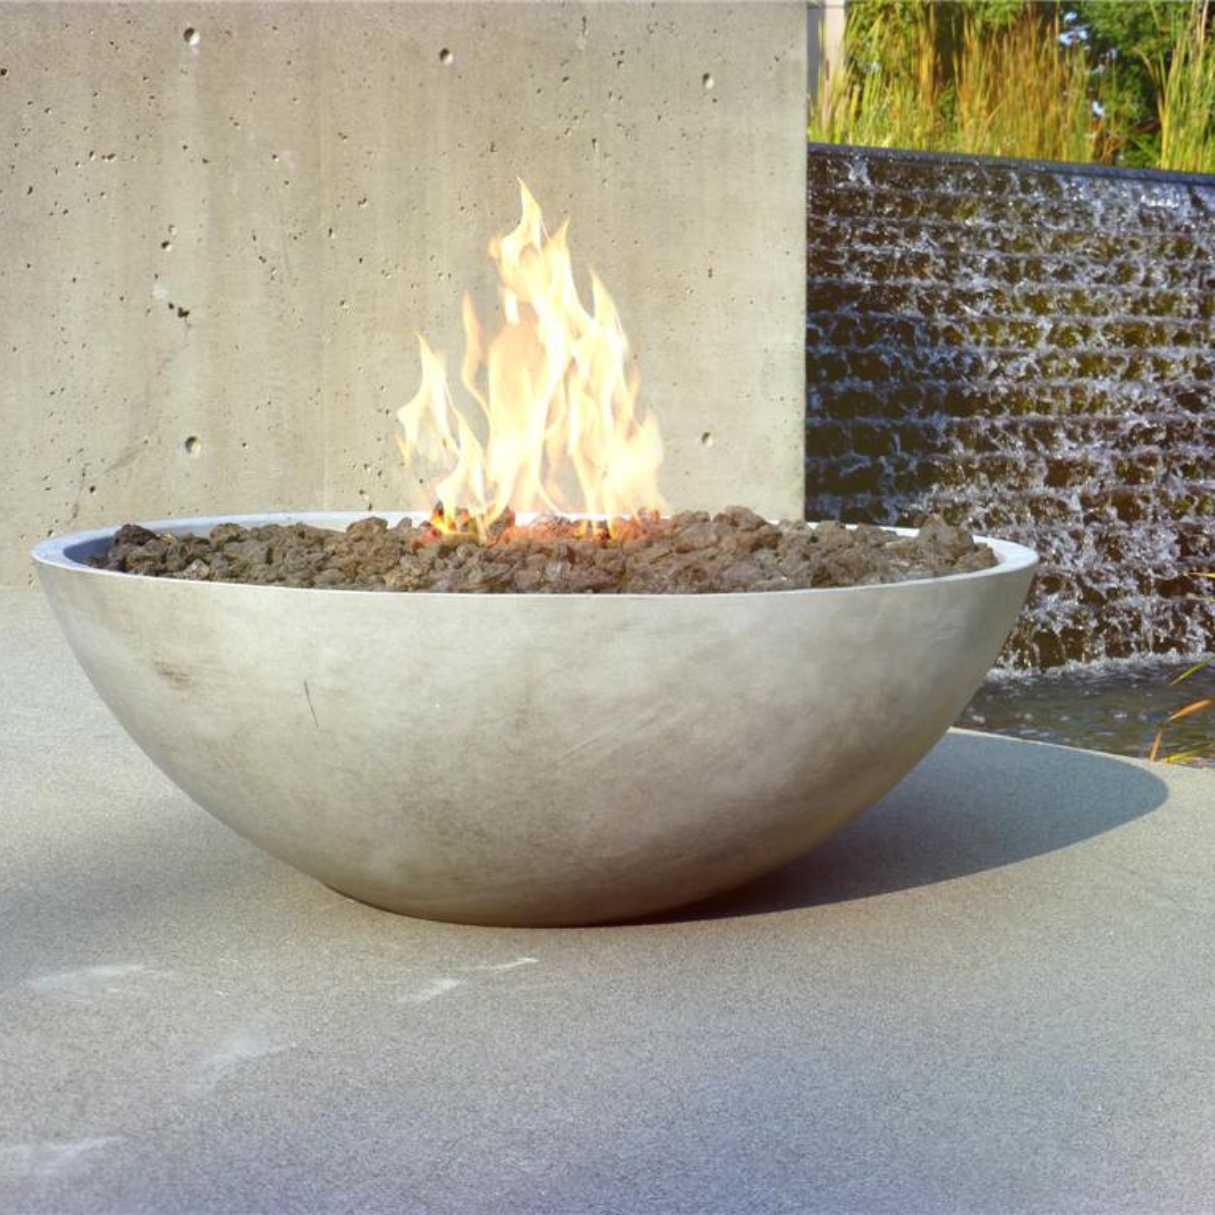
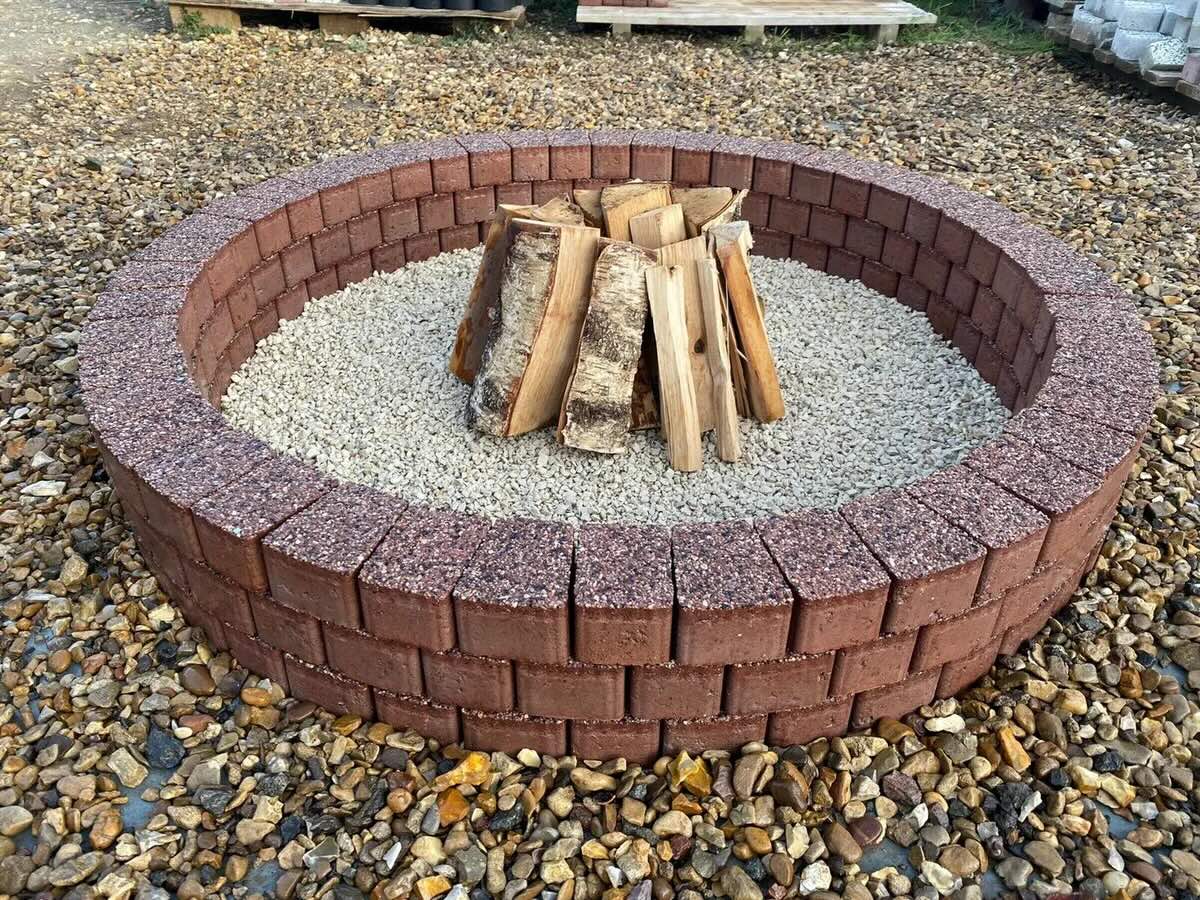
Creating a warm and inviting ambiance in your outdoor space is a wonderful way to extend your living area and enjoy the great outdoors. One popular way to achieve this is by adding a fire feature, such as a fire pit. While there are numerous types of fire pits available, a concrete bowl fire pit can be a stunning and durable addition to your outdoor entertaining area.
Crafting your own concrete bowl fire pit can be a rewarding and enjoyable DIY project that adds a touch of personalization to your outdoor space. Not only does it provide a cozy spot for gathering with friends and family, but it also serves as a focal point that enhances the overall aesthetic of your outdoor setting.
In this guide, we will walk you through the step-by-step process of creating your own concrete bowl fire pit. From gathering the necessary materials to pouring and curing the concrete, we will cover each stage in detail, ensuring that you have all the information you need to successfully complete this project. Whether you are a seasoned DIY enthusiast or a novice looking to explore a new hobby, this guide will equip you with the knowledge and confidence to bring your vision of a concrete bowl fire pit to life. So, roll up your sleeves, gather your materials, and let's get started on this exciting journey to elevate your outdoor entertaining experience.
Key Takeaways:
- Crafting a concrete bowl fire pit is a rewarding DIY project that adds a personal touch to your outdoor space. From preparing the mold to adding finishing touches, each step contributes to creating a durable and visually appealing fire feature.
- By following the step-by-step process, you can transform a simple concrete mix into a stunning and functional fire pit. The final result becomes a welcoming centerpiece for memorable outdoor gatherings and adds warmth to your outdoor sanctuary.
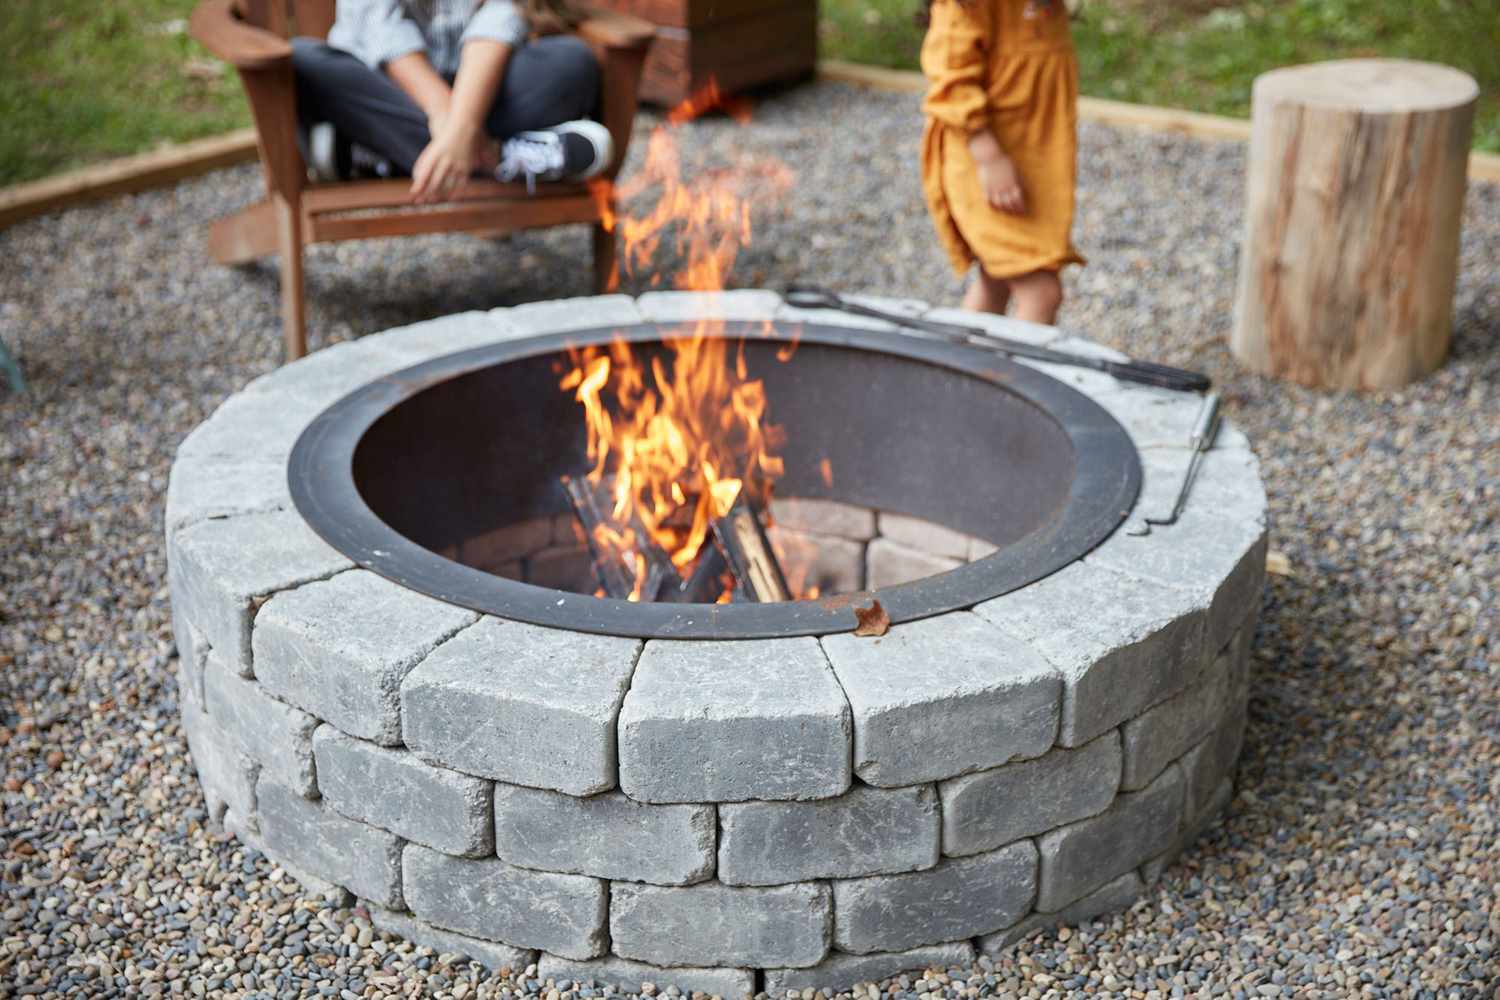
Read more: How To Build A Fire Pit On A Concrete Patio
Materials Needed
Before diving into the construction of your concrete bowl fire pit, it’s essential to gather all the necessary materials. Here’s a comprehensive list of what you’ll need:
- Concrete mix: Opt for a high-quality concrete mix suitable for outdoor use. Look for a mix specifically designed for creating durable and weather-resistant structures.
- Large plastic bowl: This will serve as the mold for your fire pit. Choose a bowl with the size and shape you desire for your fire pit.
- Smaller plastic bowl: Select a smaller bowl that can fit inside the larger one, leaving ample space between the two for the fire pit’s bowl shape.
- Non-stick cooking spray: To facilitate the removal of the concrete from the mold, a non-stick cooking spray will be essential.
- Concrete trowel: A trowel will aid in smoothing and shaping the concrete during the construction process.
- Protective gear: Safety should always be a priority. Equip yourself with gloves, protective eyewear, and a dust mask to shield against concrete dust and chemicals.
- Concrete sealer: Once the fire pit is complete, a concrete sealer will help protect the surface from the elements and enhance its longevity.
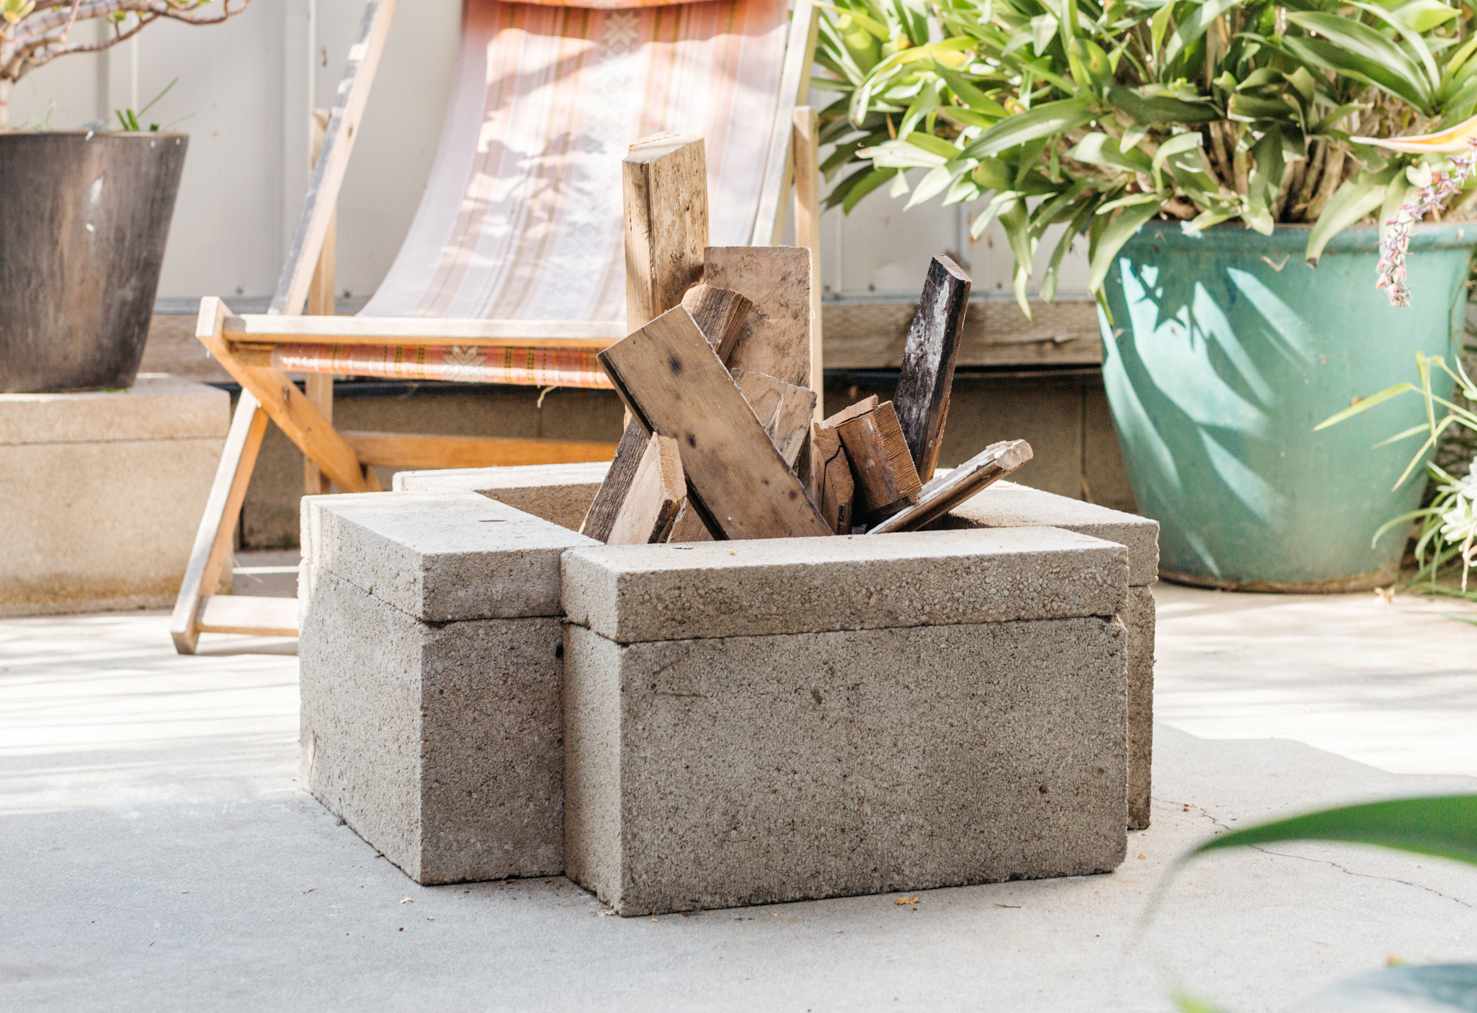
- Fire pit insert or bowl: If you plan to use the fire pit for actual fires, you may want to purchase a pre-made fire pit insert or bowl to safely contain the flames.
- Decorative elements (optional): Consider adding decorative elements such as colored glass beads, lava rocks, or fire glass to enhance the visual appeal of your fire pit.
By ensuring that you have all these materials on hand, you’ll be well-prepared to embark on the construction of your concrete bowl fire pit, setting the stage for a successful and enjoyable DIY project.
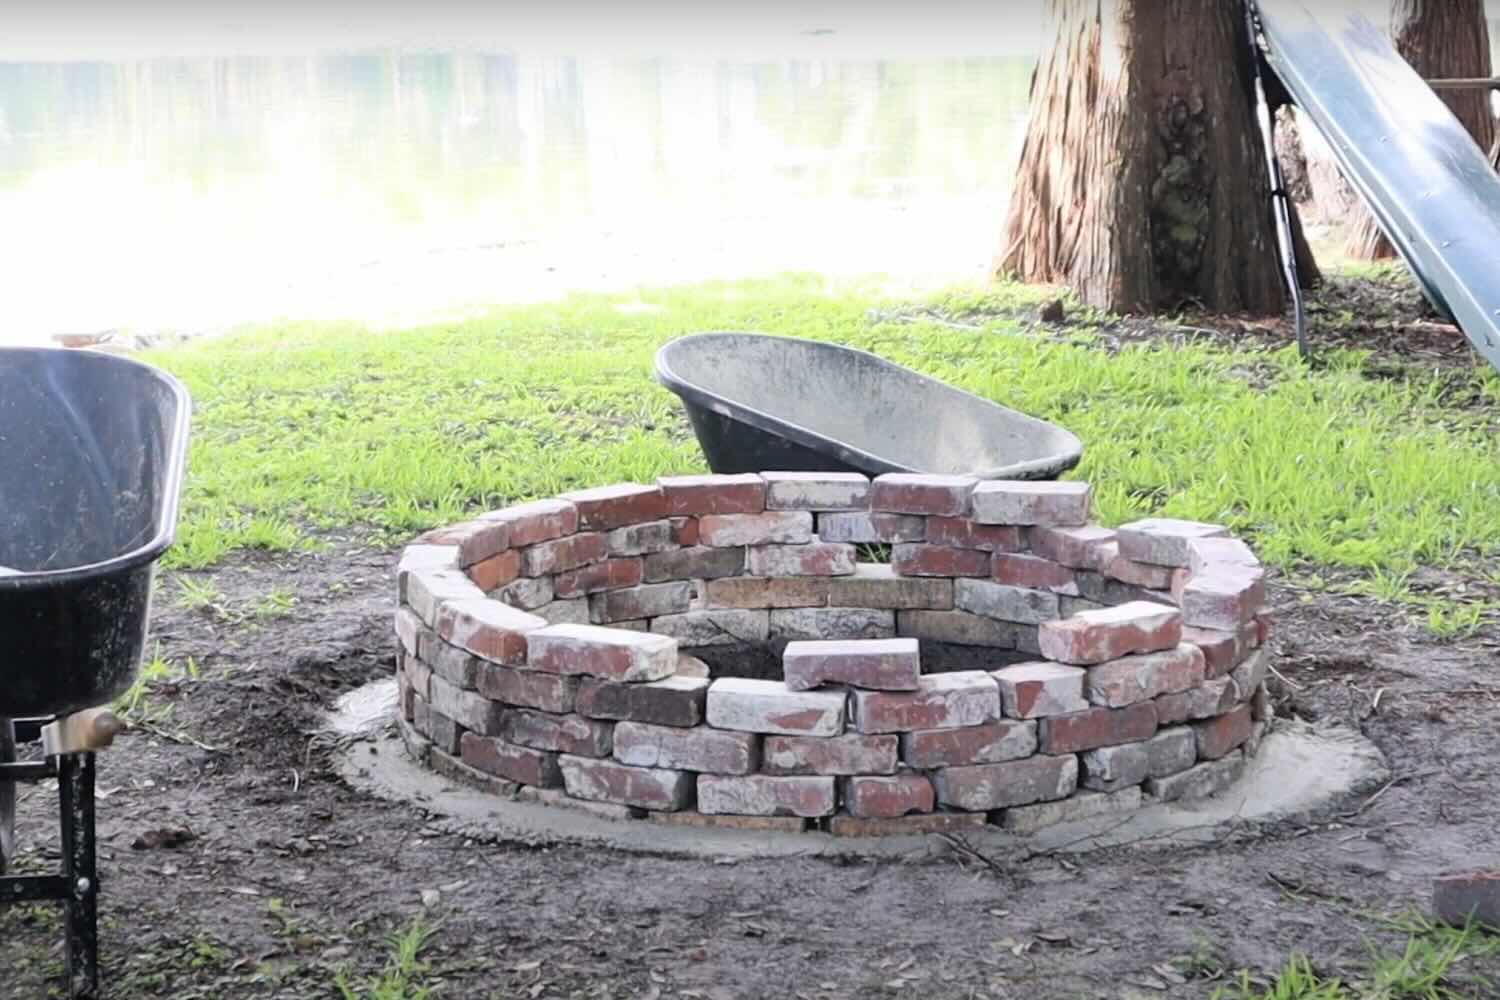
Step 1: Preparing the Mold
Before you can begin crafting your concrete bowl fire pit, it’s crucial to prepare the mold that will give shape to the fire pit’s bowl. Follow these steps to ensure that the mold is ready for the concrete pouring process:
- Choose the Right Bowls: Select a large plastic bowl that will serve as the outer mold for your fire pit. The size of this bowl will determine the dimensions of your fire pit, so choose one that aligns with your vision for the final product. Additionally, pick a smaller plastic bowl that can fit inside the larger one, leaving sufficient space between the two to create the bowl shape of the fire pit.
- Apply Non-Stick Spray: To facilitate the easy removal of the concrete from the mold, generously spray the inside of both bowls with a non-stick cooking spray. This will create a barrier between the concrete and the mold, allowing for smooth separation once the concrete has cured.
- Position the Small Bowl: Place the smaller bowl inside the larger one, ensuring that it is centered and positioned to create the desired depth for the fire pit bowl. Take your time to adjust the positioning, as this will directly impact the final shape of the fire pit.
- Secure the Setup: To prevent any movement during the concrete pouring process, consider using weights or other stabilizing objects to secure the smaller bowl in place within the larger one. This will help maintain the intended shape of the fire pit bowl as the concrete is poured and cured.
By meticulously preparing the mold for your concrete bowl fire pit, you’re laying the foundation for a successful construction process. Taking the time to ensure that the mold is set up correctly will contribute to the overall quality and aesthetics of your finished fire pit.
Step 2: Mixing the Concrete
With the mold prepared, it’s time to mix the concrete that will form the body of your fire pit. Properly mixing the concrete is crucial to ensure the structural integrity and durability of the fire pit. Follow these steps to create the ideal concrete mixture:
- Gather Your Supplies: Before starting the mixing process, gather your concrete mix, a sturdy mixing container, water, and a trowel for blending.
- Measure the Concrete Mix: Follow the manufacturer’s instructions to determine the appropriate ratio of water to concrete mix. This ratio is essential for achieving the right consistency and strength in the concrete.
- Combine the Ingredients: Pour the concrete mix into the mixing container and gradually add water while stirring. Use the trowel to blend the mixture thoroughly, ensuring that the water is evenly distributed and fully integrated into the concrete mix.
- Attain the Desired Consistency: As you mix the concrete, observe its consistency closely. The ideal concrete mix for the fire pit should be pliable and workable, similar to the texture of thick oatmeal. Avoid adding too much water, as this can compromise the strength of the concrete.
By following these steps, you’ll be well-equipped to create a well-mixed concrete batch that is ready to be poured into the prepared mold. Taking the time to achieve the perfect concrete consistency will contribute to the overall quality and durability of your concrete bowl fire pit.
Step 3: Pouring the Concrete
With the concrete mixture prepared, it’s time to pour it into the mold to begin shaping the body of your fire pit. This step requires precision and care to ensure that the concrete is distributed evenly and forms the desired shape. Follow these essential guidelines for pouring the concrete:
- Begin the Pouring Process: Carefully transfer the mixed concrete into the prepared mold, starting from the center and working outward. This technique helps distribute the concrete evenly and minimizes the formation of air pockets within the mold.
- Level the Concrete: Use a trowel to level the surface of the poured concrete, ensuring that it is uniformly spread and reaches the desired height around the mold. Pay close attention to achieving a smooth and consistent surface, as this will impact the final appearance of the fire pit.
- Tap and Vibrate: Gently tap the sides of the mold or use a vibrating tool to help release any trapped air bubbles within the concrete. This step is crucial for preventing voids and ensuring the structural integrity of the fire pit bowl.
- Allow Settling Time: After pouring and leveling the concrete, allow it to settle for a brief period. This will help any remaining air bubbles rise to the surface, allowing you to eliminate them before the concrete sets.
By following these steps, you’ll effectively pour the concrete into the mold, setting the stage for the formation of the bowl-shaped body of your fire pit. Taking the time to pour the concrete meticulously will contribute to the overall strength and visual appeal of your concrete bowl fire pit.
When making a concrete bowl fire pit, make sure to use a fire-resistant concrete mix and reinforce it with wire mesh for added strength and durability. This will ensure that your fire pit can withstand high temperatures and last for a long time.
Read more: How To Build A Concrete Fire Pit
Step 4: Creating the Fire Pit
With the concrete poured and set, it’s time to focus on transforming the solidified material into a functional and visually appealing fire pit. This step involves shaping the concrete and preparing it to accommodate the fire source. Follow these essential steps to create the fire pit within the concrete bowl:
- Remove the Inner Mold: Carefully remove the smaller plastic bowl from the center of the concrete mold. Take your time to ensure that the concrete remains intact and retains its desired shape as the inner mold is extracted.
- Smooth the Edges: Use a concrete trowel or sandpaper to smooth any rough edges or imperfections on the inner and outer surfaces of the concrete bowl. This step is crucial for achieving a polished and professional finish.
- Create a Fire Pit Insert: If you plan to use the fire pit for actual fires, consider adding a pre-made fire pit insert or bowl to the center of the concrete bowl. This insert will provide a safe and designated area for containing the fire, enhancing the functionality and safety of the fire pit.
- Add Decorative Elements (Optional): To enhance the aesthetic appeal of your fire pit, consider incorporating decorative elements such as colored glass beads, lava rocks, or fire glass into the fire pit insert. These elements can add a pop of color and texture, elevating the visual allure of the fire pit.
By following these steps, you’ll effectively shape the concrete into a fully functional fire pit, ready to bring warmth and ambiance to your outdoor gatherings. Taking the time to refine the concrete bowl and add essential fire pit elements will contribute to the overall functionality and visual charm of your concrete bowl fire pit.
Step 5: Curing the Concrete
After the construction and shaping of the fire pit, the curing process is essential to strengthen the concrete and ensure its long-term durability. Proper curing allows the concrete to achieve its maximum strength and resilience. Follow these crucial steps to effectively cure the concrete of your fire pit:
- Cover the Fire Pit: To protect the freshly poured concrete from external elements and maintain optimal curing conditions, cover the fire pit with a plastic sheet or tarp. This covering will help retain moisture and temperature, facilitating the curing process.
- Maintain Moisture: During the initial curing period, it’s vital to keep the concrete moist. Lightly mist the concrete surface with water or use a damp cloth to ensure that it remains hydrated. Adequate moisture is essential for the concrete to cure uniformly and develop strength.
- Allow Sufficient Time: The curing process typically spans several days, during which the concrete gradually gains strength. Refer to the concrete mix’s instructions to determine the recommended curing duration, and ensure that the fire pit remains undisturbed during this crucial phase.
- Monitor the Progress: Regularly inspect the concrete surface for any signs of cracking or drying. If necessary, continue misting the concrete to maintain proper moisture levels and prevent premature drying, which can compromise the curing process.
By diligently following these steps, you’ll effectively facilitate the curing of the concrete, allowing your fire pit to achieve its full structural integrity and longevity. Taking the time to ensure proper curing will contribute to the overall quality and resilience of your concrete bowl fire pit, ensuring that it withstands the test of time in your outdoor space.
Step 6: Finishing Touches
As the concrete bowl fire pit nears completion, adding the finishing touches will elevate its visual appeal and functionality, enhancing its overall presence in your outdoor space. Follow these essential steps to add the final details and ensure that your fire pit is ready to become a captivating focal point:
- Apply a Concrete Sealer: Once the concrete has fully cured, consider applying a high-quality concrete sealer to the surface of the fire pit. The sealer will protect the concrete from moisture, weathering, and stains, extending its lifespan and preserving its aesthetic appeal.
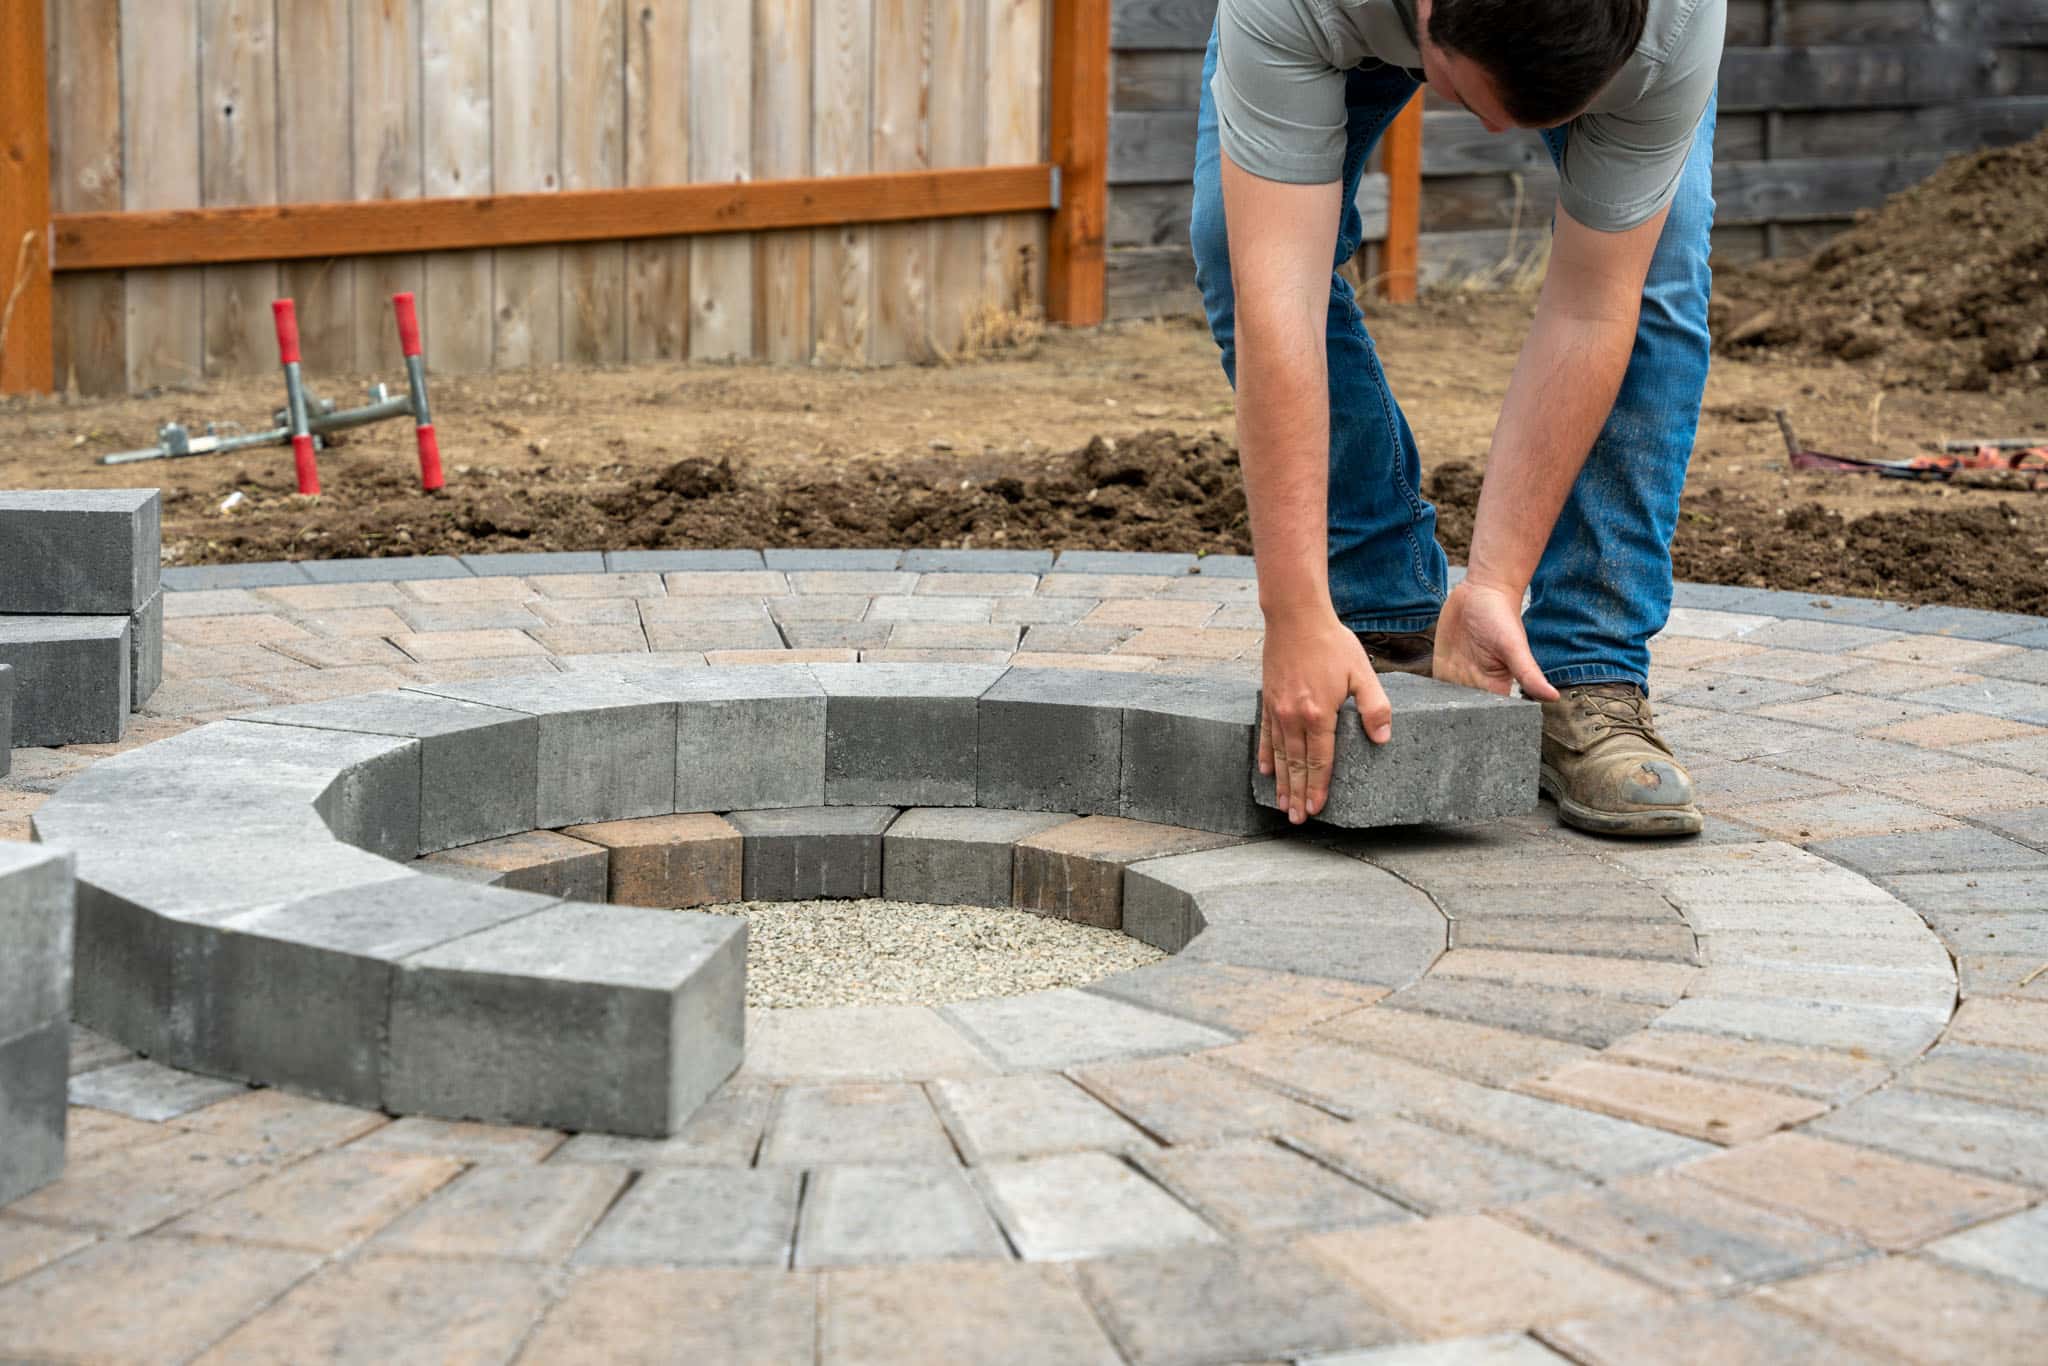
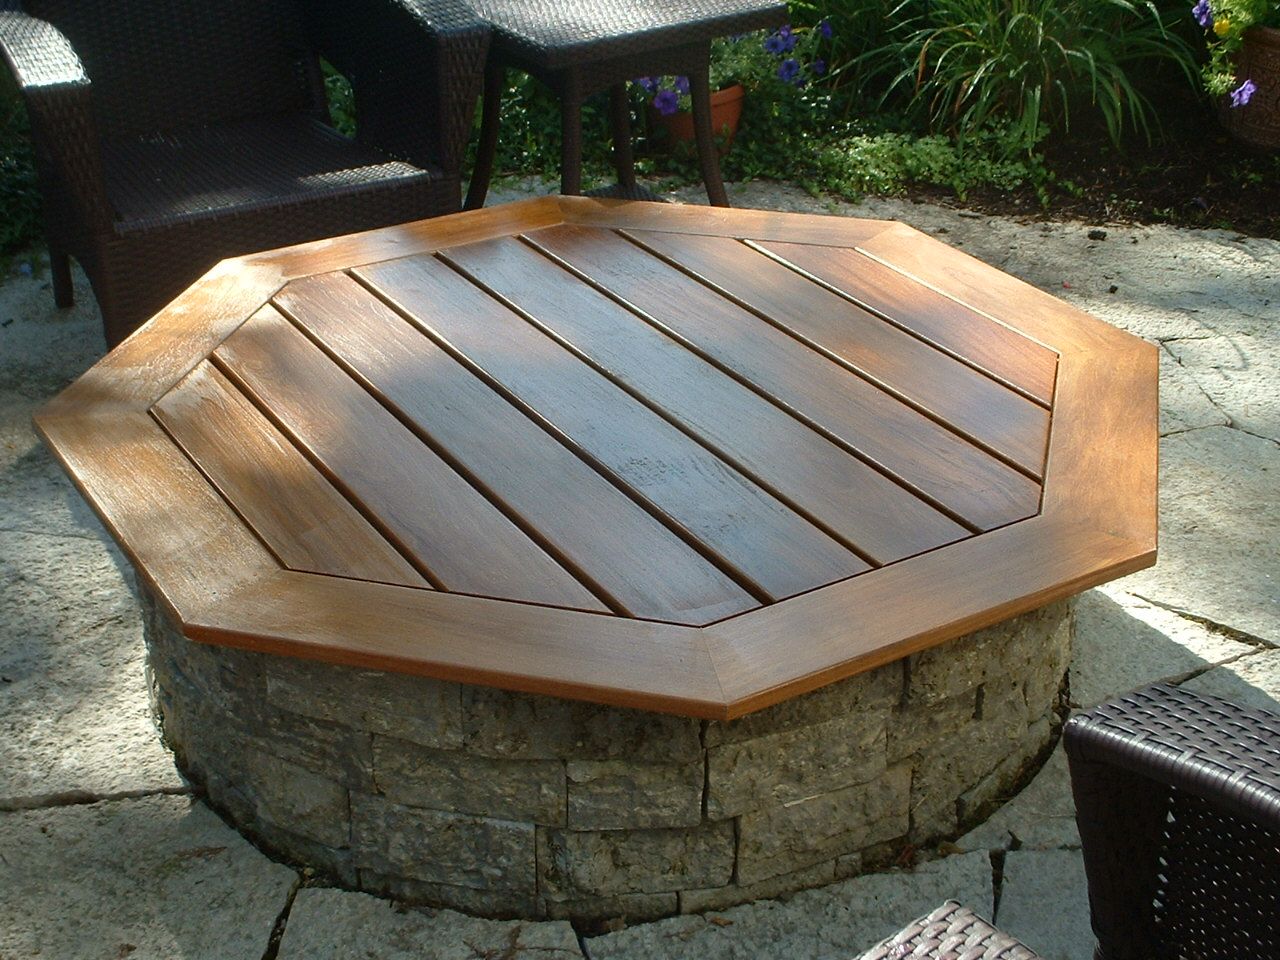
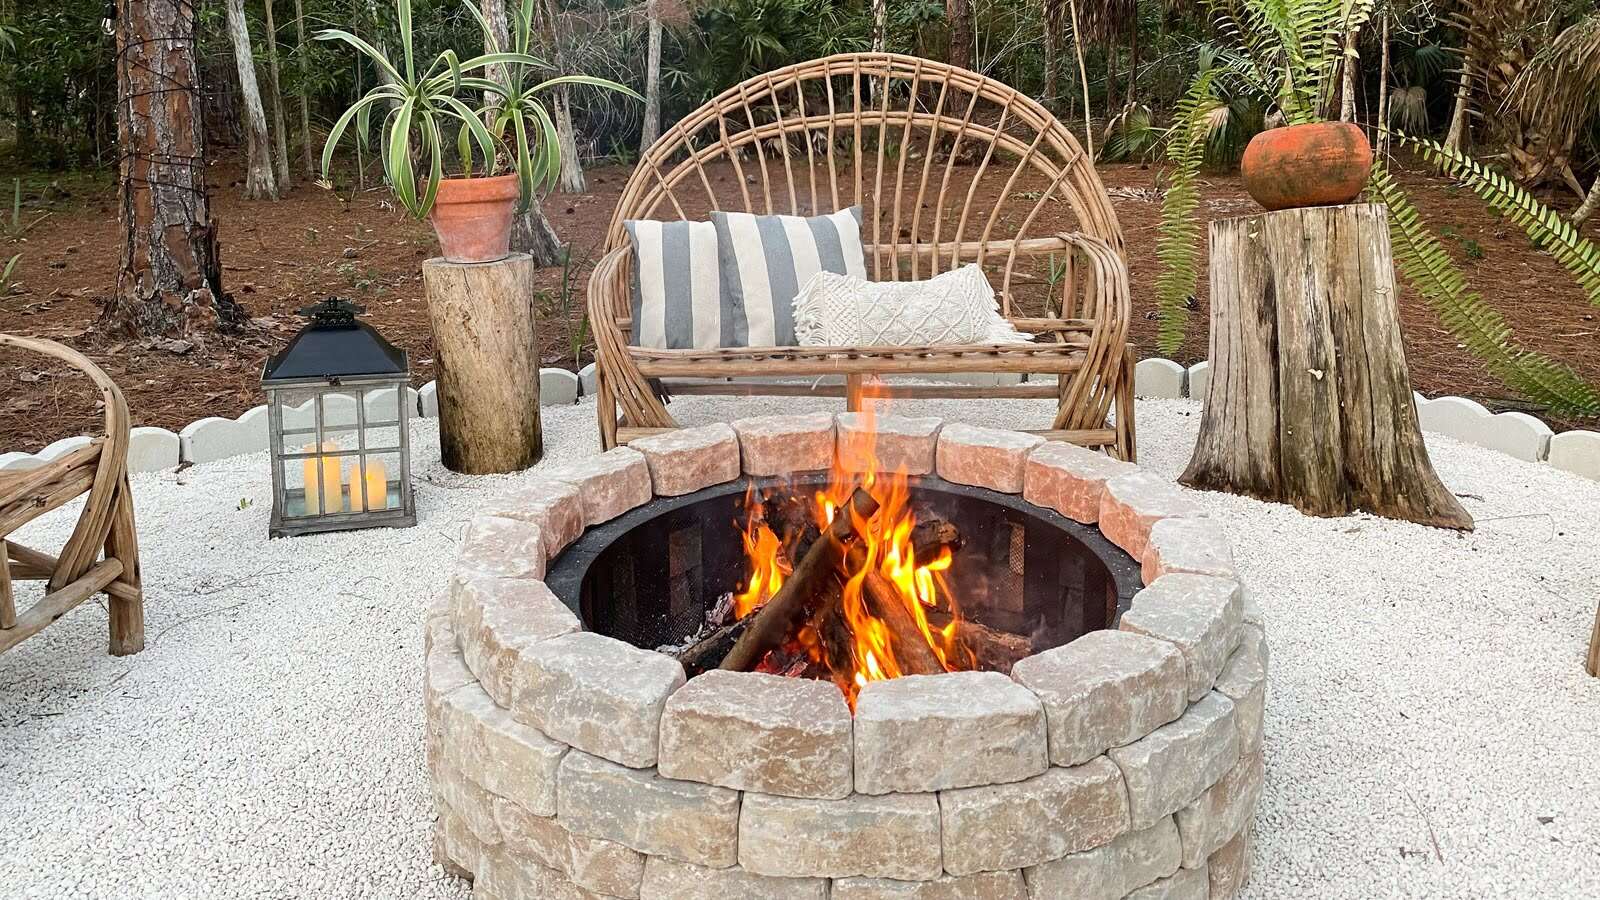
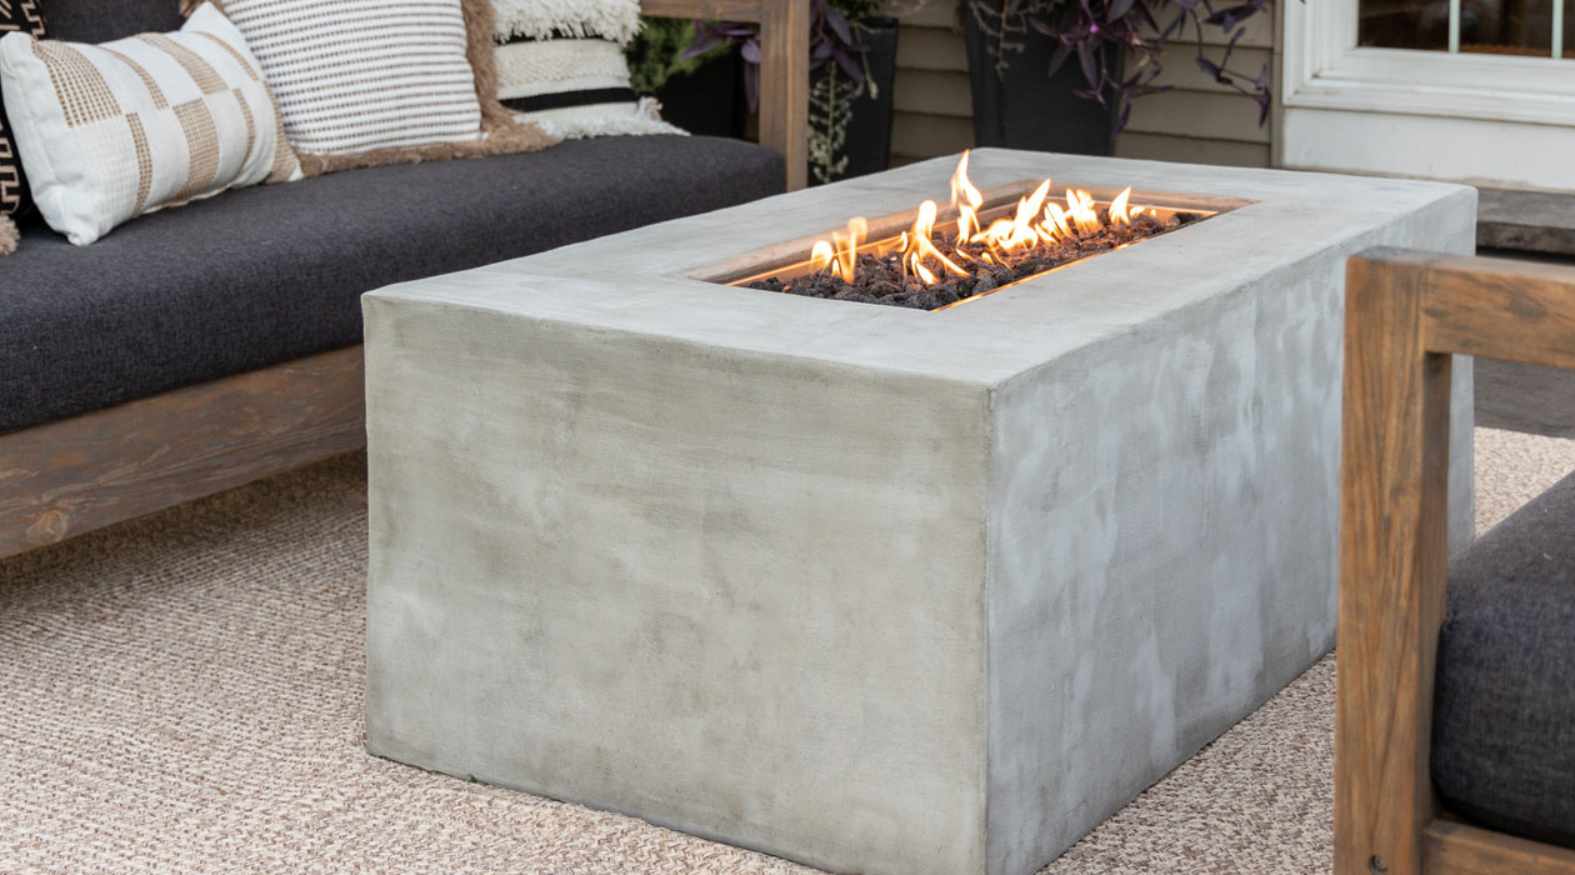
- Position the Fire Pit: Select an ideal location for your concrete bowl fire pit within your outdoor space. Ensure that it is placed on a stable and fire-resistant surface, such as a concrete pad or pavers, to create a safe and inviting area for gathering around the fire.
- Add Seating and Ambiance: Surround the fire pit with comfortable outdoor seating, creating a cozy and inviting atmosphere for socializing and relaxation. Incorporate additional elements, such as outdoor lighting or decorative accents, to enhance the ambiance and charm of the fire pit area.
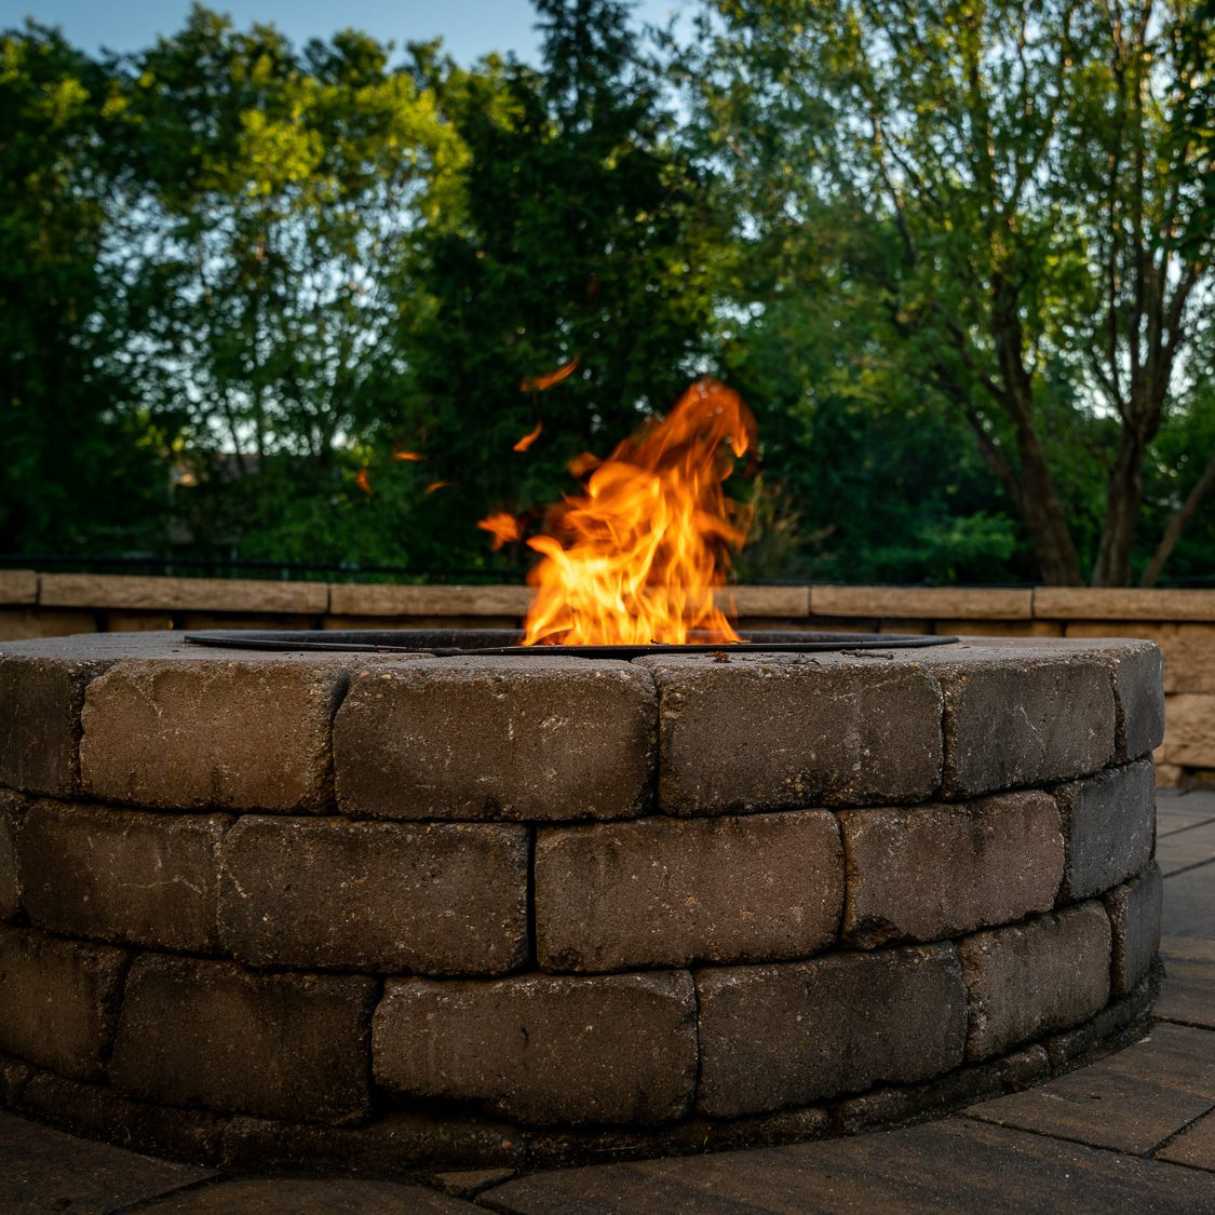
- Test the Fire Pit (If Applicable): If you’ve incorporated a fire pit insert, take the opportunity to test the fire pit with a controlled burn. Ensure that the flames are contained within the insert and that the fire pit functions safely and effectively, providing warmth and illumination for your outdoor gatherings.
By completing these final touches, you’ll transform your concrete bowl fire pit into a captivating and functional feature within your outdoor entertaining space. Paying attention to these details will ensure that your fire pit becomes a welcoming centerpiece, inviting memorable moments and enjoyable gatherings in the great outdoors.
Conclusion
Embarking on the journey of creating a concrete bowl fire pit is not only a fulfilling do-it-yourself project but also a transformative addition to your outdoor living space. By following the step-by-step process outlined in this guide, you’ve gained the knowledge and confidence to craft a stunning and functional fire pit that will undoubtedly enhance your outdoor entertaining experience.
From meticulously preparing the mold and pouring the concrete to shaping the fire pit and facilitating its curing, each stage of the construction process has contributed to the creation of a durable and visually appealing outdoor feature. The finishing touches, including applying a concrete sealer and positioning the fire pit within your outdoor space, have added the final elements that elevate its charm and functionality.
As you gather around the warm glow of your concrete bowl fire pit, surrounded by the laughter and camaraderie of friends and family, you’ll witness the tangible impact of your DIY endeavor. The fire pit becomes more than just a construction project; it becomes a focal point that fosters unforgettable moments and creates a welcoming ambiance in your outdoor sanctuary.
So, as you bask in the inviting glow of your completed fire pit, take pride in the craftsmanship and creativity that have brought this captivating feature to life. Whether it’s a tranquil evening of stargazing or a lively gathering filled with stories and shared warmth, your concrete bowl fire pit stands as a testament to your dedication to enhancing outdoor living and creating lasting memories.
With the knowledge and experience gained from this project, you’re well-equipped to continue exploring the realm of outdoor DIY endeavors, infusing your personal touch into every aspect of your outdoor oasis. As you embark on future projects, may the warmth and allure of your concrete bowl fire pit serve as a constant reminder of the joy and fulfillment that come from crafting functional and captivating features within your outdoor haven.
Now that you've mastered making a concrete bowl fire pit, why not take your outdoor design skills further? For those seeking to spruce up their decks with vibrant decor and handy enhancements, our guide on transforming your deck for outdoor living is perfect. Ready for more expansive projects? Dive into our compilation of backyard ideas, offering twenty-five unique ways to revamp your outdoor space. These resources are packed with inspiration and practical tips to help you create inviting areas for relaxation and entertainment.
Frequently Asked Questions about How To Make A Concrete Bowl Fire Pit
Was this page helpful?
At Storables.com, we guarantee accurate and reliable information. Our content, validated by Expert Board Contributors, is crafted following stringent Editorial Policies. We're committed to providing you with well-researched, expert-backed insights for all your informational needs.

0 thoughts on “How To Make A Concrete Bowl Fire Pit”