Articles
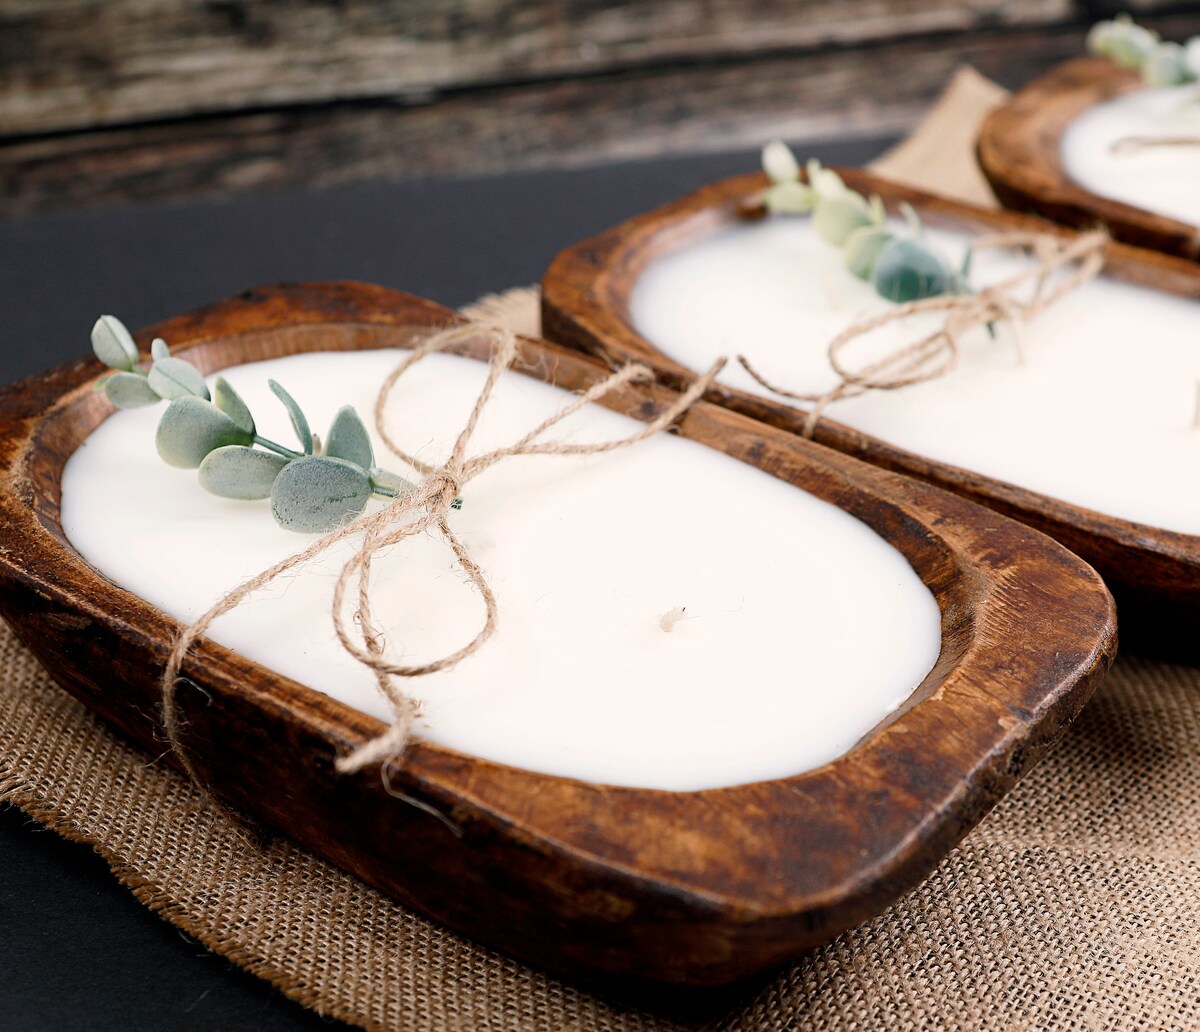
How To Make Dough Bowl Candles
Modified: December 7, 2023
Learn how to make beautiful dough bowl candles with this step-by-step guide. Discover the best articles and tips for creating your own unique candles at home.
(Many of the links in this article redirect to a specific reviewed product. Your purchase of these products through affiliate links helps to generate commission for Storables.com, at no extra cost. Learn more)
Introduction
Welcome to the world of DIY candle making! If you’re looking for a unique and charming way to add warmth and fragrance to your home decor, look no further than dough bowl candles. These rustic and handmade candles not only provide a cozy ambiance, but they also serve as beautiful centerpieces or accent pieces for any room. The best part is, you can create your own custom scents and colors to match your personal style.
In this article, we will guide you through the step-by-step process of making your very own dough bowl candles. From preparing the dough bowl to curing the candles, we will cover everything you need to know to create these stunning and aromatic masterpieces.
Before we dive into the process, let’s quickly gather the materials you’ll need:
Key Takeaways:
- Embrace creativity and personalize your space by crafting unique dough bowl candles with custom scents and colors, adding warmth and charm to your home decor.
- Prioritize safety, patience, and attention to detail throughout the candle-making process to ensure the creation of beautiful, safe, and long-lasting dough bowl candles.
Read more: How To Make Dough In A Kitchenaid Mixer
Materials Needed
Before getting started, make sure you have the following materials on hand:
- A wooden dough bowl – Choose a size and shape that fits your aesthetic preference.
- Candle wax – Opt for soy wax or beeswax, as they are natural and eco-friendly options. The amount will depend on the size of your dough bowl.
- Candle wicks – Select wicks that are appropriate for the size of your dough bowl. You can choose pre-waxed wicks or plain wicks that you can wax yourself.
- Fragrance oils – Pick your favorite scents to create a delightful aroma. Make sure the oils are specifically formulated for candle making.
- Candle dye or color chips – If you wish to add color to your candles, choose dye specifically made for candle making. Alternatively, you can use color chips, which are easy to measure and melt.
- Double boiler or a heat-resistant container and a saucepan – This will be used to melt the candle wax. If you don’t have a double boiler, you can use a heat-resistant glass container placed in a saucepan filled with water.
- Thermometer – A candle-making thermometer will help ensure the wax reaches the correct temperature.
- Stirring utensil – Use a heat-resistant spoon or spatula to stir the wax and mix in the fragrance and color.
- Hot glue gun or adhesive tabs – You’ll need these to secure the wicks to the bottom of the dough bowl.
- Wick centering device (optional) – This tool helps to keep the wick centered while pouring the wax.
- Scissors – To trim the wicks after your candles have cured.
- Protective gear – This includes gloves, goggles, and an apron, to ensure your safety during the candle-making process.
Once you’ve gathered all the necessary materials, you’re ready to dive into the wonderful world of dough bowl candle making!
Step 1: Preparing the Dough Bowl
The first step in creating your dough bowl candles is to properly prepare the wooden dough bowl. This ensures that it is clean and ready to hold the melted wax. Follow these steps:
- Inspect the dough bowl: Examine the bowl for any cracks, damaged areas, or loose pieces. If you find any, repair them with wood glue and let it dry completely.
- Clean the dough bowl: Use a soft cloth or brush to remove any dust, dirt, or debris from the bowl’s surface. You can also lightly sand the inside and outside of the bowl to smooth out any rough edges.
- Seal the dough bowl (optional): If you want to protect the wood and prevent the wax from seeping into the bowl, you can seal it with a food-safe wood sealer or a coat of mineral oil. Be sure to let it dry completely before moving on to the next step.
By following these steps, you’ll ensure that your dough bowl is clean, sturdy, and ready to be transformed into a beautiful candle holder. Now that your dough bowl is prepped, it’s time to move on to the next step: preparing the wax.
Step 2: Preparing the Wax
Now that your dough bowl is ready, it’s time to prepare the wax for your dough bowl candles. Follow these steps:
- Measure the wax: Use a kitchen scale to measure the amount of wax needed to fill your dough bowl. Be sure to account for the extra space needed for the fragrance and color additives.
- Melt the wax: Set up a double boiler or a heat-resistant container placed in a saucepan with water. Place the wax in the top part of the double boiler or the heat-resistant container and heat it gently over low to medium heat. Stir occasionally to ensure even melting.
- Check the temperature: Use a candle-making thermometer to monitor the wax temperature. Different types of wax have different melting points, so make sure to follow the specific instructions for the type of wax you are using. Most waxes melt between 120 to 180 degrees Fahrenheit.
- Remove from heat: Once the wax reaches the recommended temperature, carefully remove it from the heat source and place it on a heat-resistant surface.
It’s important to note that while working with hot wax, safety should be your top priority. Always follow proper safety precautions, such as wearing gloves and goggles, and keep a fire extinguisher nearby.
With your melted wax ready, you’re now ready to move on to the next step: adding fragrance and color to your dough bowl candles.
Step 3: Adding Fragrance and Color
Adding fragrance and color to your dough bowl candles is where you can let your creativity shine. Follow these steps to infuse delightful scents and beautiful hues into your candles:
- Choose your fragrance: Select your favorite fragrance oil or essential oil to add a lovely scent to your candles. The general rule of thumb is to use approximately 1 ounce of fragrance oil per 1 pound of wax, but be sure to check the specific guidelines for the fragrance oil you are using.
- Add fragrance to the wax: Once the wax has reached the desired temperature, carefully pour in the fragrance oil and gently stir it using a heat-resistant spoon or spatula. Make sure to thoroughly mix the fragrance oil into the wax to ensure an even scent distribution.
- Select your color: If you want to add color to your dough bowl candles, you can use candle dye or color chips. Follow the instructions provided with the dye or color chips to determine the appropriate amount to use for your desired shade. Remember, a little goes a long way, so start with a small amount and gradually add more if needed.
- Add color to the wax: Slowly sprinkle the dye or place the color chips into the melted wax and stir continuously until it is completely melted and distributed evenly. Adjust the amount of dye or color chips based on your preference for intensity.
By adding fragrance and color to your dough bowl candles, you’re creating a personalized and sensory experience. The next step is pouring the wax into the dough bowl. Let’s move on!
Read more: How To Make Dough In Bread Machine
Step 4: Pouring the Wax into the Dough Bowl
With the fragrance and color added to your melted wax, it’s time to pour it into the prepared dough bowl and give life to your dough bowl candles. Follow these steps to achieve a seamless and beautiful pour:
- Prepare the dough bowl: Place the dough bowl on a stable and heat-resistant surface. You can also use a towel or a silicone mat to protect your work surface.
- Secure the wicks: If you have a wick centering device, place it in the center of the dough bowl. Otherwise, use a hot glue gun or adhesive tabs to secure the wicks to the bottom of the bowl. Make sure the wicks are centered.
- Pour the wax: Slowly and carefully pour the melted wax into the dough bowl, ensuring that the wicks remain centered. Fill the bowl to your desired level, leaving a bit of space at the top to prevent overflow during the curing process.
- Allow the wax to cool and set: Let the wax cool and solidify naturally. This process may take a few hours or overnight, depending on the size of your dough bowl and the wax used.
It’s essential to be patient during this step to ensure that your dough bowl candles set properly and evenly. Once the wax has completely solidified, you can move on to the next step: adding the wicks.
When making dough bowl candles, ensure the wick is centered and secured in place before pouring the wax to prevent it from moving and causing an uneven burn.
Step 5: Adding the Wicks
Now that the wax in your dough bowl candles has solidified, it’s time to add the wicks. Follow these steps to ensure proper positioning and stability:
- Trim the wicks: Using a pair of scissors, trim the wicks to about 1/4 inch above the surface of the wax. This will help the wicks burn evenly and prevent excessive smoke.
- Secure the wicks: If you used a wick centering device, simply remove it from the dough bowl. If not, you can use a hot glue gun or adhesive tabs to secure the wicks in the center of the candle. Ensure that the wicks are straight and upright.
- Adjust the wick length (optional): If you find that the wicks are too long and may create a large flame, you can carefully trim them a bit shorter. However, be cautious not to trim them too short, as this may cause the flame to suffocate and go out.
Adding the wicks to your dough bowl candles is the final step in the candle-making process. Now, all that’s left is to let your candles cure and fully set. Let’s move on to the next step: curing the candles.
Step 6: Curing the Candles
After adding the wicks to your dough bowl candles, it’s crucial to allow them to cure and fully set before lighting them. This curing process allows the wax to cool and harden completely, ensuring that your candles burn evenly and efficiently. Follow these steps to properly cure your candles:
- Find a safe and cool location: Choose a cool and undisturbed area in your home where the candles can cure. Avoid placing them in direct sunlight or near heat sources, as this can cause the wax to melt or become uneven.
- Let the candles cure: Allow your dough bowl candles to cure for at least 24 hours, or until the wax has solidified and hardened completely. This duration may vary depending on the size of your candles and the type of wax used. The longer you allow them to cure, the better the quality of your candles.
- Avoid moving or disturbing the candles: During the curing process, it’s important to avoid moving, touching, or disturbing the candles as this can result in uneven cooling and potential damage to the wicks.
By allowing your dough bowl candles to properly cure, you are ensuring their longevity and optimal burning performance. Once the candles have fully set, you can move on to the next step: trimming the wicks.
Step 7: Trimming the Wicks
After your dough bowl candles have cured and the wax has completely set, it’s time to trim the wicks before lighting them. Trimming the wicks helps to ensure a clean and even burn. Follow these steps to properly trim the wicks:
- Inspect the wicks: Take a close look at the wicks and identify any charred or excessively long portions.
- Trim the wicks: Using a pair of scissors, carefully trim the wicks to approximately 1/4 inch above the wax surface. This length will promote a steady and controlled flame while minimizing smoke and soot.
- Dispose of the trimmings: Collect the trimmed wick pieces and discard them in a proper waste bin to prevent any fire hazards.
Trimming the wicks is a crucial step in maintaining the overall quality and safety of your dough bowl candles. By regularly trimming the wicks before each use, you’ll ensure a beautiful, clean burn every time you light them.
Now that you’ve trimmed the wicks, you’re ready for the final step: enjoying the warm glow and enticing fragrance of your dough bowl candles.
Read more: How To Make A Glass Bowl
Step 8: Enjoying Your Dough Bowl Candles
Congratulations! You’ve successfully created your own beautiful dough bowl candles. Now, it’s time to sit back, relax, and enjoy the cozy ambiance and delightful fragrance they bring to your home. Follow these tips to enhance your experience with your dough bowl candles:
- Choose the perfect location: Select a strategic spot in your home where you can showcase your dough bowl candles. Whether it’s on a coffee table, mantlepiece, or dining table, find a place that allows the candles to be the focal point of the space.
- Create a cozy atmosphere: Light your dough bowl candles in the evenings or whenever you want to create a warm and inviting atmosphere. Their soft glow and soothing fragrance will instantly transform any room into a cozy sanctuary.
- Experiment with scents and colors: Don’t be afraid to get creative with your dough bowl candles. Try different fragrance combinations to create personalized scents that reflect your preferences and set the mood you desire. You can also experiment with different colors or layers to add visual interest.
- Practice candle safety: While enjoying your dough bowl candles, it’s important to remember basic candle safety guidelines. Keep them away from flammable materials, never leave them unattended, and place them on a heat-resistant surface. Additionally, always trim the wicks before each use and follow the manufacturer’s recommendations for burning time.
- Give as thoughtful gifts: Share the joy of dough bowl candles by gifting them to friends and loved ones. Wrap them in a beautiful package or pair them with other home decor items to create a thoughtful and personalized gift.
By following these tips, you can fully appreciate the artistry and craftsmanship behind your homemade dough bowl candles. Whether you’re unwinding after a long day, creating a romantic setting, or hosting a gathering, these candles will add a touch of warmth and serenity to any occasion.
Congratulations once again on your DIY dough bowl candles, and enjoy the cozy and captivating ambiance they bring to your home!
Conclusion
Crafting your own dough bowl candles is a creative and rewarding experience that allows you to add a personal touch to your home decor while enjoying the soothing glow and delightful fragrance they provide. By following the step-by-step process outlined in this article, you can create beautiful and unique candles that will enhance the ambiance of any space.
From preparing the dough bowl to pouring and curing the wax, each step of the candle-making process requires attention to detail and a passion for creating something beautiful. By selecting the right materials, adding fragrance and color, and properly trimming the wicks, you can ensure that your dough bowl candles burn safely and provide hours of enjoyment.
Remember, experimentation is key. Don’t be afraid to explore different fragrance combinations or color variations to create candles that reflect your personal style and preferences. Let your creativity soar as you infuse your living space with the warm glow and inviting aroma of your handmade dough bowl candles.
Lastly, always prioritize safety while working with hot wax and open flames. Use protective gear, such as gloves and goggles, follow proper candle safety protocols, and never leave burning candles unattended.
Whether you choose to keep your dough bowl candles for personal use or share them as heartfelt gifts, you can take pride in the fact that you have created something truly special. So, gather your materials, ignite your creativity, and let the art of dough bowl candle making illuminate your home with warmth and charm.
Frequently Asked Questions about How To Make Dough Bowl Candles
Was this page helpful?
At Storables.com, we guarantee accurate and reliable information. Our content, validated by Expert Board Contributors, is crafted following stringent Editorial Policies. We're committed to providing you with well-researched, expert-backed insights for all your informational needs.