Home>Furniture & Design>Interior Design Trends>How To Make Dyed Glass
Interior Design Trends
How To Make Dyed Glass
Modified: August 18, 2024
Learn how to create stunning dyed glass for your interior design projects. Discover the latest interior design trends and elevate your space with unique, colorful glass accents. Unlock the potential of dyed glass today!
(Many of the links in this article redirect to a specific reviewed product. Your purchase of these products through affiliate links helps to generate commission for Storables.com, at no extra cost. Learn more)
Introduction
Dyed glass is a stunning and versatile decorative element that can add a pop of color and personality to any space. Whether you're looking to create unique home decor pieces, personalized gifts, or eye-catching jewelry, learning how to dye glass opens up a world of creative possibilities.
By infusing clear glass with vibrant hues, you can customize the look and feel of your living environment, infusing it with your personal style. The process of dyeing glass is not only a fun and rewarding craft, but it also allows you to experiment with different colors and techniques to achieve the desired aesthetic.
In this comprehensive guide, we will walk you through the materials needed and the step-by-step process of preparing and dyeing glass. Additionally, we'll share valuable tips and tricks to help you achieve the best results and unleash your creativity.
So, whether you're a seasoned crafter or a beginner looking to explore a new hobby, learning how to dye glass is an exciting journey that promises to elevate your artistic endeavors and bring a touch of color and elegance into your life.
Key Takeaways:
- Unleash Your Creativity: Dyeing glass is a fun and rewarding craft that allows you to infuse everyday objects with vibrant colors, creating personalized and unique pieces that reflect your artistic vision.
- Endless Possibilities: Experiment with color combinations, controlled dye application, and embrace imperfections to create stunning and personalized glass pieces that resonate with authenticity and individuality.
Read more: How To Make Iridescent Glass
Materials Needed
To embark on your glass dyeing adventure, you'll need a few essential materials to ensure a successful and enjoyable crafting experience. Here's a comprehensive list of the items required to get started:
-
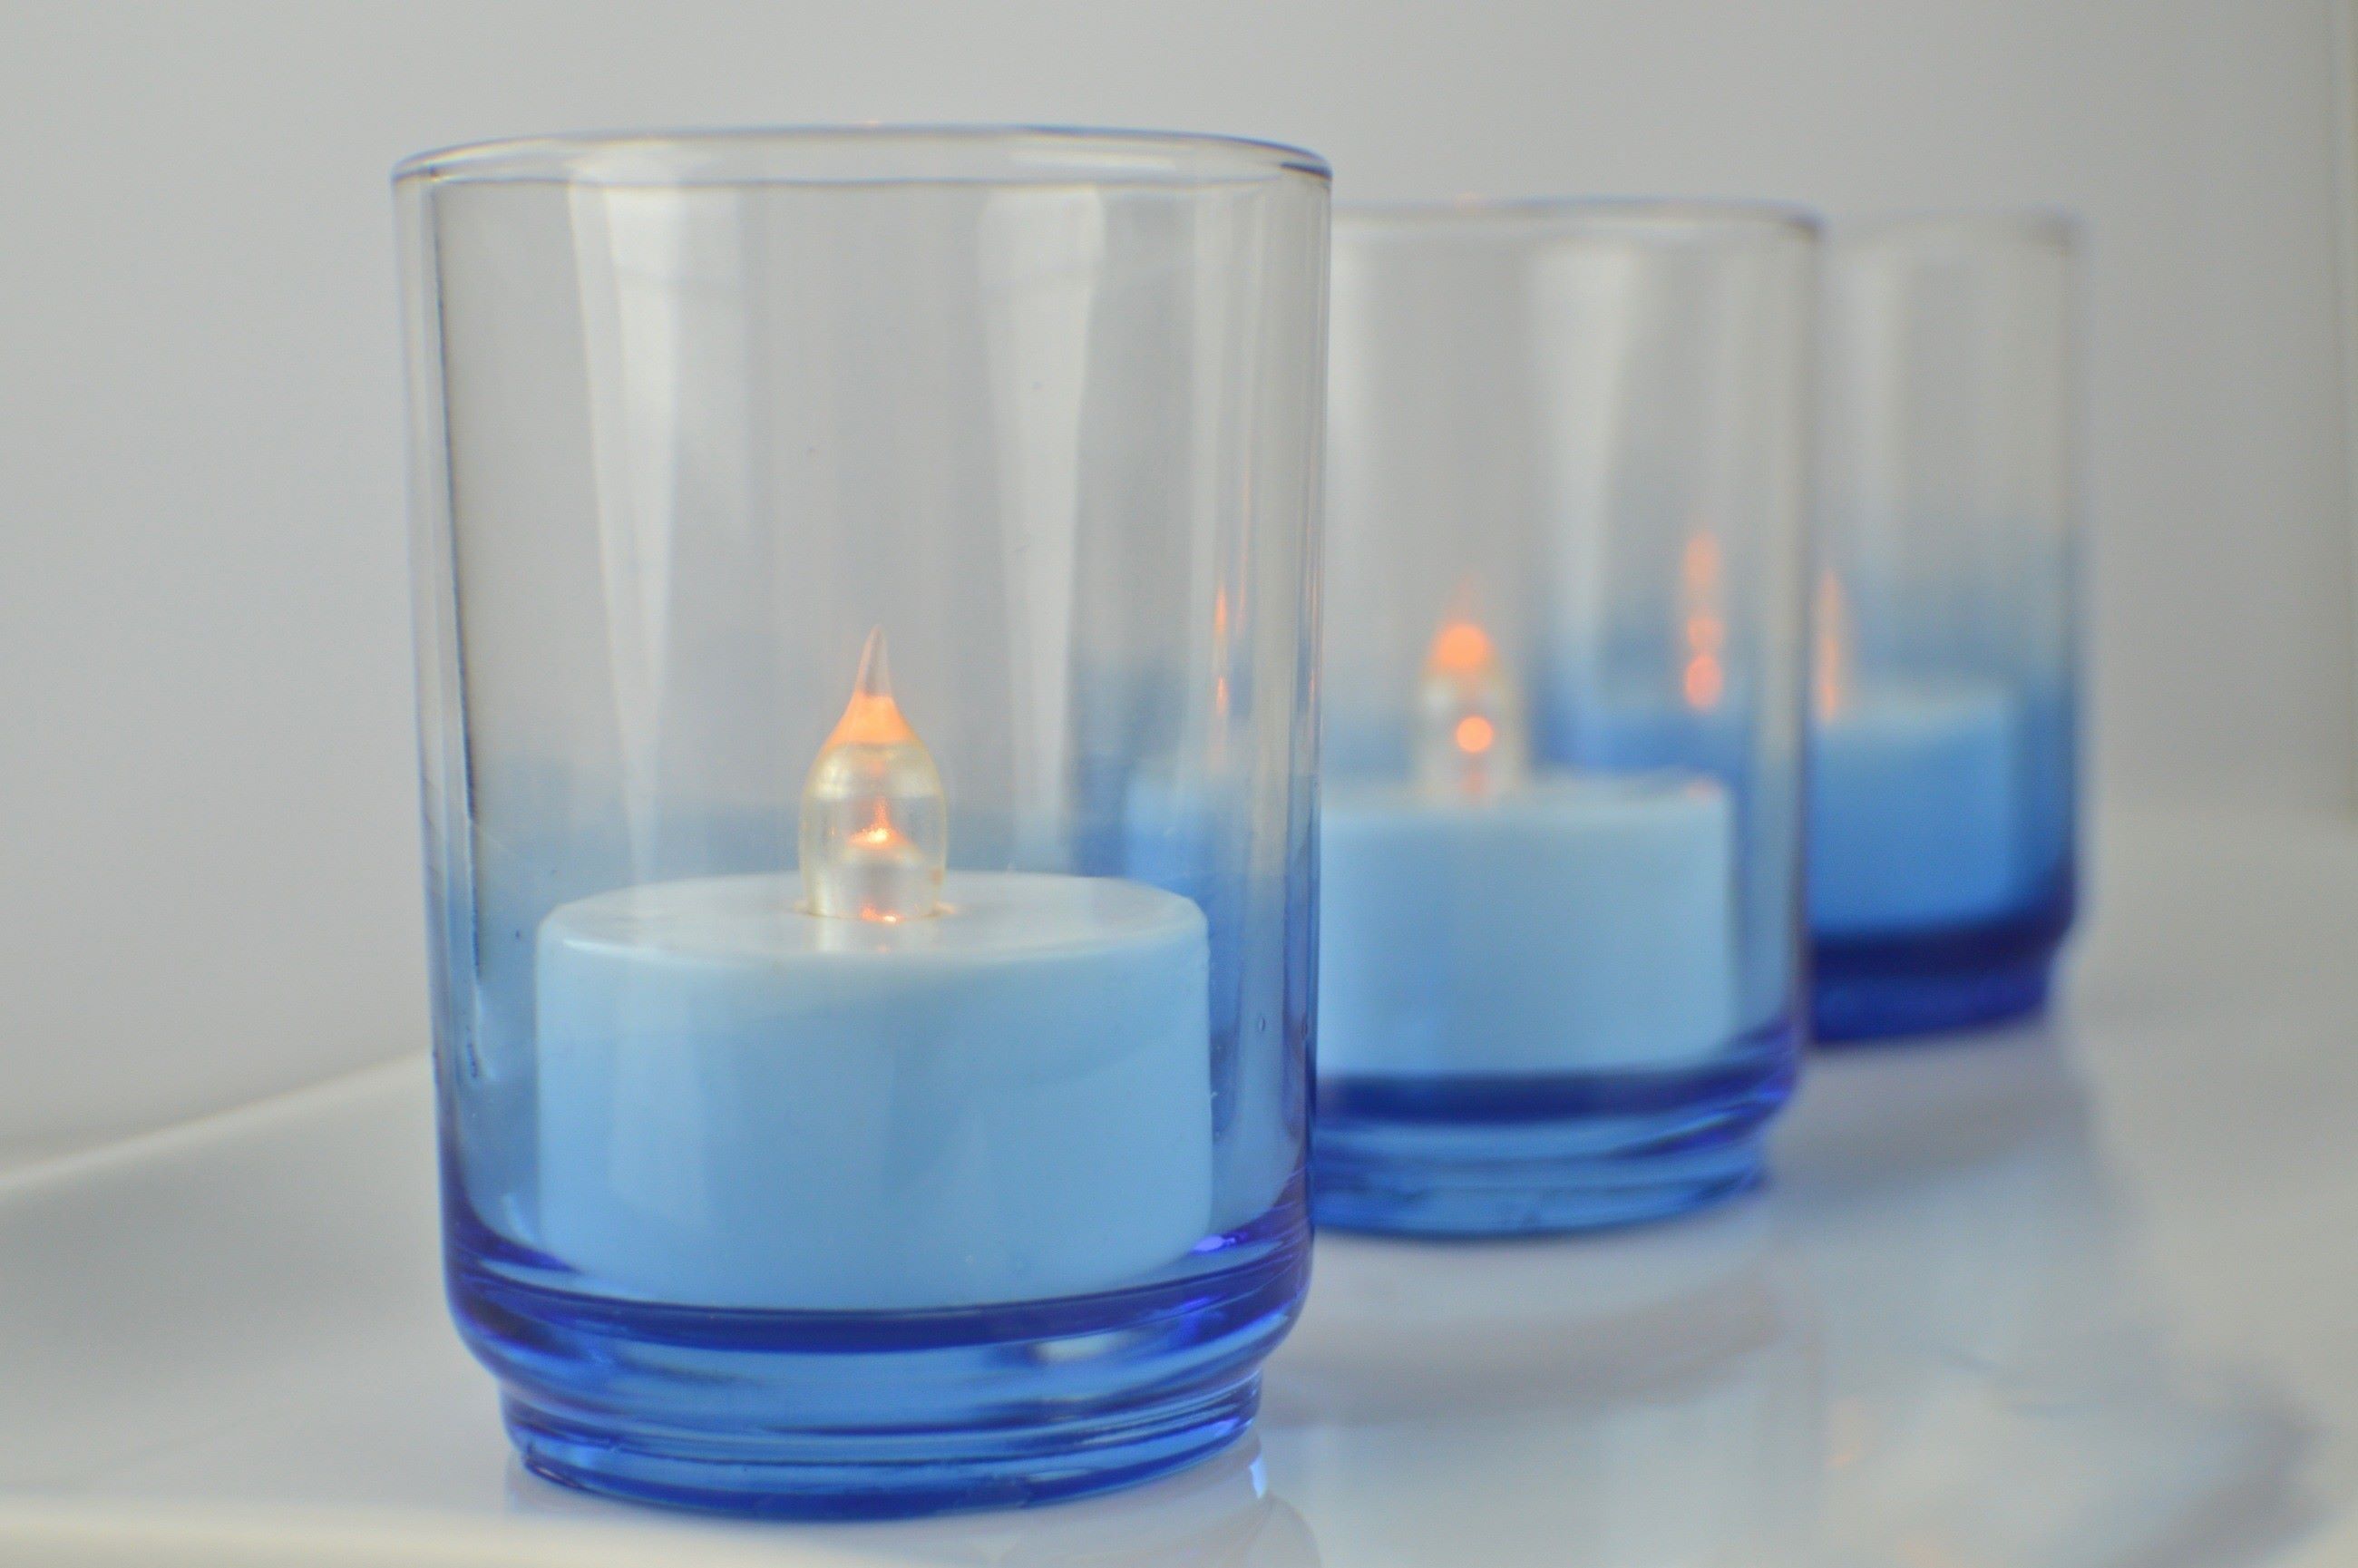
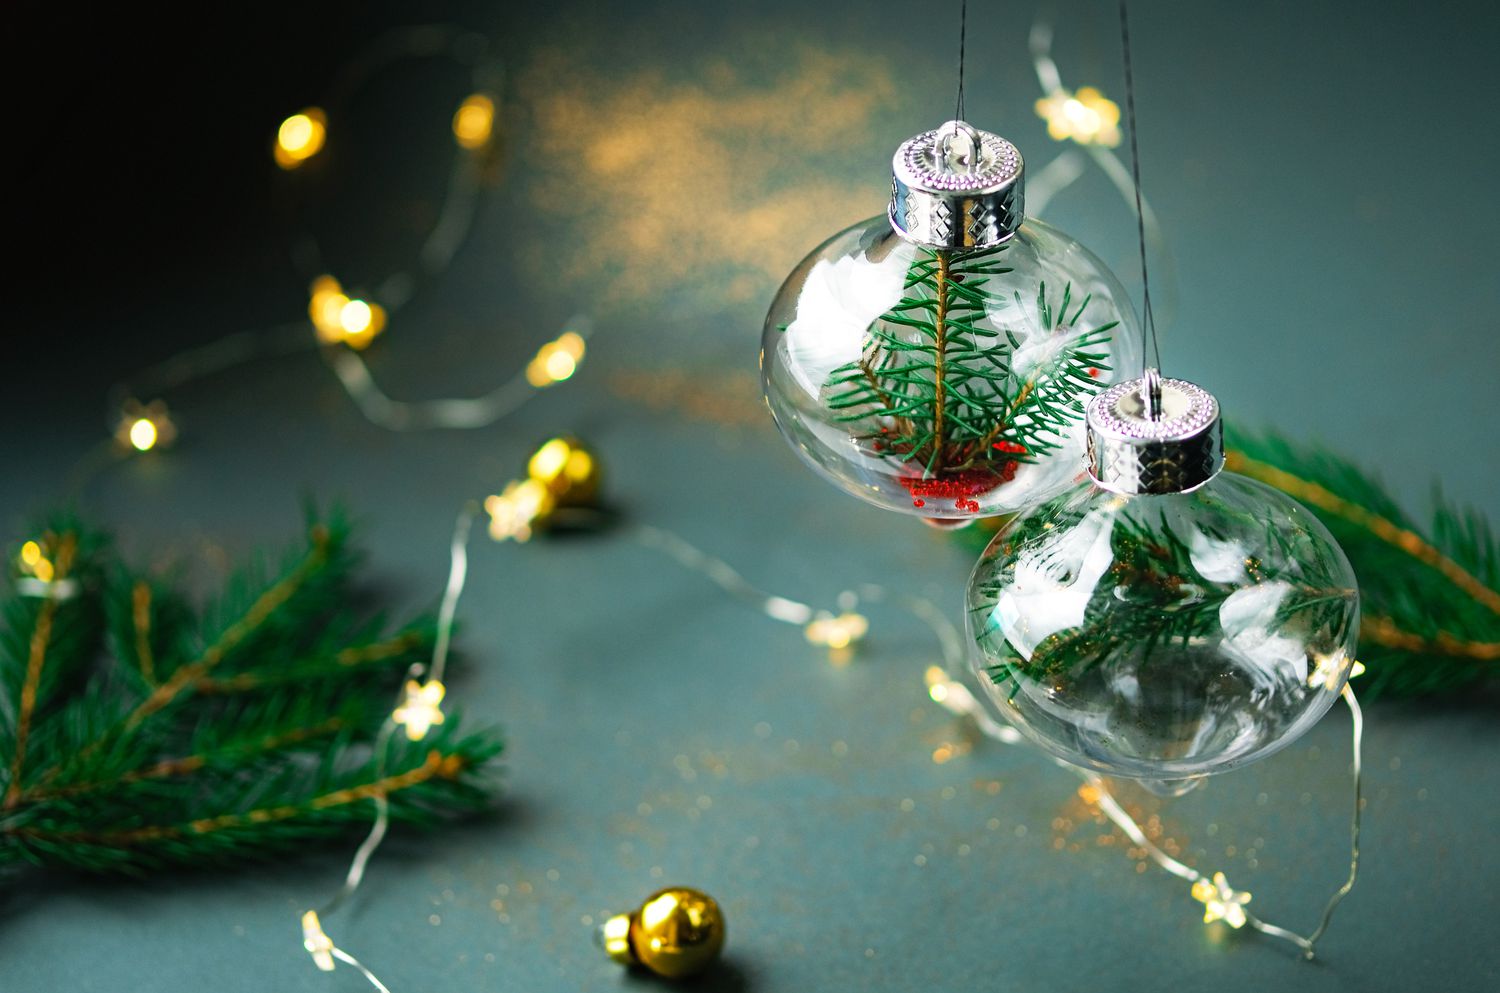
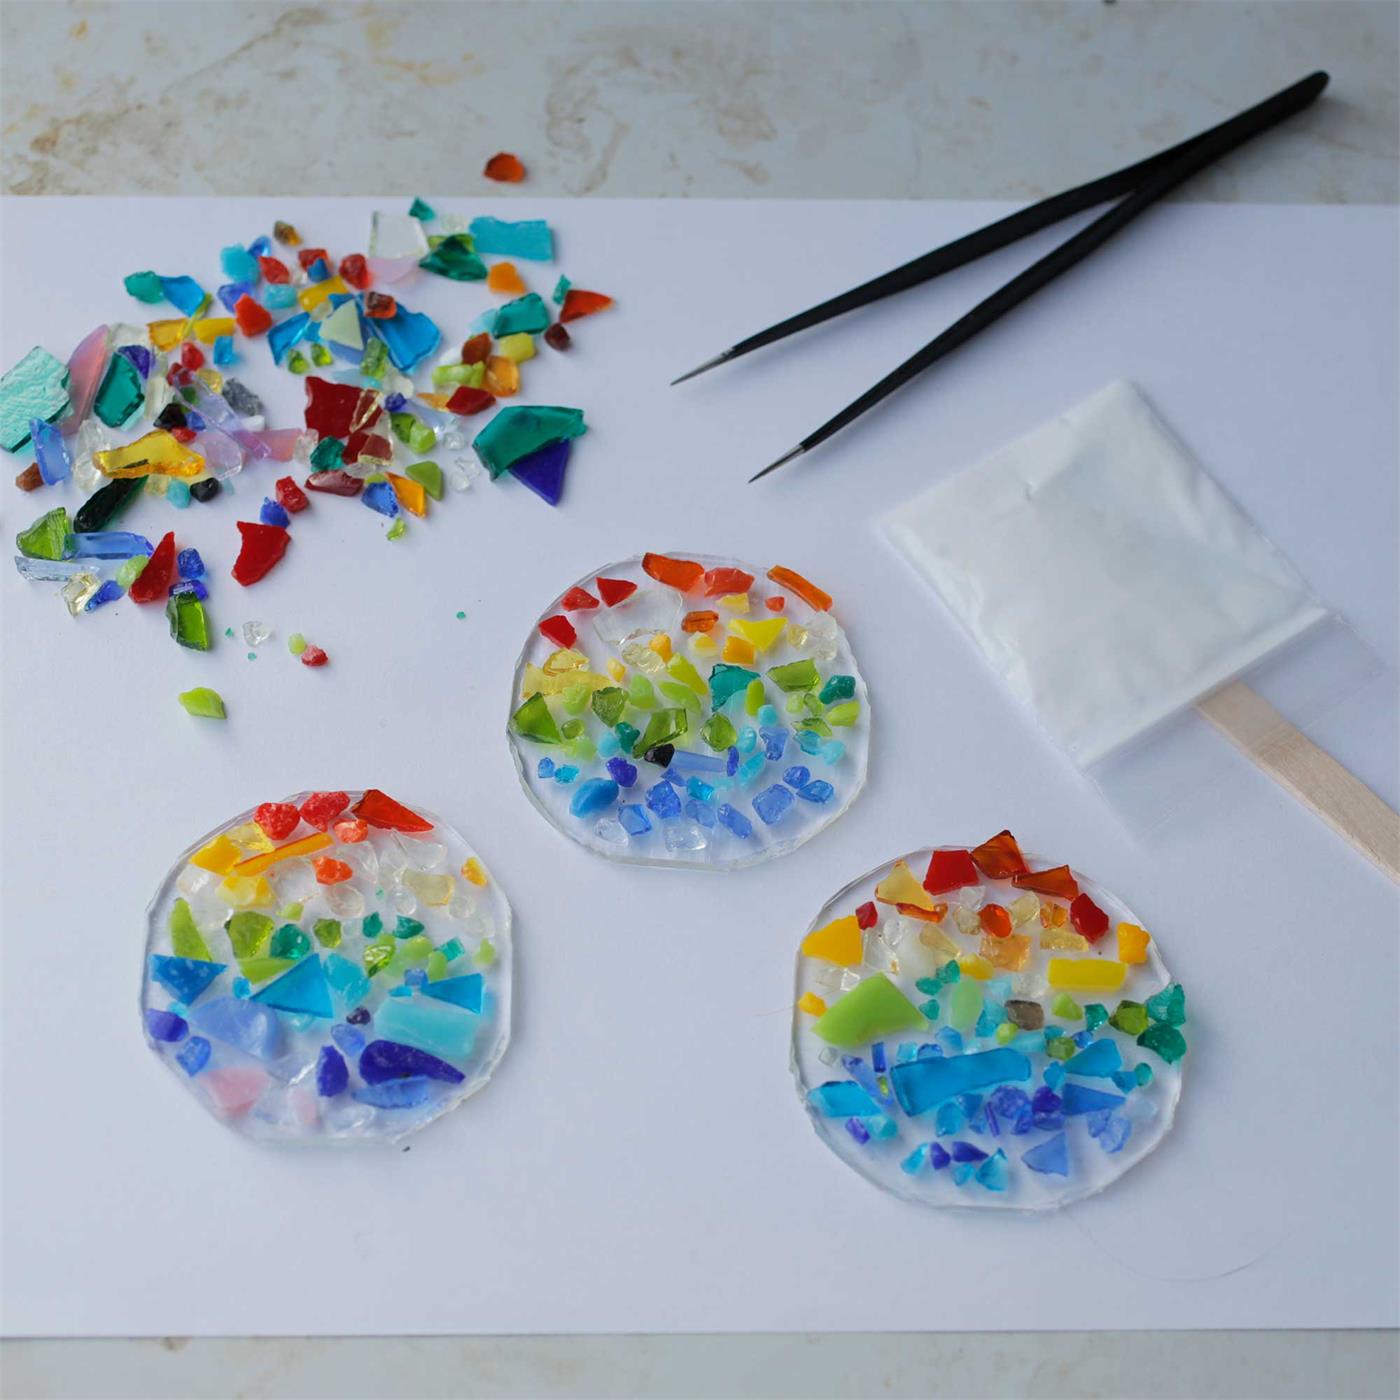
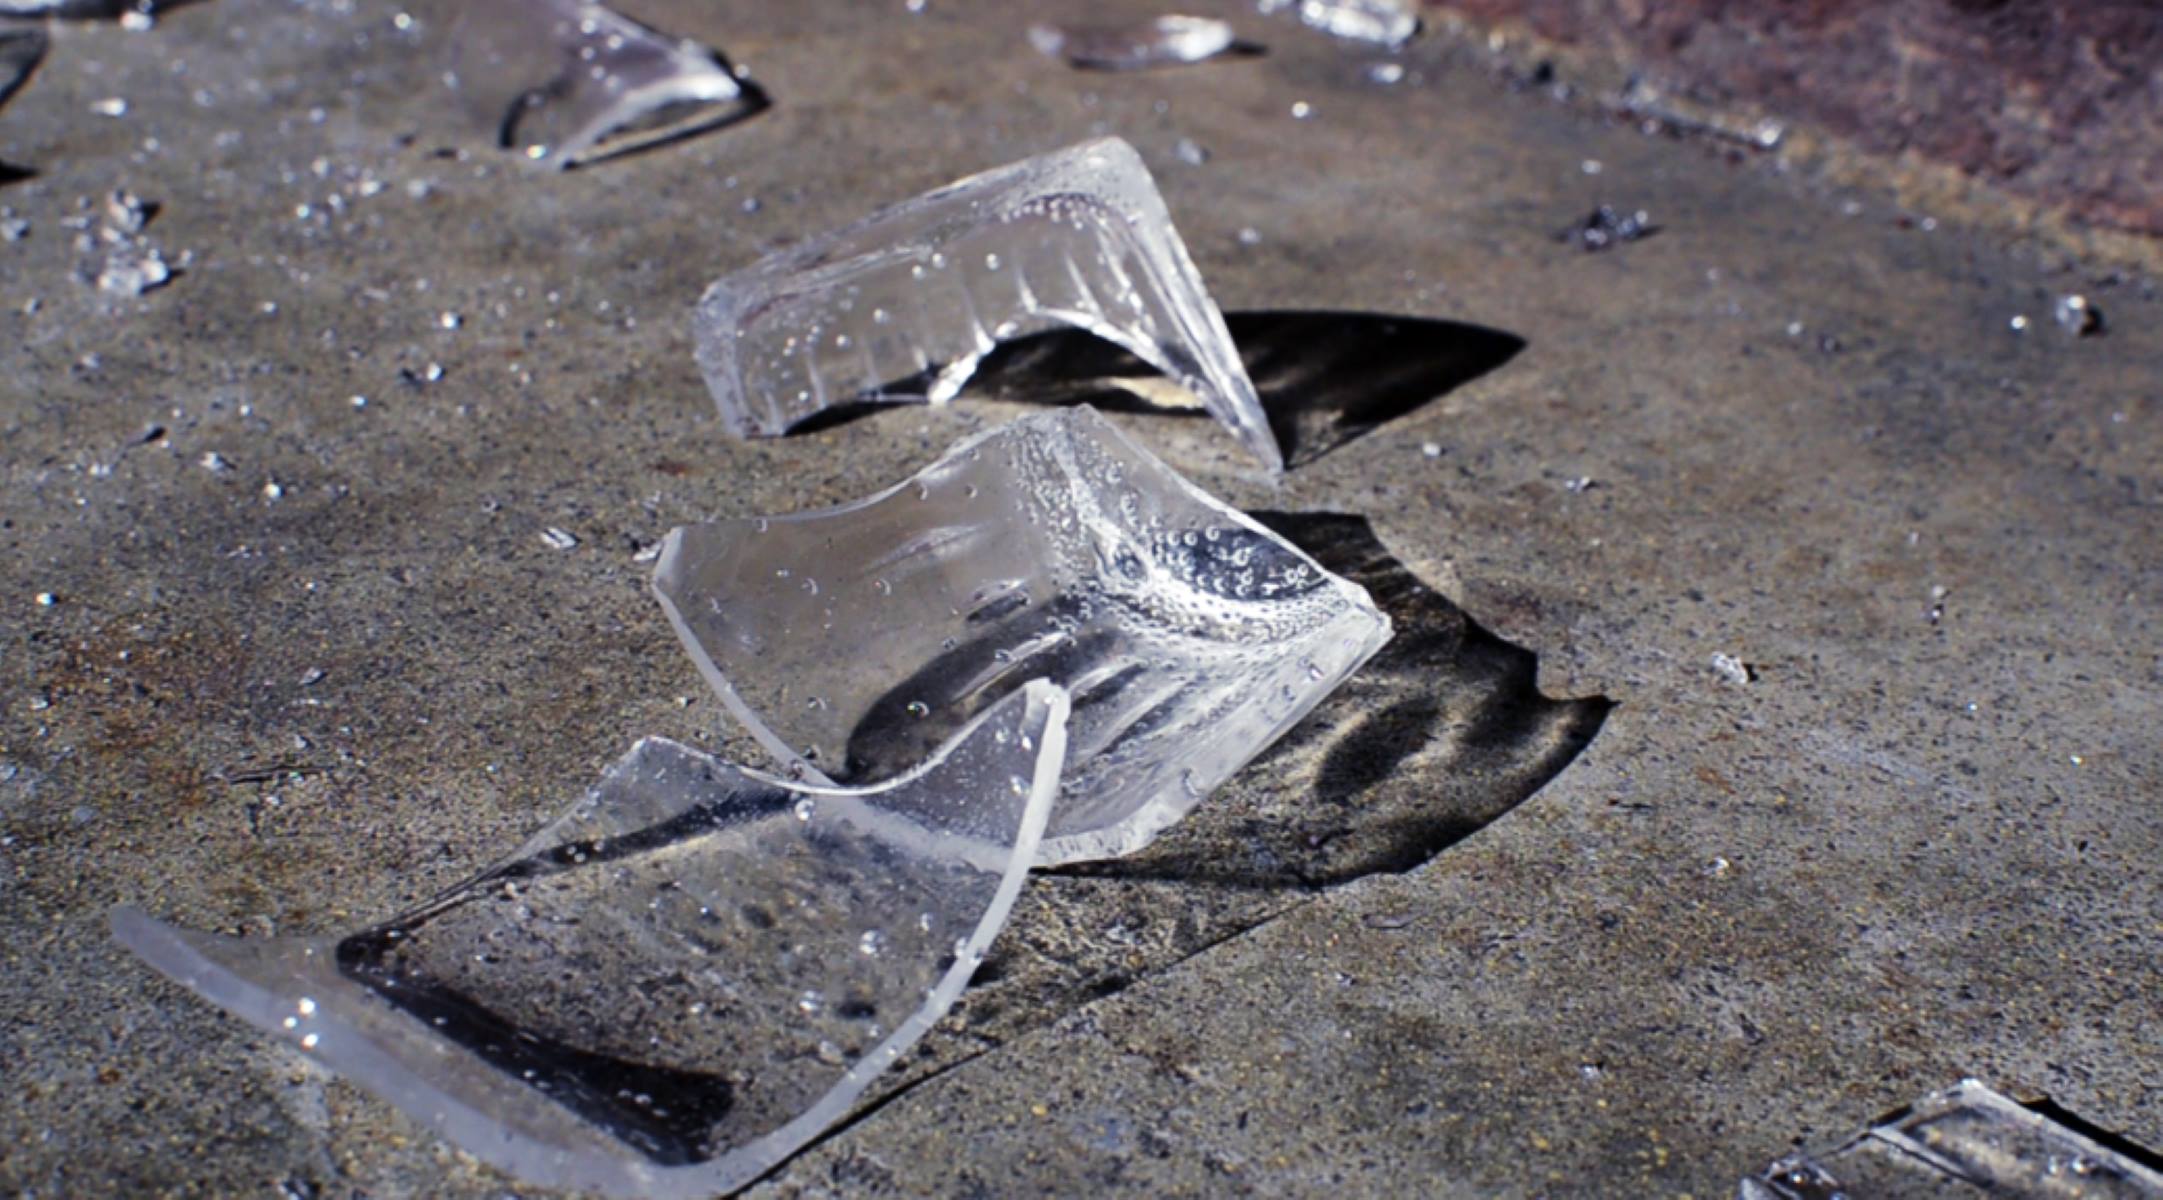
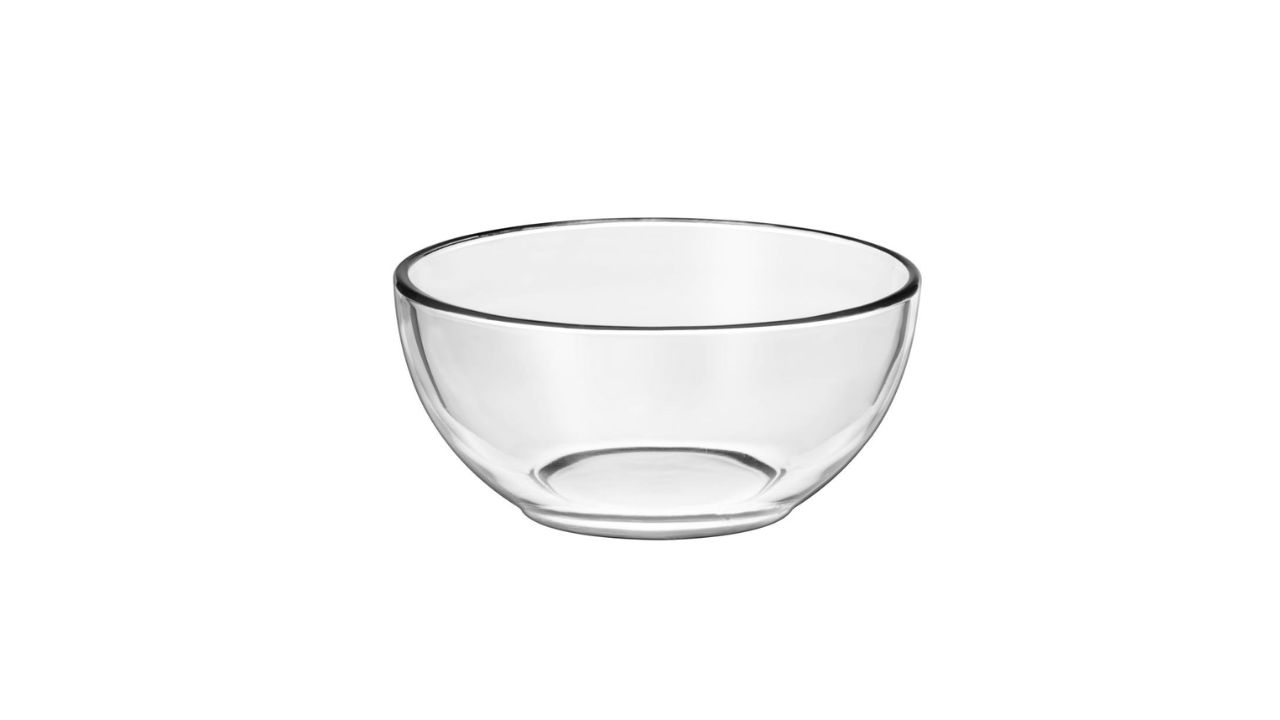
Clear Glass Objects: Select the glass items you wish to dye, such as vases, jars, ornaments, or beads. Ensure that the glass is clean and free from any dust or residue to achieve optimal dye absorption.
-
Glass Dye or Stain: Acquire high-quality glass dye or stain in the colors of your choice. Opt for a product specifically designed for glass applications to ensure vibrant and long-lasting results.
-
Rubbing Alcohol: This serves as a crucial cleaning agent to prepare the glass surface for dyeing. It effectively removes any lingering oils, fingerprints, or contaminants that may hinder the dye's adherence.
-
Protective Gloves: Invest in a pair of durable gloves to shield your hands from the dye and protect your skin during the dyeing process.
-
Protective Eyewear: Safety goggles or glasses are essential to safeguard your eyes from accidental splashes or spills while working with the dye.
-
Droppers or Pipettes: These tools are invaluable for precisely dispensing the dye onto the glass, allowing for controlled and accurate application.
-
Paper Towels or Lint-Free Cloths: Keep these handy for wiping away excess dye and cleaning up any spills or drips during the dyeing process.
-
Disposable Plastic Trays or Containers: Use these to contain and mix the dye, providing a convenient and mess-free workspace.
-
Stirring Sticks or Brushes: These aids are essential for mixing and applying the dye to the glass, ensuring even coverage and a professional finish.
-
Protective Covering: Lay down a protective covering, such as a plastic tablecloth or disposable tarp, to safeguard your work surface from potential dye spills or stains.
-
Ventilated Workspace: Ensure adequate ventilation in your workspace to disperse any fumes from the dye and maintain a comfortable and safe environment.
By gathering these materials, you'll be well-equipped to dive into the exciting world of glass dyeing and unleash your creativity to produce stunning, personalized glass pieces that reflect your unique style and artistic vision.
Steps to Prepare the Glass
Before diving into the captivating process of dyeing glass, it's crucial to prepare the glass surfaces adequately to ensure optimal dye absorption and a flawless end result. Follow these essential steps to set the stage for a successful glass dyeing experience:
-
Clean the Glass: Begin by thoroughly cleaning the glass objects with soap and water to remove any dirt, dust, or residues. Ensure that the glass is completely dry before proceeding to the next step.
-
Degrease with Rubbing Alcohol: Using a lint-free cloth or paper towel, wipe the glass surfaces with rubbing alcohol to eliminate any lingering oils, fingerprints, or contaminants. This step is crucial for promoting proper dye adhesion and preventing potential streaking or uneven coloration.
-
Protective Measures: Don protective gloves and ensure the workspace is well-ventilated before handling the glass and preparing the dye. Safety goggles or glasses should also be worn to shield the eyes from any accidental splashes or spills during the dyeing process.
-
Lay Out Protective Covering: Place a protective covering, such as a plastic tablecloth or disposable tarp, on your work surface to safeguard it from potential dye spills or stains. This precautionary measure helps maintain a clean and organized workspace.
-
Arrange the Glass Objects: Position the cleaned and degreased glass objects on the prepared work surface, ensuring they are stable and easily accessible for the dyeing process. Consider using disposable plastic trays or containers to contain any potential drips or spills during the dye application.
By meticulously following these preparatory steps, you establish a solid foundation for the glass dyeing process, setting the stage for seamless and successful color application. With the glass surfaces primed and ready, you're now poised to embark on the exciting journey of infusing them with vibrant and personalized hues, bringing your creative vision to life.
To make dyed glass, mix powdered glass with metal oxides before melting. Copper oxide creates green, cobalt oxide makes blue, and selenium oxide produces red.
Dyeing Process
With the glass surfaces meticulously prepared, you are now ready to embark on the captivating dyeing process, infusing the clear glass with vibrant and personalized hues. Follow these step-by-step guidelines to achieve stunning and long-lasting results:
-
Prepare the Dye Solution: Begin by preparing the glass dye or stain according to the manufacturer's instructions. This typically involves mixing the dye with a suitable solvent or medium to create a uniform and workable solution. Use disposable plastic trays or containers for this purpose, ensuring a clean and controlled workspace.
-
Apply the Dye: Using droppers or pipettes, carefully dispense the prepared dye onto the clean glass surfaces. Exercise precision and control to achieve the desired color intensity and coverage. Consider experimenting with different application techniques, such as creating ombre effects or layering multiple colors for a captivating visual impact.
-
Allow for Absorption: Once the dye is applied, allow the glass objects to rest undisturbed, enabling the dye to permeate and bond with the glass surface. The duration of this absorption period may vary based on the specific dye and desired color intensity, so refer to the product instructions for guidance.
-
Inspect and Adjust: After the absorption period, inspect the glass objects to assess the color saturation and overall appearance. If a deeper or more vibrant hue is desired, consider applying additional layers of dye, repeating the process until the desired color intensity is achieved.
-
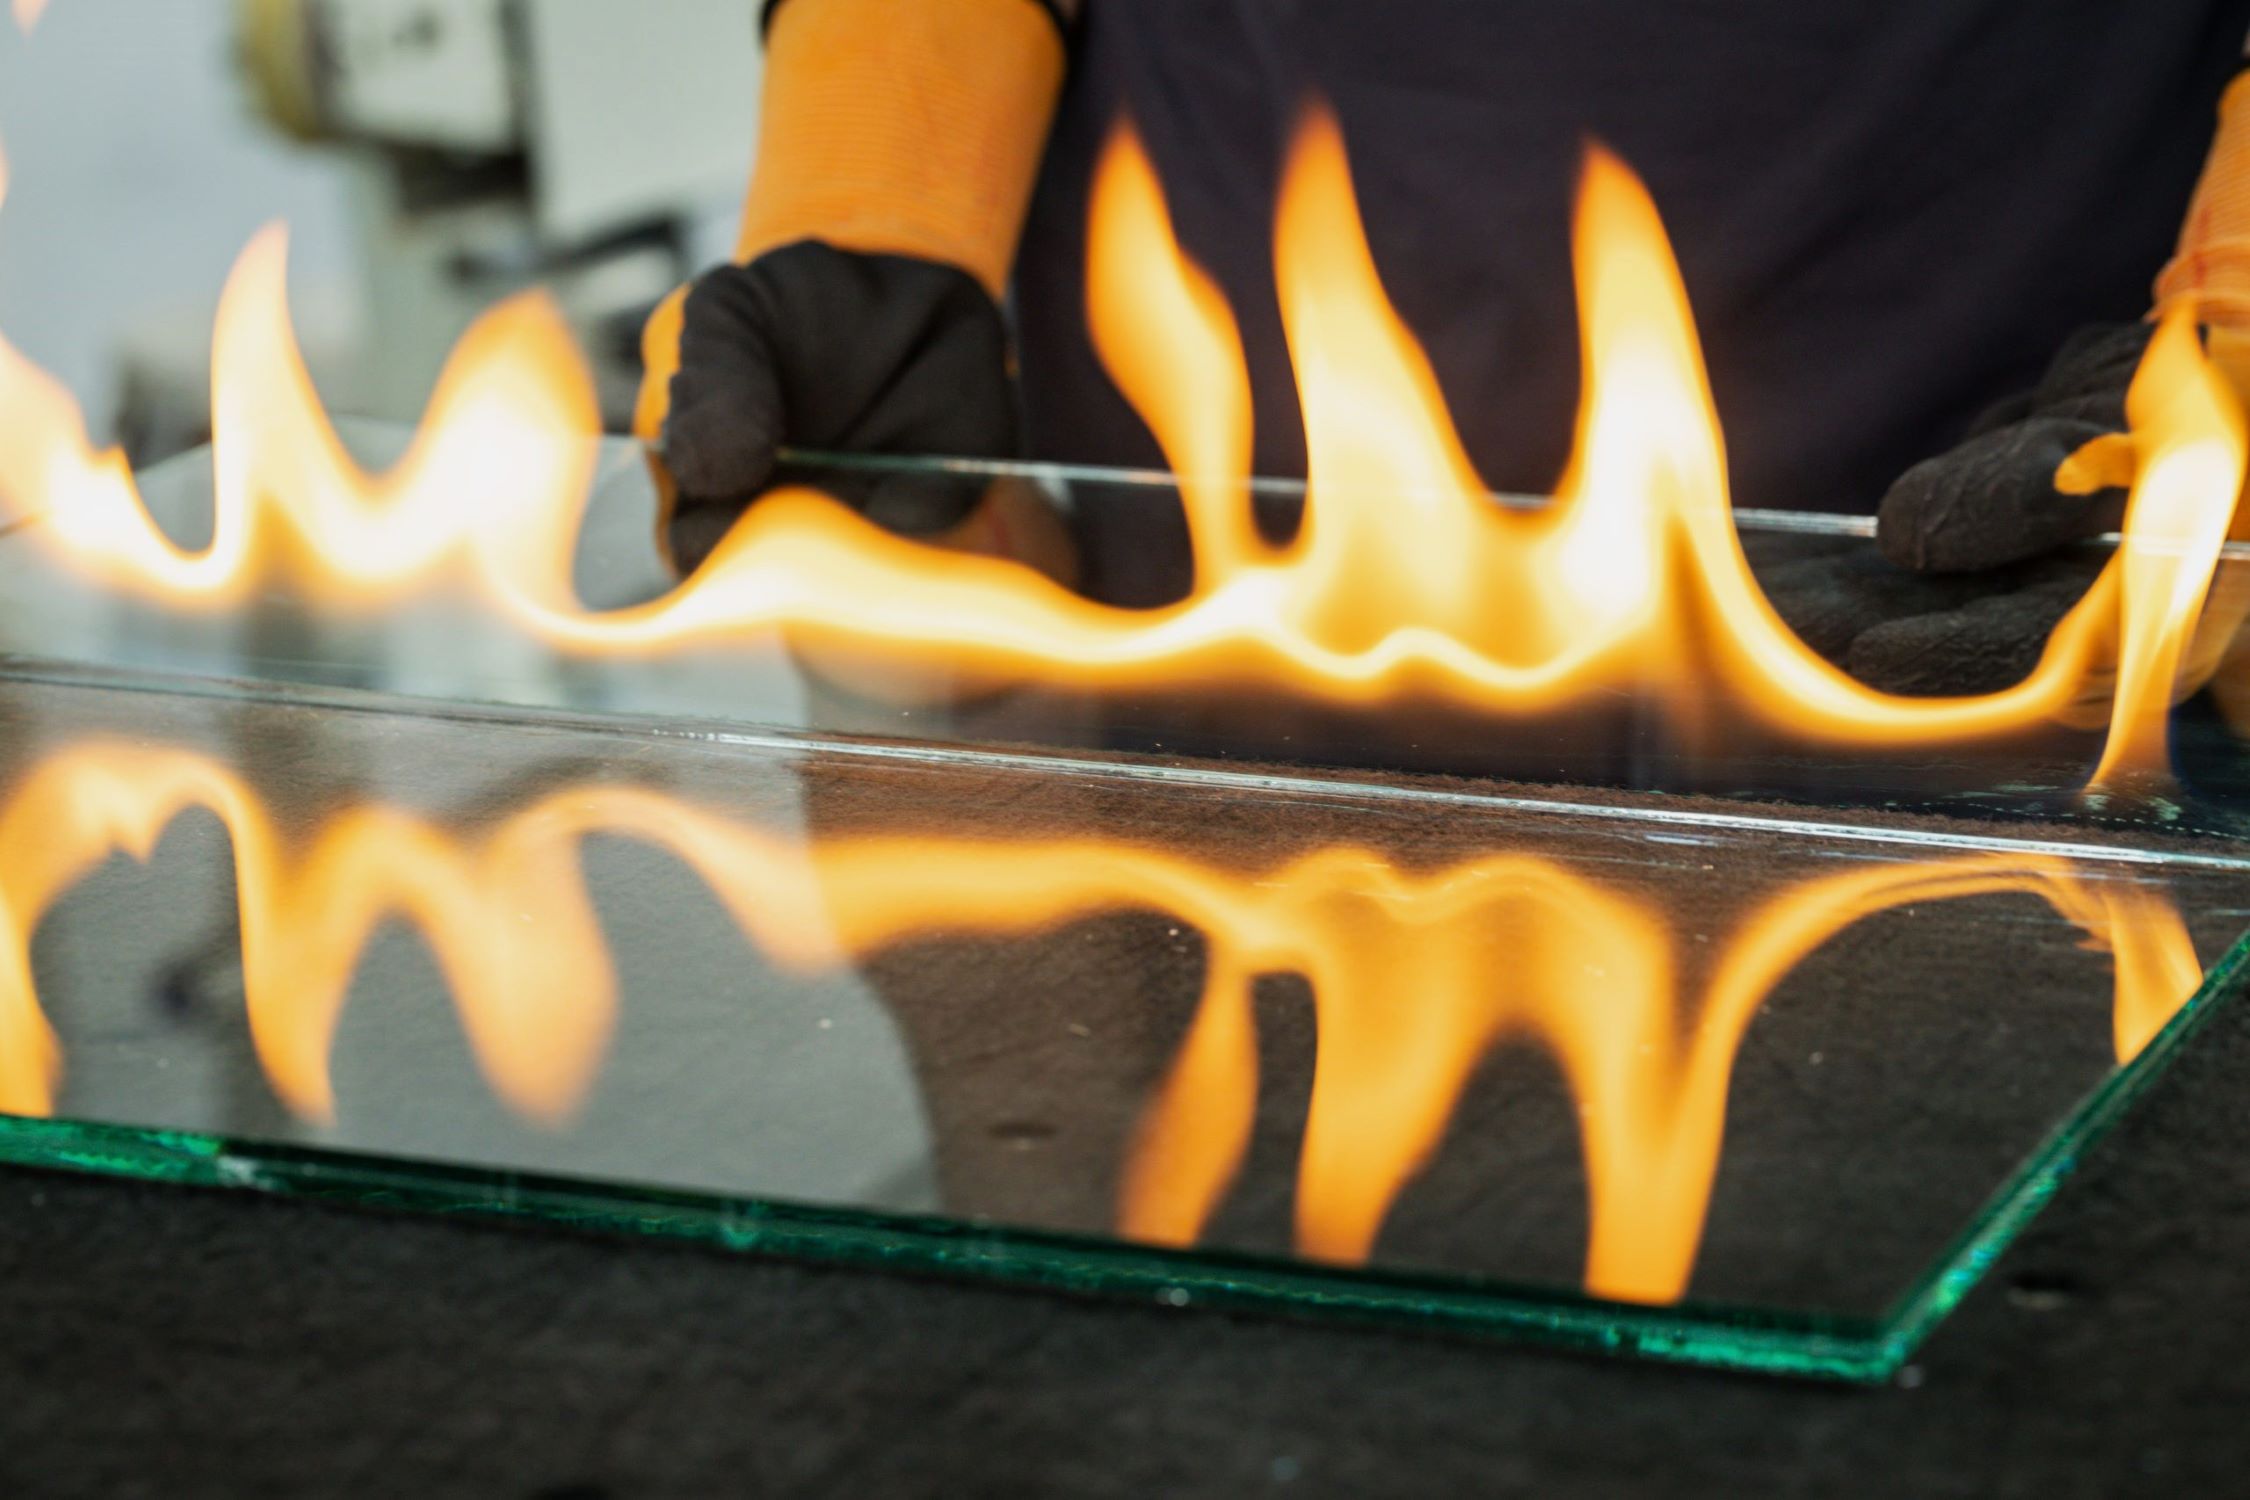
Cure the Dye: To ensure the longevity and durability of the dyed glass, follow the recommended curing process specified by the dye manufacturer. This may involve air-drying the glass objects for a designated period or subjecting them to a controlled heat treatment to set the dye and enhance its permanence.
-
Final Touches: Once the dye is fully cured, carefully examine the glass objects for any uneven coloration or imperfections. Use a lint-free cloth or paper towel to gently wipe away any excess dye or residue, ensuring a flawless and professional finish.
By meticulously following these steps, you can transform ordinary clear glass into captivating works of art, infused with your chosen colors and personal flair. Whether you're creating custom home decor pieces, embellishing glassware, or crafting unique jewelry, the dyeing process empowers you to unleash your creativity and elevate the visual appeal of your surroundings.
The art of dyeing glass offers endless opportunities for self-expression and artistic exploration, allowing you to imbue everyday objects with a touch of individuality and charm. Embrace the enchanting process of dyeing glass, and revel in the joy of bringing your creative visions to life through the transformative power of color and design.
Tips and Tricks
-
Experiment with Color Combinations: Don't be afraid to mix and layer different dye colors to create unique and captivating effects. Explore complementary or contrasting color combinations to add depth and visual interest to your dyed glass pieces.
-
Controlled Dye Application: Use droppers or pipettes to precisely control the amount of dye applied to the glass. This allows for intricate designs, gradients, and precise color placement, giving you greater creative control over the final look of your dyed glass.
-
Consider Transparent vs. Opaque Dyes: Transparent dyes create a stained glass effect, allowing light to pass through and illuminate the colors. Opaque dyes, on the other hand, offer a more solid and vibrant appearance. Consider the desired outcome when selecting between transparent and opaque dyes for your projects.
-
Layering for Dimension: Experiment with layering different colors to achieve a sense of depth and dimension in your dyed glass pieces. By applying multiple layers of dye and allowing each layer to dry before adding the next, you can create captivating visual effects and intricate color patterns.
-
Customize with Stencils or Masks: Use stencils or masking techniques to create intricate designs and patterns on the glass surfaces before applying the dye. This allows for precise and controlled color application, enabling you to personalize your glass pieces with stunning motifs and imagery.
-
Enhance with Metallic Accents: Consider incorporating metallic or iridescent accents into your dyed glass projects. Metallic paints or specialized glass dyes can add a touch of shimmer and elegance, elevating the visual appeal of your creations and infusing them with a touch of luxury.
-
Protective Sealant for Longevity: Once the dye is fully cured, consider applying a protective sealant to the dyed glass surfaces. This helps safeguard the colors from fading or chipping over time, ensuring the longevity and vibrancy of your beautifully dyed glass pieces.
-
Embrace Imperfections: Embrace the organic and unpredictable nature of the dyeing process. Imperfections and variations in color intensity can add character and uniqueness to your dyed glass creations, contributing to their artisanal charm and individuality.
-
Practice on Test Pieces: Before embarking on larger projects, practice your dyeing techniques on small test pieces of glass. This allows you to familiarize yourself with the dye behavior and experiment with different color combinations and application methods before committing to larger-scale endeavors.
-
Share and Inspire: Share your dyed glass creations with fellow crafters and enthusiasts to inspire and be inspired. Celebrate the beauty of handmade artistry and the endless possibilities of dyeing glass, fostering a community of creativity and innovation.
By incorporating these tips and tricks into your glass dyeing endeavors, you can elevate your craft and unleash your creativity, resulting in stunning and personalized glass pieces that reflect your unique style and artistic vision.
Read more: How To Make Glass Into Mirror
Conclusion
In conclusion, the art of dyeing glass presents a captivating avenue for self-expression, creativity, and personalized craftsmanship. By infusing clear glass with vibrant and customized hues, individuals can transform ordinary objects into captivating works of art that reflect their unique style and artistic vision. The process of dyeing glass transcends mere decoration, offering a profound opportunity to imbue everyday items with individuality, charm, and a touch of personal flair.
As we've explored the comprehensive process of preparing and dyeing glass, it becomes evident that this craft empowers individuals to unleash their creativity and elevate the visual appeal of their surroundings. From creating bespoke home decor pieces to embellishing glassware and crafting unique jewelry, the possibilities for artistic exploration are endless. The transformative power of color and design allows crafters to breathe new life into glass objects, infusing them with personality and a sense of artistry.
Furthermore, the tips and tricks shared provide invaluable insights for enhancing the glass dyeing experience. From experimenting with color combinations and controlled dye application to embracing imperfections and sharing inspirations, these guiding principles foster a culture of creativity and innovation within the glass dyeing community. By embracing these techniques, crafters can elevate their craft and produce stunning, personalized glass pieces that resonate with authenticity and individuality.
Ultimately, the journey of dyeing glass transcends the mere act of applying color; it embodies a celebration of creativity, self-expression, and the joy of crafting. Whether embarking on small-scale projects or ambitious artistic endeavors, the process of dyeing glass invites individuals to explore, experiment, and revel in the beauty of handmade artistry. Each dyed glass creation becomes a testament to the artist's vision, passion, and dedication to infusing the world with color and beauty.
As crafters continue to explore the enchanting world of glass dyeing, they contribute to a vibrant tapestry of artistic expression, inspiring and being inspired by fellow enthusiasts. The allure of dyeing glass lies not only in the creation of visually stunning pieces but also in the cultivation of a community united by a shared love for creativity and craftsmanship. Through the art of dyeing glass, individuals can leave an indelible mark on everyday objects, transforming them into cherished and personalized treasures that enrich the lives of both creators and admirers alike.
Frequently Asked Questions about How To Make Dyed Glass
Was this page helpful?
At Storables.com, we guarantee accurate and reliable information. Our content, validated by Expert Board Contributors, is crafted following stringent Editorial Policies. We're committed to providing you with well-researched, expert-backed insights for all your informational needs.


0 thoughts on “How To Make Dyed Glass”